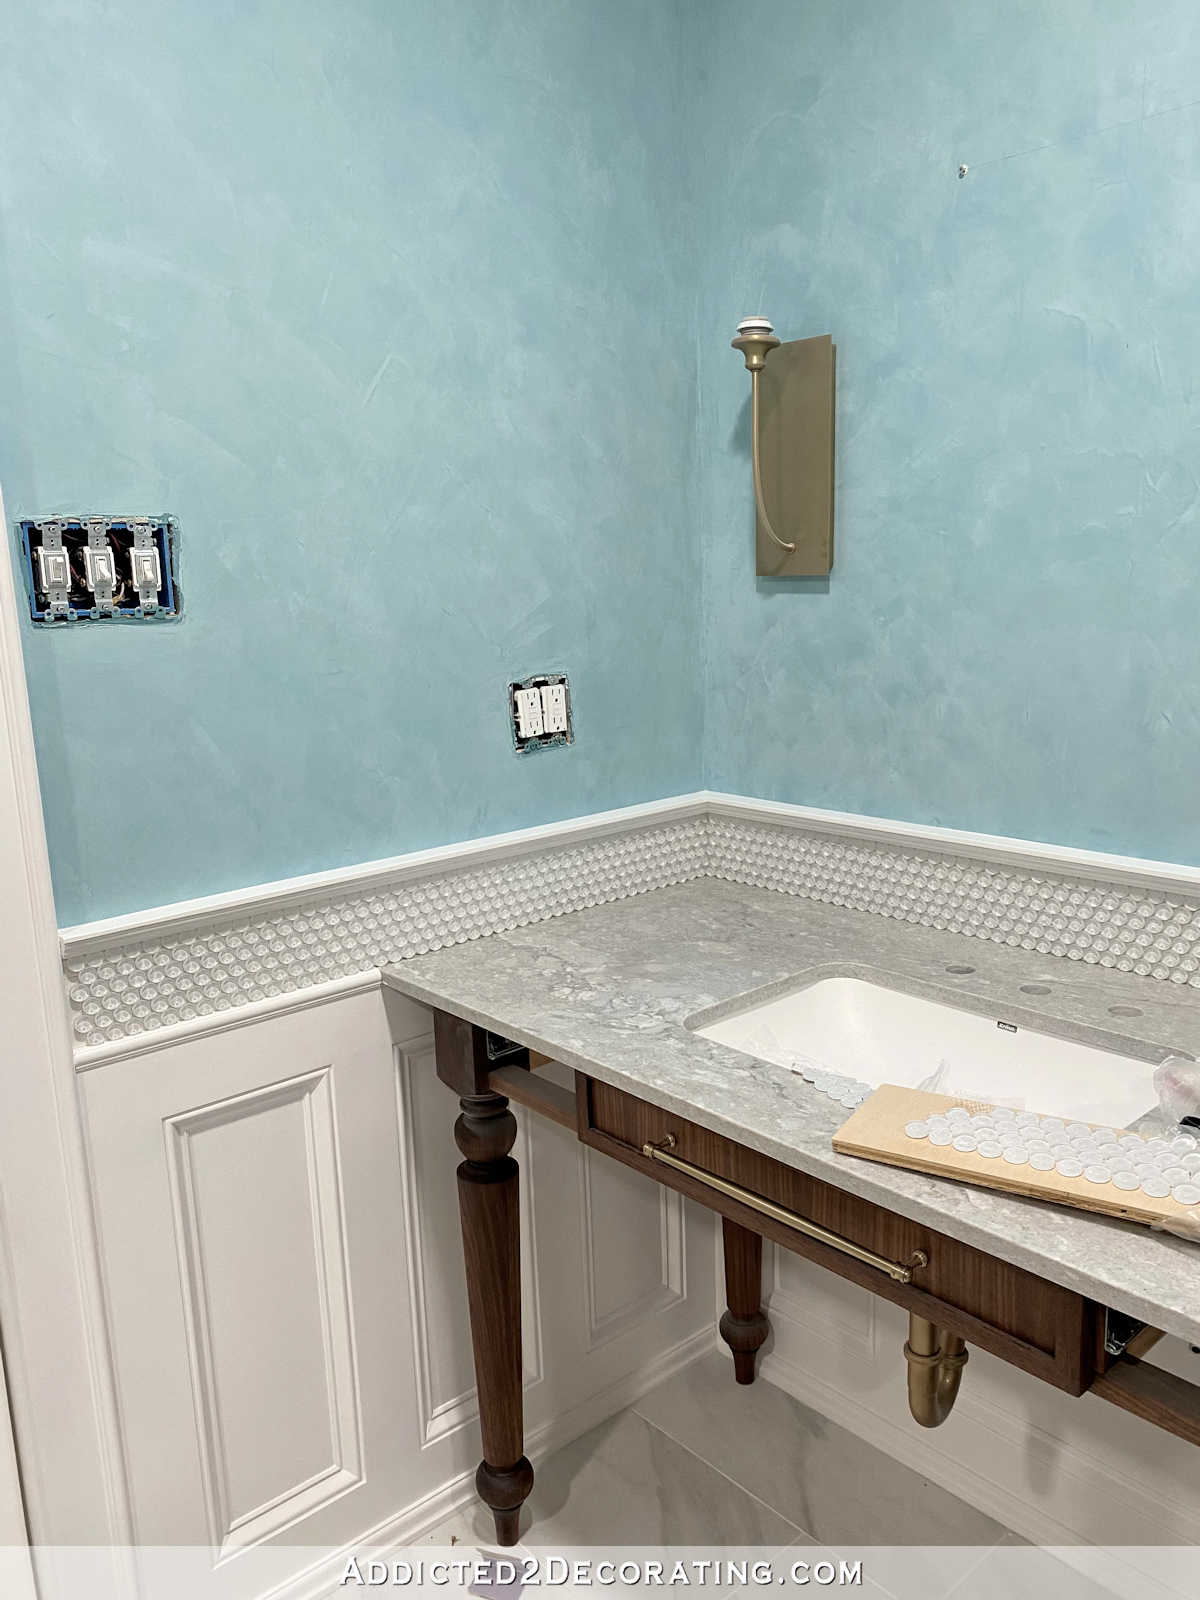
My New Bathroom Vanity And Storage Cabinet Design
Since I’m not able to get the trim I need for my original bathroom vanity and storage cabinet design that I wanted, I had to come up with a Plan B. It’s always a little disheartening when you’re designing a room and you have your heart set on something, and then you have to move to a Plan B because that generally requires settling for something that’s a bit less than what you originally wanted.
I really wanted to take my time and search for an idea that wouldn’t make me feel like I was settling. After all, we’ve already poured tens of thousands of dollars into this master bathroom, and I’d rather not get to this last big project — the project that will span a 12-foot-long wall — and feel like I had to settle for second best. I didn’t want to feel that slight twinge of disappointment every time I walk into that room.
The good news is that I’ve found it. Yes, this is a Plan B, but I actually don’t feel at all like it’s second best. And the best news of all is that I already have everything I need to make this style of drawer front.
So here’s the new design. This is from Sean’s Woodworking.
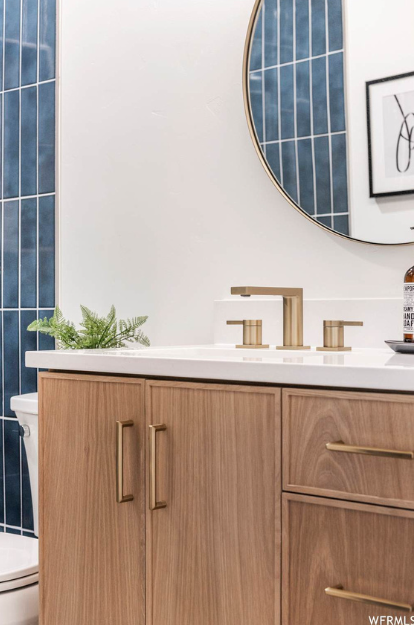
I love this!! It’s definitely on the streamlined and modern side, where my original design was decidedly more traditional. But I really love this. It gives me the trimmed look around the drawers that I like, while the narrow frame keeps it from looking “farmhouse” like the wider framed cabinet doors and drawers look (to me). And I do love that clean look. I think these will be a great juxtaposition to the traditional turned legs that I’ll be using on the vanities.
And last night as I was getting into bed, I realized that this style looks a whole lot like the drawers on our bedside tables…
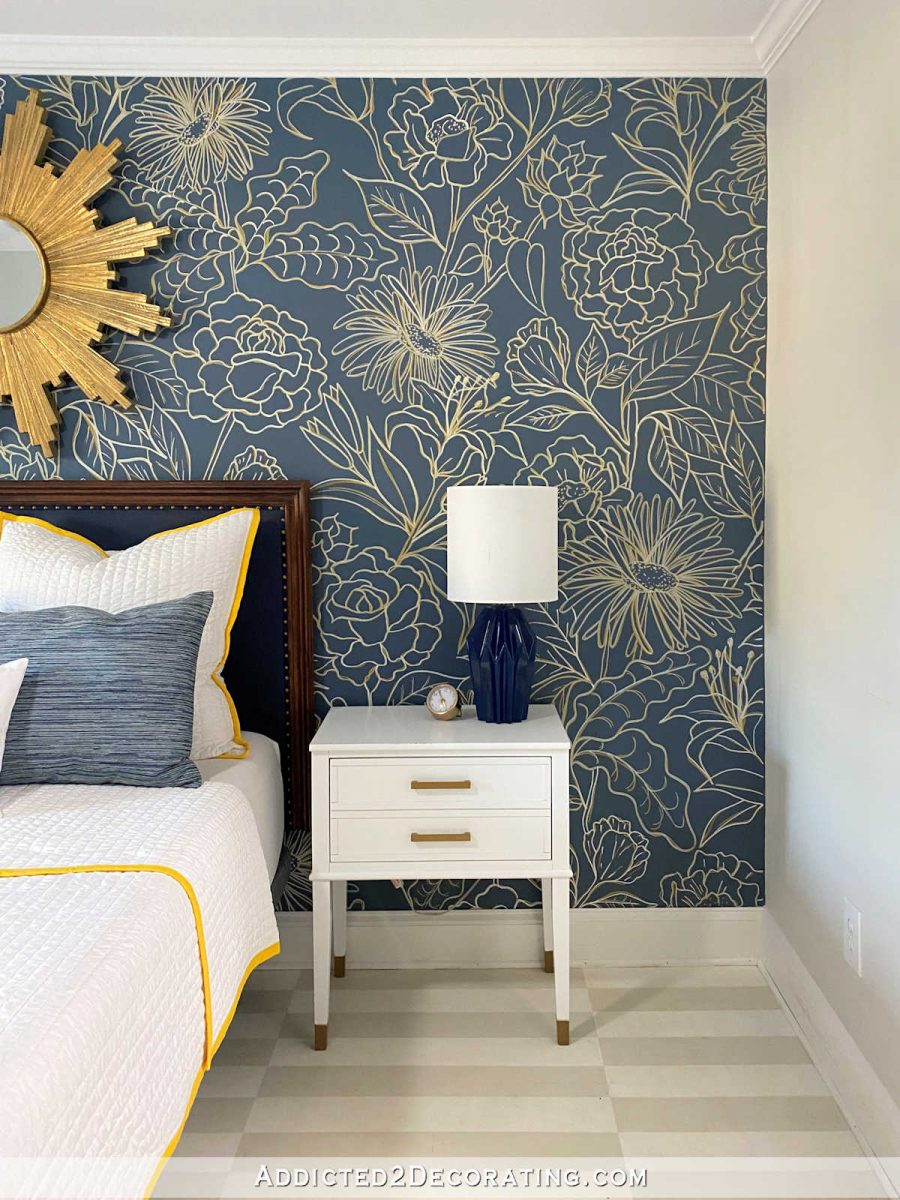
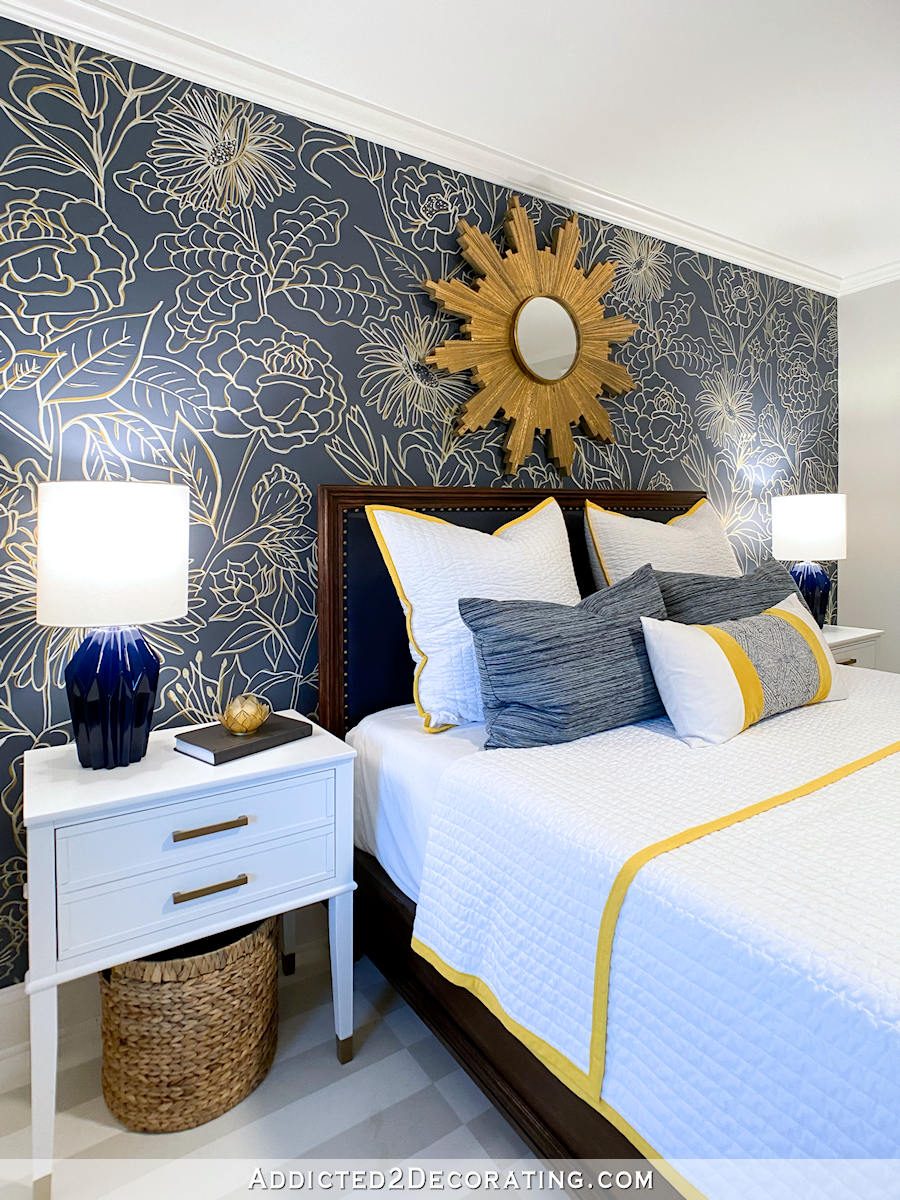
Those are a little harder to see since they’re a solid white, but they have that same thin frame around them. The frames around the drawers will be much easier to see in natural wood since the wood grain will show. But seeing this detail on these bedside tables did confirm to me that I’ve already liked this style enough to put it in our home.
Also, about a month ago, I was checking out the BOXI by Semihandmade website, thinking that those cabinets might be an option for the studio. Since then, I’ve decided against that option. But at the time, I chose this style, which I think is called the Peppercorn Edge. You can see more pictures of this style here.

It’s not exactly the same as the top picture and our bedside tables (it looks like this Peppercorn Edge detail is narrower than the frame around the drawers in the first picture and on our bedside tables), but it’s the same general idea. And that was just another thing to confirm in my mind that this is, in fact, a style that I seem to naturally be drawn to since I keep choosing it again and again.
So that’s the plan! And the best thing is that I don’t feel the least bit disappointed. I feel super excited about it! I’m still very nervous to start cutting that walnut lumber and veneer. But at least I know that if I mess up, it might cost me more money (which I wouldn’t be thrilled about), but at least the product is actually available.

Addicted 2 Decorating is where I share my DIY and decorating journey as I remodel and decorate the 1948 fixer upper that my husband, Matt, and I bought in 2013. Matt has M.S. and is unable to do physical work, so I do the majority of the work on the house by myself. You can learn more about me here.


I’m glad you were able to come up with a new design you’re happy with, but surprised you’re not making the moulding you originally wanted. Making moulding is so simple.
Making larger, wider molding might be so simple, but I highly doubt that making tiny molding with a 1/4″ x 3/8″ profile is so simple.
It actually is very easy, I do it all the time. Plane a piece of wood to 3/8″ thick, route the detail on the edge of board, on the table saw rip the detailed edge to 1/4″, you now have a piece of 3/8″ x 1/4″ moulding. Go back to the router table and route the freshly ripped edge, back to the table saw to rip cut if off. Continue until your board is too thin that you’re comfortable working with. You can easily reverse the measurements to plane your wood to 1/4″ and rip to 3/8″, just depends on your router bit profile.
This option looks more high end to me than your first choice. Understated and elegant.
I love this new option so much more than the one you had as plan A, which I also liked. So happy you found what makes you happy without settling and now you can keep going on the project. You are inspiring!
That will look great.
I stopped using the phrase plan B years ago when my kids were small. Instead our family decided “ equally as great” because plan B sounded like something you had to settle for.
Love how you turned that phrase around, I’m going to start using it (with your permission☺️).
And Kristi, I love your equally as great plan. No qualifiers needed.
I’m surprised – I love this detail too and I’m mostly a traditional/classical gal! I think it’s the grain of the wood that really makes it special. Can’t wait to see how the vanity progresses!
Looks more elegant and it doesn’t steal the thunder from the mural, which is the focal point of the bathroom. And, it seems easier to clean. Equal: form and function. Win-win. Not a compromise at all.
Good for you!
I think that is, at the very least, equal to Plan A. Congratulations to finding something equal and absolutely doable with your extreme talent. Now we will look forward to the next step of the awesome master bathroom project. I’m so happy for you.
Love this plan! It looks elegant and will be a wonderful finishing touch to your bathroom.
Is it wallpaper in your bedroom or is that something you stenciled?
It’s a hand drawn design using an overhead projector and gold and white acrylic paint pens. You can see the details here:
https://www.addicted2decorating.com/diy-hand-drawn-floral-line-drawing-wall-mural-part-1-progress.html
And you can find a printable version of the design I used here:
https://www.addicted2decorating.com/two-wall-design-patterns-free-downloads-guest-bedroom-flowers-and-original-entryway-vines-and-birds.html
Love the new design. Looks like the design of your credenza (minus the handles).