My Walk-In Closet, Week Three Progress (Plus, Flooring Options Using The Bona Flooring Visualizer On My Closet Pictures)
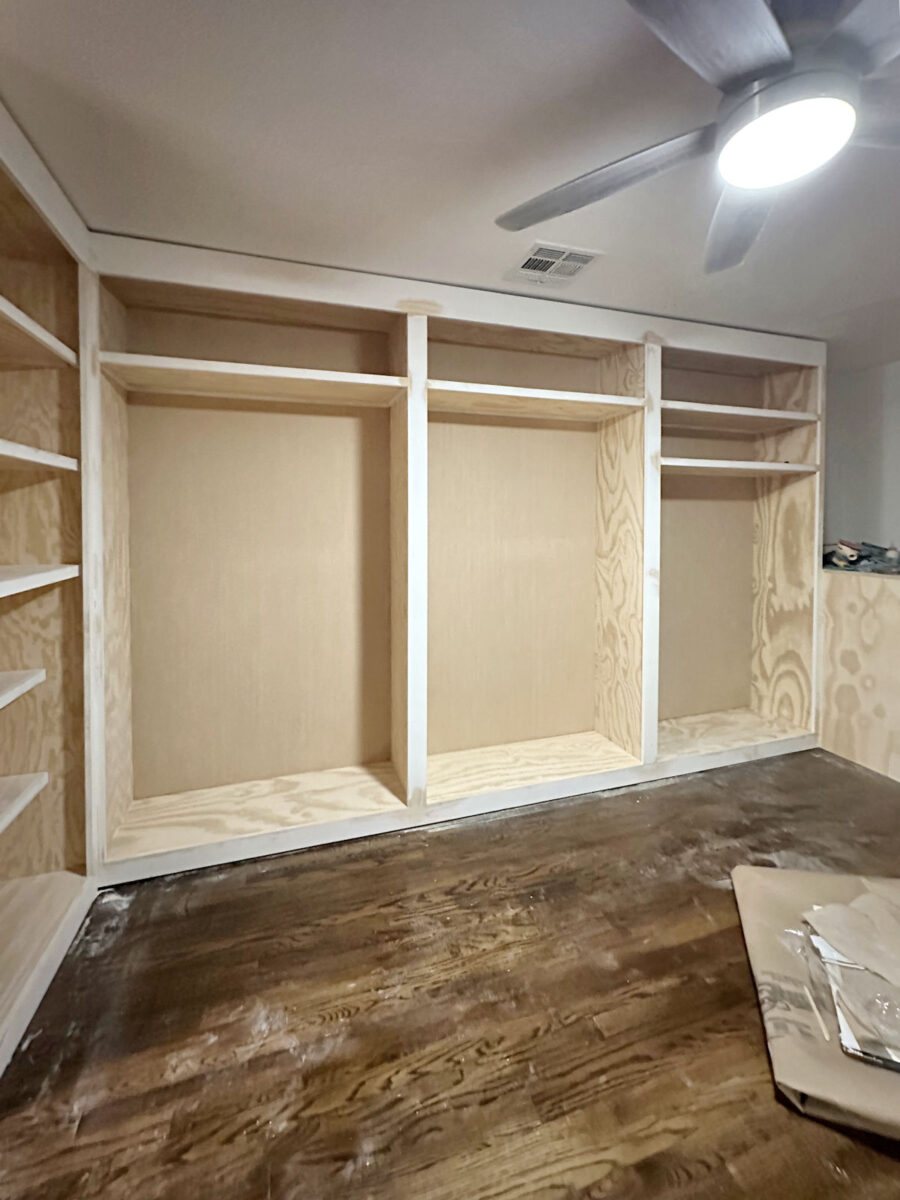
I have come to the end of week three of working on my walk-in closet and laundry room combination. And while progress seem to have slowed quite a bit this week, that’s only because I hit the part of the process that takes the longest. But these tedious steps are also the most important for getting a gorgeous final outcome. I spent all day yesterday sanding, and sanding, and sanding some more. And I’m so happy that by the end of the day, I had all of the cabinets sanded, all of the dust vacuumed up, and now I’m ready for priming and caulking.
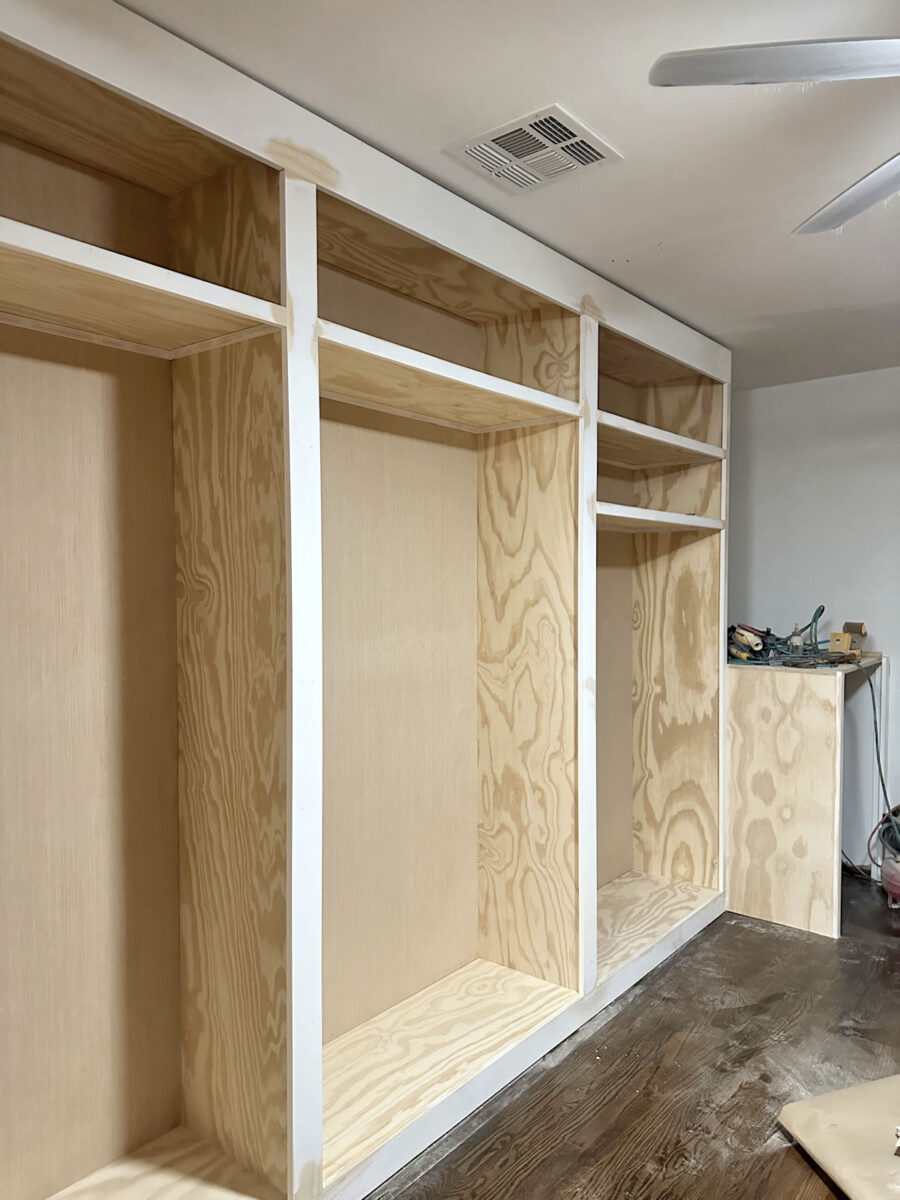
I had already done a ton of wood filling, using wood filler to fill every single nail hole, screw hole, and joint. I went through one whole big tub of wood filler (this is the one I use – affiliate link) just on that part of the project alone. That’s in addition to the two full large tubs of wood filler that I had used just prepping the individual pieces of plywood since I decided to use a lesser grade of plywood in an effort to save money.
And because it slows me down considerably when I hook my little 5-inch orbital sander to my shopvac, I decided to forgo the shopvac and just let the dust fly so that I could get it done faster. Fortunately, the temperature outside was pretty nice, so I was able to shut off the HVAC, open the windows, and close the doors to the master bedroom suite to keep the dust contained in that area of the house. There are few things that I hate more than having to work with gloves and/or a mask on but not masking up wasn’t even an option yesterday.
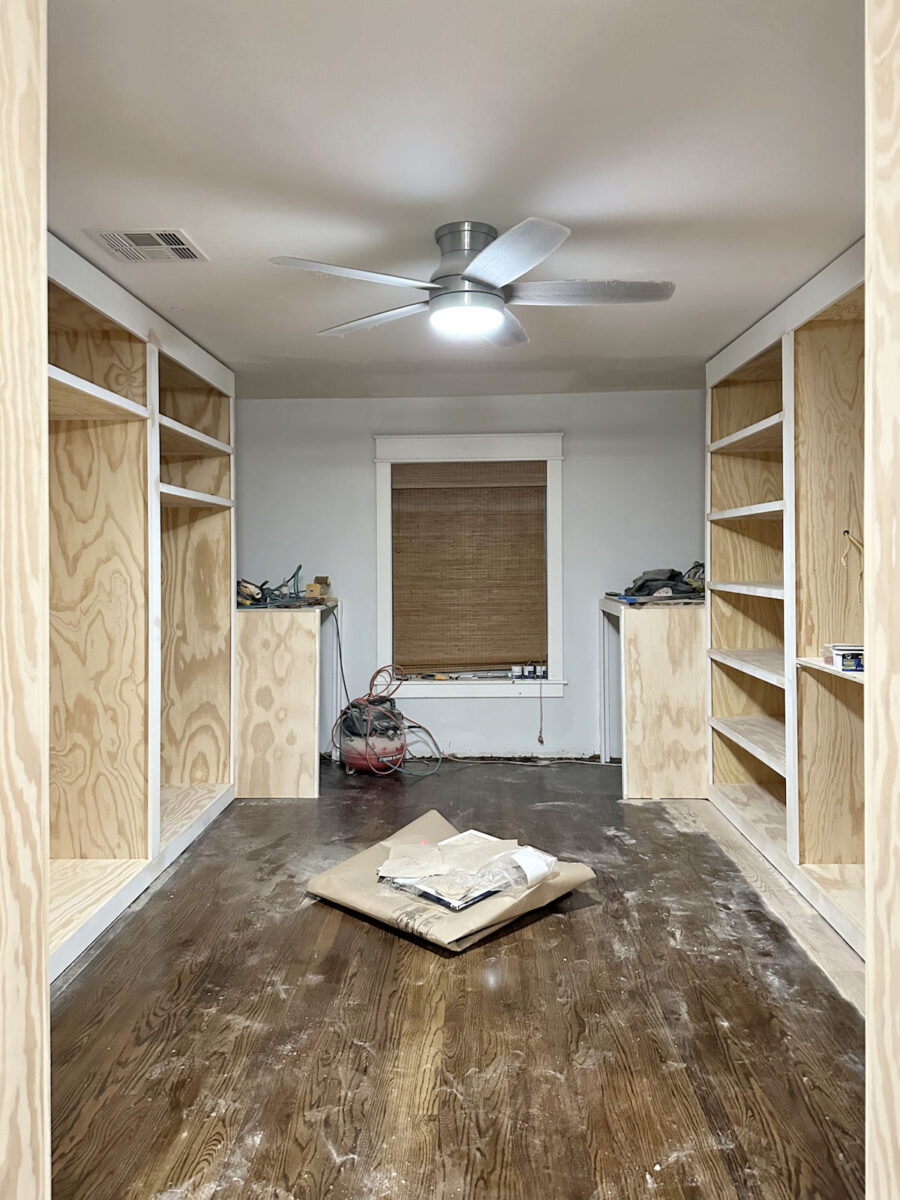
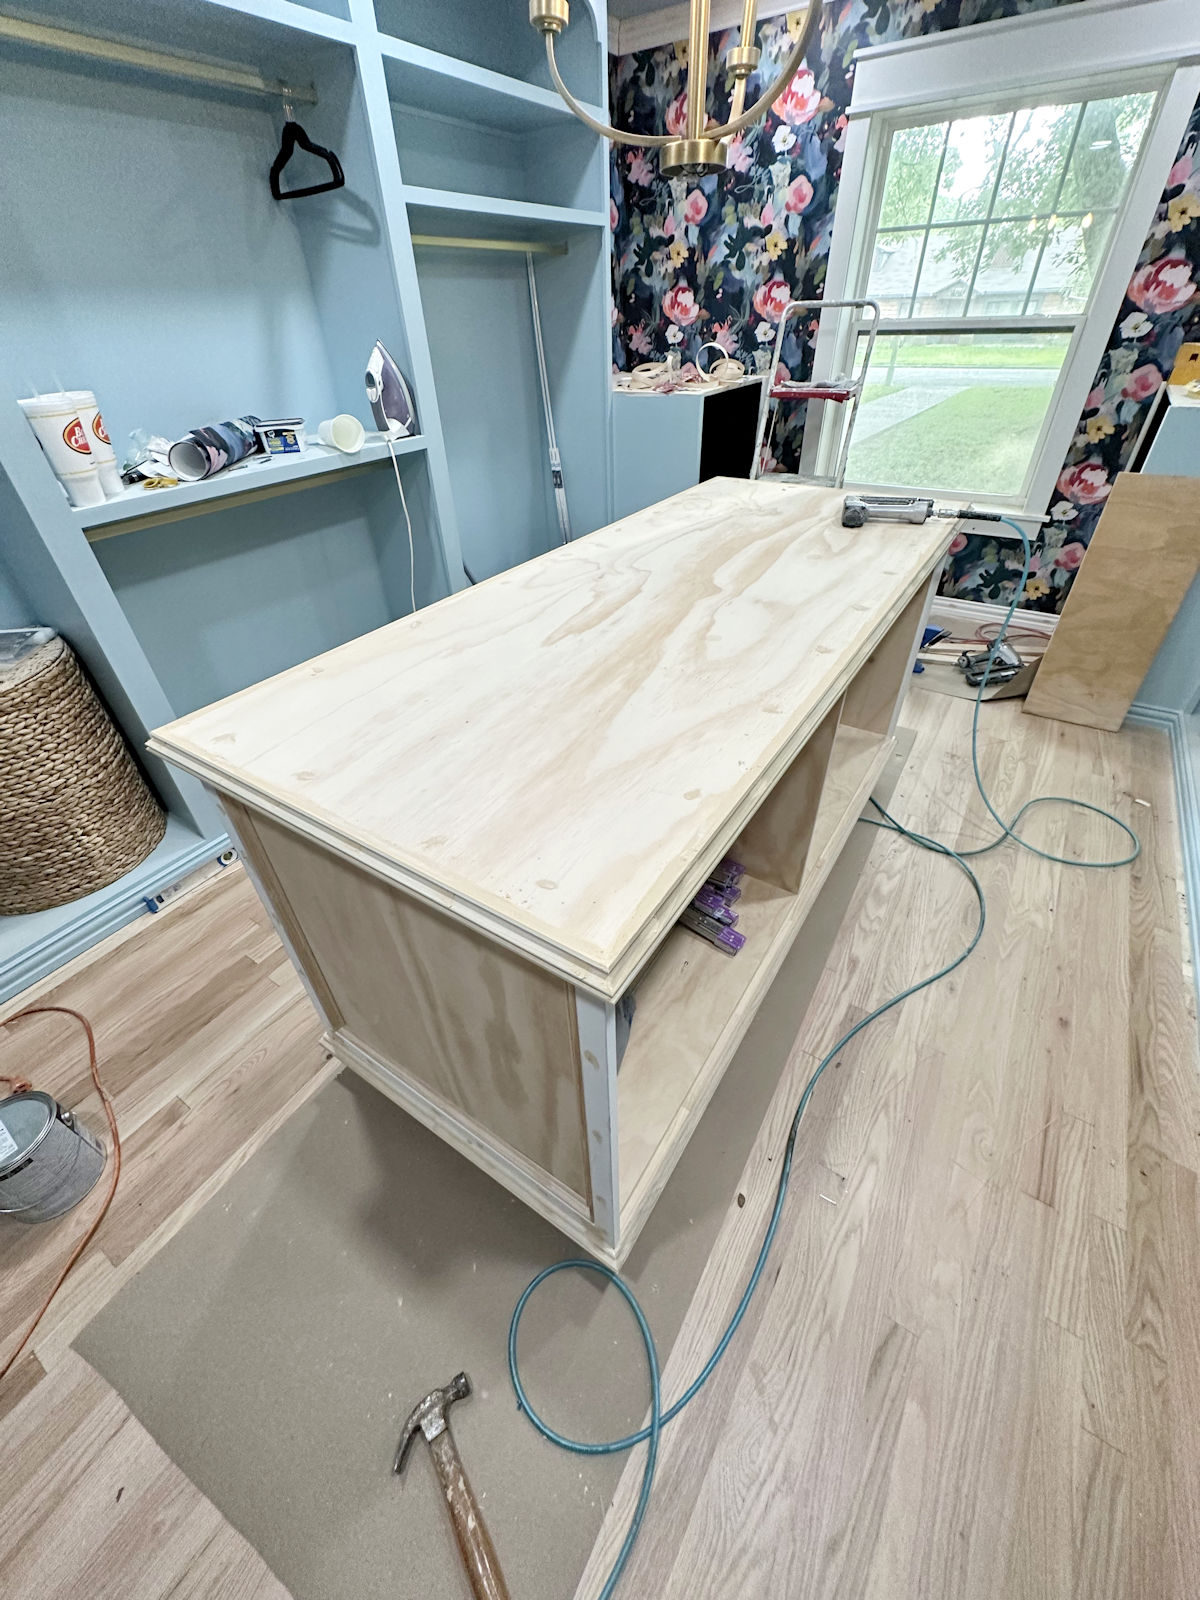
After sanding all day and prepping the cabinets for primer and caulk, this is the mess I was left with at the end of the day…
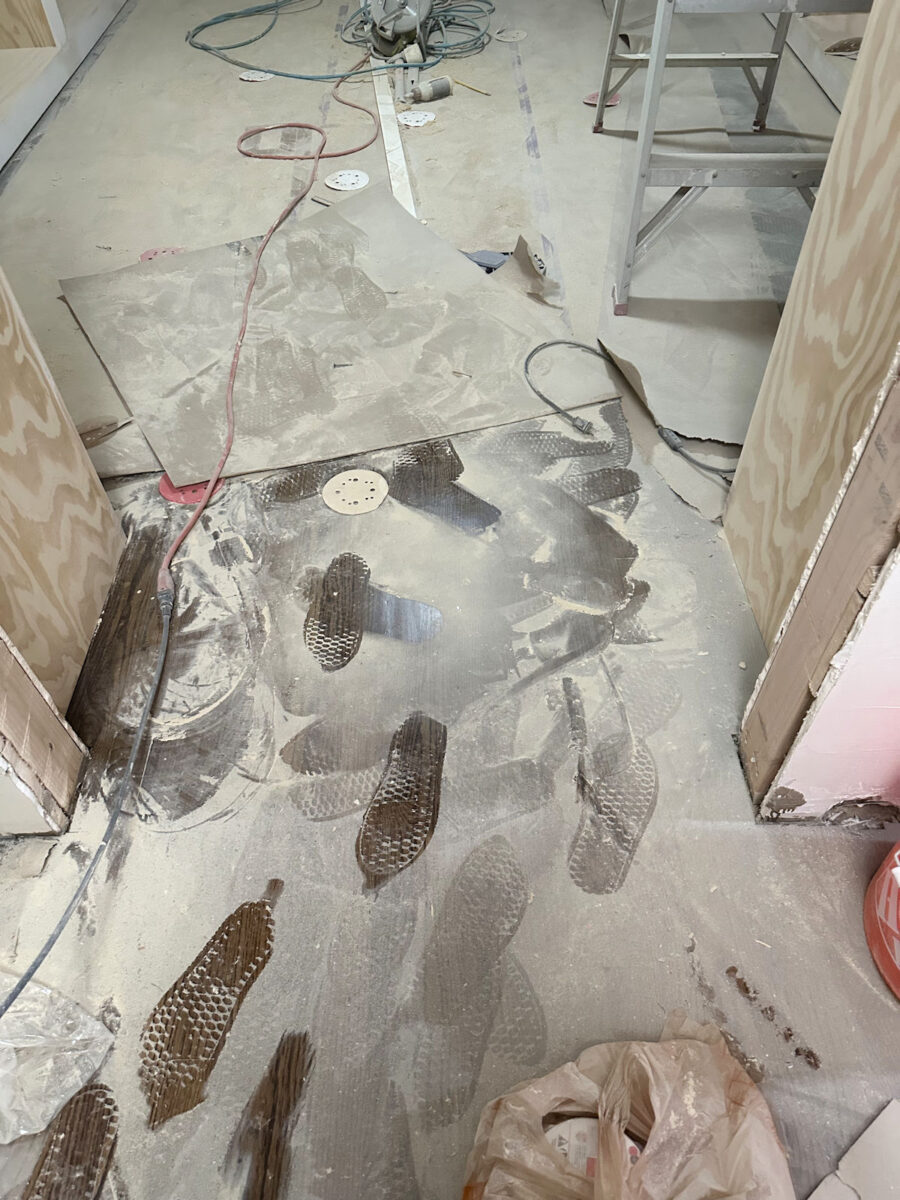
It was quite a job to get all of that dust cleaned up, but cleaning up the dust was still far easier than trying to sand everything with my sander attached to a shopvac all day.
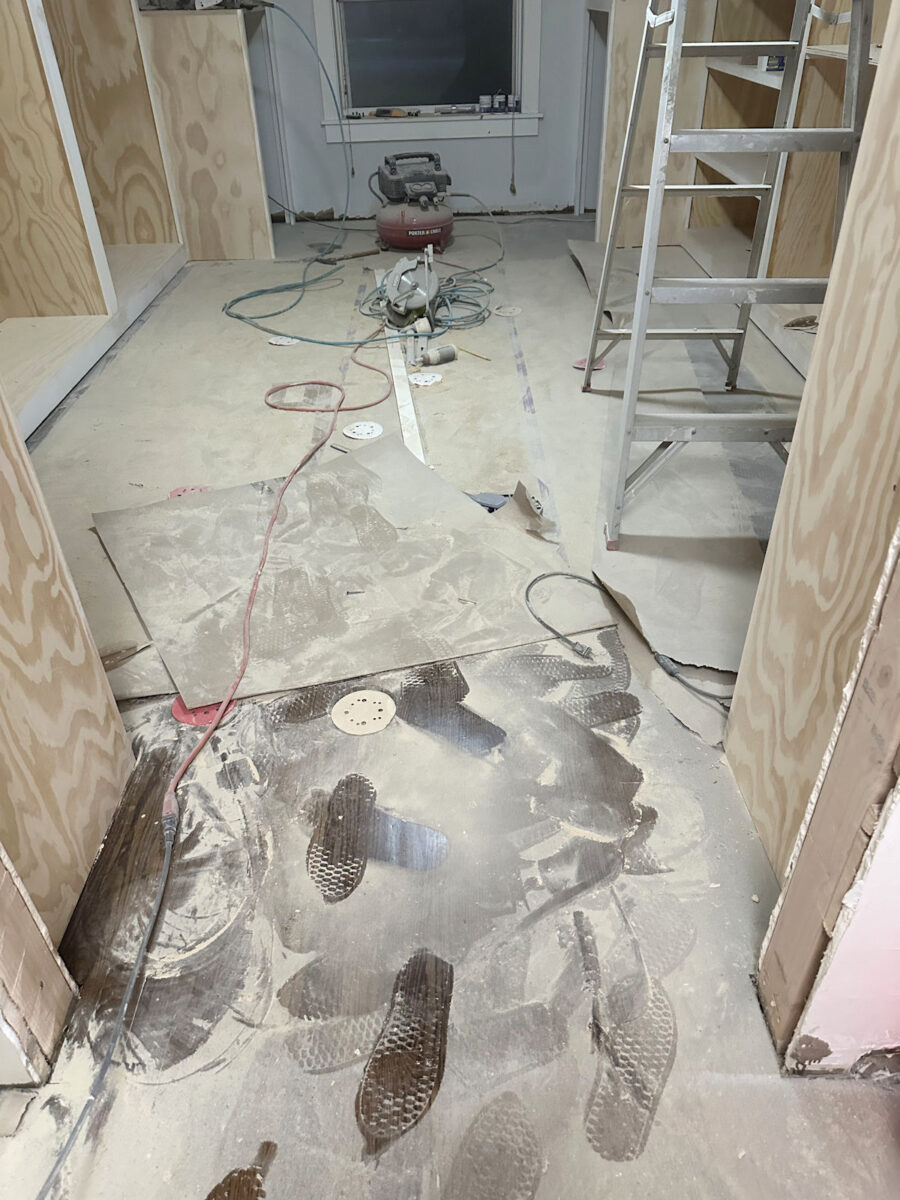
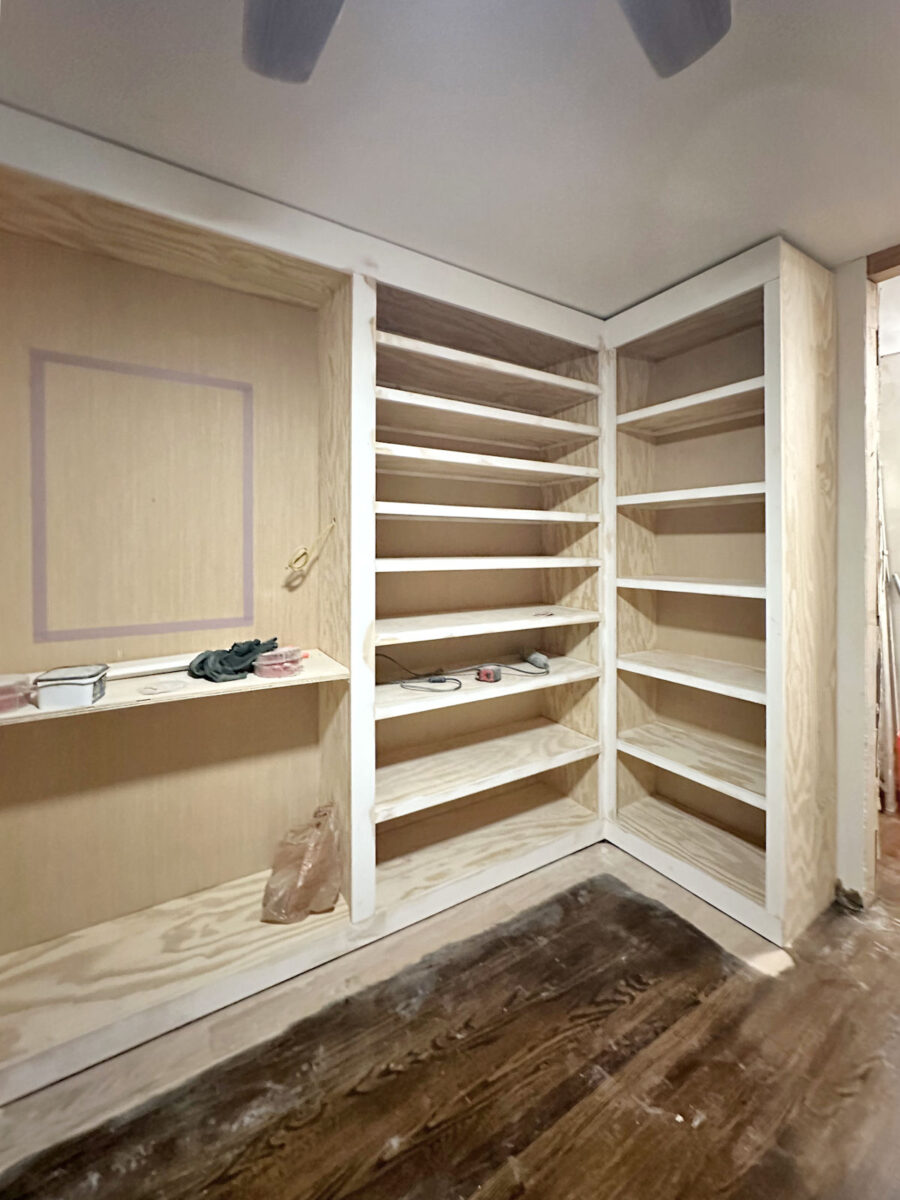
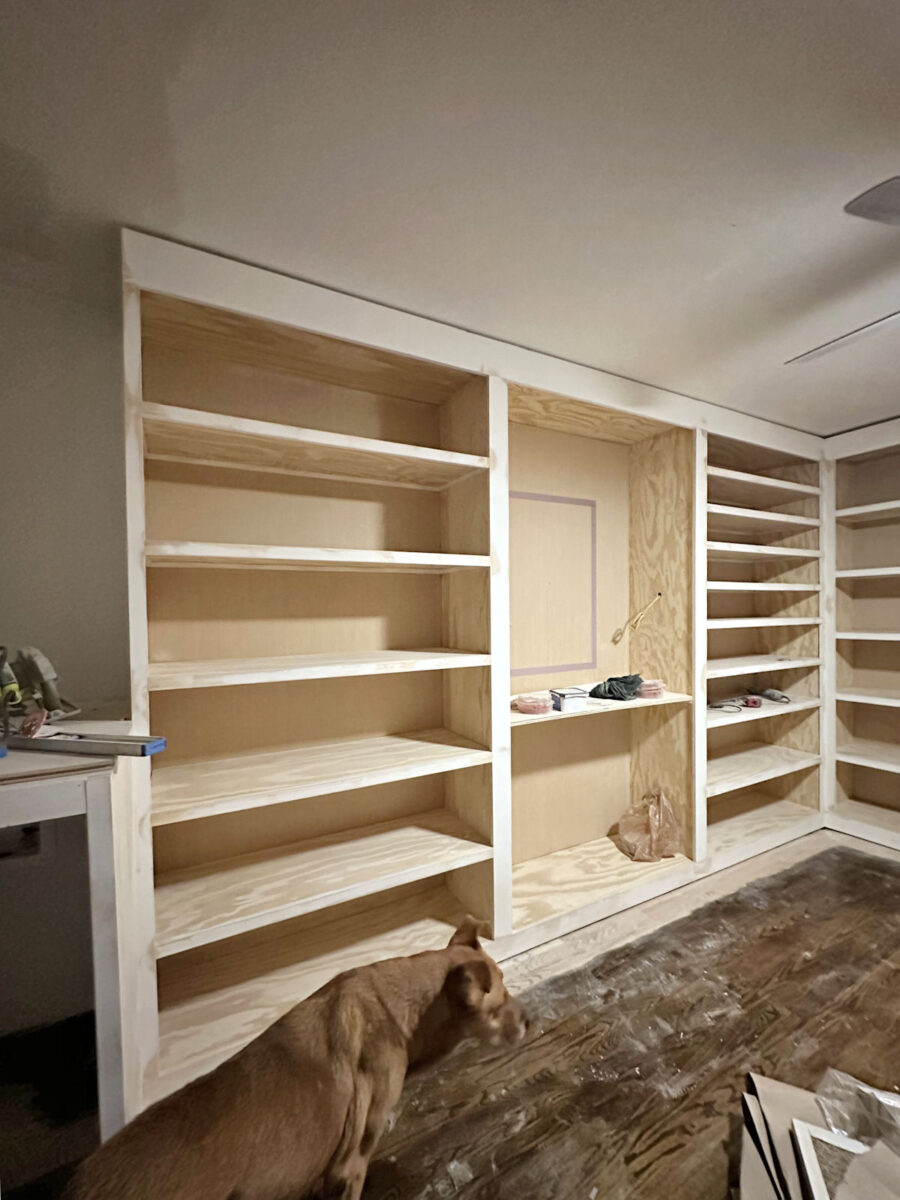
Before I quit for the day, I had most of it cleaned up. I’ll still need to give all of the cabinets and shelves a quick wipe down before I can prime them, but that shouldn’t take long at all.
I’m still not finished with the tedious prep work. Everything still needs to be caulked, and that will probably be an all-day job, or at least a most-of-the-day job. It’s also my absolute least favorite part of any project, but it’s such an important step to get that perfect (or as close to perfect as possible) finish that I strive for.
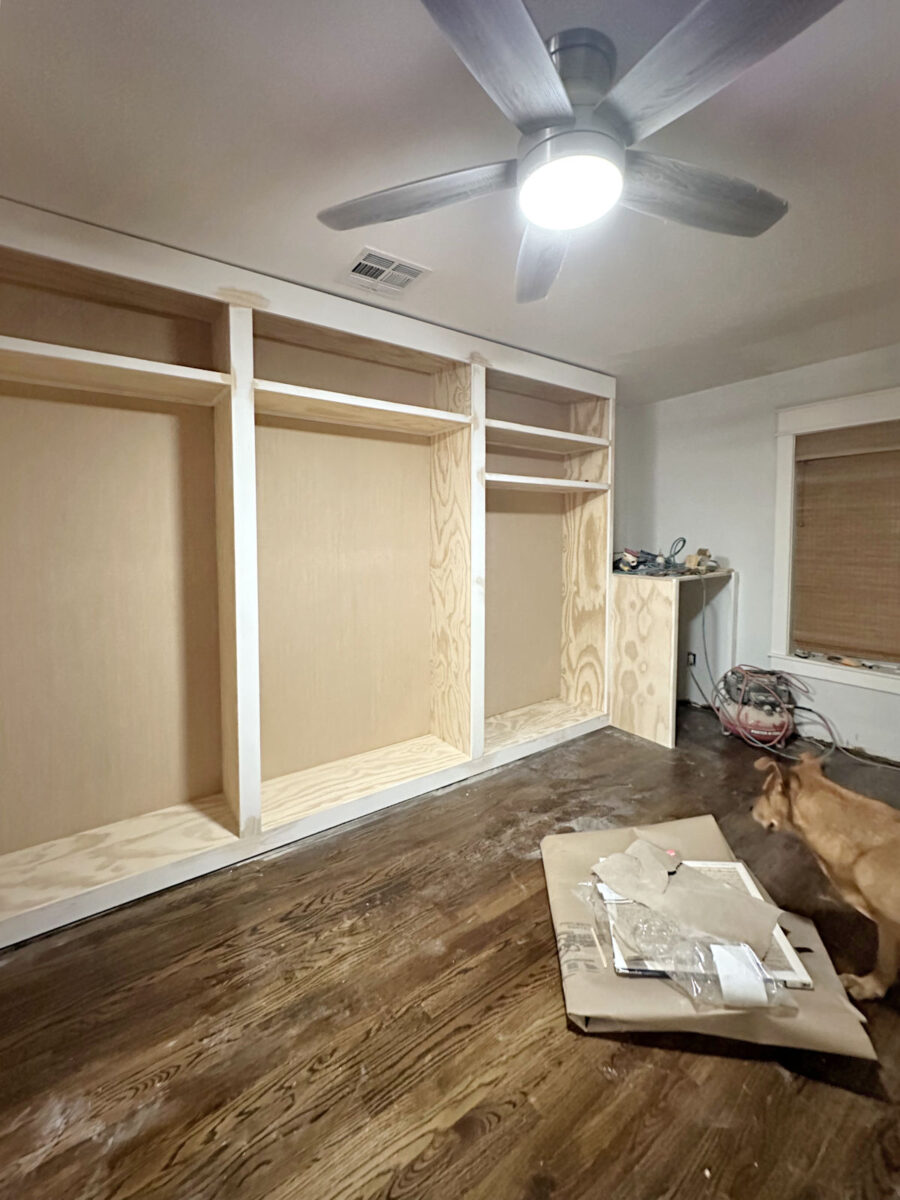
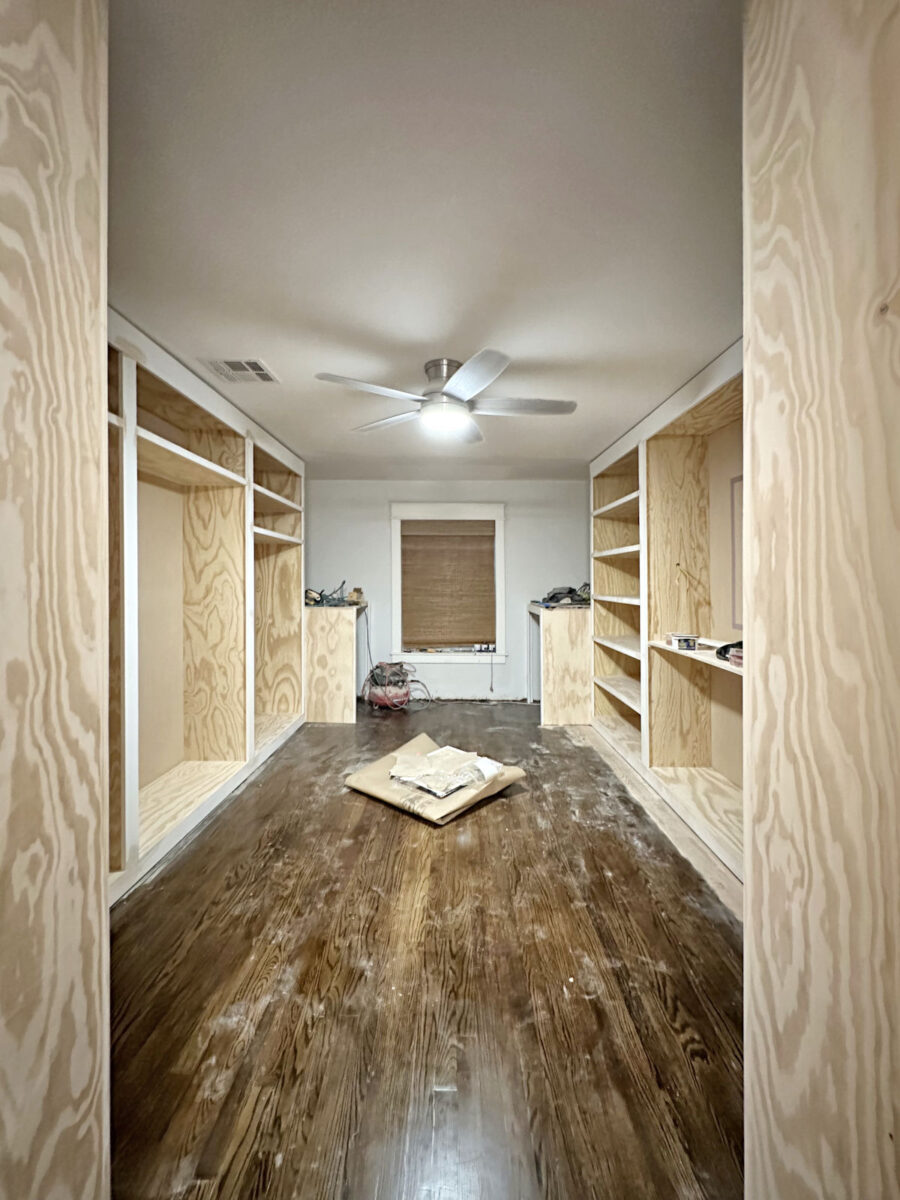
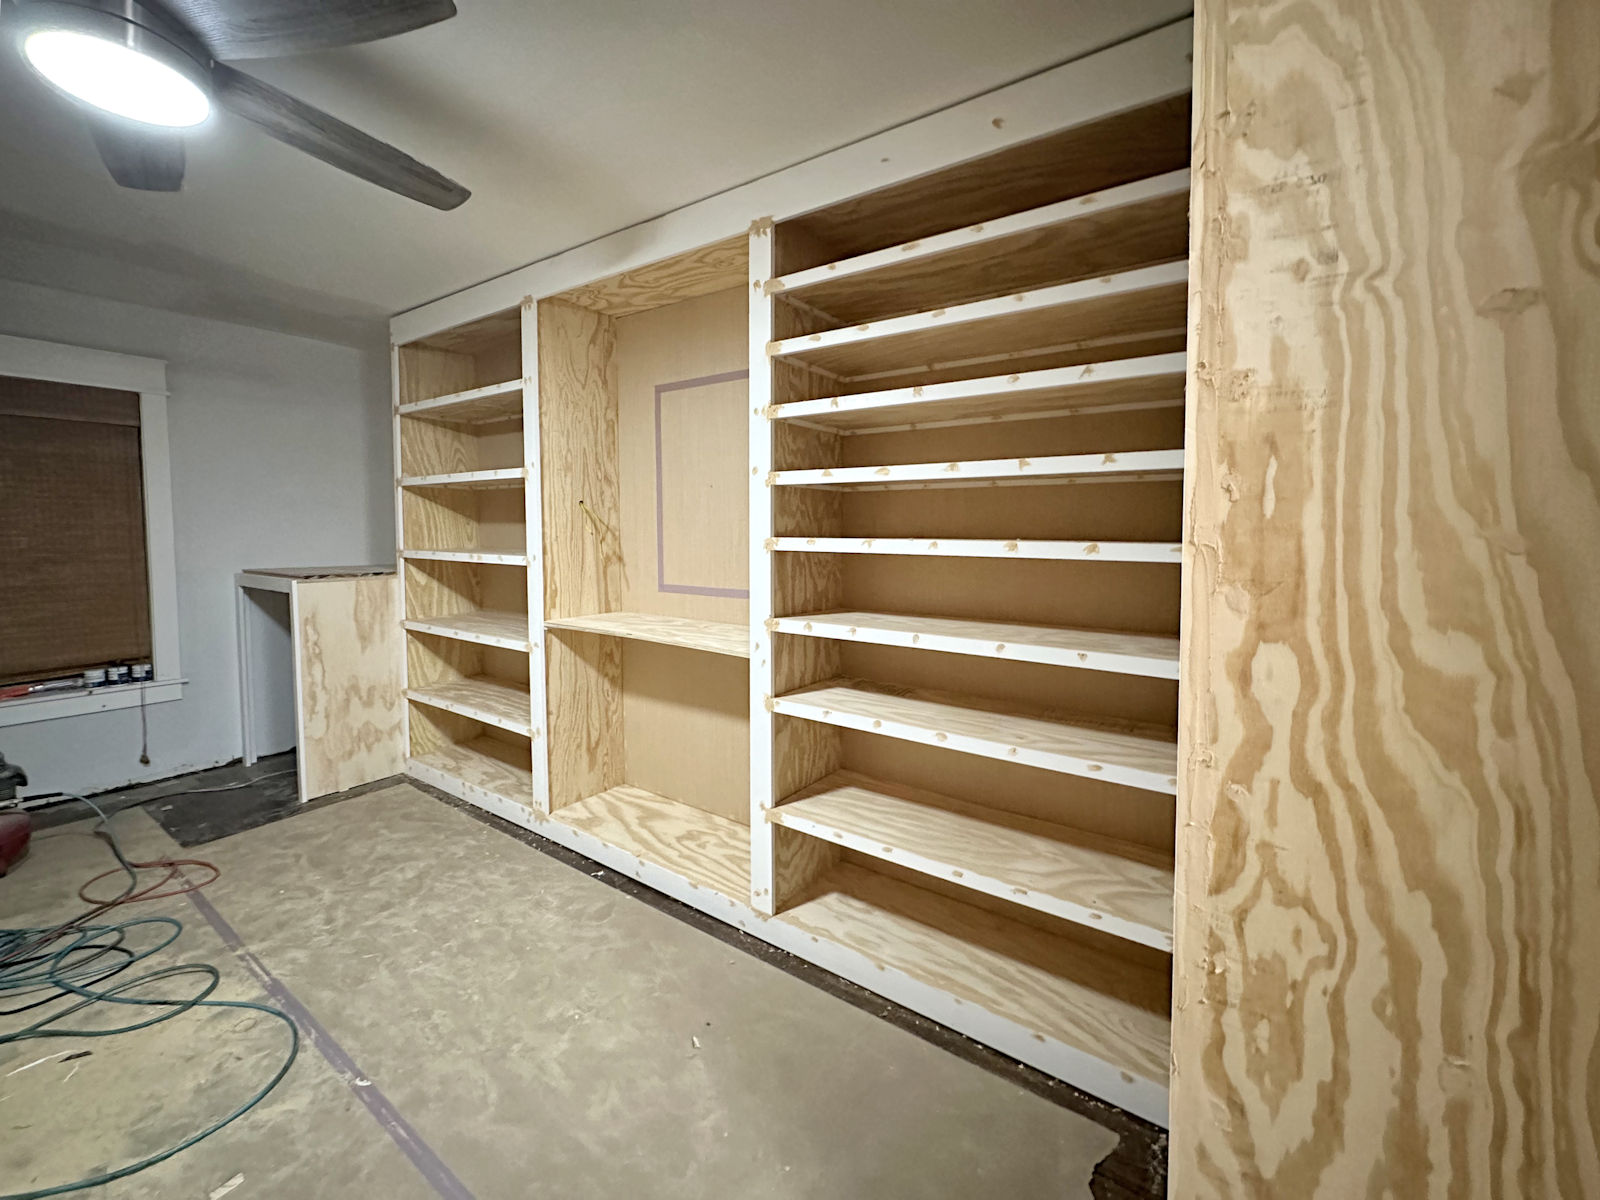
As you can see, I didn’t get the pretty molding attached yet. So today, my goal is to get the rest of the floor sanded around the cabinets to remove the current finish and then get all of the pretty molding (baseboards and crown molding) installed.
Once the nail holes in the pretty molding are all filled and sanded, I’m going to go ahead and prime all of the cabinets.
After the cabinets are primed and dry, then I’ll give the cabinets a quick sanding by hand using 220-grit sandpaper and then caulk everything.
The reason that I’ll prime everything before I caulk is because using caulk on primed wood and wiping off the excess caulk is a whole lot easier than using caulk on bare wood. When you use caulk on bare wood, it has a tendency to soak into the bare wood more and grab on, which makes it a bit harder to get those nice, clean caulk lines.

So the primer creates a barrier between the caulk and the bare wood, keeping it from soaking into the wood too much, and making it much easier to get those pretty, clean caulk lines.

I also find that it’s much easier to see the areas that need to be caulked after the cabinets are primed. When I try to caulk bare wood, especially on such a big project as this one, it’s easy to overlook areas, and then those overlooked areas are pretty glaringly obvious after the primer goes on. So when I caulk bare wood, and then prime the project, I always find myself having to go back and caulk areas that I overlooked. I’ve just come to realize, after years of experience, that it’s so much easier to prime everything first and then caulk.
But all of the major sanding is done, and I’m so glad to have that big step checked off so that I can move on. I really am hoping that by the end of the weekend, I can at least have everything primed. That’s the goal. I’d love to actually get paint on these cabinets this weekend, but I think that might be too lofty of a goal. Maybe, at the very least, I can get some paint samples on the cabinets and make my final color decision.
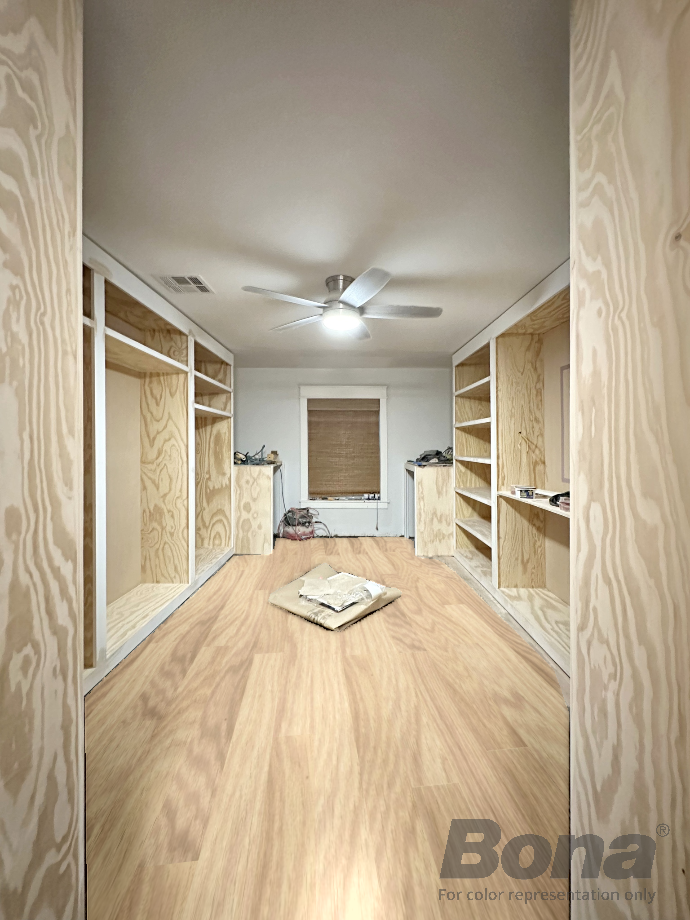
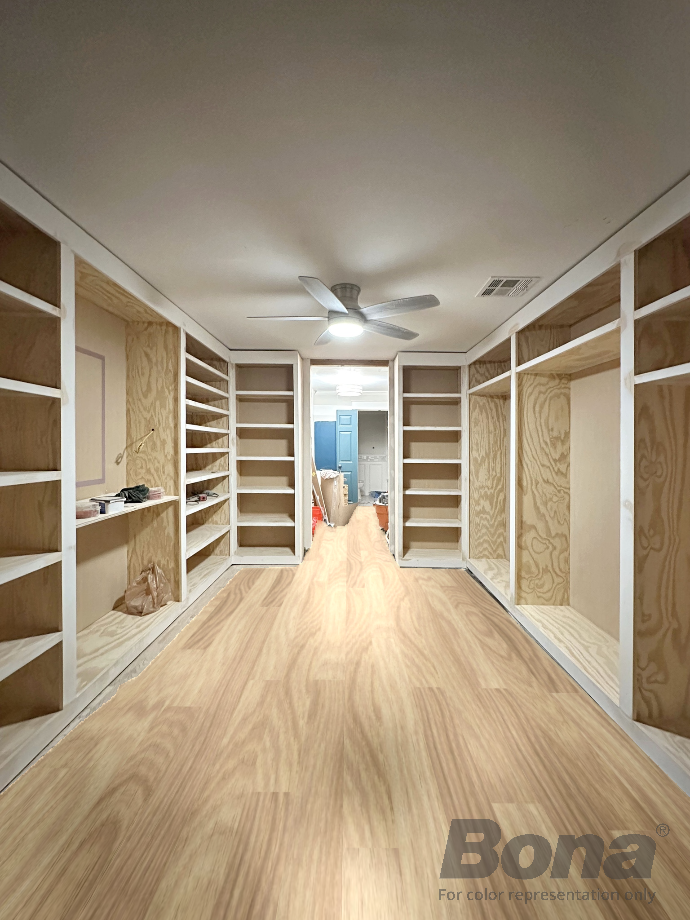
But let’s revisit the floors. Yesterday, during one of my breaks from all of the sanding, I found a Visualizer Tool on the Bona website that allows you to upload a photo and see what each sealer color will look like in your room. Unfortunately, it won’t allow you to choose the specific species of wood that you have, but at least it can give a general idea of what each sealer might look like. So here are the photos that it generated.
First up, this is the Bona NordicSeal, which is the lightest, brightest color.
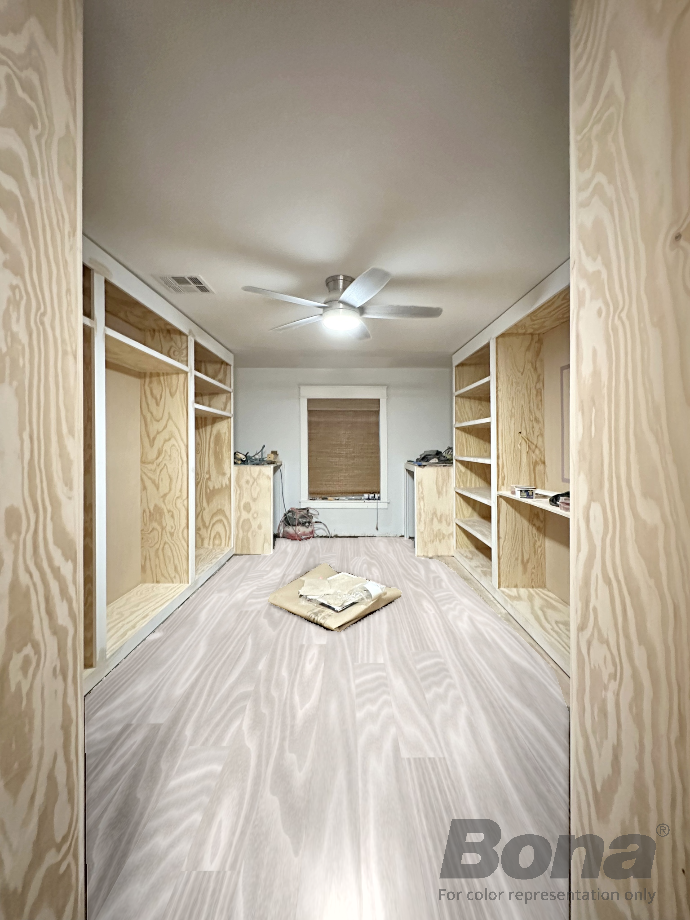
I really think that this is too light and bright for our house. I enjoy seeing it in other homes, and I think it’s really beautiful. But for our house, I prefer a touch of warmth to the wood.
The next one is Bona NaturalSeal. I think this still adds a touch of white while also allowing the natural wood color to come through.
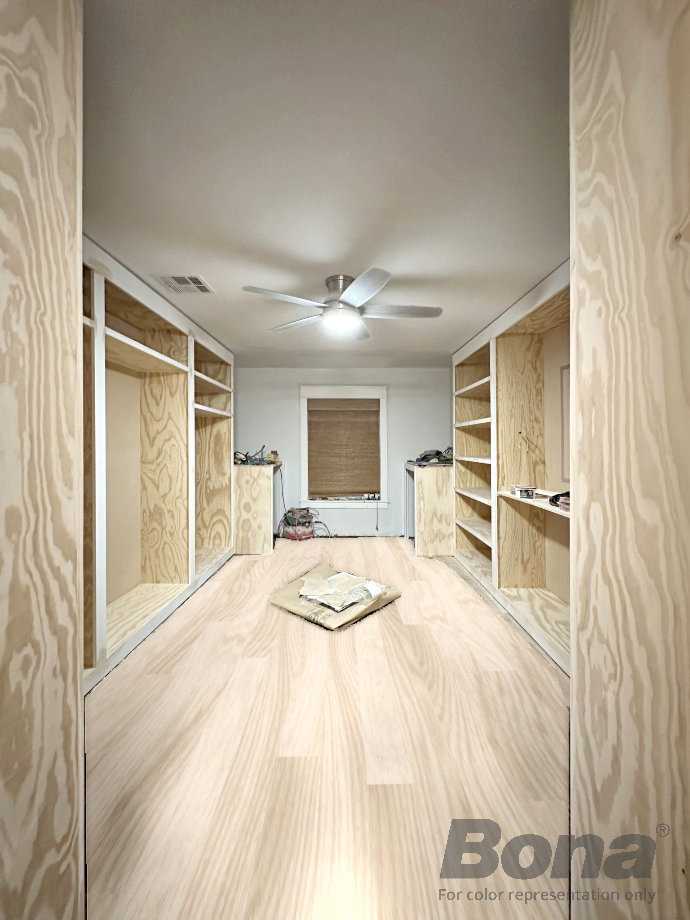
I found a lot of real-world examples of this on red oak yesterday, and it’s very pretty on red oak, but also very light.

The next one is Bona ClearSeal. This one is just a simple clear sealer that preserves the natural color of the wood.
I also found many real-world examples of this one on red oak. It’s very pretty as well.
Next is Bona ClassicSeal. This one is very popular and works very well with red oak.
I really love the look of this, but there’s no guarantee that it would look exactly like this on my red oak floors.
And finally, this one is Bona IntenseSeal, which adds a bit of a warmer tone to the wood.
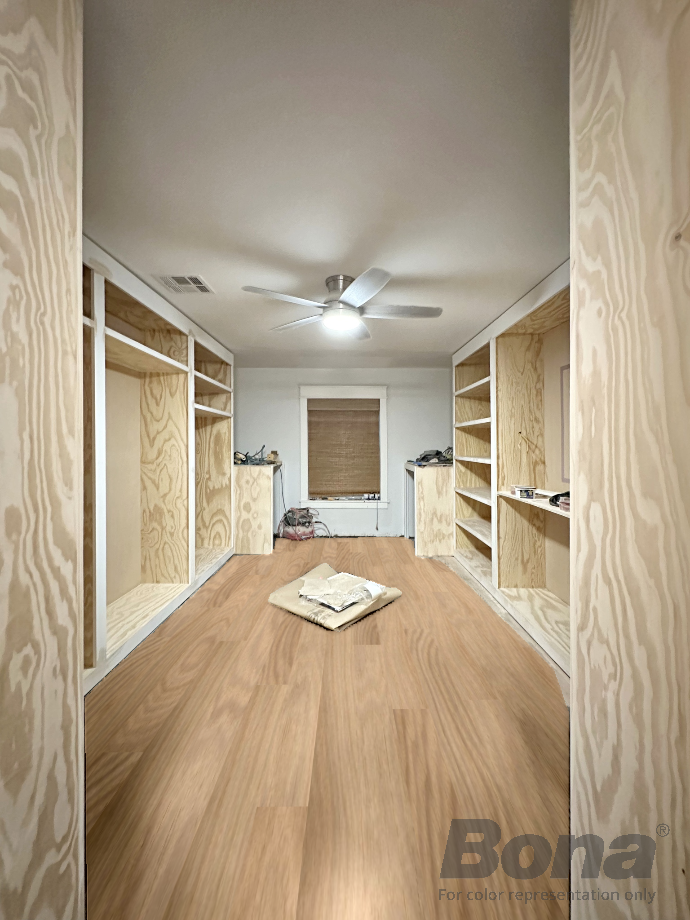
On the floor visualizer, this is my favorite. But I’m having trouble finding real-world examples of this one on red oak floors.

Just going off of the pictures from the Floor Visualizer, my favorites are the ClassicSeal and the IntenseSeal.
Based on the generated images, either one of those would lighten up the floor considerably from what I currently have, while also still giving me the warmth that I love.
Here’s my current floor compared to the ClassicSeal…
And here’s my current floor compared to the IntenseSeal…
So I’m still looking at options and searching for more real-world pictures of these products used specifically on red oak. Just this morning, I found this example of the ClassicSeal used on red oak, and it looks really pretty. But it also looks different in every room they show depending on the lighting in the room, so it’s really hard to tell what the actual color is.
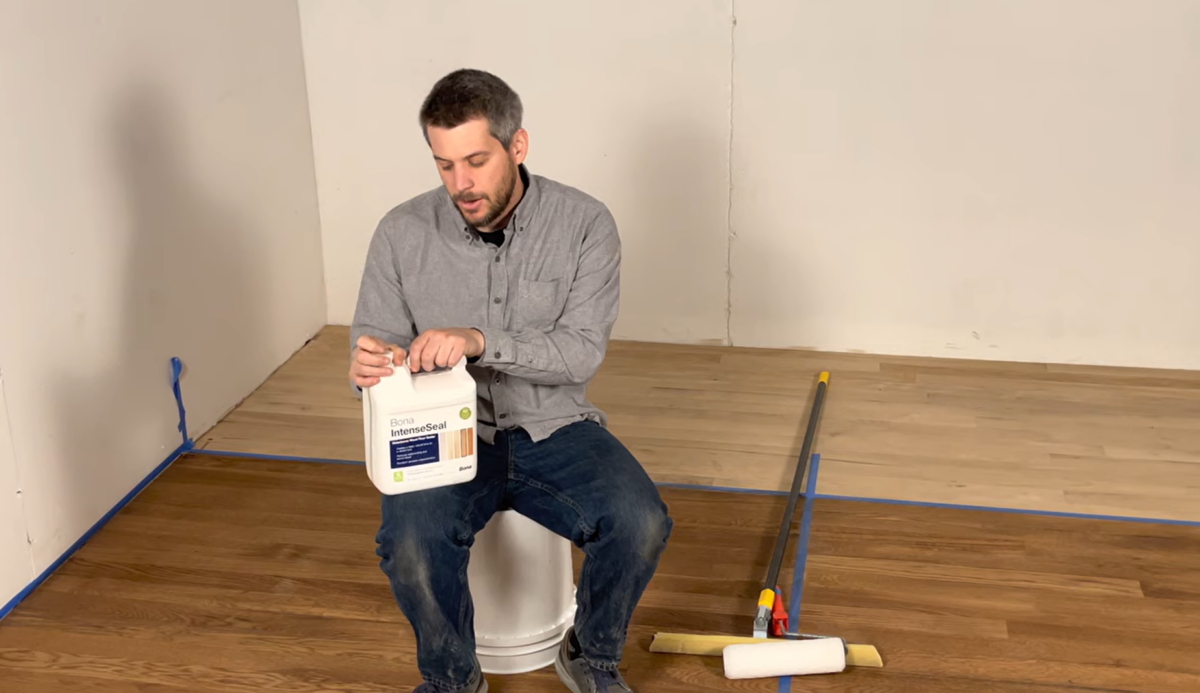
If I were just going by those generated images, I’d probably choose the IntenseSeal. But that name alone scares me a bit. 😀 It sounds a bit overbearing. I don’t want to go through all of the trouble to redo these floors only to wind up with them too dark again. I came across this video yesterday, and he’s using IntenseSeal, but he doesn’t specify which species of wood he’s working with. It looks like red oak to my untrained eye, and it also looks darker than what the Floor Visualizer shows. I don’t want my floors that dark.
Even though my favorite with the Floor Visualizer is the IntenseSeal, I have a feeling that the ClassicSeal will be the one I’ll end up going with. It’ll give me that warmth that I want without making the floors too dark. But I’m going to give myself a couple more days to make my final decision. I really need to get my projects ordered ASAP, though, because I can’t move my washer and dryer into the closet until the floors are redone.
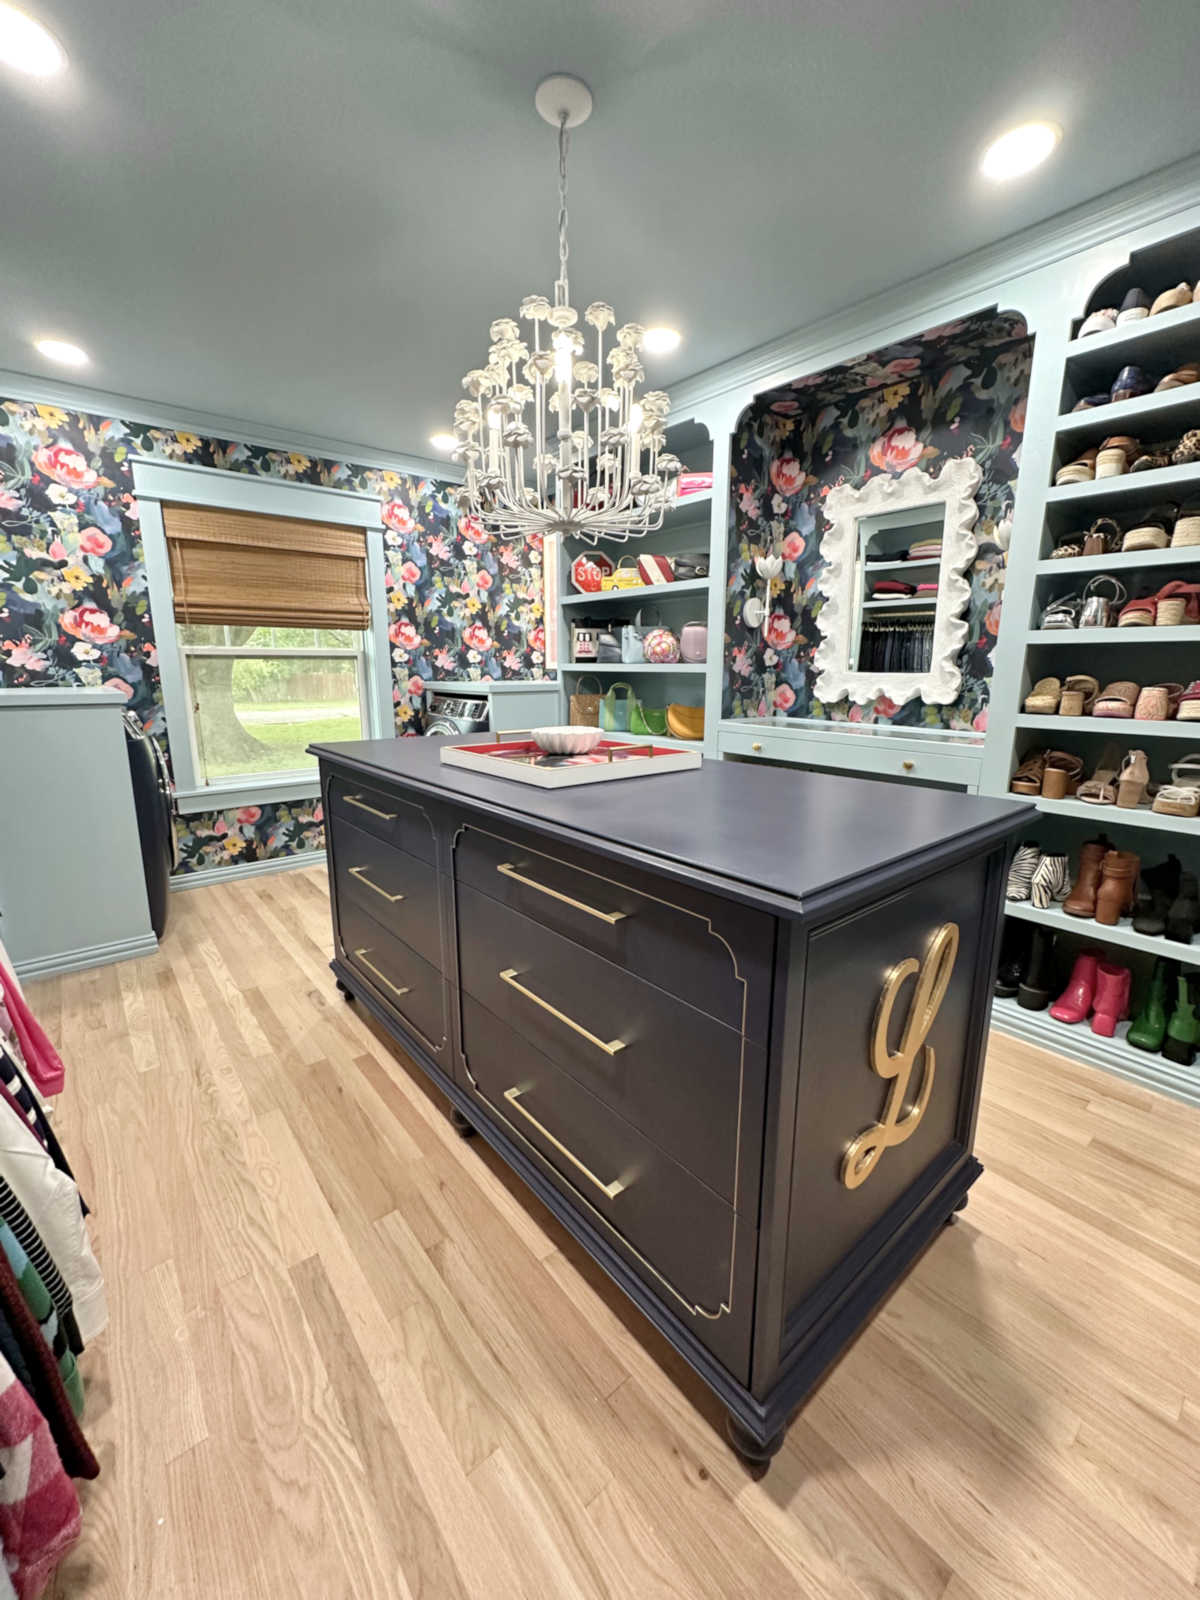
UPDATE: I wanted to add the sample of the paint color that I’m planning to use along with the flooring color. Here’s the Valspar Matt on Monday paint color with the Bona ClassicSeal floor sealer. I think this is gorgeous!!! Oh my goodness, just seeing these together makes me so excited!


Addicted 2 Decorating is where I share my DIY and decorating journey as I remodel and decorate the 1948 fixer upper that my husband, Matt, and I bought in 2013. Matt has M.S. and is unable to do physical work, so I do the majority of the work on the house by myself. You can learn more about me here.

Wow! You are truly making some progress in that closet…its going to be fabulous! FYI , Im rooting for the “Matt” color on the cabinets! Not just for the name, even though I do love that it was in the cue, but I like that its not too too light but also not too dark, just right! As far as the flooring, we did our floors , red oak, years ago with Bona water based finish. Both family room & kitchen. Its held up thru 3 dogs & 2 kids, and a contractor husband, none of which are “careful” on flooring! We also went with a medium/natural finish so it does have the reddish undertone? I wished I had gone with your original darker finish as Im prone to loving a darker finish. BTW, you may want to inquire if Bona offers samples of the finishes your interested in and try them on the flooring under your washer area? Just an idea. Have a great weekend!
I know you get a lot of grief for not covering/draping things off, but what I am most impressed with is your work ethic! It is amazing that you work your process and just plow ahead! I honestly don’t know how you do it. I tried looking for examples for you last night, but only found the same ones you ran across. I did find a few blog posts on Bona’s website one picture was hw they matched red and white oak on a stair rail and floor. The pic wasn’t very good though or it was just fine and that’s how good the match was!
I was totally about to ask how it looked with the paint color—you (and your team—your mom, Matt, your other readers) think of everything!! ❤️
are you going to use the scaffold to get all that upper crown and painting done? Also I tend to match my floors to the dog fur. This makes life much more simple.
I’ll probably just use a ladder. I can reach it easily, and putting the big scaffolding in that small space might be more trouble than it’s worth.
Will you change out your window shades to match the new floor coloring, or keep them as is? I tend to see the domino effect when I change my mind😂
I’ll wait and see how the floors turn out before making that decision. I don’t mind mixing wood tones in a room, but if they’re too dark, I might try wood bleach on them to lighten them up before committing to buying all new.
I have to tell you that kind of blue along with light colored warm wood is my very favorite combination. I hope it all feels just right for you once it’s all put together. I can’t wait to see it finished.
Can you “superimpose” the rug you’ve chosen onto the floors you’re thinking about? Just to be sure they’re not going to clash with the corals in the rug.
I can, but it’s really hard to know exactly what my floors will look like in the end. Since it’s not stain, it’s kind of unpredictable. I’ve now looked at so many photos, and I’ve spent two hours on TikTok looking at red oak floors finished with these products, and they all look different.
Have you used the visualizer in any other room in the house?
I redid my red oak floors and went with a medium stain. Love them however I had planned to replace them with a whitish cork. When I showed it to my father he walked over to the kitchen and put it on the linoleum. Almost exact match and I greatly disliked that linoleum. Needless to say I chose to restrain instead 😂
they won’t send you a small 4 oz sample of the sealers?
that doesn’t seem like a smart thing on their part, to not offer samples
Evidently they don’t offer samples.
I still love your dark rich floors but can’t deny that the ClassicSeal looks really good with the blue paint. I think I’d still use the Bona Red Out though so as the floors age and darken they hopefully are less likely to lean to orange/red/pink.
While I do like the Matt on Monday paint with the floors and the wallpaper, I’m just worried that an entire room of it is going to read too gray for your usual preference for clear and bright colors. I think I’d color test one section of shelving with it and another section with the Clear Vista or similar before painting the entire room.
I’m so looking forward to seeing the finished room and so jealous. What a dream closet.
There would be clothes there, so a lot of colours 🙂
Amazing closet/ laundry build, I cannot wait to see the finished room! I have been visting your site for years, but this is my first time to comment. I really appreciate how you take time to explain every step of each project, and also share your thought processes as you go. Everytime I visit I am both amazed and inspired by your handywork!
I love the wallpaper and I like the blue paint that you picked out, but since blue is the complementary color of orange, it’s going to make your floors look more orangy than another color. I REALLY think you to test the products on your actual floors before going all-in. Pictures online aren’t going to give you a realistic idea of what it will look like in your space at all.
You don’t want dark floors, so why did you pick out very dark wallpaper? I just don’t get it because your dark stained wood floors and so very beautiful and look so rich. You are not going to get that rich look with light floors.
You need to see real life samples before you go to all that work. A computer screen is not going to give you the REAL color. You don’t want to be stuck with a bad job.
Floors throughout almost the whole house and wallpaper used as an accent in a closet/laundry room are two very different things.
Do you have any scraps of red oak left over that you can try out a seal sample? I do like the direction you’re headed and the paint looks stunning with the lighter floors.
I have 3.5 boxes of flooring left over. 😀
I don’t know if it’s a thing to be done, I’d look up if there are any trades that use Bona in Waco and pretty please ask them to let you use some on some scrap of flooring to see how it goes with your flooring.
Kristi, this is amazing! One question – did you attach your closet boxes to the wall at all? I looked through the posts and couldn’t find any mention of it. Or are the trim pieces at the top and bottom enough to hold it in place?
The ones that are attached to the walls are the washer and dryer cabinets and the two cabinets on either side of the doorway. The other three large cabinets on each side of the room are attached to each other, and to those cabinets that are attached to the wall.
Great to see these visualizer pics, and the combo in the end looks lovely.
Like others have suggested, I do think it would be wise to do two real samples, 10-12 sq ft in size, of leftover flooring nailed to some board material. Test the products, see which one you prefer in real life, and then also take pics and photoshop the result into pics of your planned room designs, as well as existing rooms. I realise you want it all done asap, but can’t help thinking it would be worth one week more of delay just to be absolutely sure about the end result.