
Storage Room Progress And Dining Room Chandelier Plan Change
The work on the storage room by my contractor’s workers is done, y’all! They got the old concrete board and subfloor up and installed the new subfloor. And yesterday, they finished up the drywall. So this project is now officially back in my hands to finish up.
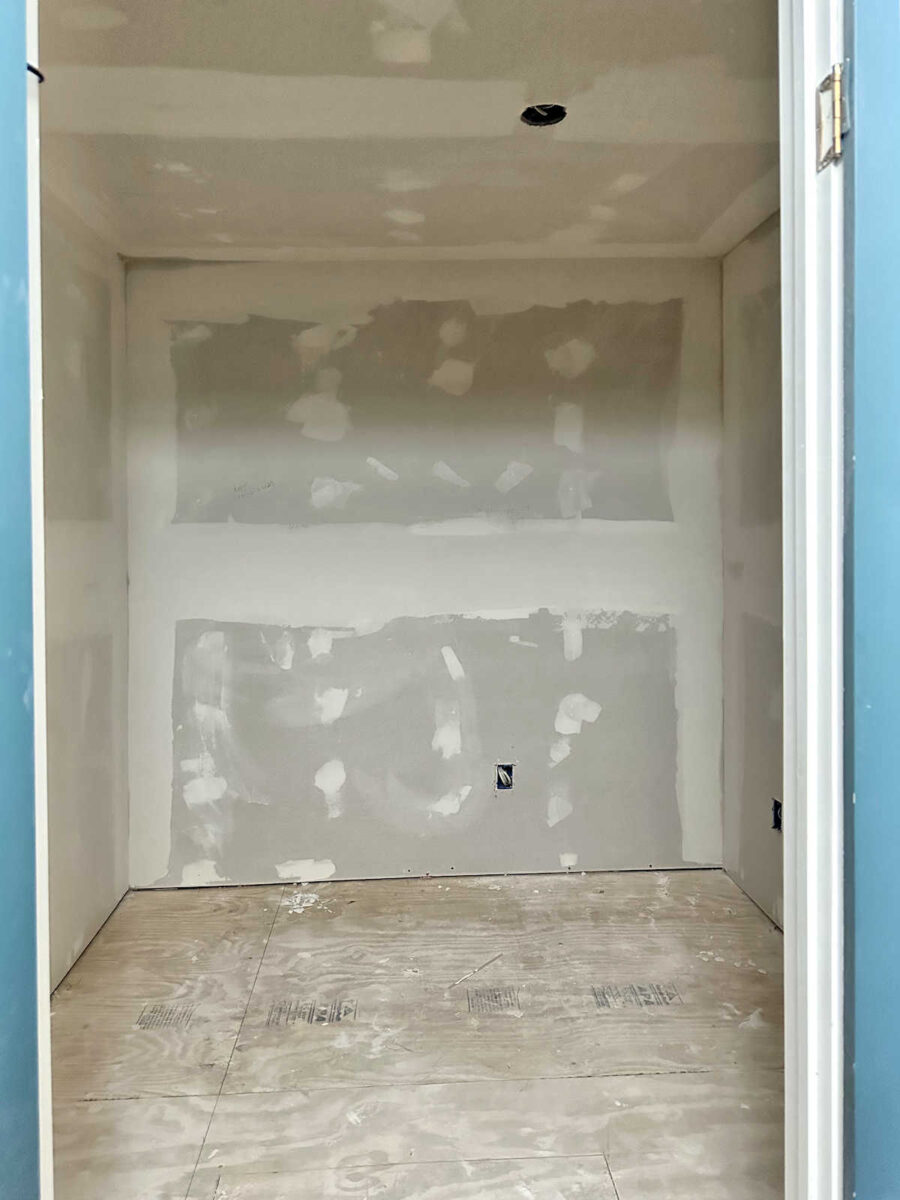
It always shocks me a little bit to see a room with drywall after I’ve seen it day after day with no drywall on the walls or ceiling. It looks so much smaller once the drywall is up. But it’s plenty of room for the purpose of a storage room.
I have to imagine that they were wondering about my placement of some of the electrical outlets, even though they didn’t say anything to me about them. On the wall where the cabinets will go, I placed an outlet as high as I could put it on the wall. This will be used for the lights that I plan to use either in or on the cabinets. I still haven’t decided 100% which lighting I want to use, but at least I have a place to plug them that won’t be hidden behind the cabinets.
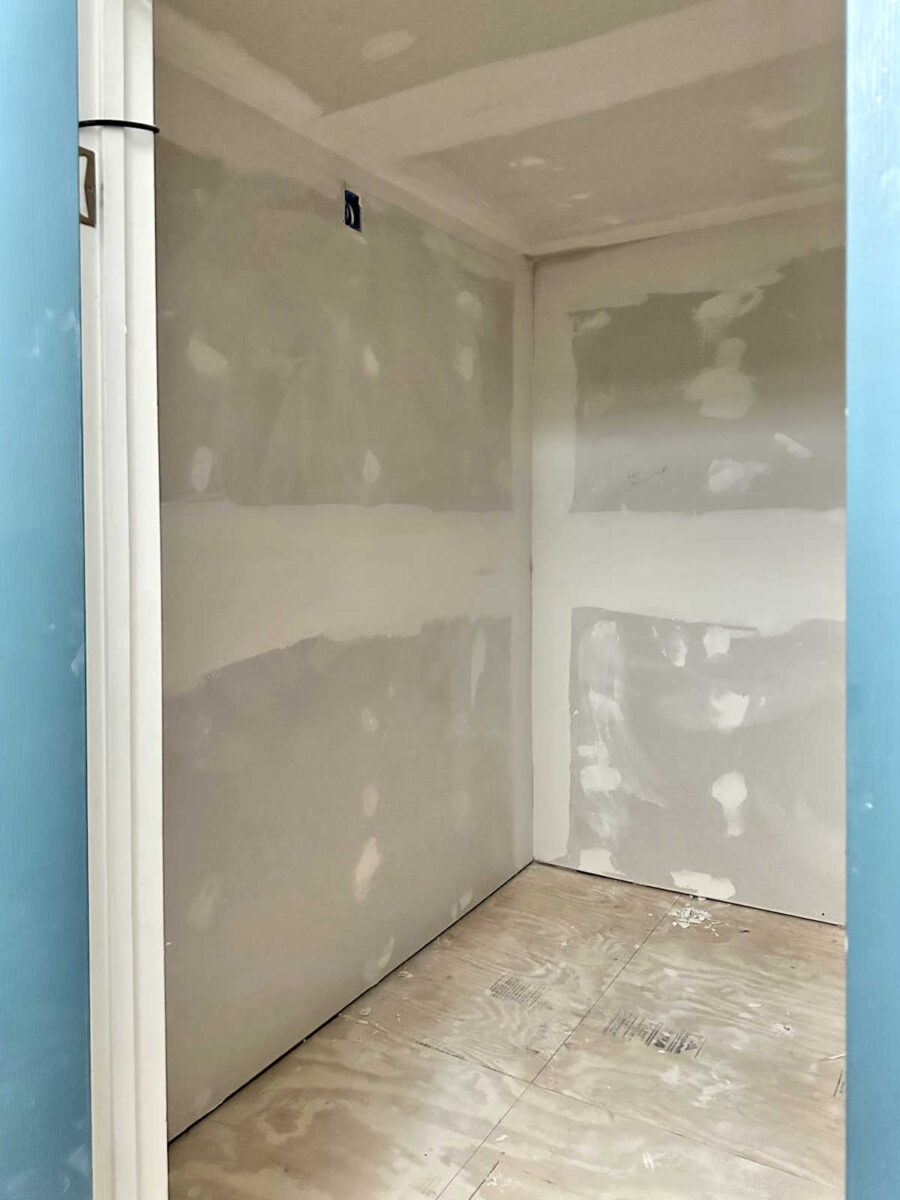
I put an outlet at normal height on each of the other two walls. This one will be used for charging Matt’s electric wheelchair.
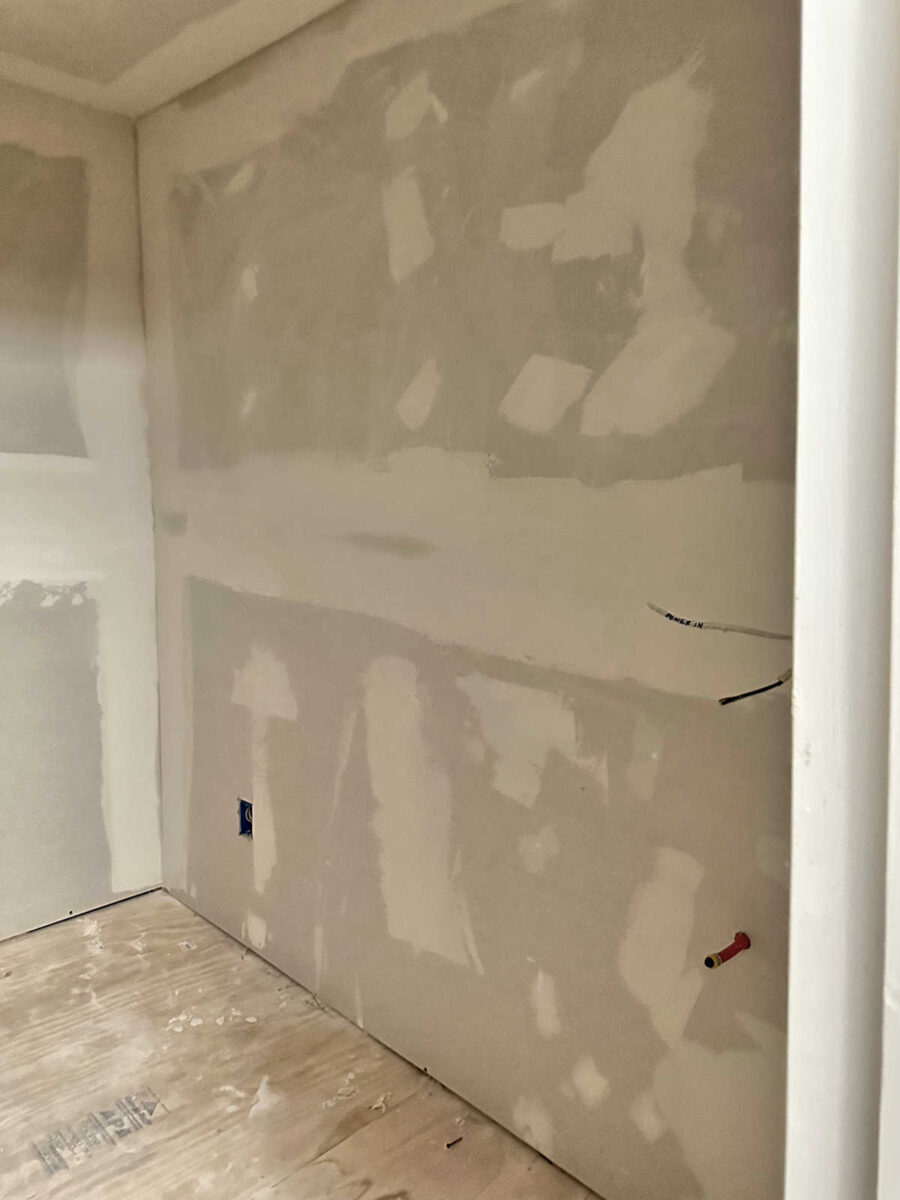
I moved the light switches to the other side of the door so that I wouldn’t have to work the switches into or around the cabinets on the other side. But I had to put the box a little further over than I wanted because of studs in the way. And since this is a load-bearing wall, I didn’t want to mess with moving studs. But this will be fine. I keep reminding myself it’s just a storage room.
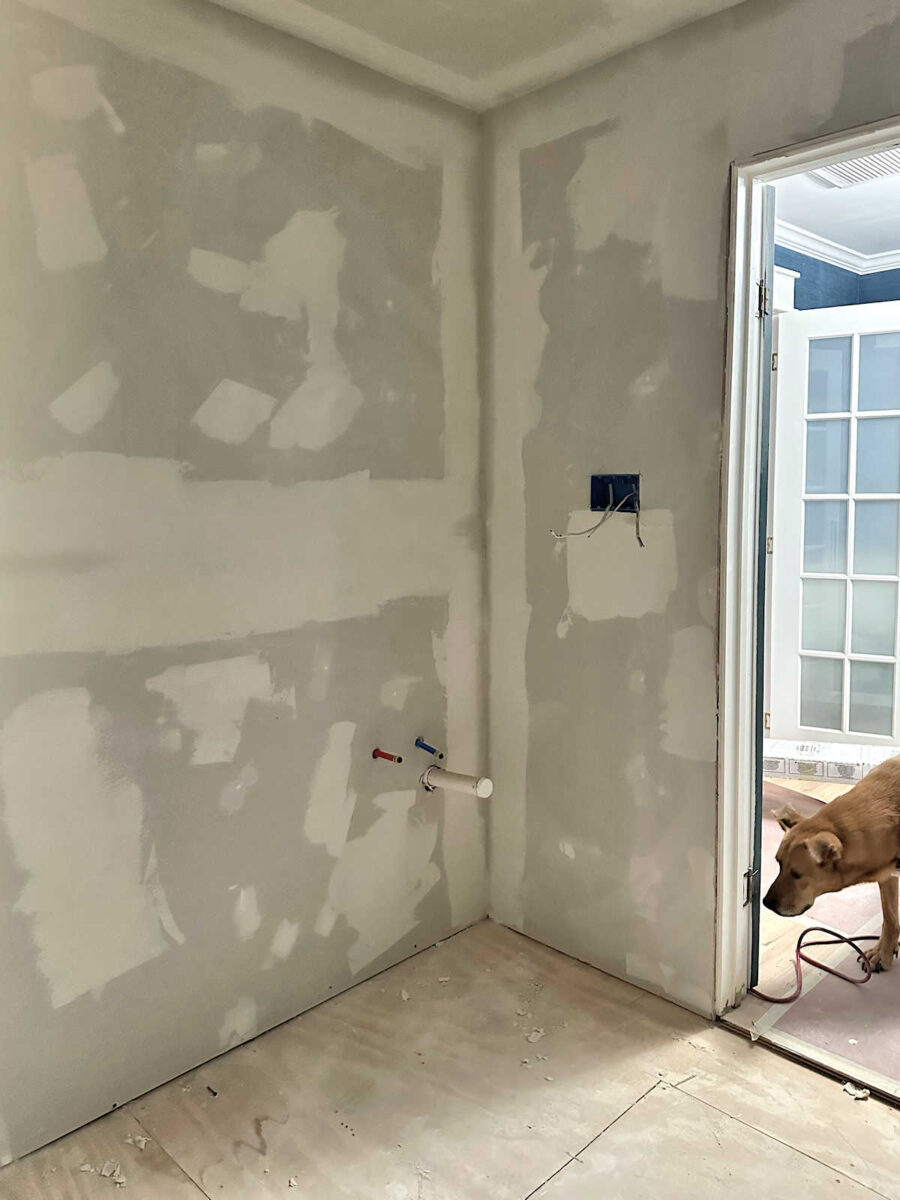
And then I put another outlet up high on this side of the door where the cabinets will go because our router will go on the top shelf of the cabinet next to this wall, so the outlet and the box for the cable (I have no idea what that’s called) will come through the side of the cabinet so that the router can be plugged in and unplugged easily and be connected to the internet.
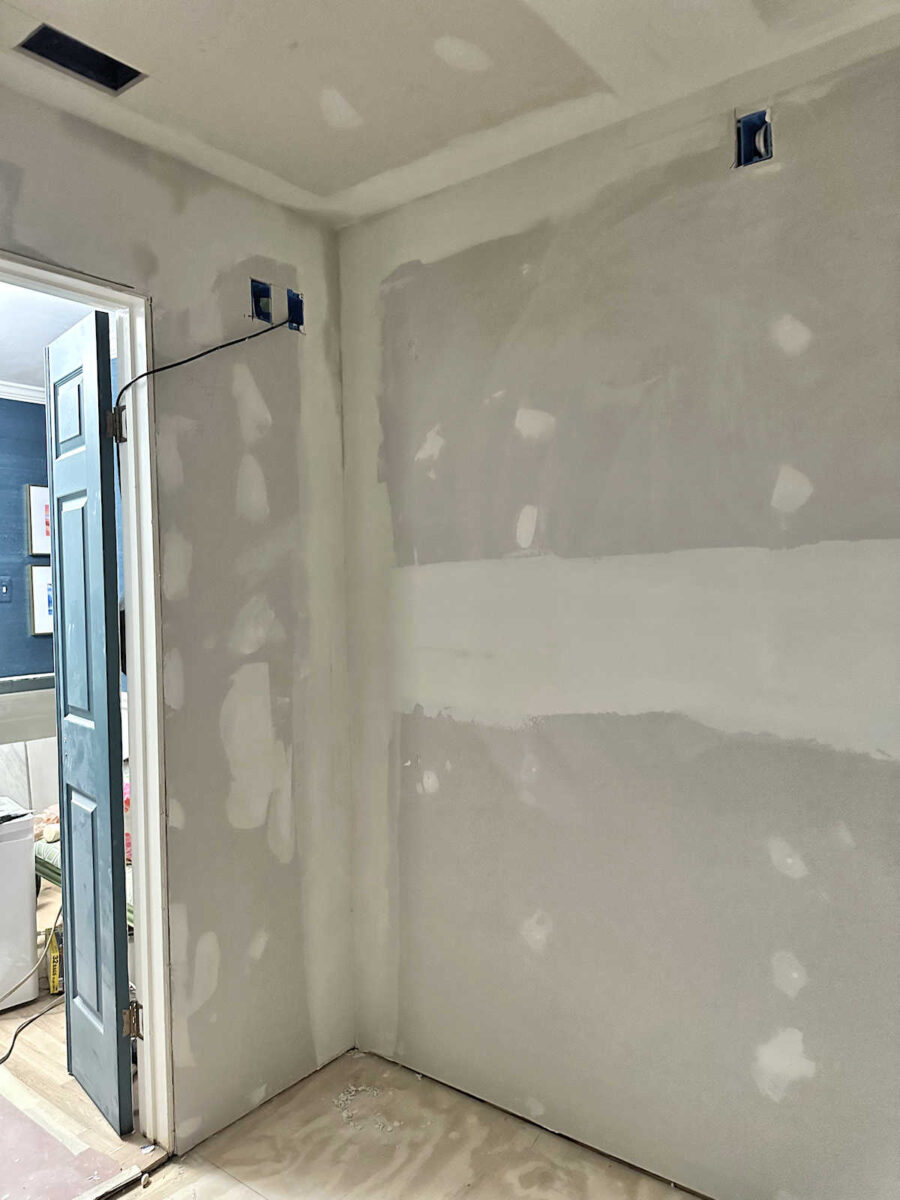
So now this room is ready for flooring, cabinets, paint, wallpaper, and everything else. I’m so excited to finally be at this point in the project!
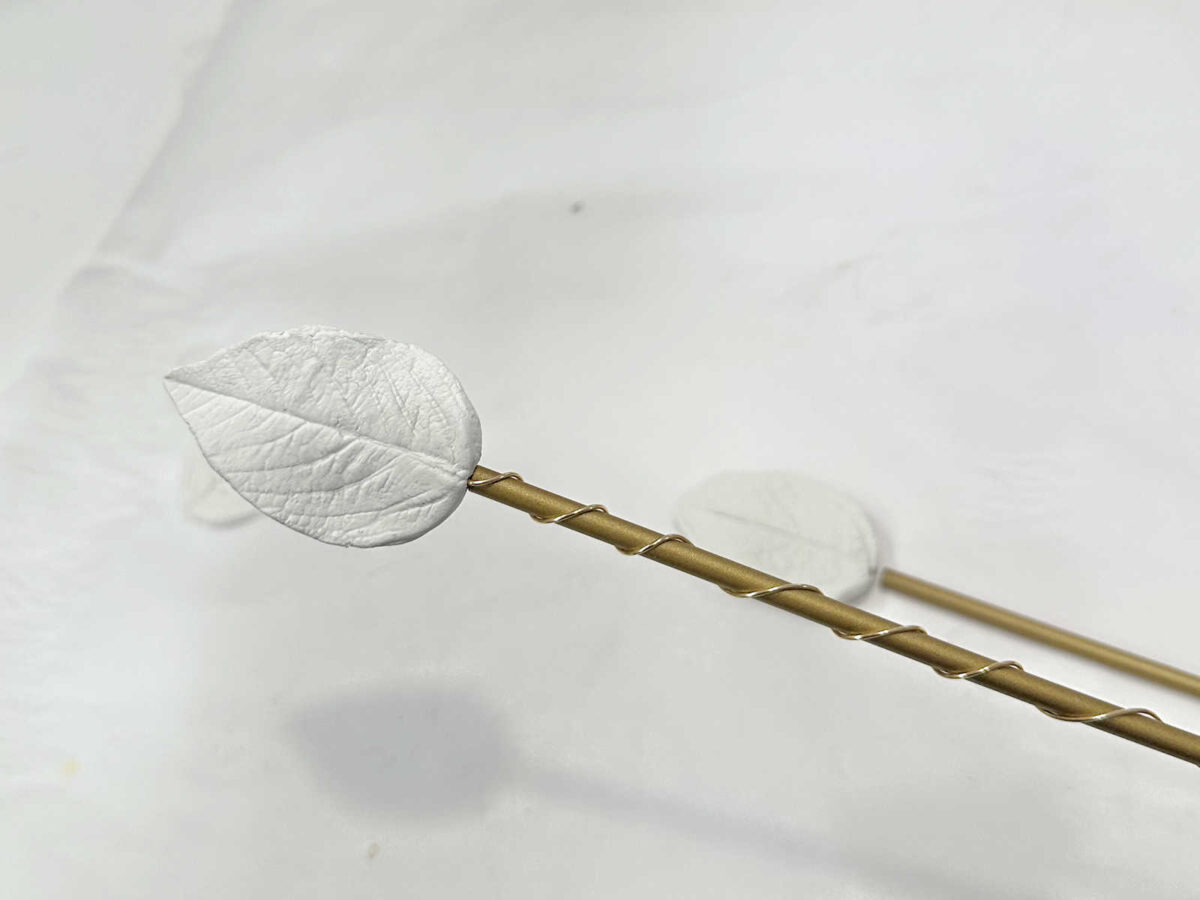
In other news, I started playing around with the air-dry clay that arrived this week to come up with my final idea for the dining room chandelier. I had initially thought of doing leaves for the chandelier, but I ran into a problem with that. The leaves themselves were fairly eay to make, but the problem is that they’re not thick enough to drill a hole in the end to attach to the metal rods on the chandelier.
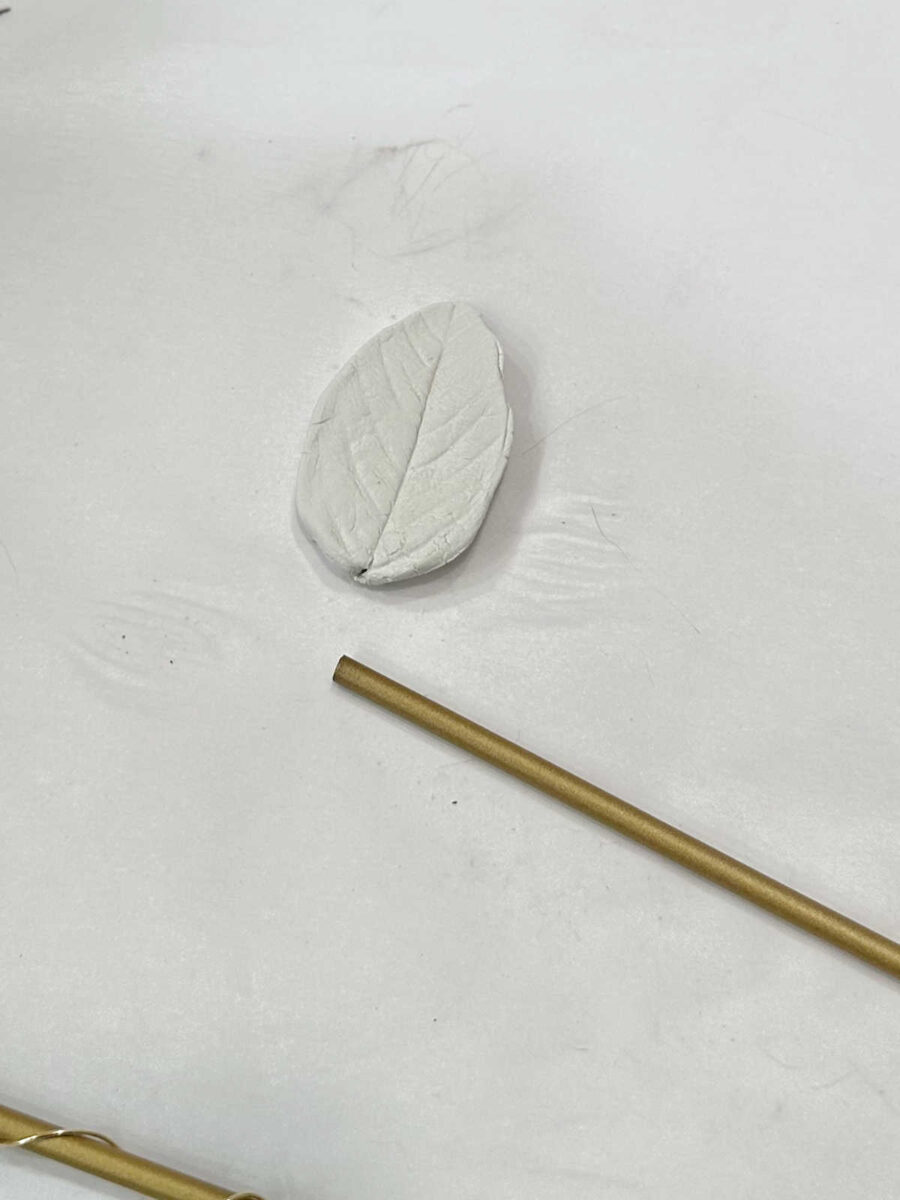
And if I make the leaves thick enough for a hole that big, they won’t look like leaves anymore.
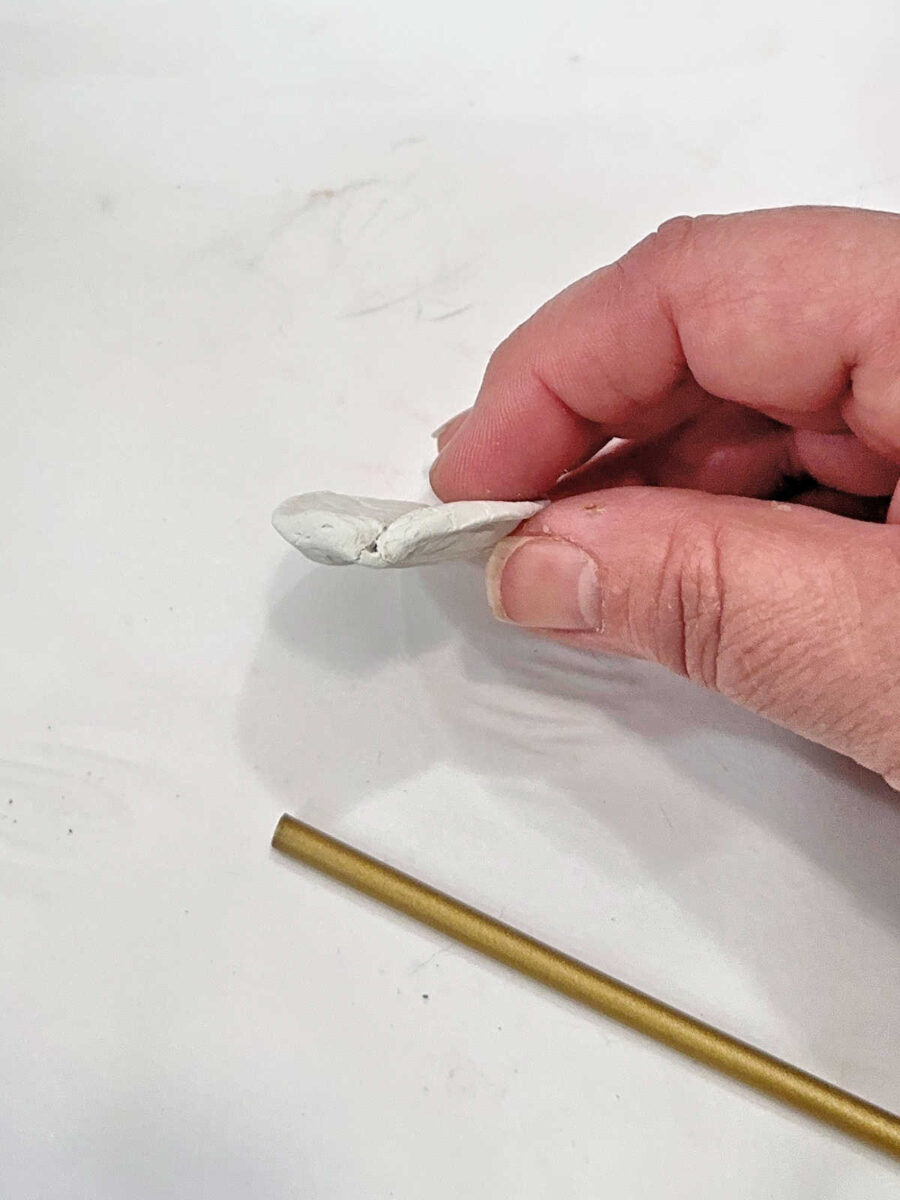
I had this idea of wrapping really thin gold wire around the metal rods, and then attaching the leaf to the wire instead of the rod.
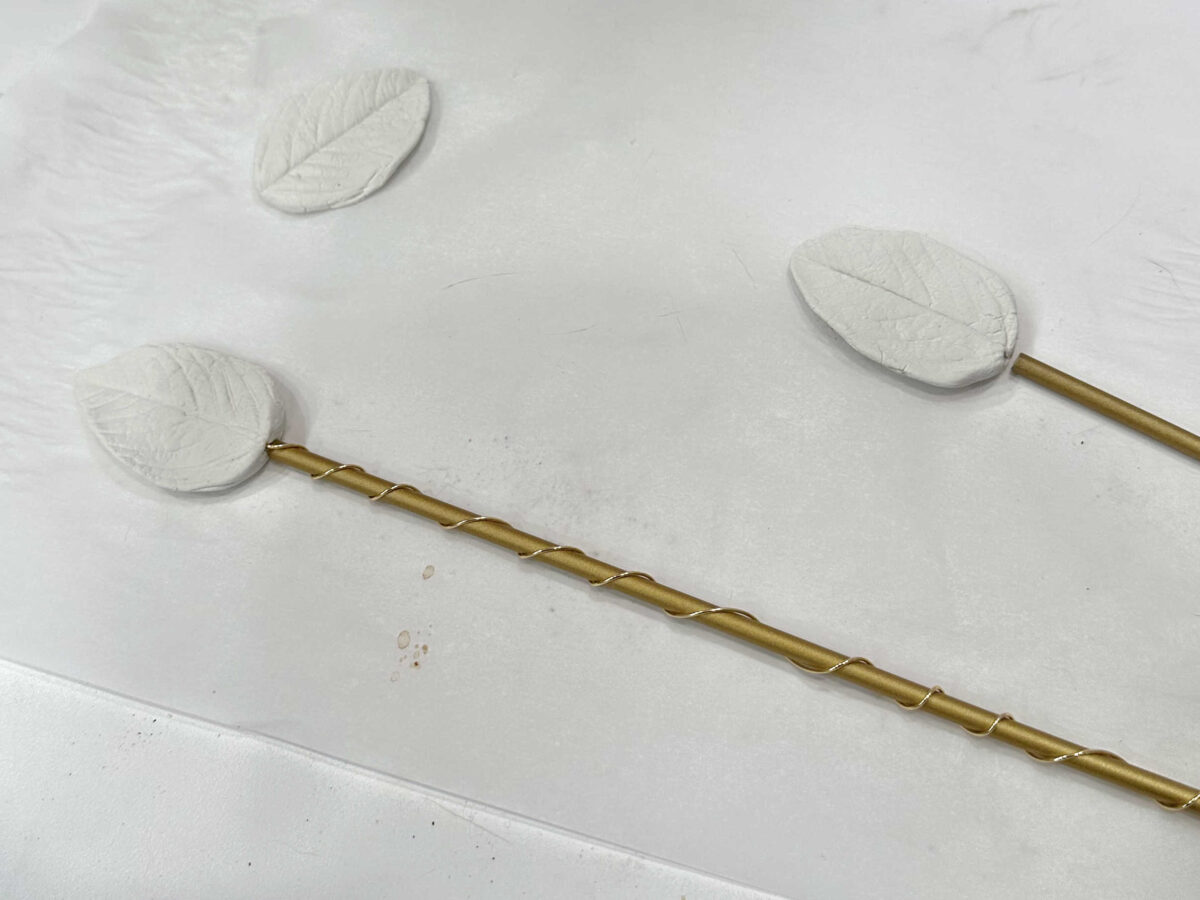
That probably would have worked, but overall, I didn’t love the idea.
So I decided to change my plan completely and go with flowers instead of leaves. But I don’t want this chandelier to look anything like the one I made for my closet. The flowers on the closet chandelier were big with loads of petals, and each one required quite a bit of clay. I need to make 135 flowers for this chandelier, so I needed something much smaller. After doing a bit of searching, I came across this chandelier from Lamps Plus. While I don’t like the shape of the chandelier itself (or the $1760 price tag), I do love those dainty little flowers.
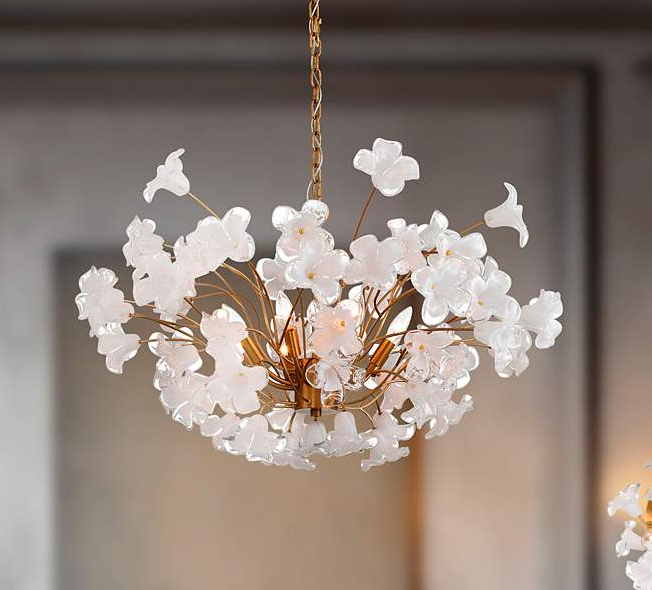
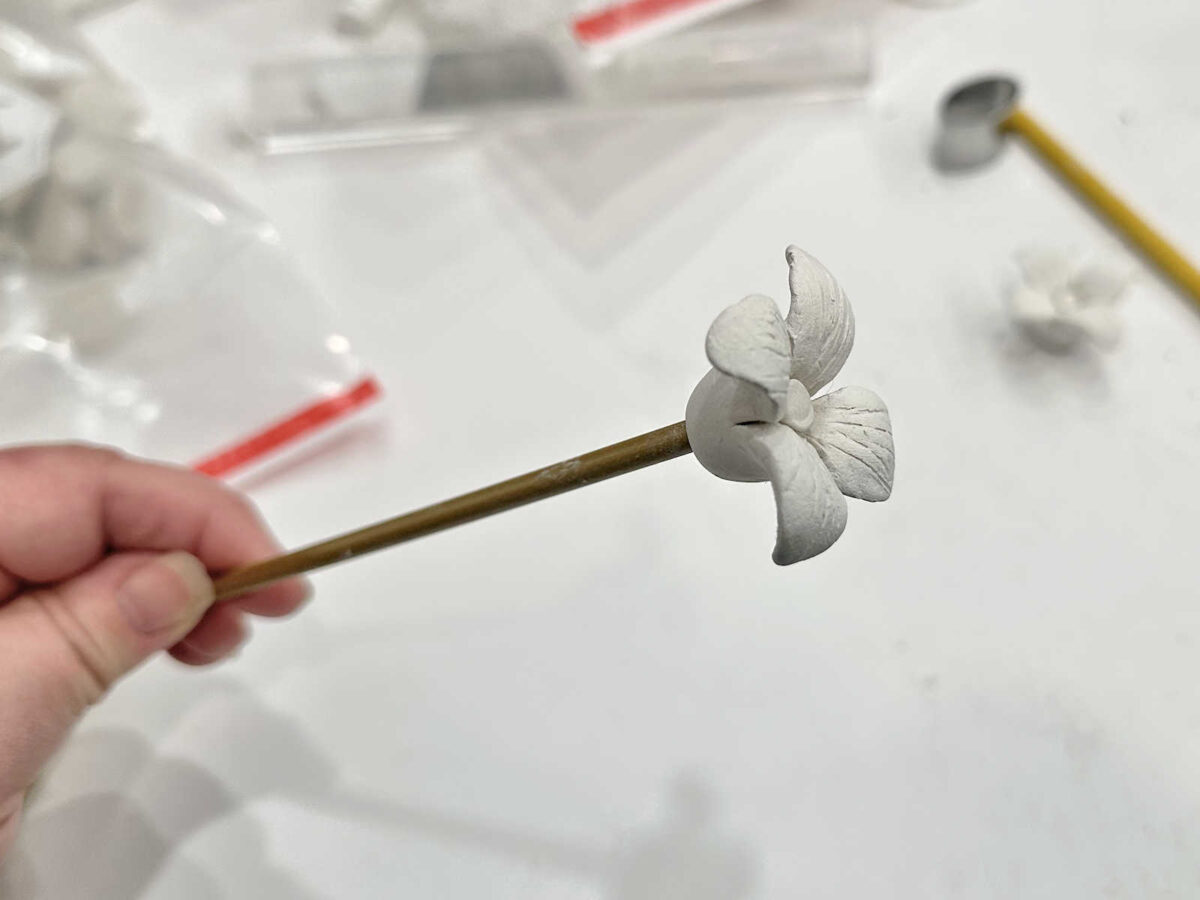
Of course, I’m working with clay and not glass, but I used that shape as my inspiration. It took me lots of tries to get it right and get the flowers consistent, but I think I finally got the technique down.
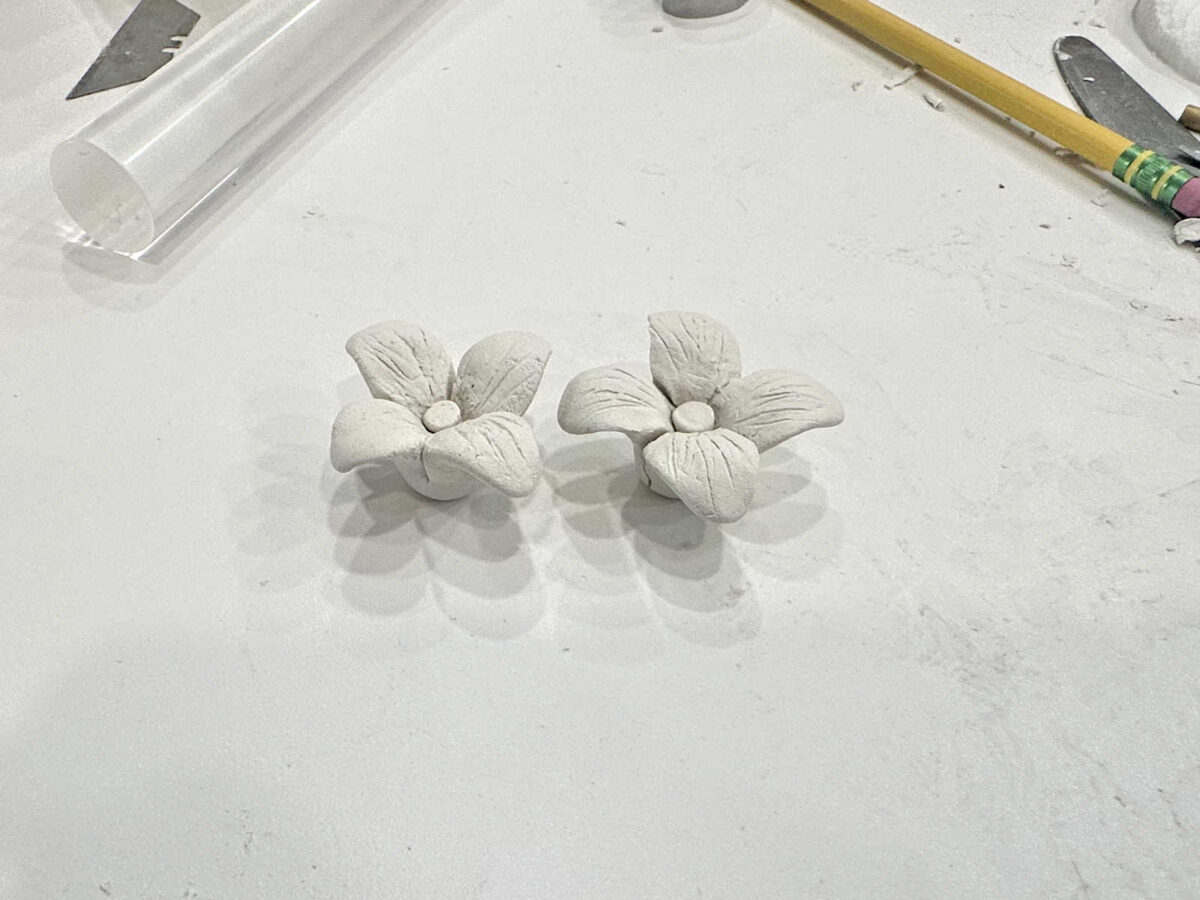
I’m still not sure if this is exactly how the final flowers will look, but it’s definitely close. I might want to make just a couple of tweaks to it before I go full scale with my production of all 135 flowers.
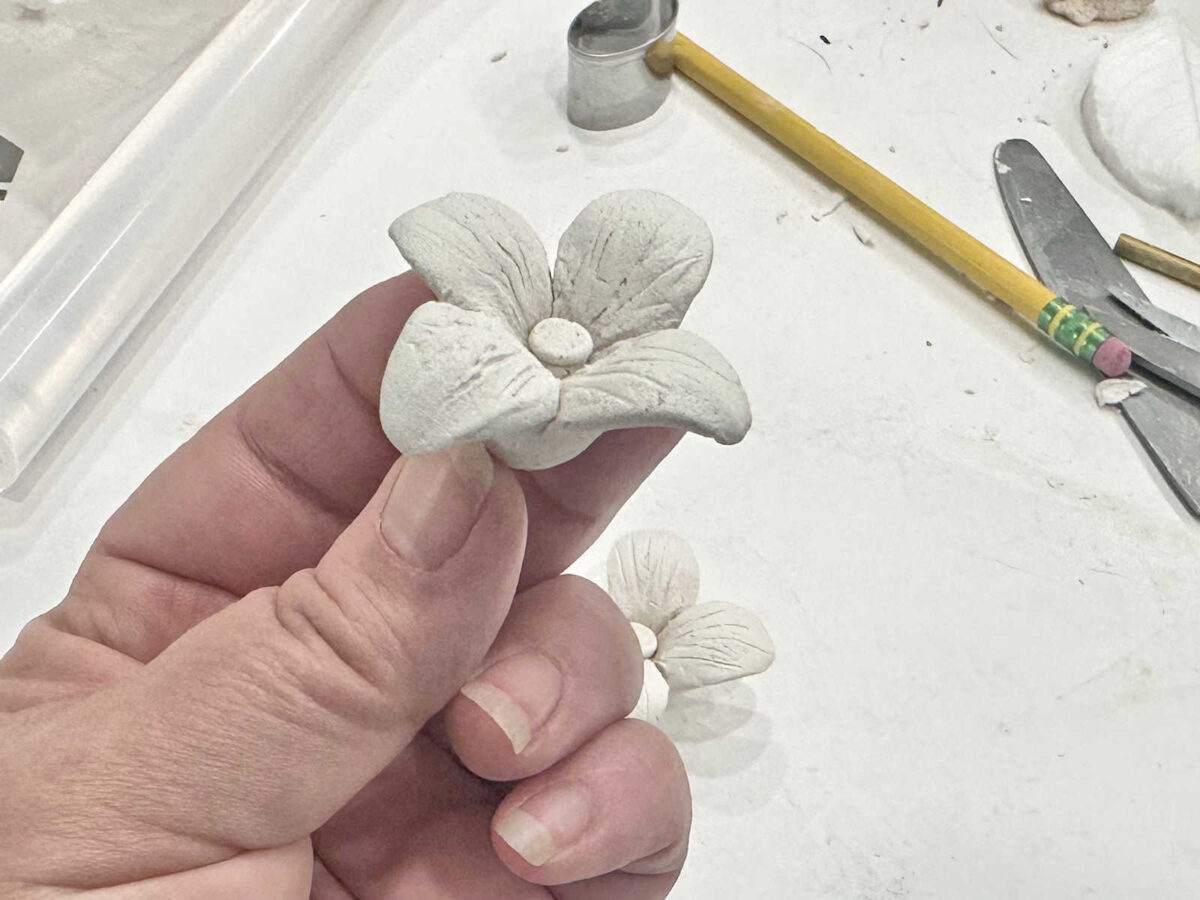
But overall, I really like these tiny little flowers. And they’re very quick and easy to make, which is a big bonus since I need so many of them.
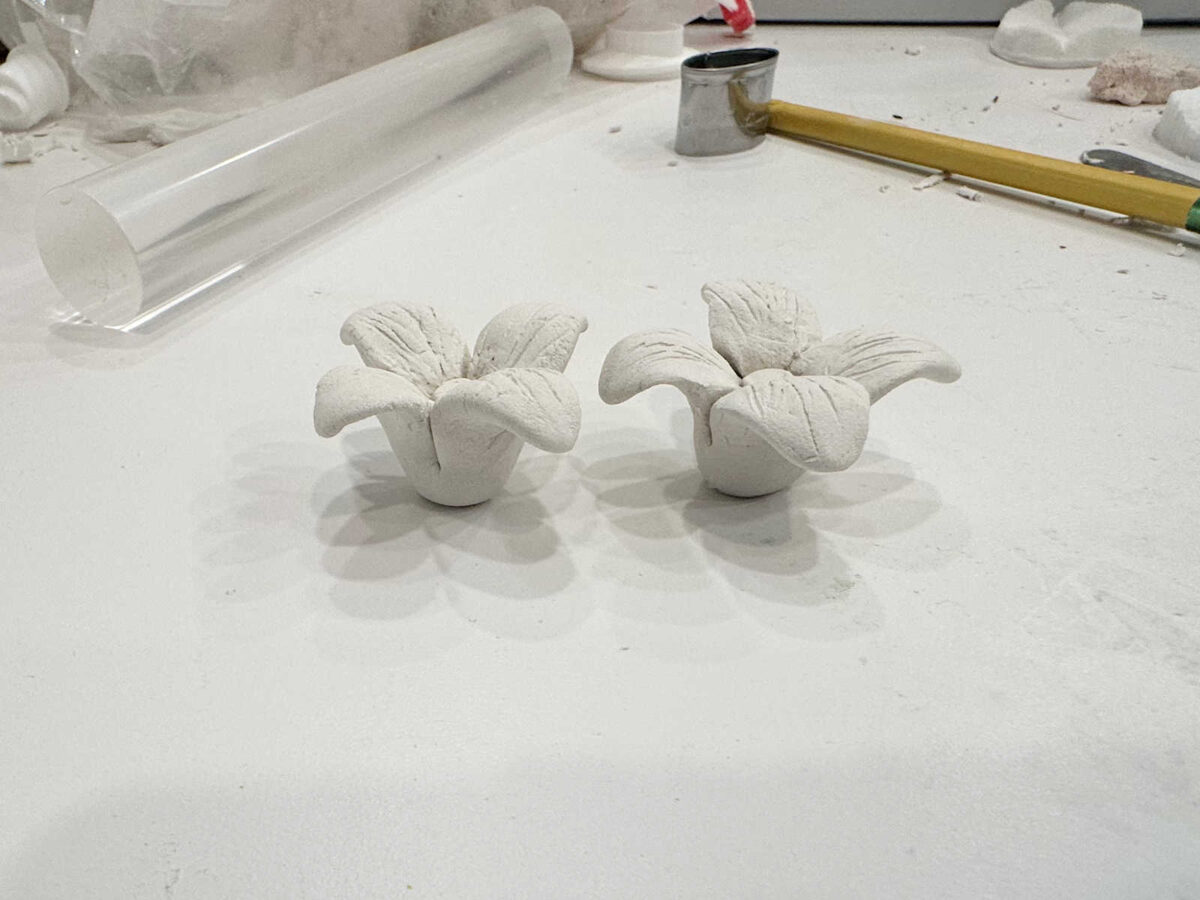
And because there’s a whole lot more clay at the base, these will be very easy to attach to the rods on the chandelier.
Now my biggest issue will be deciding what I want to work on this weekend. 😀 I went from a whole week of feeling like I couldn’t progress on either area. I was waiting for others to do work on the storage room, and I was waiting on myself to make decisions on the dining room. Now both areas are wide open for me to move forward, and I feel like there are about ten different projects I want to work on all at once. So we’ll see what inspires me the most and what I feel the most inspired to work on, and I’ll show y’all my progress on whatever that may be on Monday!

Addicted 2 Decorating is where I share my DIY and decorating journey as I remodel and decorate the 1948 fixer upper that my husband, Matt, and I bought in 2013. Matt has M.S. and is unable to do physical work, so I do the majority of the work on the house by myself. You can learn more about me here.

It looks like the crew did a great job on the drywall. Did you decide on what type of flooring you’ll install? I like the little flowers but think I would like them better without the grooves in the petals for a cleaner look as there will be so many of them.
I’ll be installing the hardwood floor into the storage room.
I laughed when I read that you thought the storage room looked smaller after the new drywall. I had just been thinking to myself how much bigger it looked! So excited to see the storage room come together so that you can be completely finished with the primary suite area.
It will be fun to watch the chandelier come together. I’m wondering if the clay flowers will make the chandelier look heavy- the original inspo picture was so delicate and airy looking. So many fun projects to start on-good luck choosing, but excited to see them all!
I’m with Paige… the inspiration picture brings lots of light into the room no doubt, with it being glass, along with the delicate and airy look of the flowers. You may get lots of shadows with the clay flowers. But you’ve surprised us more than once with your wonderful creativity.
I am assuming that the rods are solid. If not, are you able to purchase hollow rods and run wire through them to attach to the leaf?
When I get tired of painting (watercolors) I might switch to some Zentangle, or sketching practice. But mixing it up for me, is key.
Trying to paint 50+ Christmas cards in one sitting overwhelms me, then I’m not giving it my best effort.
Go at your own pace and have fun!
Oh, normal…either in waiting mode, or everything is ready all at once! Maybe it would be nice to do some heavy work in the morning and some creative work in the afternoon. You have some exciting projects coming. I wonder if you could purchase some glass/acrylic flowers to work with…love how they sparkle! Your storage room is going to suit your needs so well.
Just found lots of glass flowers and beads on Etsy as well. I have no idea on sizes or styles you might be looking for…also some listed on Google as well as that lamp for much less on other sites.
One thing I forgot to comment on is the chandelier.
I’m assuming your rods are not bendy so I’m not sure how they will
look compared to the wispy one with the flowers. I like both and I think wrapping wire around the rod—and you could wrap it in a more ‘organic’ way—looks like the leaves are viney. But I think the thicker rods with the flowers might not look as light and wispy as the inspiration one.
hmm… bigger leaves? but you missed on the shape.
Looking at your example fixture, they are not flat leaves. It like a egg beater/mixer paddle. Its like you made a triangle prism then flattened the long edges into a leaf shapes Try making three leaves them squish them together leaving the center big enough for the dowel.
I think trying a little bigger may be best… form around a coffee stirrer(or shop around town for the right size straw). That hole guides the hole drilling in the future. the leaf you made can’t be more than 2.5″ , got to be aim for 3″ long.
The example is 41″ in diameter, your base light is a little smaller too.
Also the sputnik arms are bent some. Like it all got squished
Are the little clay flowers heavy?
The clay is very light once it’s dry.
Could you just form the base of the leaf/petal around the rod and leave it to dry then use a dab of glue on the inside to keep in place? Then you wouldn’t have to drill a hole
I love how your mind works … leaves didn’t work so let’s try flowers … in all instances if something doesn’t work your mind just goes to what to try next until you are 100% satisfied. Whatever you decide to work on this weekend will be fun for you. Enjoy the process.