Large DIY Craft Room Cutting Table — Finished!
The first of my two DIY studio work tables is finished. Here’s how it turned out…
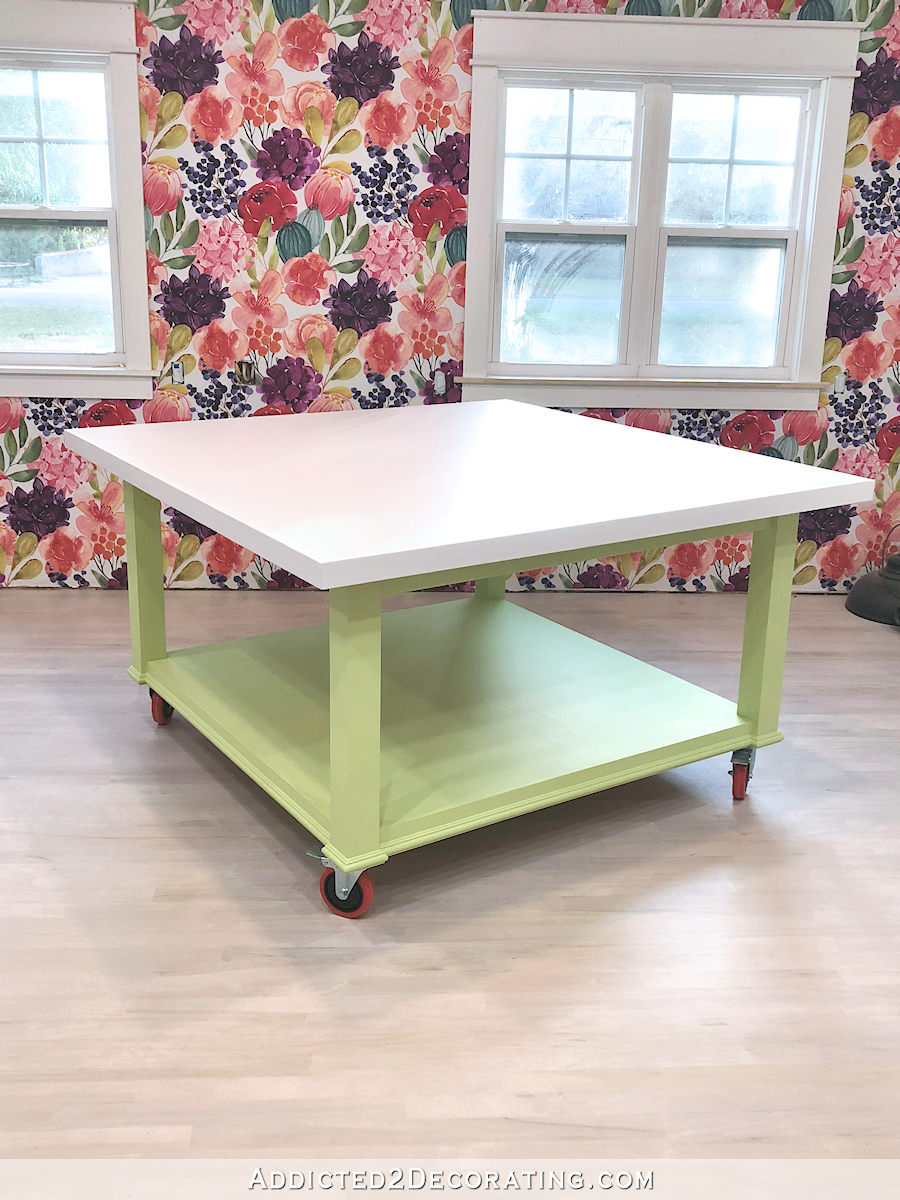
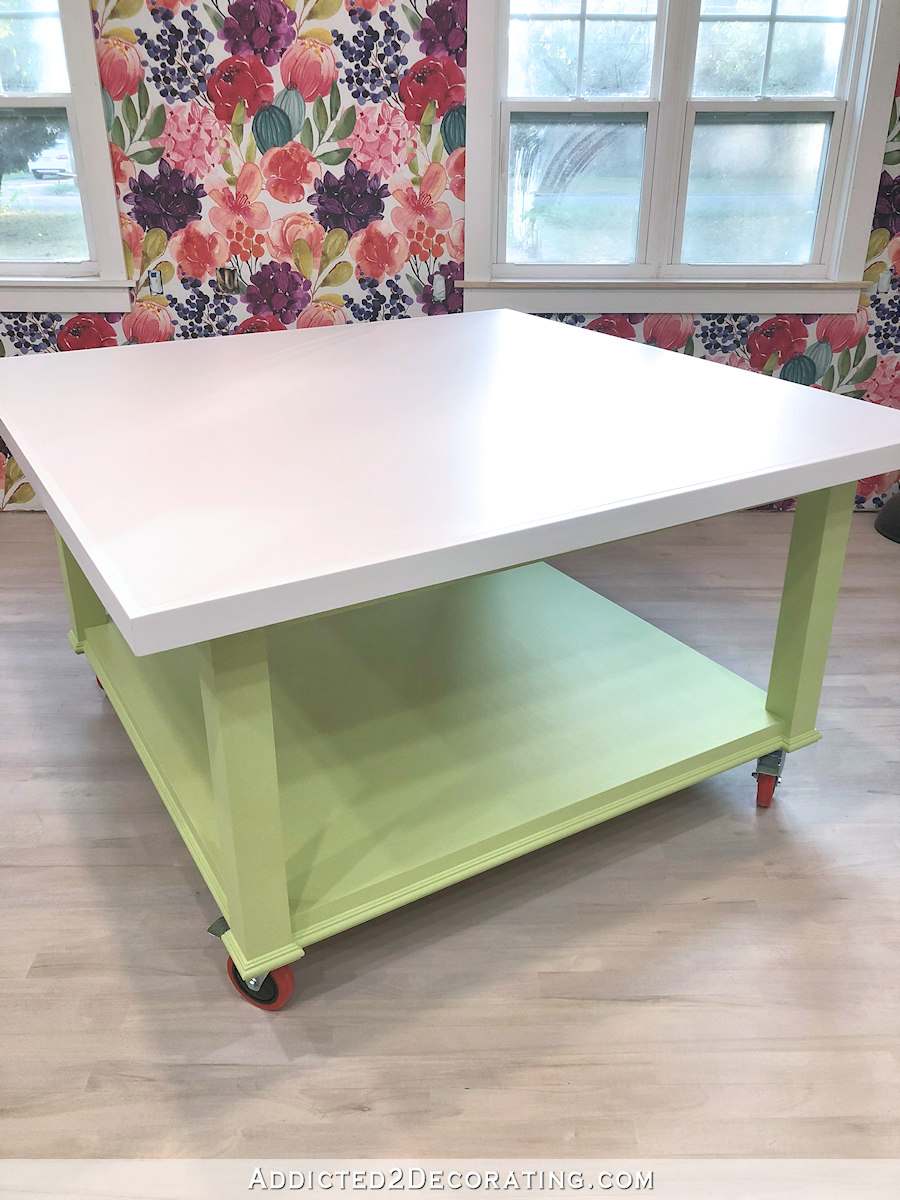
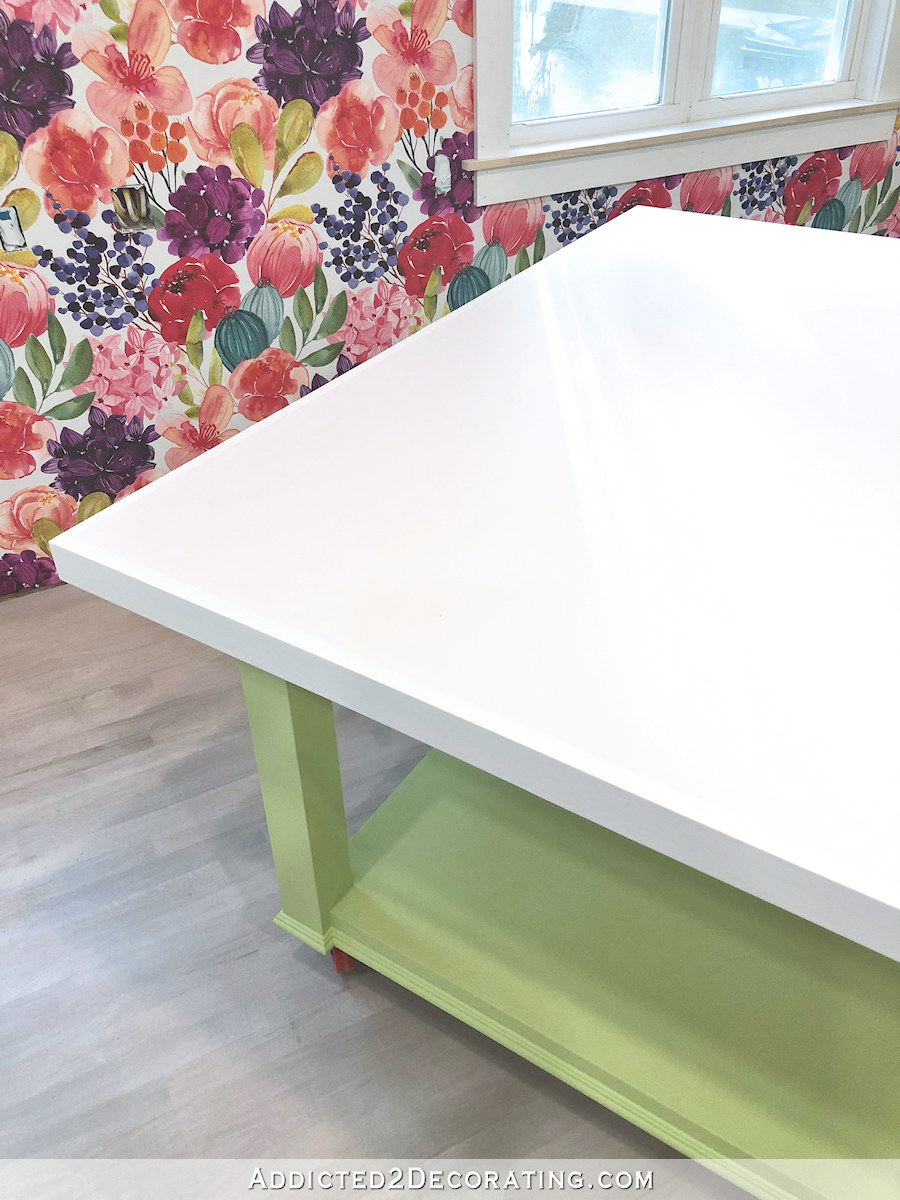
I chose to paint it green! I had originally wanted to paint it a light yellow, but it looked awful with the floor. So I gathered up some craft and art acrylic paints that I had in yellows and greens, and just started mixing them into the quart of yellow paint I had purchased until I ended up with a color that I liked. And I do love the bright, cheerful green against that clean white table top!
Please note that this is a two-post project. If you missed Part 1 of this studio work table project, click the title below…
So when I left off the other day, the base of the table looked like this…

After making the table top, I thought it still needed a little something to give it a finished look. After all, this table is for my studio, which I want to look nice and pretty when it’s finished. If these were tables for my (future) workshop where I’ll be using my saws and other tools, I wouldn’t be worried about it being pretty. Of course, I also wouldn’t waste money on laminate for a workshop table top where I’d be using saws and other tools.
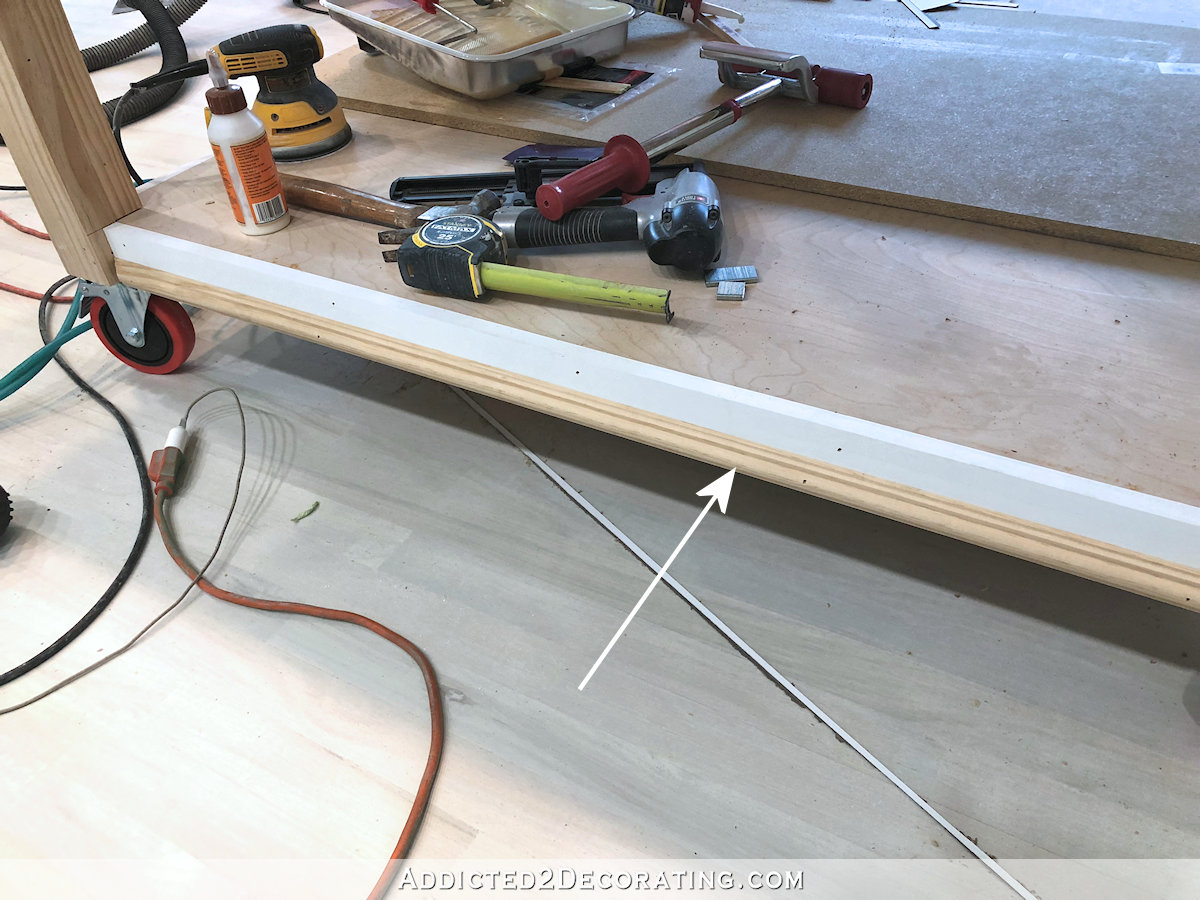
So to give the table a finished look, I simply added some cabinet trim along the bottom edge of the shelf…
I also wrapped the trim around the bottom of the legs…
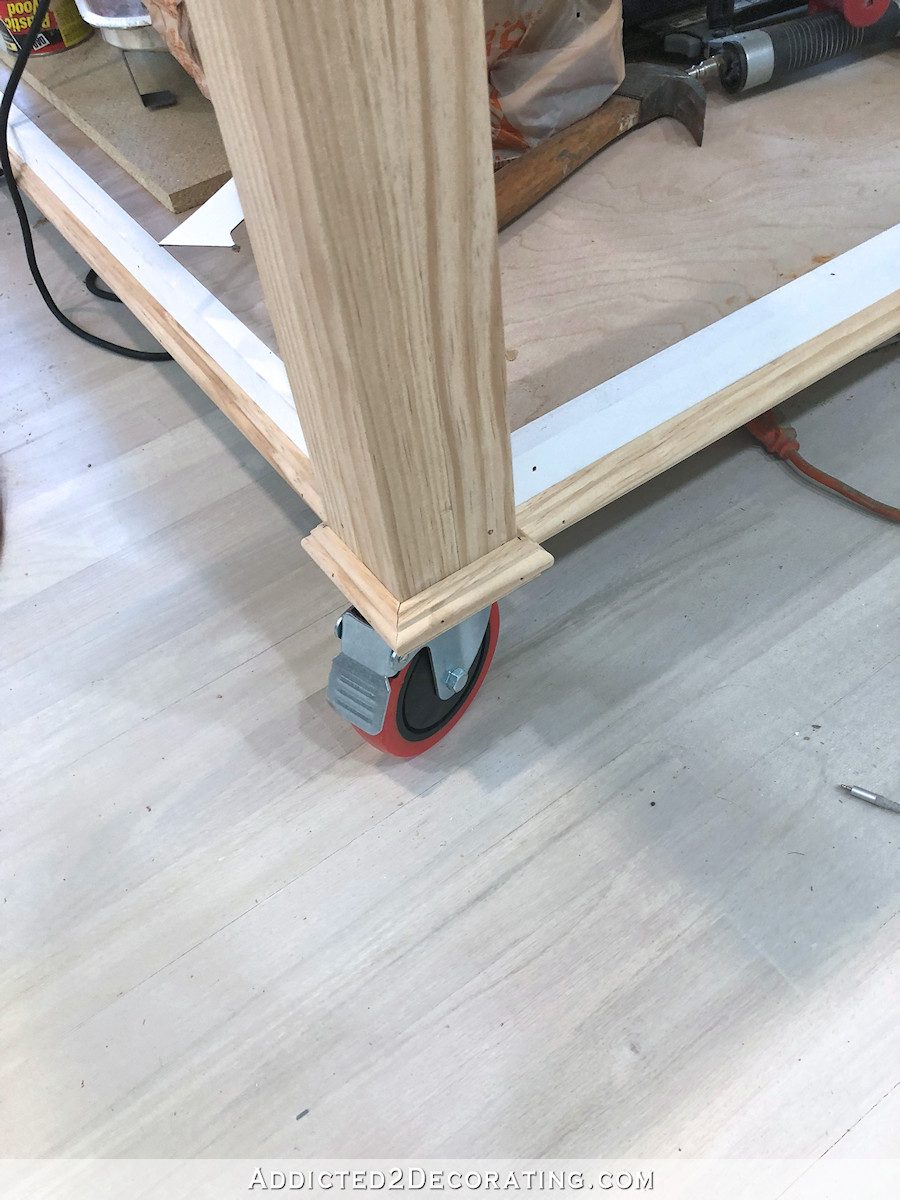
I attached all of the trim with wood glue and 18-gauge 1.5-inch nails.
And if you’re concerned about me banging my legs into those trimmed out corners, don’t be. The table top extends so far past the base (about six inches on each side), that my feet and legs never get close enough to those corners for me to scrape a leg on the corners. 🙂
After the trim was attached, I filled all of the nail holes on the whole table with wood filler, then sanded everything smooth and followed up with a coat of primer and two coats of paint.
The table top is 60 inches (5 feet) square, and the bottom shelf is just over 4 feet square. When selecting the casters, I was stuck with the red 5-inch casters as my only choice because those were the only ones available in the quantity I needed with the style of locking mechanism that I liked. Now I’m glad those were the only ones available, because I love those red casters! 😀
As soon as I get the second table built, I’ll be adding adhesive measuring tapes to the top edges of the table tops, but I want it to be one continuous length (i.e., measuring from 0 to 120 inches over two tables) of measuring tape rather than two separate lengths (i.e., measuring from 0 to 60 inches on each table). So I’ll need the other table completed before I can add those.
But for now, I’m just thrilled to have one table finished with a large work surface for fun projects! And now I’m hoping that the second table will go much faster. It should now that I know what I’m doing and have figured out the process.
I made a video showing the building process for this table. You can see it here…
Update: The second table is finished! If you’d like to see the two tables, and how they clamp together to form one HUGE workroom table, you find that here…

Addicted 2 Decorating is where I share my DIY and decorating journey as I remodel and decorate the 1948 fixer upper that my husband, Matt, and I bought in 2013. Matt has M.S. and is unable to do physical work, so I do the majority of the work on the house by myself. You can learn more about me here.


Beautiful!!! Great work, Kristi! You are amazing!
Love the table Kristi. It is perfect with the wallpaper.
You never cease to amaze.
I love it! Beautiful color and the top looks great!
Love the table!
I am “green” with envy. This table is awesome. And I seriously do love that green! I’m glad you’re back into things and having fun. I’ve missed seeing you in my inbox regularly. 🙂
Trish I totally agree with your entire comment
Love this and the pop of red is an unexpected (and pretty) surprise! How did you fill the little gap on the top. (Where you added the trim boards) Did the wood filler work?
I LOVE the green! I wish I had room for one table that size.
Love the table, love the green color, love the red wheels! It’s perfect for your studio.
The red casters are so Louboutin!!!! 😘
That looks awesome! It should provide the perfect workspace for lots of projects!
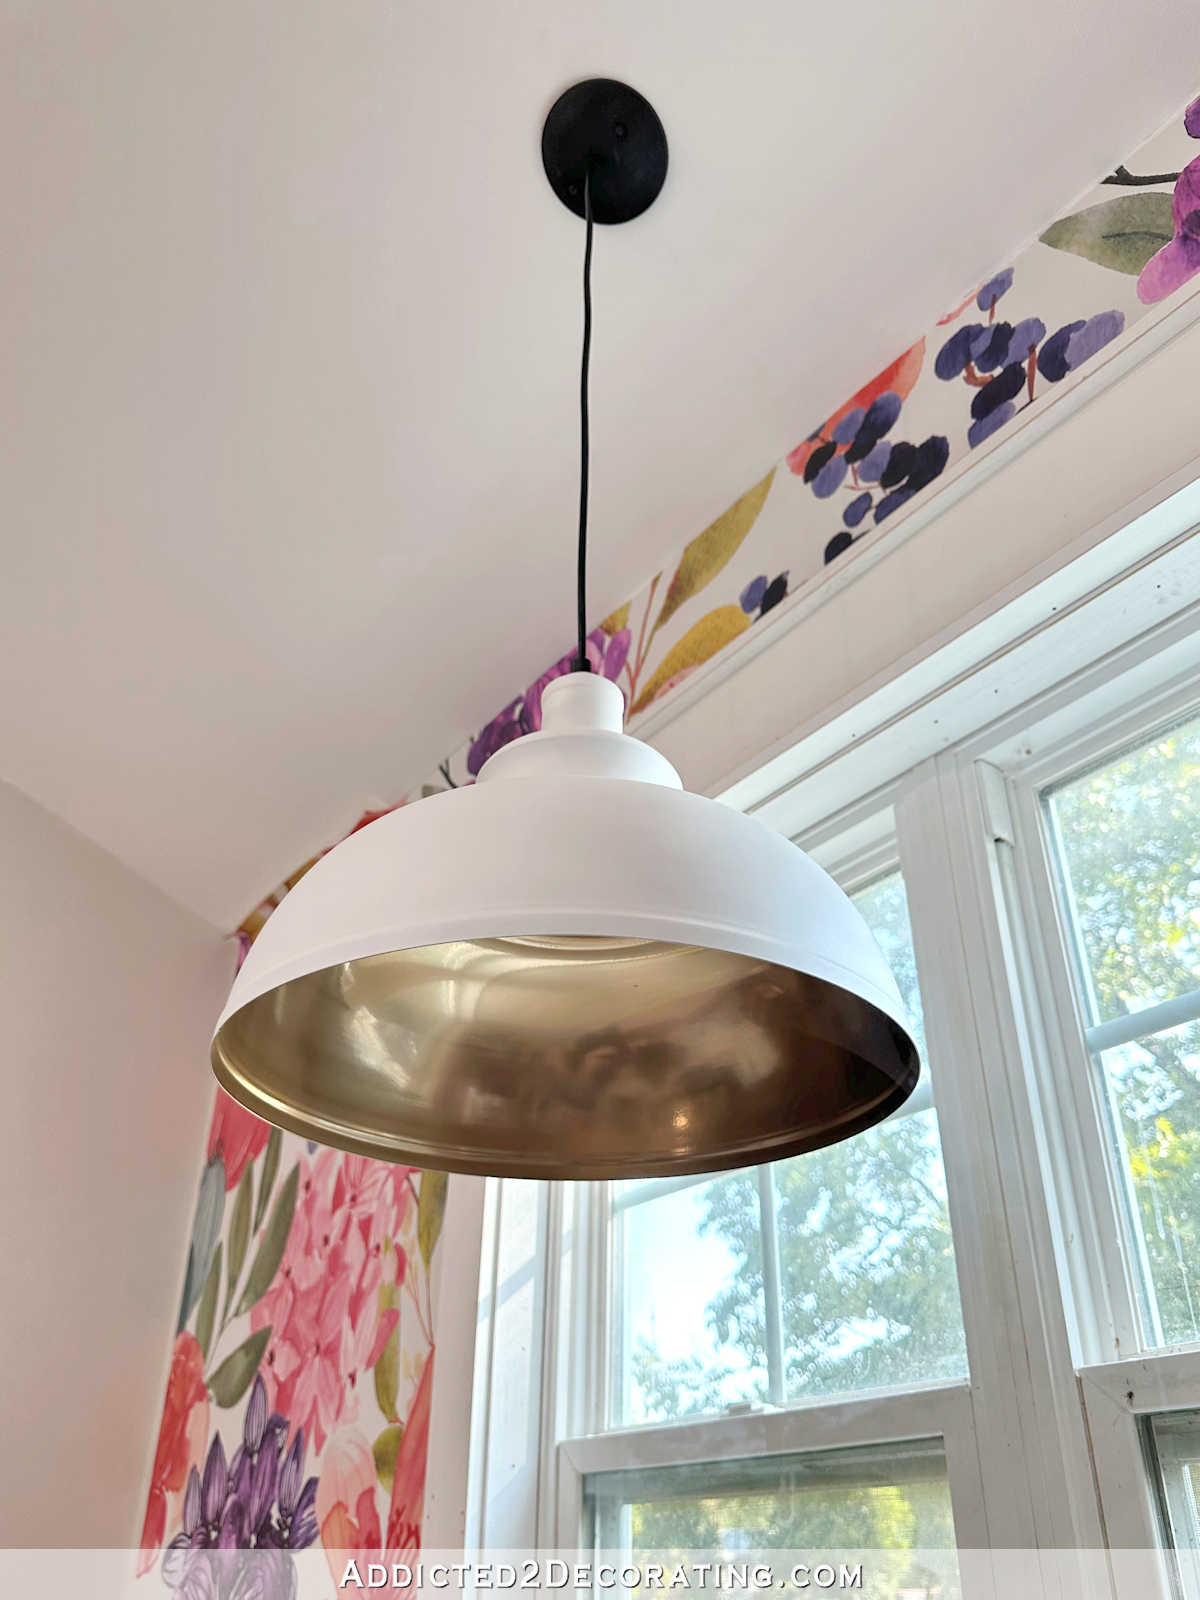
Great table! But I must ask…did you miss painting a bit of trim on the right window (near the sill)?
There are still visible nail holes, so she hasn’t completed that window yet.
Light and airy! Have you thought about linking the tables with, eg, a hook an’ eye? Just in case you want to move them as an unit.
Absolutely a great beautiful table to do all your projects. Love your table!
Love it! Will be so awesome to have that much table space for any craft or DIY project.
Love the green and the red casters – great job!
The colour combo looks great with your wallpaper – as if you’ve planned this all along 🙂 I keep my fingers crossed for you to build the 2nd table asap before you start using the first one for other projects, as I can imagine that it is very tempting right now! Have a great weekend!
Gorgeous yummy green
Krist Love the table I love the size, the colors, the trim and I love the wheels. Just the right touch and I too am envious of your space and happy for you.
hugs
That’s a wonderful table, Kristi! Ive been thinking of making a medium sized table to do picture framing on. How difficult would it be to add another shelf to this table? Thanks for all the inspiration!
Yowzers!!! Gorgeous table color with that sexy pop of color on the wheels. I have to say that that wallpaper is close to being my favorite of anything that you have done. Just wonderful!!
I love this room and happen to be a big fan of green!! I’m a new follower. I was wondering if I could get the name of the wallpaper. It is lovely!
She created the wallpaper! It’s a Kristie original 😍
OMG that’s amazing! I’m in awe.
Look at her archives and from the menu under shop. I do believe you can order her paper for yourself. It is from a website that will print a design of your own!
LOVE!!
Love the hint of red on the wheels. Well, the whole project actually. Something like this with a few tweaks would be good in my sewing room. Nice work.
Love it!!!!!
The table looks AMAZING!!! I love it! I love the color! It goes beautifully with the wall paper.
Oh, I love the green and the red caster’s are the cat’s meow! Just hope you don’t have trouble mixing up paint (to match) for your second table 😋 Can’t wait for second table to be done.
I love the “green” table. I am trying to picture it as yellow (not) and agree with everyone that believes the green was perfect color to go with your wallpaper (besides green is my favorite color). I can’t wait to see the final reveal of the studio/workshop.
Then we go to your bedroom/bathroom addition.
A great table! I love the red casters too. They give a modern kind of industrial feel to the table which is a great contrast to how carefully and elegantly you have finished the rest of the table. Also, glad you extended the table top so far from the legs. Smart move. I also like the way that the green is similar to the green in your lovely wallpaper. For me, the little things count – a lot!
The green is beautiful and matches the wallpaper. Love how you finished the bottom with the molding and the top with the wood around the laminate. Great job. Are those wheels rubber? They look like it and they will be quiet and smooth if they are.
yWhen I look at this deceptively simple work table, I think about what a right decision you have made in deciding to allow your contractor to do the demo and construction for stage one of your master bedroom/bathroom remodel.
You are an artist. You do a remarkable job of designing and bringing into reality extraordinary pieces of furniture, cabinetry and art work. Your time and talents would not be put to best use to do rough carpentry and demolition.
As I am sure you know, there is a hierarchy of skills in the carpentry trades. Lowest rung is rough carpentry, followed by finish carpentry, cabinet making, and stair carpentry. At least that’s the order my stairing contractor told me when we built our second house! I imagine that the cabinet makers would suggest a different order.
You are in that highest category of carpentry skill. These sorts of skills are the very most expensive, because they require years of practice plus artistic talent, not brute strength
It is true joy to see you use your astonishing talent and skills for this finest type of work.
I have to agree. To pay for someone to do this quality of work would be prohibitive. THIS is the FUN stuff!!
I love the table. Great job!!
You are fabulous-your house must be smiling!
Totally and utterly fabulous!!! You always continue to amaze me!
Oh, man! I need a bath towel to wipe off the drool!!! I’ve dreamed about a sewing/crafting studio all my life, I think! Very unlikely that will ever happen–I’m 72 and a widow–in the renting stage as home maintenance is now beyond me. But you do give me hope and inspiration that I can maybe make some dedicated space in my little duplex for that purpose! Those tables are to die for! I love my rickety cutting table and leave it up all the time because it’s the right height to do all sorts of projects on. And the green is perfect! Goes with the wall paper so well! Yea, Kristi; can’t wait to see what you do next!
I have a question! You often do these custom mixed paint colors: how do you ensure you’ll have enough to finish a project? Are you just very good at estimating? I’d be stuck worrying that I hadn’t mixed enough and would run out halfway through and my second mixed batch wouldn’t quite match…
Your question brought memories back 🙂 The first time I mixed paints was during my daughter’s bedroom renovation. I wanted to paint the back of a recess with open shelves the same colour as the drapes. Mixed together 8 samples and would never be able to repeat the process. Yes, I was worried too, paint the recess by brush, as a roller would use more paint, and at the end carefully packed the little remaining paint for touching, if necessary later on. Nowadays I would just go to a diy store, where they mix paints. I am in the UK but we have Valspar paint mixing – an American brand, which we used recently, and they are brilliant. They perfectly matched the paint (another brand) we started with but the store didn’t have enough of it and we didn’t have time to wait for delivery. They can use anything as a sample – painted piece of cardboard, fabric, some other object.
My dining table has a locking mechanism on the two main panels so, when I take out the leaves, I can lock the table together. Will you be using something like that to keep your table together when you’re using them as one unit? It looks beautiful!! I know you’re going to enjoy many happy hours with your tables.
SWOOOON!
Oh my! Love this! This room would just make me grin from ear to ear every day if it was in my home. Great work, Kristi!
These are the best projects. Don’t waste your time or energy doing demo. 😍
So exciting! Love that you are motivated again, I can “hear” it in your posts. The table is stupendous, and my favorite color to boot! I love that you thought to dress it up with trim, although I don’t think it was needed; the table is just as nice without. I would consider latches to lock the tables together. My dining table has some that are just like a window sash latch, if you need an idea. They are strong and lock the table in place so the gap is tight. I bet the shelf underneath will be a favorite spot for your kitty to lounge! Curious to know, how is the desk working for you? Are you happy with it? Anything you would do differently on it?
Love your work table and the colors, wow!
wow! love the green! and I like the trim you added. Wish you lived near me.
To my untrained eye it seems that the green might be close to “Celery Stalk” by Behr….was playing with colors for a potential project and thought you picked that color vs your own mix at first.
Have you thought about what your first project will be using those awesome tables?
You could put the zero to 60 tape in the existing table and 61-120 on the next one. The main idea of having 2 smaller rather than one huge table was the flexibility of being able to use them separately so having a continuous measuring tape would rather defeat the purpose.
As usual, great job! I’m looking for something to recover my sewing table and I think white laminate will work for me either that or one of the counter paint kits. I love your white with the green and those wild wheels!!
Absolutely love this! I could see you making covered stowaway pads for when you sew draperies and the like.
So I was thinking to myself where in the room will the work tables go,looked back for plans. 1st off Wow remember back when this was your garage! I’ve just seen your ig stories and seen you’ve installed your black lights and it made me remember something you said about your hallway “That it made you smile when you came into the room”well you must be absolutely giddy about this room and it’s not even finished yet! Well done Xx
Perfection!
Looks great!
YOU look great in your new picture! Going to check Addicted2Keto for updates.
Is there a lip on the top of your table from the decorative trim? From previous pictures, the edges looked raised.
There’s no lip, but the trim around the edges is a slightly different color, so that may make it look like there’s a lip.
That looks fabulous, Kristi!! You really are the paint queen. I was always worried to paint furniture because of the stickiness that is so easily achieved. Thank you for giving me the confidence to give it a go!
I have a question. I know you use latex paint a lot because of the availability and color options. Do you ever use wax on the furniture? I have a piece that I wish was just a tad bit darker and I’ve debated on using a dark wax to help with that, but I’m worried. If I do a light sand, it’ll lighten the color even more, but will it then “take” the wax? I worked hard on this piece and just don’t want to mess it up. Your help would be SO appreciated! Keep up the fantastic work!