Turn A Corded Floor Lamp Into A Cordless Lamp
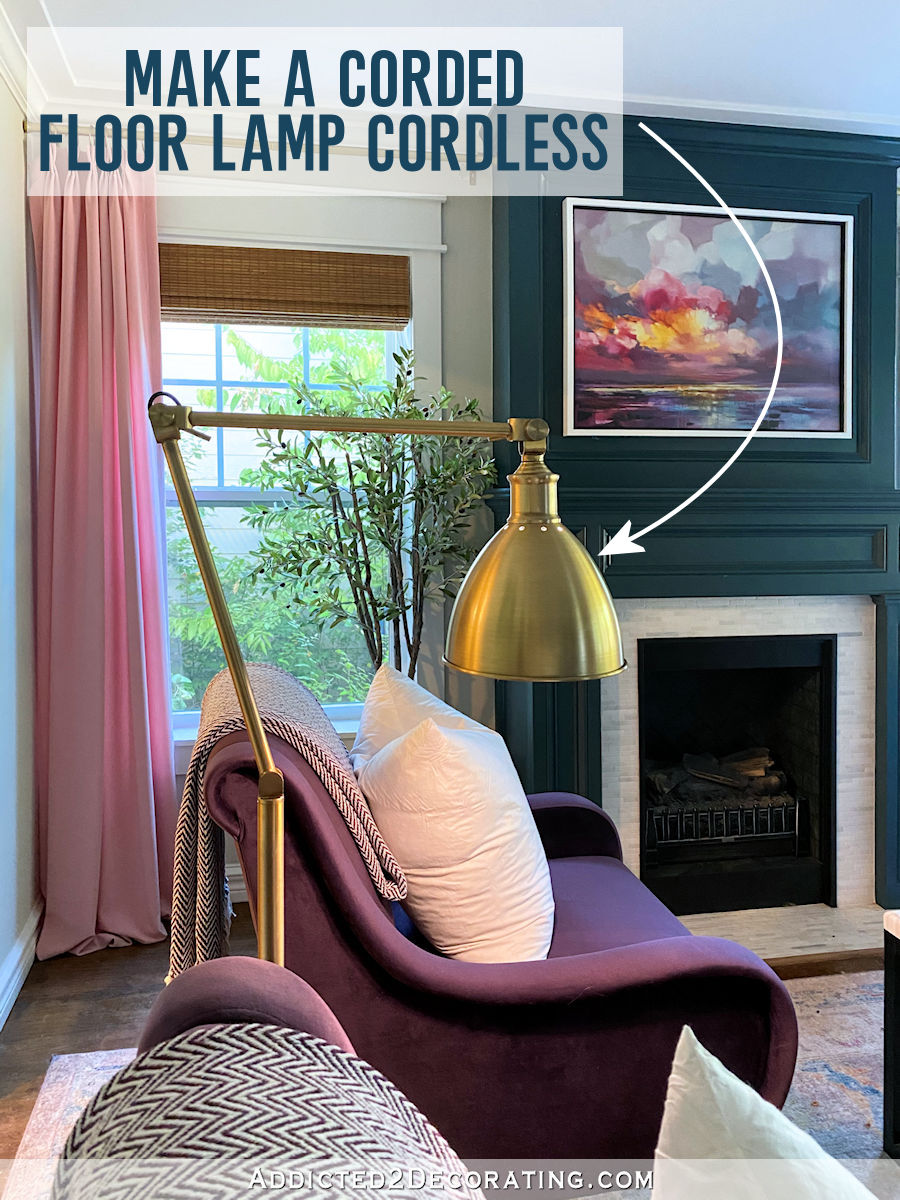
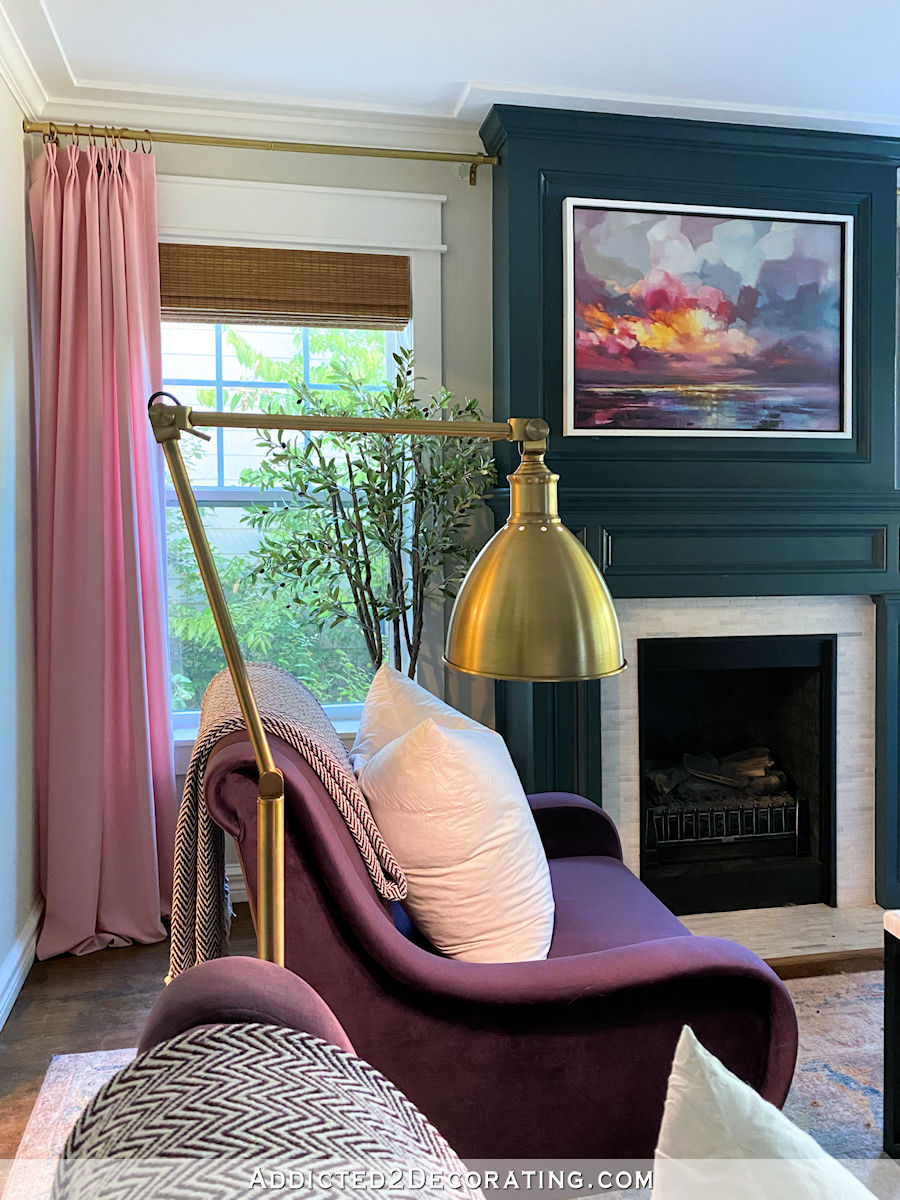
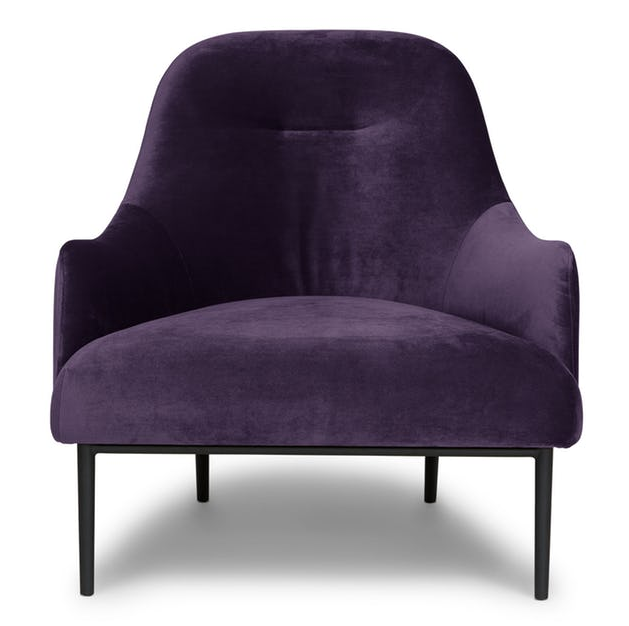
In my ongoing quest to finally finish my living room, I’ve been stealing a few minutes here and there from my focus on the guest bedroom in order to get a few final projects finished in the living room. So the other day, I purchased this floor lamp at Target to go between the purple chairs.
I loved the lamp, but because it was going between two chairs that weren’t against a wall, and that I walk behind several times a day in order to get from the living room to the kitchen, figuring out how and where to plug it in became quite challenge. I had even considered cutting a slit in the area rug, running the cord underneath towards the window, and then having the cord follow along the baseboards around to the outlet to the right of the cased opening into the kitchen.
If you didn’t follow that, don’t worry. The point is that it was a complicated solution, and probably wouldn’t have worked anyway because running a cord under an area rug (1) isn’t really the safest thing to do, and (2) would create a little hump in the rug that can be seen under the chair, which isn’t any nicer to look at than a cord running across the floor.
Then I finally decided to forgo all of that hassle and just make the thing cordless.
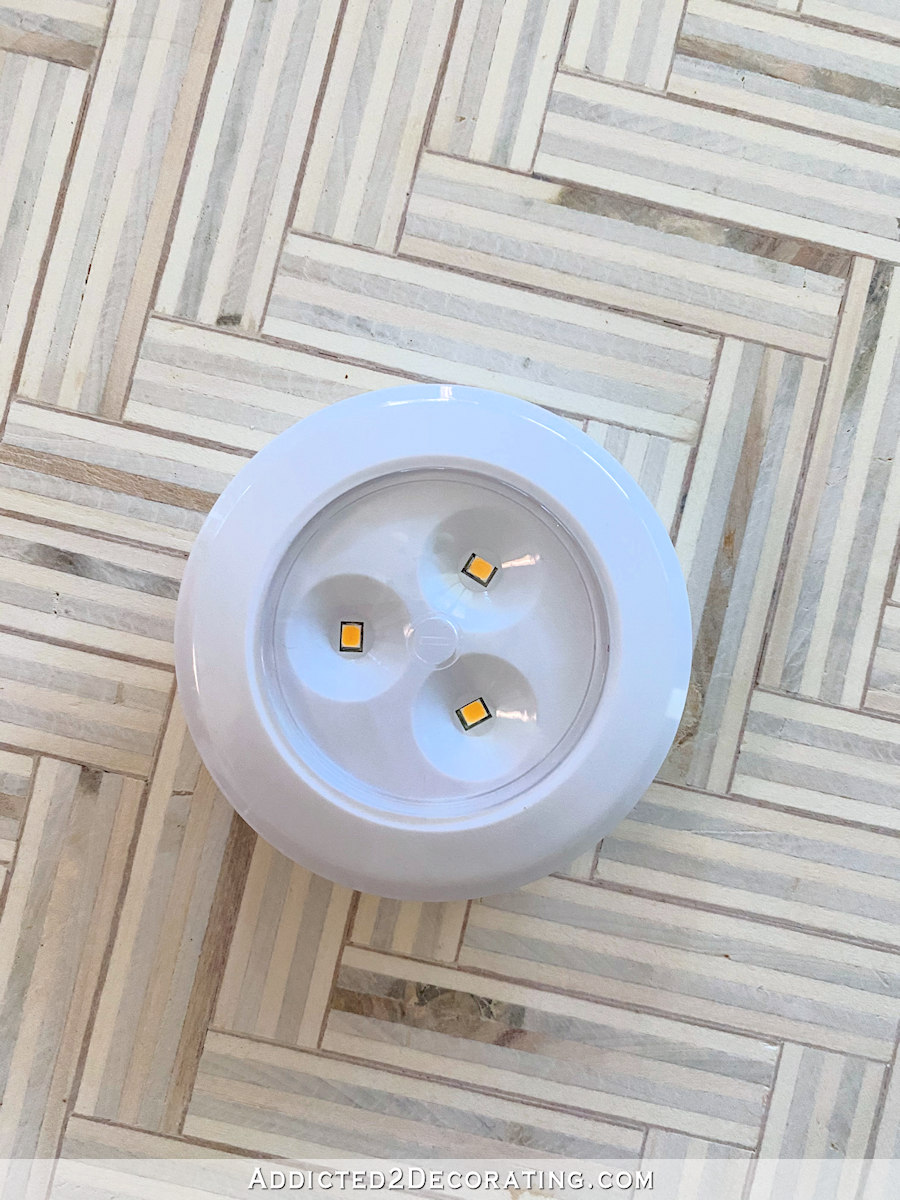
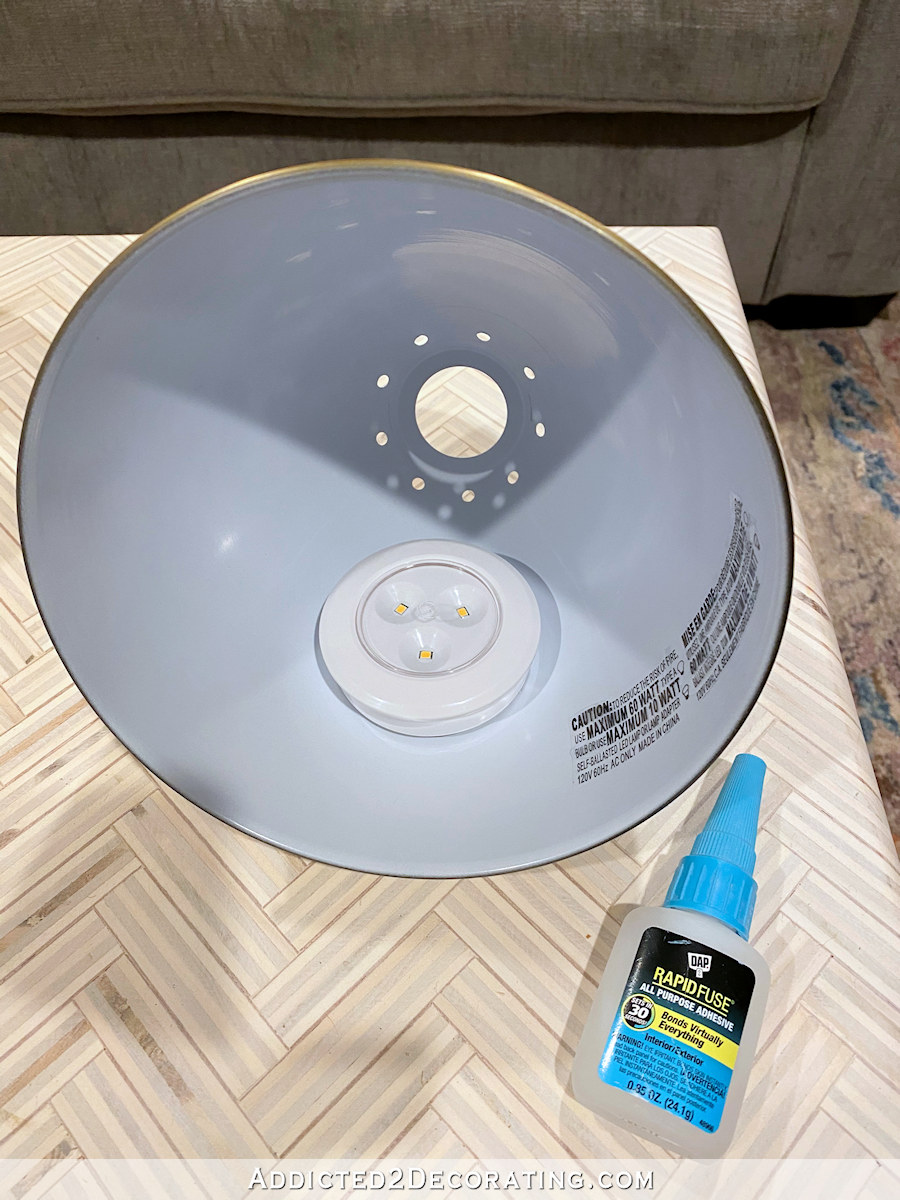
This easy project required one more purchase — this package of three LED puck lights. Another option would be this remote-controlled option, but at almost triple the price, I decided to pass on those.
Each puck light is just under three inches in diameter.
Figuring out the best way to adhere them to the inside of the shade was a bit challenging. First, I tried some 3M double sided sticky squares that I cut into strips.
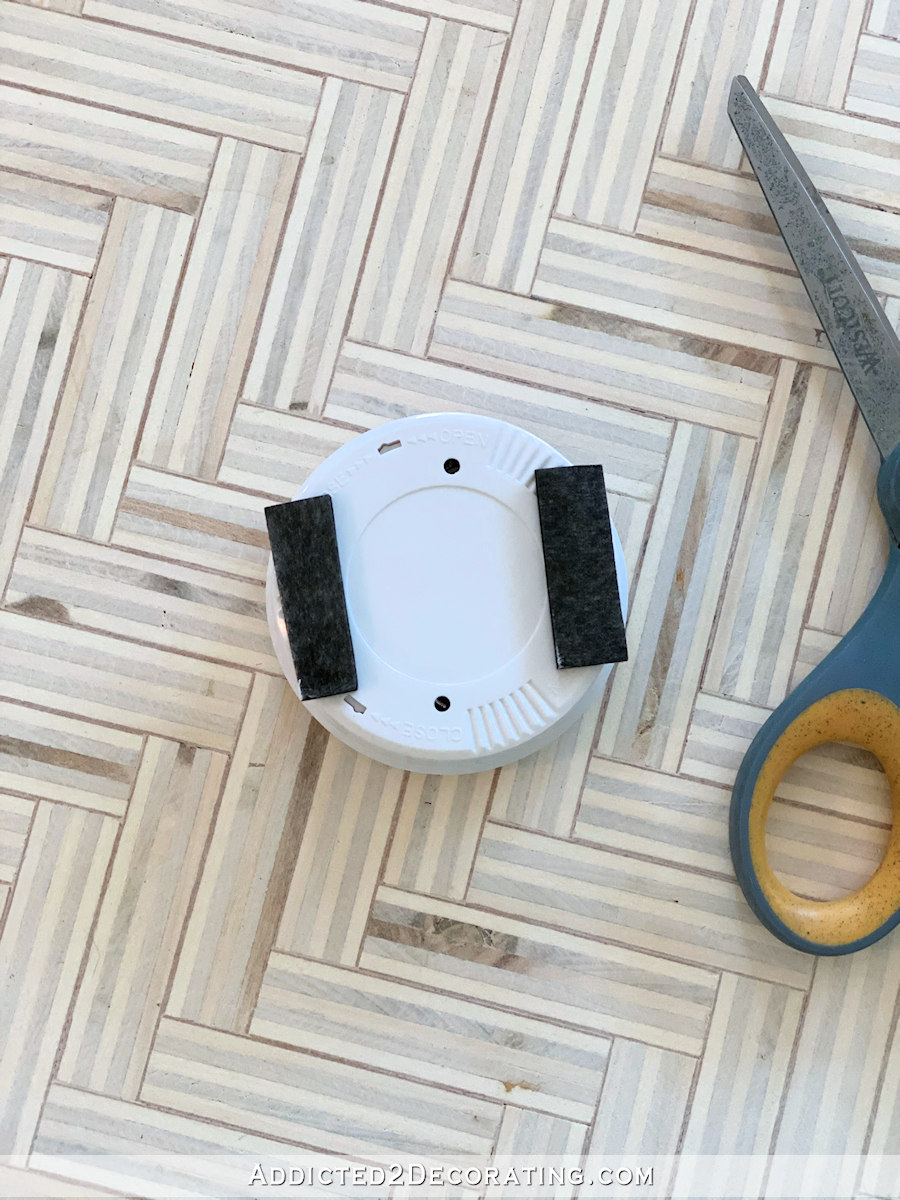
It seemed to work initially…
But then I came in the next morning and all three were on the floor. So next up, I tried this DAP Rapid Fuse glue, which is basically a gel super glue that’s supposed to dry to a tight bond in 30 seconds.
I’ve used that on other projects, and it generally works great. However, it did not work on this.
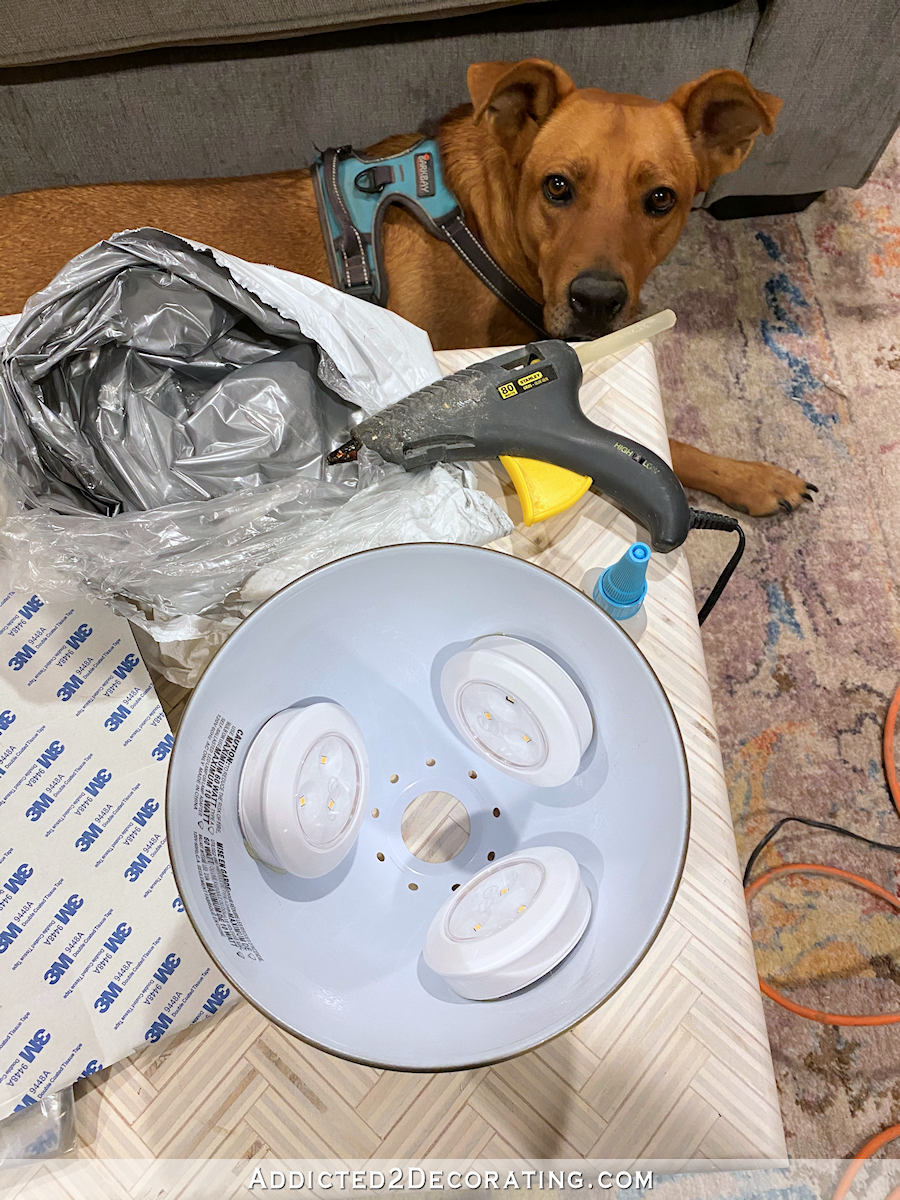
The winner ended up being my trusty hot glue gun. (And Cooper says hi! 😀 )
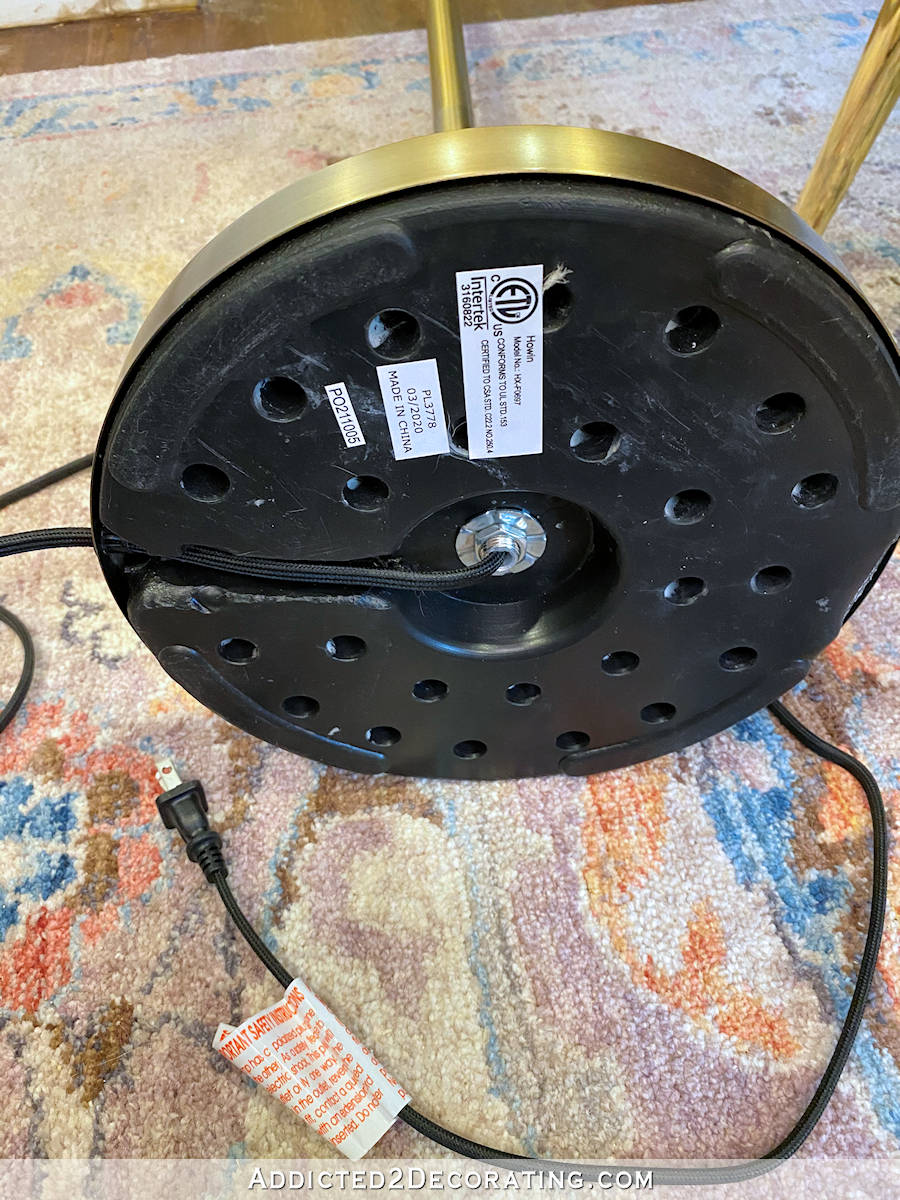
Once I knew the LED light idea would definitely work, I needed to do something with the cord. The challenge here is that I needed to get the cord through this hole in the metal base…

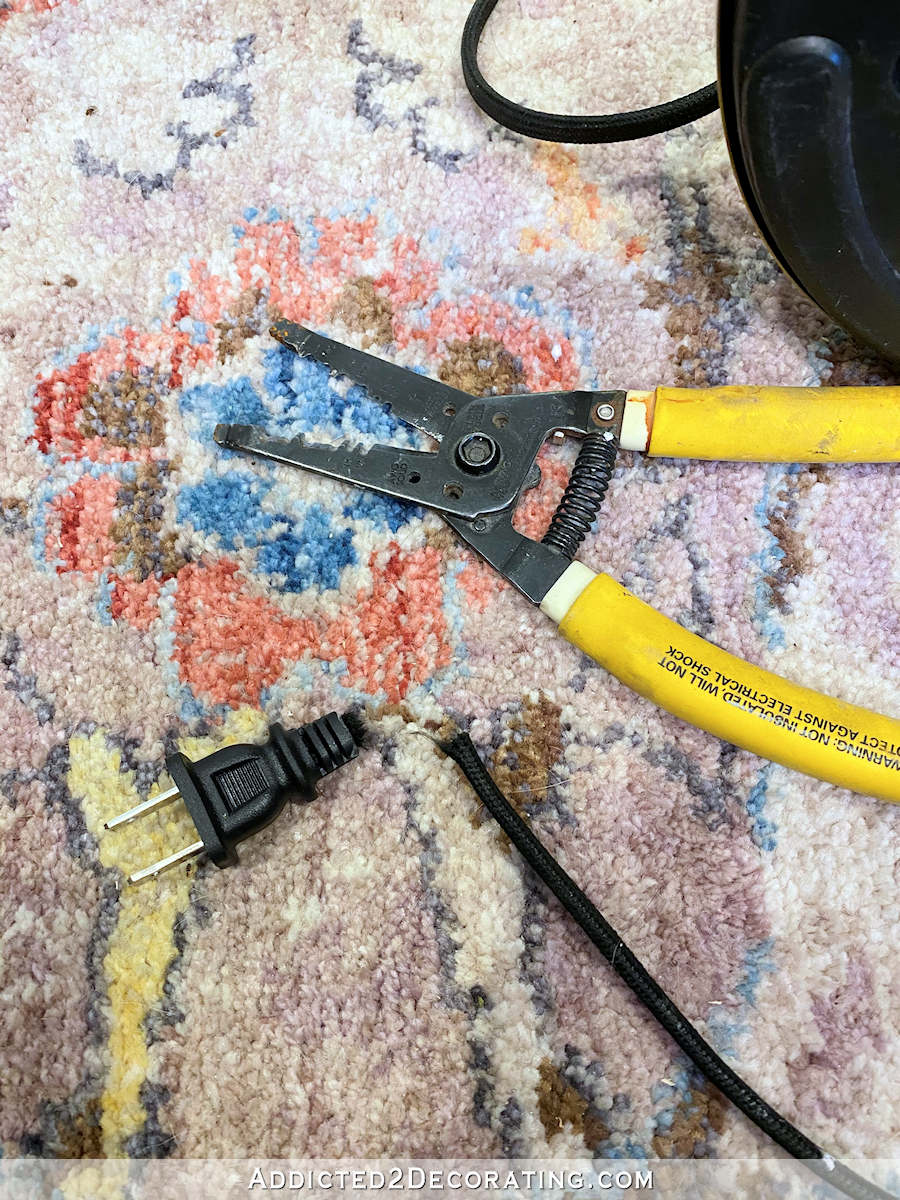
And that’s impossible to do without cutting the cord. So I debated two options. One option would be to cut the cord where it comes out of the vertical pole. That would be easier because I wouldn’t have to figure out what to do with all of the excess cord. But what if I wanted to convert this back to a corded lamp in the future? That would make it more difficult. So the second option would be to cut it right behind the plug. That would make it easier to convert back to a corded lamp in the future, but I’d have to deal with all of the extra cord for now.
I opted to cut it right behind the plug because if I ever want to use this lamp in a place where I can plug it in, it’s about a ten-second DIY project to add a new plug. They sell replacement plugs at big box stores, and you just open the plug with a screwdriver, attach two wires, close it up, tighten the screw, and you’re done. It really doesn’t get any easier than that.
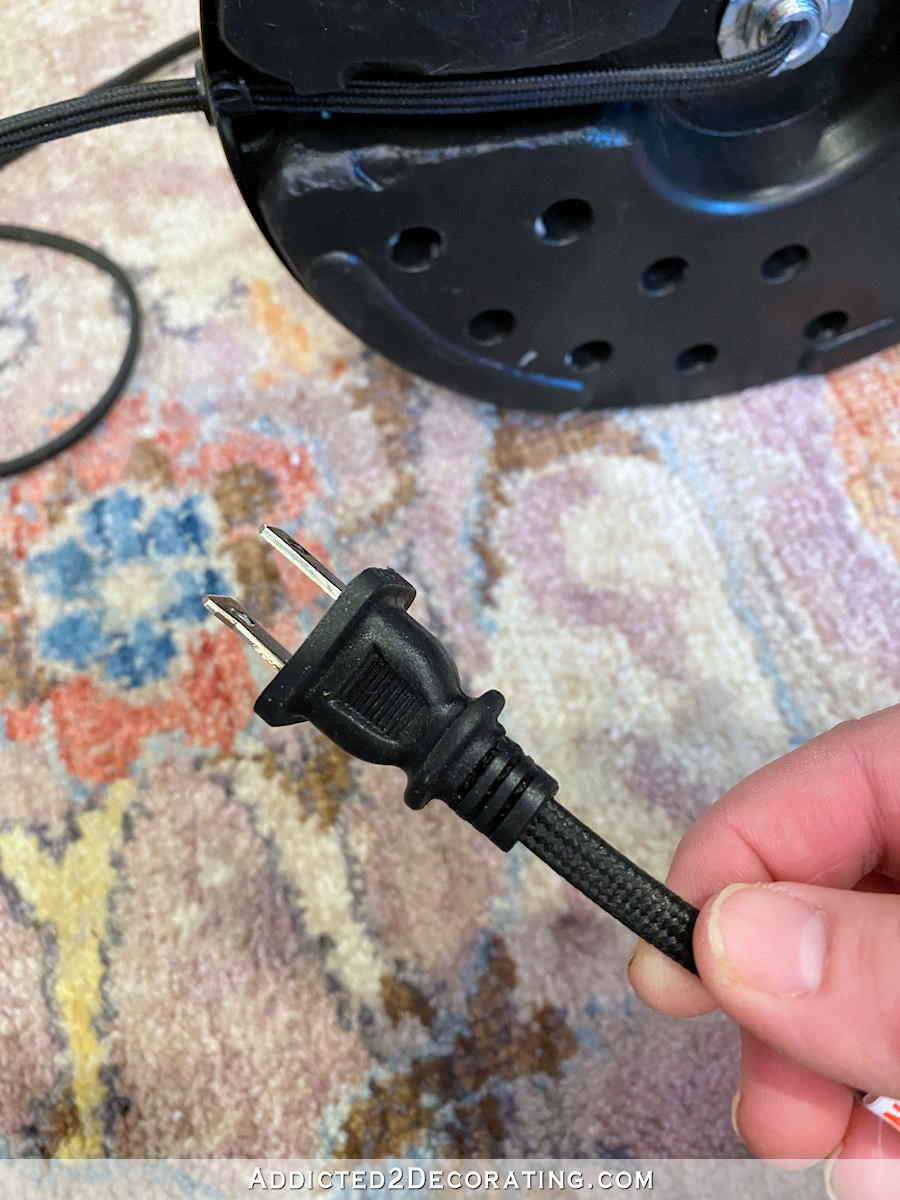
So I snipped off the plug, and then I was able to pull the wire though that hole in the lamp base.
Then I had to figure out what to do with all of that wire. I didn’t want to shorten it, because again, I could possibly need it in the future. So I unscrewed the vertical pole of the lamp, which came apart in three sections, and I doubled the excess wire over, and then fed it back up through the pole. There was plenty of room, so it wasn’t difficult at all.
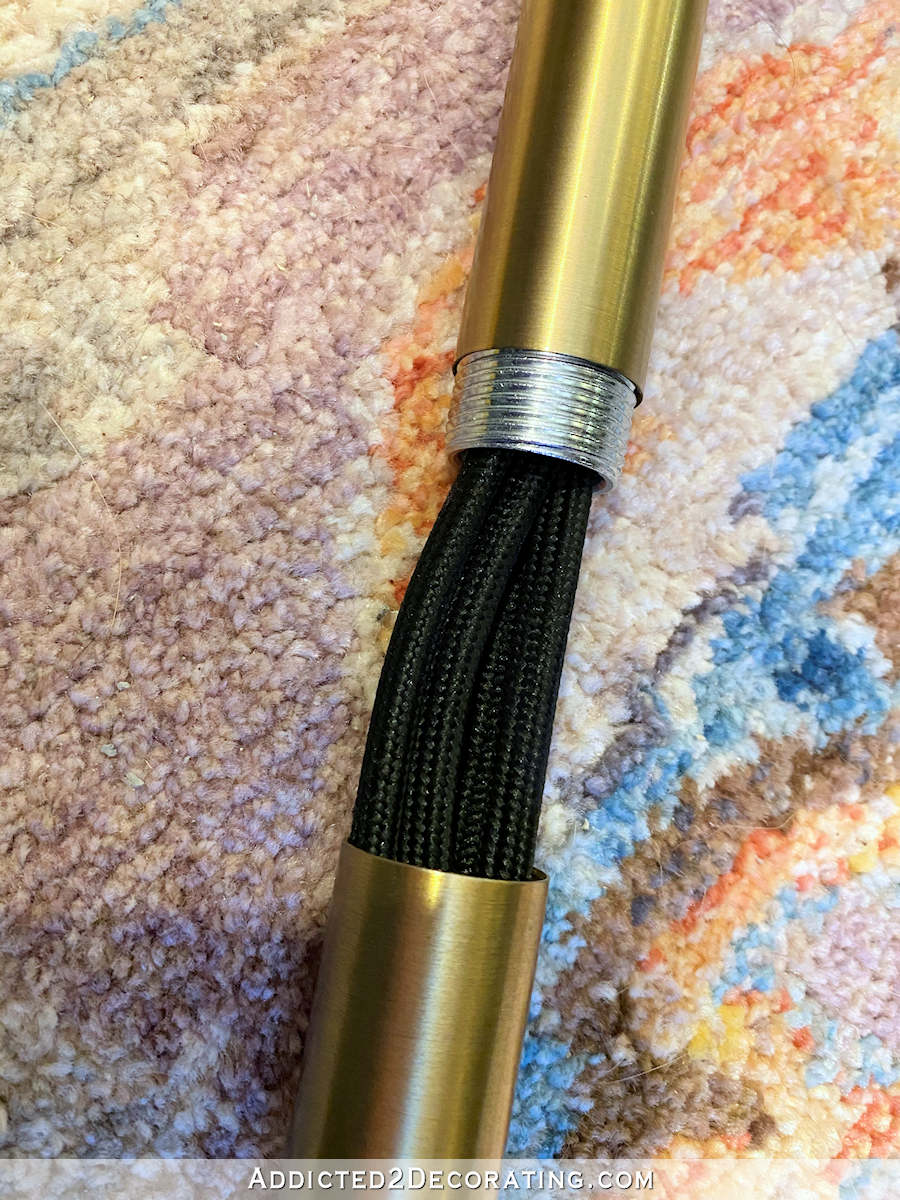
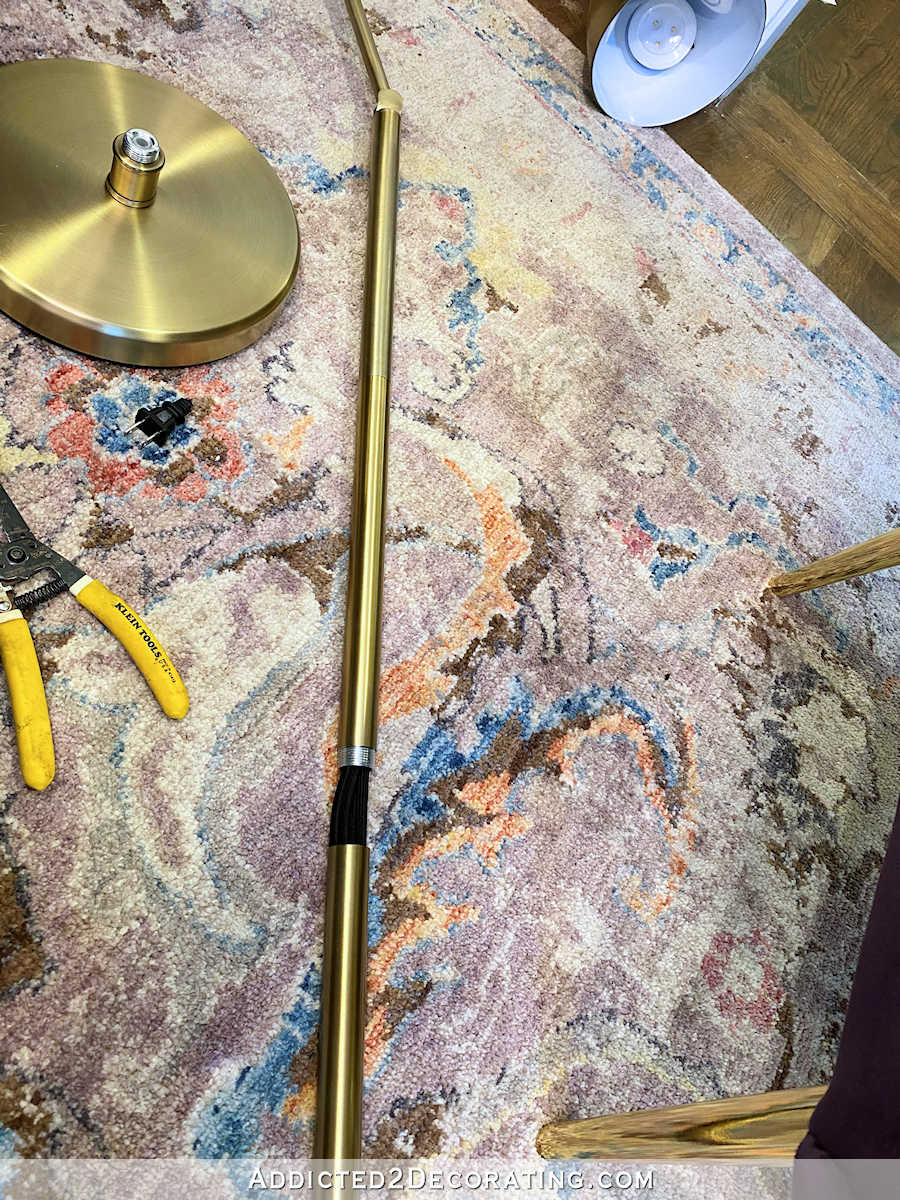
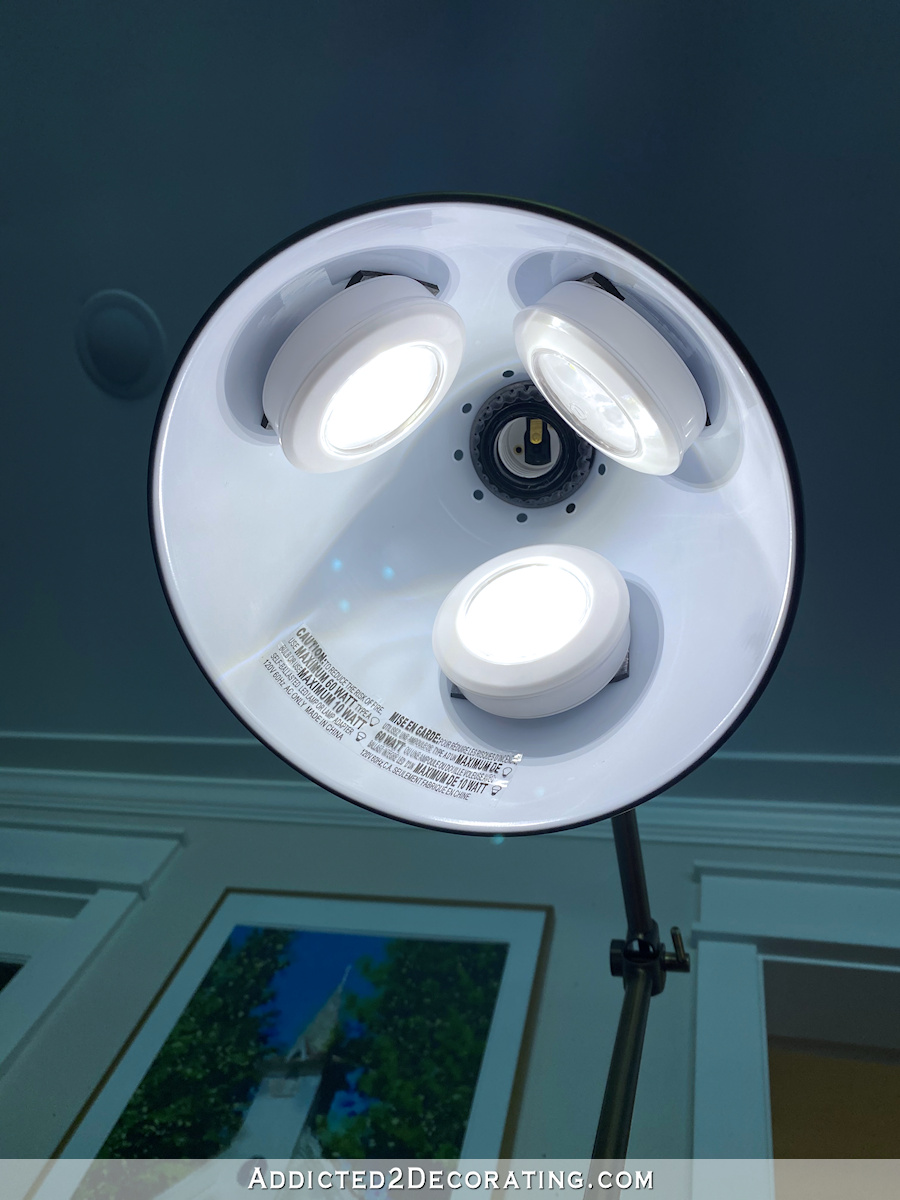
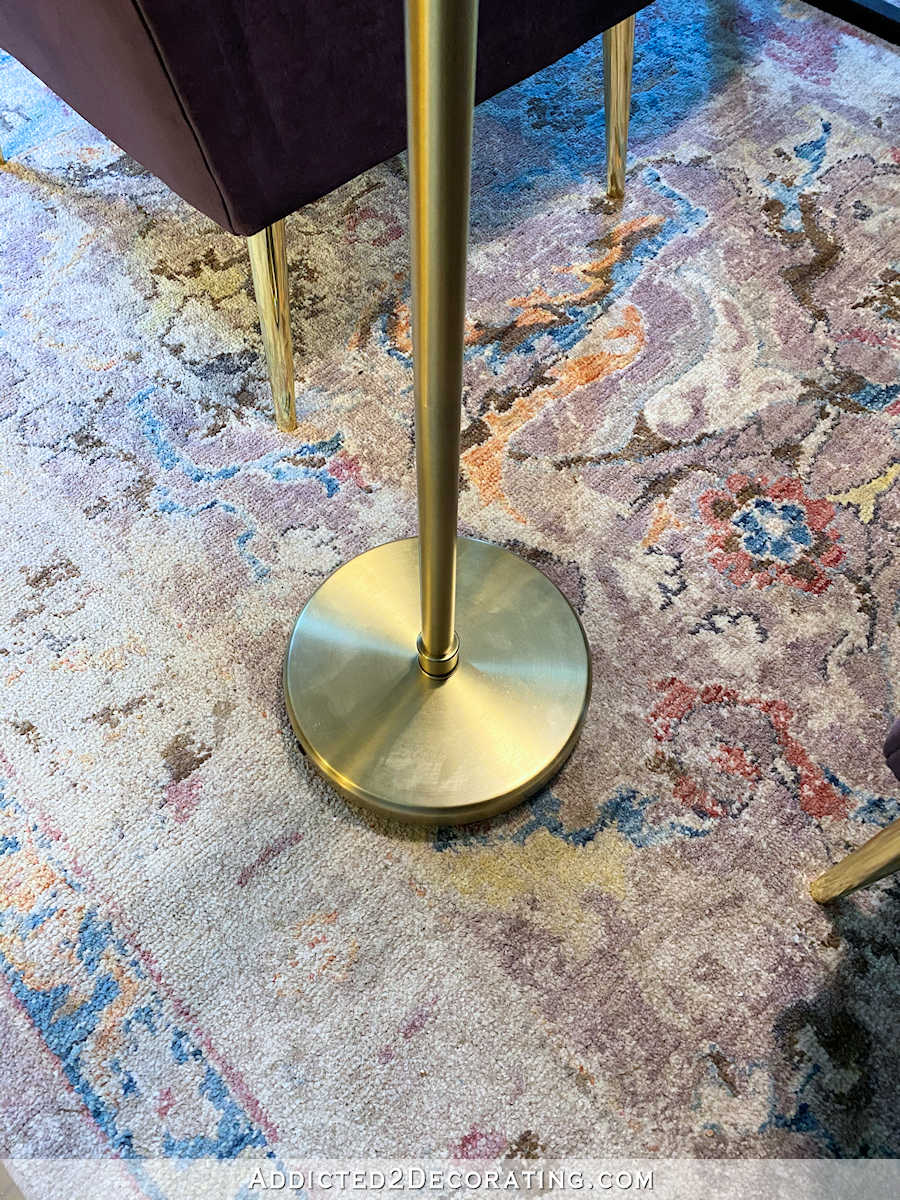
With all of the excess wire safely tucked inside the pole, I screwed the pieces back together, and screwed the base back on. And I had myself a wireless floor lamp!
And in a funny way, it’s almost like having a 3-way bulb in the lamp. I can turn on one light, two lights, or all three lights.
These little LED puck lights don’t put out as much light as you could get from a light bulb, but with all three of them on, I’d say it’s the equivalent of a 40-watt light bulb, which is plenty for this particular area. If I ever want to sit in here and read at night, I’d almost certainly choose to sit on the sofa where it’s more comfy, and where I’ll have brighter lights that can actually be plugged in.
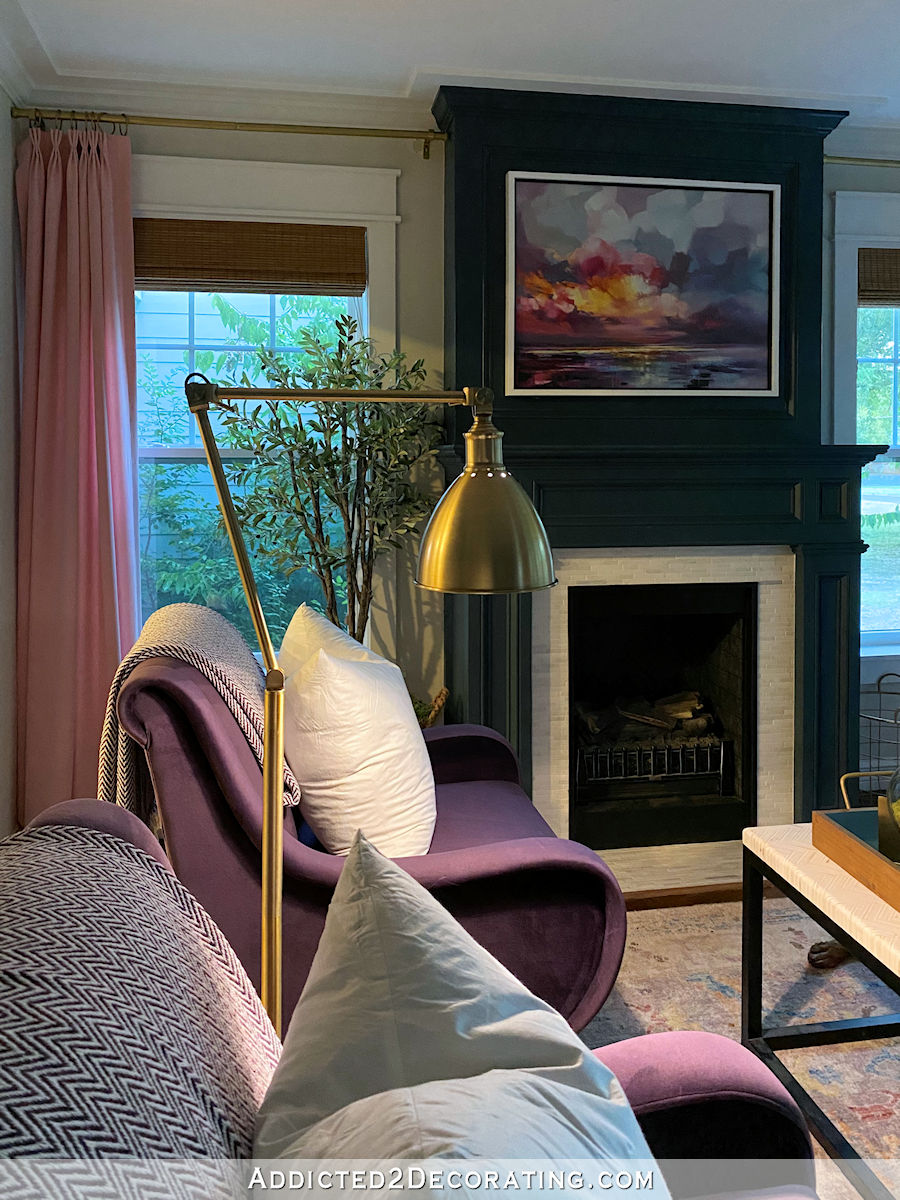
So slowly but surely, my living room is nearing completion! As you can see from the two photos above, I still need to make some pillow covers for those two white pillow inserts. And FYI, if you’re looking for down/feather pillow inserts, I bought those from ElemenOPillows on Etsy. I love the quality, and the price is good for the quality. I’ve purchased cheaper down/feather inserts elsewhere, but I’m pretty particular about the level of fill (I don’t like them too stuffed and firm, and I don’t like them underfilled and flat), so I was very pleased with these.
Just a few more projects to go before this room is done!

Addicted 2 Decorating is where I share my DIY and decorating journey as I remodel and decorate the 1948 fixer upper that my husband, Matt, and I bought in 2013. Matt has M.S. and is unable to do physical work, so I do the majority of the work on the house by myself. You can learn more about me here.

This is pure Kristi: thinking outside the box and coming up with a simple solution that would take me much longer to arrive at 🙂 thanks for sharing!
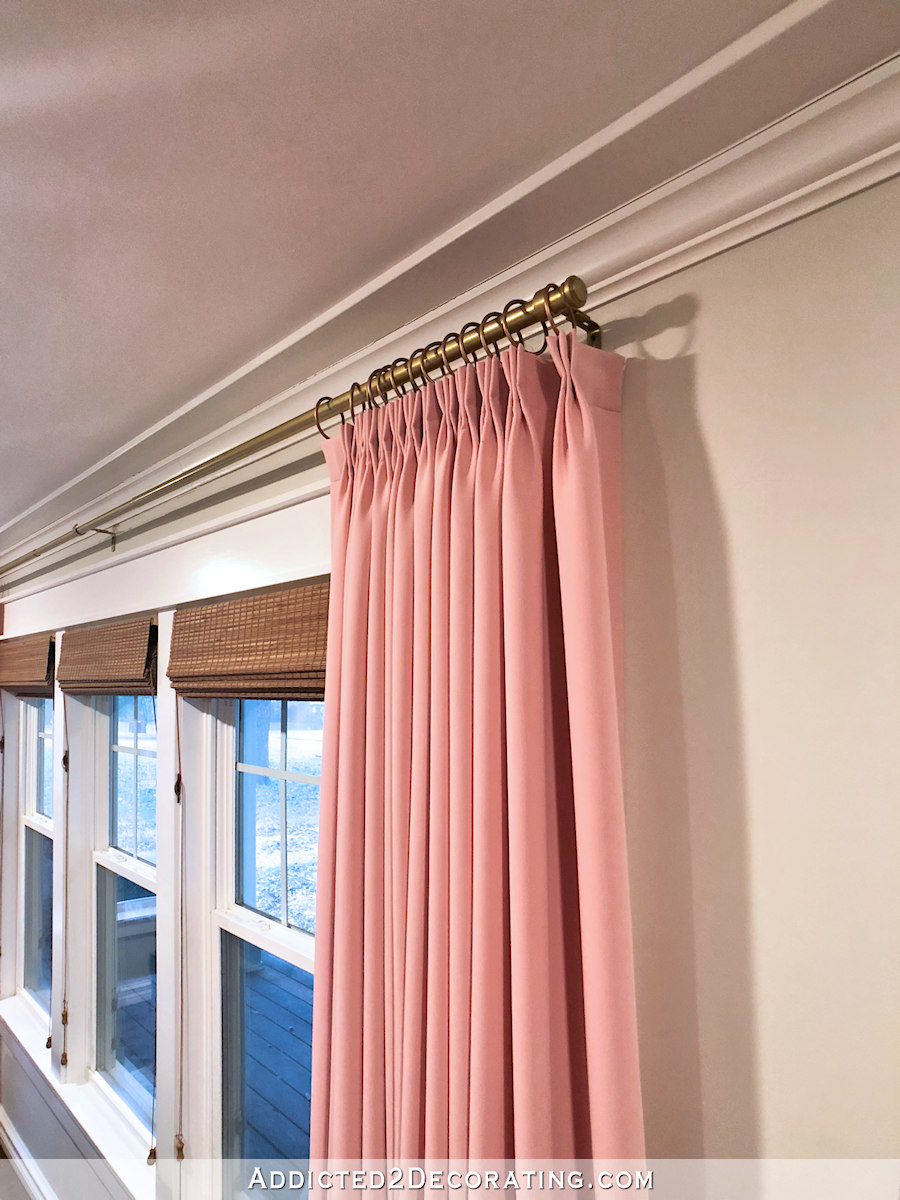
The room is looking beautiful and so unique. Those curtains make me gasp every time I see them.
great idea ……. so creative you are
I have never been a girly-girl and pink has never been on my color wheel 😉 When you decided on pink drapes in the living room (no less), I had a hard time imagining what that was going to look like. But, I’m liking your living room more with every new thing you do. The pink drapes are just enough. Question…..Are you going to put a small table between the chairs or are you just using the lamp? Enjoy following you and look forward to the rest of the house journey.
I will be using a small table, but I’m having a heck of a time finding exactly what I want.
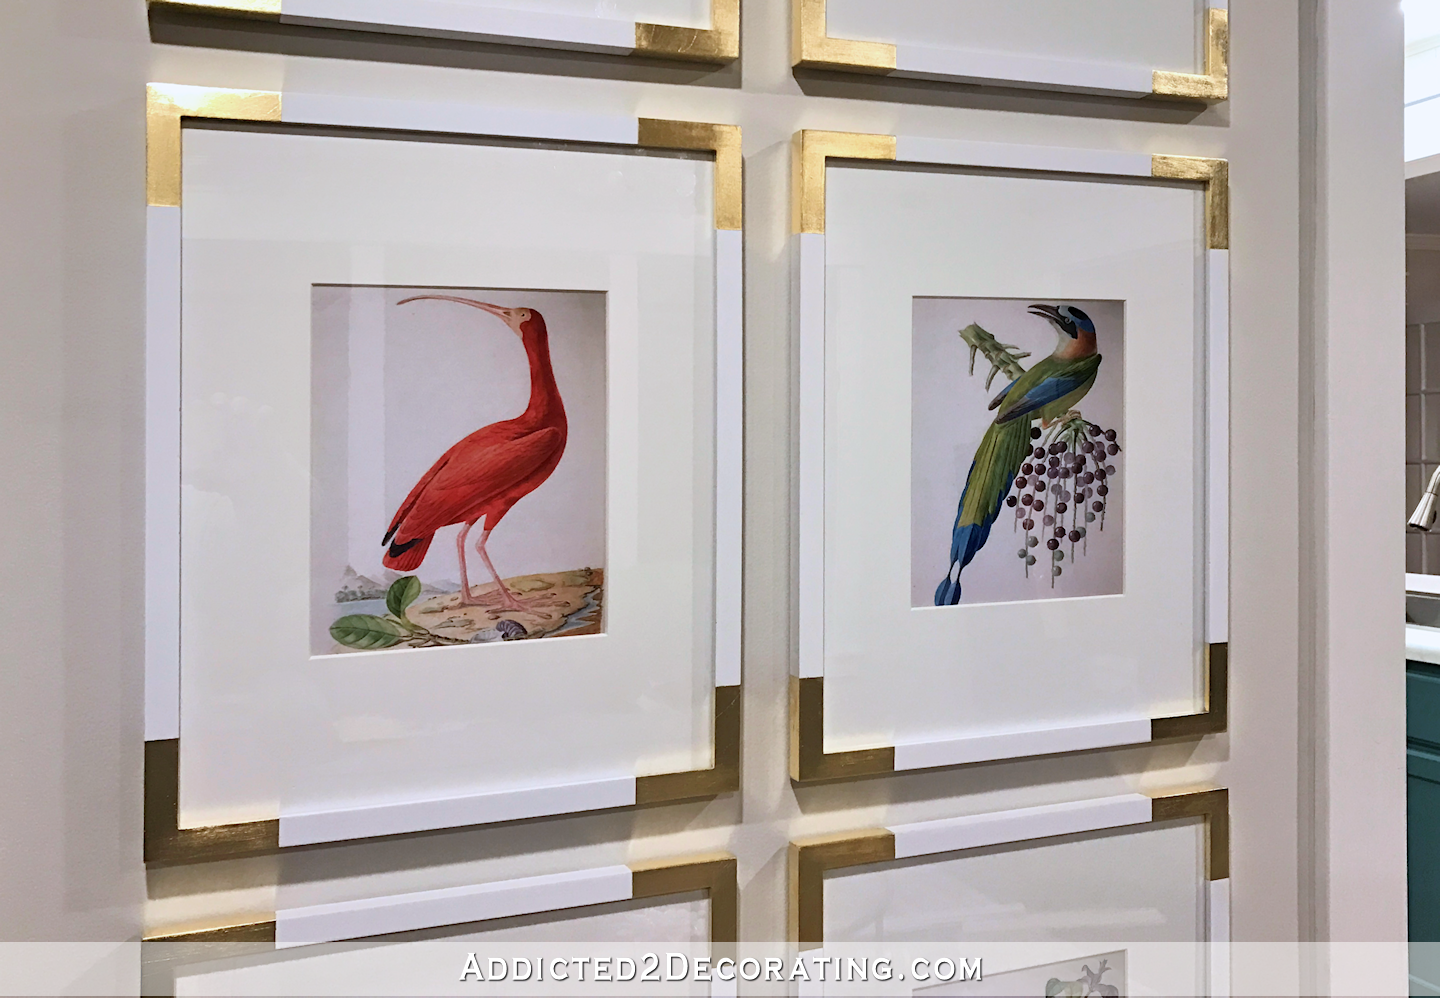
Genius, love this room it has come together beautifully. The new art work is perfect.
You should check out @nestingwithgrace for her “magic light trick“ that screws into the socket. Works great for wall sconces or small lamps.
I just looked it up, what a great idea!
After looking at the arm of the light, I can see why you went the way you did. I probably would have just unwired the socket and pulled that sucker out completely. However, rewiring that flex arm would have been a PITA at some point in the future. I learned something today! Thanks Kristi!
What a wonderful idea! I have kids running around here on the weekends and that is why I never was able to put a lamp by my chair. Hehe, now I can. Your space looks great.
I am loving this space! What a great idea to add a light where it isn’t easy to get one! In that last picture of your post, I’m seeing the side view of those purple chairs. I’m getting the ‘vapors’ just looking at those chairs! I have to go wipe the drool off my chin now!
I would have thought about wiring an outlet into the floor (you have crawl space, right?) and then abandoned the idea because of heat and bugs but I would never have come up with your genius idea! BTW, that white picture frame, looking towards the fireplace to see the lamp, would look great with a finish similar to the curtain rod and lamp.
If you hot glue them, how do you change the batteries? I had some that had to be used every night, and they ate AAA batteries like crazy. You probably won’t use that lamp as often though.
I only glued the backs to the shade. I can still twist the fronts off to change the batteries, and the backs will stay in place glued to the shade.
That’s what I was thinking, too.
It’s a great hack(?)
Everything is coming together nicely.
Another way to get nice feather pillow inserts is to look at Ross Dress for Less, or similar stores that sell home furnishings for discount prices. You can buy really nice feather/down pillows (usually with zippered covers) . I’ve bought some 18×18″ quality pillows for $12 or less. Then cover them with your own fabric.
Can I ask a question that’s semi related to this post?
I’m trying to turn a floor lamp into a wall sconce. I am making a plaque to hide a pancake box and route a cord safely out the bottom. In the pancake box, I plan to attach the part of the lamp I want to keep using a crossbar and covering with a canopy cover (surprisingly the finishes match). The cut wire is planned to happen in the junction box vs plug for minimizing small loose parts (more below).
Sadly the floor lamp portion attaches to an unfamiliar larger nipple thread. It won’t fit my fixture bars I have on hand. So I need an adaptor to size the it down, or buy a new plate with bigger hole. I think my lamp part is sized for 1/4 IPS threading, not the typical 1/8 IPS threading. I’m having a low-confidence-moment deciding to find a fixture/crossbar that will fit the larger threading, or get an adaptor. I see your floor lamp has a similar base like my floor lamp and probably the same size nipples. Do you have some guidance? Your cord fix & the pictures just renewed my motivation.
Why? It’s for a light to go in a baby’s room, there is a switch that operates a specific plug. We have a floor lamp, while old, gives out enough light when necessary. The kiddo is on the move and very curious. Their room is their space to chill, and explore not have floor lamps attack. Attaching a sconce-like base to the wall and covering the cord seems overkill, but a good idea. They’ve tried climbing this lamp once already so it can’t stay in the room unsupervised. Also this is a somewhat temporary thing that can get replaced later, I didn’t want to sink a ton of $ for a light that may only get used for a few years.
Try Grand Brass.com. They have a ton of lamp parts. Good customer service. Good luck!
Kristi you are a genius! What you did with that cord had me bowing down to the Queen of amazing ideas.. You are my #1 go to for anything I need to learn, and you’ve never let me down! I am going to do the gray small tile on my fireplace when I get brave enough. Thank you for sharing your wonderful skills with us <3
That was a surprise! I assumed that lamp, which I love, was going to be a reading light on one end of the sofa and you would have wall sconces flanking the spoon art on the wall behind the chairs.
For the table you could have a small round set on a tripod of legs. I have a camp stool that has a ring around the legs that lets them splay out at the top to hold the seat and the bottom for a sturdy base. I have also seen designs with a disk with angled holes to hold and splay the rod legs.
Genius!
Did I miss a post about the gorgeous artwork above the fireplace? Did you paint it? It is perfect.
You can see more in the last post:
https://www.addicted2decorating.com/how-to-resize-and-frame-canvas-artwork.html
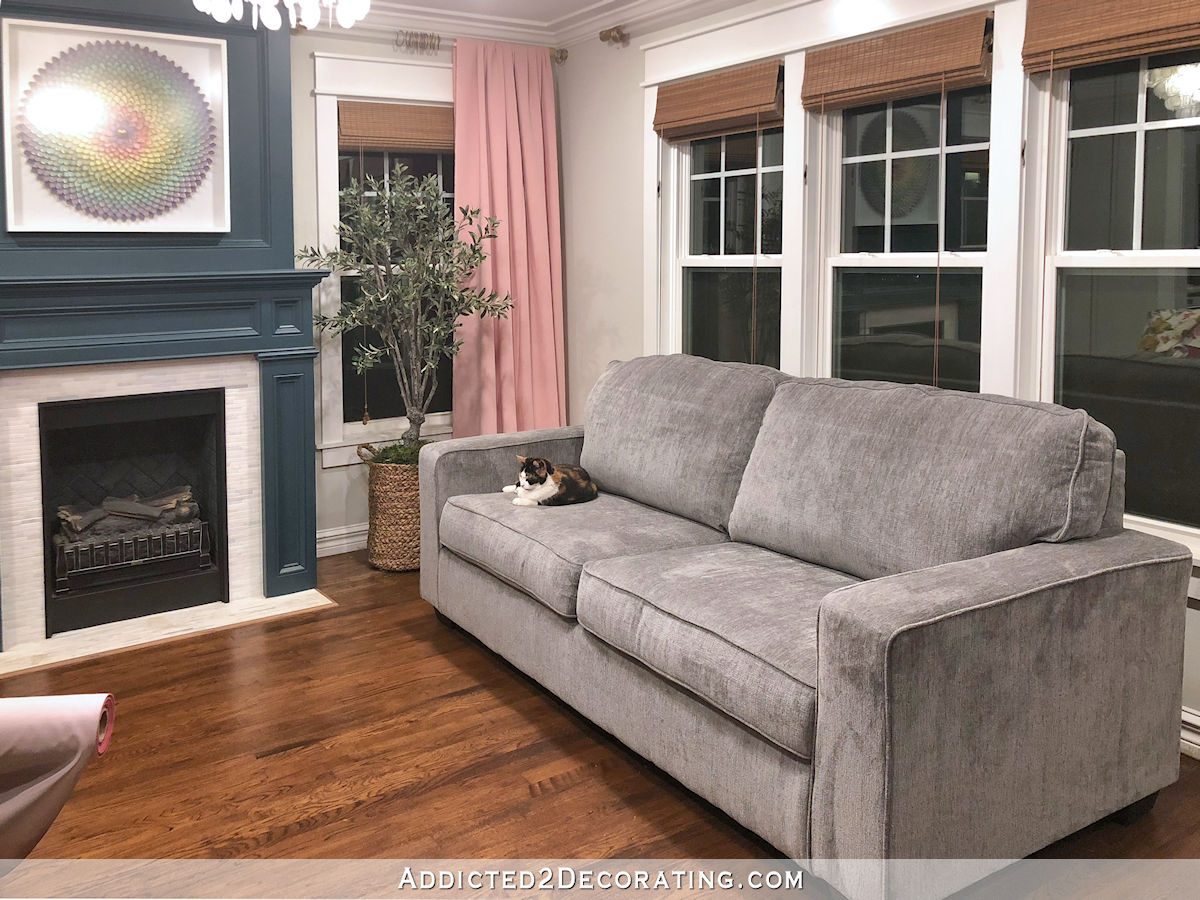
Kristi, this really is a lovely room. Yep, the lamp idea was genius. And now I see how at home the gold legs of the chairs look. The art piece brings it all together. Well, I guess the floral fabric will come to rest on some pillows too. I agree with so many people who commented on the pink drapes. I can just imagine how happy you will be to host friends and family when that day comes. Meanwhile, the furry folks can pick their spots to lounge. Hi to Matt.
I think the furry folks have already made themselves at home! If you look closely, you can see a paw sticking out from under the coffee table! Just like my 2 boys, always wanting to be where the action (or Mom) is! The room is looking beautiful!
I love how you were able to fit the cord inside the lamp itself! No extra stuff to store, and no looking for it and wondering it it’s this one or another one!
You living room is coming together nicely!
So pretty and inspiring. These step-by-step pictorials should be considered a contribution to the greater good. Frames for mid-to-large size canvas are expensive and it’s cool to see a way to do this without paying $500 for framing. It’s fun to follow along.
This is genius! So grateful I came across your site. I have a lamp on my table that I can not use because it is not plugged in. It sits there only serving aesthetic purposes. I am so excited to have an option now. Thanks for sharing your creativity.
Thank you Kristi, once again, the best instructions for people like me who do not like to have surprises. You just saved me at least two hours.