A BIG Project On The Horizon!
Remember in my last post how I said that we had signed Matt up for home health services, and how I hoped that would get Matt some quality professional medical and physical therapy help while freeing up some time for me? Well, that didn’t happen last week. After four different intake meetings on four different days with four different people in four different positions (intake nurse, physical therapist, occupational therapist, and Matt’s regular nurse), Matt and I were both so exhausted.
Hopefully things will start to get a little easier as we settle more into a regular schedule with them, and as Matt continues to improve and doesn’t need me to help him communicate with people anymore. (His speech was greatly affected by his being sick, but it’s getting better each day.) But all of last week, I kept wondering how in the world I was ever going to get any work done. We are very thankful for the extra attention he’s getting, though. And he and I are very excited about the occupational therapy and physical therapy he’ll bet getting on a regular basis.
So we had a steady stream of people through our house last week, and very soon we’ll have a whole different kind of stream of people through our house, because we’re about to get started on the master bathroom!! WOOHOOOOO!!
Let me back up to the beginning for those of you who may be new around here, or who may have forgotten the plan.
(Note: If you’re reading this post on any website other than Addicted 2 Decorating, that means you’re reading on a site that is stealing my blog content. I hope you’ll consider joining me on my actual blog by clicking here.)
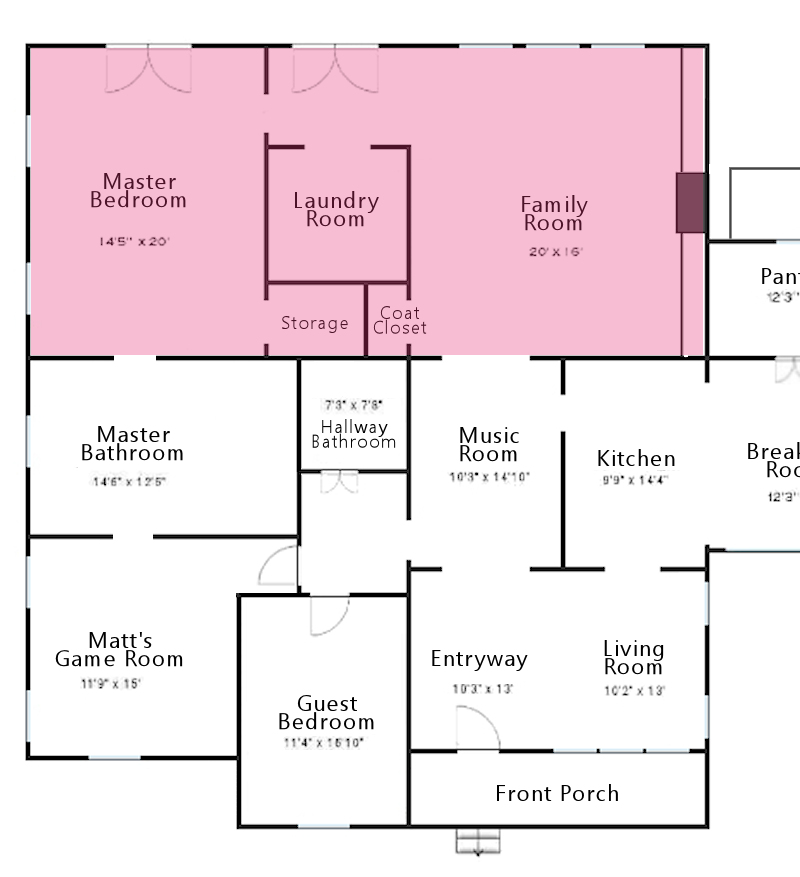
When we bought our house, it originally had a moderate-sized master bedroom with a ridiculously tiny master bathroom. In fact, I think the original walk-in closet attached to the master bedroom (just to the left of the hall bathroom on the floor plan below) was a bit bigger than the original master bathroom. You can see that whole area on the left side of this original floor plan that I did several years ago.
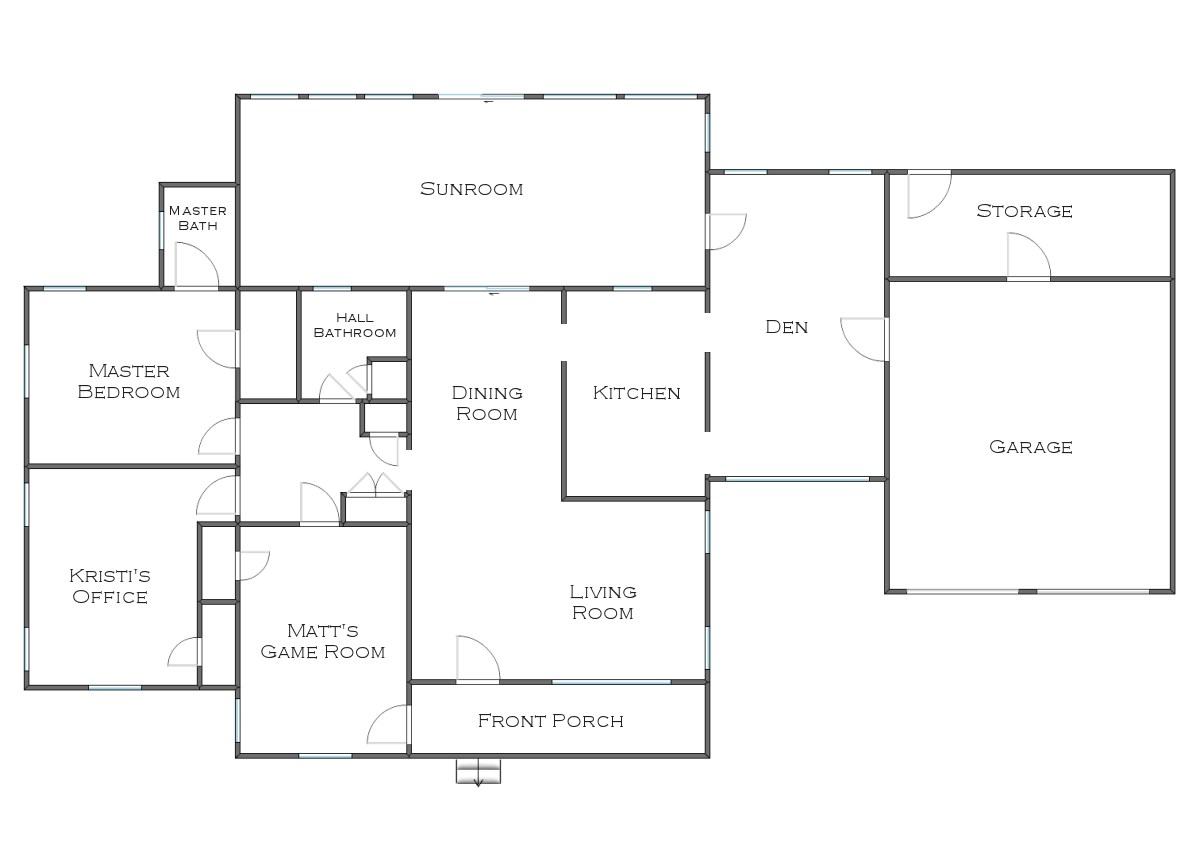
At the end of 2019, we had our contractor completely re-drywall the home gym (labeled “Kristi’s office” on the floor plan above) and the guest bedroom (labeled Matt’s game room above), as well as take up the flooring and subfloor in the hallway and replace the subfloor (due to this awful incident).
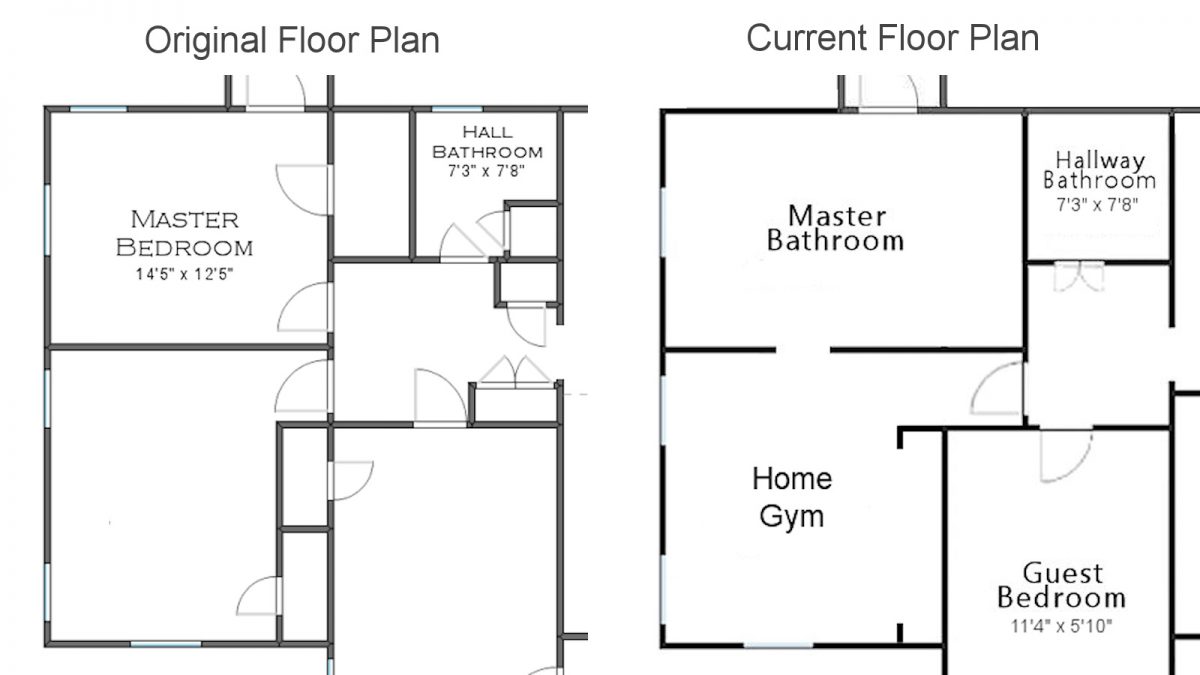
While they were doing those things, we also had them remove the walls that separated the master bedroom closet from the master bedroom, and then square up that room by moving that left wall of the hallway to make the hallway smaller and the master bedroom (i.e., future master bathroom) square with the remaining wall of the master bedroom walk-in closet.
That’s a whole lot of words to describe the change that you can see in the original and current layouts here…
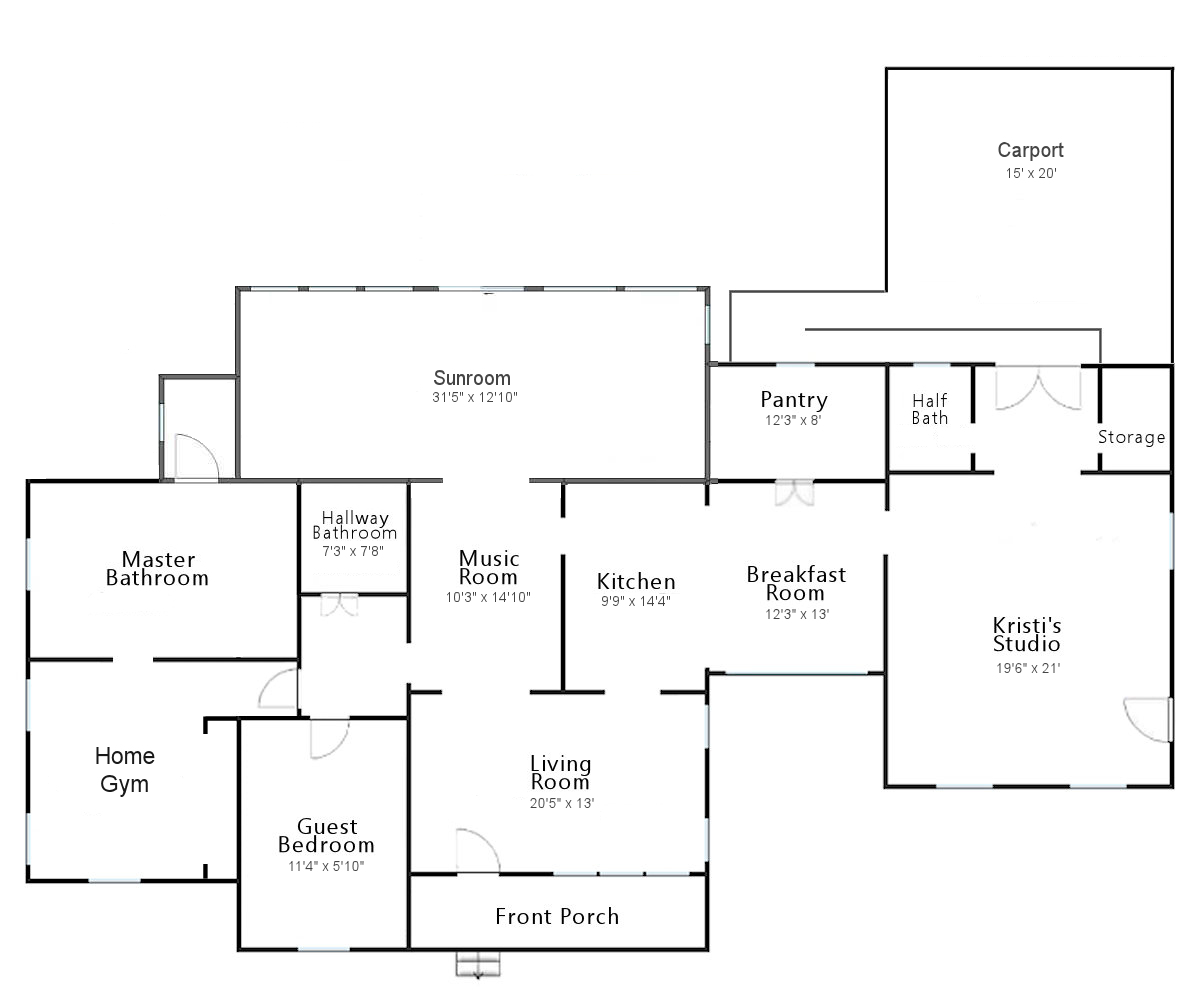
So the whole current floor plan looks like this…
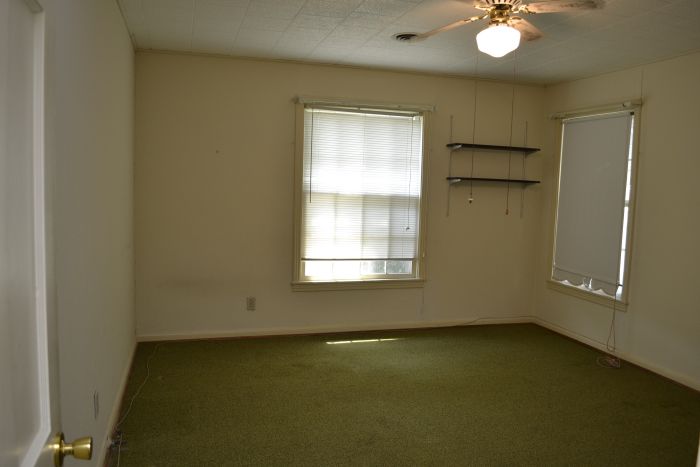
Here’s what the original master bedroom looked like from the hallway.
But now there’s no doorway going from this room to the hallway. For a while, the only entrance into this room will be through the home gym. But when we build the addition on the back of the house, there will obviously be a doorway going from the new master bedroom into this room, which is about to become a master bathroom. Here’s what that will look like…

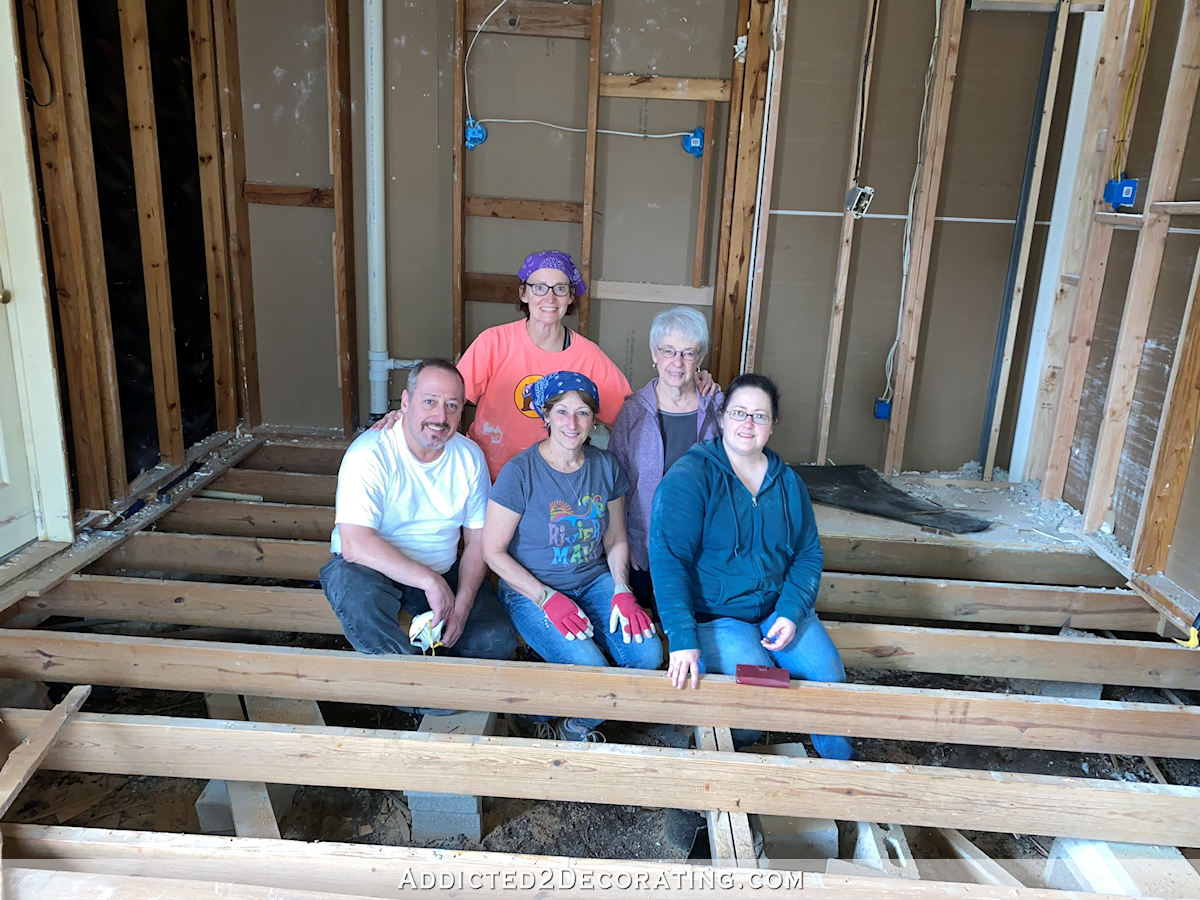
I don’t know how long it will be until we can do that addition, but for now, we’ll focus on the master bathroom (formerly the master bedroom). In January of last year, before we all realized just how insane that year was going to become, my family came over and helped me tear the room down to studs, floor joists, and wall joists. If you want to see many more before and after pictures from that day, you can click here to see those.
But here’s a good idea of how the room looked when we were almost finished.
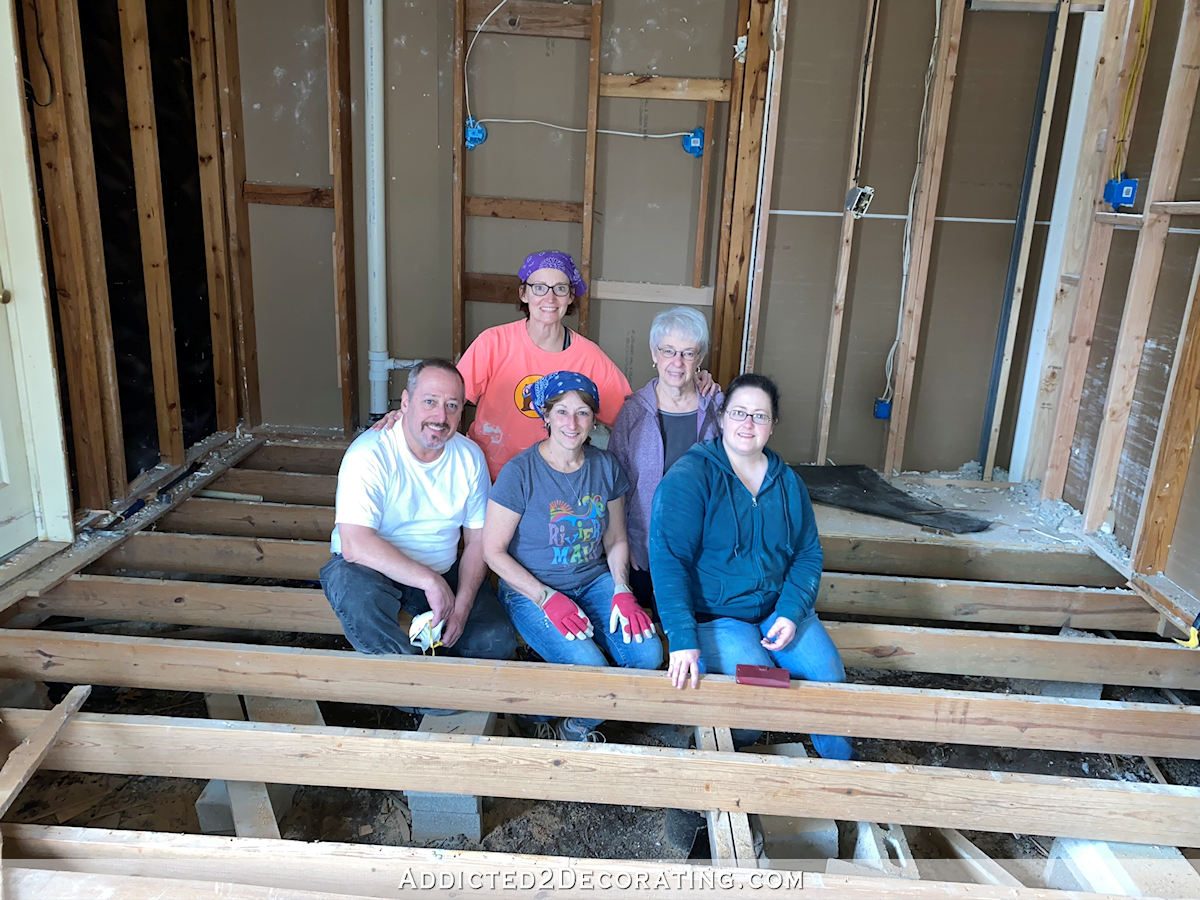
To help you get your bearings, the left side of that wall behind us is the shared wall between this room and the hallway bathroom. The right side of that wall is where the doorway from this room into the hallway used to be. The door that remains (and that’s barely visible on the left side of that picture) is the door to the original master bathroom.
So that’s where the room stands today — stripped down to studs, floor joists and ceiling joists. The plan had been to get this room done last year, but…well…we all know how 2020 went for everyone. So now we’re about to pick up where we left off, and I couldn’t be more excited!!
Here’s the basic idea of how the new master bathroom will be arranged. (W/C is water closet, not walk-in closet.)
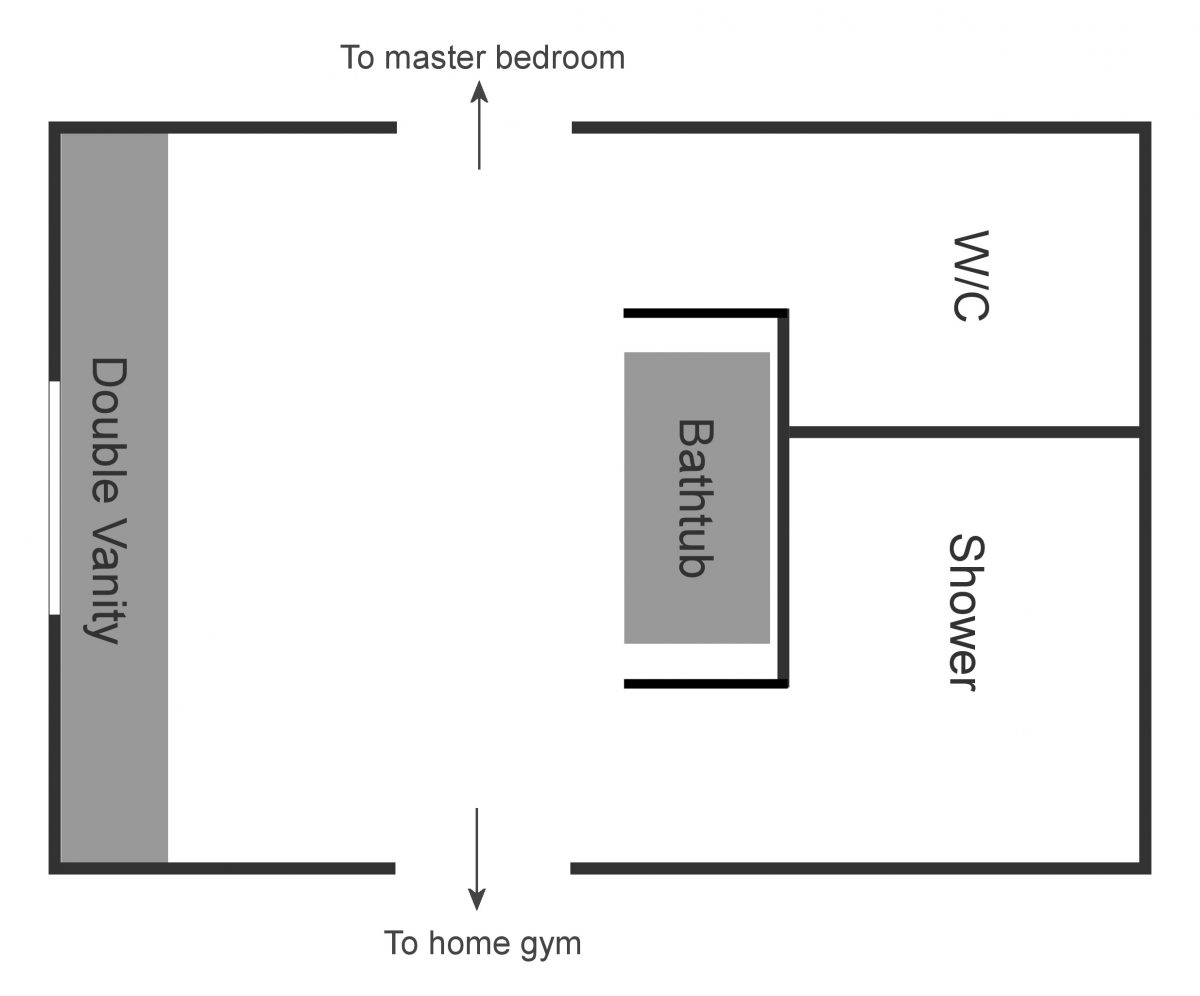
Before all of the craziness of the last three weeks happened (me getting the flu, Matt getting the flu, Matt going to the hospital, etc.), I spoke to our contractor and we were about a month out. By my calculations, that means we should be about a week away, but since I’ve been out of commission for three weeks and haven’t had any time to focus on the details of the bathroom, I imagine that will be pushed back just a little bit so I can kind of catch my breath, make some decisions, and get some products ordered.
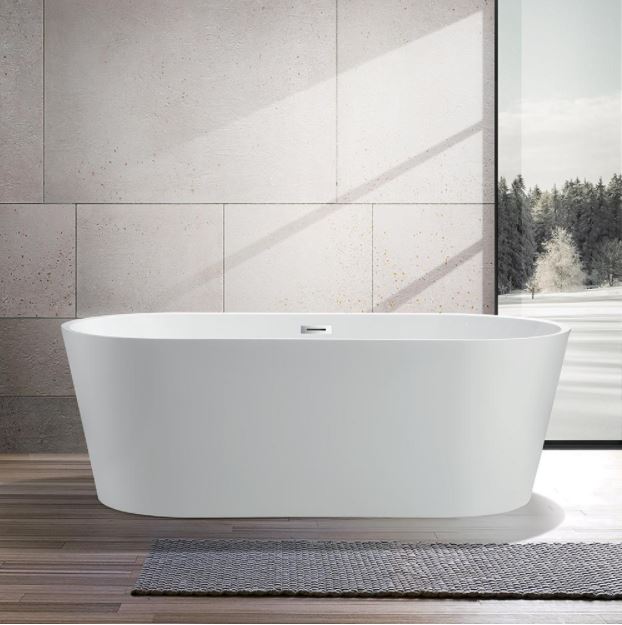
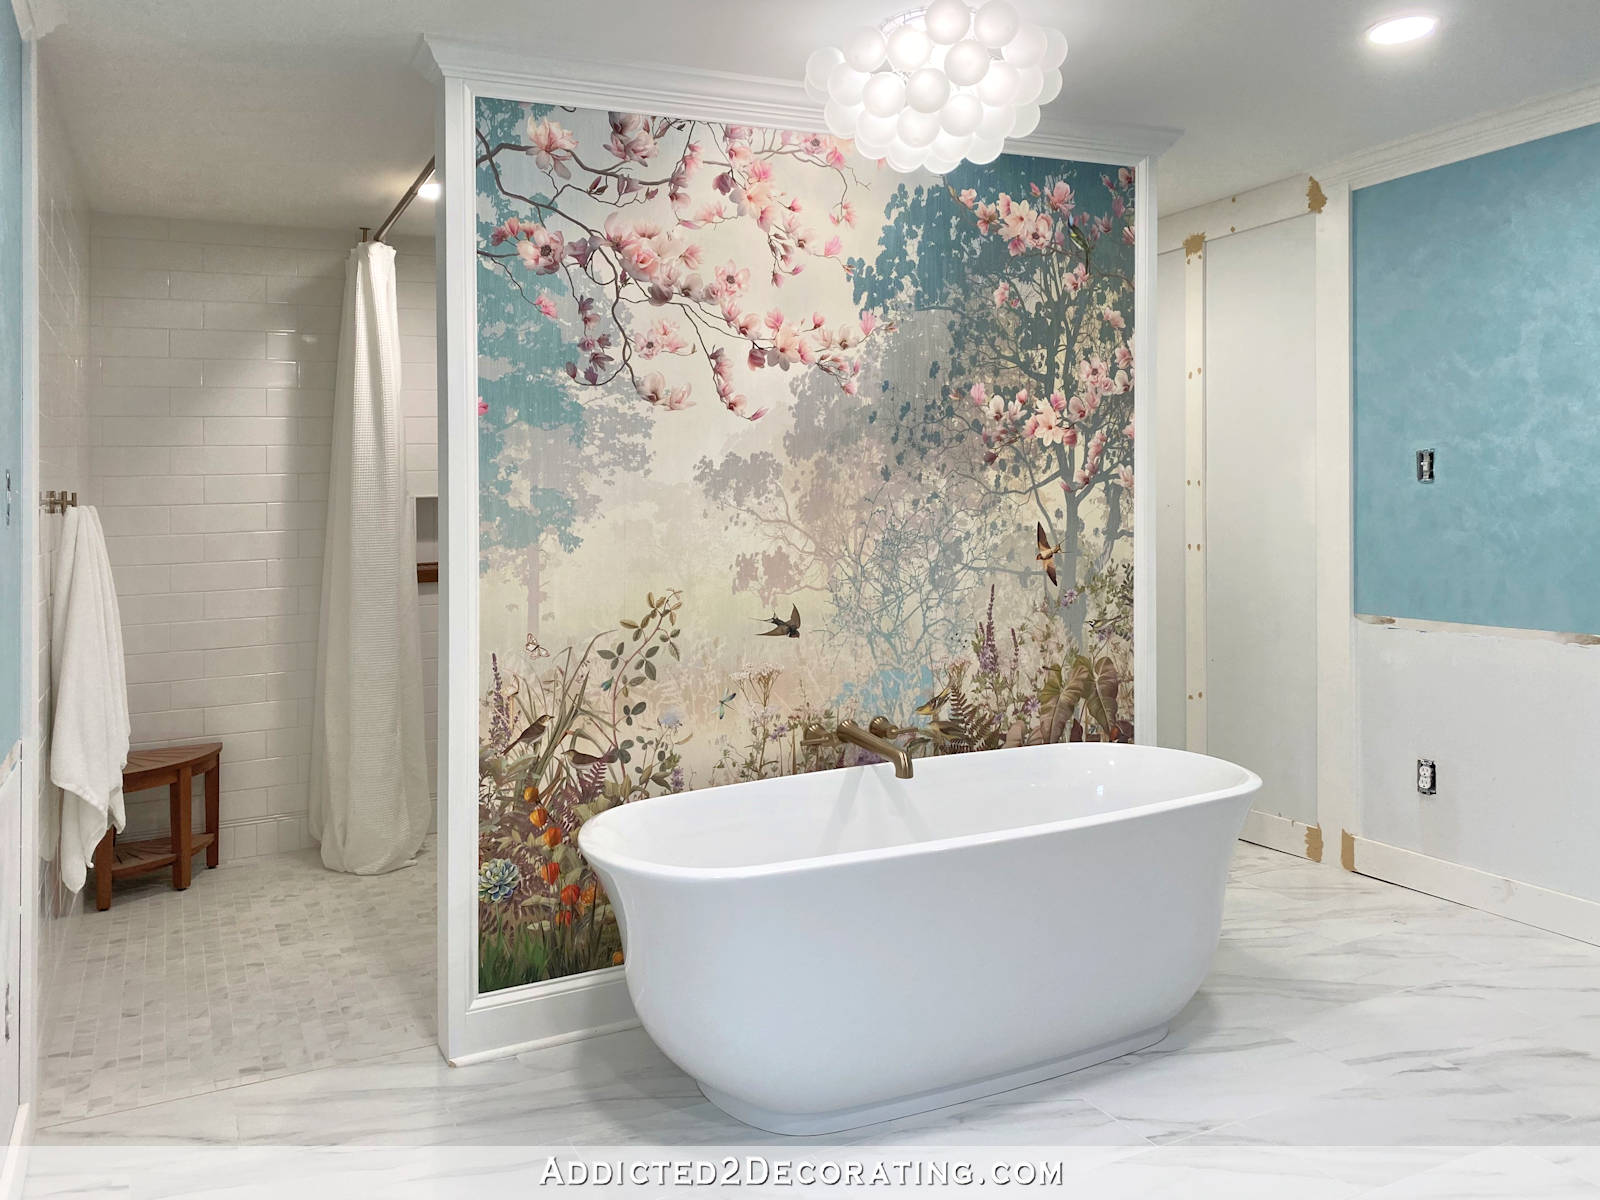
The only thing I know so far is that I want this bathtub from Home Depot…
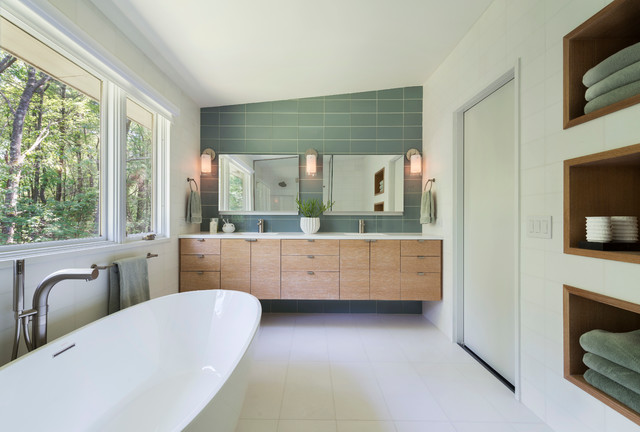
I also want a wall-mount faucet for the tub rather than a floor-mount. And I think I want white oak cabinets, which would be this color…
I’m not 100% sure on that, because y’all know how much I love painted cabinets. But whether natural wood or painted, I’ll be building the vanity and cabinets myself.
So needless to say, I have a whole lot of decisions to make in the next week or so, because I need to get stuff ordered and on the way to us! This should be fun! And I’m so excited to finally have this project (almost) underway for Matt’s sake. It will be such a drastic change having a bathroom with lots of space and a big, curbless, accessible shower that he can easily use. This will make his life so much easier!
Addicted 2 Decorating is where I share my DIY and decorating journey as I remodel and decorate the 1948 fixer upper that my husband, Matt, and I bought in 2013. Matt has M.S. and is unable to do physical work, so I do the majority of the work on the house by myself. You can learn more about me here.


Good Luck! I can’t wait to see the progress!
I’m looking at the vanity, I was thinking you could make it so the double doors open up so Matt can get closer to the sink. They could be closed when not in use or just omit them completely. A handicap sink would serve him well.
So happy for you both that this is taking place, life will be a bit easier for you both, plus I get a thrill watching you build!
Excited! Look into how much space the fixtures and materials will take up as you complete this. You may have already done this enough with previous de-cluttering, but can’t remember. Make room in the sunroom, or even renting something for storage. Think of it as an investment in less time moving/finding things.
Great decision–I never understood why the bathroom wasn’t higher on your priority list.
Yay! Happy for you two! Good Luck!
Fantastic! This is a much needed room for Matt and will probably come in very handy with his increased therapy schedule.
I happened to see this post of facebook, but didn’t get an email. Are you still sending them out? I love to see the progress and that Matt is getting extra attention!
Kristi I have that tub or one very similar. My faucets are centered on the tub and I hate that. If you are going to put it on the wall still put it as far down at the end as you can. While I am in the tub I want to add hot water while soaking and it comes out on my upper legs rather than at my feet and scalds me . There is a reason faucets are at the end of tubs . I found this out the hard way