Bedroom Decorating & DIY | DIY Before & Afters | DIY Projects - All | Girls Bedroom Decorating & DIY
Bailey’s Bedside Table:: Before & After
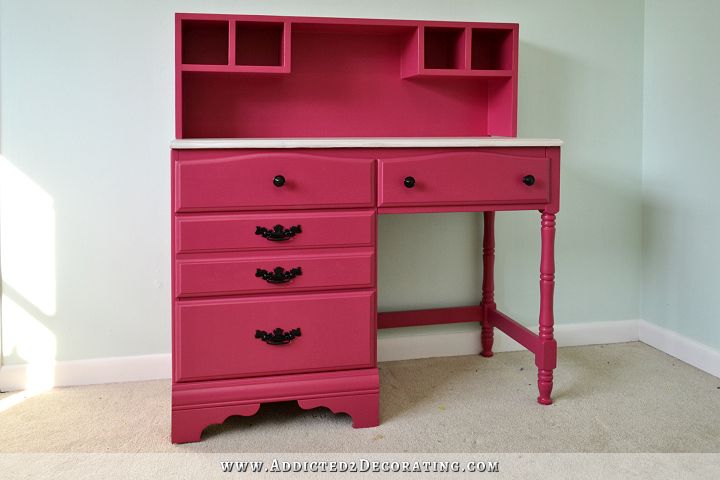
Do you remember this bedside table I bought at Goodwill for Bailey’s room?

Yesterday, it underwent a bit of a transformation. I started out by using my electric sander on all of the flat surfaces just to remove any rough areas and to give it some “tooth”.
I finished up the sanding by hand since there were so many grooves and details that couldn’t be reached with the electric sander. (I really need to invest in a detail sander!!)
Next, I applied a couple of coats of primer. I used to be very partial to the Kilz brand spray primer, but I’ve started using this Rustoleum, and I really like it. It’s cheaper than Kilz, it coats nicely, and does a great job.
I learned yesterday that when painting with yellow paint, it’s imperative to start out with the piece really well-coated in primer. Any drastic variations in primer (if there are some spots that aren’t covered well and allow the original finish to show through), the yellow probably won’t cover it well. With darker colors, and especially black, this is never an issue.
The color I used is called Warm Yellow by Rustoleum. This Painter’s Touch is my favorite kind of spray paint to use.
I really like this yellow. It is bright and cheery, without looking fluorescent.
Now because I really wanted this table to look youthful, and the finish to look a bit modern, I finished it off with two coats of high gloss lacquer spray.
And here’s the finished piece!
I ended up keeping the original hardware on it, and I even kept the original finish. Well, I did put a coat of lacquer on them just to brighten them up a bit.
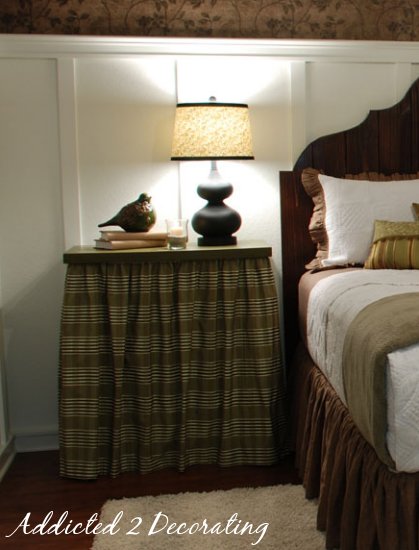
I can’t wait to see it in Bailey’s bedroom! It’s going to go right beside her bed, in place of the little silver table.

I think it’s going to look great!
Here’s one more view of the before and after.

Addicted 2 Decorating is where I share my DIY and decorating journey as I remodel and decorate the 1948 fixer upper that my husband, Matt, and I bought in 2013. Matt has M.S. and is unable to do physical work, so I do the majority of the work on the house by myself. You can learn more about me here.

The miracles of spray paint! That is a great yellow…very buttery. I'm surprised you can get that color in a spray. Can't wait to see it in place.
Great transformation
Wow, awesome transformation. I have a question….when you are done sanding, do you wipe it down with a dry cloth or vacuum the sanding dust off or what? Thank you. Love that color by the way!!! –Laurie Moss
Laurie, my favorite method for removing the dust is to brush it off with a dry paint brush.
I'm not a fan of tack cloths, and dry cloths just seem to push the dust into the cracks and crevices. A dry paint brush actually gets into the cracks and crevices to remove the dust.
Wow, it's beautiful! I can't believe someone tried to ruin that table, it's just gorgeous!
That is beautiful! Great job!
Beautiful transformation…..
Looks fabulous!!! How come I can never find anything good when I head to Goodwill? Grrrr.
Try Saint Vincent de Paul!
That's going to look beautiful in that space! Just the right pop of color against that striking blue wall!
Your details of exactly what you did and what products you use is great. For someone like me, who is learning to do what you do, your step by step account is right on target. Thank you
P.S. The table is beautiful.
I love it. What a wonderful transformation. And i love the yellow. Thanks for the great tutorial on it.