Reupholstered Cane Chair With Tufted Back
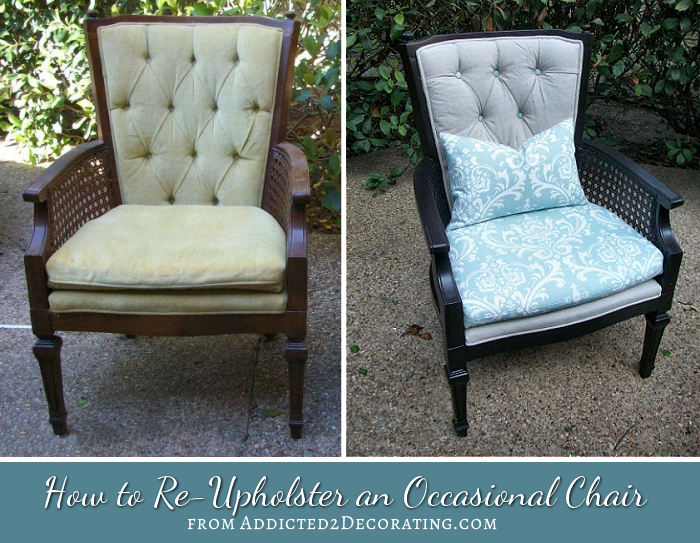
Happy Monday to you! I hope you had a great weekend. I worked on upholstery projects all weekend, just as I said I would. I only got one chair completely finished. Well, it still needs a pillow, but all of the upholstery parts are done.
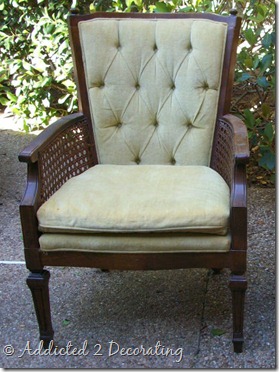
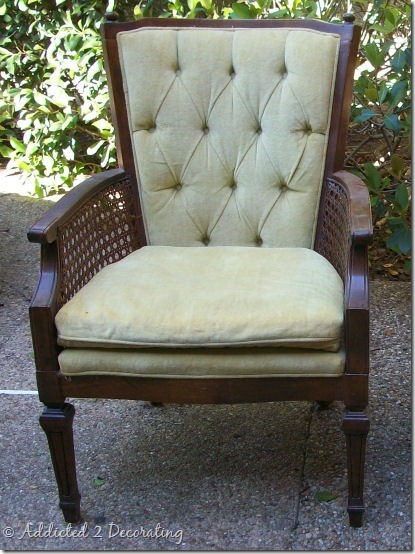
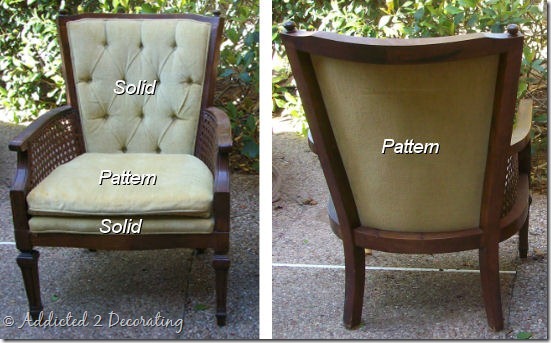
Remember how these chairs started out?
Honestly, they weren’t terrible. I joke about them having brittle, crunchy, old velour fabric, but really the fabric wasn’t in terrible shape. The color was just a bit…well…GOLD for my taste, and they wouldn’t have worked in John & Alice’s family room with the gold fabric. So they definitely needed a makeover.
And I stuck with my original plan, also.
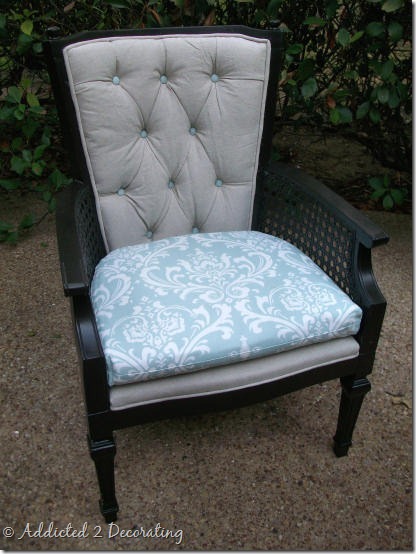
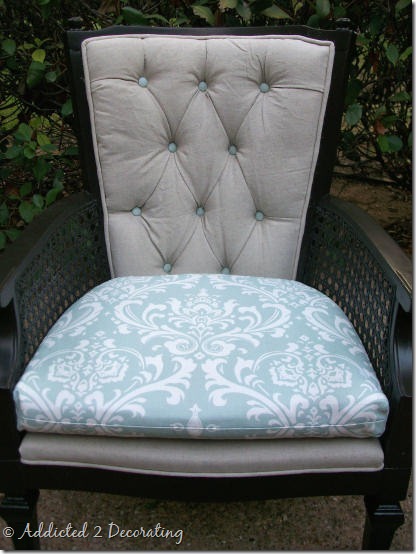
Here’s how it turned out…
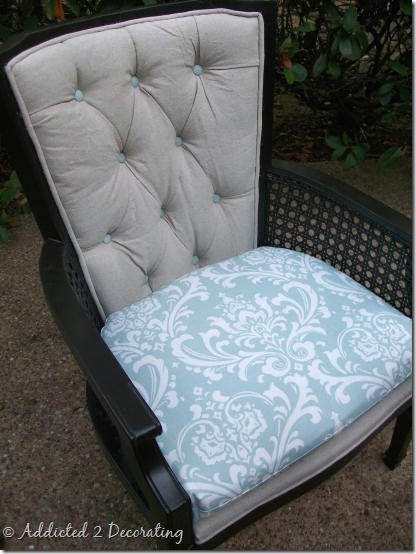
It’s definitely an improvement, right? I love damask fabric, and the color of this one is so pretty.
I still need to make a little lumbar pillow for each one, which will be out of the damask fabric also.
Now I know that many of you are interested in learning how to do the tufting. I promise that a DIY tutorial is coming, but you might have to wait until next week for it. But I promise, I’ll get it done! I took many pictures of the process so that I could show you.
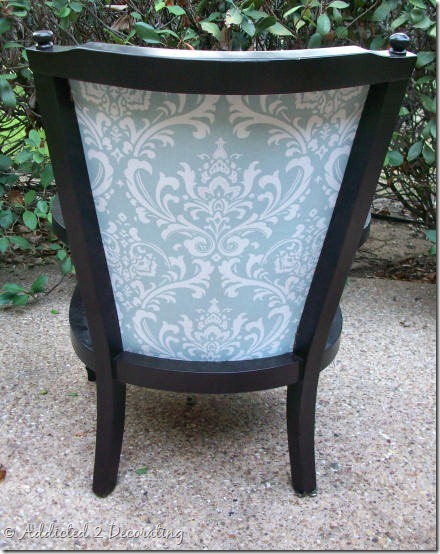
And here’s my favorite part…the back…
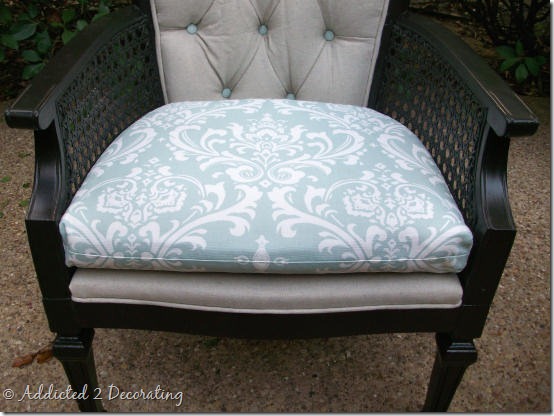
There were only two things I left off off of the chair from the original. The first was a bit of cording on the front of the seat cushion. I just really liked the way that the fabric pattern met (almost) perfectly, so I left the cord off.
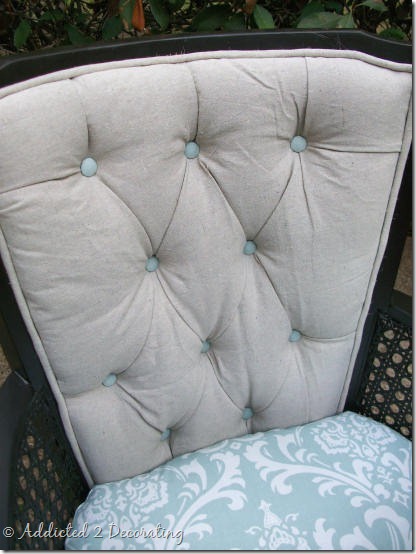
And I also left off two buttons from the back. This actually wasn’t intentional. I didn’t realize that I skipped right over them until it was too late, and there was ABSOLUTELY.NO.WAY. that I was going to take the back off just to add two more buttons (which are blue, by the way…can you tell?)
So, once I get the lumbar pillow finished up, this thing will be officially complete (and the seat cushion will make a bit more sense).
But for now, this is what I have. You’ll see the whole thing, with the lumbar pillow, once John & Alice’s family room is complete.
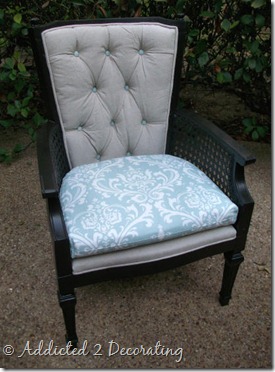
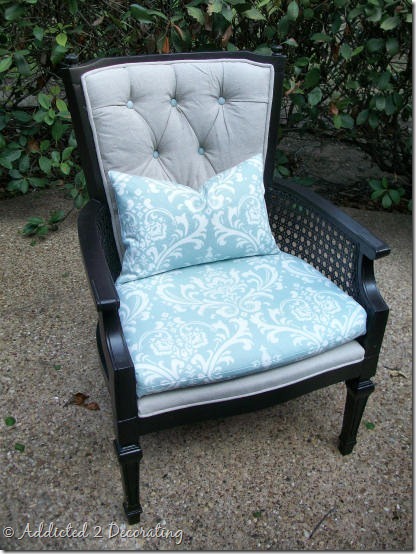
Update: I got the pillow finished! Here’s what it looks like now…
This is an incredibly long D.I.Y. tutorial, so I’ve divided it into six parts:
- Intro – Materials and supplies list
- Part 1 – Stripping the chair and prepping the frame
- Part 2 – Covering the back side of the seat back
- Part 3 – Button tufting the chair back
- Part 4 – Covering and reattaching the chair seat
- Part 5 – Upholstering the loose seat cushion
Need to make a throw pillow? Click here for a basic throw pillow tutorial.



Wow! I love this and I am so surprised by the combination of pattern and solid — would never have thought of that — really a great makeover!!
I have almost that exact chair. I love what you did with it. Are you going to show us how you did it? Purty please!
I will, but it'll probably be next week before I can get to it.
Love Damask! Nice job and looking forward to the tutorial. 🙂
I love it!!!!!
I can't wait for the tutorial! I was hoping you would do one soon because i have a similar chair that is in desperate need of reupholstering!
Oh they've turned out so well! Was this your first time doing upholstering?
Thank you! No, I've upholstered other things before…mostly chairs, but one sofa (possibly two).
I LOVE the back! I am actually working on re-upholstering a rocking chair that has a similar back to this one, its my first re-upholstery project and I cannot for the life of me figure out how to do it and make it look good – like you did! I hope you include that in your tutorial, waiting anxiously 🙂
Awesome chair!!! Love the black!!! — I want one!
It turned out great! I love the touch of the blue buttons to bring the two fabrics together! 🙂 New follower from TT&J.
I LOVE the fabric! I would love it if you would link up to my Tuesday Confessional link party going on now: http://www.craftyconfessions.com/2011/06/tuesday-confessional-link-party.html. I hope to see you soon!
~Macy
I look at your blog once a week, but I never comment…I had to comment on this one – WOW! What a lovely chair! I recently bought one @ the thrift store for $10 and am looking for ideas — the chair is very similar to yours. I will definitely link up to your party once I am done w/my chair! Thanks for sharing.
I am impressed! I like all of the tiny details! Come see my dollar chair I gave up on!
I love it!
Thank you for sharing.
I got a chair exactly like this one, the fabric is ugly burnt orange? Orange is fine but this has to go. Gonna paint the chair white and find some lovely blue/teal fabric.