Converting Wall Sconces From Hardwire To Plug-In
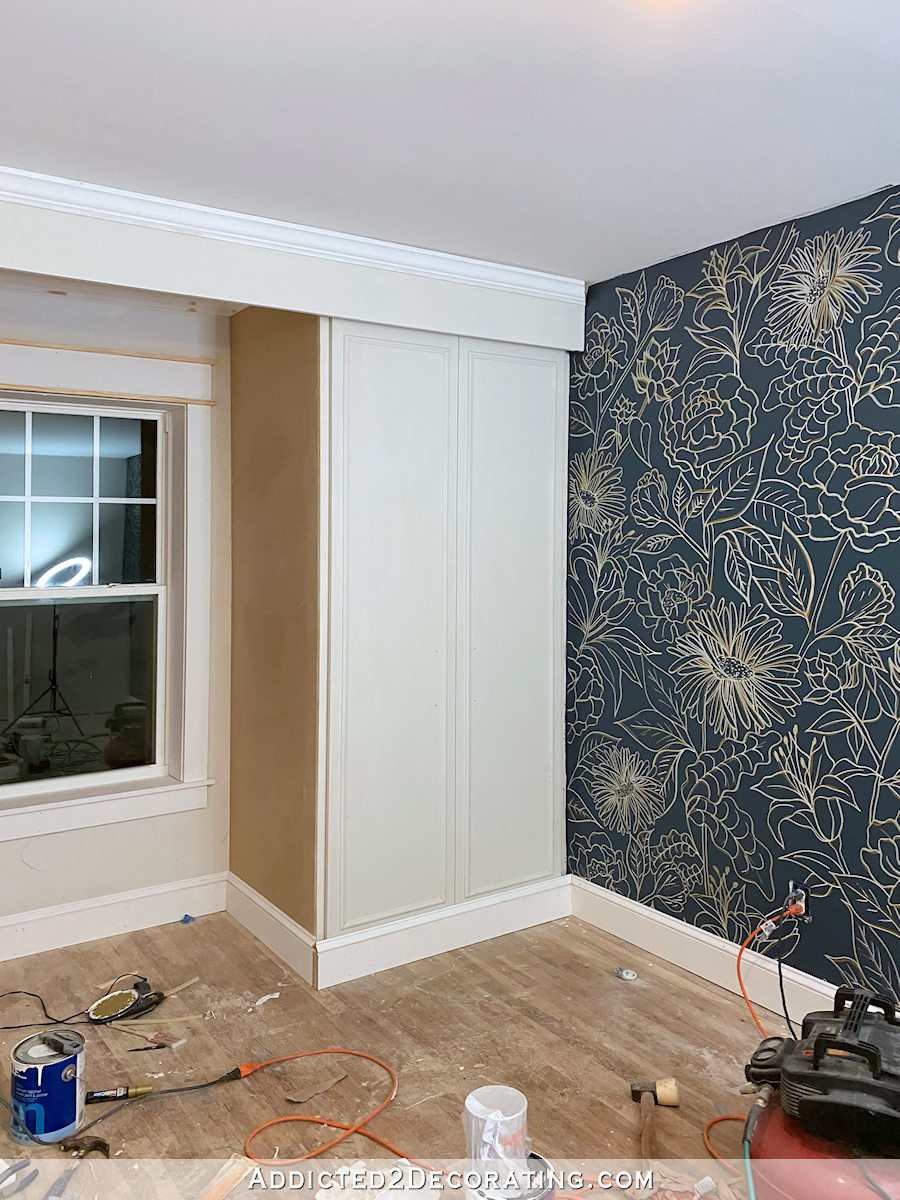
The little nook between the built-in closets in the bedroom has new sconces. I had originally planned to build a window seat in this area, but I have now decided to put a small writing desk in this nook. So the nook needed some lighting, and these dimmable brass sconces were just what I needed. The price was great, and I love the simple design and the tall shades.
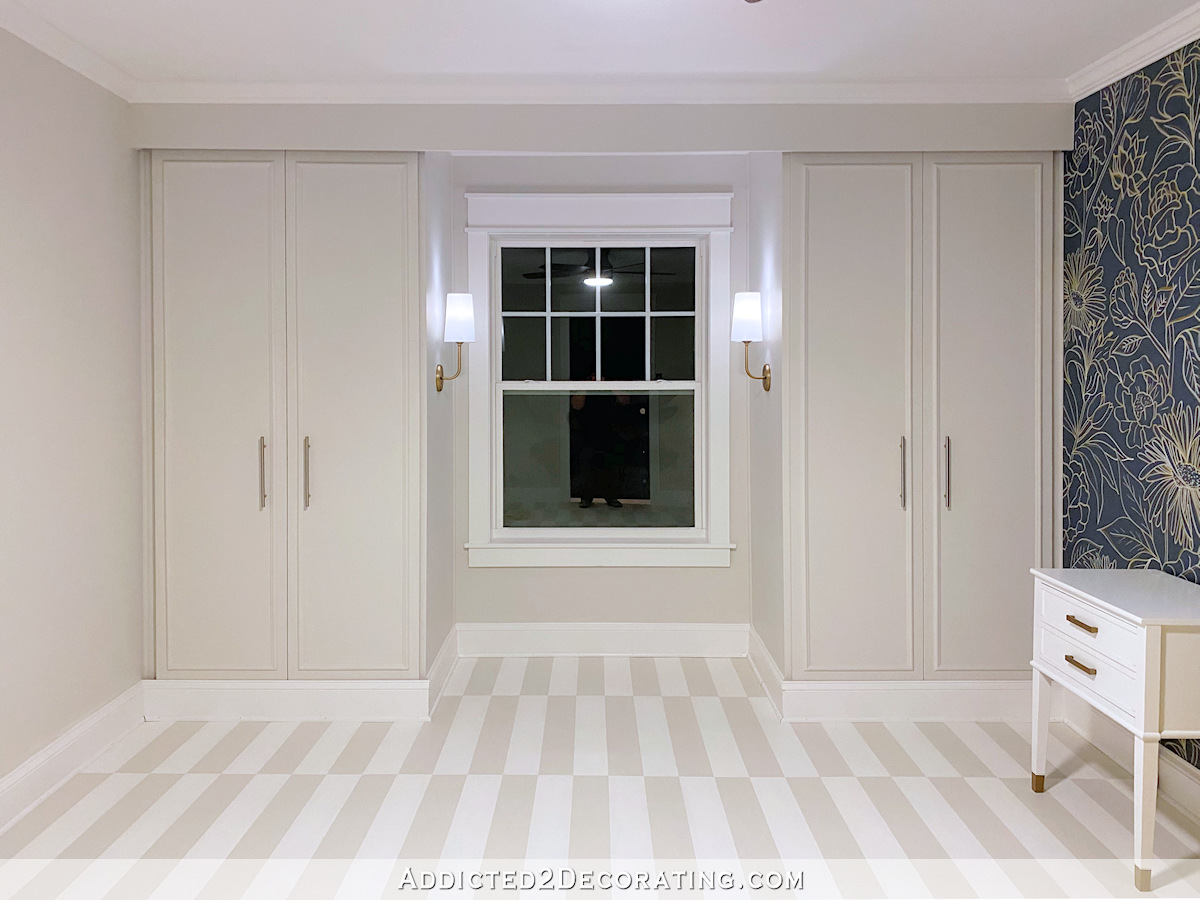
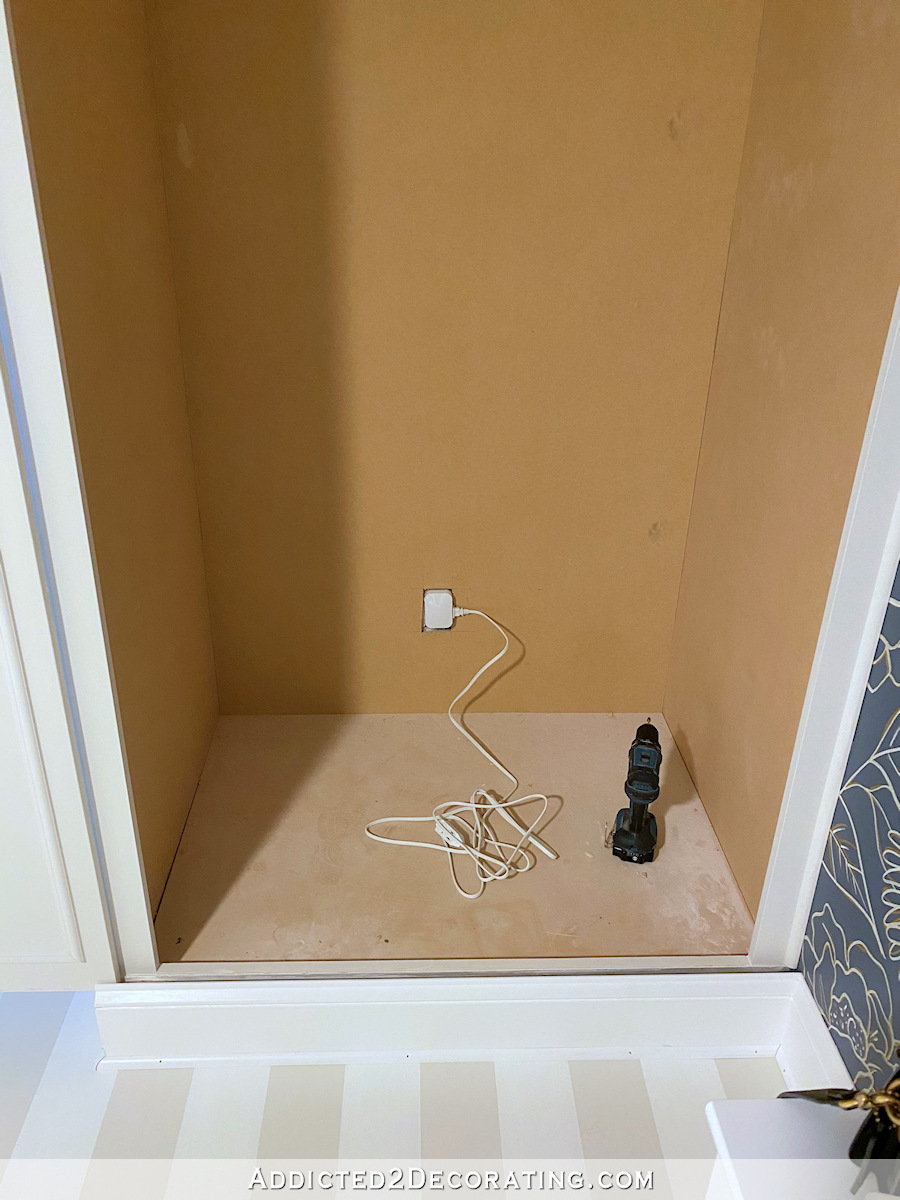
Because I was installing them on the sides of the built-in closets (which still aren’t finished inside), and they needed to be plugged into the outlets inside the closets, I purchased hardwired sconces and converted them into plug-in sconces.
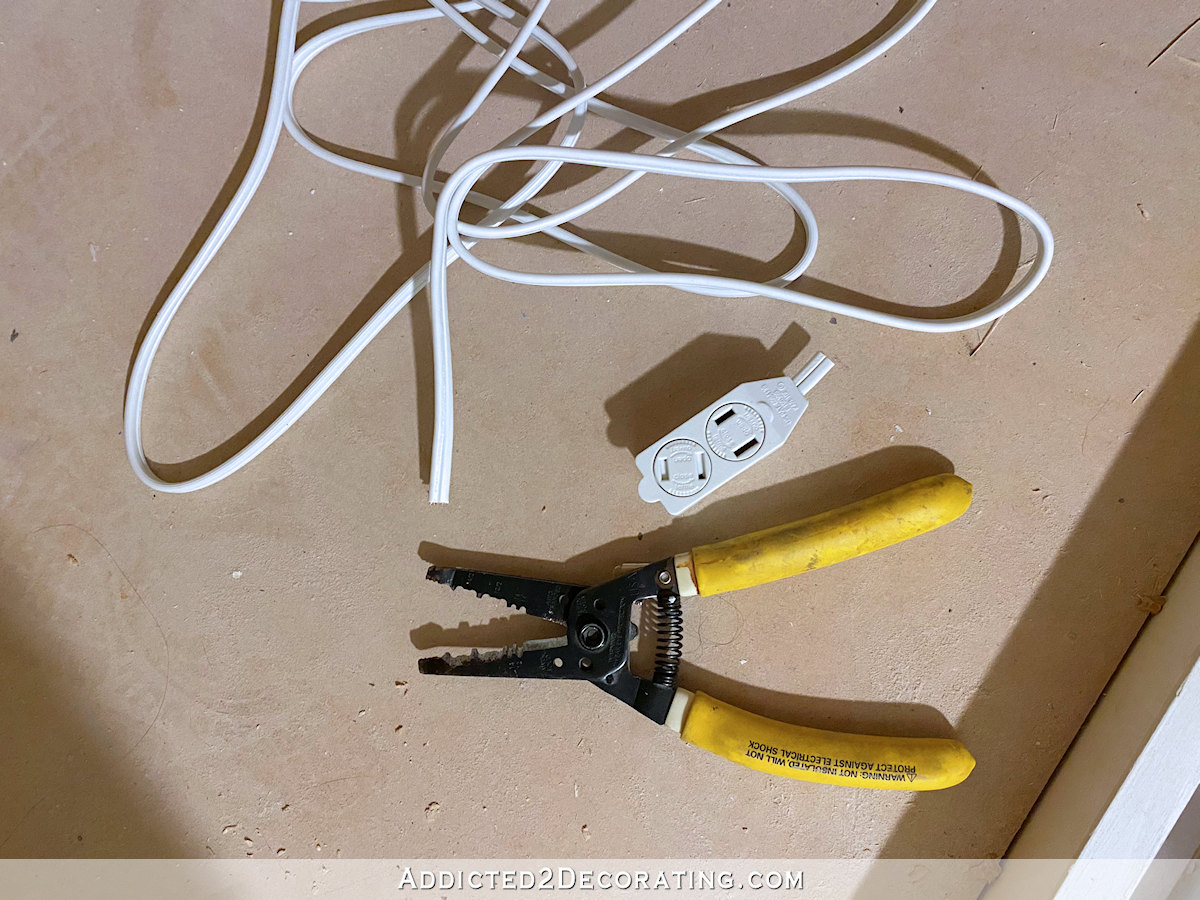
I purchased these dimmable remote-controlled light controls — one for each sconce — along with two of these very inexpensive indoor extension cords.
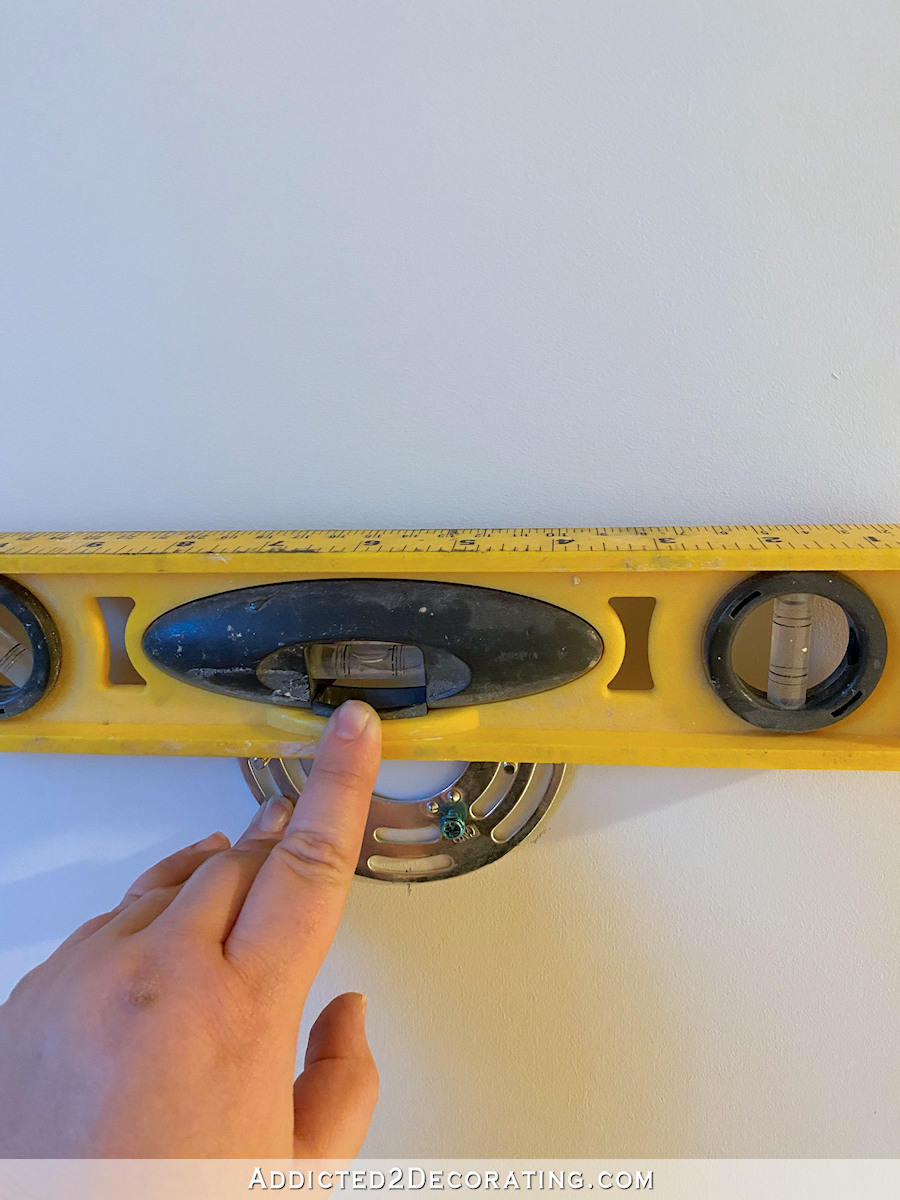
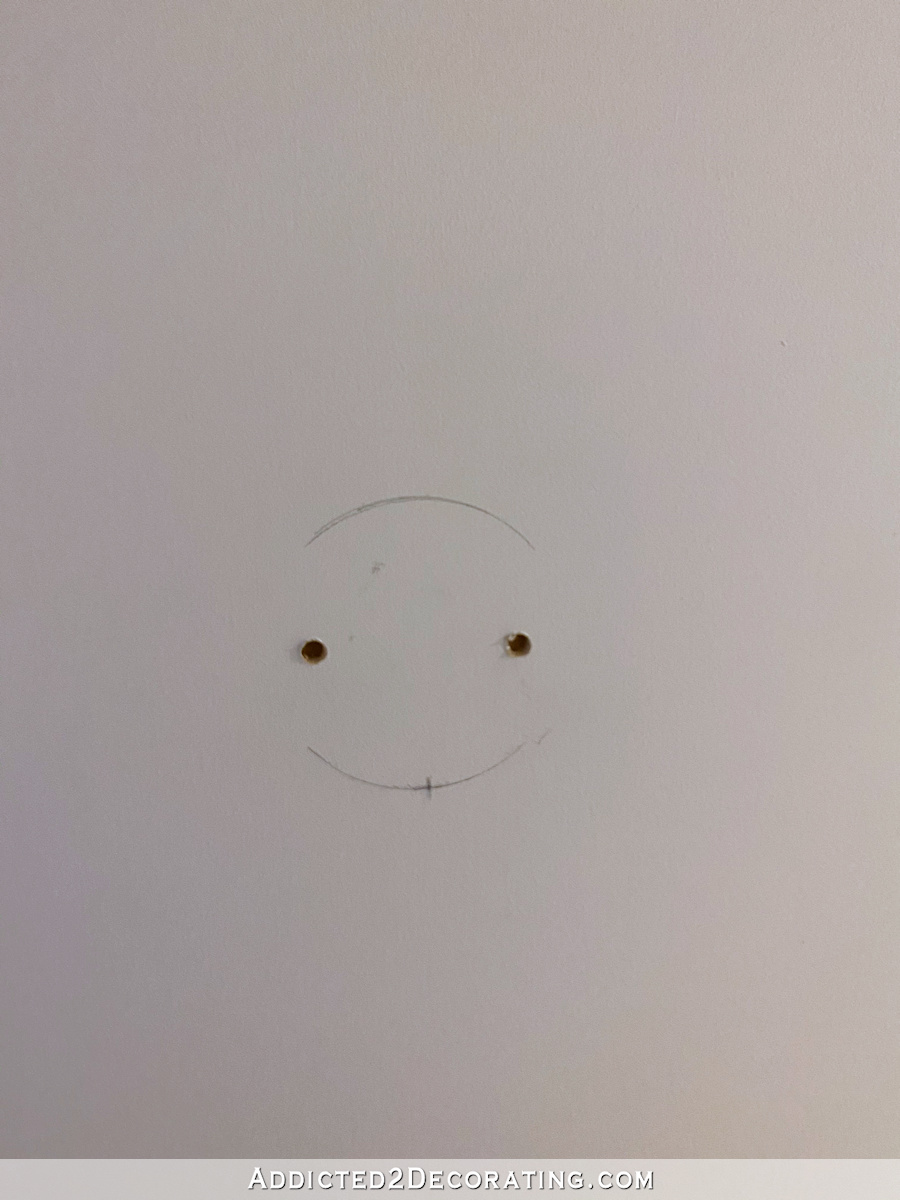
Then I measured and marked for the placement of the sconce on the outside of the closet. These sconces had the two decorative nuts that hold the sconce to the plate.

So I removed the mounting plate, leaving the long screws attached, and then used a level to get the mounting plate just right. Then I used a pencil to mark placement.
The mounting screws (i.e., the screws that attach to the actual sconce) stick out on the backside of the mounting plate, and they prevented the plate from lying flat against the closet.
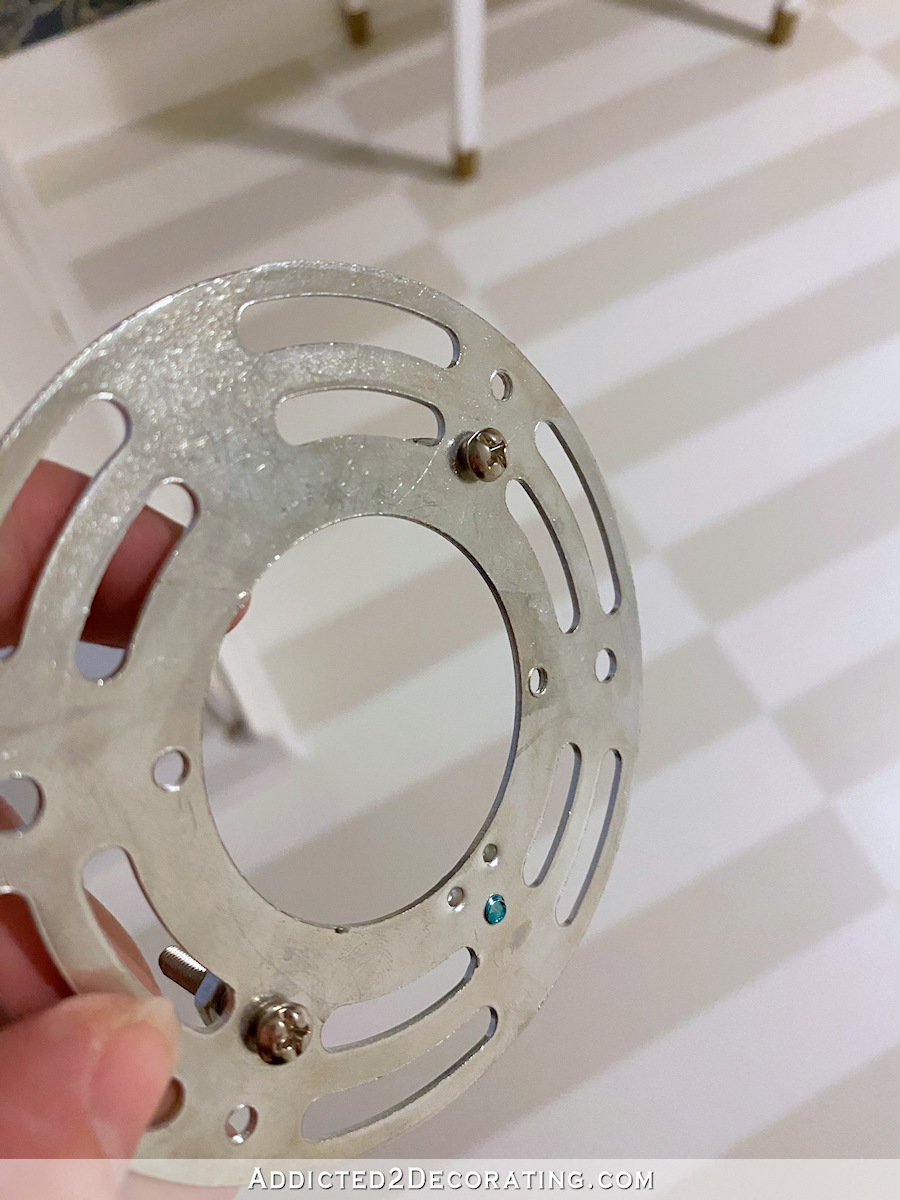
So using a drill bit just slightly bigger than the head of the screw, I drilled two holes so that the screw heads to recess into those holes. I didn’t drill these holes all the way through the sides of the closet. They’re only about 1/2-inch deep to give enough room for tightening the sconce to the closet. The side of the closet is 3/4-inch thick.
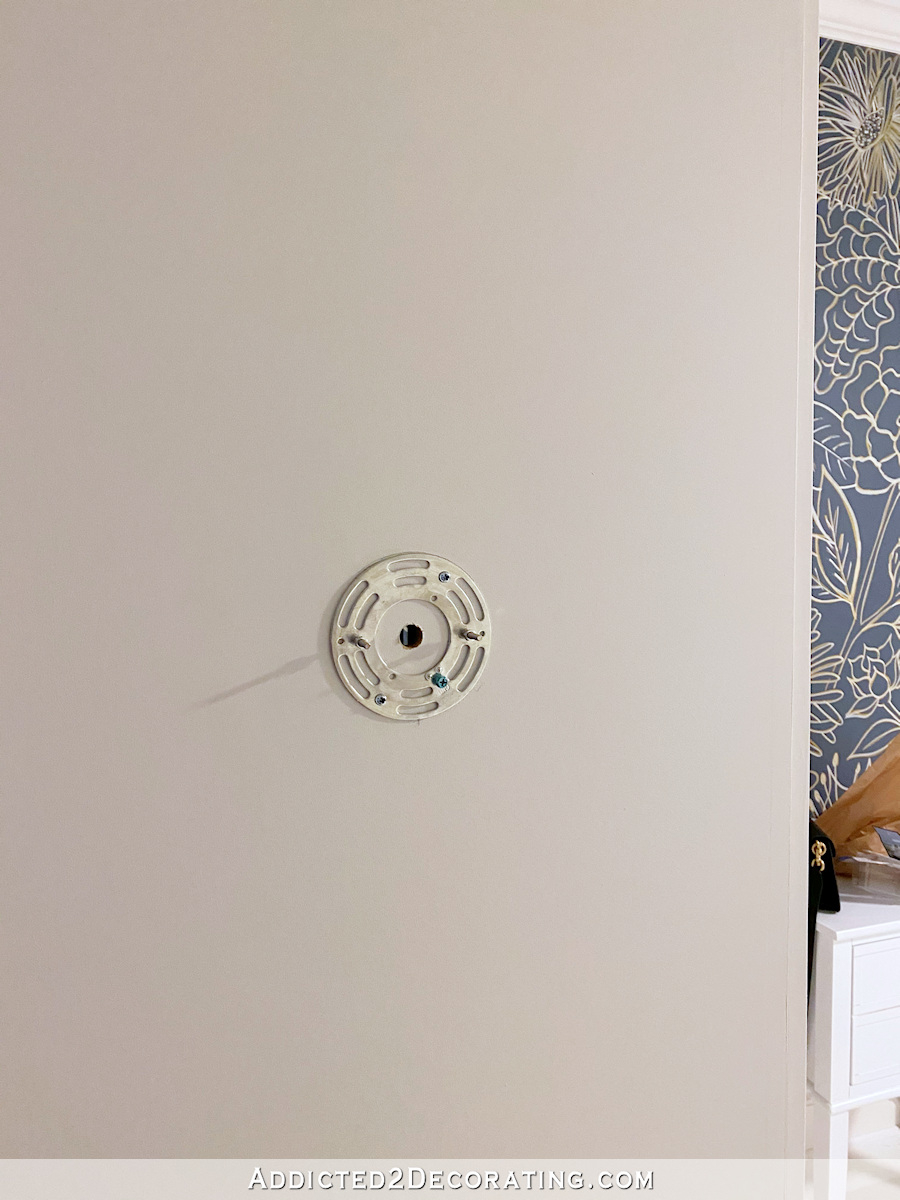
Then I secured the mounting plate in place using two 5/8-inch wood screws, and then using a 5/8-inch spade bit to drill a center hole all the way through the side of the closet.
Next I made sure the extension cord was unplugged, and I determined how long it needed to be to go from the outlet, over to the back corner of the closet, up about three feet, and then over to the hole I just drilled, plus about five inches. Once I determined the correct length, I used my wire cutters to cut the end of the extension cord.
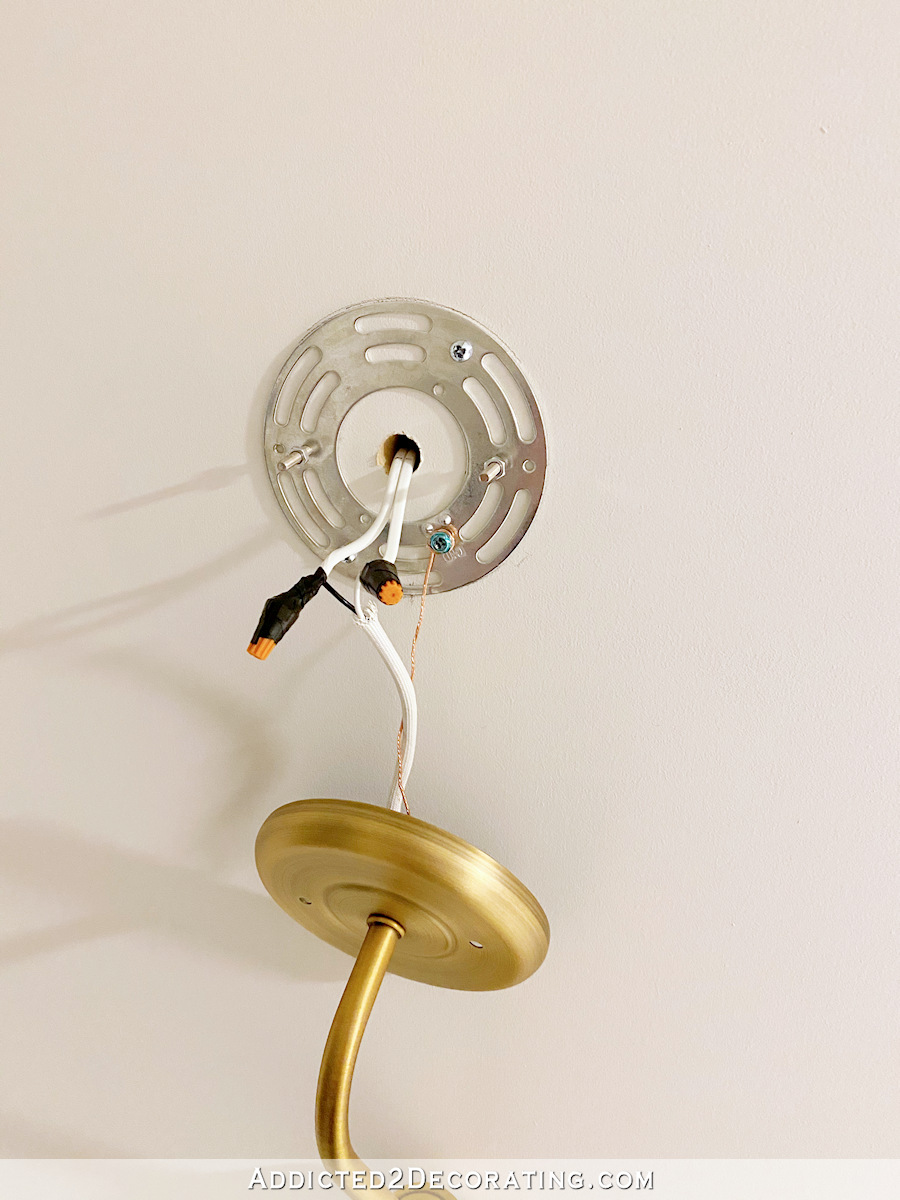
Then I had to determine which side (i.e., which wire) of the extension cord was neutral, and which one was hot. Generally once side of an extension cord is ribbed, and the other is smooth. I’ve always found that the ribbed side is the neutral, and the smooth side is the hot, but I always double check. The way you do this is to look at the plug, and find the wide side…
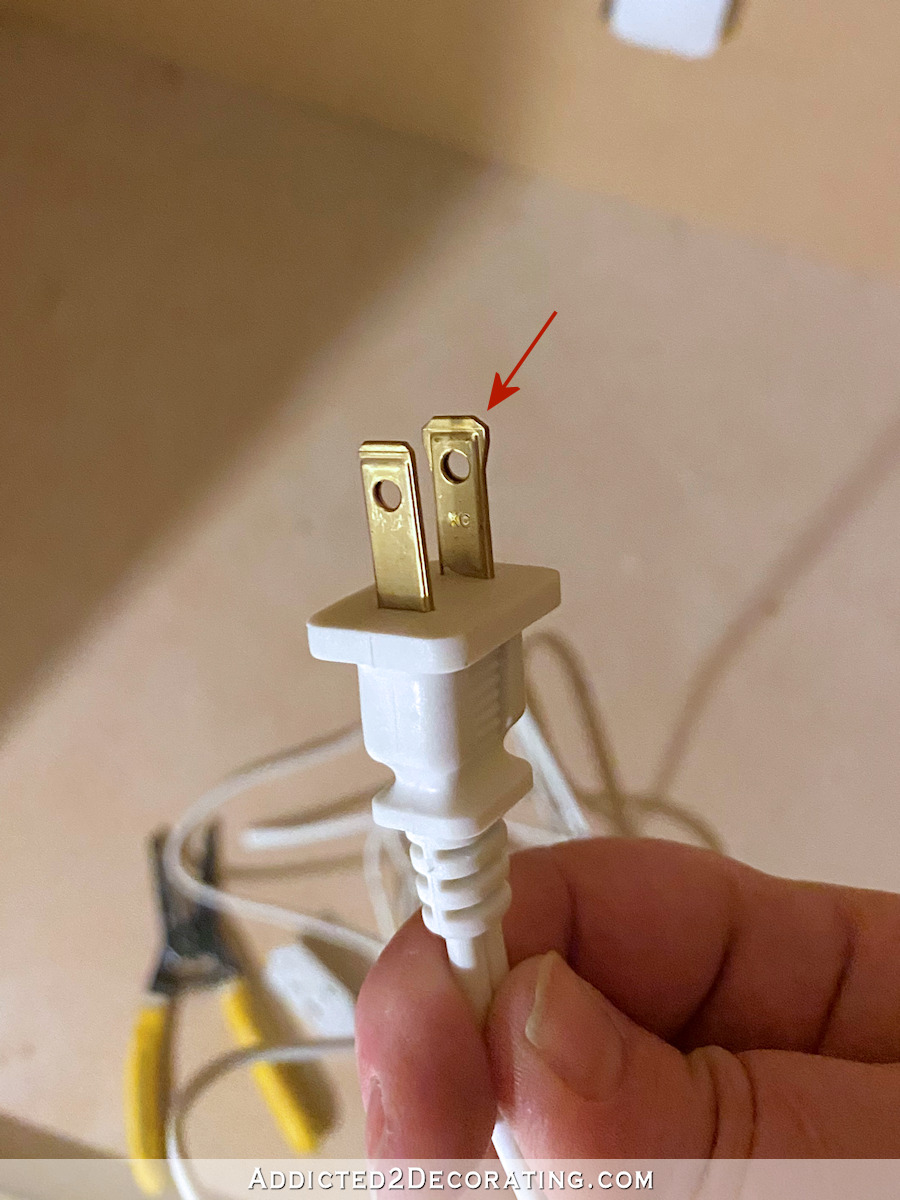
That’s the neutral. So just look and see which wire is on that side. It was, in fact, the ribbed side that went to the neutral.
So I ran the end of the cord through the hole in the side of the closet, and wired the sconce — ribbed/neutral went to the white wire on the sconce, and smooth/hot went to the black wire on the sconce. I secured them with wire nuts and electrical tape.
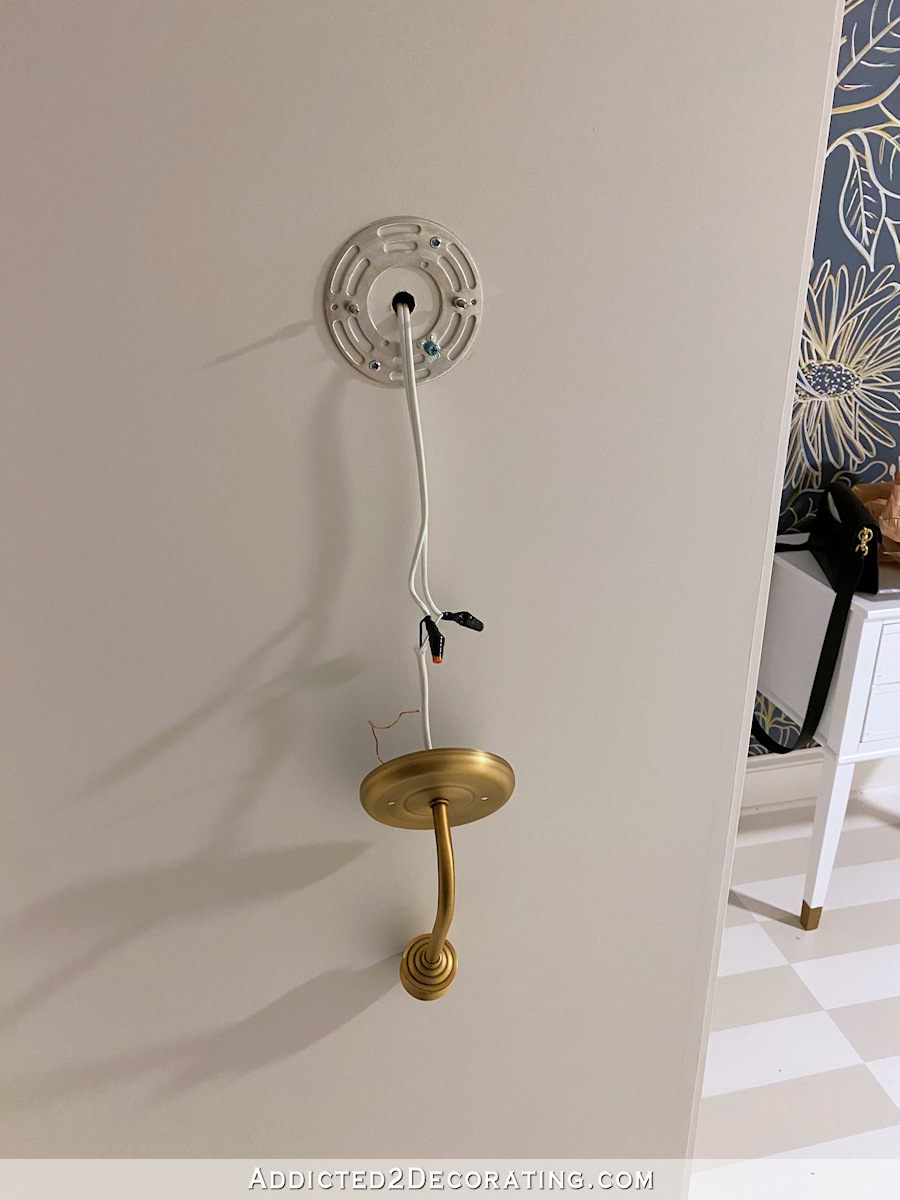
And then I secured the ground wire to the little green screw on the mounting plate.
Then I secured attached the sconce using the two little decorative nuts.

The sconce turns on and off with the remote that comes with the dimmer control, and it works perfectly even with the closet doors closed.

When I have the insides of the closets finished, I’ll go back and secure the wires on the insides of the closets to give them a tidy look, but for now, I just used one of these coaxial staples…
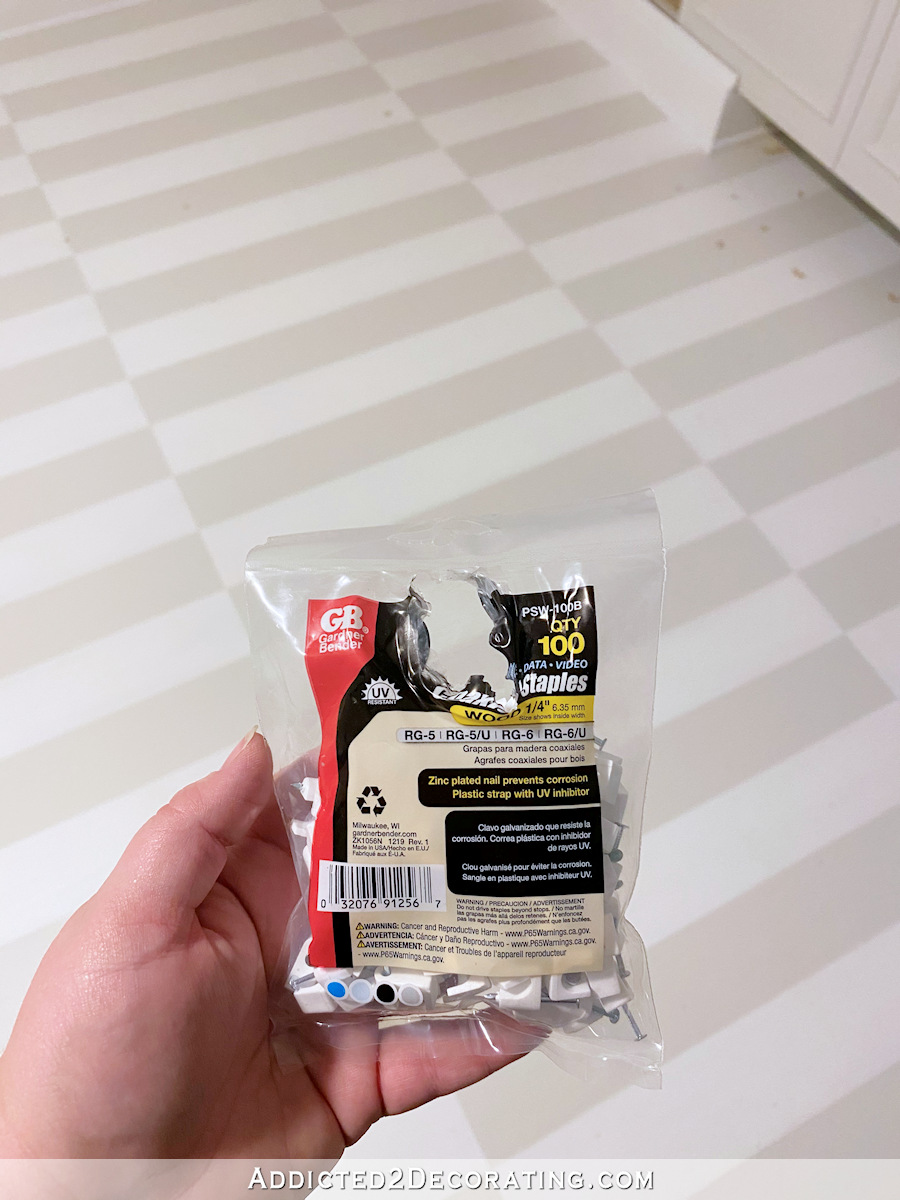
…and secured the wire on the inside of the closet.

That’ll keep it from getting pulled out for now, and I’ll secure it the rest of the way after the insides of the closets are finished.
I used 100-watt equivalent LED daylight bulbs in the sconces, and they are super bright when they’re turned all the way up, which I love. But Matt will love the fact that they’re dimmable, because he loves to have really dim lights on in the evenings. And the best thing is that you can sync them both so that they both turn on and off (and dim and brighten) with one remote.
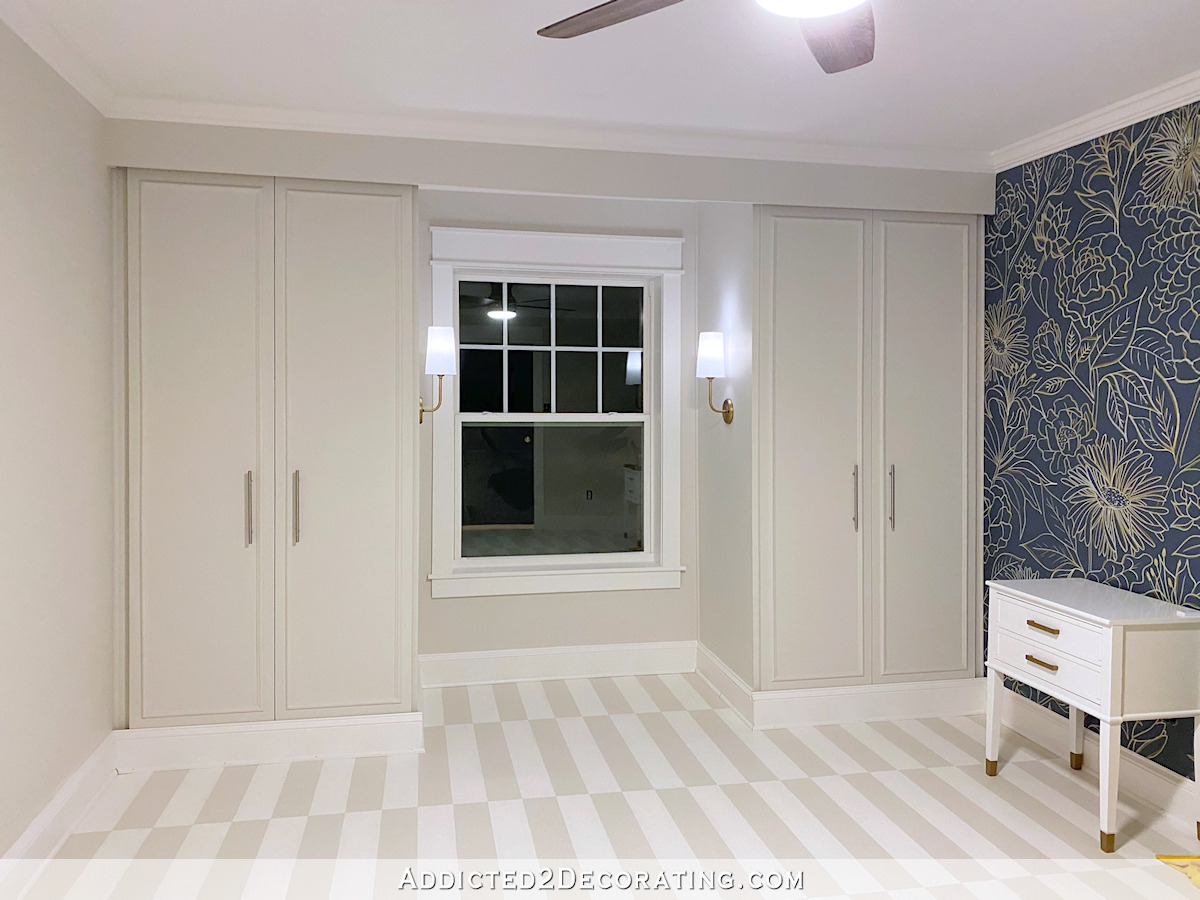
I’m still debating whether or not I want to put draperies on that window. I’ve ordered a woven window shade for privacy, but I think it might be nice to add some softness to that area with some fabric as well.

Addicted 2 Decorating is where I share my DIY and decorating journey as I remodel and decorate the 1948 fixer upper that my husband, Matt, and I bought in 2013. Matt has M.S. and is unable to do physical work, so I do the majority of the work on the house by myself. You can learn more about me here.

OMG!!!!!!!~ Amazing 🙂
This room is beyond beautiful. Can’t wait to see it furnished.
Those lights are perfect right there!
Sharp. Really Sharp.
I love your explanation of the wiring! I am looking at buying woven wood for my living room windows and am overwhelmed at the prices & types. What do you look for & where did you get yours? I love the ones in your living room!
For this room, I bought the same exact kind that I have in the living room and breakfast room. They’e the Blindsgalore Natural Woven Shades in the color Hana Tranquil. I buy the top down/bottom up style with the white blackout lining.
https://www.blindsgalore.com/product/708801/blindsgalore-natural-woven-shades
Hope you aren’t in a big hurry for your shades — I ordered the same ones on 8/7 and they are still not here. I’m not in a hurry, so it’s not a big deal, but they did charge my account right away!!! I think I might check the progress tomorrow since I haven’t heard a word since I got my order confirmation.
I don’t think you will need a window treatment with the blinds, and you will have a desk there also. Love the lights!!!
Thank you!!
Thank you for the link! Love how they look in your home. I am going to give these a try!
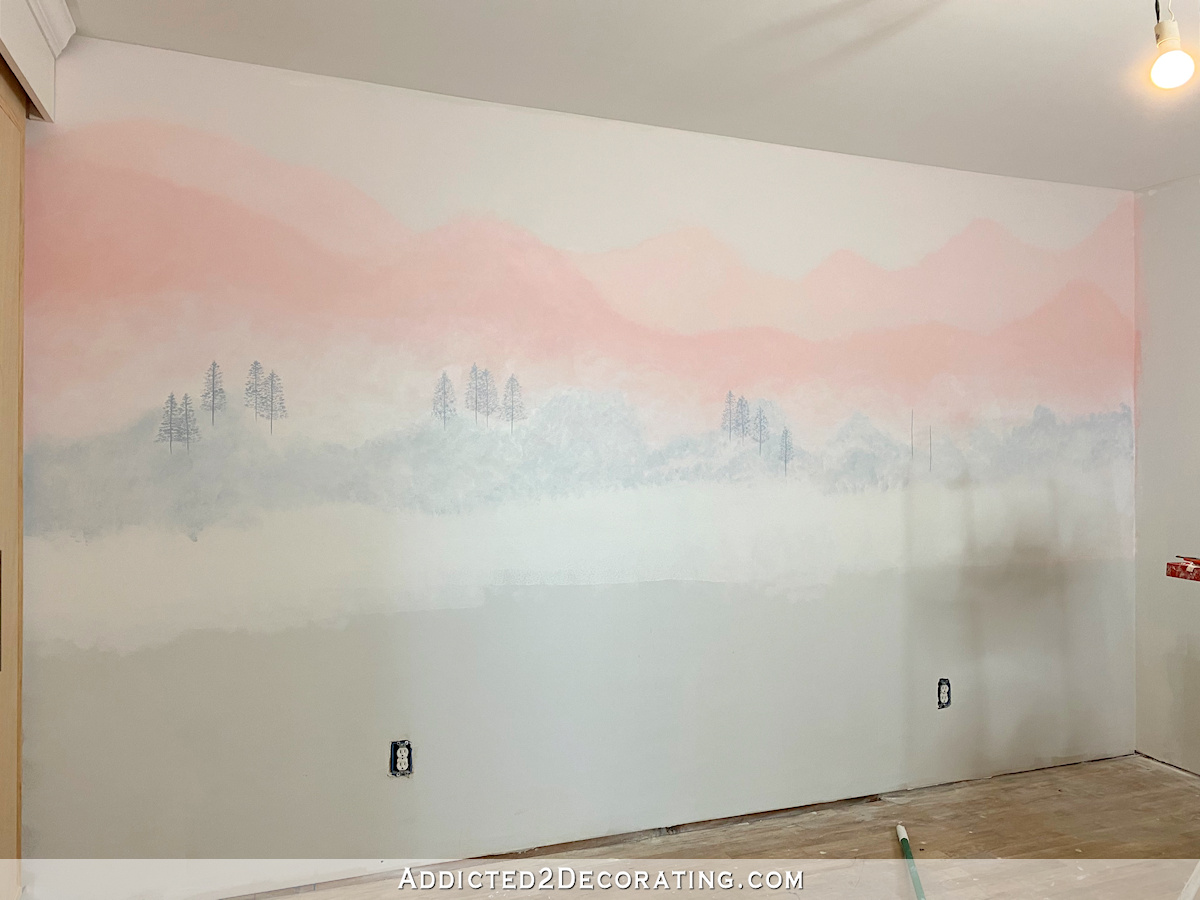
For the window… I love the “shoji screen” look. Put up a shade that allows light (transparent?)
The light in the room would look filtered & smoky.
Where did you find them?
They are linked in post. Wayfair.
Really nice. Keep up the great work! I love getting tutorials like this. I could see a situation like this popping up sometime, and it turns out rewiring isn’t so scary. I’m so anxious to see the rest of the room put together!
All beautiful, coming together wonderfully.
Is this conversion process pretty much the same for any light fixture? I have an old chandelier I’d like to convert to hanging lamp.
And thanks for doing what you do. I just gutted, redid my kitchen, which spilled over into a garage update with insulation, sheetrock, the old cabinets and installation of cabinet/laundry sink in LR/Entry. Thinking about all your blogs fortified me that I could do this, hadn’t bitten off more than I could chew. While I worked in tandem with my brother I am simply thrilled to accomplish this. Your work inspires, gives confidence. Have been in my home 30 years so this was a much needed update. On top of that, has gotten me through all this Covid business accomplishing something positive and creating an uplifting space for all this time at home. Now, with galvanized energy and confidence, I’m ready to tackle other updates. Keep your blogs coming Kristi, you’re awesome.
Beautiful!! Perfect dimensions! How about plants in the nook ?
A fabric roman shade would look really pretty there!
My first time posting! I just had to say that room is inspiring and beautiful as are all your projects!
This room looks so awesome! That’s how easy it is to convert to a plug in???????????? I can’t believe it! All these years I’ve pasted up so many lights because of that! Ugh!!!! I’m saving this! Tysm for sharing!!!
I like the idea of a writing desk in that nook, but if you put a writing desk there instead of the window seat, will you see through the window under the desk? Will the desk have a privacy panel? How would you disguise it from the outside of the house? What kind of window treatment would work there? Hmmmmm.
I am in the UK, so different regulations for residential electrical installations. Why did you decide to convert them to plug-in? Wouldn’t it be easier to run wires from the sconces to the loft and connect them to the lighting circuit?
The room looks beautiful, as everything you do Kristi 🙂
That could certainly be done, but I found this to me much easier. If I hardwired them, I’d also have to wire a light switch to both of them, and find a place to put the light switch.
I’m so excited every time I see an email from you. And I’m never disappointed when I see what you’ve done but am amazed at all your different talents. You just keep them coming and I’m looking forward to the next one!
Wonderful work! Applause applause.
OMG you are SO smart! I LOVE the sconces and the whole room is looking magnificent. So gifted.
You are just so crazy talented and creative! I love following all of your design adventures. Thank you for sharing your ideas with us. This room is just beautiful.
I love those light fixtures! I did something similar over my mantle and just have a query about the wiring. Would it have been an appropriate situation to use an underwriter’s knot to make sure the wires couldn’t be pulled out of the fixtures? Just wondering.
That probably wouldn’t be a bad idea. I always use an underwriters knot when rewiring table lamps, but I forget about them otherwise.
What a wonderful idea! So beautiful!
You are truly AMAZING! The whole room looks stunning!
They are perfect for the room, can’t wait to see the room finished the suspense is killing me.
Kristi, you do such a good job of explaining the steps of each of your projects and they are so welll thought out. I’m really enjoying your blog. Those lights are perfect there. I never knew they could be controlled from the same remote. I learn something new from every post. Thank you!