Guest Bedroom Wall Mural – Finished!
The guest bedroom wall mural is finished! I was hoping to get the trim installed so you could see the wall truly finished, but I ran out of time. I was so excited about how it turned out, though, so I didn’t want to wait to show you the finished mural. If you missed the first part of this project with the DIY details, you can check out yesterday’s post here:
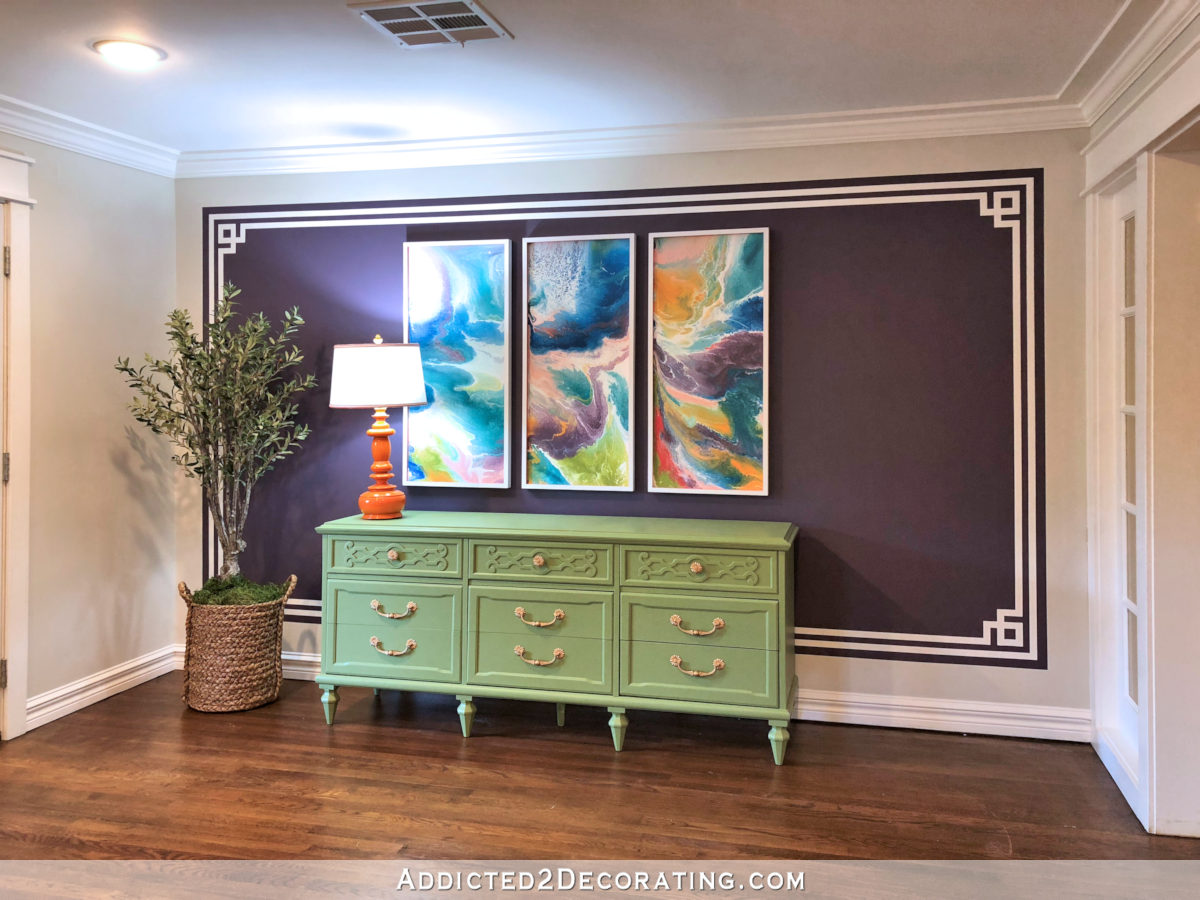
So take a look at how it turned out!
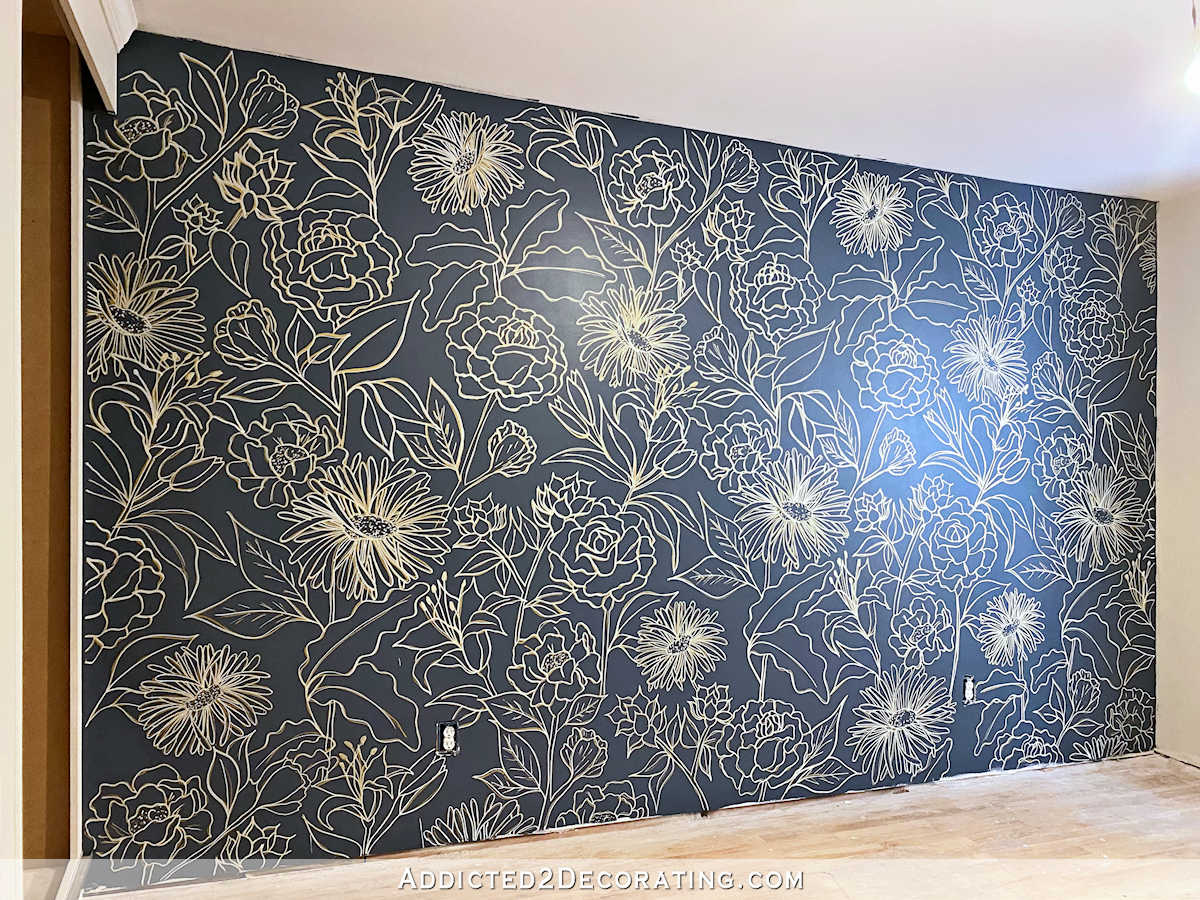
I love it! I’m so glad that my original mural ideas didn’t work out. 😀
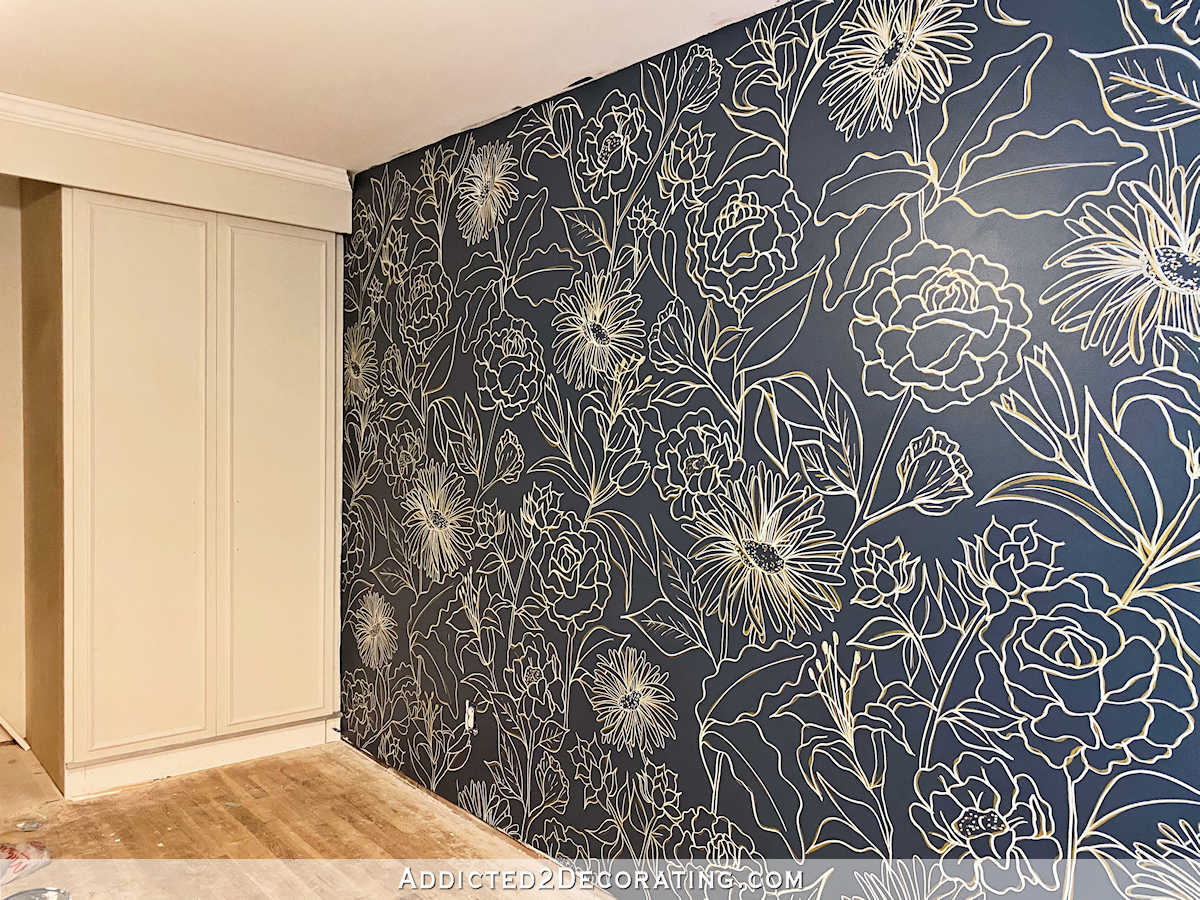
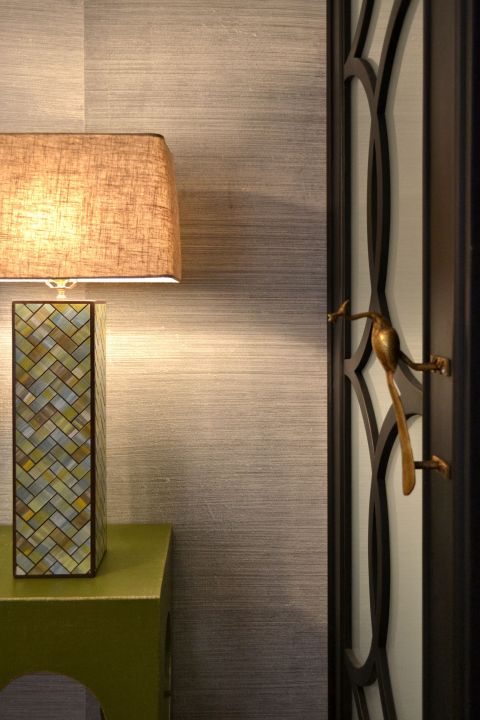
Can you see the gold peeking out from behind the white? It’s a really beautiful effect, and a brilliant idea that my mom had to do the white over the gold.

So the funny thing is that I had the wall color matched to the blue velvet fabric that I wanted to use for the headboard. But now that the wall is done, I actually don’t like the velvet fabric with the wall. 😀

It’s not a big deal. I have plenty of other fabric that I can use. And I do have some other fabric that I think would work much better with this wall design.
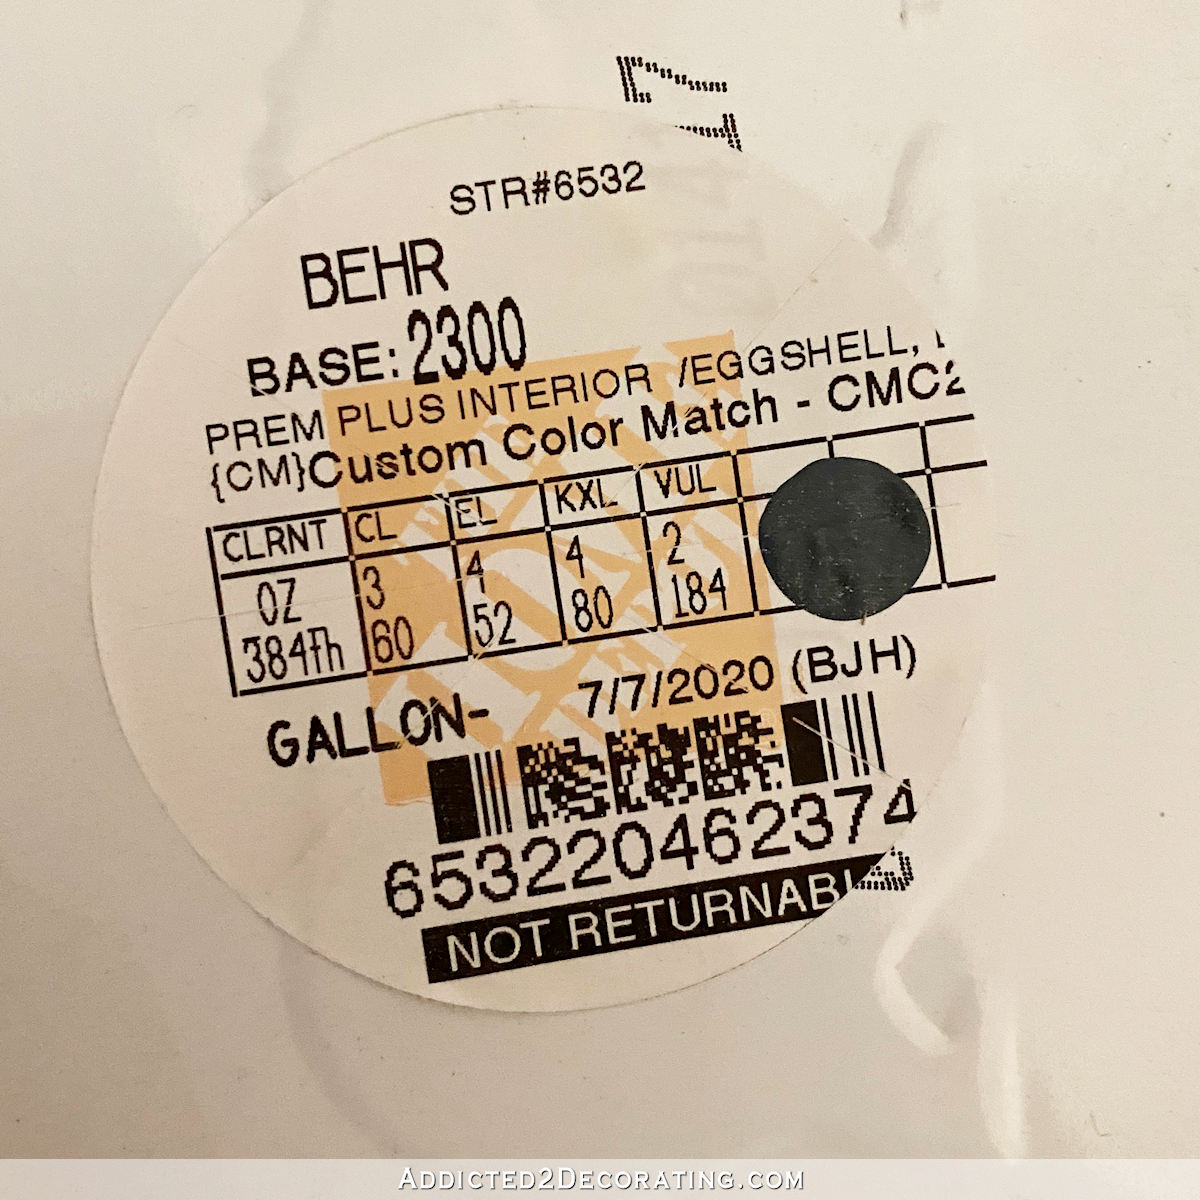
For those of you who asked, this is the formula for the wall color…
If you decide to do this project, here are a few tips I can pass along:
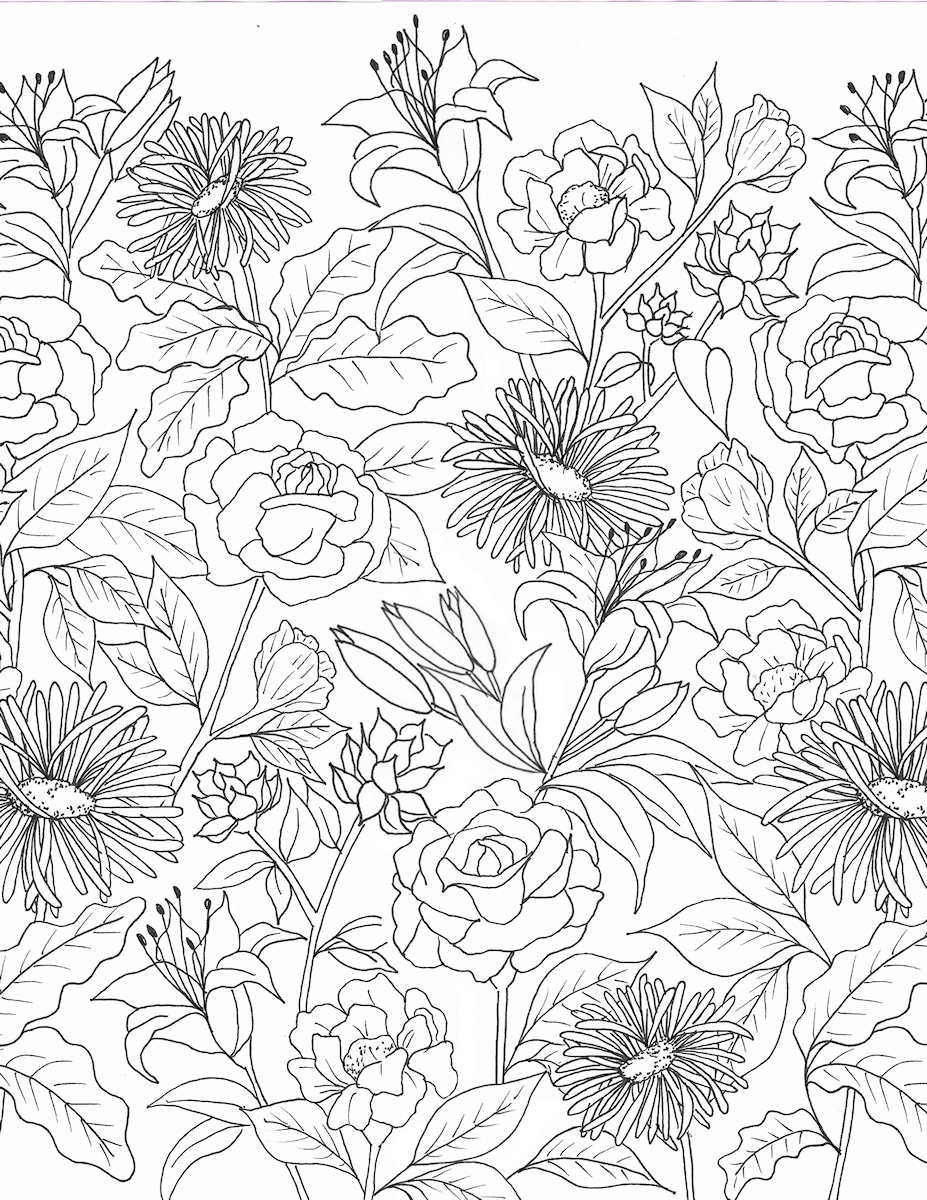
- Choose a design that is very simple. In other words, make sure the image doesn’t have a lot of colors, shading, depth, etc. To search for patterns that might work, try terms like “line drawing” so that the search results would be very simple drawings. You could do “line drawing animals” or “line drawing flowers” or any other kind of line drawings.
- You can create your own seamless repeatable pattern in the same way I showed you how to create a seamless pattern for wallpaper. You can see that post here.
- I’ve now done two different line drawing wall murals. On the first one (the birds and butterflies mural on the entryway wall), I used regular Sharpie markers and another type of permament Sharpie-type marker, which are alcohol inks. They were very frustrating to use. I don’t know if it was the vertical surface or the latex paint (or both) that made it difficult, but it was a real pain. The markers I used on this wall were labeled “acrylic” (for the gold) and “water-based” (for the white). They were so incredibly easy to use.
- Don’t aim for perfection. Trying to make perfect lines with extra fat markers will make you crazy. And I personally think that imperfection adds to the charm. (When have you ever heard me say that?! 😀 )
Give it a try! It’s really not difficult, and the whole wall went much faster than I had expected. And what a big payoff! Wallpaper to cover that wall was going to cost me about $400-$600. This design cost me around $60 for a gallon of paint and four markers. Not too bad, right?!

Addicted 2 Decorating is where I share my DIY and decorating journey as I remodel and decorate the 1948 fixer upper that my husband, Matt, and I bought in 2013. Matt has M.S. and is unable to do physical work, so I do the majority of the work on the house by myself. You can learn more about me here.

Absolutely gorgeous!
That is absolutely stunning! But now I hate that it has to be partly covered with furniture. Lol
Just thinking the same thing! It’s so pretty that I‘d just want to sit on throw pillows and stare at it!!!
This is beautiful. I’m so in awe of your talents!!
Beautiful outcome! It will be a lovely sleeping area for guests.
This is so beautiful and I love how vividly the design pops off the wall. Bravo!
That is spectacular! Almost a shame to cover any of it up with a headboard.
Can you post a pic of the markers you used? Or the brand and color. Thanks! I absolutely LOVE this!!!!
Check out yesterday’s post ( link at top of this post). She has pictures and colors listed there.
This looks AWESOME! Well done!
fantabulous!!!
Do those pens smell dreadful?
Would you recommend doing a stencil with them?
Really Beautiful!
Gorgeous. You are so talented. I love your style.
You should know that I only received 2 blog posts since May-ish, and only saw I had missed about 6 while scrolling around. Are you having email problems? I have been a subscriber for years, but yes, I checked Spam.
Same here with the missing emails..as well as all of the love of course!!
Yes, I’ve been having problems with my email service. 🙁 I may have gotten the bug worked out today, but I’ll keep a close eye on it next week to be sure.
Kristi, that is ABSOLUTELY STUNNING! I have followed you regularly for about 5 – 6 years and love so many of your projects but I think this is definitely in the Top 5 – maybe even Top 1 or 2! So chic looking!
Kudos!!
I just love how classy and whimsical this is at the same time. It turned out fabulous!
Super gorgeous! This is my favorite wall you have done, ever, and that’s a mouthful because I love all your walls.
Love your creativity on the wall!!! Have you thought of drawing/painting on the velvet fabric with the same design either the same size or smaller? Just a thought. You never fail to amaze us!!!
Looks so much better with the two colors instead of just one. Great job.
Kristi,
This is Fantastic!!!!!!! If I did not know you had hand done this I would swear it was wallpaper, which simply makes it that much more impressive and so, so special!!! You are so talented and creative and I really appreciate the time you take to blog all of your work for the world to see!!
On a side note, even though the mural didn’t work out, I thought your pale pink mountains were really stunning! Maybe give some thought to replicating it on a canvas?
Stunningly beautiful art coming from original disappointment. A great life lesson (and beautiful wall) at a lower cost as well!
So beautiful!
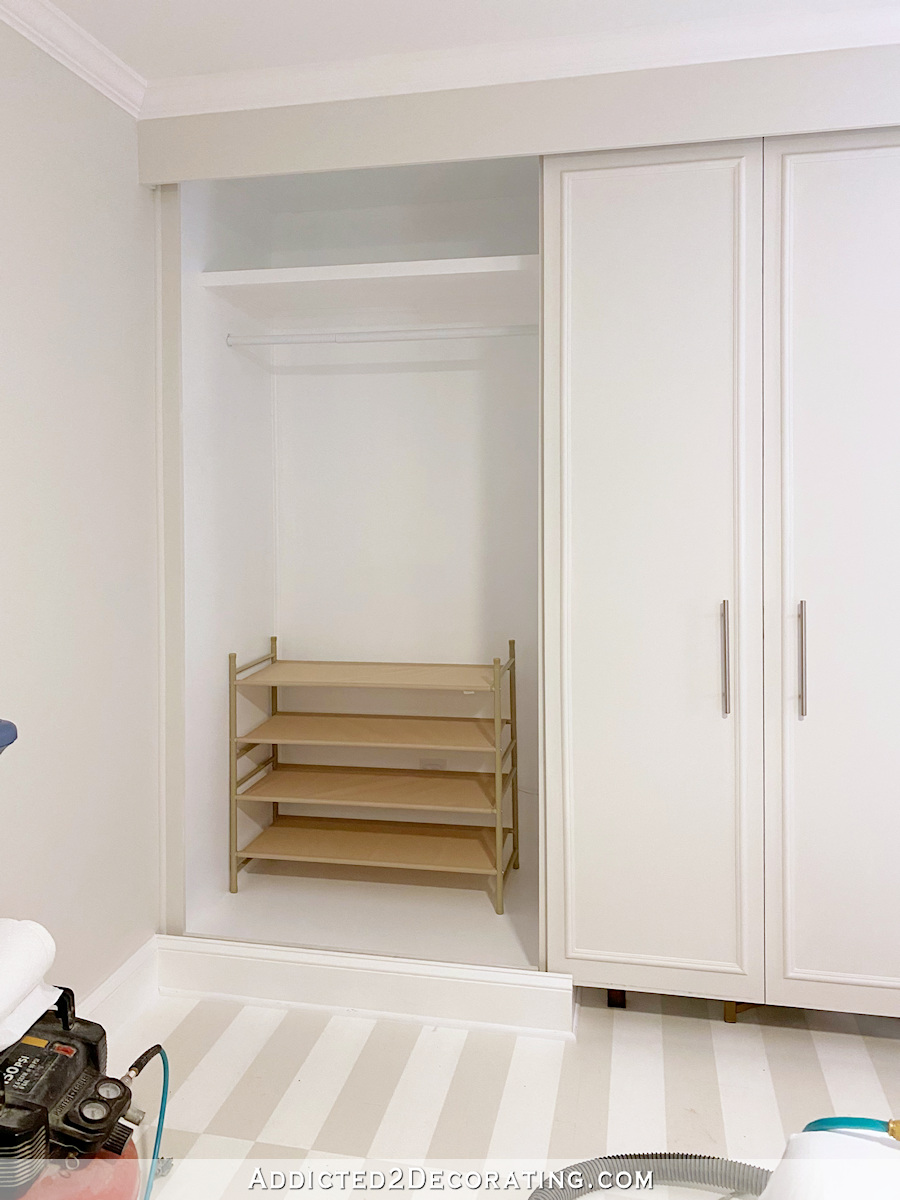
So lovely and dynamic! I can’t wait to see the finished room. Also love the closets with the sliding doors. I envy your guests! Have a great week, and stay well!
Looks great, Kristi! I know you’re glad to be making some good progress!
Just beautiful!
Stunning. I love the wall color, even though I used to be against blues. I think it was because my mother was a blue fan, and her walls and wardrobe screamed blue! It was too much for me! Ha! Nowadays I love it. And I loved just the gold, but the white enhanced and toned down what would have been one dimensional. I hope you don’t change your mind on this one, because it’s beautiful.
Stunning! Love, love, love it!
Absolutely gorgeous!!
Your designs are inspiring. I can’t wait till the headboard is finished and put there. I personally hope you decide on a golden frame bed or a wood frame so the design blends and doesn’t cover up the wall…but in the end I know you would create something so awesome that all I can do is drop my jaw and nod my head!
I gasped when I saw the beginning of this in yesterday’s post, and the final result is staggeringly beautiful! It blows that ombre mural idea out of the water. I’m pinning this for maybe my girls’ room (to do over an existing dark accent wall) when I’m ready for round 2 of their room refresh. PS Our aesthetic taste doesn’t often align but our budget, DIY mentality does…. so happy I get both in this wall treatment 🙂
That is absolutely gorgeous and you did a wonderful job!!
That is stunning and soooo sophisticated! Good job!
I would love to do a wallpaper look line drawing in my powder room, but it’s way too small for a projector in there. Do you have any ideas for creating a similar look without the projector?
Sorry Teresa, I thought I was positing a new comment. My fingers frequently hit the “reply to this comment” while scrolling.
It looks stunning! I love it and think it’ll make a great art wall for the room. Definately one my favorite projects you’ve ever done.
Gobsmacked. Truly magnificent.
I know it is out of your color wheelhouse, but a gold(en yellow) velvet headboard would be stunning against that mural.
Fabulous work, as always. I love this. I was wondering if anyone else has had a problem getting your blog in email. I kept wondering why I was not seeing it, but I did occasionally see you in IG. I thought maybe you just were not blogging. But then I saw a post about this being done, and went over to your blog directly where I discovered I had not seen anything for over a month. Do I need to resubscribe?
Wow! Kristi this looks amazing! I’m going to give it a try. Thanks so much for all of your inspiration. I love how you show up the trial and error process of coming to the final perfection!!!
I would love to do a wallpaper look line drawing in my powder room, but it’s way too small for a projector in there. Do you have any ideas for creating a similar look without the projector?
Yes! It might take a little more time, but have you ever done a grid drawing? It makes drawing and enlarging images pretty simple. You would need to use something to make the grid on the wall that can be easily wiped off. Perhaps chalk? Anyway, here’s a video that explains the grid method: https://youtu.be/piMi2J-iXis
WOW! Looks great! Can’t wait for the final reveal!
I love the wall!
This was the first message I received this month and when I figured out that I had missed many went back to read them all. So in addition to your finished wall, I also love the yellow bed and the purple chairs. Can’t wait to see the next update.
Wow….this is great! At first glance I thought this was wallpaper, but then I went and looked at your part 1 and can’t believe you did this by hand. Your very talented and have a very creative mind. Great Job!
This is as gorgeous as the “birds and butterflies” one. I miss that one so much!
WOWZA!!!! I love love love it!! Thanks for giving me another gem to add to my DIY Home Decorating binder! You are AWESOME!
It’s gorgeous! I love the 2 colours and the imperfection of it.
Thank you so much for sharing. I love it.
Thanks for giving me another gem to add to my DIY Home Decorating binder! You are AWESOME!