DIY Framed Full Length Mirror
*This post contains affiliate links.
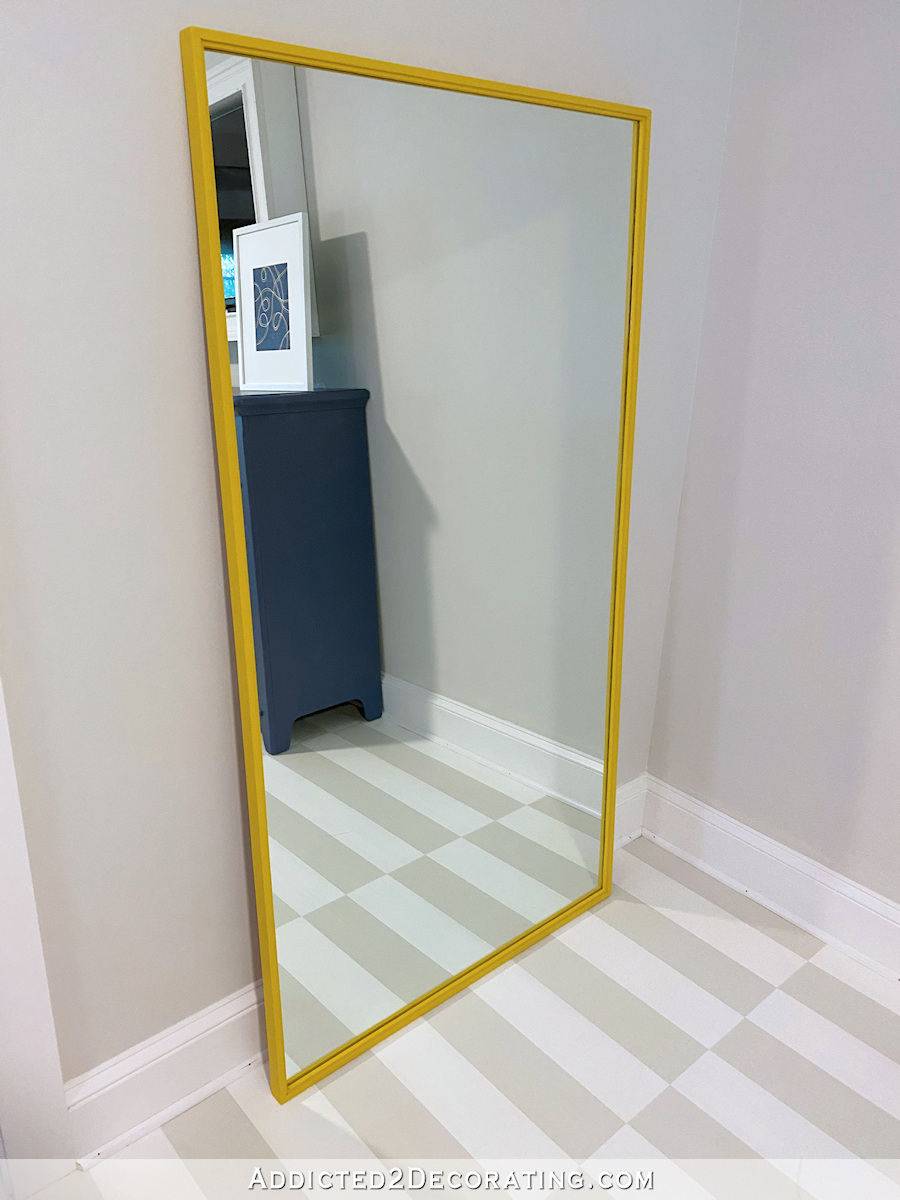
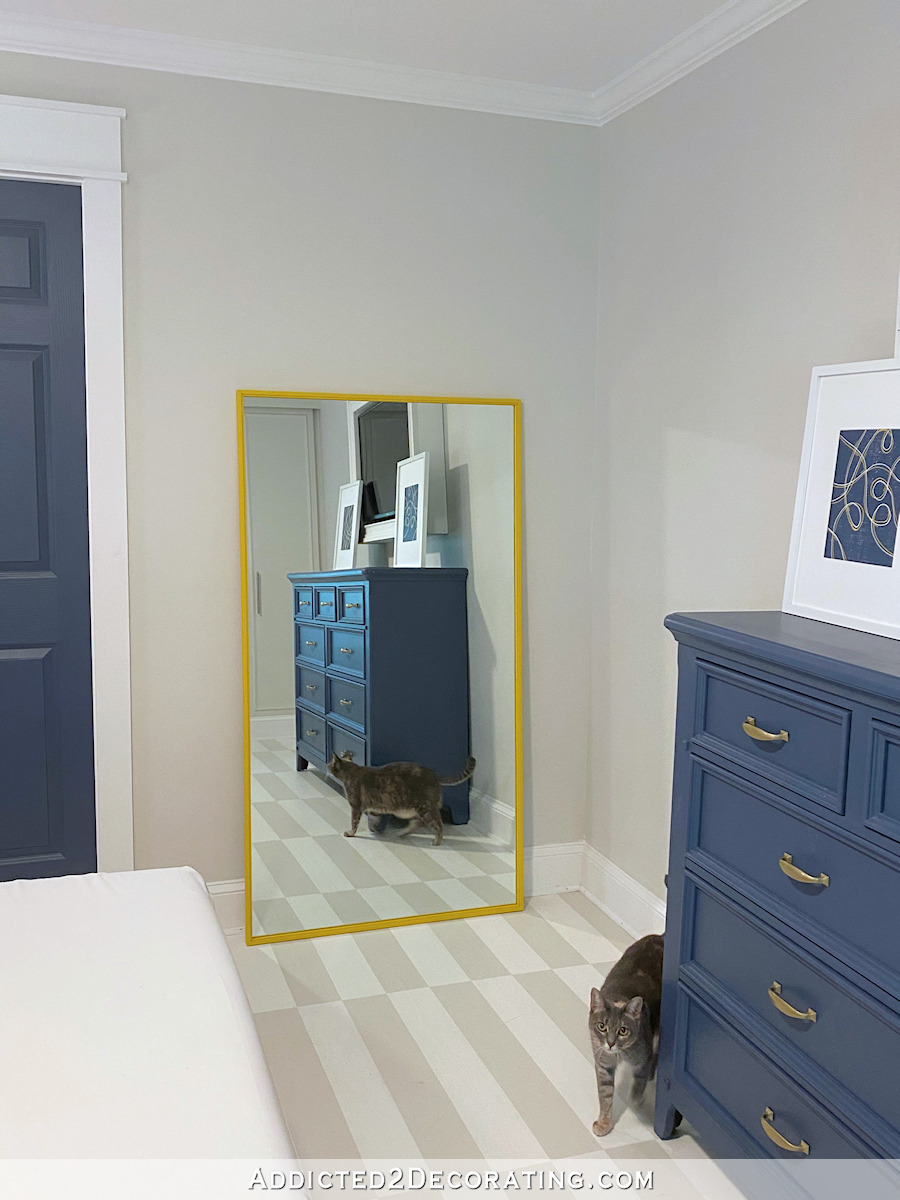
I crossed one more project off of the list for the guest bedroom. The full-length mirror is framed and ready to hang on the wall. I had mentioned the possibility of using yellow on the TV frame, but I decided to use it on this much thinner frame instead.

I still need to hang the mirror, and to do that, I’ll use a Hangman mirror hanger. Those are the only things I’ll use to hang large and/or heavy items on my walls.
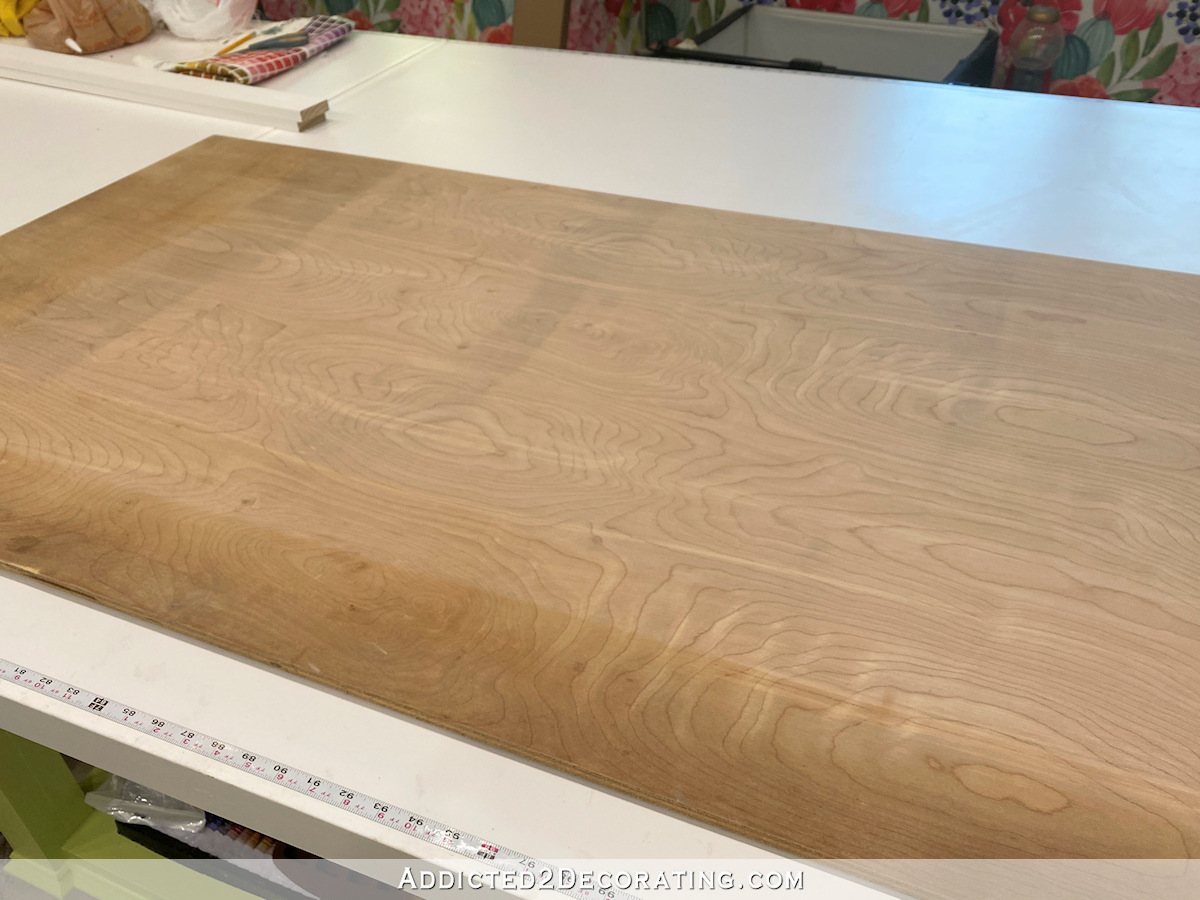
But let’s get to the framing process. I started by cutting a piece of 1/2-inch plywood (that I already had on hand and has been stored outside, which is why it looks like it’s seen better days 😀 ) to the dimensions of my mirror, plus about 1/16th inch in both directions.
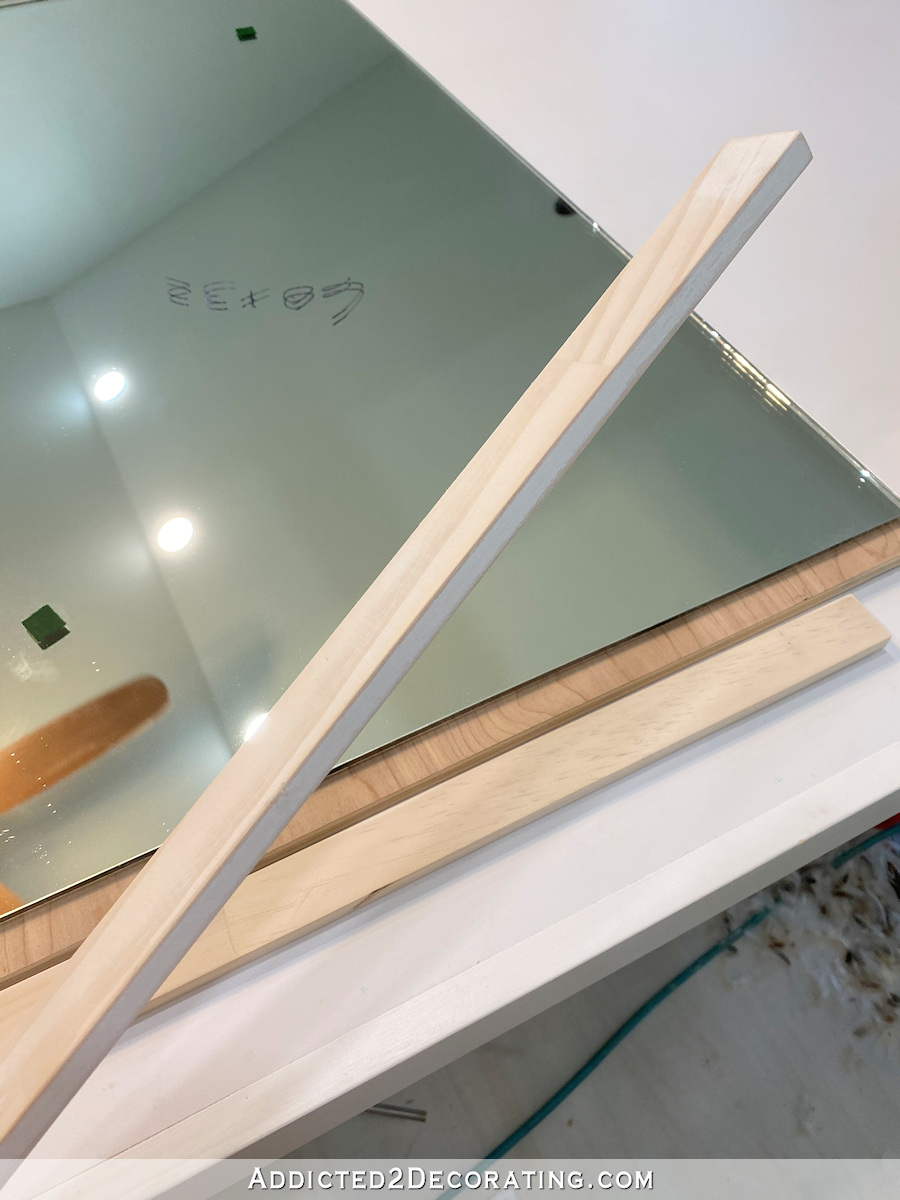
Next, I used my table saw to cut some lumber to the thickness that I wanted for the frame. I started with a 1″ x 3″ piece of lumber, and cut it into pieces that are about 3/8″ x 1-1/4″.
Using 1.5″ 18-gauge nails and wood glue, I attached those pieces to the edges of the plywood.
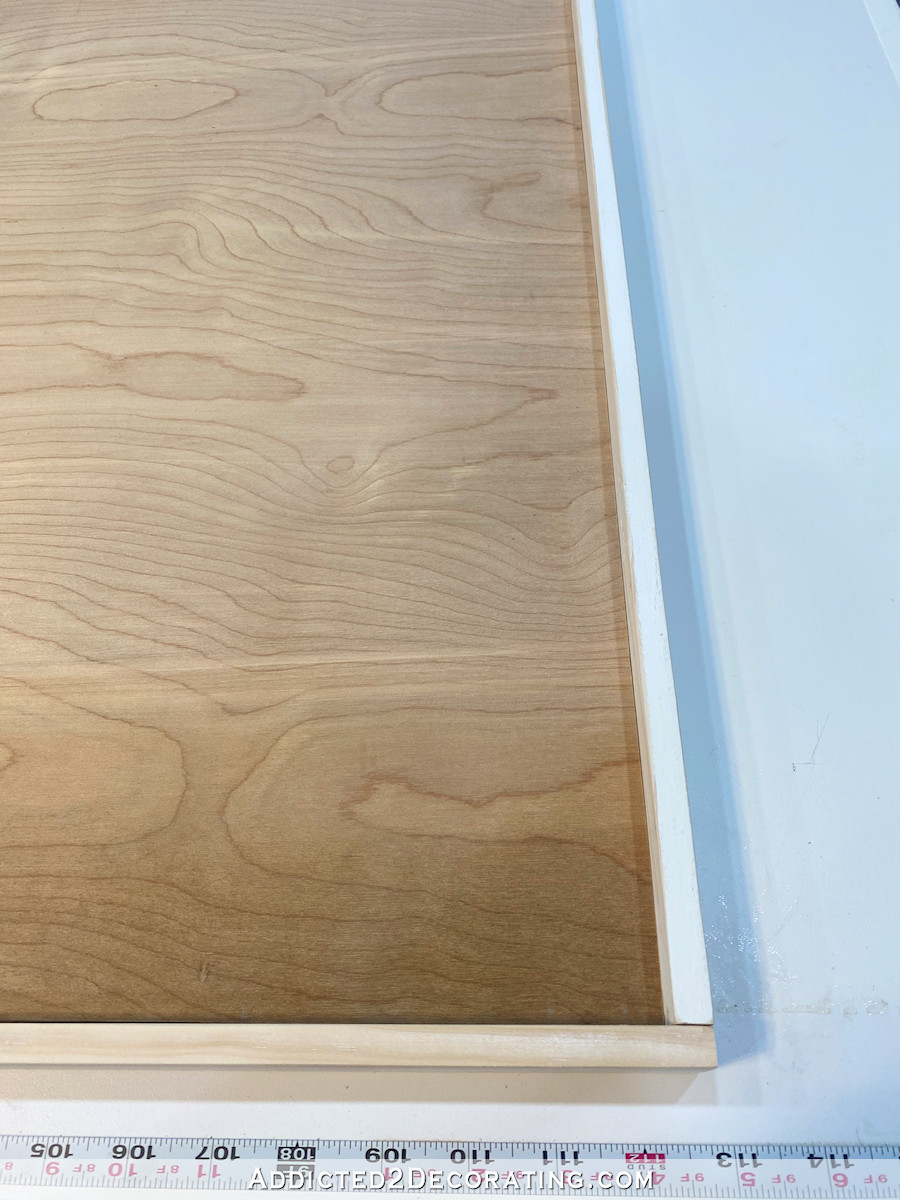
You can see above that I did not miter the corners. And you can see below what it looked like with all of those frame pieces attached and the cracks and nail holes filled with wood filler.

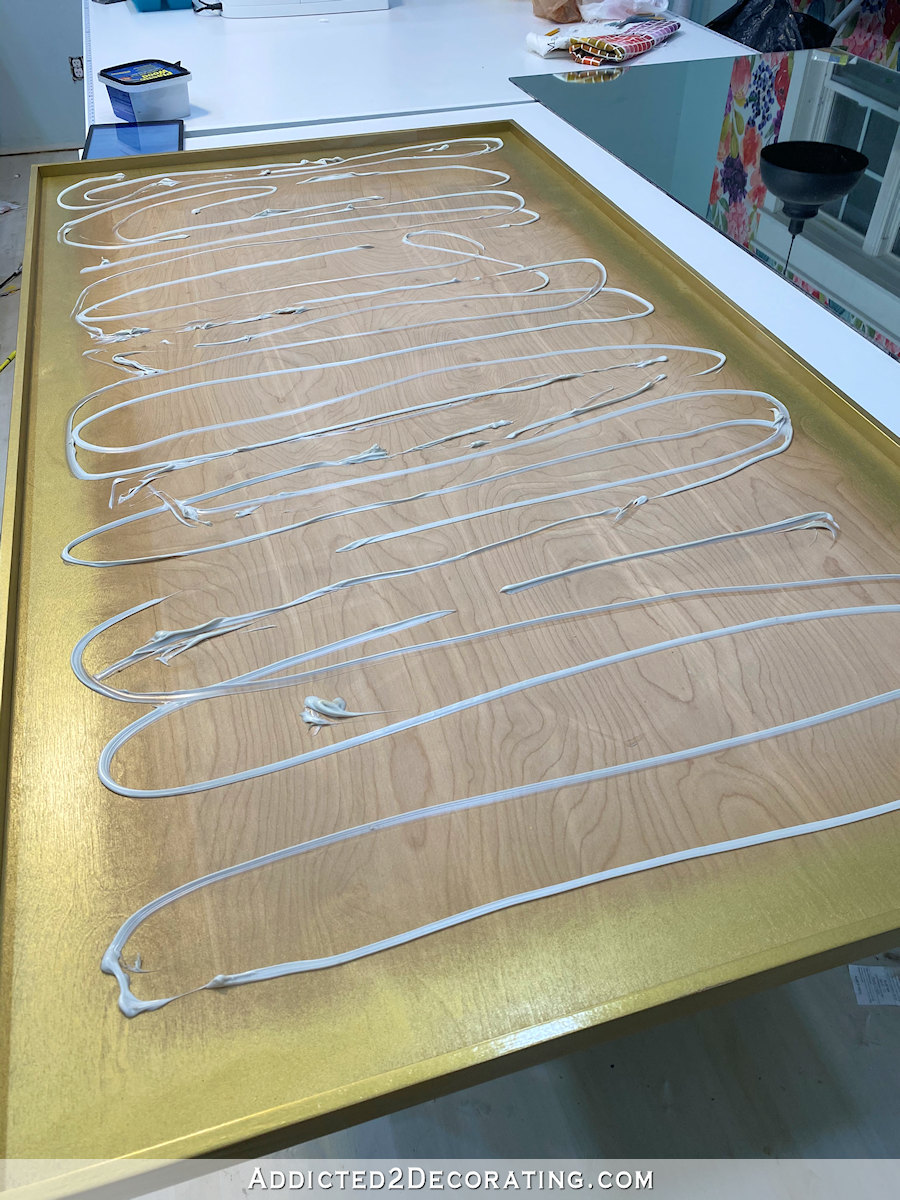
After sanding all of the joints and nail holes smooth, I used mirror mastic to attach the mirror to the plywood. It’s important to use mirror mastic specifically, and not just any random adhesive, because mirror mastic is safe for the silver backing on a mirror. Other adhesives may possible react with the silver backing on a mirror and distort the reflectiveness of the silver backing or even remove it. I find this mirror mastic on the mirror aisle (by the frameless mirrors) at Home Depot.

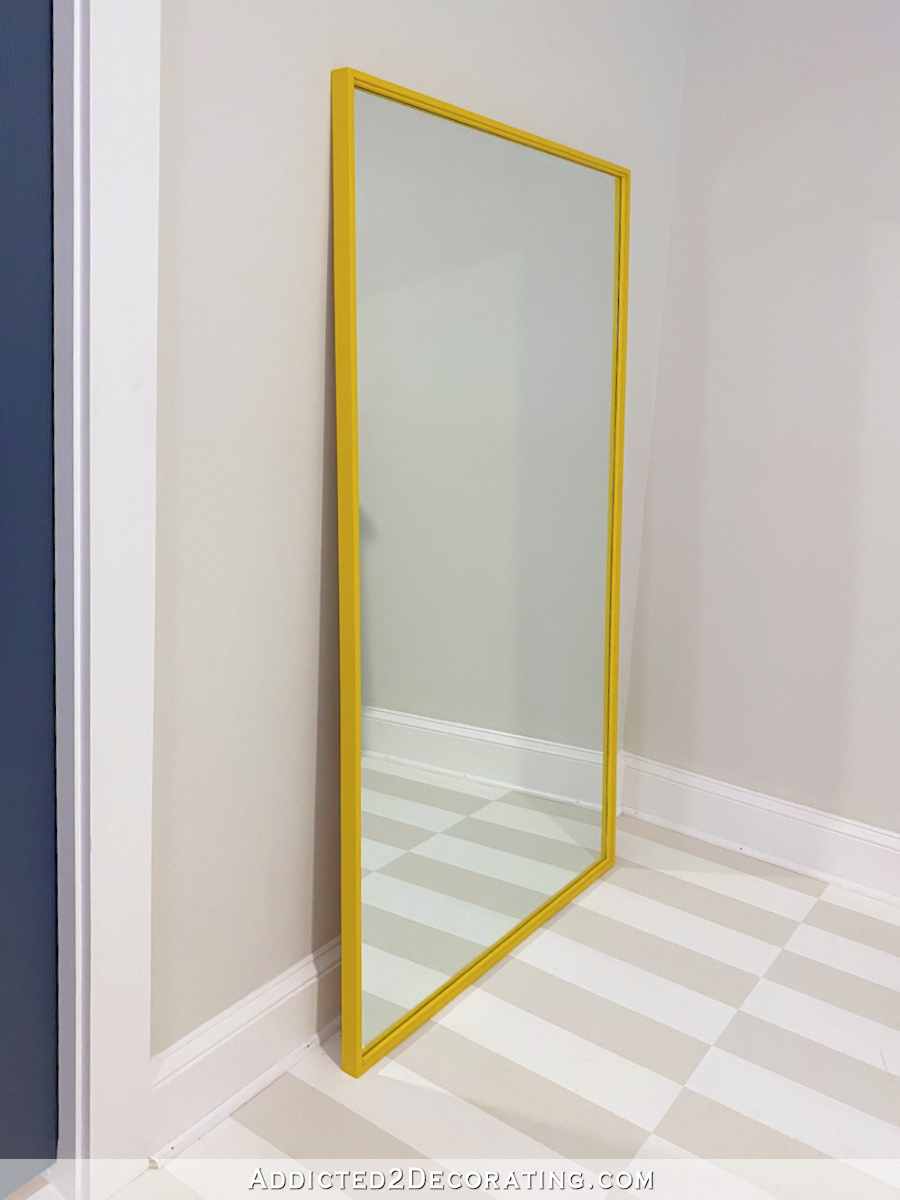
And I use a very generous amount, especially for a mirror this big and heavy. (My mirror is 60″ x 32″ x 1/4″.) Don’t pay any attention to the gold paint. I thought I wanted the mirror gold, but I almost never like gold paint on wood. This proved to be no exception.
With the mirror in place, I had these tiny gaps between the mirror and the frame that I wanted to cover. So I used my table saw to cut down some very thin strips of wood (maybe 1/4″ square) to attach over those little gaps.
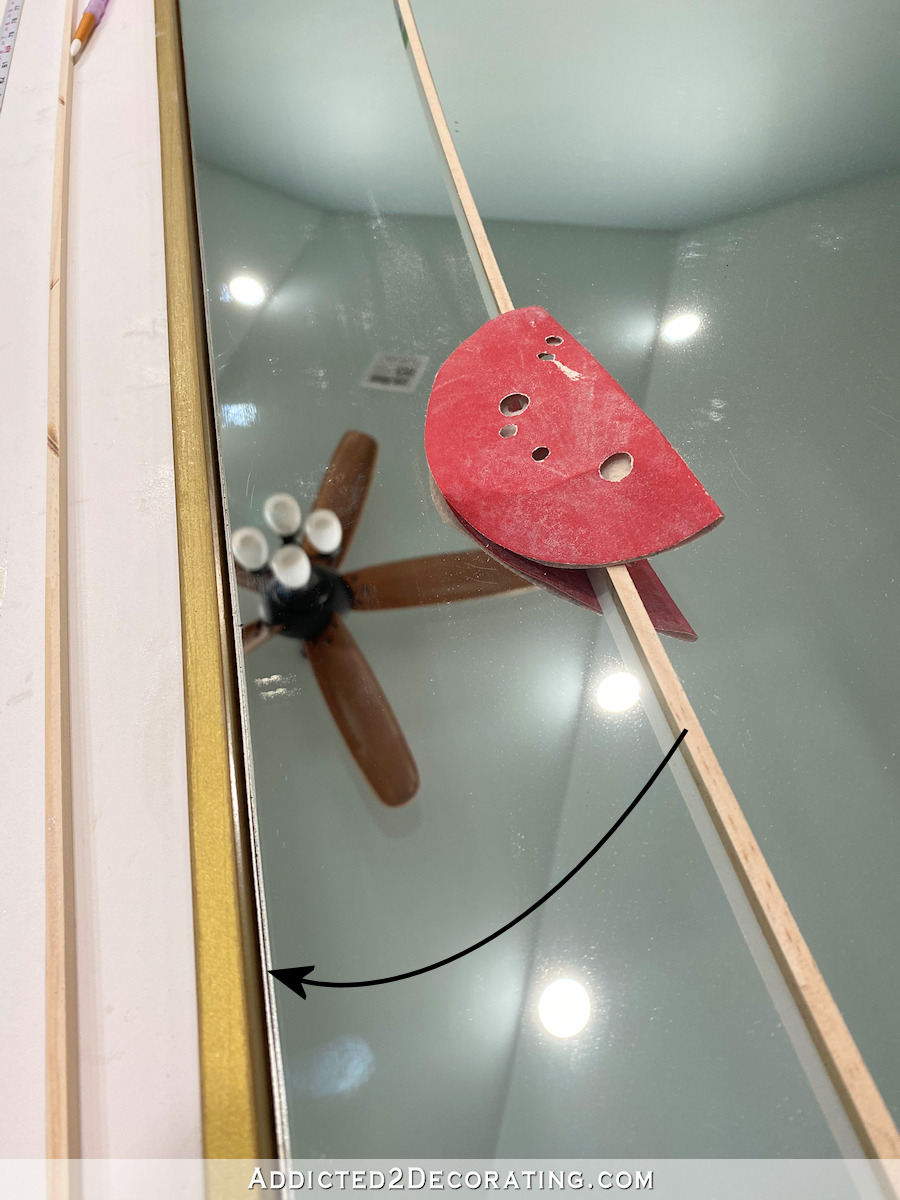
I sanded them really well and then did a dry fit to make sure they would fit…
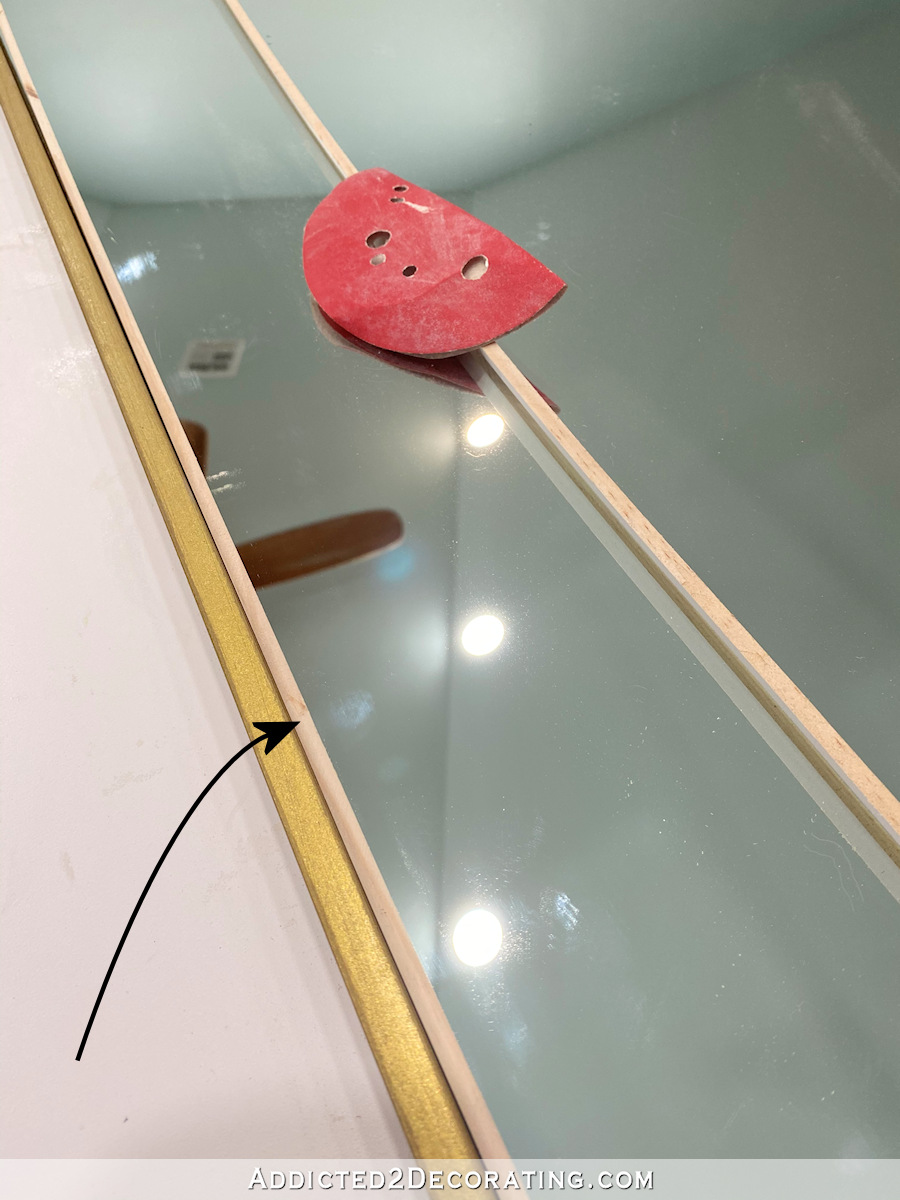
Before attaching them, I painted the side of the pieces that would sit against the mirror. It’s important to keep in mind that whatever is against the face of the mirror will be visible. I’ve made the mistake of forgetting this many times when framing mirrors!

When that paint was dry, I used small 5/8″ 18-gauge nails to attach these pieces. I shot the nails from the inside and into the outside frame.

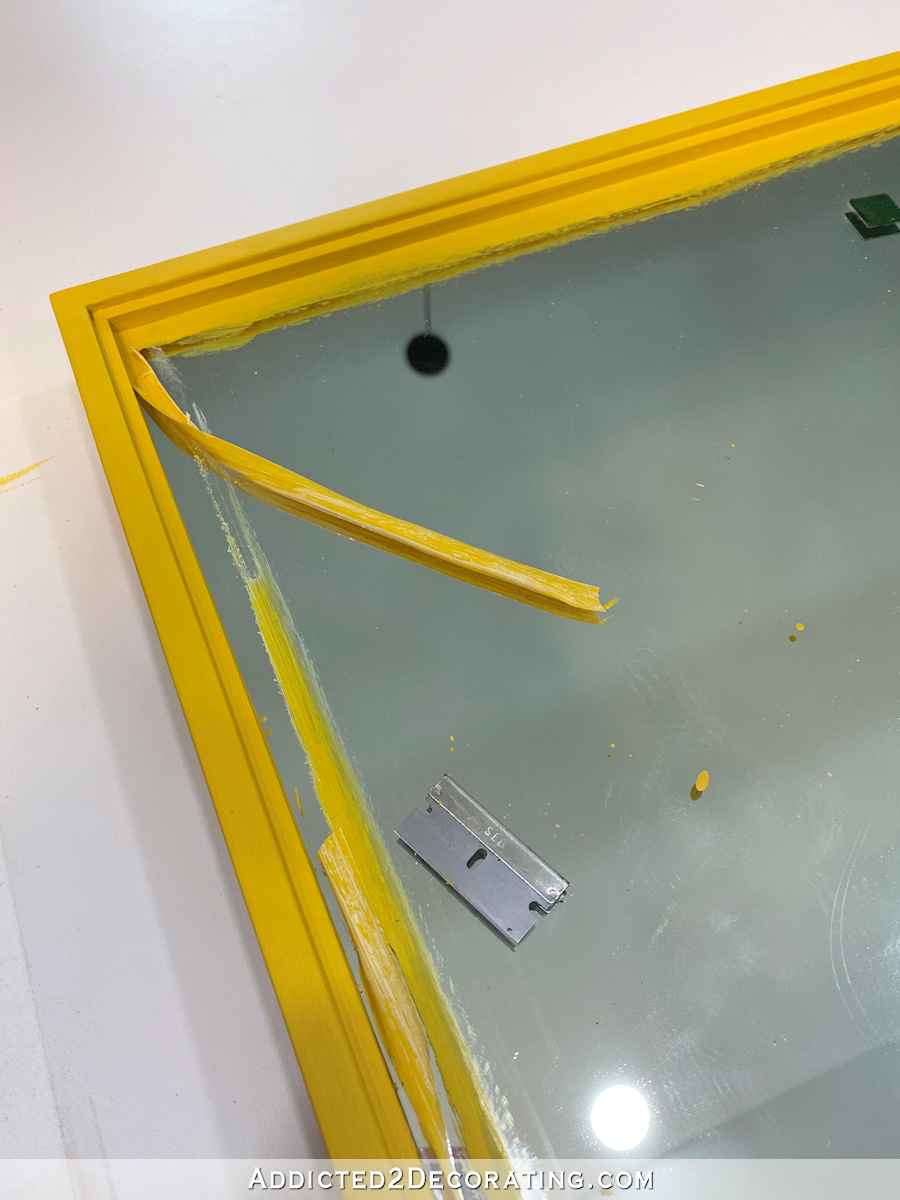
With all of those four pieces attached, I was ready to paint the frame. When painting frames on mirrors, I never bother with taping off the mirror. I just paint right onto the mirror.
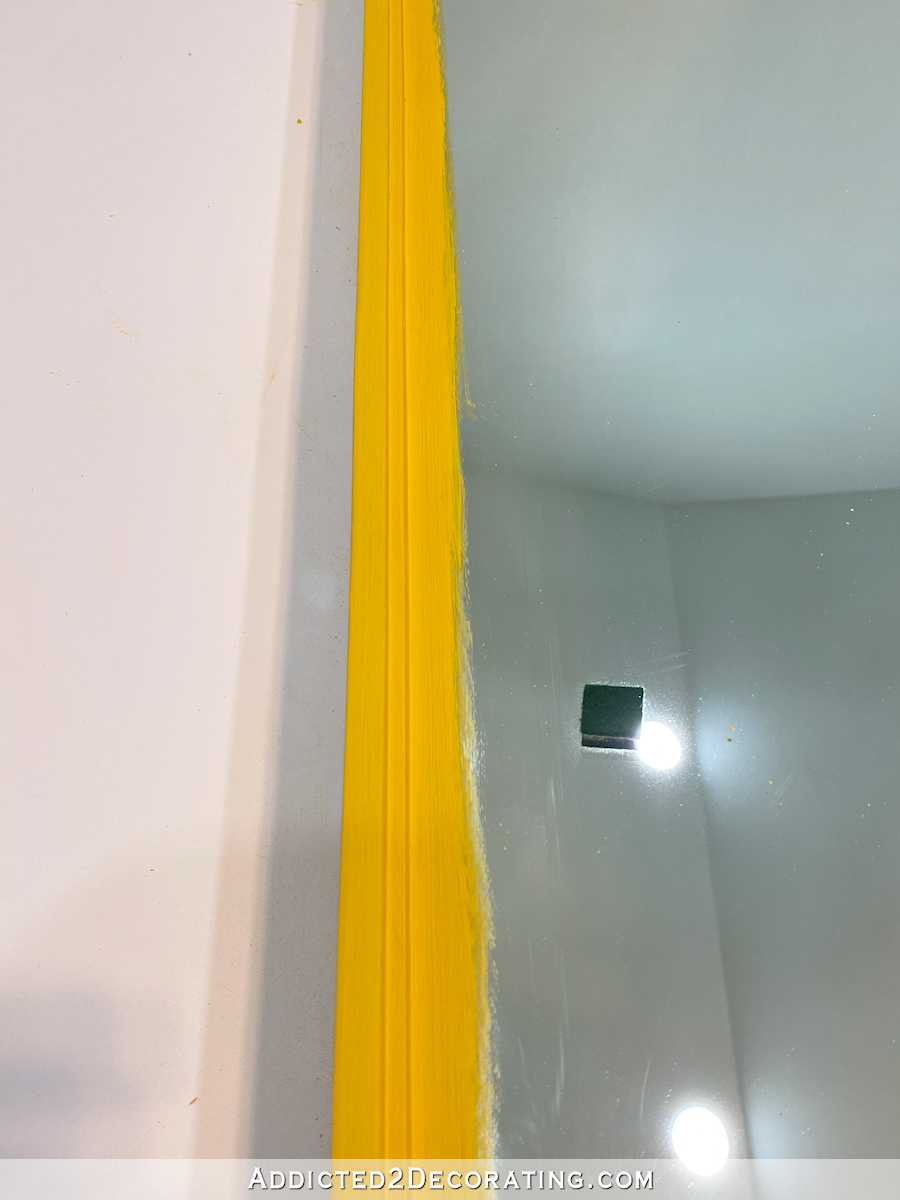
Once the paint is dry, that excess paint comes off very easily with a razor blade.
And here it is, all finished.
So I didn’t meet my goal for finishing the room by the end of last weekend. I actually had something else come up that needed my attention and took my focus off of the room. But I don’t think it’ll be much longer before the room is completely finished.

Addicted 2 Decorating is where I share my DIY and decorating journey as I remodel and decorate the 1948 fixer upper that my husband, Matt, and I bought in 2013. Matt has M.S. and is unable to do physical work, so I do the majority of the work on the house by myself. You can learn more about me here.


Nice job. Slow and steady gets the job done. I’m pretty methodical about doing projects and like to break them down into segments. It works for me.
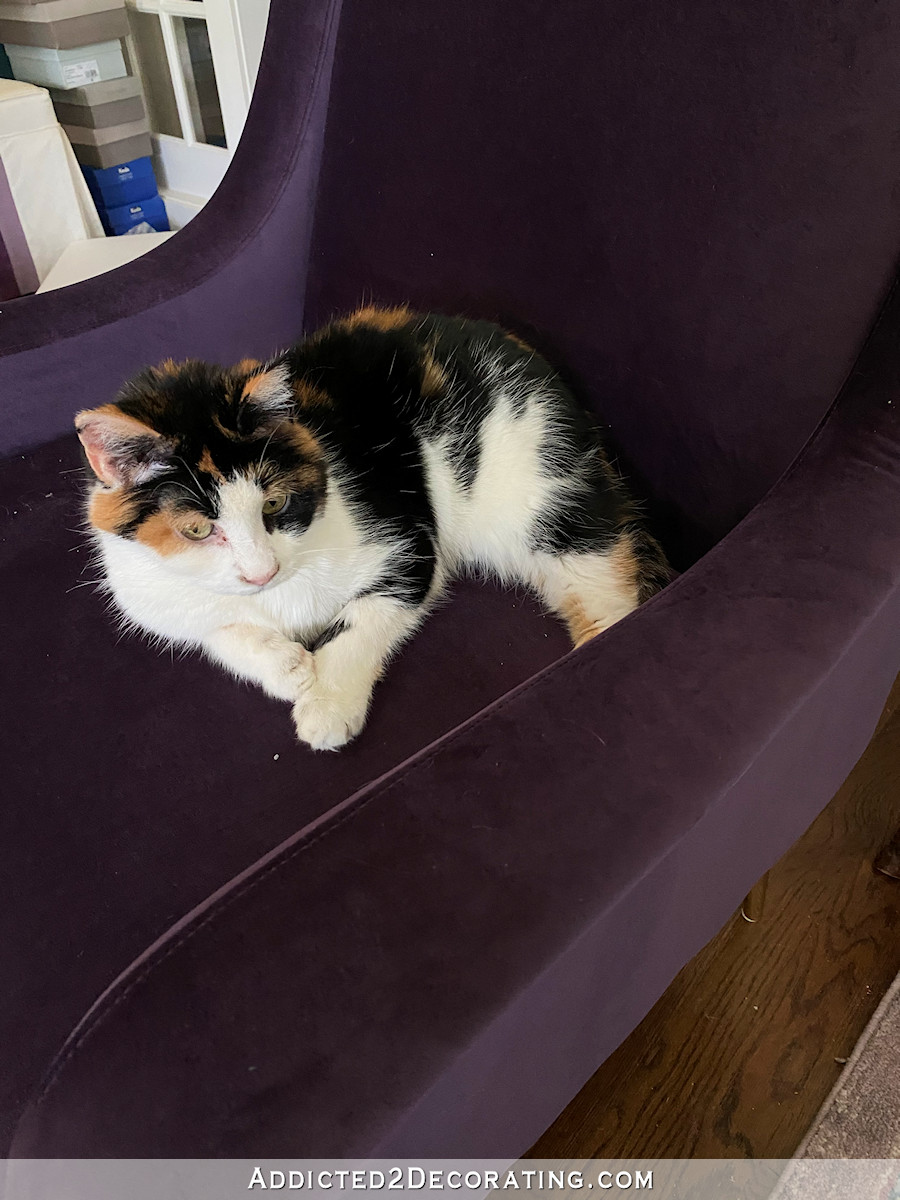
Who is your little photo bomber?
So glad you gave the information on mirror mastic. I never thought about the adhesive part of attaching a mirror.
Absolutely beautiful! I never like how gold looks on woods either. As for you the mustardy yellow, it was a little scary when I first saw you using it on the inner trim but I loved it so much once it was all done! Awesome job!
Great job,, have you thought about not hanging the mirror,, I really like it leaning,,,just a thought! I think you will really enjoy this room,,,
Thanks for the mirror tutorial! Love that little Felicity cat! She looks so cute.
Love the thin yellow frame. I think somebody wants more attention though! LOL!
This mirror project turned out amazing! I really like the yellow frame. You don’t have long to go to get this finished. That must feel really good!
What can I say? It’s all coming together beautifully! Can’t wait to see finished room!
Looks great, Kristi! Excited to see everything all finished… as I am sure you are, as well! 🙂