Dresser Makeover – Before & After (A Dark Stained Dresser Painted Blue)
*This post contains affiliate links.
Remember the new dresser I bought for the guest bedroom? It was the perfect size, and the perfect configuration. (I really loved that 9-drawer configuration.) But the color was…well…it left a lot to be desired for me.
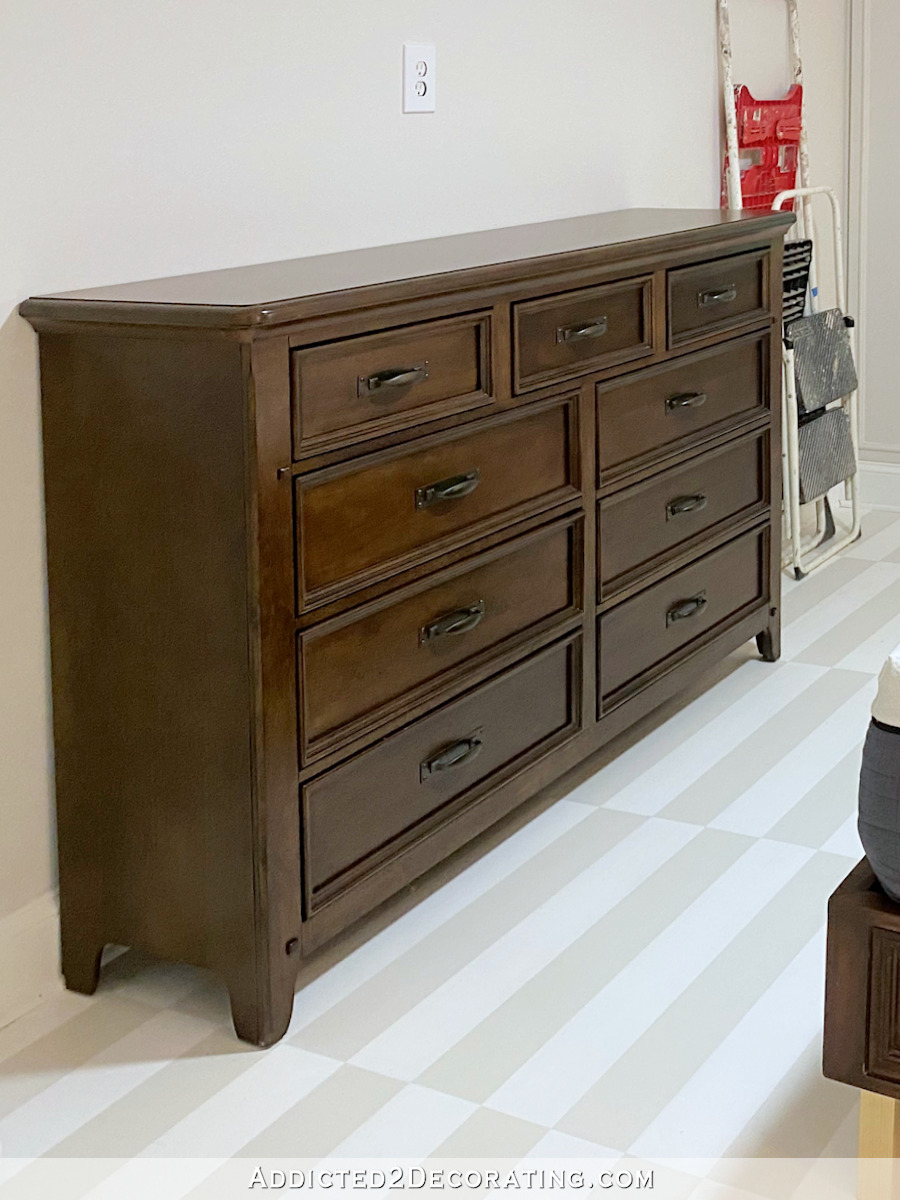
That dark finish was fine, but I’m much more of a painted wood kind of person. And with a stained bed and a stained writing desk in the room already, another large stained piece of furniture was just too much for me.
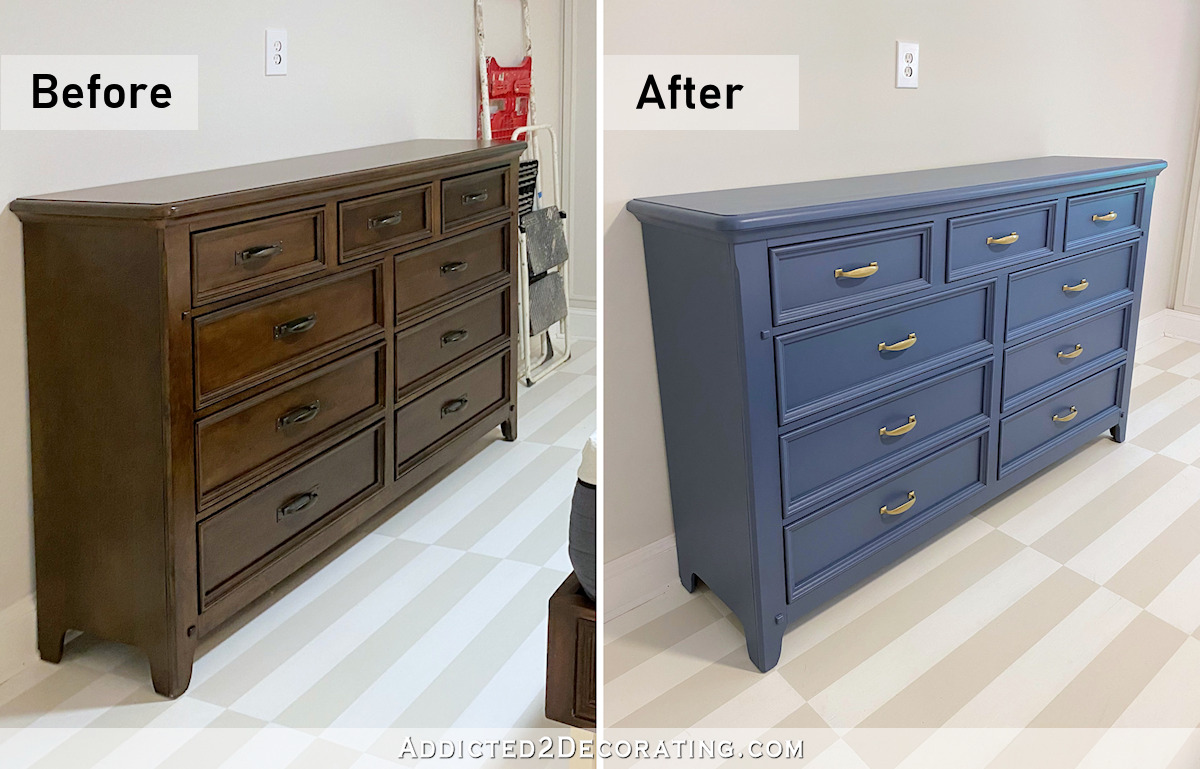
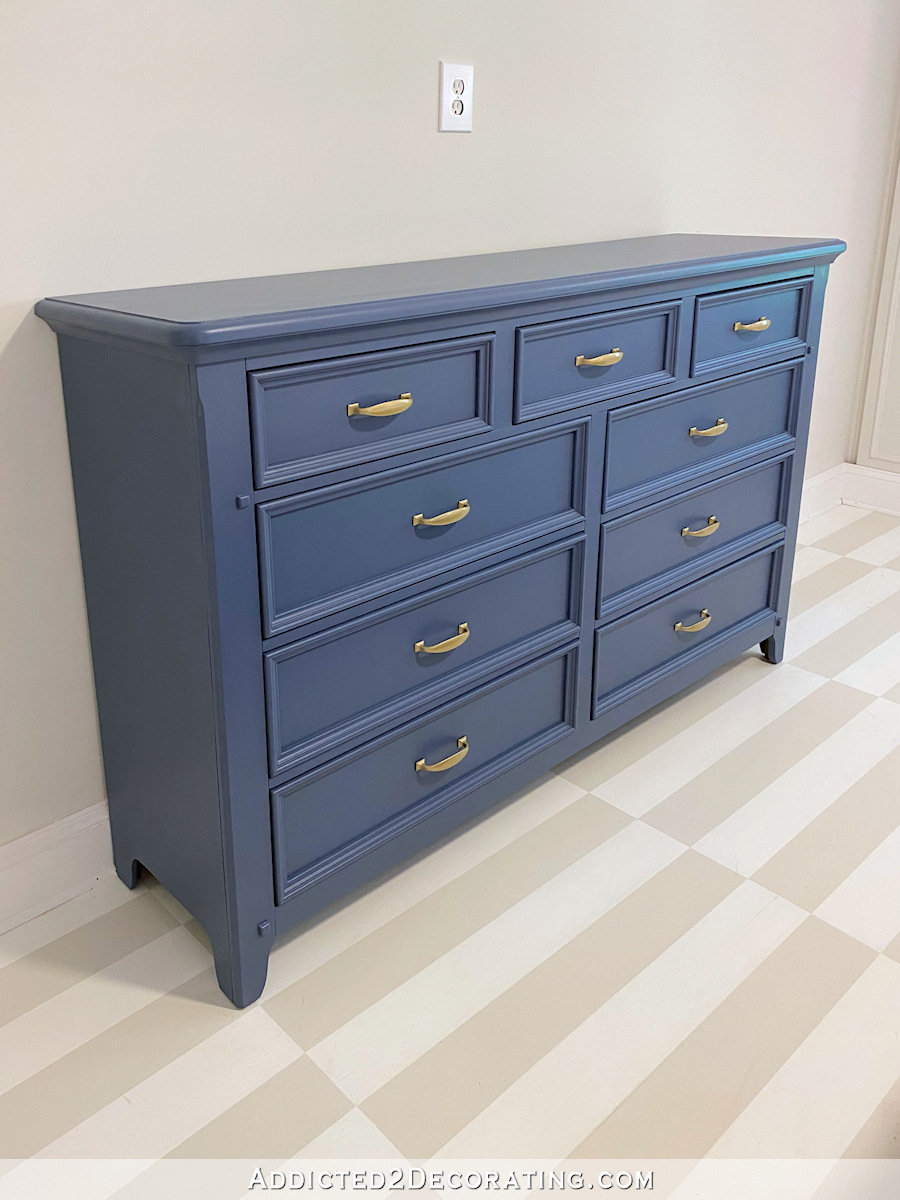
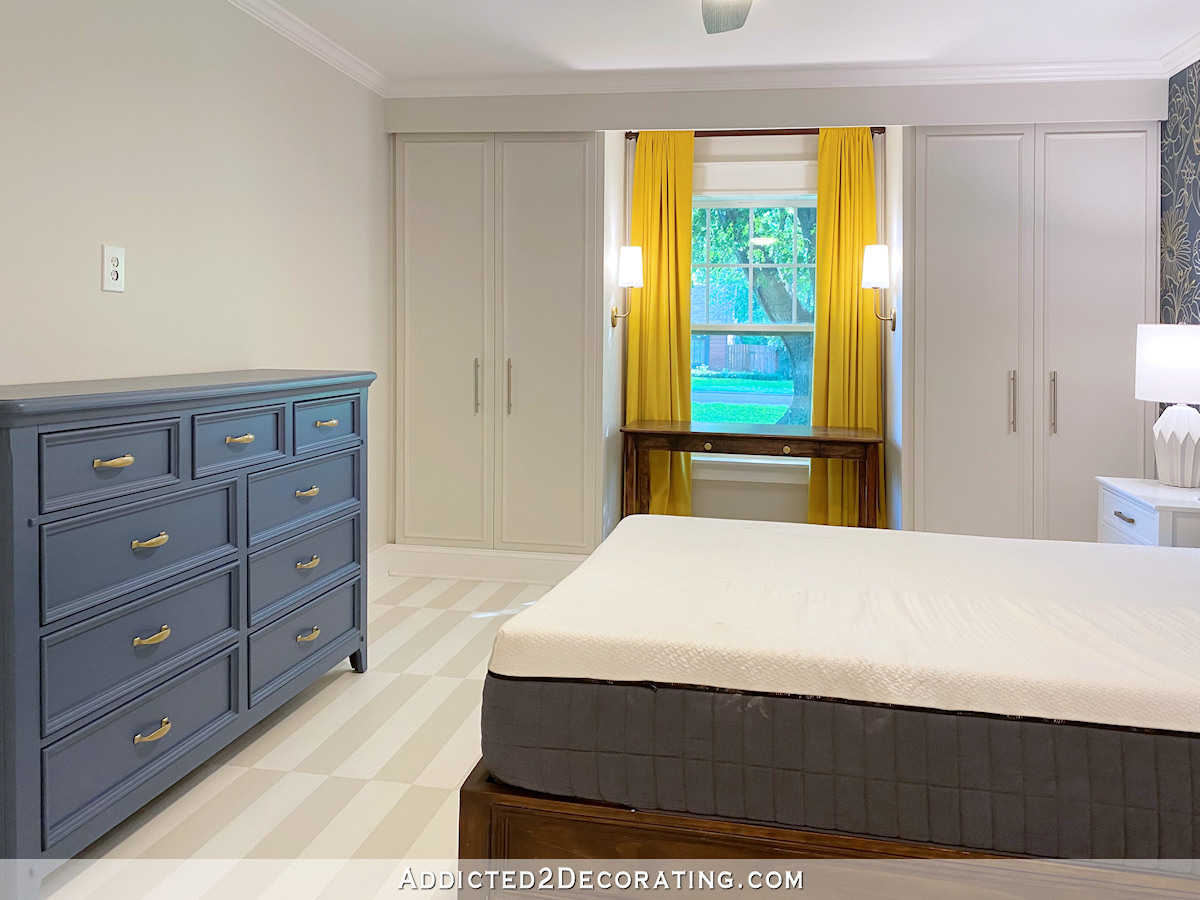
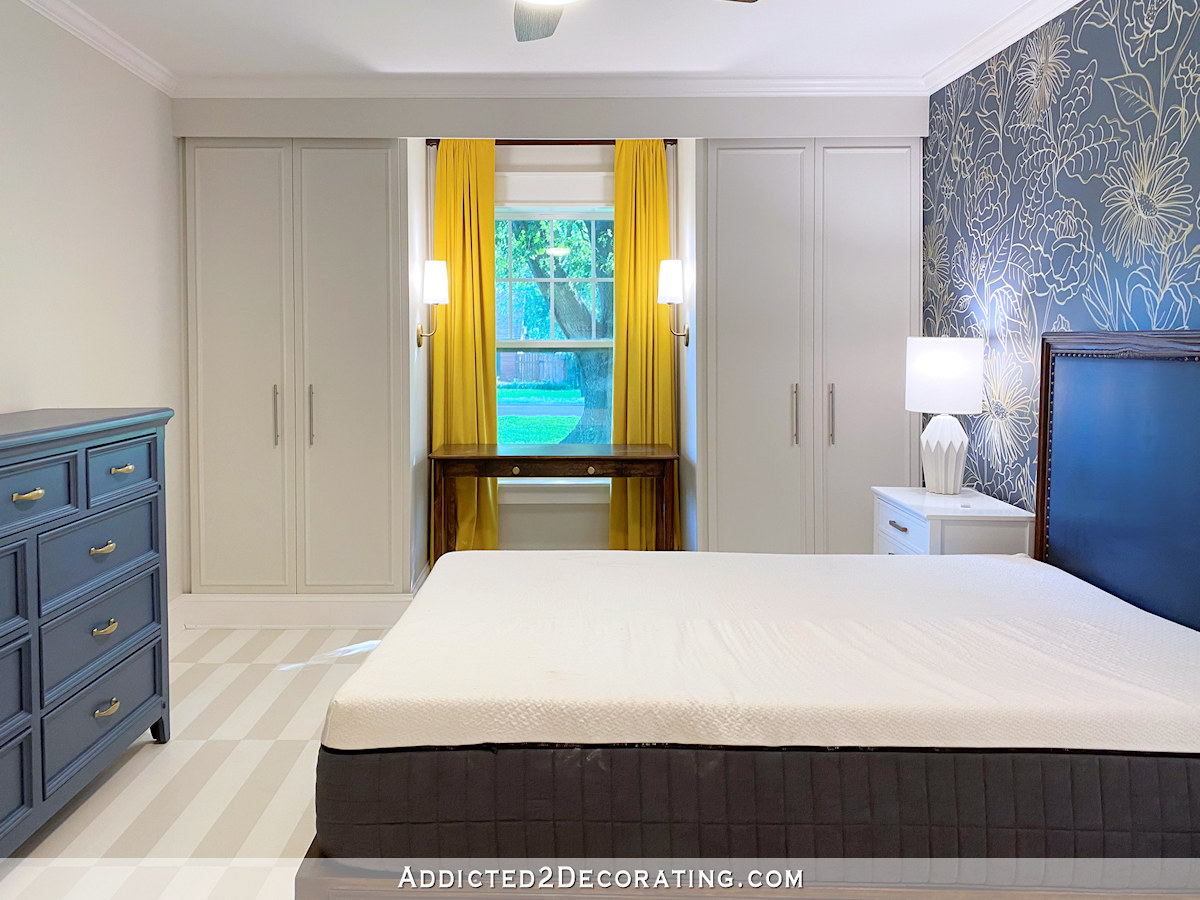
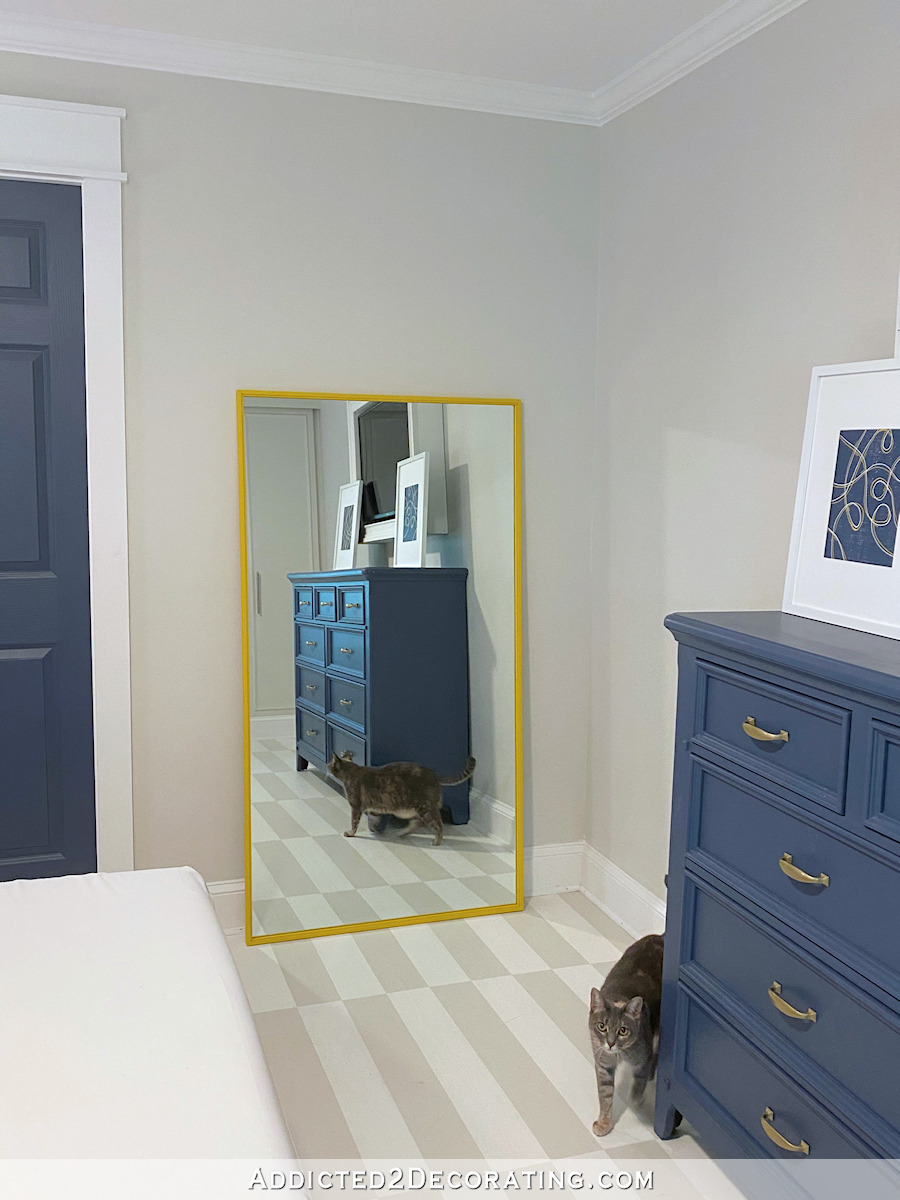
So I painted it the same blue that I used on the opposite mural wall. Here it is dressed in its new color…
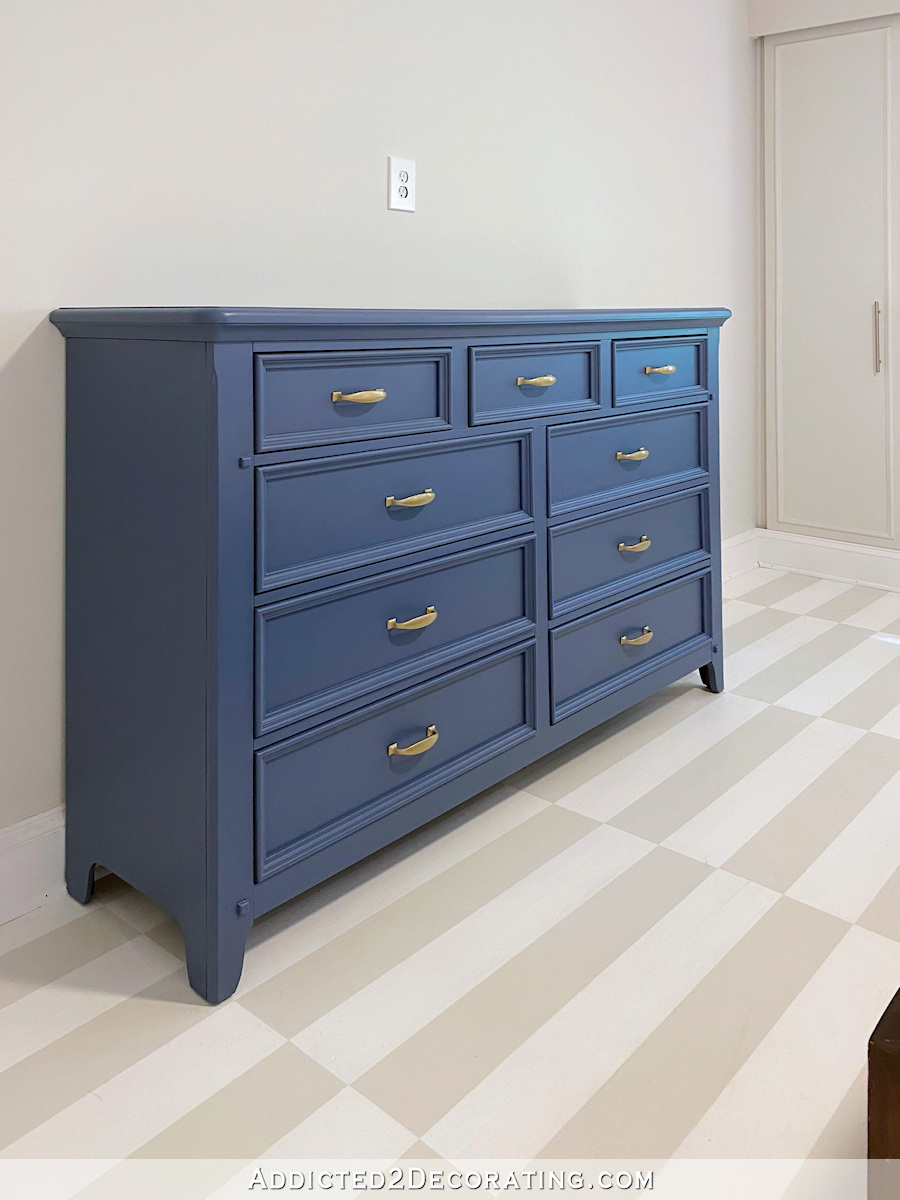
Ahhhh, yes. This is so much more me, right? I just love how it turned out!
The color I used is a custom color that I had mixed to use as the base color for the mural wall. You can see the formula here…

So let me walk you through the steps that I took to paint this dresser.
How to paint a stained wood dresser:
1. Sand the original finish.
This dresser was new with a very shiny factory finish on it. So I started by sanding the whole thing by hand with 220-grit sandpaper. This helps to dull the finish and give the primer better adhesion.
I’ll often do this step using my 5-inch rotary sander on the large, flat areas (like the top and sides), but because a sander creates so much dust in the air, it’s better to take the piece outside if you need to use a sander. I didn’t want to drag this beast outside, so I did everything by hand, which generally only sends the dust falling to the floor rather than flying through the air.
And depending on the finish, I’ll sometimes use 150-grit sandpaper for this step. But just keep in mind that the lower the grit, the deeper and more obvious the scratches left by the paper will be. So if 220-grit will do the job, then stick with 220-grit. If you find that 220-grit isn’t really doing much of anything (some of those factory finishes are incredibly thick and hard to sand), then go to 150-grit.
2. Wood fill and caulk any cracks, holes, imperfections.
During the sanding process, I also take the time to wood fill and caulk any cracks, dings, holes, or other imperfections that are in the piece. Because this was a brand new dresser, it really didn’t need much wood filling, and it didn’t need any caulking at all. But it did have these fake wormholes randomly spaced over the entire dresser and on every drawer front, so I filled those with wood filler, and sanded that down smooth.
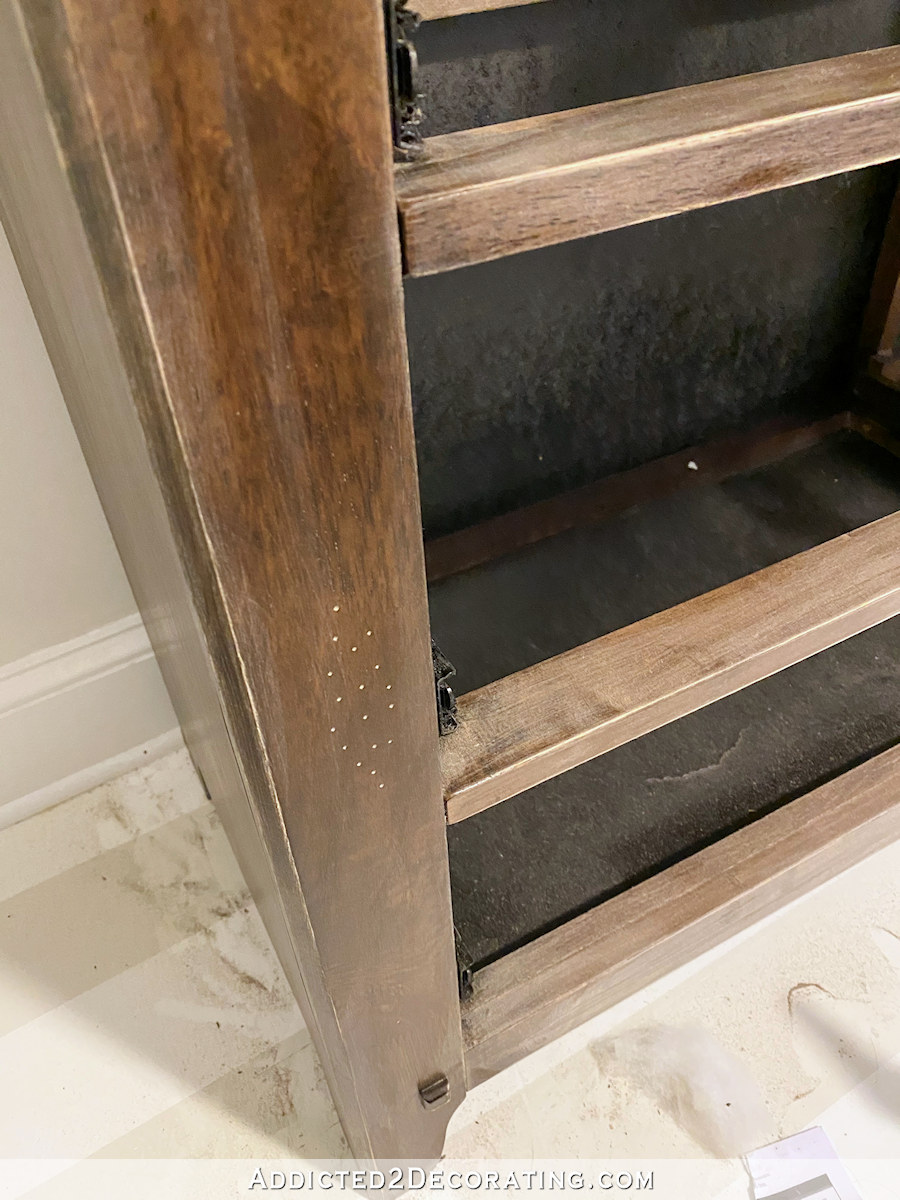
If there are any areas that need to be caulked, just remember that the caulking needs to be done after the wood filling and sanding (since caulk can’t be/shouldn’t be sanded), but before the priming.
3. Prime and sand
Next I primed the whole piece using my favorite Zinsser oil-based Cover Stain Primer.

In the past, I have applied this primer with a brush, with a roller (the 6-inch roller for smooth surfaces), and with a sprayer. I always find that I get the best end result when I use a brand new can of primer (never opened and used before) and brush it on. This is especially true if I’m priming unfinished wood that has deep grain, like oak. A sprayer won’t get primer down into the grain adequately, and a roller is only a little bit better. But a brush pushes the primer into all of the wood grain, nooks, and crannies.
That’s not to say that I never roll or spray the primer, but if I have time (because it is more time-consuming), my preference is to brush it on using a Purdy 2-inch Cub XL angled brush. Keep in mind that you can use the highest quality paints and primers available, but if you use a low quality brush, you’ll still have disappointing results. So a quality brush is a key to a great finish.
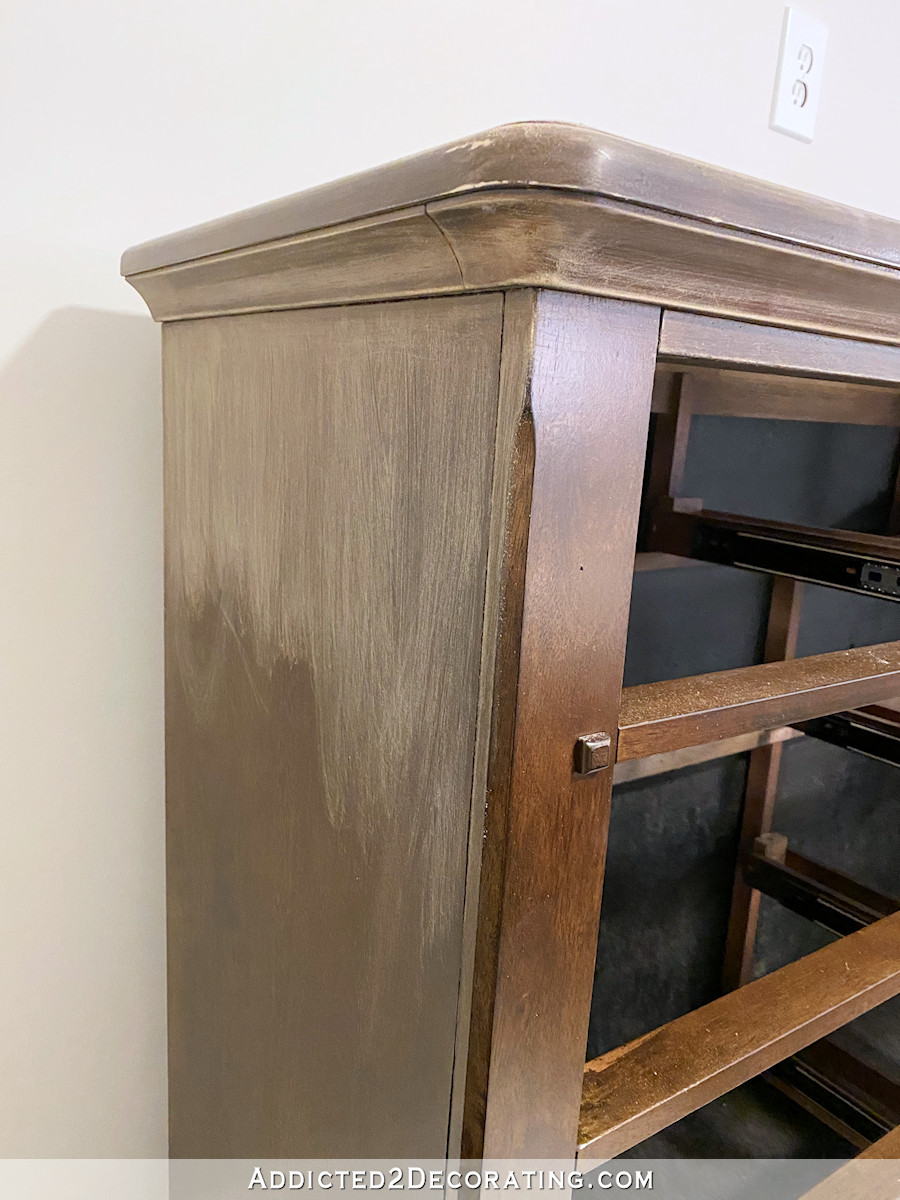
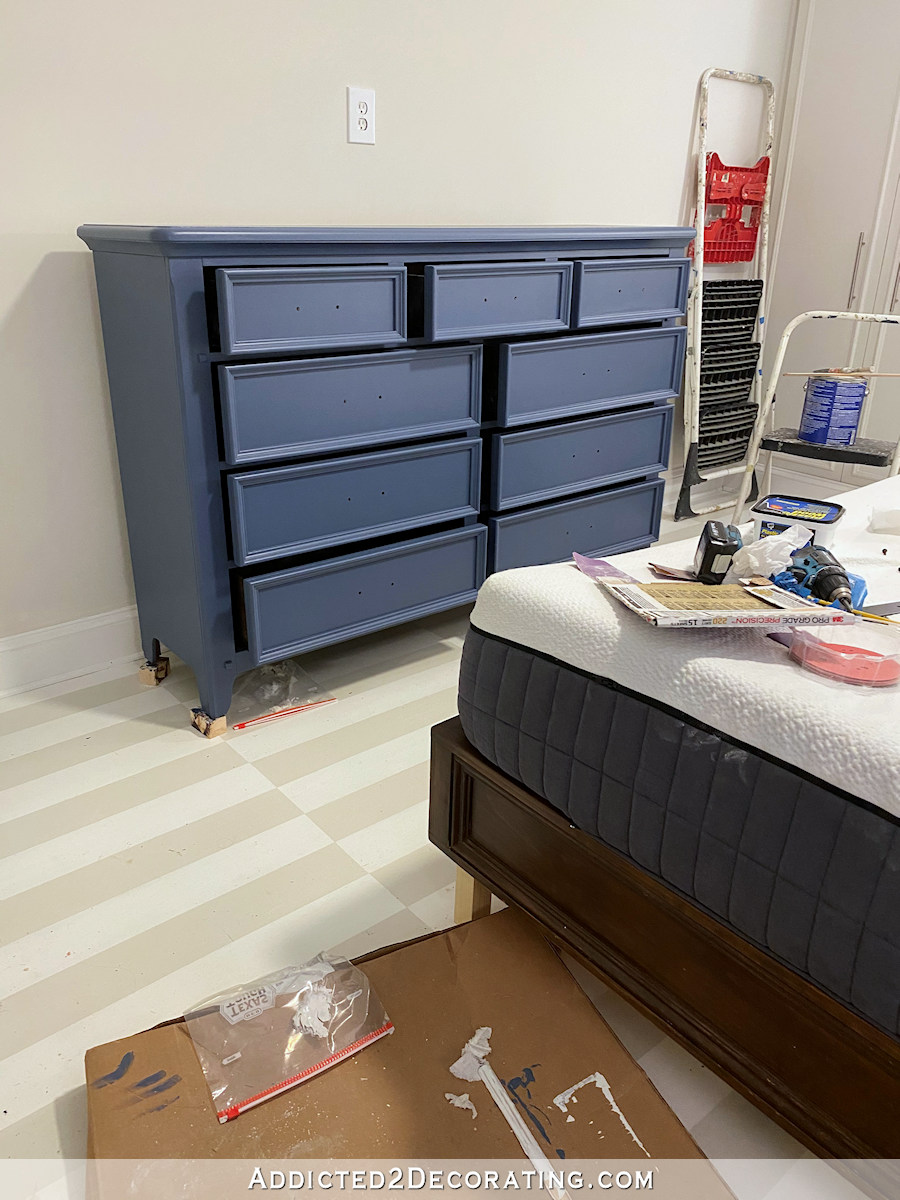
After letting the primer dry thoroughly, I sanded it by hand using 220-grit sandpaper.
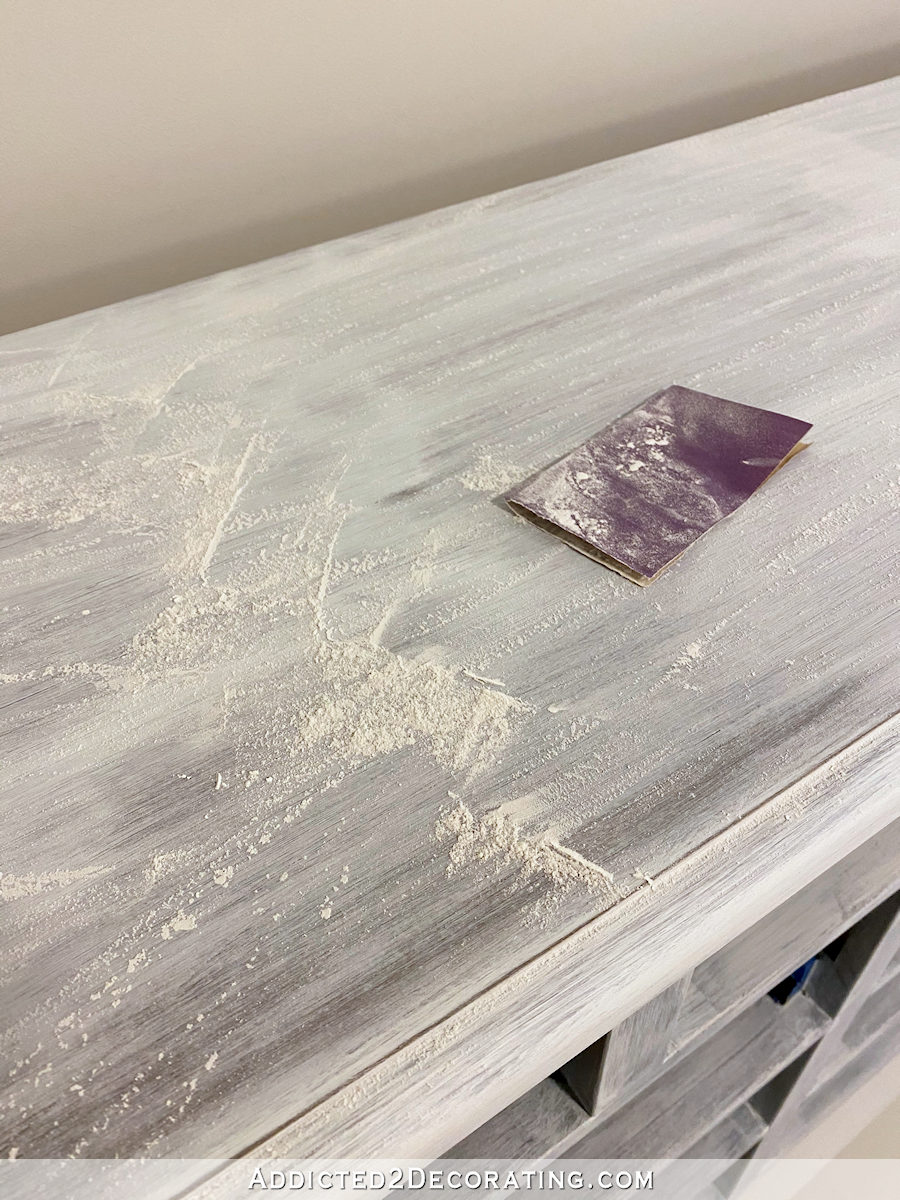
This is very important. When the primer is adequately dry, it will appear as fine chalk dust when you sand it, as you can see in the picture above. If you try to sand the primer and it pills up or makes little pancakes clogging up your sandpaper, then it’s not dry enough. But if you sand it and see the fine chalk dust-looking dust left behind, that’s when you know you can sand the piece and get the absolute best and smoothest finish.
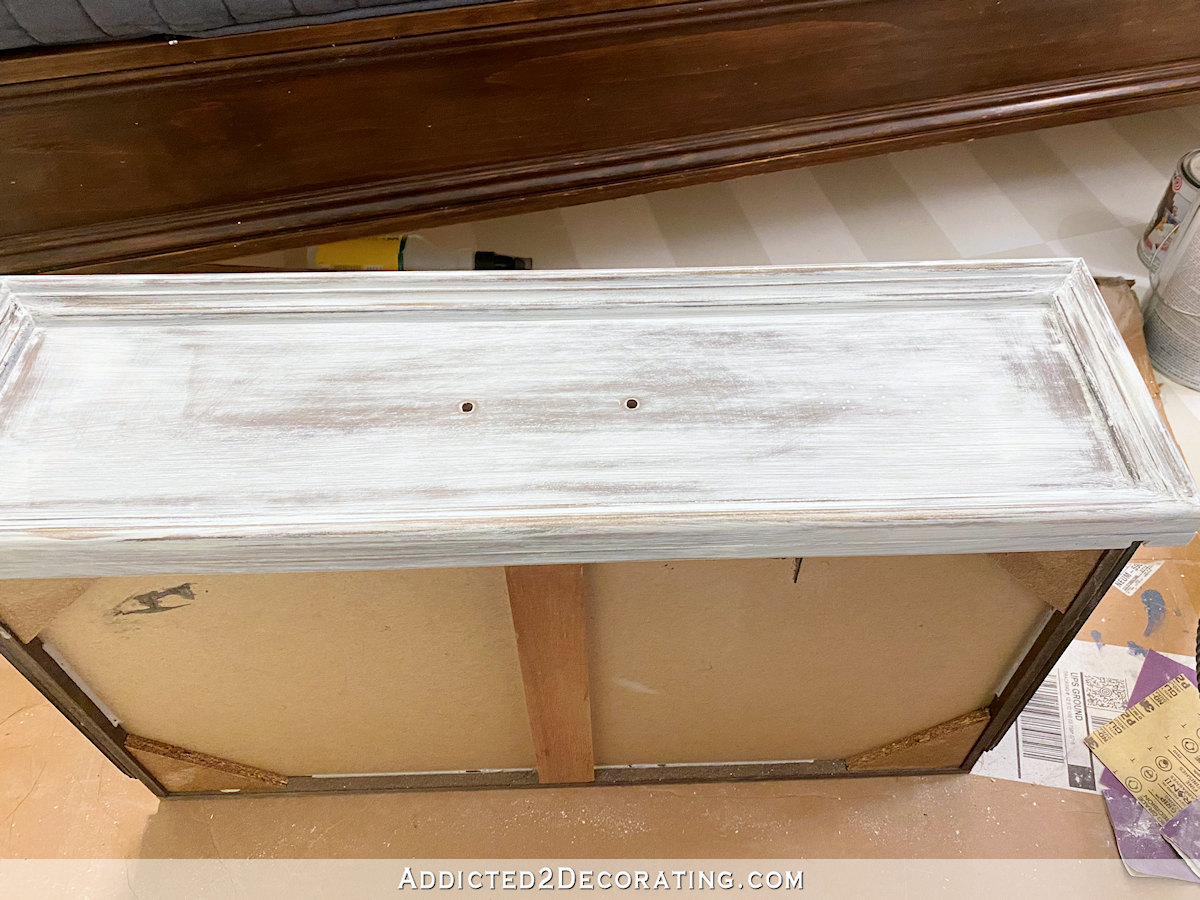
Also keep in mind that it’s not important for the color of the primer to be consistent all over the piece. As you can see on this drawer, when I sanded it smooth, some places sanded away more the expose more of the color underneath, but other areas remained more opaque. I’ve never had an issue with this at all. The paint covers all of it beautifully.
4. Paint the dresser.
To paint this dresser, I used Behr Premium Plus in an eggshell finish.
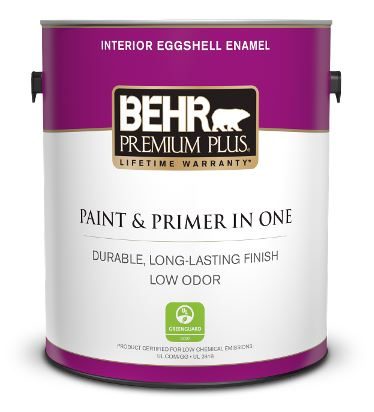
You can use any sheen of paint you want, but keep in mind that the higher the sheen, the more any imperfections in the piece will show up. That’s why I tend to stick with an eggshell finish, though at times I will go to a satin sheen. But I never go with a higher sheen than satin.
I bought a brand new quart of paint, and then added two ounces of Floetrol paint conditioner to it. And then I applied two coats of paint using a different Purdy 2-inch XL Cub brush. (It’s never a good idea to use the same brush for both oil-based and water-based finishes.) The paint conditioner allows the paint to flow off of the brush so beautifully, and it also extends the drying time of the paint, which results in fewer visible brush strokes in the final finish.
I generally like to leave painted surfaces horizontal as they dry if possible so that gravity can also help to flatten out those brush strokes. But in this situation, I didn’t have much space to work in so I very carefully placed the wet drawers back into the dresser as I got each one painted.
I gave the whole thing two coats of paint. I never find that I need more than that, although on rare occasions I might find that specific areas may need some touchups even after the second coat. But again, that’s rare.
5. Paint the hardware (optional)
I used the original drawer pulls, but I left off the original back plates. I thought those made the pulls look way too bulky.

I gave the handles two coats of Rustoleum Pure Gold spray paint, and gave them a couple of hours to dry before reinstalling them.
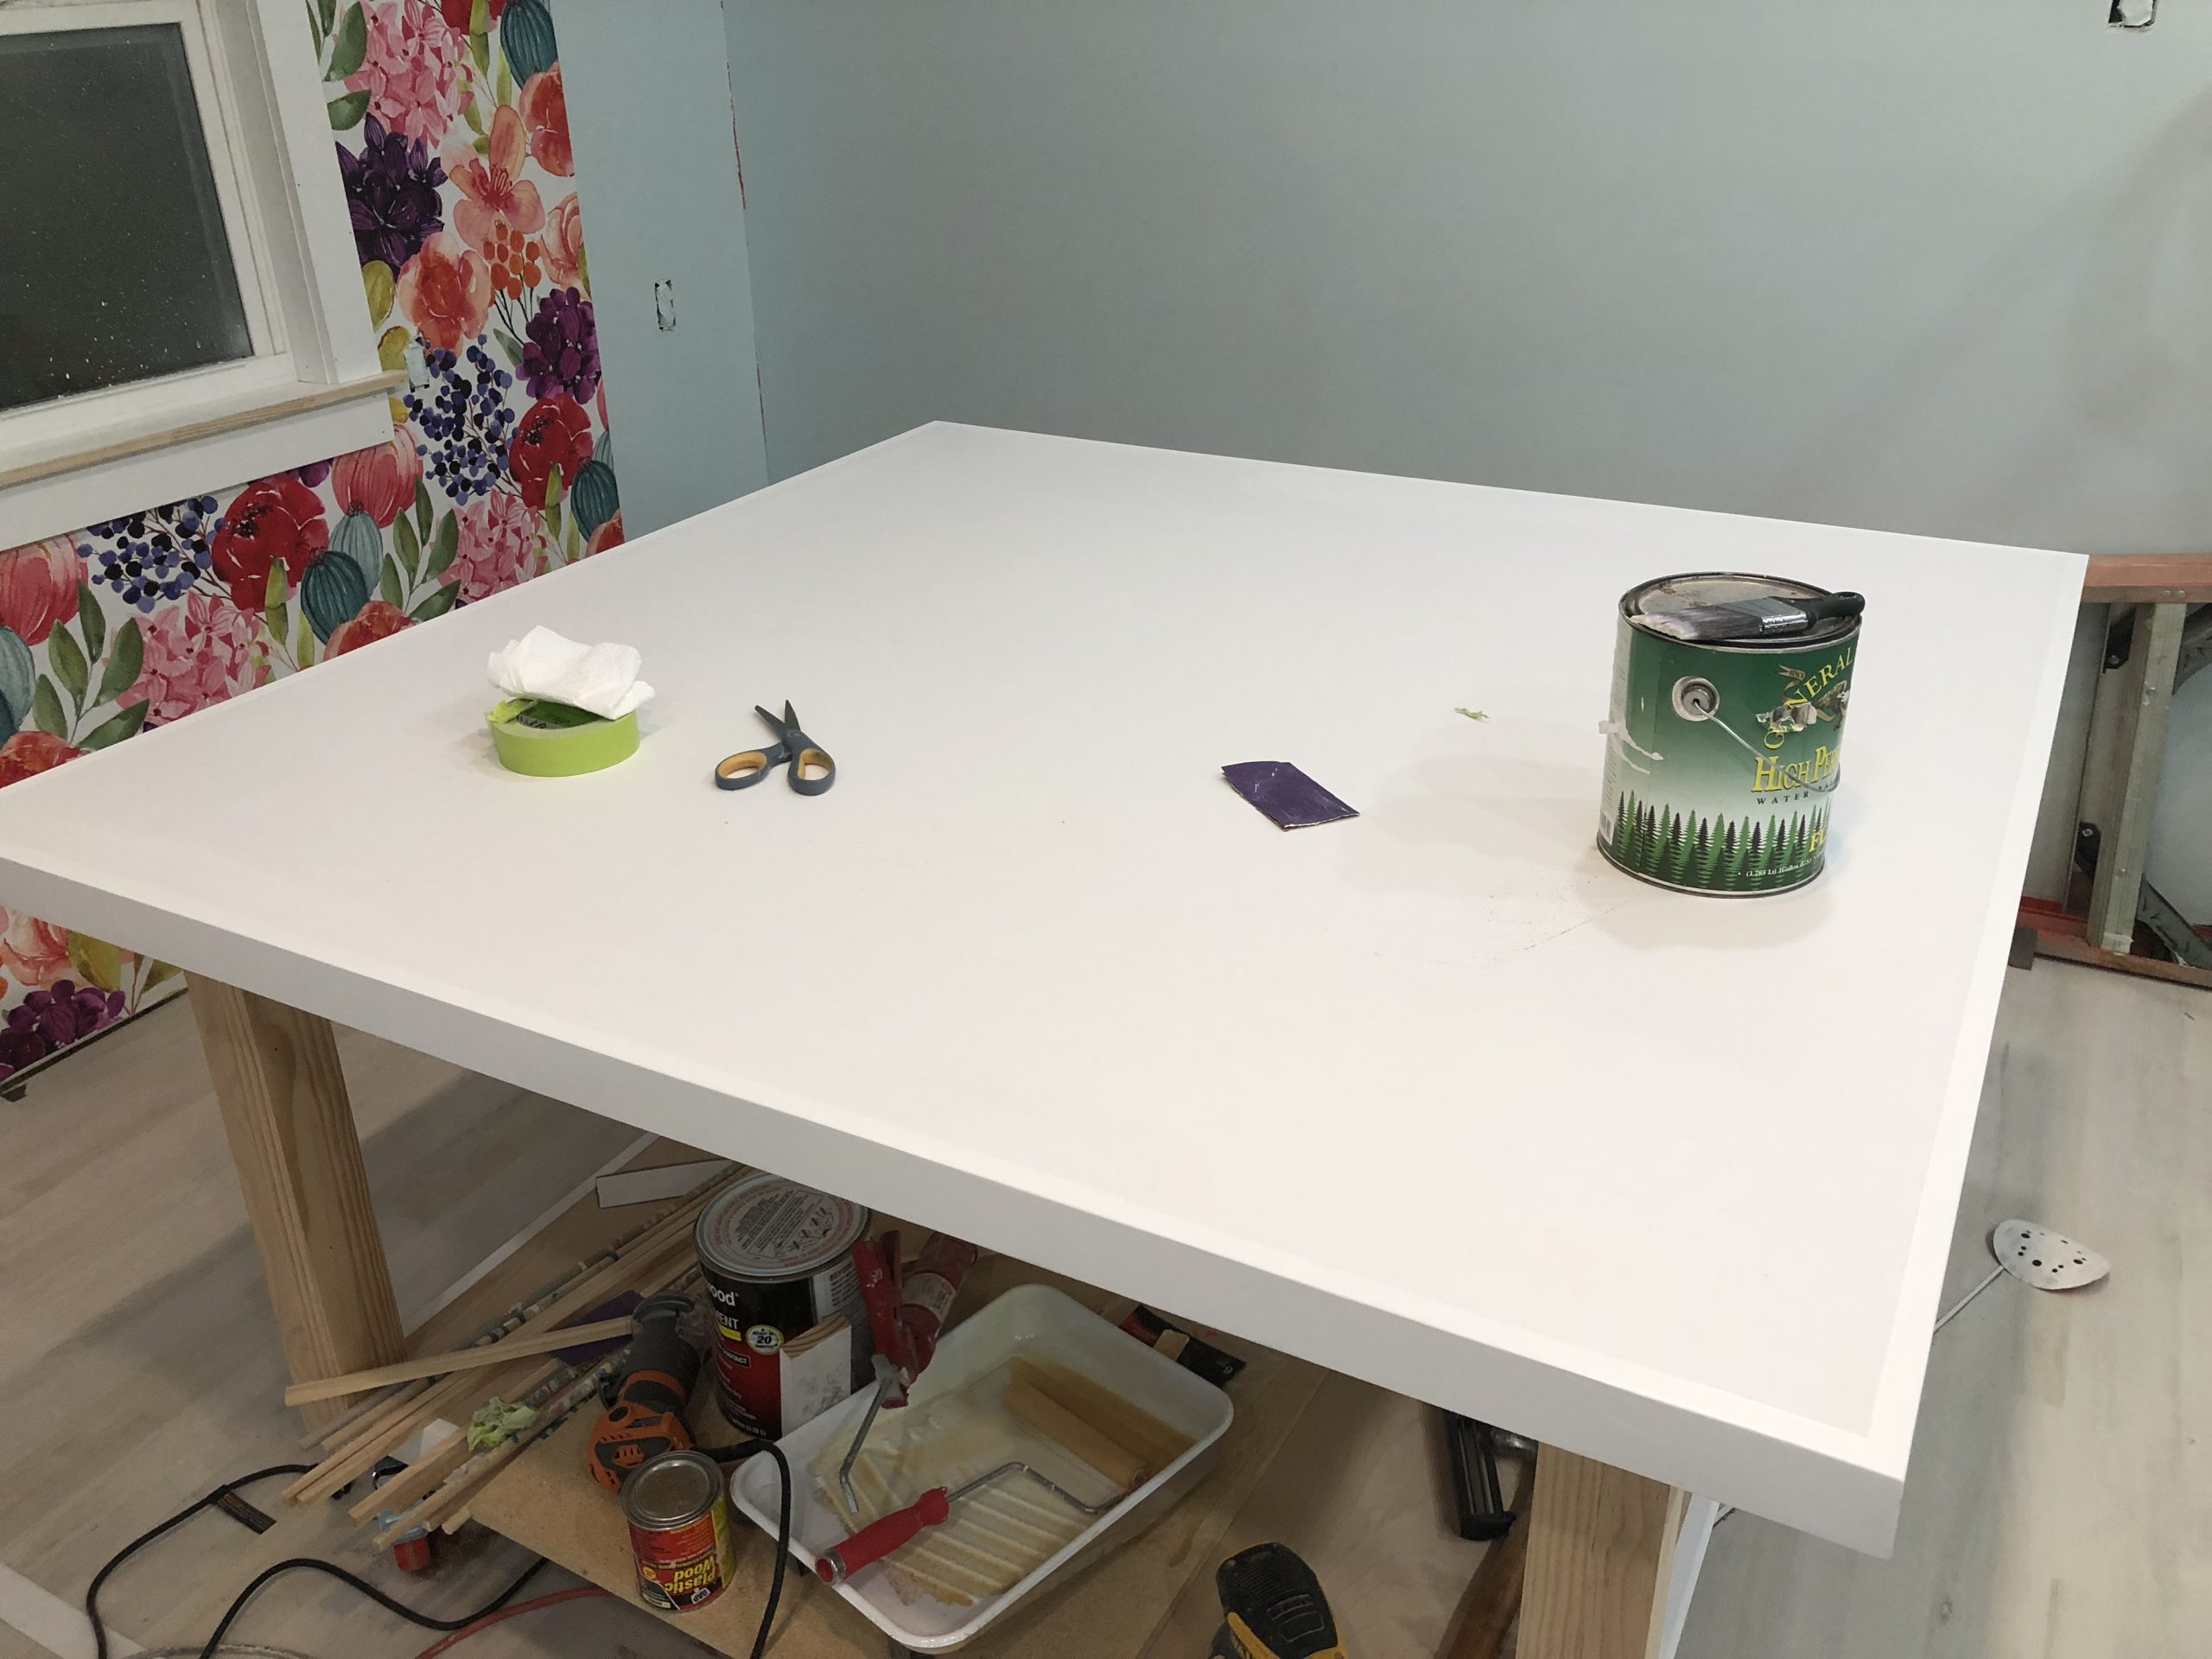
6. Clear coat the top (optional)
I finished off the dresser by giving the top two coats of my favorite clear coat — General Finishes High Performance Topcoat in a flat finish. I applied this with a 6-inch roller for smooth surfaces, sanding the top very lightly with 220-grit sandpaper between coats.
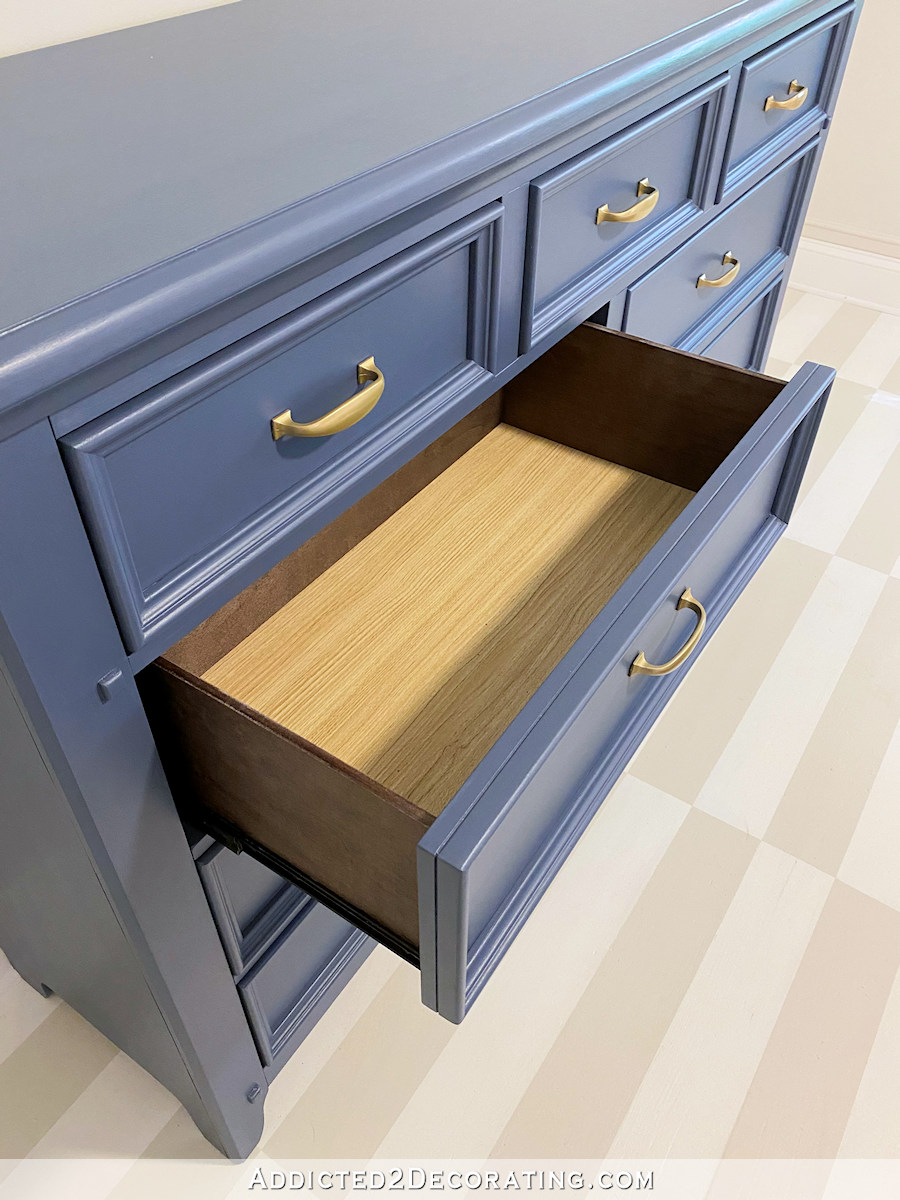
When painting the drawers, I only painted the fronts and the edges of the drawer fronts. I left the rest of the drawer box in its original state.
I love this so much more with a painted blue finish than I did with the dark stained finish!
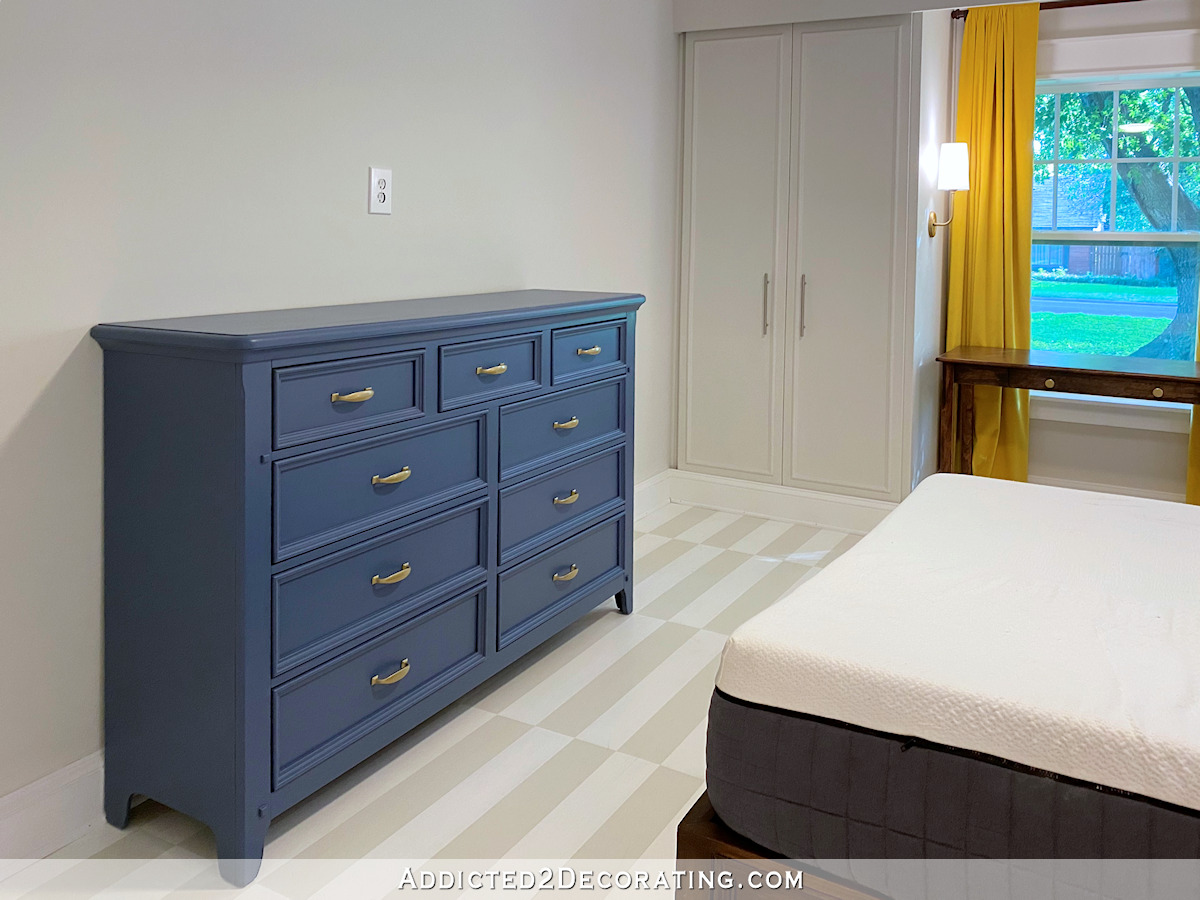
And you can get a little peek at one of the ways I plan to use the golden yellow velvet. 🙂 That’s just fabric draped over a curtain rod for now. I will actually turn that fabric into lined, pinch-pleated draperies just as soon as I can, but for now, I just love opening the door to this bedroom and seeing that beautiful velvet framing the window. That fabric will make other appearances in the room as well.
I have some bedding on order, and the plan right now is to modify it a bit with the yellow velvet as an accent. I also went ahead and ordered the stool/ottoman from Target that I really like. I don’t think it’ll be quite high enough to use at the writing desk, but I can either find a way to raise the height (there has to be a way!) or I can just cut the legs of the desk down a couple of inches. Either way, I will make it work!
So it’s getting there! Just a few more projects to go before this room is done.

Addicted 2 Decorating is where I share my DIY and decorating journey as I remodel and decorate the 1948 fixer upper that my husband, Matt, and I bought in 2013. Matt has M.S. and is unable to do physical work, so I do the majority of the work on the house by myself. You can learn more about me here.

Oh, I get to be first. Beautiful choice and execution on the dresser. I also appreciate the complete and careful explanation. And, now I see the gold velvet vision. Couldn’t see it on the headboard, but look at how it glows in the window, taking nothing from the drop dead mural. I look forward to seeing your progress!
That is so pretty – really brings out the detail, thank you as well for the information on all of the paint products – this room is going to be beautiful!
Looks beautiful. Finally a project that doesn’t use chalk paint. What’s up with everything I see is chalk paint? Just give me beautiful paint. (That actually holds up) Thanks for not making my head explode once again with a chalk paint project
YES,YES,YES ON THE GOLD CURTAINS!!!! I also like the dresser! Lol. It is looking lovely. Lucky guests!
Sheila F.
Absolutely beautiful, Kristi. Your vision paid off. Often we readers cannot see or feel what you do. In the end, it comes together.
I’m sure Matt likes it too.
So, what’s next for us to feed our eyes on?
Bingo! Your dresser finally looks terrific. Makes me want to paint my dressers, and maybe the hutch in the dining room. Hmmmm….
Love the dresser blue! And I thought you would use some of the velvet for curtains. You are moving right along. Any update on the Amazon debacle?
Ok, I was wrong when I said to leave it wood. It looks fabulous! Blue is my favorite color. Can’t wait til I see finished room!
All of this is absolutely gorgeous! I appreciate your paint tips as I have an old family piece of furniture that I want to paint later this fall. I’ll start to gather my supplies so I have everything on hand. Can’t wait to see the whole room finished!
All my weekends are open until April 7.
I will selflessly volunteer to be the first guest to test drive this beautiful room!
I love the dresser transformation.
My TV cabinet is quivering with excitement thinking it may be transformed from sad dark brown to a deep pure forest green! With new knobs!
Although I would personally hesitate to redo a newly purchased dresser, what you did was great! The work stellar, the color fresh and ‘happy’, loved your detailed tutorial. Greatly appreciated it!
My favourite room so far in your house. Very colourful but at the same time very calming.
Looks beautiful!!
Now I want to see the legs of that desk painted this blue! CANNOT. WAIT. to see those gorgeous curtains.
Very pretty!
SO SO SO IN LOVE with this room!! Might steal that color!
I am really enjoying vicariously transforming this room with you! Thank you so much for sharing your talent in your blog!
Great work!
I love painted wood furniture. I better. It’s how I earn my living 😃. Love the color. I feel a kinship with anyone that is not afraid of color. Life’s too short to live in beige.
Oh wow! So much better! Does this paint technique work well for doors with insets? Or would spraying them be better?
Any time spraying is an option, it’s always the optimal choice. But if it’s too much trouble, this is the next best thing.
FABULOUS in every way. The Gold velvet for curtains is the perfect way to infuse the colour without diminishing your beautiful mural wall – and luxurious.
Gorgeous. No other word fits…. and those drapes!!!! Perfect.
You really need to get a schedule on your computer so we can all take turns renting a night in this room when it’s done! Beautiful!
Totally Chillacious! Love that blue! Well, done, as usual!
You succeeded again! When it comes to the chair, raise the seat from below the cushion someway, don’t raise it from those gorgeous legs.
Sooo good! Coming together beautifully!
What an improvement. Very inspirational. I bet you are looking forward to moving in when it is finished.
it’s all coming along very nicely and I like the gold velvet at the windows. I should print and post the pictures so I get my own bedroom projects finished. Have you thought about adding clear acrylic casters to the bottom of your stool? It’s not a particularly inexpensive solution but probably doable with the bench.
Love the painted dresser all by itself; also love how it carries your beautiful blue to the other side of the room for a nice harmonious balance. The yellow says sun, perfect for a window, and gets to shine without competition from the saturated blue. Good choices. And you’re a superb painter.
Can’t thank you enough for all the knowledge you share. Never would’ve even thought about the velvet but it is absolutely perfect
Just perfect in every way. Can’t wait to see the bedding.
Would it be too matchy-matchy to have the bedside tables the same color as the dresser? The white seems a little stark now. In any case–wow! Beautiful room!!!! It must be so satisfying to just stand in that room and take it in!
That is beautiful, Kristi!
Marvelous! Just Marvelous!
Just fabulous!!
Just beautiful! I love painted furniture as well. And I’m not afraid of color either. Need to paint my 1942 kitchen cabinets again. Did them a few years ago two coats of primer two coats of semi gloss but screwed up something. Around the handles they look dirty and the paint comes off. Very rubbery, I maybe didn’t use oil based primer with water based semi gloss. That sounds different. I just love everything you do. It always looks lovely!
I LOVE LOVE LOVE your style. I look forward to reading your posts. You were my inspiration for my recent bathroom redo. Thanks so much for sharing.
Is the dresser shallow? In the picture it looks to me like it might be. I’m asking because I am looking for something not too deep for my living room, don’t have a great deal of space but really need some more storage. What brand is it? Thank you for any info you can give. Love your home, beautiful work
It’s 18 inches deep, which was perfect for this small bedroom. I actually did find the exact dresser, but unfortunately, the price is way more than what I paid for it locally. But you can find it here: https://bit.ly/32EAHeC
Again, you’ve completely knocked it outta the park with your impeccable designs! It looks marvelous! I’ve said this before but I’m happy to say it again: Your writing style combined with your easy-to-understand instructions are just PRICELESS to weekend DIY-ers like myself. Whenever I’m ready to tackle another DIY project (often inspired by you, of course!), I ALWAYS visit your site before I start to make sure I follow your tips and suggestions so my project will look as professional as possible. I can’t wait to see how your curtains turn out!
Hi Kristi, I love your dresser and the colour is beautiful too. I have a question though. I see you used an eggshell finish paint but a flat finish topcoat. How does that work? With the flat topcoat, does it still end up with an eggshell sheen? I will be doing my kitchen cabinets soon and want to order the General Finish from Amazon. I am in Canada and the topcoat is quite expensive here so I don’t want to get the wrong one. Thanks
The flat clear topcoat does have a sheen to it. I personally wouldn’t call it flat. I would put it somewhere between an eggshell and satin finish. It’s really beautiful, but if you want actual flat or matte, then you’d need to try something else. I personally don’t like high sheen finishes, and I find this one really pretty.
The reason I use eggshell finish paint is because it just makes sense to me that I’d want to use the paint with the least amount of sheen possible as the base under the topcoat. In other words, I’d never feel comfortable using a topcoat over glossy or semi-gloss paint. That just doesn’t make sense to me. But I don’t like using matte or flat paint, especially in dark colors, because every little touch leaves marks and smudges behind just from the oils on your skin, and it’s hard to clean. So I find it’s virtually impossible to get a perfect paint coat on with a flat or matte paint that I’d even want to seal with a clear coat. Eggshell has just enough sheen that it’s cleanable if needed, but not too much sheen that the topcoat won’t adhere beautifully.
Hope that makes sense. 🙂
Beautiful. Love the final results. Which paint do you recommend other than Behr Premium Plus?
Looks great! I have a dark dresser I’m thinking to paint. So the primer you used is oil based but what is the paint? Also oil or latex? Thanks!
I used latex paint. Behr Premium Plus.
I can’t find the words to say how beautiful that dresser is! Your work is stunning and I love your detailed instructions. Thank you! Where did you get the dresser originally? I am looking for a similar one and can’t seem to find one that is as perfect as that one.