Fun With Freehand Chalk Art (Look Out, Dana Tanamachi!)
Obviously I’m totally joking! I’m clearly no Dana Tanamachi…yet. 😀 But I’ve been so inspired by all of the amazing chalk art I’ve seen on blogs, Pinterest, and everywhere else over the last several months (some done on real chalkboards, and some created on computers to look like chalk art), that I decided to give it a try myself.
My first attempts certainly don’t match Dana’s caliber (she’s certainly one-of-a-kind), but I had fun trying, and I learned a few tricks along the way. Perhaps I can even teach Dana a few tricks! 😀
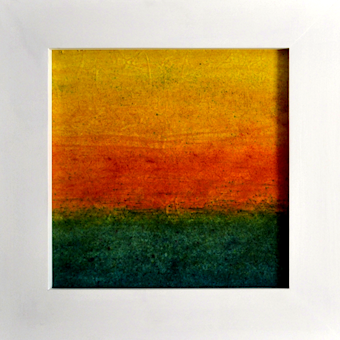
Here are my first attempts at chalk art on my cute little chalkboard that I created on my once-ugly hollow core door.

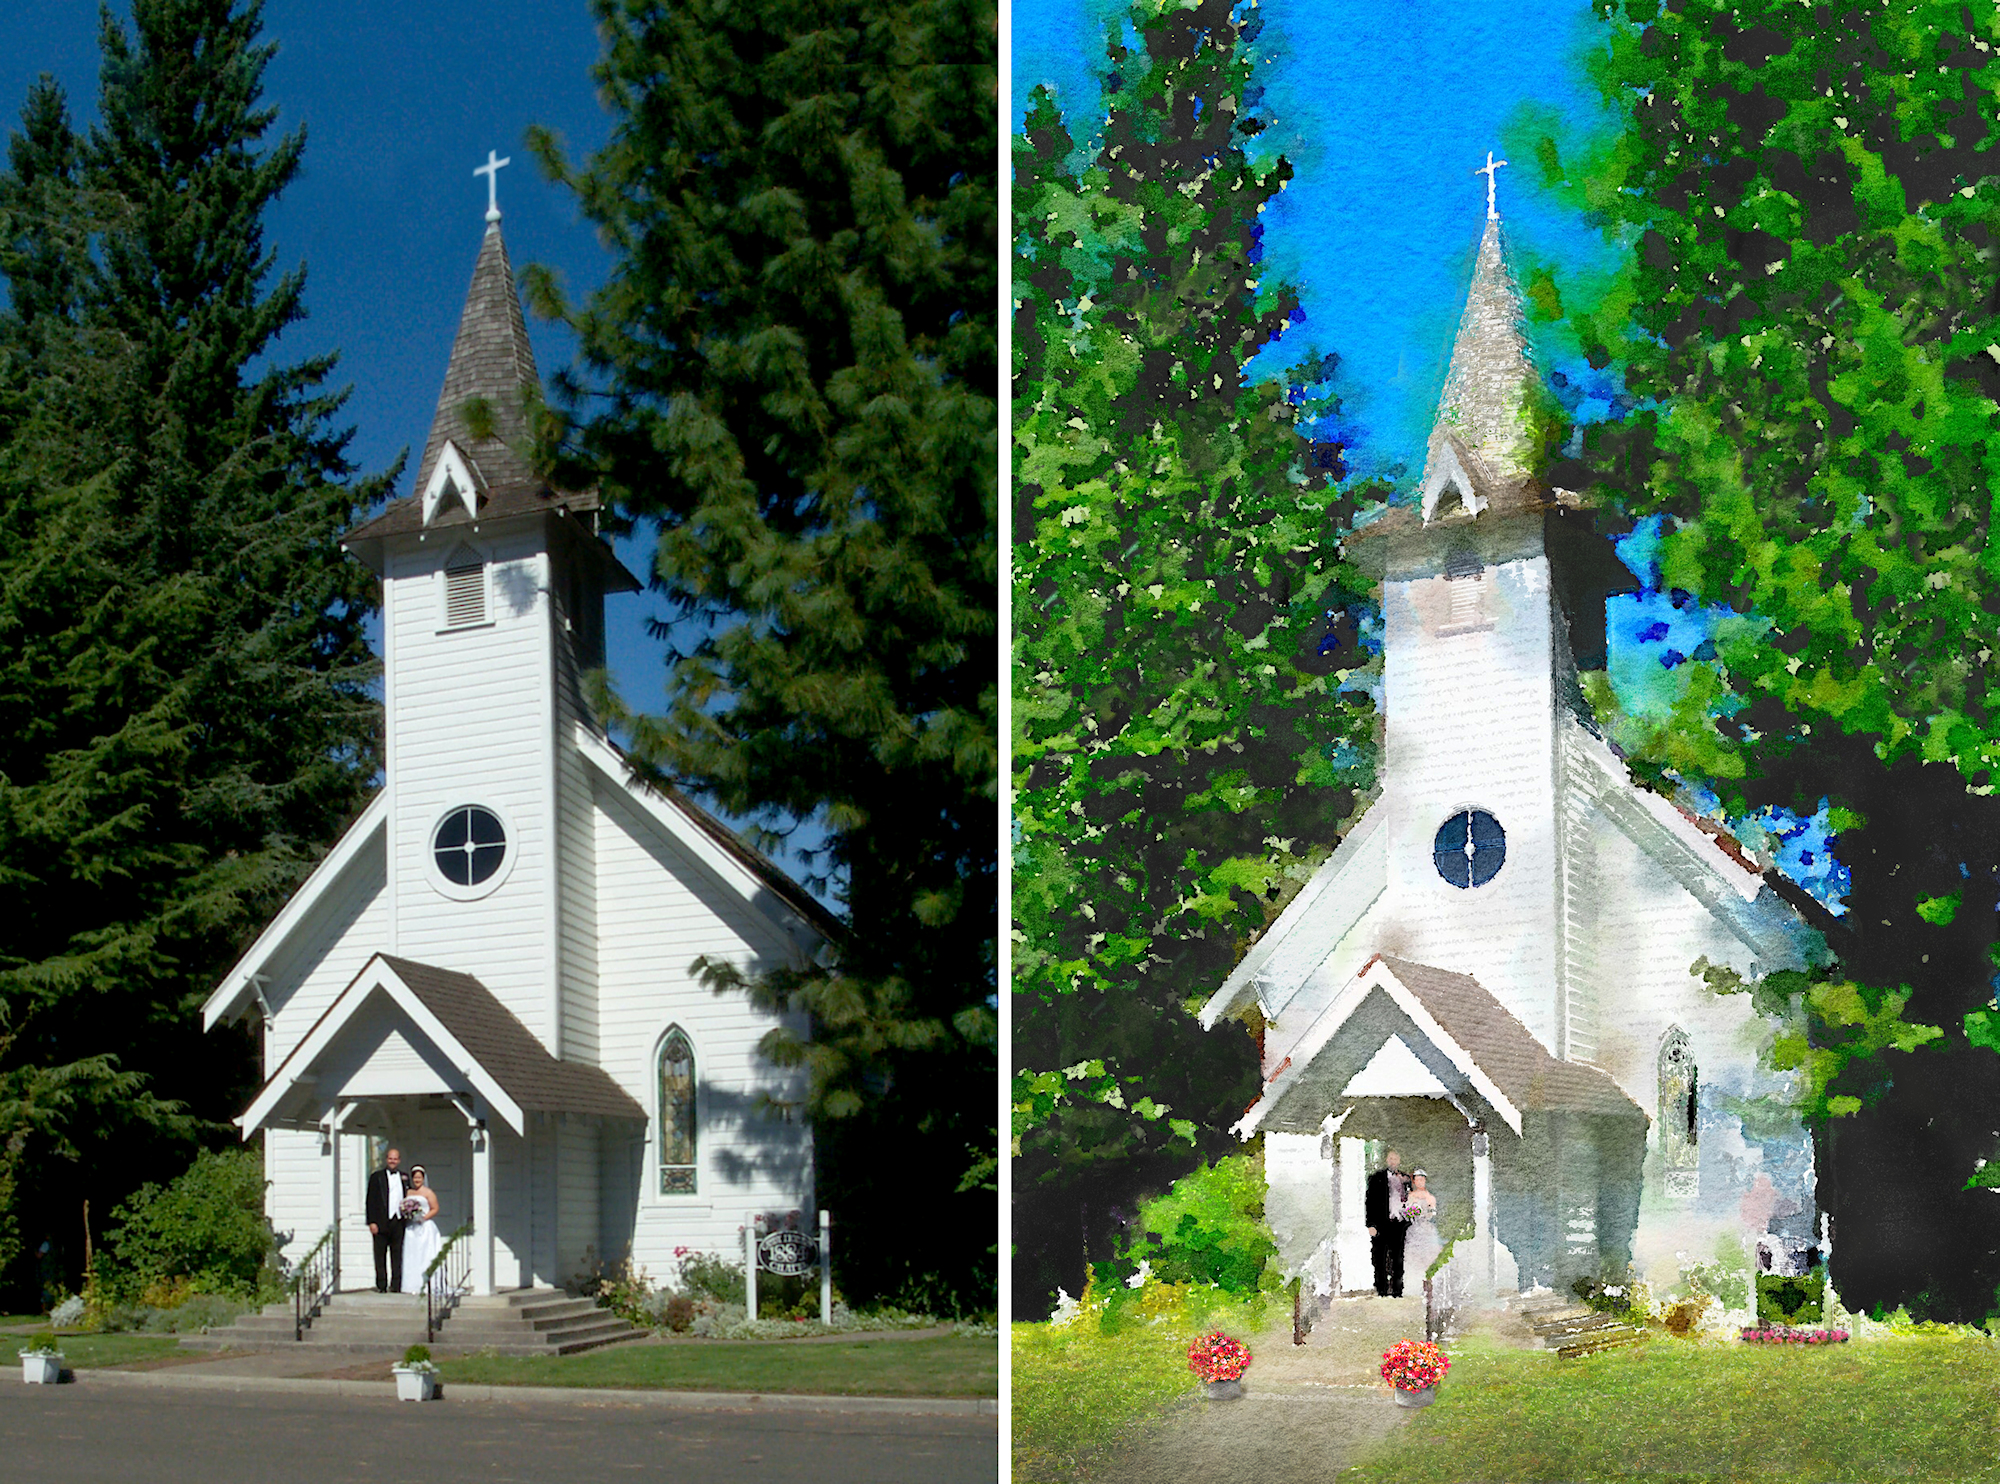
The one on the left was my first, and I was inspired by one of Dana’s installations that she did for a wedding reception. I’m not even going to show you the picture of hers. You’ll just have to visit her website and see it. I don’t want my feeble attempts at chalk art to be seen that close to hers for comparison. 😀 There’s no questioning the fact that I’m a novice, but it’s fun to try!
So for you other novices out there (or those of you who haven’t yet tried, but want to), I’ll show you how I created each one of the chalk art pieces above, step-by-step, starting with the one on the left.
To make chalk art, the supply list is quite short. You need a chalkboard and chalk (obviously), a damp rag, and (this is the trick I learned) a pencil eraser. Just be sure it’s a new pencil eraser, and not one of those hard, crusty erasers. 😀

I decided to put the step-by-step pictures in a gallery for easier and faster viewing. That way, you can more easily see the subtle changes between each picture. So click on the first thumbnail to see the larger image, and then click the arrows under the pictures, or use the arrow keys on your keyboard to navigate through the pictures. To exit the gallery, just click on the last picture (or any picture).
[nggallery id=3]
The first one was definitely the easiest, but I was a bit disappointed in my lettering. It turned out way too big for my liking, and ended up looking kind of sloppy. Sadly, I didn’t learn the pencil eraser trick until I was making this second one. You can basically use a pencil eraser to erase the chalk if you make mistakes in areas that require detail work. If I had known about the pencil eraser trick while making the first one, I could have cleaned up those letters quite easily!
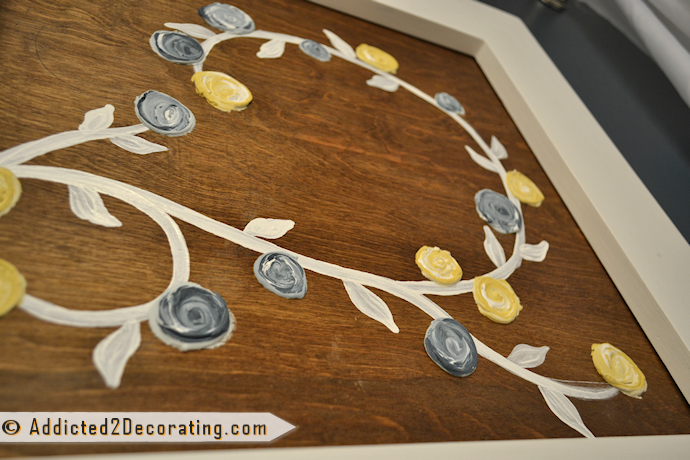
But on to the second one.

For this one, I was inspired by this free printable from {aka} design.
Again, you can click on the first thumbnail below to enter the gallery for the step-by-step instructions on this chalk art.
[nggallery id=4]
Doesn’t it look fun!? I had such fun trying my hand at chalk art. And chalk is such a great medium to work with because if you make a mistake, you just wipe it off (either in whole or in part) and try again. This is definitely something I want to try more, and see if I can hone my talents just a bit. 🙂
Have you ever tried chalk art? If so, tell me about it! Better yet, if you have pictures or a blog post about it, feel free to leave a link in the comments below. I’d love to be inspired by you!
And by the way, if you don’t know who Dana Tanamachi is, you’re missing out on a real treat. She’s probably THE most amazingly talented chalk artist there is. In addition to being commissioned by some very high profile clients, like Google, Rugby Ralph Lauren, Tommy Hilfiger and West Elm, her work has also been featured in many publications, including the cover of O Magazine. Check out her website, but only if you’ve got a couple of hours to kill, because you’ll be too mesmerized to leave anytime soon. Don’t miss the time lapse videos! They’re amazing!

Addicted 2 Decorating is where I share my DIY and decorating journey as I remodel and decorate the 1948 fixer upper that my husband, Matt, and I bought in 2013. Matt has M.S. and is unable to do physical work, so I do the majority of the work on the house by myself. You can learn more about me here.
I love it! The chalkboard on my kitchen wall is small, but I’m going to try something on it. I’m inspired!
I’m SO impressed! That is amazing and I’m feeling totally inspired to try it out. Thanks for the step-by-step – I never could have envisioned how to do that on my own, haha
This turned out beautiful! Thank you for taking the time to do this tutorial. I know it had to take quite a bit of time. Now to try it out myself!!
Your chalkboards look great! I love Dana Tamachi – she inspired me to create my own chalkboard canvas that I have posted about several times. See my latest work here
http://www.elegantnest.blogspot.com/2012/12/let-decorating-begin.html
I prefer the look of handmade designs and lettering…imperfections and all. It is more like an original piece of art that way. Thanks for the eraser tip…will definitely be trying it out!
Oops…sorry about all the replies. I kept getting an error message so didn’t think they went through! 🙂
Impressive Kristi!
These are great! I have a chalkboard at one end of my kitchen cabinets so can’t wait to try my hand at some more creative art!
this is really neat, Krisit! Thanks for breaking it down step by step. I just added a chalkboard above my entryway dresser so going to have to try out some fun chalk art 🙂
Wow Kristi! You are just amazing. I guess this is the very best way to teach any work step by step. When I see it first, I was thinking that it is very difficult to draw neat and clean with chalk but when I tried to start it by following the steps. I think it is the easiest thing I had ever done.
yours looks great!! I cannot draw to save my life though. My mom and my daughter are incredibly artistic with drawing, so this may be a great project for them. Are you you using powdered chalk or liquid chalk? I keep thinking maybe I could do a stencil with the liquid chalk…. 🙂
I’m using good, old fashioned sticks of chalk. 🙂 I was thinking it might be much easier with chalk pens, but I didn’t want to make a trip to WalMart just for those. I would like to try them in the near future, though.
Thanks so much for sharing Kristi! I just recently started to try chalk art but mine looks nowhere near as good as your first attempts 🙂 I am hoping to get better with more practice.
Your transformation of your home is amazing. Love the color selections.. Hope to see more of your ideas
Your transformation of your home is amazing. Love the color selections.. Hope to see more.
This July, my family is buying our first home in Texas, after being here for nearly 20 years! I finally feel like I can decorate and upgrade to make it our own, and your blog has provided NUMEROUS ideas for me! Thank you, you are amazingly talented!
PS I, too, had planned to study interior design when I first entered college many years ago but paused to raise a family and didn’t finished school. Recently I returned to college and had plans to study psychology at DBU too! small world!