Argyle?! Whose @#$%& Idea Was This Anyway?!
My utility closet is tiny. This project was supposed to be so easy. I woke up Saturday morning, all excited and chipper and ready to get started. I thought to myself, ‘Since this closet is so small, this will be a quick job! I’ll get the argyle done, install the cabinets, and probably even have time to prime the cabinets!’
I should really know better by now. Whenever I think something is going to be simple and take just a little bit of my weekend, that project seems to overflow into my week, then the following weekend, and the week after that.
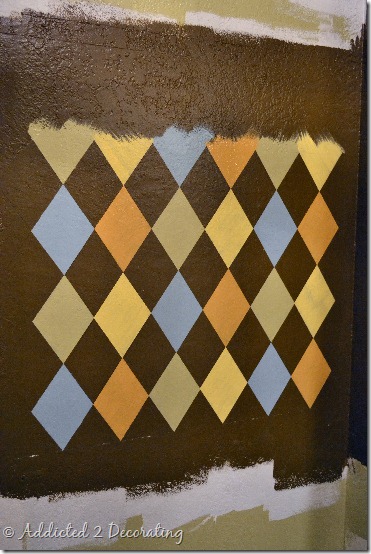
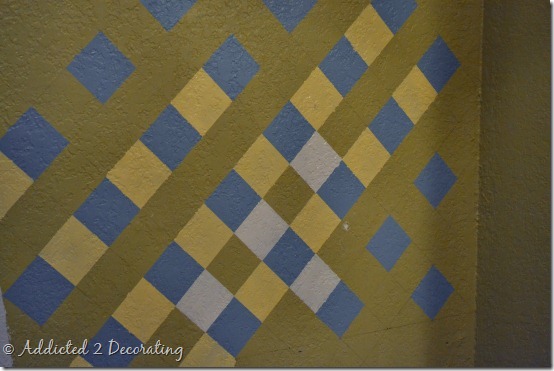
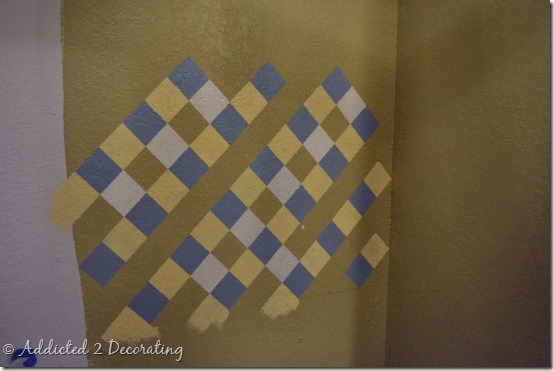
After an entire weekend of working on my little closet, here’s what I got finished…
Yep, that’s about a 24” x 32” section, and even it’s not finished. I still have to add the white stripes.
Whenever this happens, I always think to myself, ‘How in the world do I get myself into these things?!’ In this case, there’s no need to wonder. I know exactly how I got myself into this.
I failed to plan. I tried to make it up as I went along.
When Saturday arrived, I had already painted the base coat of Behr Grass Cloth, so I was ready to go with the argyle.
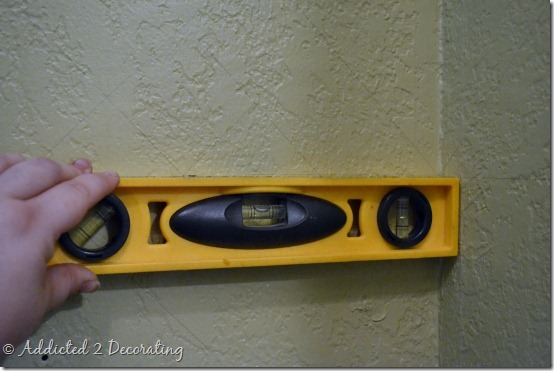
I started at a point that would be covered by the base cabinets, and drew a perfectly level line…
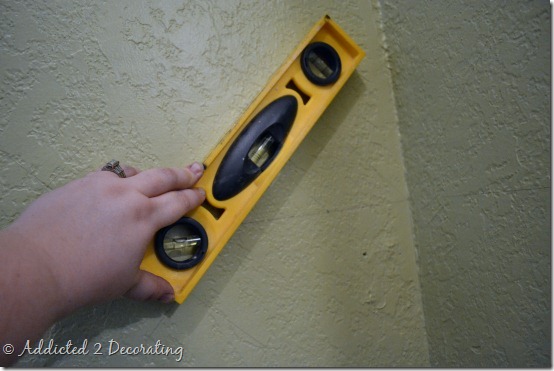
Then I used the nifty little 45-degree bubble to mark lines at a perfect 45-degree angle.
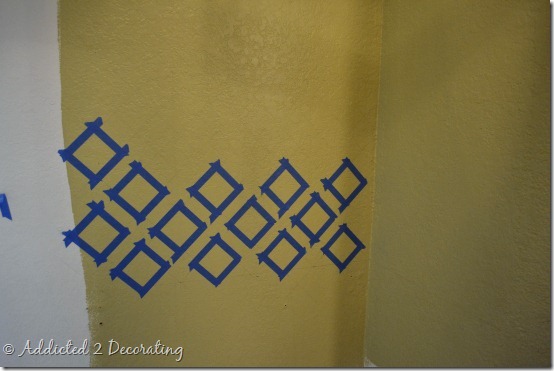
Then I whipped out my painters tape and got down to business…
And I was so excited when the first color went on. That excitement faded quickly…
‘It’s way too soon to judge it,’ I said to myself. ‘Just keep on going, and it’ll get better,’ I convinced myself.
It didn’t get better.
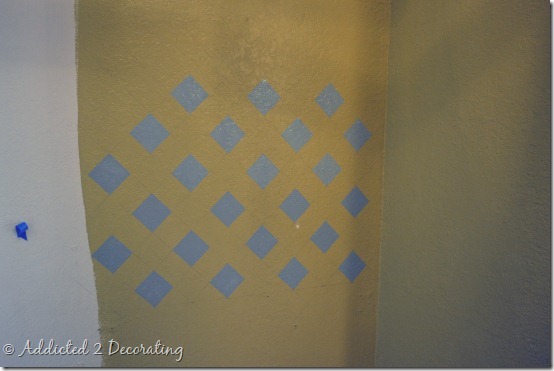
There were sooooo many things I didn’t like about this first attempt. The pattern was way too small. I used perfect little squares, which I thought would be fine (after all, the argyle in my blog banner has perfect little squares, and I like the way it looks), but diamonds would have been much better. And then the pattern of colors just wasn’t working for me.
But the most frustrating thing of all…the wall texture!! I’ve mentioned my frustration over my wall texture before. I’ve honestly never seen walls before that have this much texture on them, so regardless of how much and how hard I burnished the painters tape before I painted, the paint would seep right under the tape. So frustrating!
So on Saturday evening, this was my “progress”—no progress at all, and a Saturday wasted.
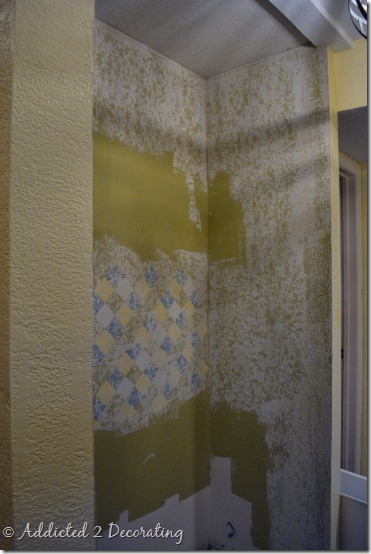
Sunday afternoon I decided to start over again, and I decided to do it right. I started by skim coating the walls to get rid of some of the texture. (Keep in mind that most of the walls will be hidden by cabinets, so I only did the portions that would show.)
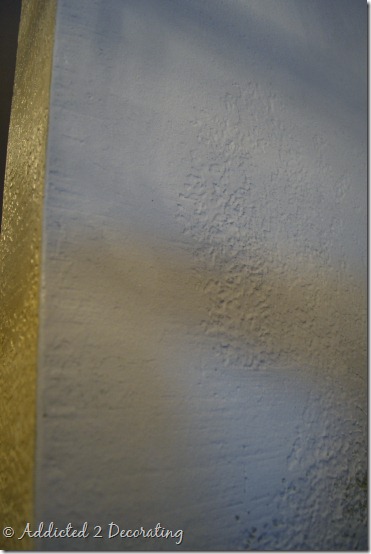
You can see here the difference it made, with a skim coated part right next to a portion of wall with the original texture on it.
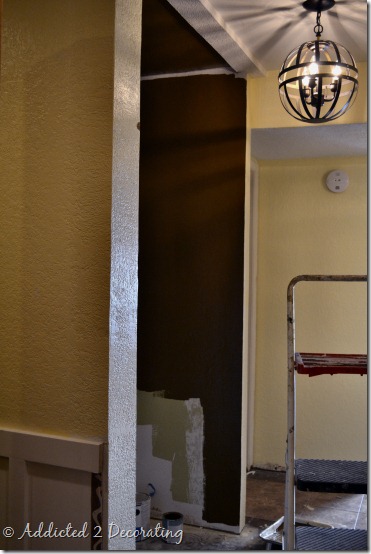
After waiting hours for the drywall mud to dry, and then priming the walls again, it was on to a new color for the base coat—this time something with a little more oomph to it. This chocolate brown color is so scrumptious I’d love to use it in an entire room!
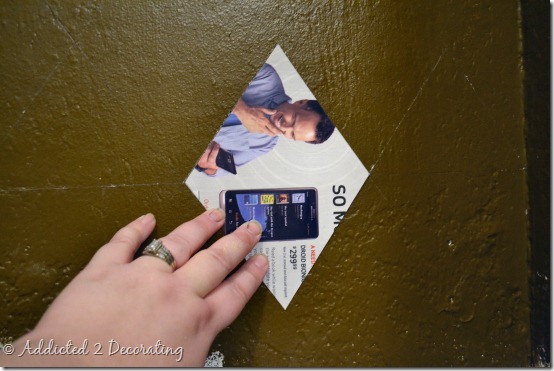
This second time around, I made myself a little diamond template using a piece of junk mail that was printed on glossy cardstock.
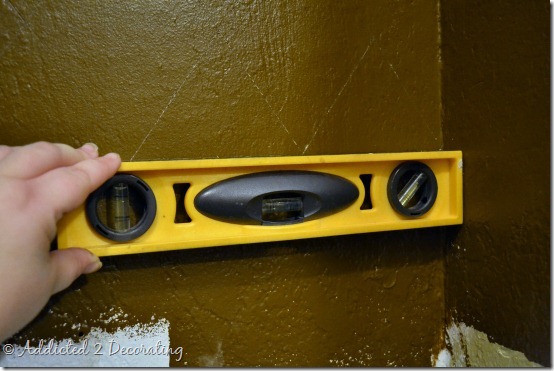
Once again, I started with a perfectly level horizontal line…
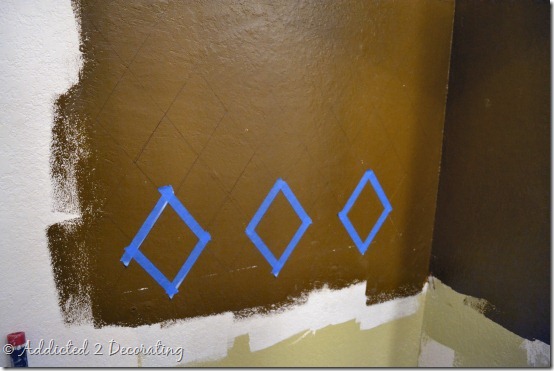
And then used my diamond template to draw the pattern on the wall.
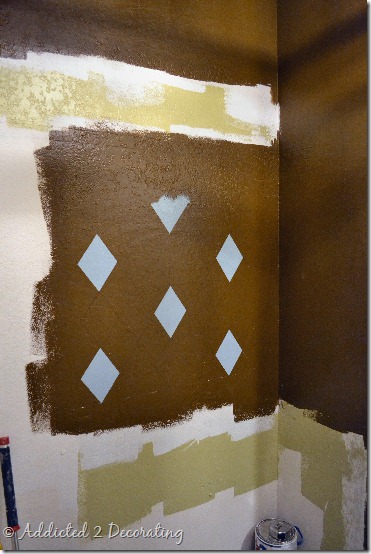
After a little taping…
…and a little painting…
…I knew that this one would turn out a thousand times better than my original attempt.
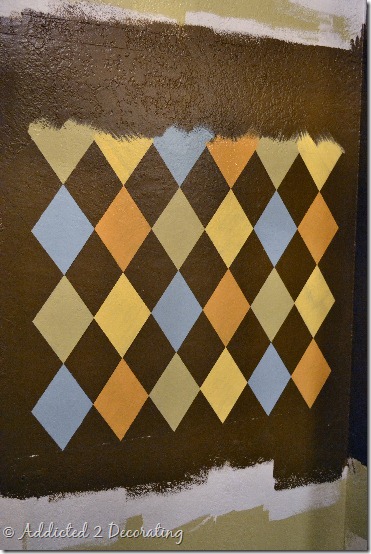
No, I didn’t get very far, but at least I like how it’s looking this time.
I’ll need to do a second coat of paint on the diamonds, which of course will drag this project on waaaaaay longer than I had anticipated.
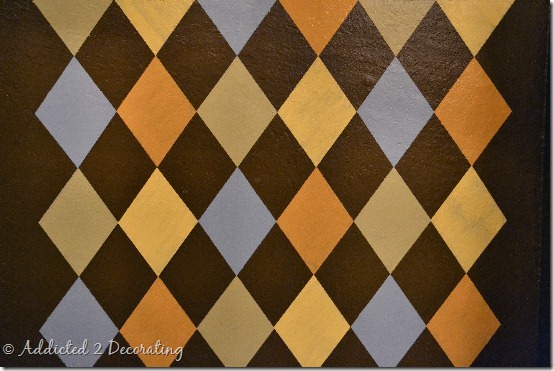
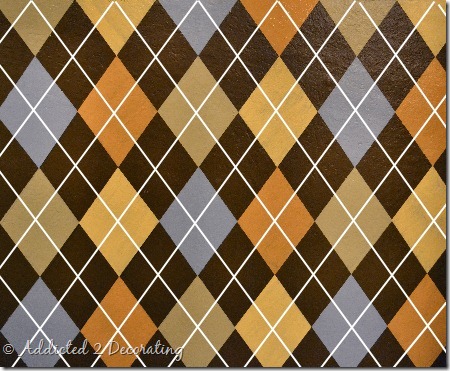
And then, of course, I have to add the white lines. That’s the part that will “make” this design. Without the lines, the design kind of falls flat.
So just an FYI, there’s nothing “quick” or “simple” about argyle, especially if you fail to plan the design ahead of time, and just wing it as you go along.
Well, that was my weekend. How was yours?




What do you mean, "no progress as all, and a Saturday wasted." Seems to me you learned a lot that day, and it was all self-taught. Tons of people went through their day and learned NOTHING. You should pat yourself on the back. It's looking great! Love the brown, too.
My weekend consisted of baking for a bake sale, cooking for a funeral, one visitation, one Nerf war birthday party, one funeral, two choir practices, one mission serrvice, one Awesome worship service and a vist with out of state friends! Oh and one Sunday afternoon nap to rest up from all that other stuff!
Although I'm a forever "I'll just wing it, it'll work out" gal, we were actually productive this weekend. Satellite hooked up so we can finally watch tv again, roof finished and one coat of paint on our mini barn, and an exterior light installed where there used to be a way too high outlet.
My last "I'll just wing it, it'll work out" project is sitting unfinished in the mini barn, though…
Love the second pass. Also, you're not alone. I do this all too frequently. I get so pumped for the outcome and that vision in my head (that can be very skewed sometimes), I forget to think through the steps properly, making it so much harder on myself! Enthusiasm can be a dangerous word, who would've known!? Lol. It looks great though, so stoked to see it completed!
I really liked your first attempt… until I saw your second go-round and realized how much better it could look! I really hate having to cash it in and start all over but in this case your second attempt looks awesome and was totally worth it! Can't wait to see the finished project. 🙂
The second attemp is awesome! Much better than the first (but I thougtt the first looked pretty good – until I saw the second version). And, like Barb T said, at least you learned something from the first attempt… now when a client wants something similar, you'll have this down.
I did a similar project in my daughters bedroom on one wall- just the diamonds though. And it took FOR.EVER! I did love the final project, but I decided after it was done that I would never do that again. Love what you have done so far.
It is looking great! I can see how it would be tedious, though. Good luck.
Well sometimes things work out when you wing it, just didn't happen for you this time. It is looking fabulous and it is going to be beautiful in the end.
Oh my merciful heavens!!! That is amazing! What a labor of love and well worth it im sure!
Wow. You are so committed….or maybe you NEED to be committed!
Just kidding. I admire your determination. I have to say, I would probably just leave it….but it does look much better already!
Well, I can totally relate, Kristi ~ what should have been a 2 day paint job in my Mom Cave became about a 4 day-er, with kid-tivities and housework shoved in there somewhere (why does the fam need to eat anyway?). I was dealing with a ton of molding and spent way too much time cutting in when I really didn't need to because I repainted all the molding anyway. If I had thought it through before I jumped in, I woulda been done by Saturday afternoon. 🙂
I just finished it tonight (Monday). Feel better? 😉
Can't wait to see the finished argyle!
Good point! That's a very "glass half full" point of view. I like it!
Oh my…you are NOT kidding about that vision in the mind being skewed sometimes!! lol
Congrats on finishing!! Woohoo!!
Wow! I'm impressed with what you've done so far. Sorry it took so long. It's good to know that I'm not the only one whose projects take far longer than expected. Even my little frame turned tray is taking forever. I blame it on my three year old. Can't wait to see the finished product.
I voted for the floral, but …..you were sooo right to choose the argyle! I love the chocolate background (of course I love everything chocolate)…It looks fantastic!
Great work Kristi, and good to see that you stuck at the task and stayed committed. The colours seem to work perfectly! Well done again.
LOL. Love your title but really love the end result. Fantastic job on the argyle wall. Well worth it (at least from here!)
Oh how I wish I could say I always plan and haven't experienced something like this, but I have, more times than I care to admit!!! It looks fantastic so far, can't wait to see the stripes. btw, I always tell myself when starting a big project, "fail to plan, then plan to fail". Usually, not always gets me in gear before I dive head first into something complex and time consuming. Thanks for sharing! Have a great week. -K
I am really loving that pattern in the closet. You are so adventurous and will take on just about ANY task.
That looked like a pain…But, it is absolutely adorable…Love it!!!
WOW, that's quite the DIY project! You must have the patience of a saint!! I absolutely love the darker brown background, really gives it depth. What a lovely surprise every time you open the utility closet =)
This is awesome! I am so doing this… Somewhere in my house 🙂 amazing!!
Thanks, Amy! I’d recommend doing it in a very small space, unless you plan to do the diamonds much bigger. Doing them this small takes FOREVER!! 🙂
Hi Kristi! I am just wondering how in the heck did you get the white lines painted on so perfectly?? This looks amazing… 🙂
I just used painters tape. When it was done, I went back with a tiny little craft brush and touched everything up…because I’m perfectionist. 😀 It took forever!!
I LOVE the argyle wall. Would love to do but I do not have the patience to do it… !!!
Next time, make a wall stencil or do two coats before moving removing the tape. I love it, though!!