Lamp Makeover & Framed Wall-Mount TV Finishing Details
I’m almost at the finish line on this guest bedroom makeover, and I’m focusing on all of the final little finishing touches.
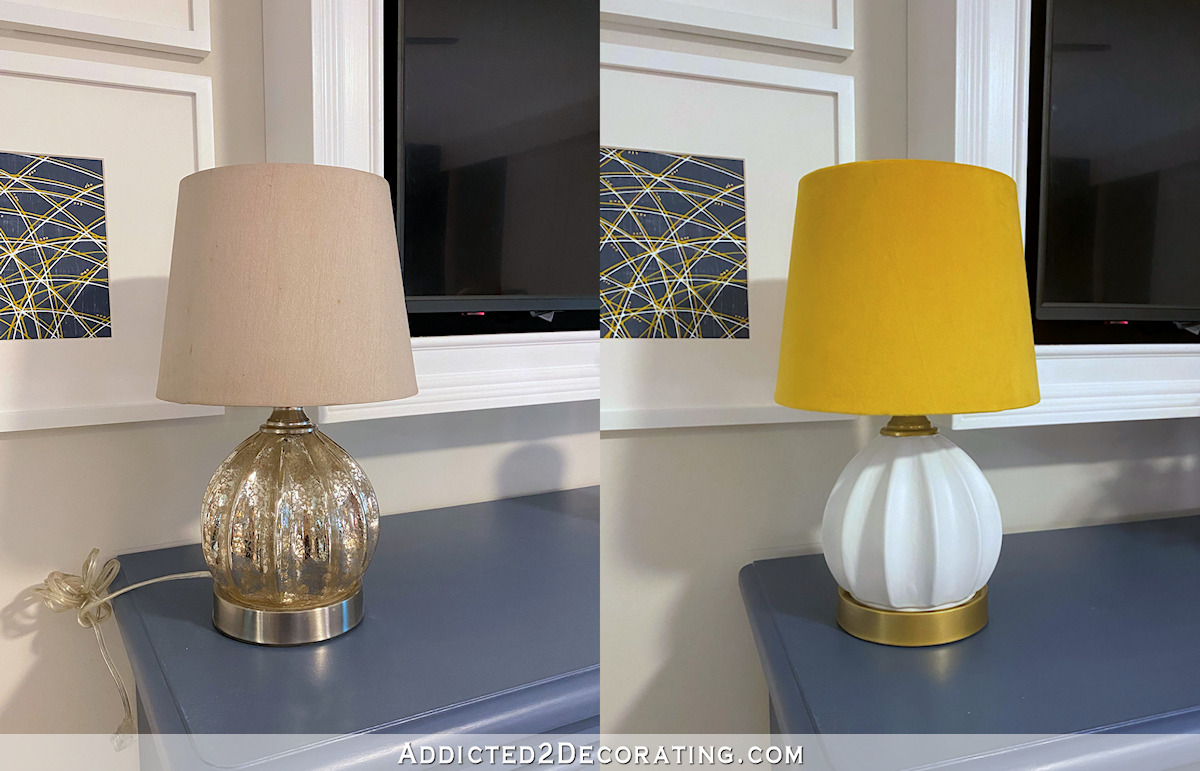
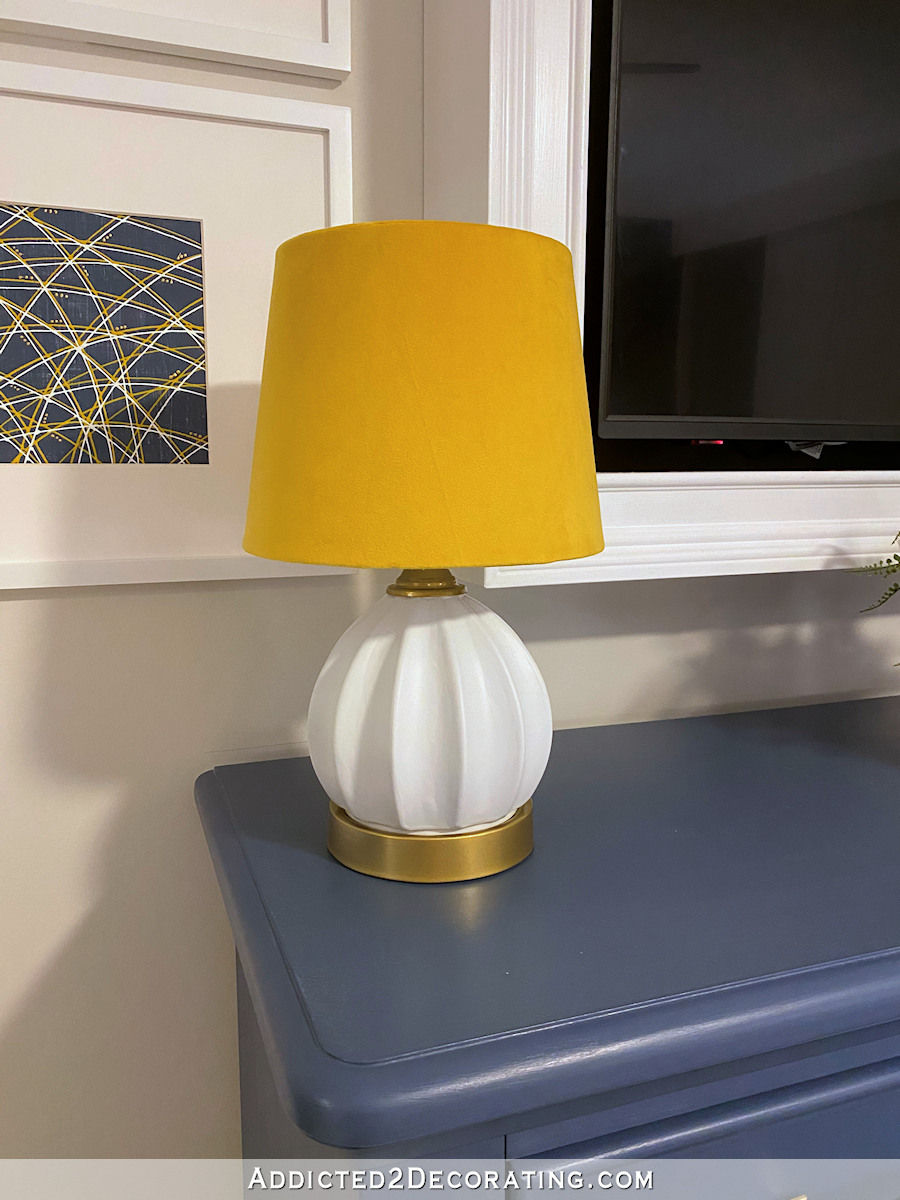
I wanted a lamp to go on the dresser, but instead of buying a new one, I decided to use one I already had. It was a cute little lamp, and there was really nothing wrong with it at all. It just seemed a little dull for the room. So I jazzed it up with some new clean white and gold paint and golden yellow fabric for the lamp shade.
I had originally purchased this lamp to use in the hallway bathroom, and I used it in there for quite a while. But then when I did the colorful makeover on that bathroom in 2019, it didn’t really go in there anymore, so it went into my stash of extra stuff. So I got it out to use in this room.
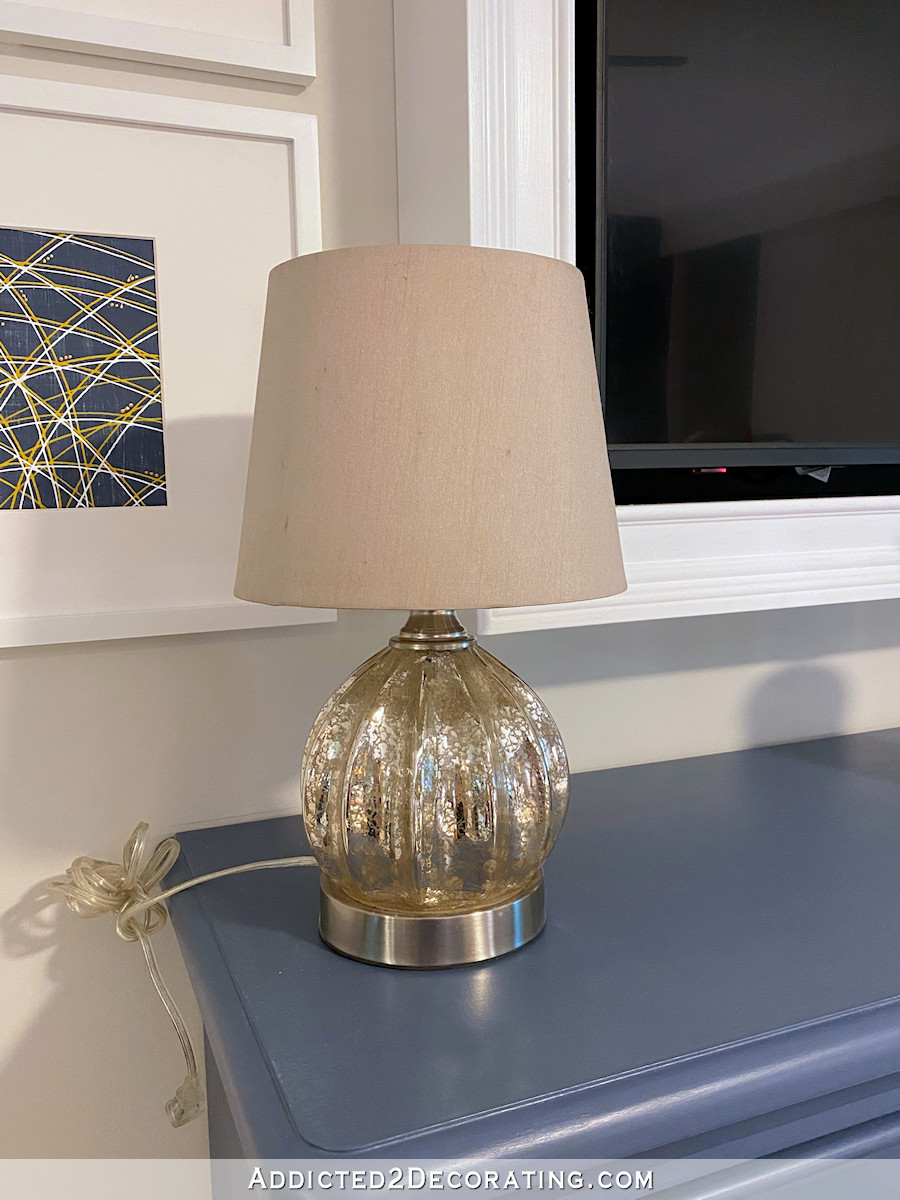
Many time, I can just tape off different areas of a lamp to paint them. But since this one had that glass section with the interesting shape sitting on the metal base, I didn’t think I could tape it off good enough to get really sharp lines between the glass part and the metal base. So I wanted to take it apart.
Lamps almost always come apart very easily. The key is to get at the nut that holds everything together at the bottom. Most lamps will have some sort of felt or other material covering this area.
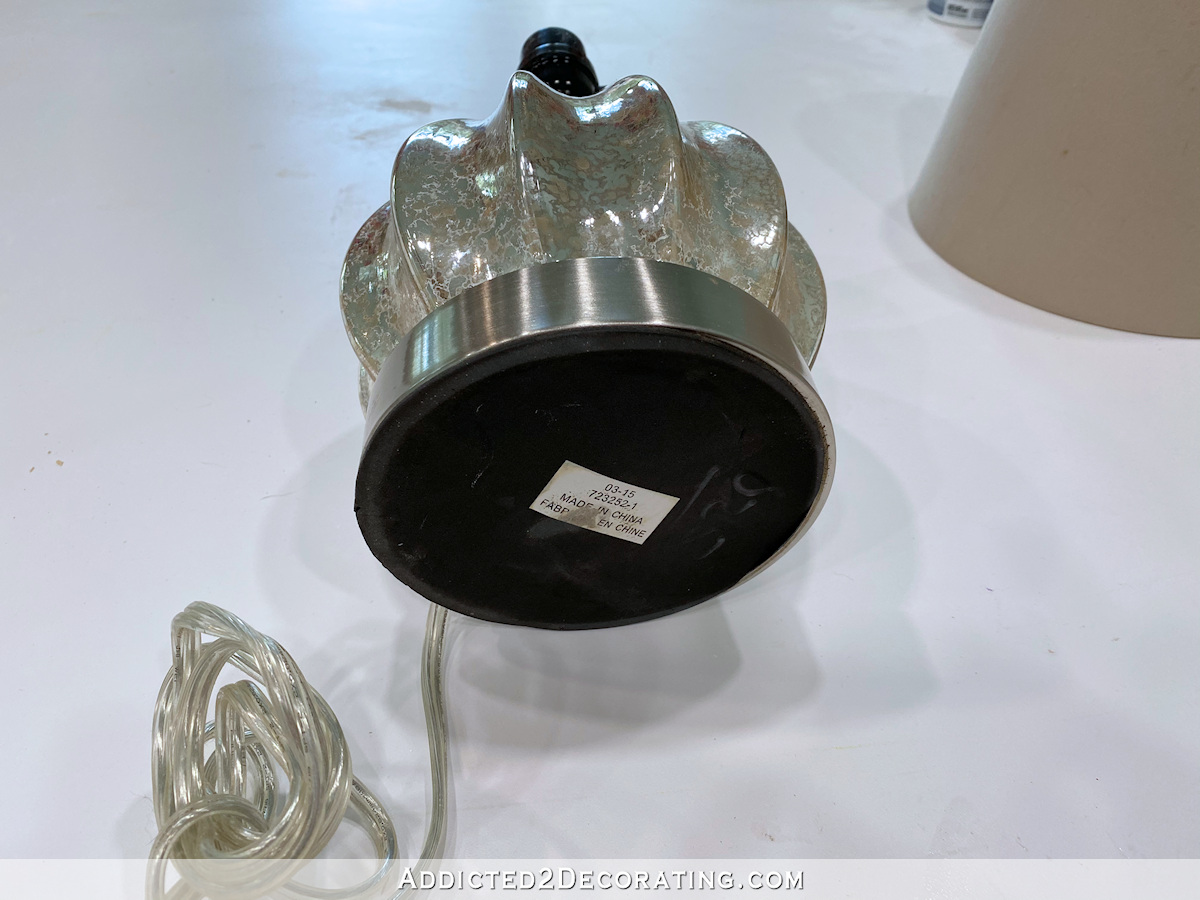
So I peeled that off to reveal the nut, and then used pliers to twist the nut off.
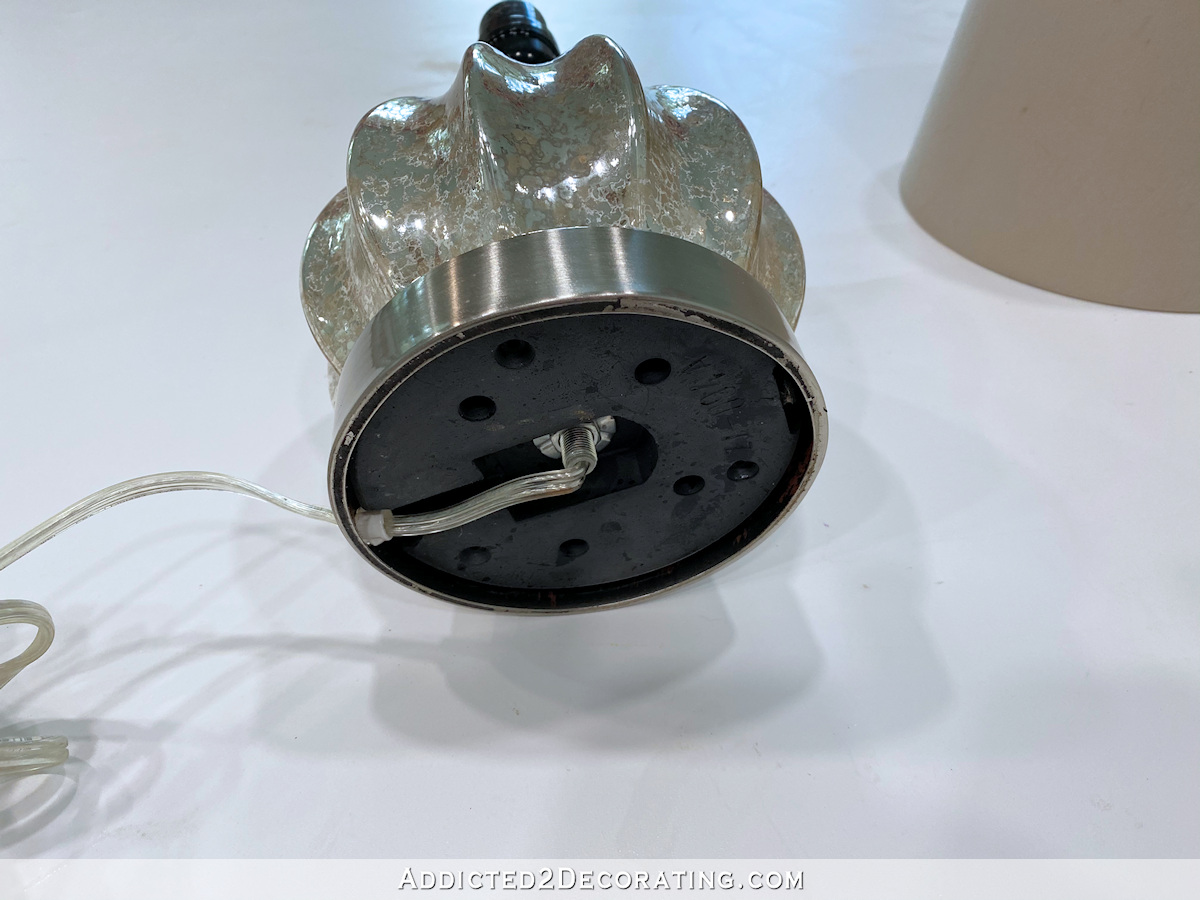
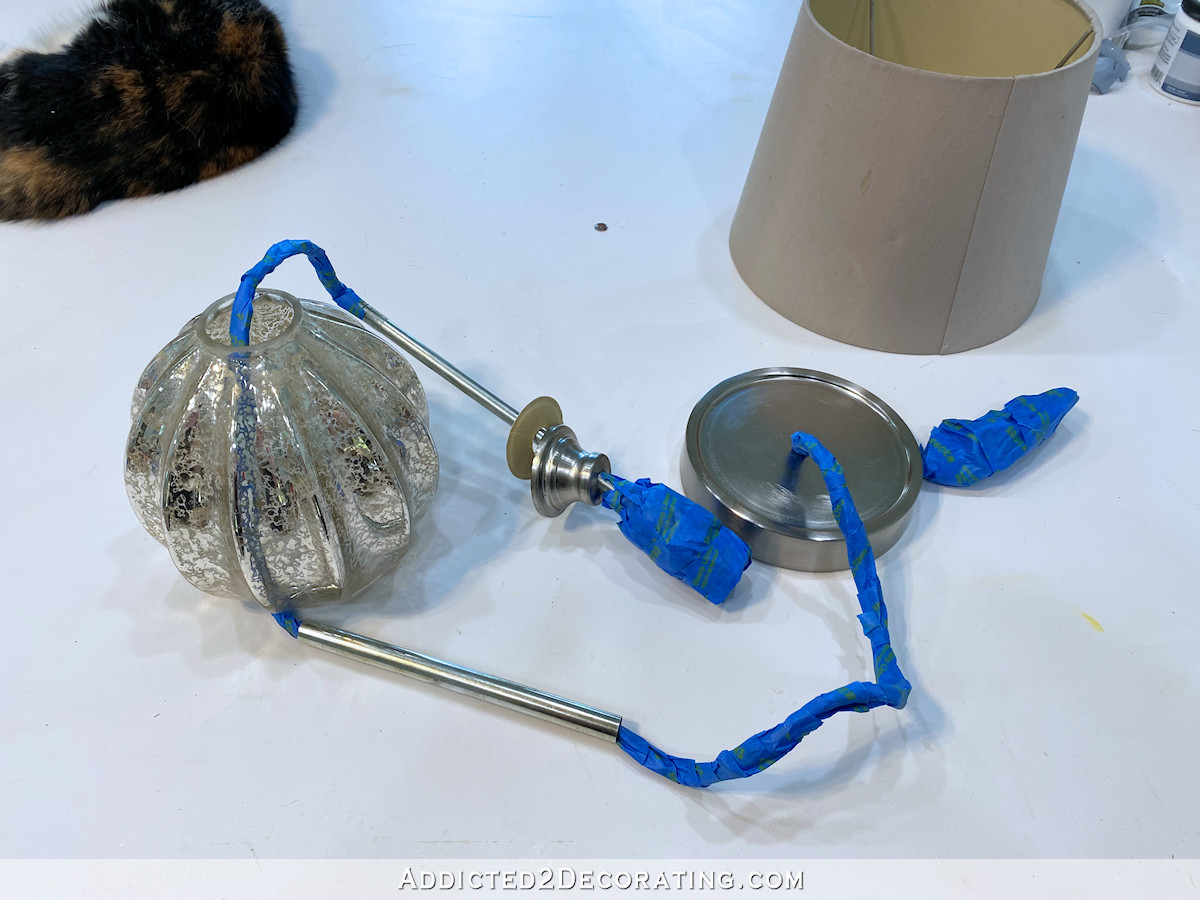
Without removing the cord, the pieces won’t come apart completely, but I could at least separate them quite a bit so that they I could easily spray each section individually without getting overspray on the other sections.
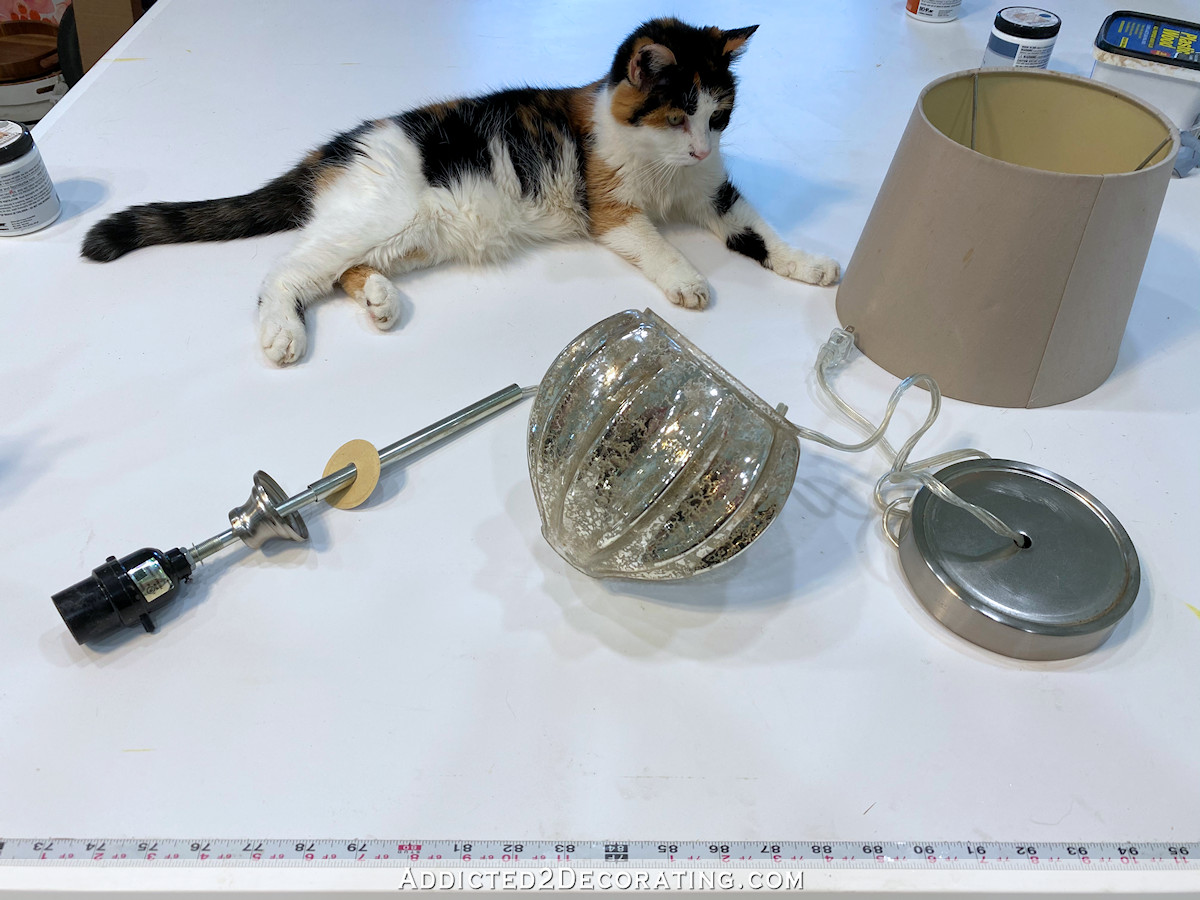
(Peeve says hi! 😀 She was very curious about what I was doing.)
I wanted to protect the cord from overspray, so I did wrap some painters tape around the cord before spraying.
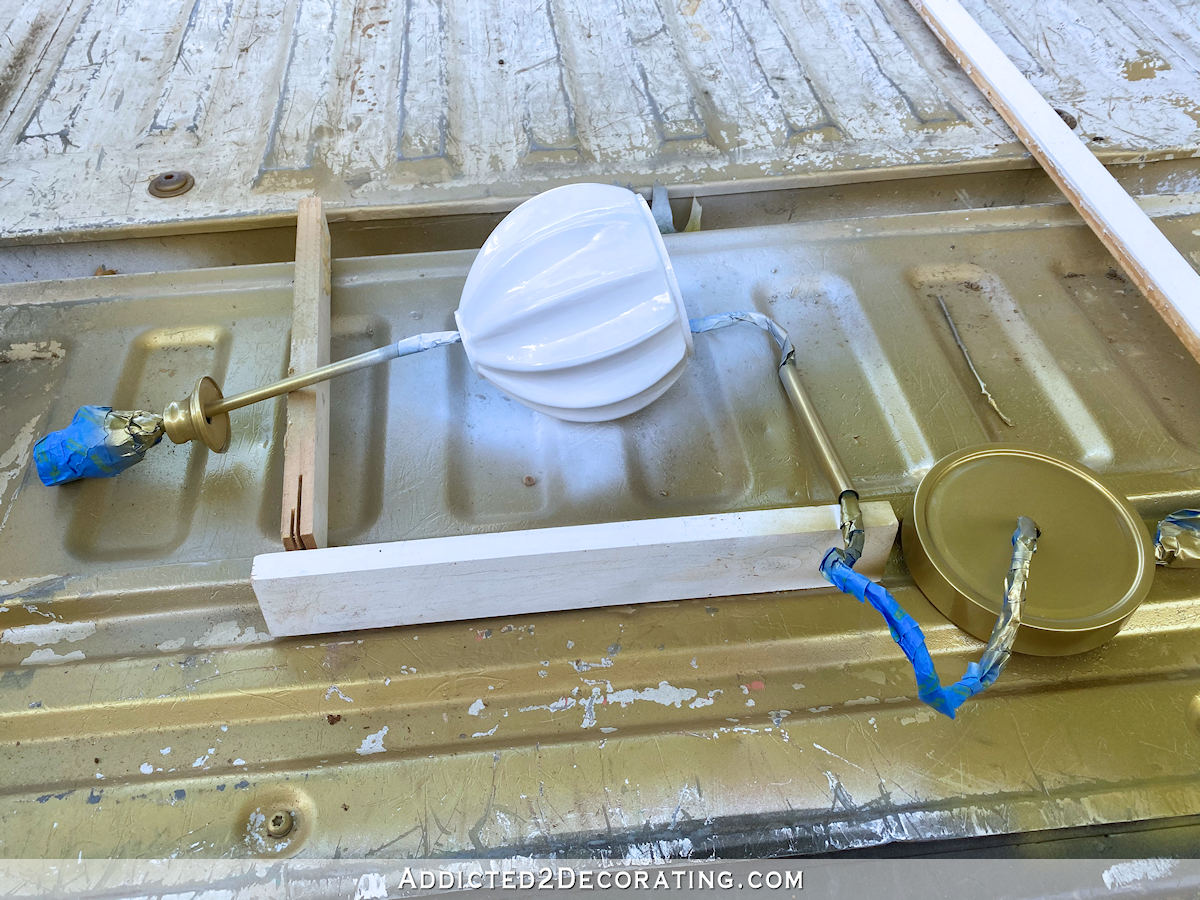
And then I took the lamp out to my spray paint area (yes, that’s the tailgate of my truck 😀 ) and painted the metal parts Rustoleum Vintage Gold and the glass section Rustoleum White.
While those pieces were drying, I covered the lampshade with some of the golden yellow velvet from the draperies. And I simply glued it on using Aleene’s Quick Dry Fabric Fusion adhesive.
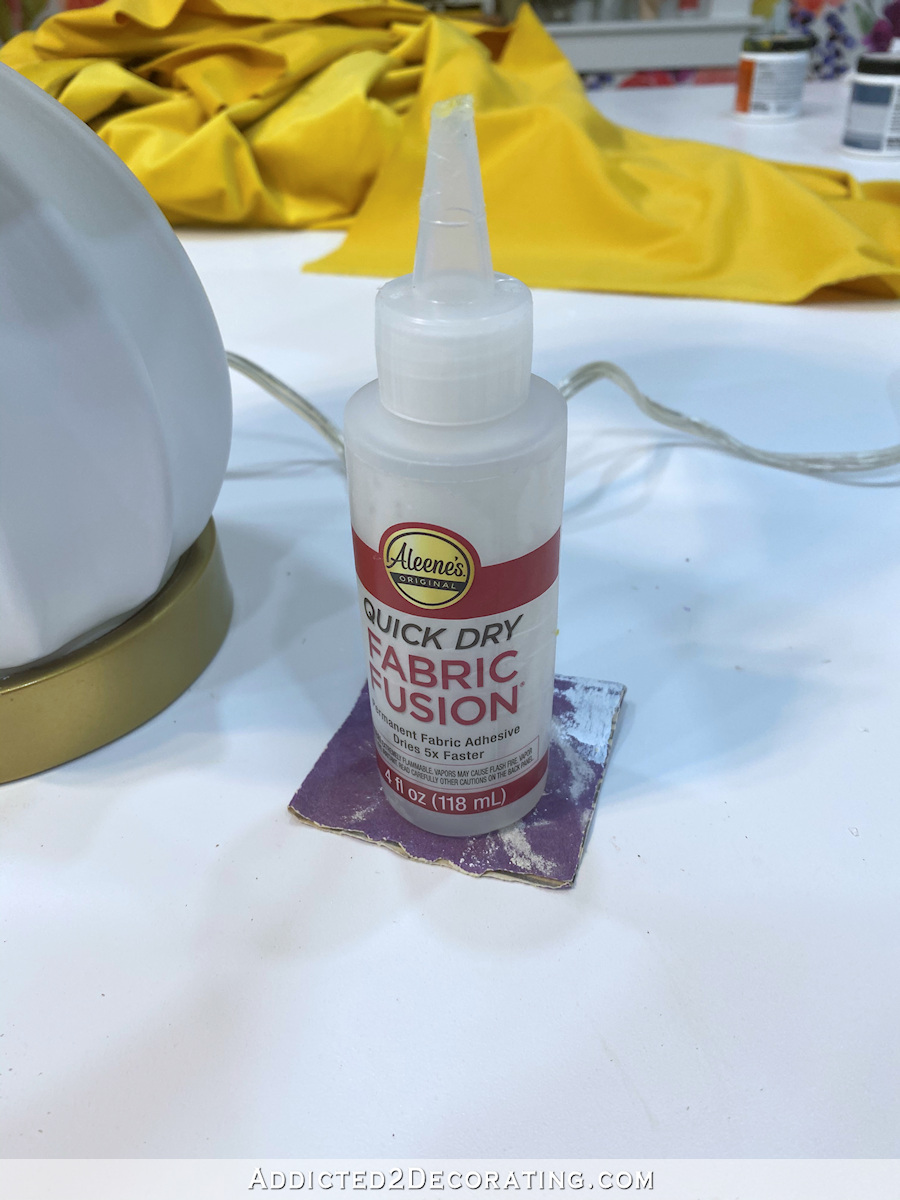
I cut the fabric to about 1/4-inch past the edge of the shade on the top and bottom, and then wrapped it around to the inside and glued it.

And once I put the lamp back together, with all of those pieces re-stacked and then held together with that one little nut at the bottom, it was finished. I love quick and easy projects like this!
I also wanted to show y’all how I finished up the TV frame because I got quite a few questions about some details that I didn’t address. If you want the DIY instructions for building a TV frame, you can find those instructions here:
So the questions I get the most about my TV frames are about (1) where the cords are, and (2) how the TV has enough air circulation so that it doesn’t overheat.
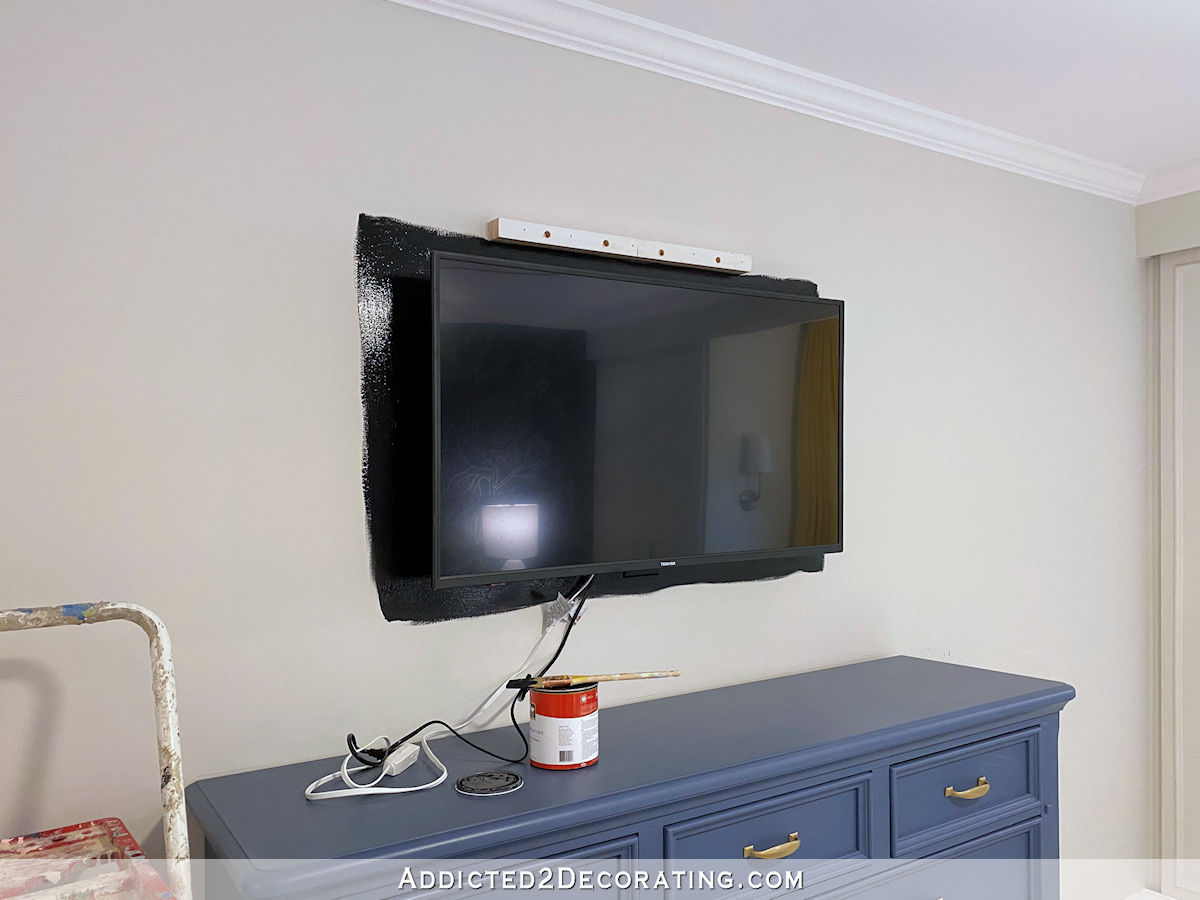
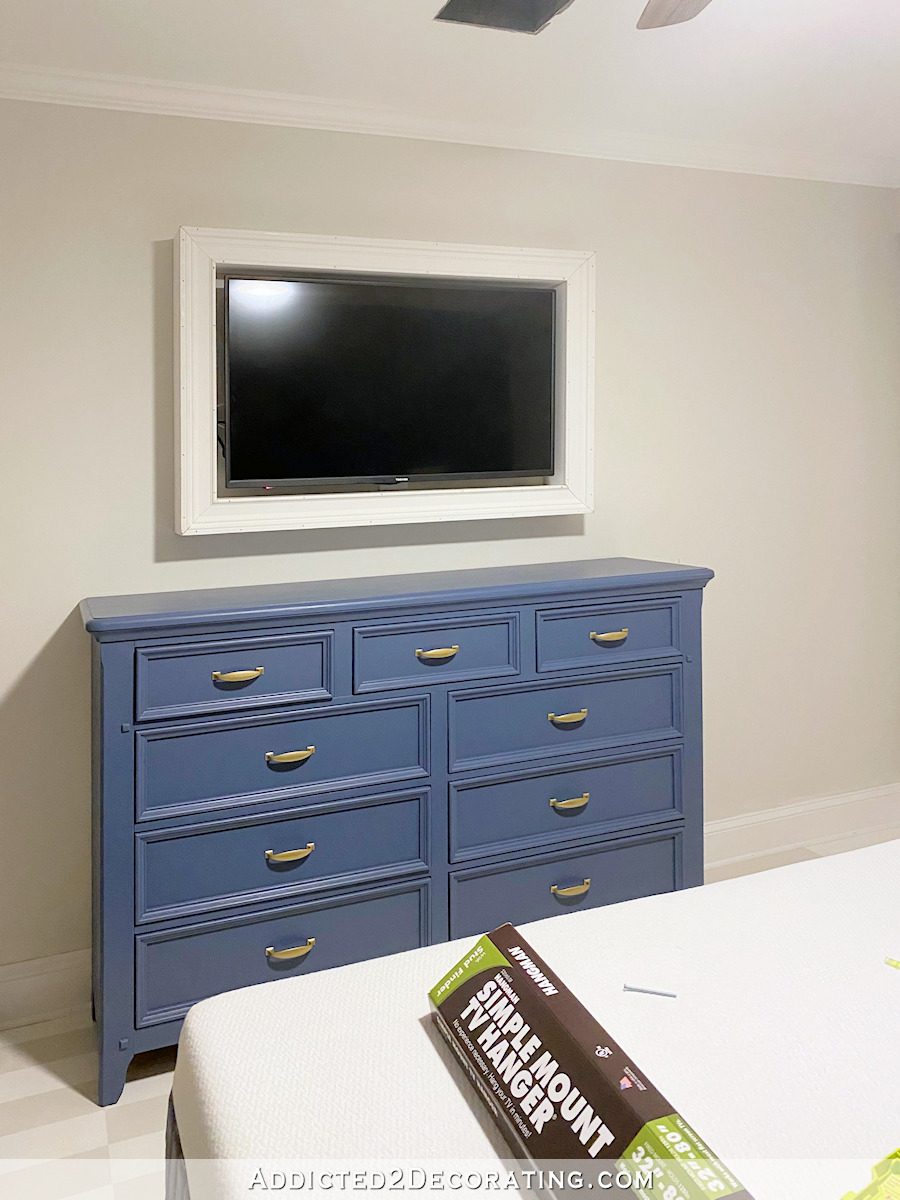
Here’s the TV mounted on the wall without the frame. You can see that I’ve attached a 1″ x 2″ piece of lumber above the TV because that’s what the frame mounts to.
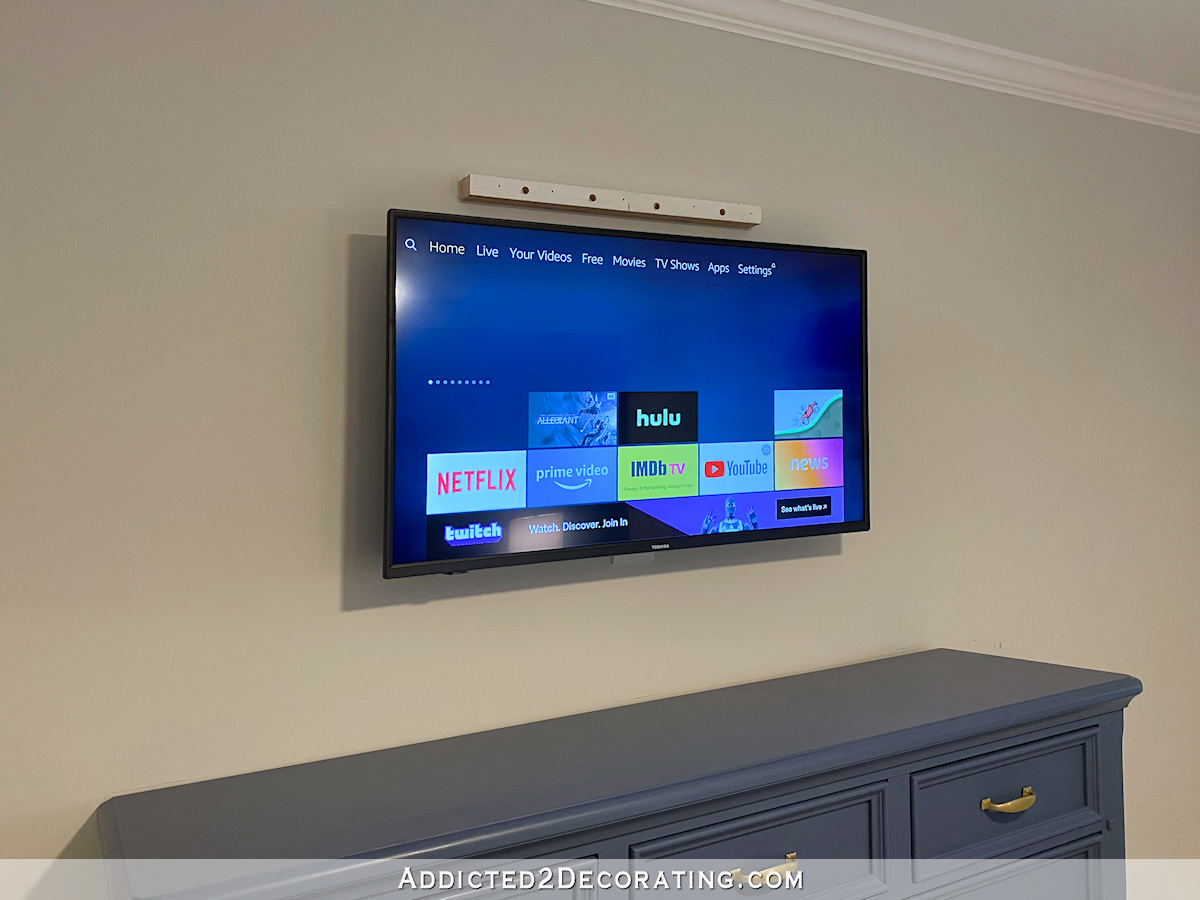
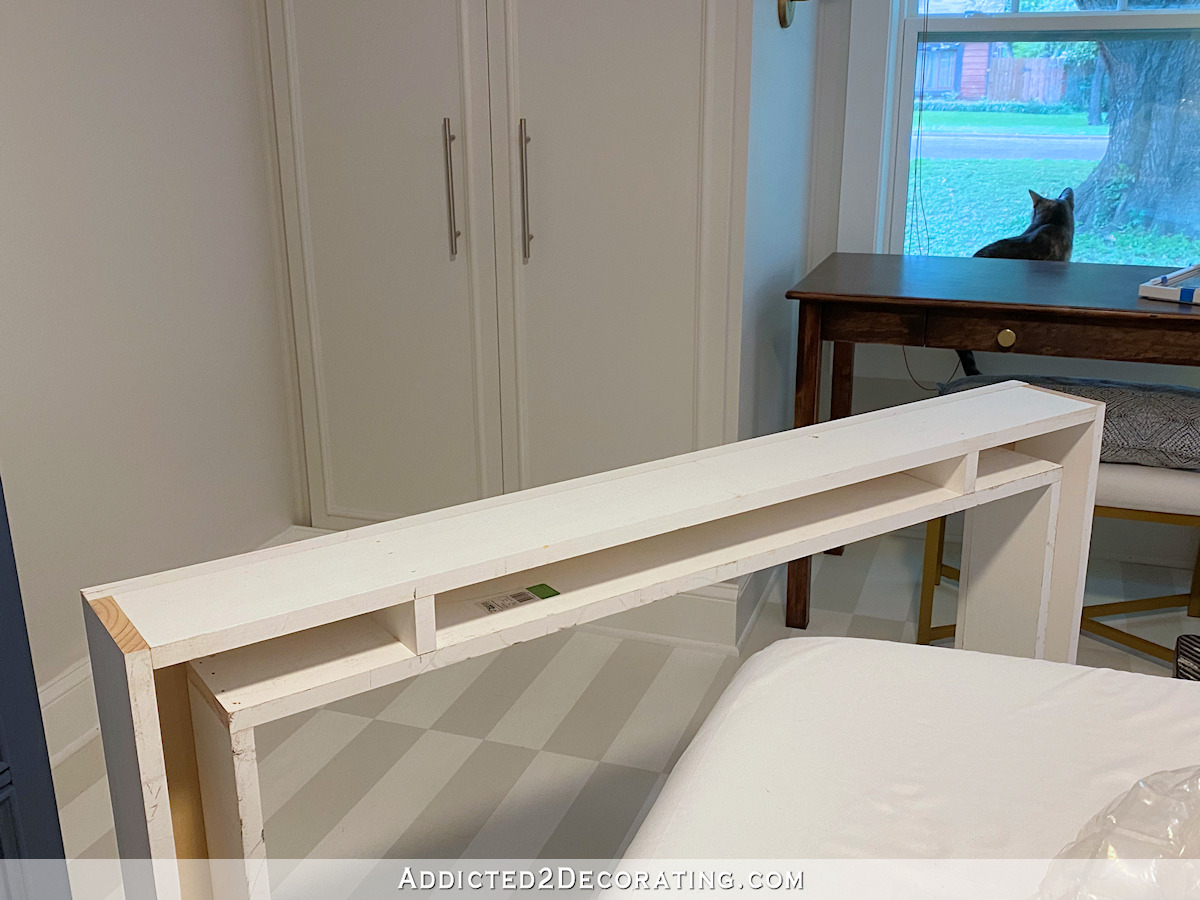
It’s a very simple design. You can see the top back section of the frame, and that section just slips right onto the 1″ x 2″ piece attached to the wall. And that’s it! It just hangs there. You can screw the pieces together if you want it more secure, but I’ve never had a problem with the frame just sitting on top of that brace.
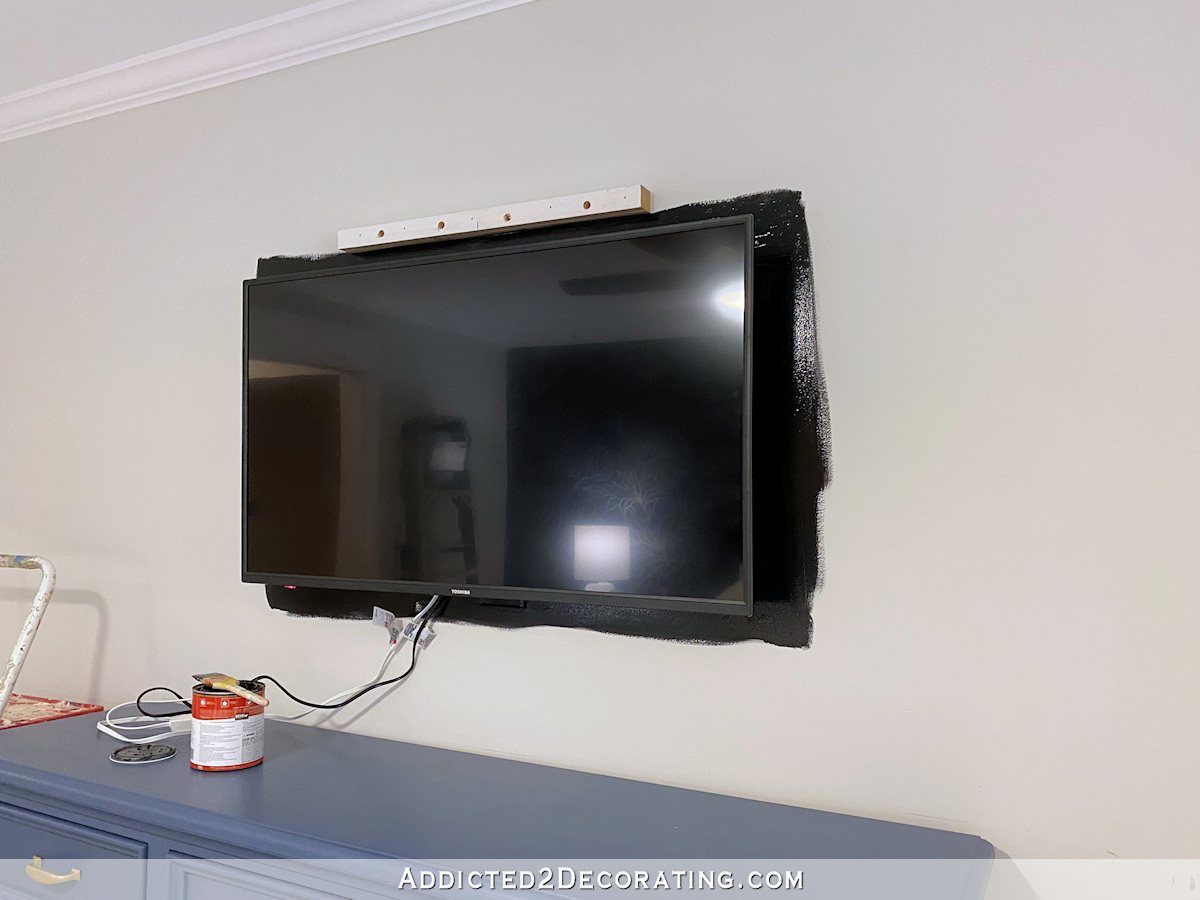
As far as the cords go, I had an outlet installed on the wall where the TV would go. When I planned this room, I had intended to use a regular-height dresser (30-34 inches high), so I installed the outlet accordingly. Then I went and bought a dresser that was 10 inches taller, which means that the TV is higher than I had originally intended. That’s why the outlet shows below the TV on the wall, so I had to plan my frame accordingly so it wouldn’t sit on top of that outlet cover.
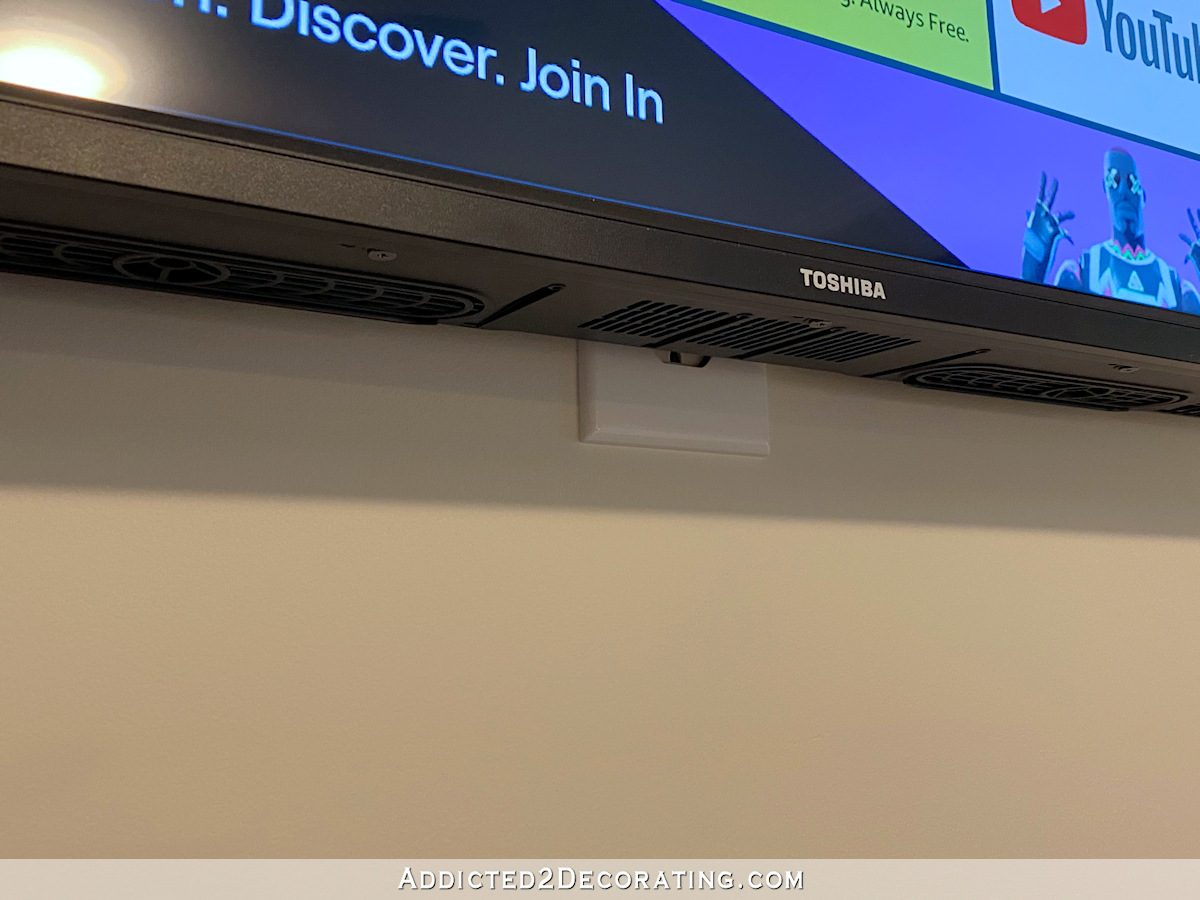
To plug the TV in, I used a short extension cord with a flat low profile plug. That way the regular plug on the TV cord and plug into the extension cord, and those can be wrapped and zip tied together and tucked into this area behind the TV.

And the flat low profile plug on the extension cord can plug into the outlet and it works just fine without pushing the TV away from the wall. (There are also special TV outlets that are made for installing behind TVs so that you can plug it directly in without a low profile plug, but I haven’t been able to find those locally in the last year or so. So the extension cord works just fine for me.)
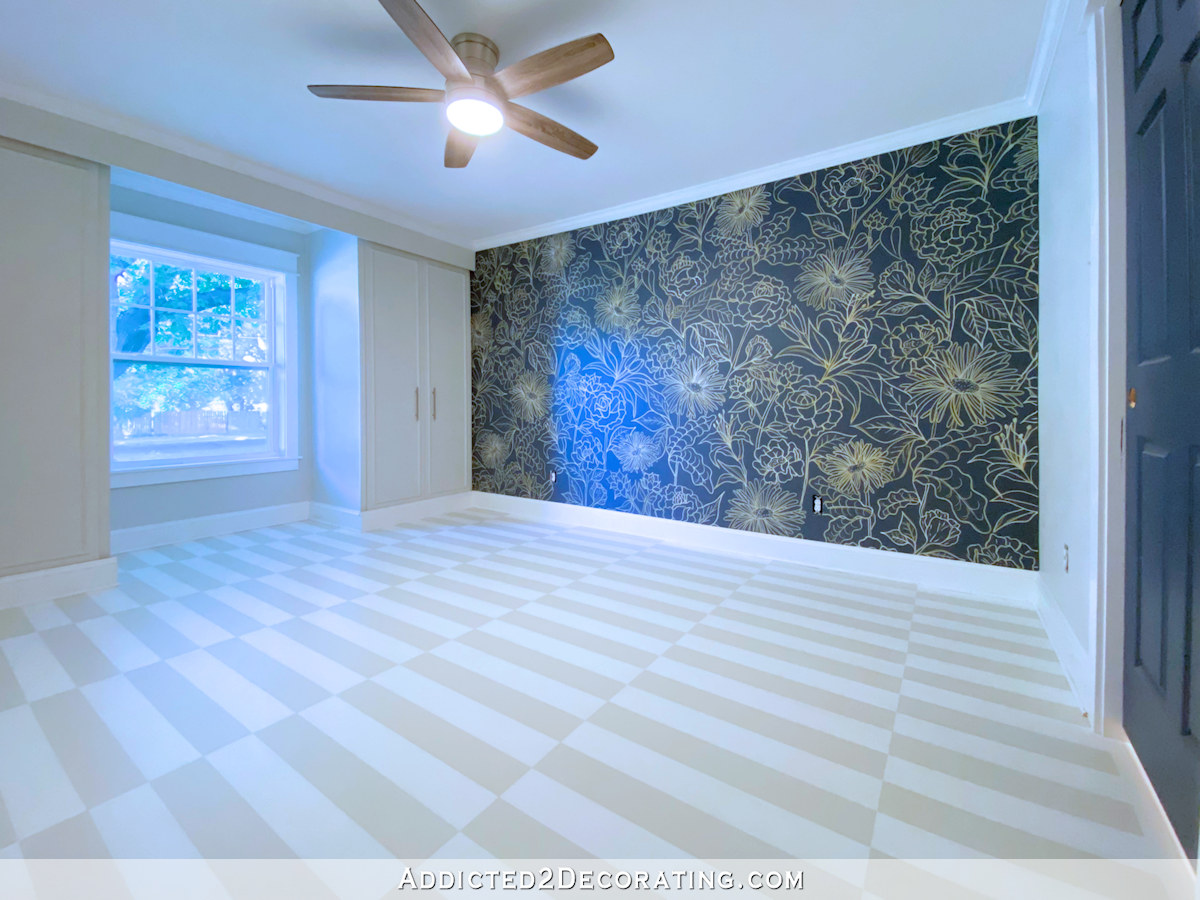
To make the wall around the TV disappear, I painted this area solid black.
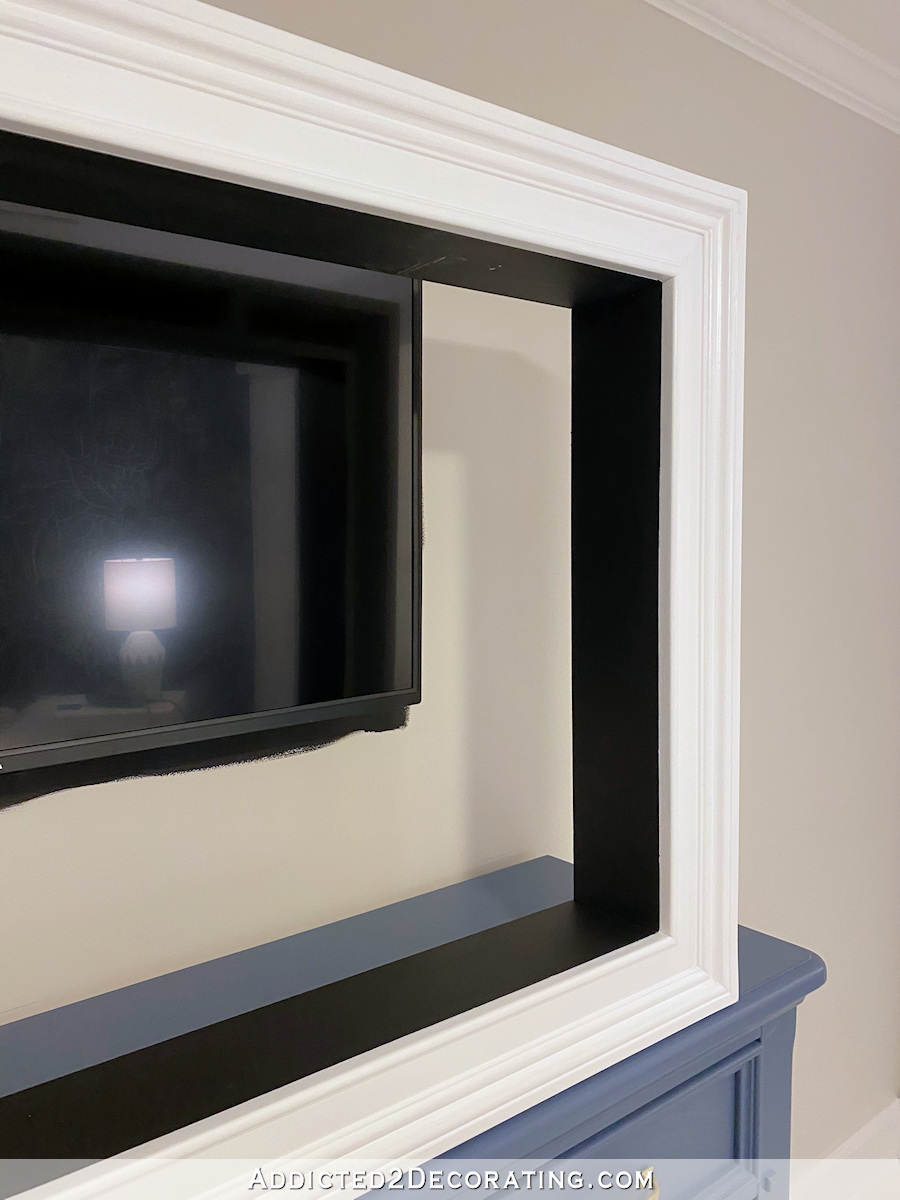
And then when I painted the frame, I painted the inside edge black as well. The rest of it is painted the trim color — Behr Polar Bear.
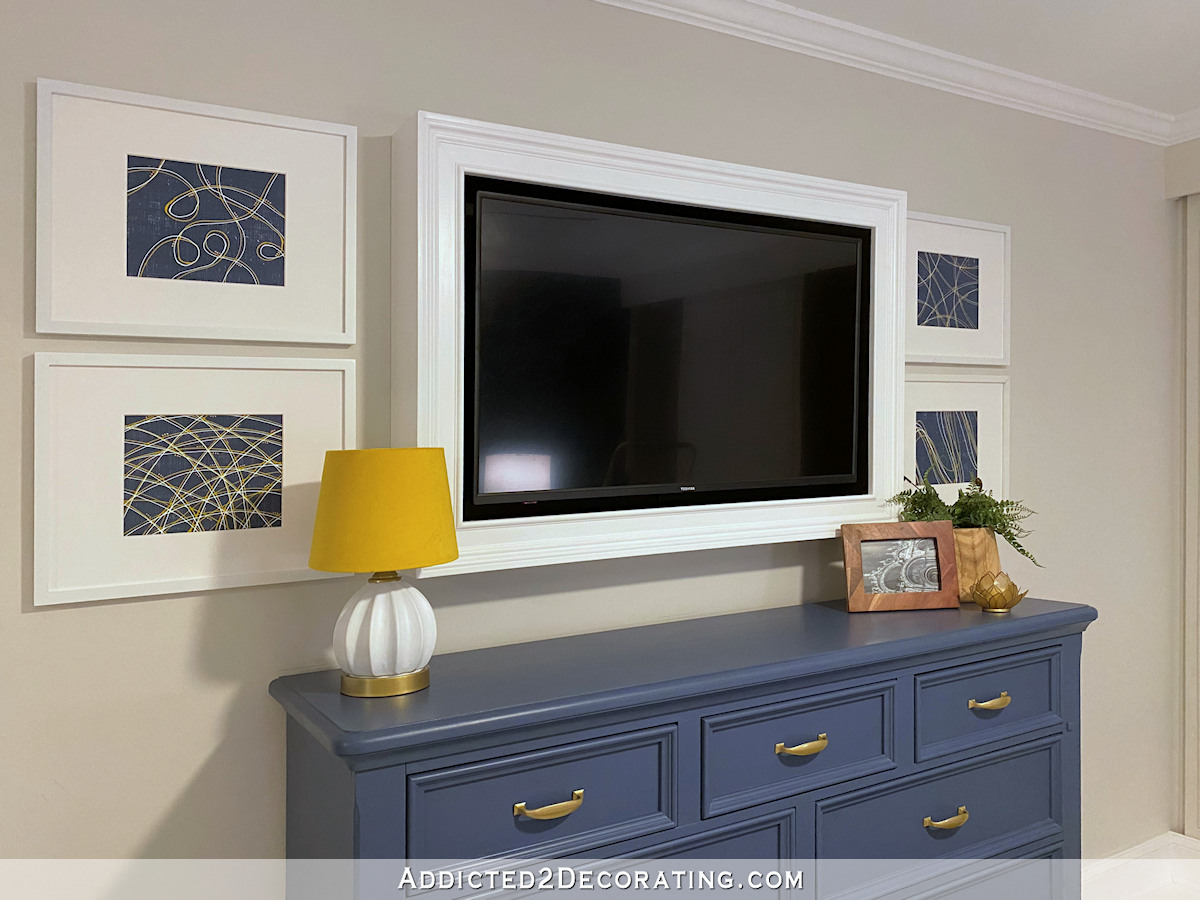
And here’s what it looks like with the frame back in place.
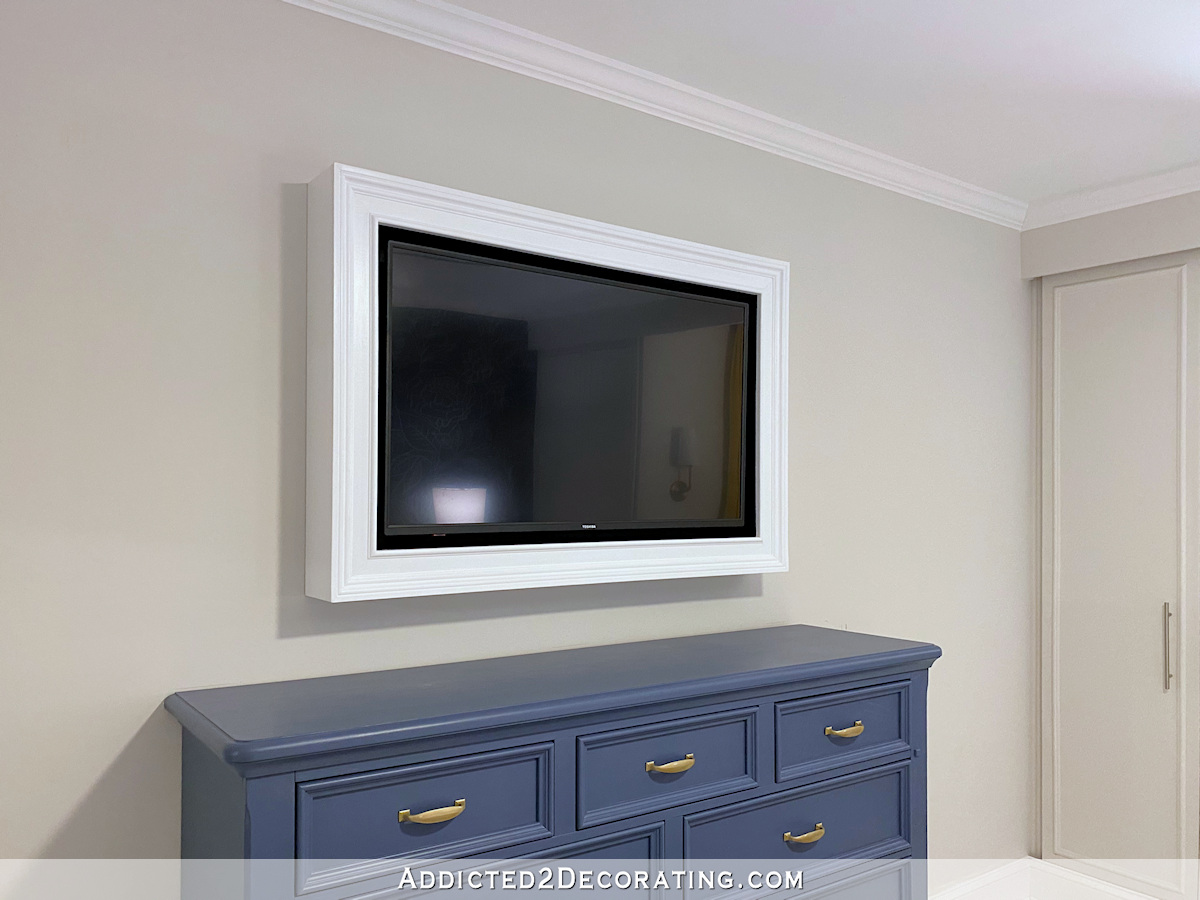
With the wall and the inside edge of the frame painted black, the gap between the TV and the frame disappears. But there’s a 3/4-inch gap all the way around the TV so that it can get plenty of air circulation. We’ve never had a problem with our TV in the breakfast room overheating, and it stays on for hours at a time.
Just as a reminder, here’s how it looked before those areas were painted black to make them disappear…
See how the wall is visible between the TV and the frame? That’s not a good look, in my opinion. So the black paint makes a very big difference in the finished look of the TV frame.
Those details make such a huge difference in a room, and those are the details that I get a little obsessed over. 😀

Addicted 2 Decorating is where I share my DIY and decorating journey as I remodel and decorate the 1948 fixer upper that my husband, Matt, and I bought in 2013. Matt has M.S. and is unable to do physical work, so I do the majority of the work on the house by myself. You can learn more about me here.


Thanks for that post. I generally understood this project, but seeing all deconstructed really helps – both lamp and TV frame!
It really is all in the details. Thanks for the breakdown.
I don’t know if this will help anyone but when I paint a lamp I put the cord in a plastic grocery bag and then I just have to tape up where the cord goes into the lamp. Love your projects!
Brilliant! Lady you have most amazing timing. We’re about to install a tv in our new porch. Will use your instructions.
you should check out the Samsung The Frame art TVs
https://www.googleadservices.com/pagead/aclk?sa=L&ai=DChcSEwjw5sqgoMvsAhUGhsgKHQGUASIYABACGgJxdQ&ohost=www.google.com&cid=CAASEuRoyANW1yrzruGtvbOdrR3SRA&sig=AOD64_3d98MvJ5gILb4JE5PaWmMGn2g3Qg&q&adurl&ved=2ahUKEwiWxr-goMvsAhXCmOAKHUYNCfgQ0Qx6BAgREAE
It’s a lovely section of the room. Everything is perfect. I love the 4 pictures with the lamp.
The whole room is beautiful. Will anything go on the desk? All in good time, I know.
Love it all, especially the sliding doors on the closets. Wish I was 30 years younger…
I did the same type paint job but wasn’t able to take the lamp apart. I taped it but it was hard w all the curves. I was pleasantly surprised at how it turned out. This was an old lamp that was from the 50s . It’s now white and gold too.
I’ll have to try Aleene’s Fabric Glue. Was suspicious that it wasn’t “that” good at sticking fabric together.
Also loved the cat posing with the deconstructed lamp. You couldn’t get a better model!
How does the lamp look turned on? That shade probably is not translucent right?
I doubt any light will shine through, but that’s okay. I wanted it to be more of a night light with a very low wattage bulb in it that can be used late at night as we’re winding down for the evening, maybe using the laptop or iPad and need just a dim light (dimmer than the bedside lamps). I don’t like the laptop light to be the only light in the room when I’m using it, but I don’t like a bright light either. I still need to get a bulb for it — maybe a 25 watt equivalent.
I love the room! And I love all your easy to read directions! But, I’m really thrilled to see that you are using the Studio now! How has that impacted theories you’re doing?
I love it so much! It’s amazing having those two huge tables to work on projects. Such a difference from those years and years of having to find empty floor space to spread out fabric and other projects to work on. Much easier on the knees, too. 😀
Not theories! The projects! Sheesh.
You are so clever. And amazing. Thanks for those details.
LOVE your cat’s name!!!
Thank you for all the details and supply lists for your projects. You truly are a great teacher!
What a cute helper! 🙂 Or maybe Peeve is an inspector? 🙂
I have a clear glass lamp in my living room,and for some reason it gets dirty on the inside of the glass! So about twice a year I take it all apart, clean the glass and put it back together!😁 At first, I would try cleaning the outside, using every trick I knew, until I finally realized it was inside! Anyway, I love that you are reusing. I think this pandemic has kept us from just running out to buy. I know I think hard about going out and exposure risk as well as not wanting to wear the mask! If I can avoid it, I do, because I have a hard time breathing in it!
I’m loving how your room looks – it’s really coming together so nicely. The lamp came out so nice too. And that little cat – so cute! She looks tiny and sweet. And, of course she is curious to see what you are working on. 😄 Congratulations on all your accomplishments with this project. You must be ready to move in! Enjoy.
Kristi, just wondering why I have to see your stuff on FB. I’m subscribed to your blog, but never received any notifications. Am I doing something wrong? I miss your emails, and have to hunt through my FB stuff to find your posts.
Me too. I check your web site daily.
Where are you my friend?
Hi Kristi. I havent heard from you in awhile. How are you?
Miss you!
Kristi, how is the bedroom coming along? Haven’t heard from you in while, miss you.