Master Bathroom – The Progress & What Still Needs To Be Done
I’ve had a couple of days off from working on the bathroom (I never work on Wednesdays, and then I had some other things scheduled for yesterday), so I’m determined to make lots of progress on the room this weekend. And I’m really feeling very motivated. Ever since I figured out the trim issues and got the trim installed (I’m talking about the crown molding and the trim around the mural wall), I’m feeling so excited about putting my nose to the grindstone and getting this room finished.
I can’t even express how discouraged I was with the trim problems. And when I have problems like that during a project — problems that seem like I can’t find a solution — it just makes me want to wash my hands of the whole thing, close the door on the room, and move on to other things. I hate that feeling of being so discouraged that I feel defeated, and fortunately it doesn’t happen often. But that trim definitely had me feeing defeated.
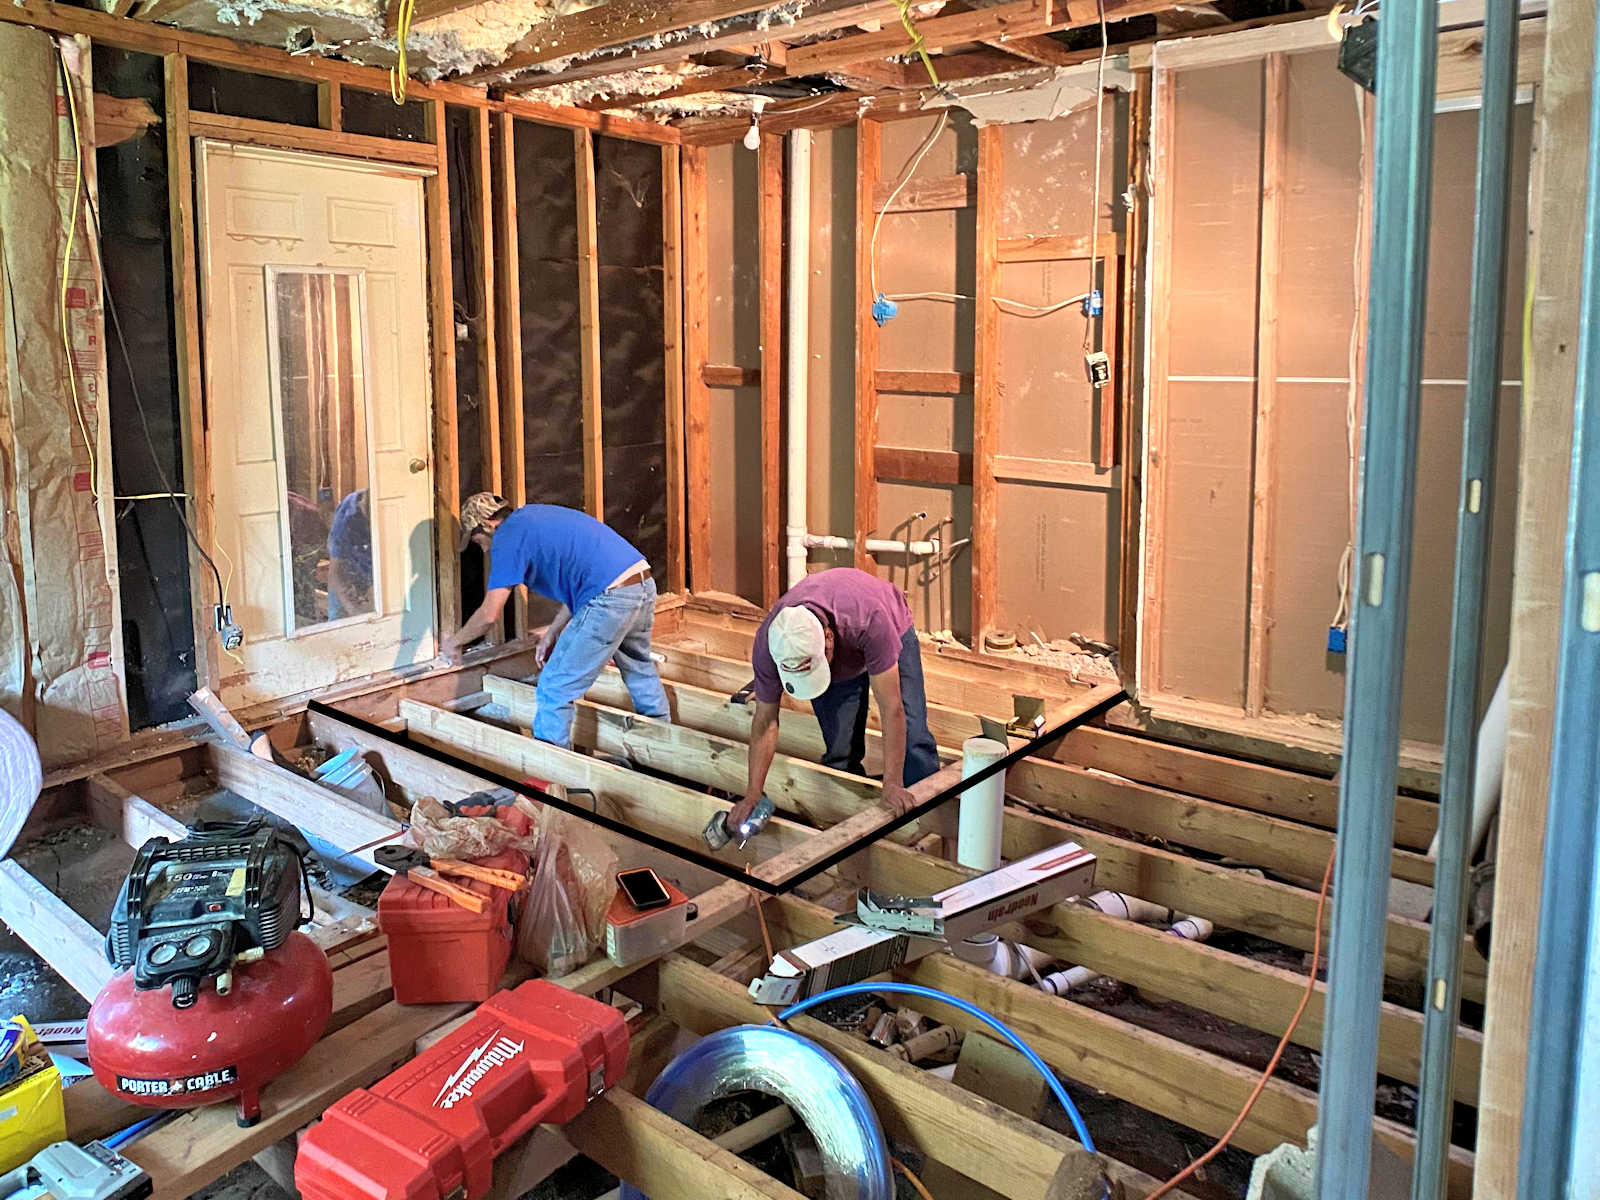
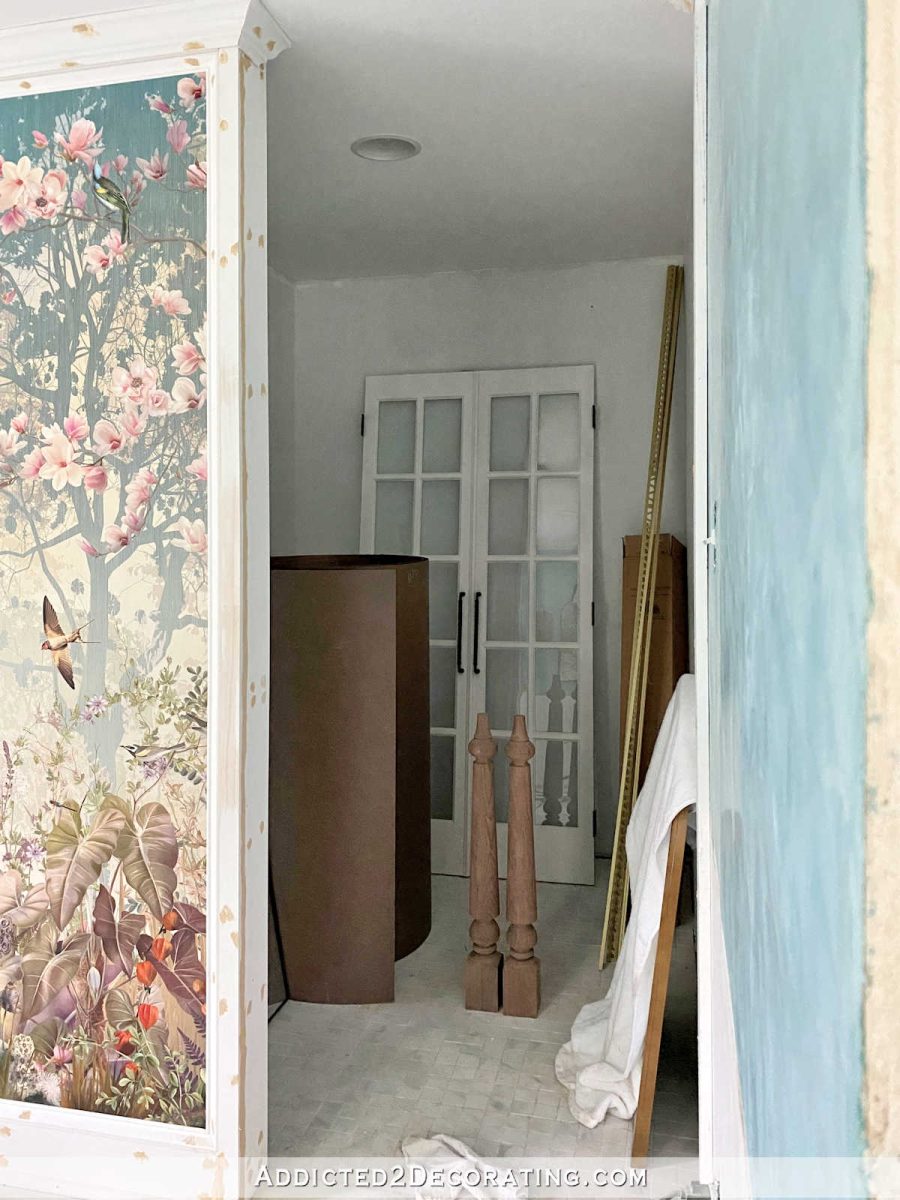
But now it’s all worked out. It’s installed. It’s on its way to being caulked and painted. And I love how it looks. It’s not perfect by any means, but I’m okay with it now. Now I’m ready to face the rest of this project and get it done. It’s about time, right? 😀 After all, this picture, taken soon after my contractor’s guys started working on the room, was taken in July of last year.
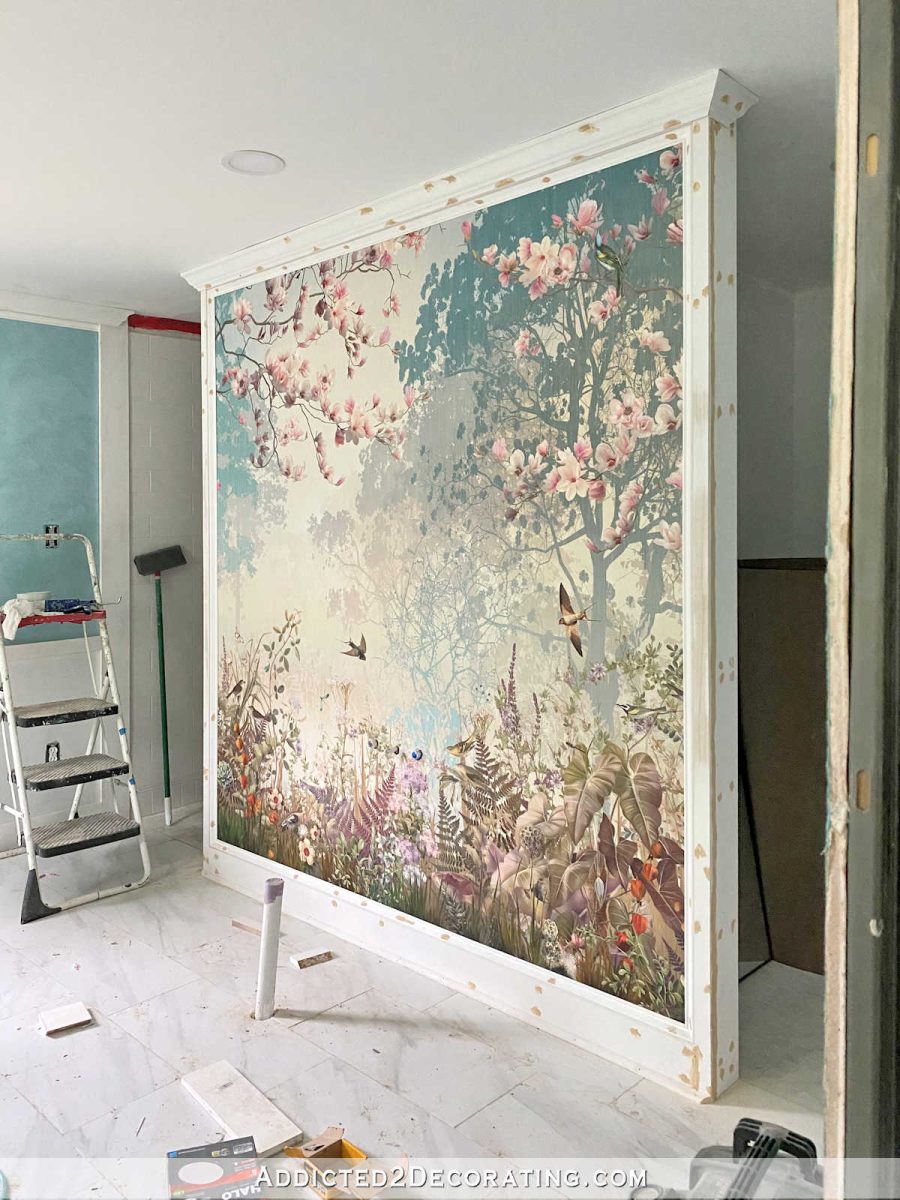
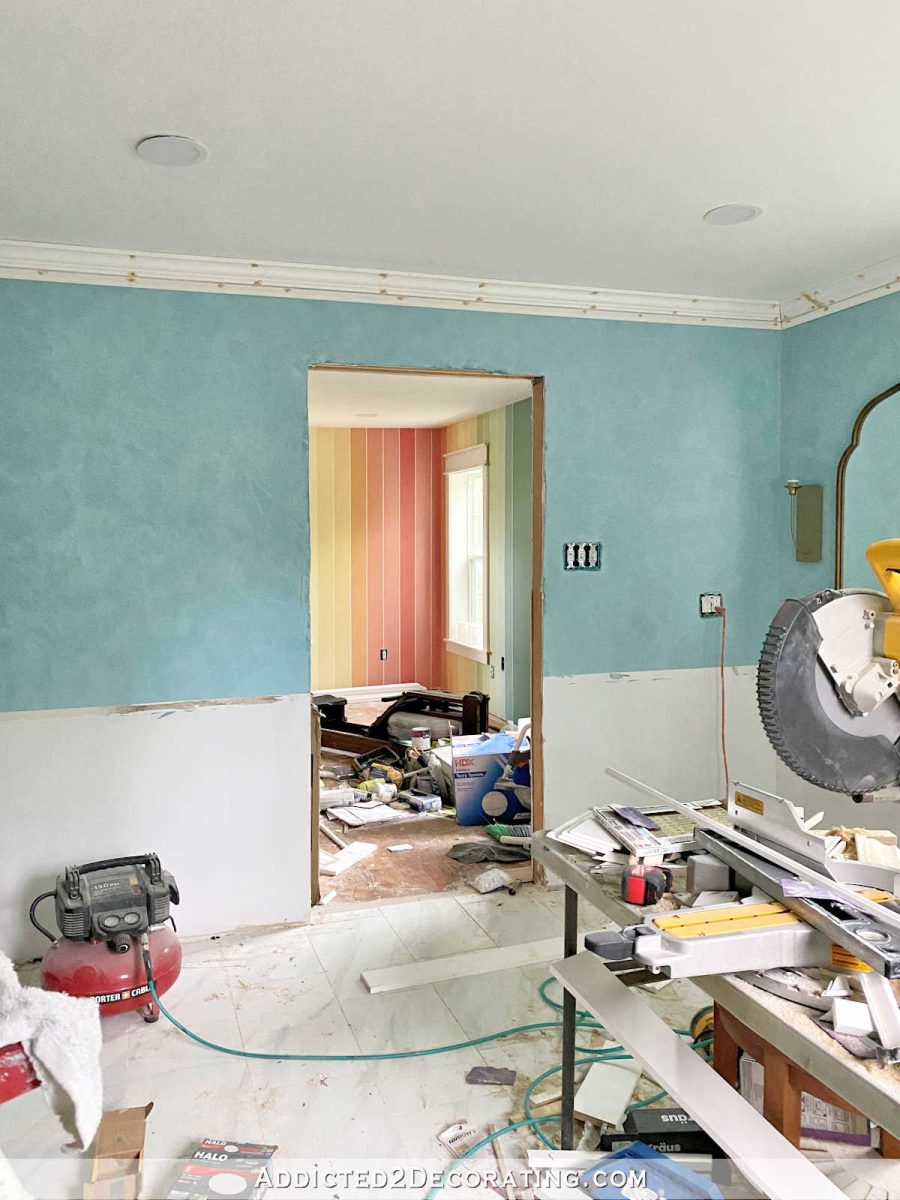
I never thought that the room would take so long, but here we are, coming up to the end of April, and it’s still not finished. But I must say, it’s come a long way! That same view from above now looks like this…
So that’s quite a bit of progress. And as I’ve been thinking about what’s left to do, I really think that if I keep my focus on this room alone, and try to keep myself from getting sidetracked on other projects in other rooms, I can have this room completely finished by the end of May.
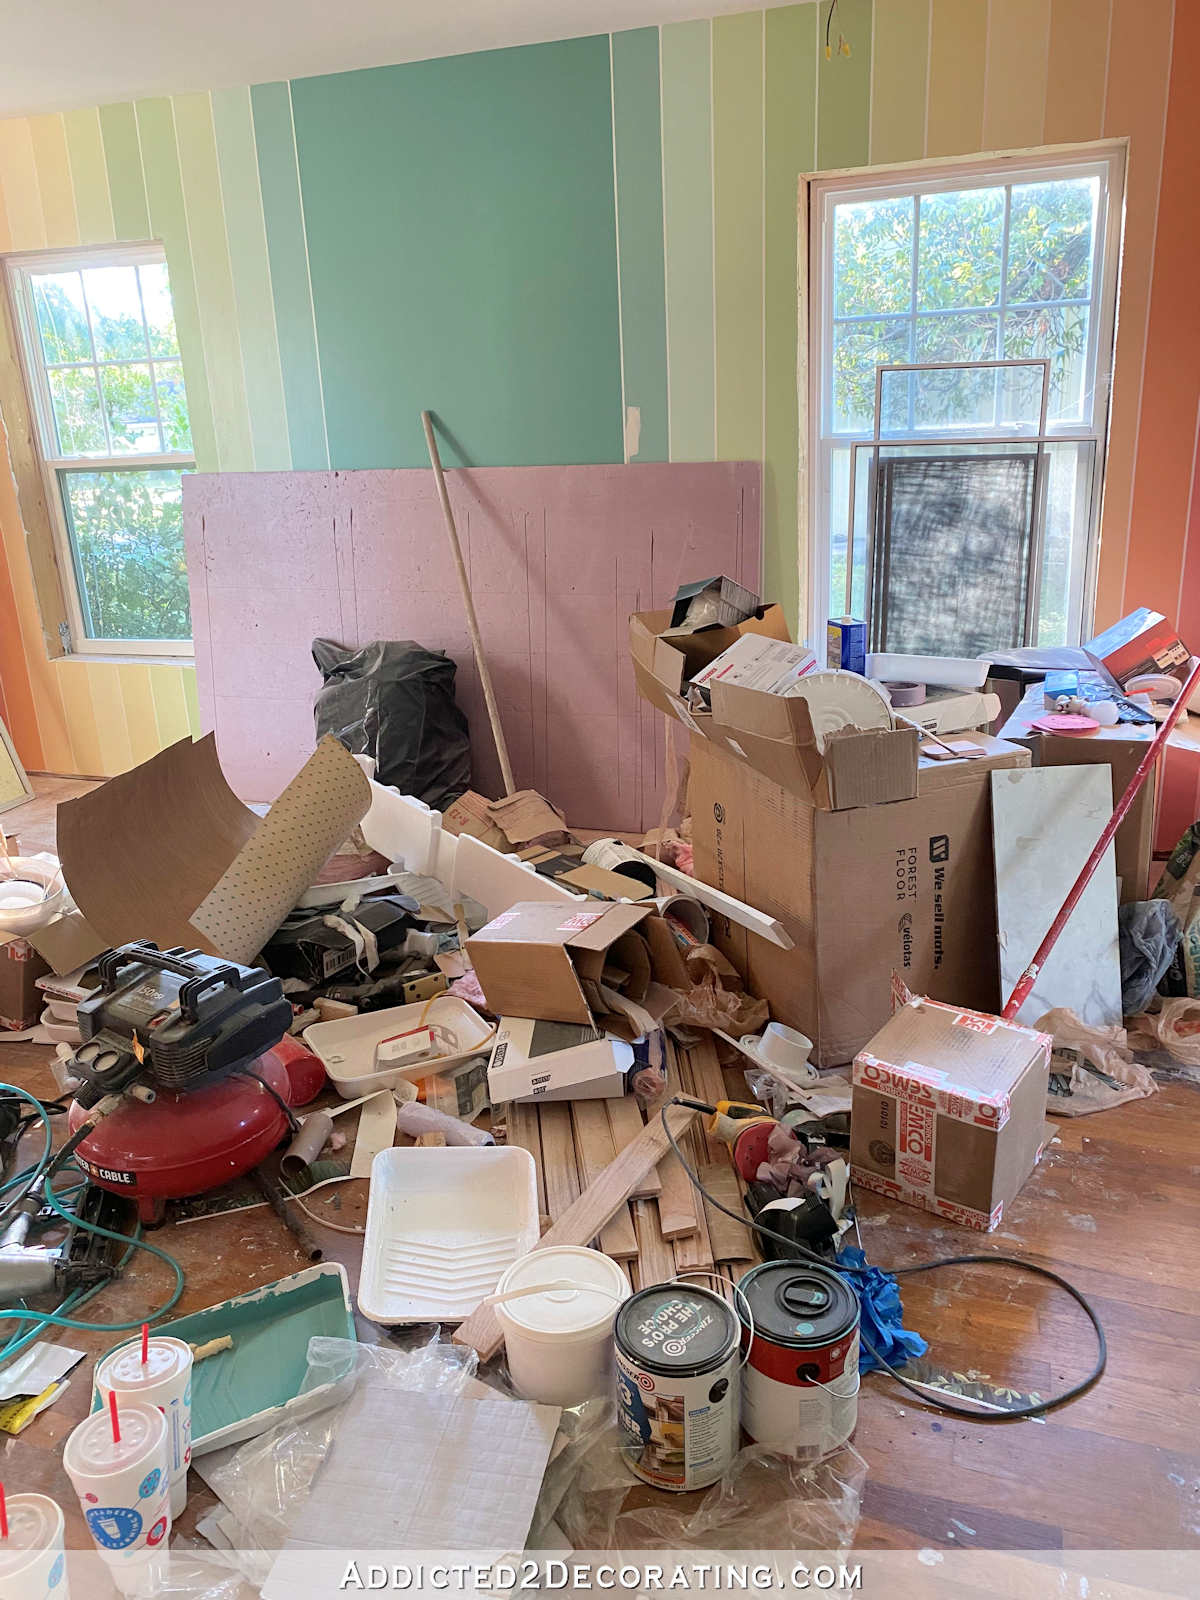
That might be a little ambitious, but I really do think it’s possible. I mean, the room is a mess right now, but that’s mostly just my pile of tools, wood scraps, and sawdust.
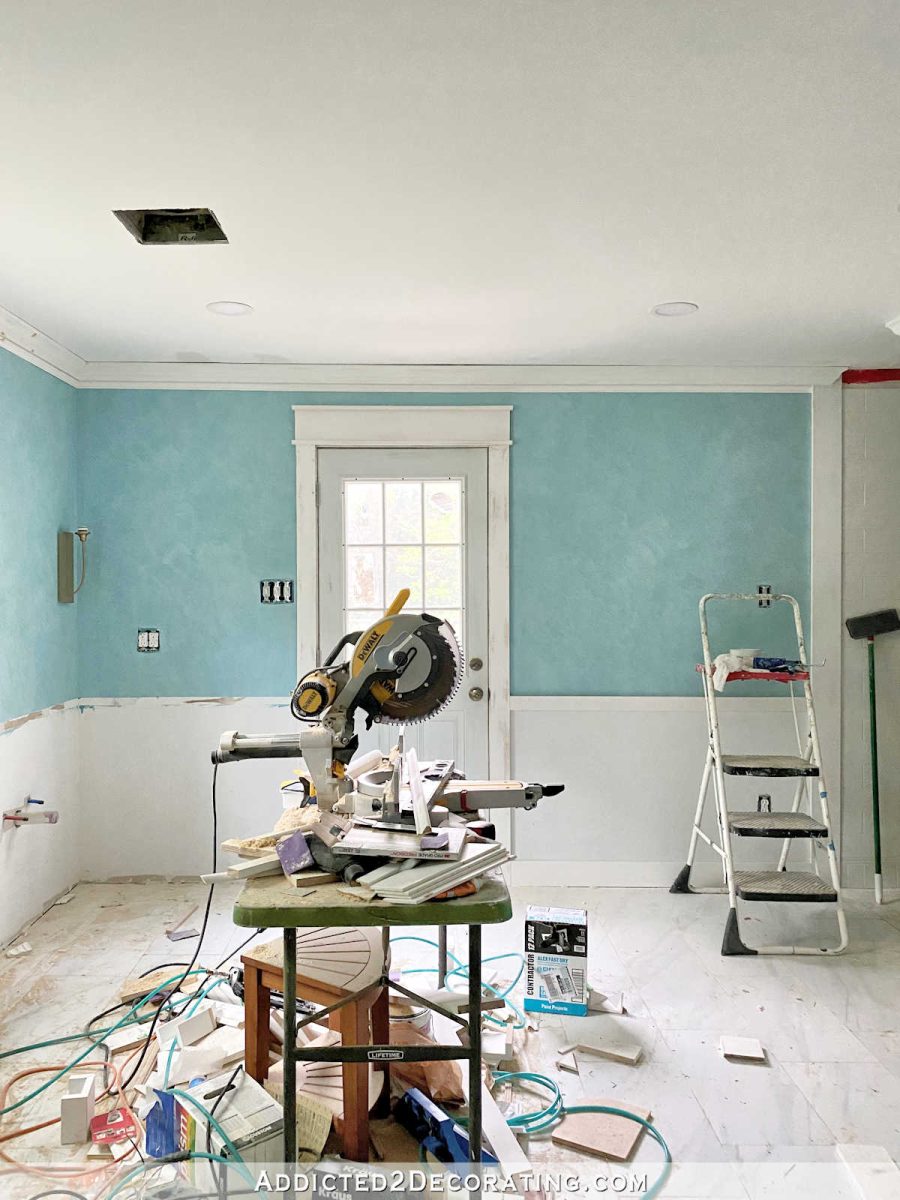
I know my construction messes make some of you very anxious, especially when I’m working on a newly installed floor (or newly refinished hardwood floor), but it it’s just how I work. My messes are part of my process, and it always works out in the end. 😀
So from here on out, I’m going to be working on this room exclusively until it’s finished, just like I did as I neared the 90% mark on the pantry remodel. When I reach that part of a project, I seem to need accountability to keep me focused.

Although this project feels a little different. Since I was stuck and discouraged for so long over the trim issue, and that has now been worked out, I actually feel more excited about digging in and finishing this room than I usually do with other rooms, where I reach that 90% mark and feel burned out and ready to move on to something else.
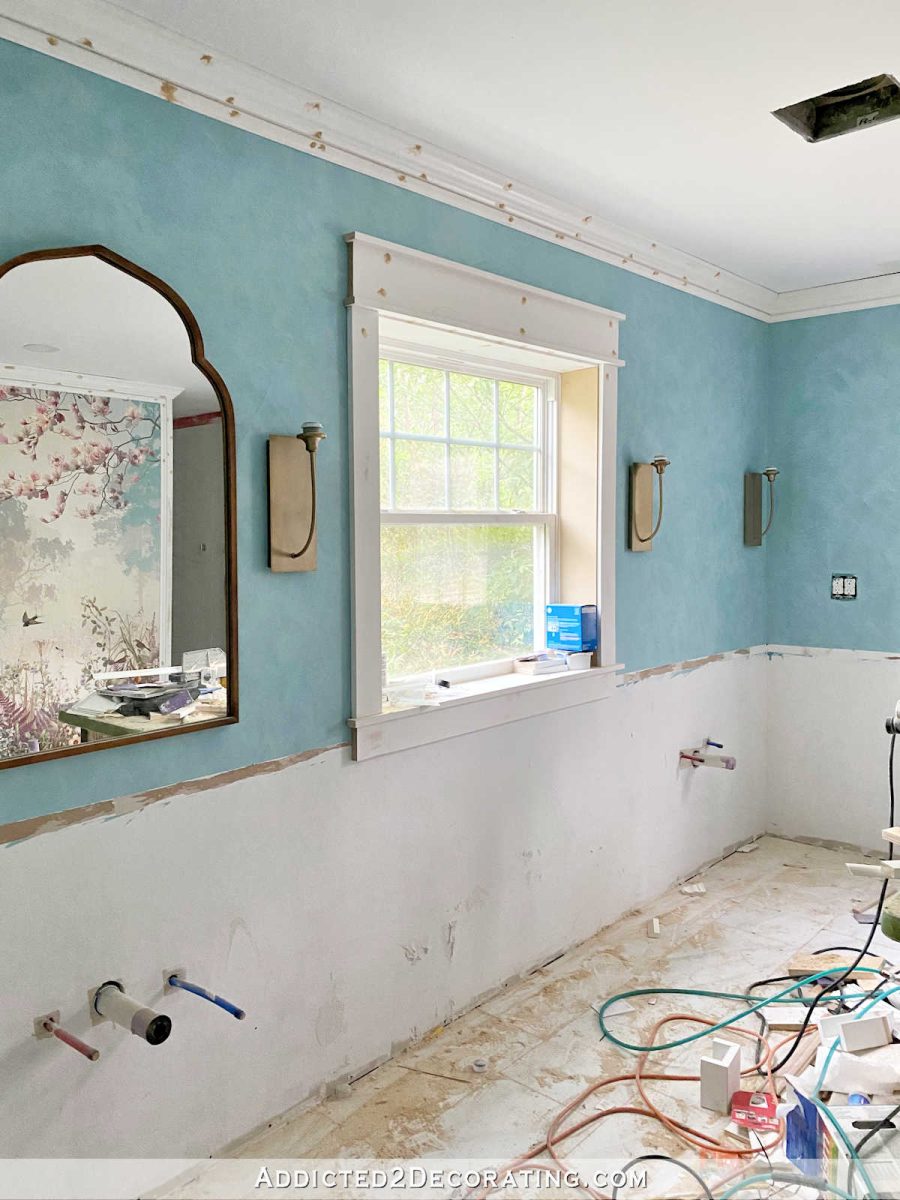
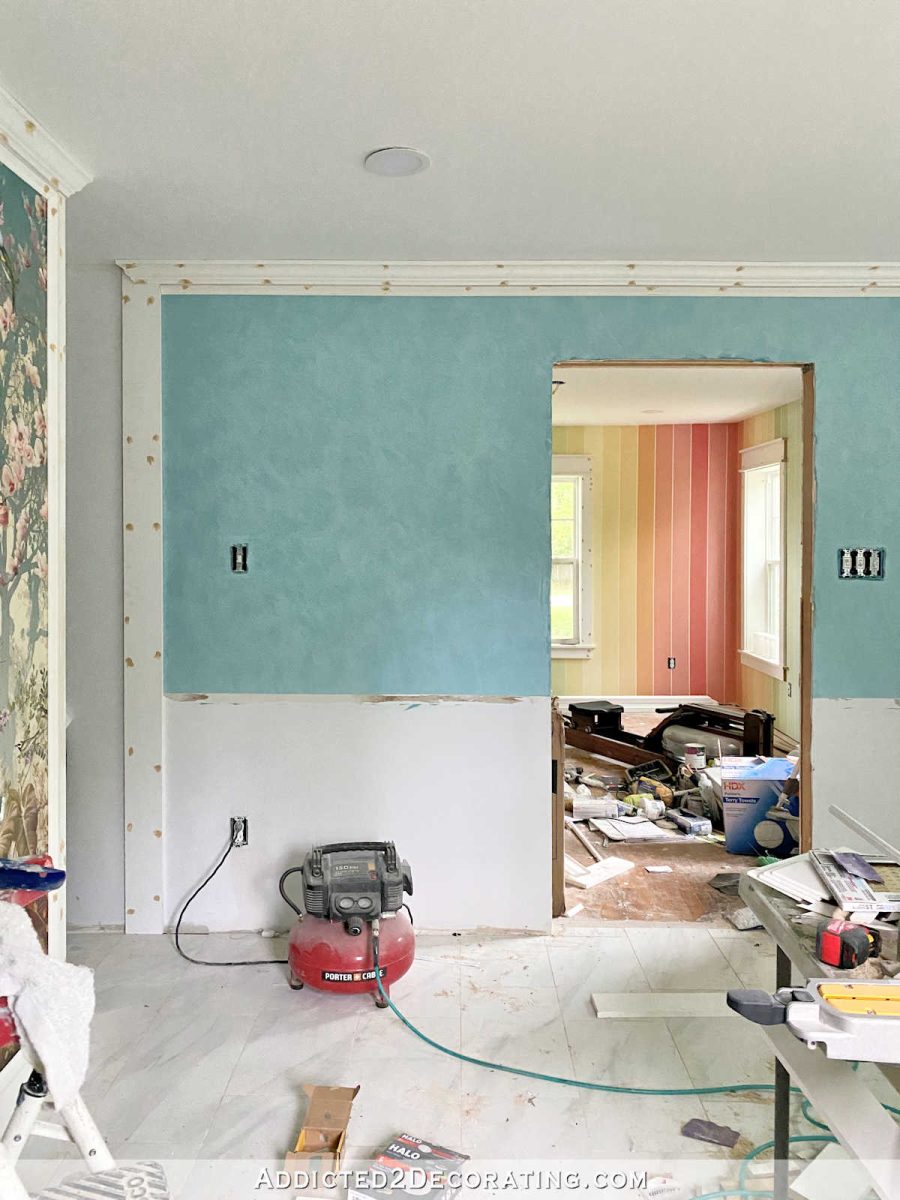
So here’s one last picture of where the master bathroom project stands as of this morning, with lots of trim “in progress” and needing to be finished, and a few big projects that still haven’t even been started.
But now, the big projects don’t seem daunting. I’m ready to tackle them.
So what’s left to do? Here’s my line item list that will get me to the finish line…
- Finish the crown molding and trim around the mural wall — sand, caulk, prime, and paint
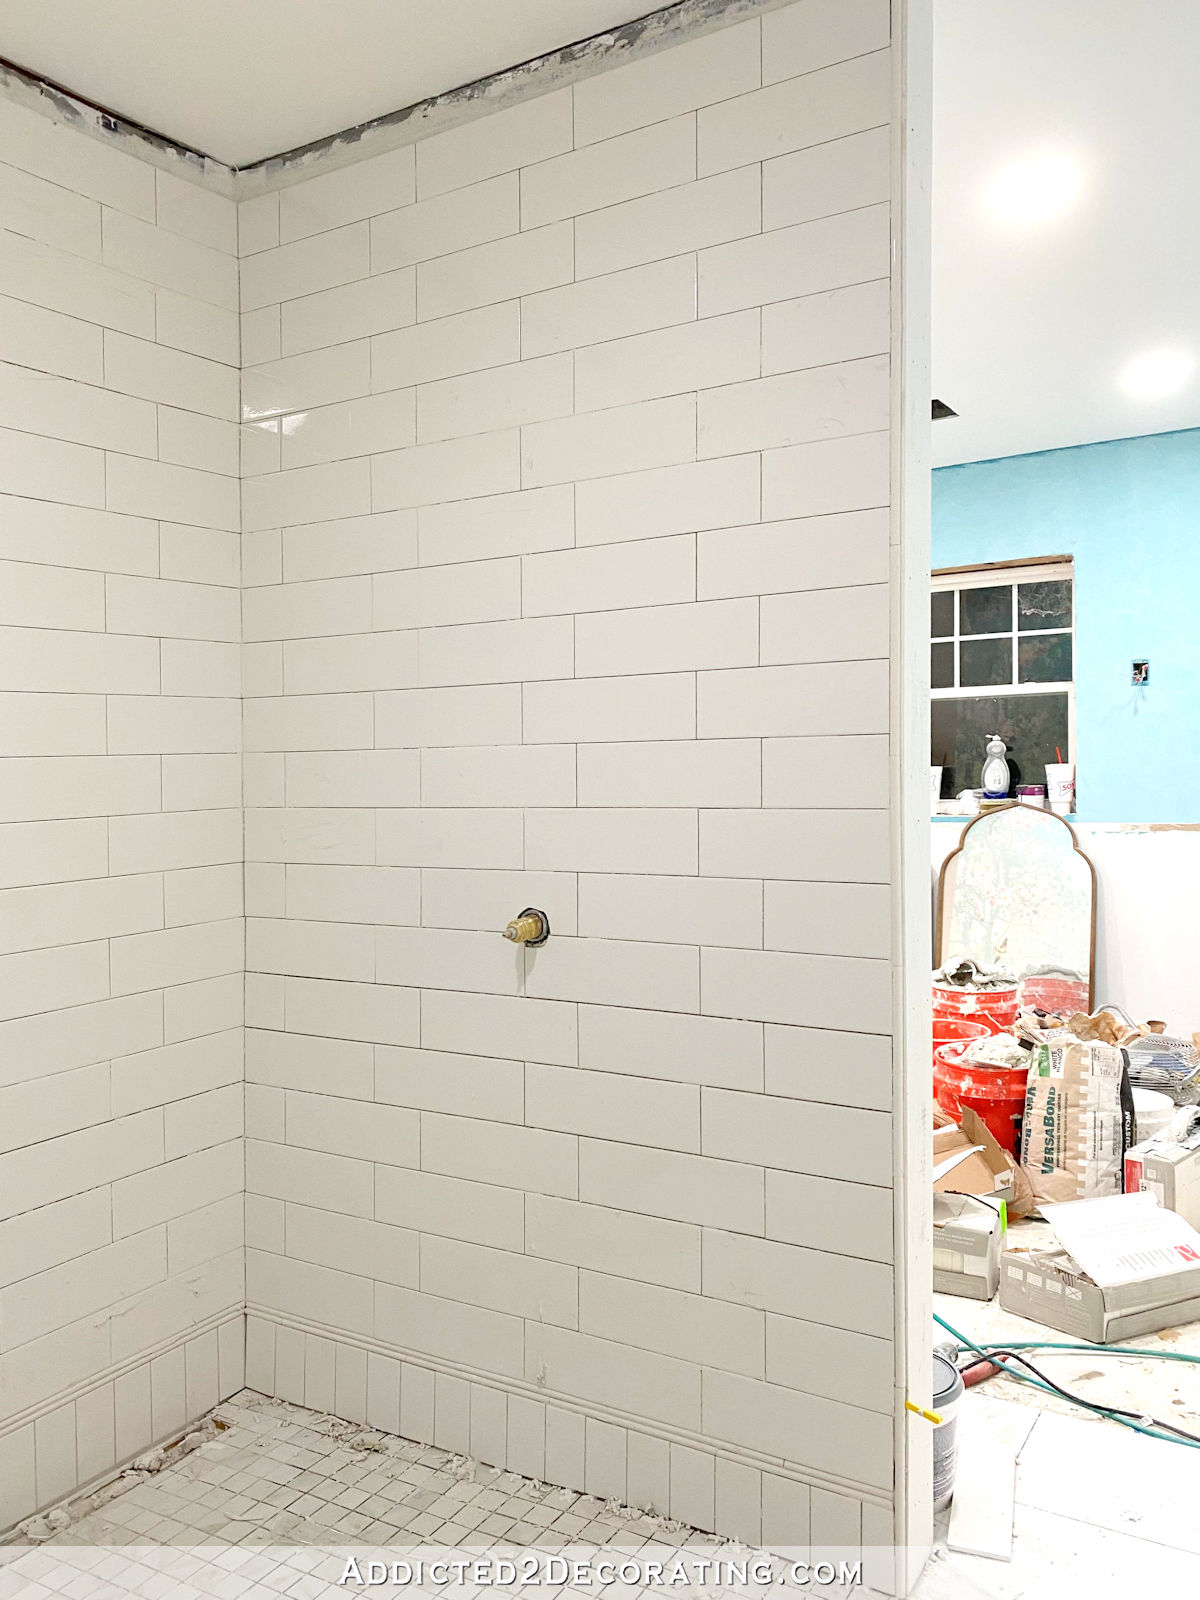
- Install the last row of tiles around the ceiling in the shower
- Install the door between the bathroom and home gym
- Trim out that door
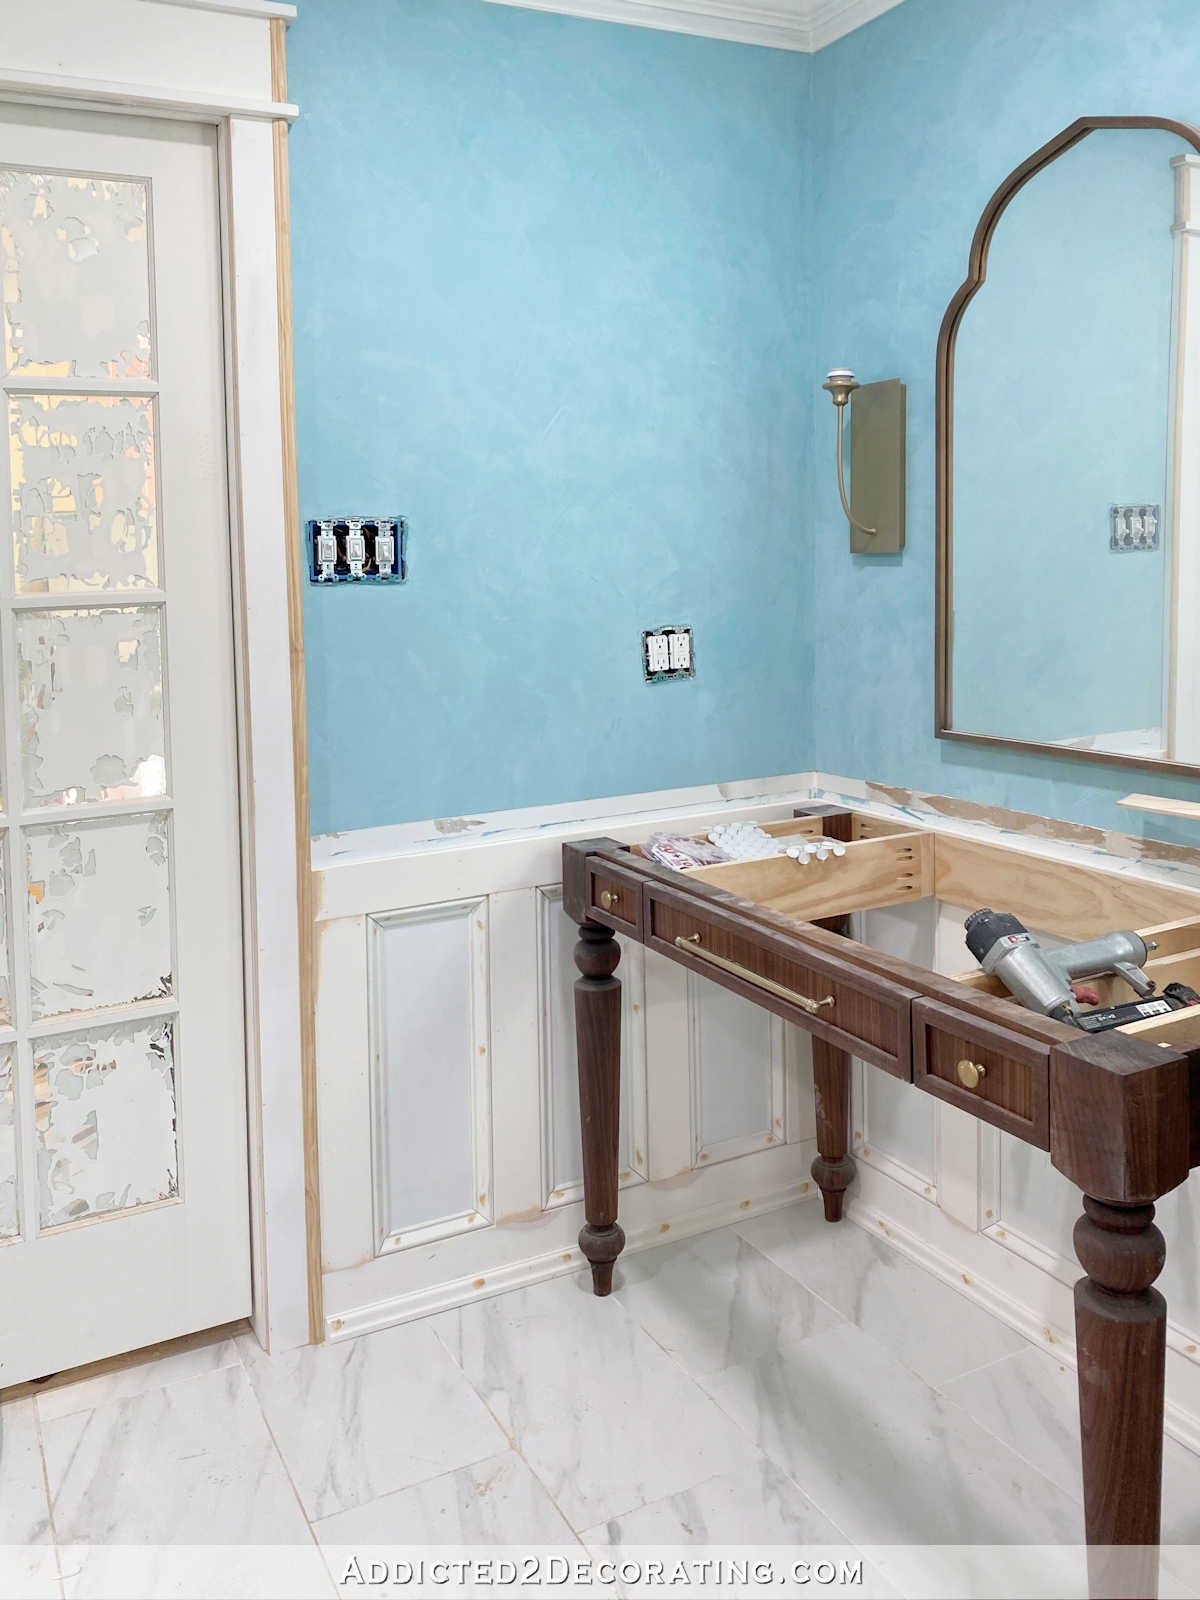
- Build two vanities
- Build the “dresser” between the vanities
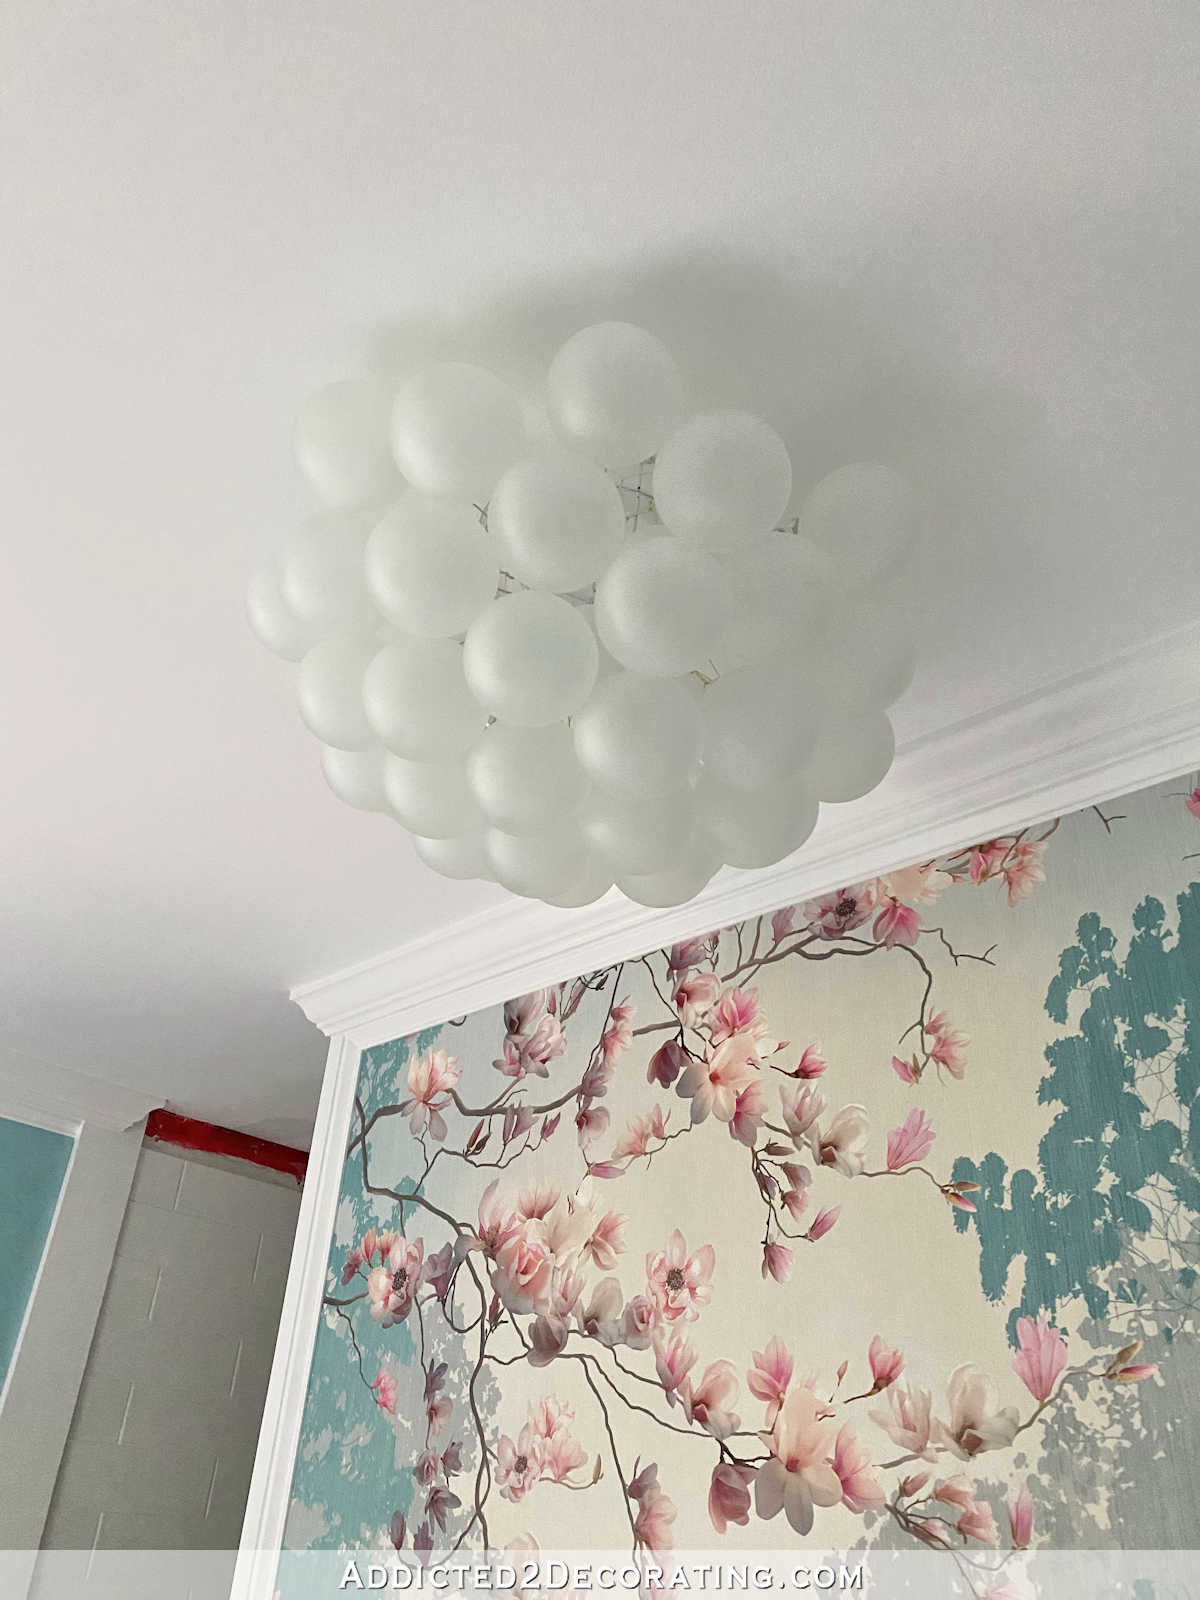
- Make the “chandelier” and install above the bathtub
- Build the cabinet for the toilet area
- Paint the walls and ceiling in the toilet area
- Install baseboards in the toilet area — caulk, prime and paint
- Have the bathtub, tub faucet, and toilet installed
- Hang shower curtain in the shower (yes, I decided to use one)
- Order countertops for vanities and have the sinks installed
- Finish the plumbing on the sinks
- Install the wainscoting on the lower walls
- Finish all of the rest of the trim (doors, window, wainscoting) — wood fill, sand, caulk, prime, and paint
- Hang the other vanity mirror
- Decide on privacy (window treatments? glass film?) for the window and doors
I’m sure other little things will come up, but as far as I can see, that’s pretty close to an exhaustive list. It sounds like a lot, and it is, but there’s nothing too terribly difficult or overwhelming on the list. The biggest projects will be the two building projects — the cabinet in the toilet area and the “dresser” that goes between the vanities.
And that second one has me nervous. Only one time before (that I can remember) have I built a piece of furniture that wasn’t going to be painted. And when you paint furniture, you can hide mistakes with lots of wood filler and caulk before painting. But when a piece of furniture is going to be stained or left in its natural wood state, there’s a lot less room for error. So I’m nervous about that, which is why I’ve been dragging my feet for a long time now. But I’ll work up the confidence soon so that I can tackle that project.
And if I fail, y’all know me well enough to know that I’ll just scrap the first attempt and start right over again. 🙂
So, from here until it’s finished, I need to have my nose to the grindstone, and let’s get this thing finished…finally!!

Addicted 2 Decorating is where I share my DIY and decorating journey as I remodel and decorate the 1948 fixer upper that my husband, Matt, and I bought in 2013. Matt has M.S. and is unable to do physical work, so I do the majority of the work on the house by myself. You can learn more about me here.

Can’t wait to see it finished! It will knock our socks off!
It is looking so very very very good!! Lots to do but it is all stuff you can do and do well. The vision is coming to life.
No one would blame you if you bought furniture for the vanities and adapted them with sinks.
This is going to be the most stupendous room ever!!! Can’t wait to see you check everything off your list!
I am so enamored by your skills and talent! How did you learn to do all of this by yourself? Are you self-taught as far as construction (projects)? I aspire to be like this as a single woman on a very slim budget!
It really helps to have that sequential list in place, doesn’t it? It will go well, I’m sure.
When all is said and done, how about selling tickets so any of us who have been with you through thick and thin, can buy a private soak in that fabulous tub and luxuriate in the environment of peace this is going to bring you every day.
Okay, so that’s out. So, we’ll settle for many fabulous pictures so we can live vicariously as we celebrate with you and Matt when the final task is done.
Proud of you for hanging in there! We are with you all the way. Thanks for the invitation to learn, to comment, to offer ideas, and to cheer you on.
It’s gonna be epic! And what a great convenience for both you and Matt. The finish line is in sight, you’ve got your second wind, so pace yourself and enjoy each project!
Yay! This beautiful space has come such a long way! How exciting to see the progress since last July … and to think that the final space could be done in a matter of weeks! 🙂
Hi Kristi,
What a lot of work. Here in Australia crown moulding is called cornice and is always made from plaster, never wood so much easier. We also have a huge factory warehouse near us that will reproduce fancy moulding from long obsolete patterns to match up if you are renovating an old house. You can also buy heaps of different ceiling roses in lots of beautiful designs. They are just attached to the wall/ceiling with a cornice cement. They come in lengths up to about 15 feet and they can deliver. So we do not have all those holes to fill and sand. I don’t envy you this job. Being a perfectionist (still in recovery) I can understand and I would be the same. It will all be worthwhile in the end and will be beautiful.
I was surprised to read u were going to use a shower curtain. I assume it is to keep heat/steam in. I have a shower like urs and no curtain. I couldn’t figure out how to hang it since side wall is 3/4 wall. I love my shower and have no problem with retaining heat but I anxiously await how u make ur curtain.
thanks for all ur ideas. I love to see them