Resin Bathroom Countertop, Take 2 (Stone Coat Countertops vs. ArtResin)
Oh, hey there, strangers! 😀 So last week kind of got away from me. It was just one of those weeks where I had so little motivation to do anything. But I did manage to make progress on one project — my resin countertop in the half bathroom. So I want to share with you my thoughts about the new resin product I tried (made specifically for countertops), plus my thoughts on resin countertops in general.
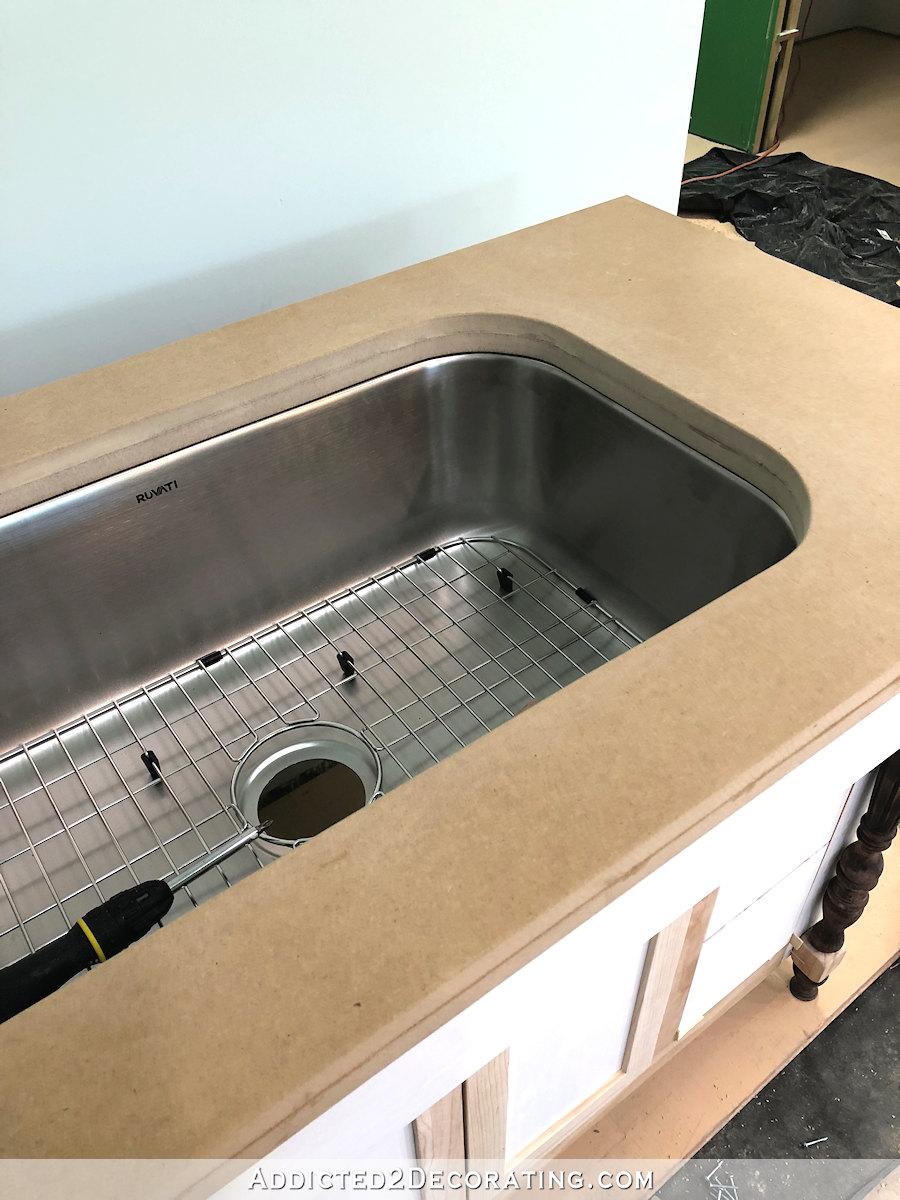
So to recap, a while back I made a countertop for my half bathroom using two layers of MDF, which I primed, painted, and then coated with resin.

If you missed that project, you can find it here…
But when I made that countertop, I used a resin product called ArtResin. As the name would suggest, it’s formulated specifically to coat artwork, and not really intended for heavy use surfaces like countertops. But it’s all I had on hand, and so I decided to use the ArtResin as the first coat, and then order a resin that’s actually made for countertops for the second and final coat.
So that’s what I finally got around to doing last week. I sanded down the first coat using 150-grit sandpaper and wiped off all of the dust. For the second coat, I used Stone Coat Countertops resin.

Just like ArtResin (and probably every other type of resin) it comes in two parts — a resin and a hardener. For this brand, you mix these together in equal parts, stir thoroughly, and then it’s ready to use. They don’t recommend using latex paint to color the resin, so I purchased one of their color additives. The white wasn’t as bright as the previous white that I had used in the ArtResin, but it was fine.
I did almost panic at first, because as I was mixing the two parts together, I poured the resin first. It’s MUCH thicker than ArtResin, and I was sure there was something wrong with it. But then I opened and poured the hardener, and it’s much thinner than ArtResin. So once it was all mixed, it was pretty much the came consistency that I was used to working with.
I really liked working with the product. I used gloved hands to spread it around, and it spread and self-leveled really easily. Then I used the propane torch to get the bubbles out, and that was also a very easy process.
So overall, the process of working with ArtResin and Stone Coat Countertops resin was almost identical. I didn’t see any noticeable differences.
And just like any other resin, I had to babysit my resin countertop for about two hours before it was set enough to stop dripping and to be out of danger from flies and lint that may land on it. I think the last time I dug a piece of lint out of the resin was about 90 minutes after I poured it, and it still smoothed out perfectly with a little help from the propane torch.
But even after babysitting it for two hours and scraping off drips with a wood stir stick, I still had drips when I came in the next morning to check my dry countertop.
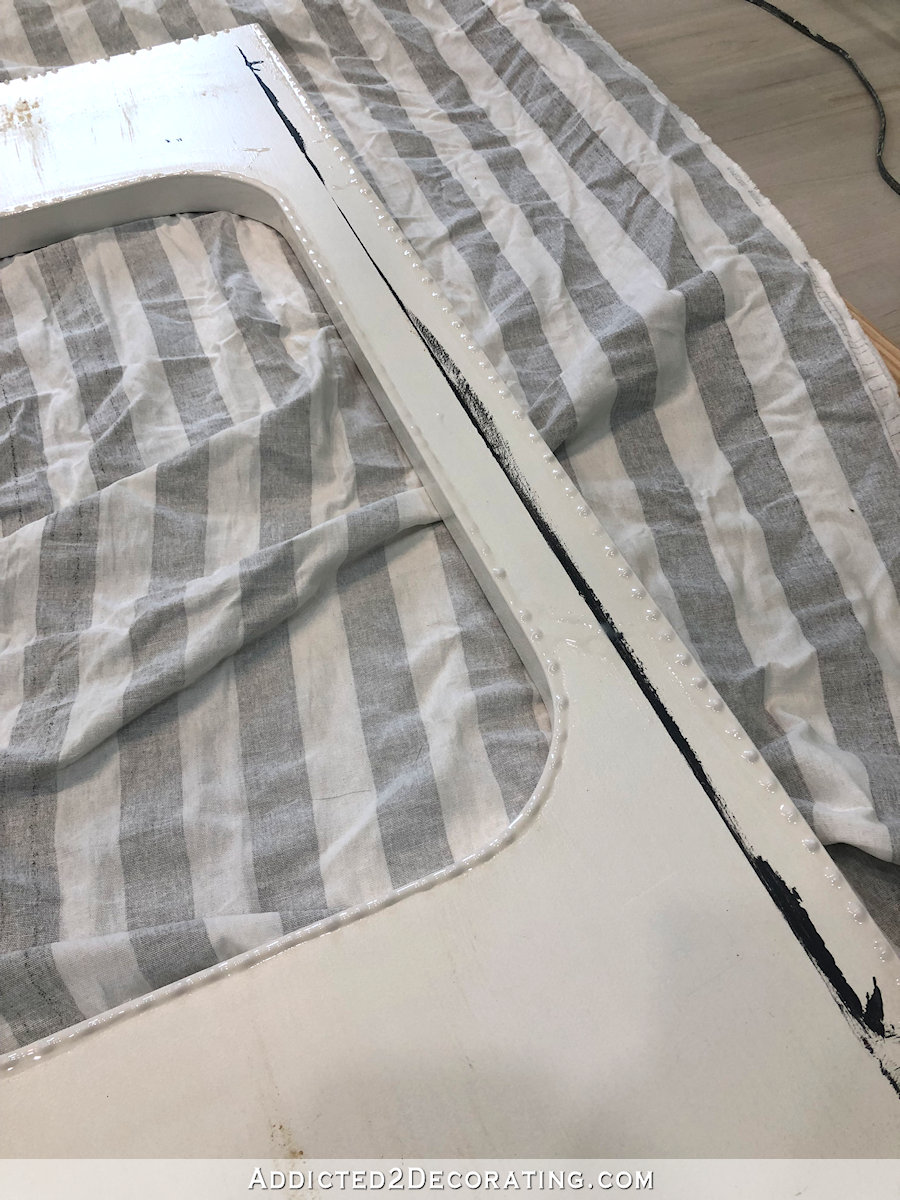
This wasn’t a problem for me because I was working with such a small, unattached countertop, so I could just flip it over and sand off the drips.
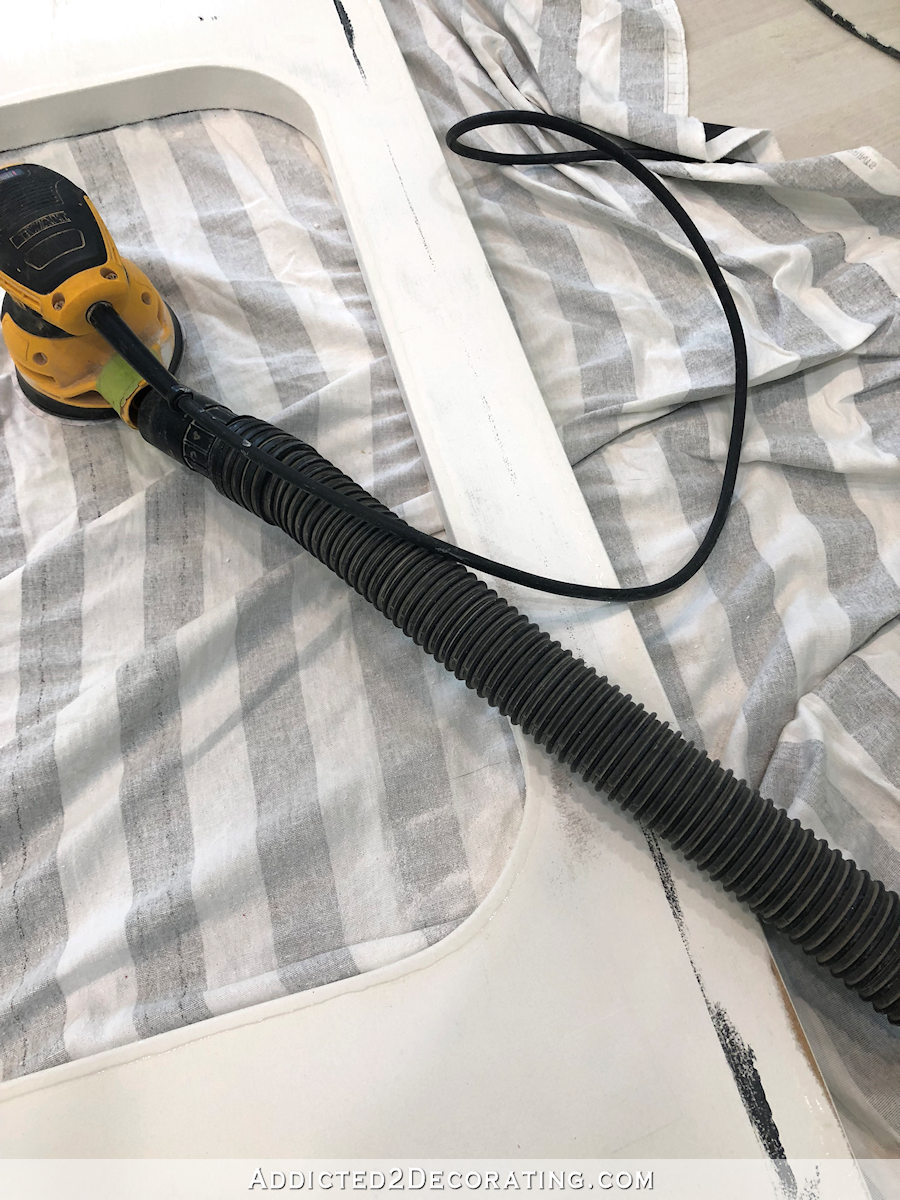
But if you’re working on a large attached countertop (like a kitchen countertop), I honestly don’t know how you’re supposed to avoid all of those drips, or how you get rid of them after the countertop is dry. I guess you could use a small sander, like a Mouse or even a Dremel Multi Max with the sander attachment, but that seems very tedious to me.
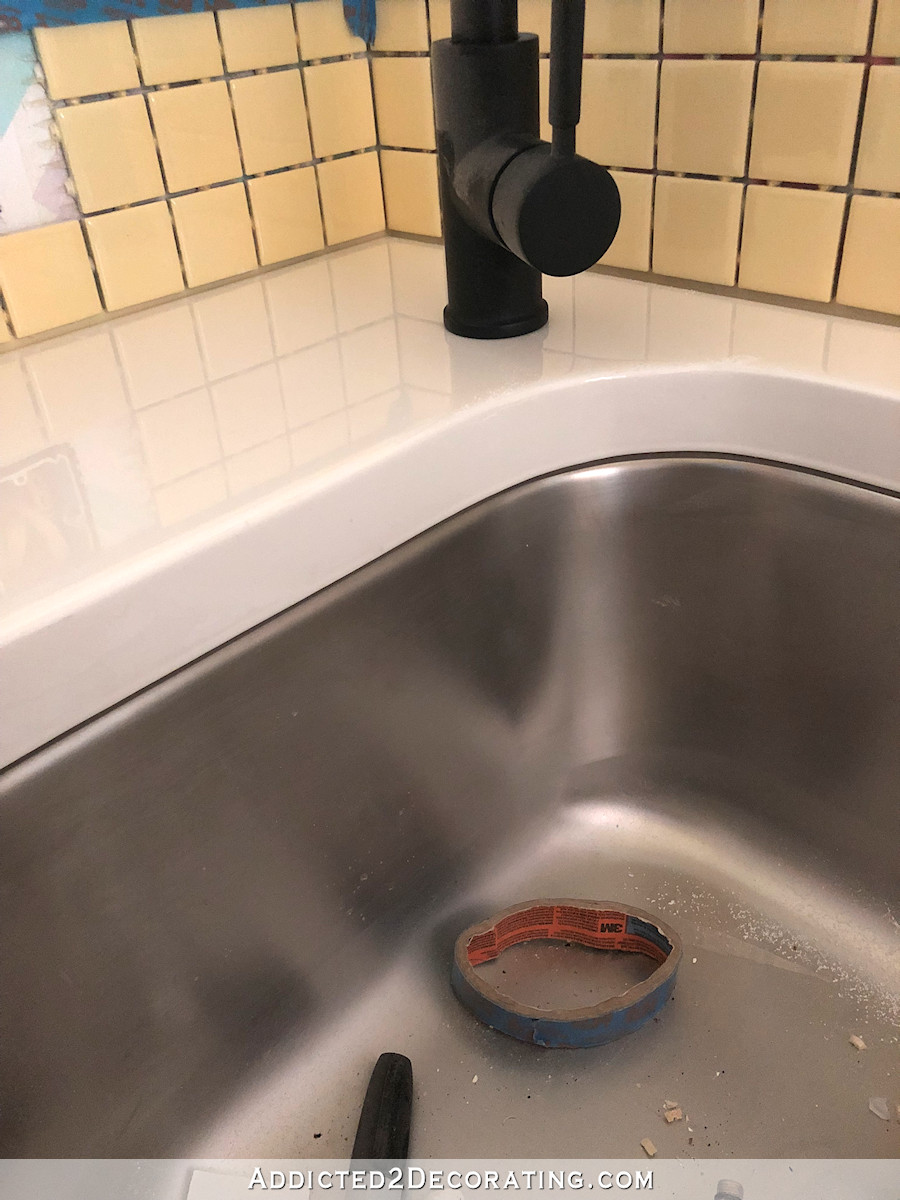
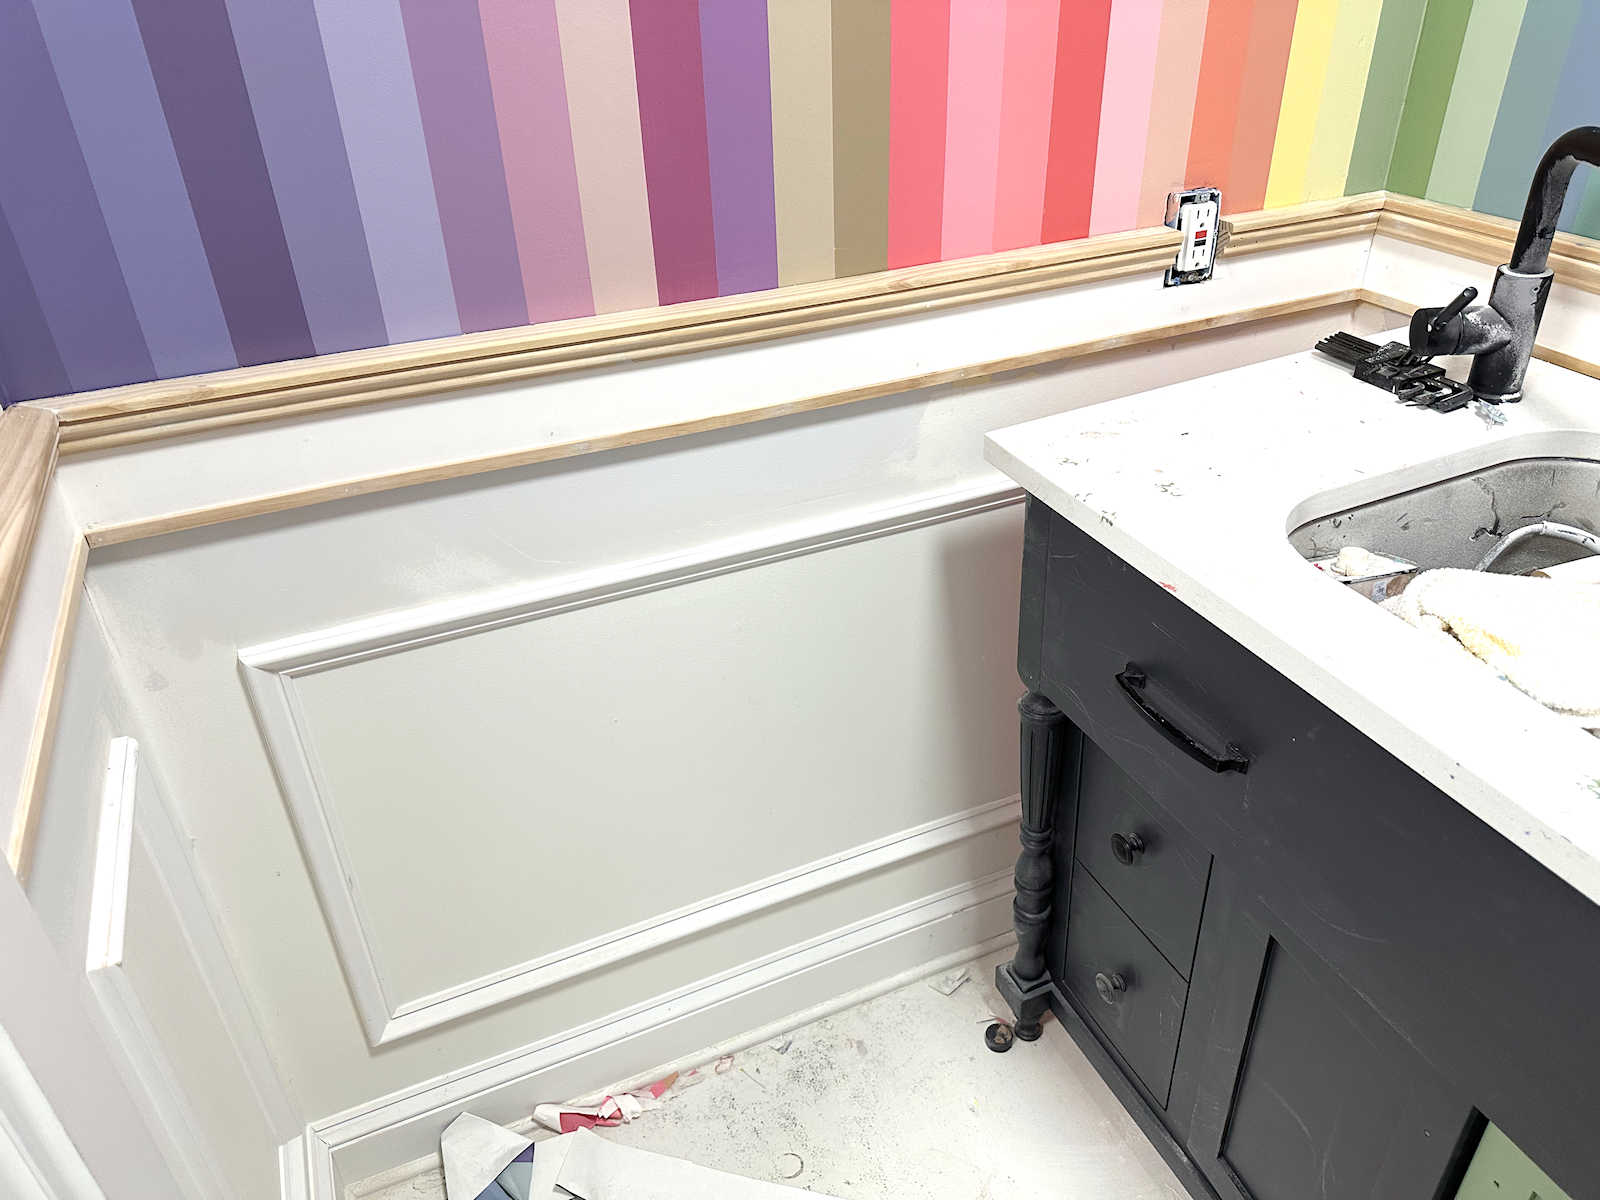
Anyway, with the drips sanded off, I put the countertop into place.
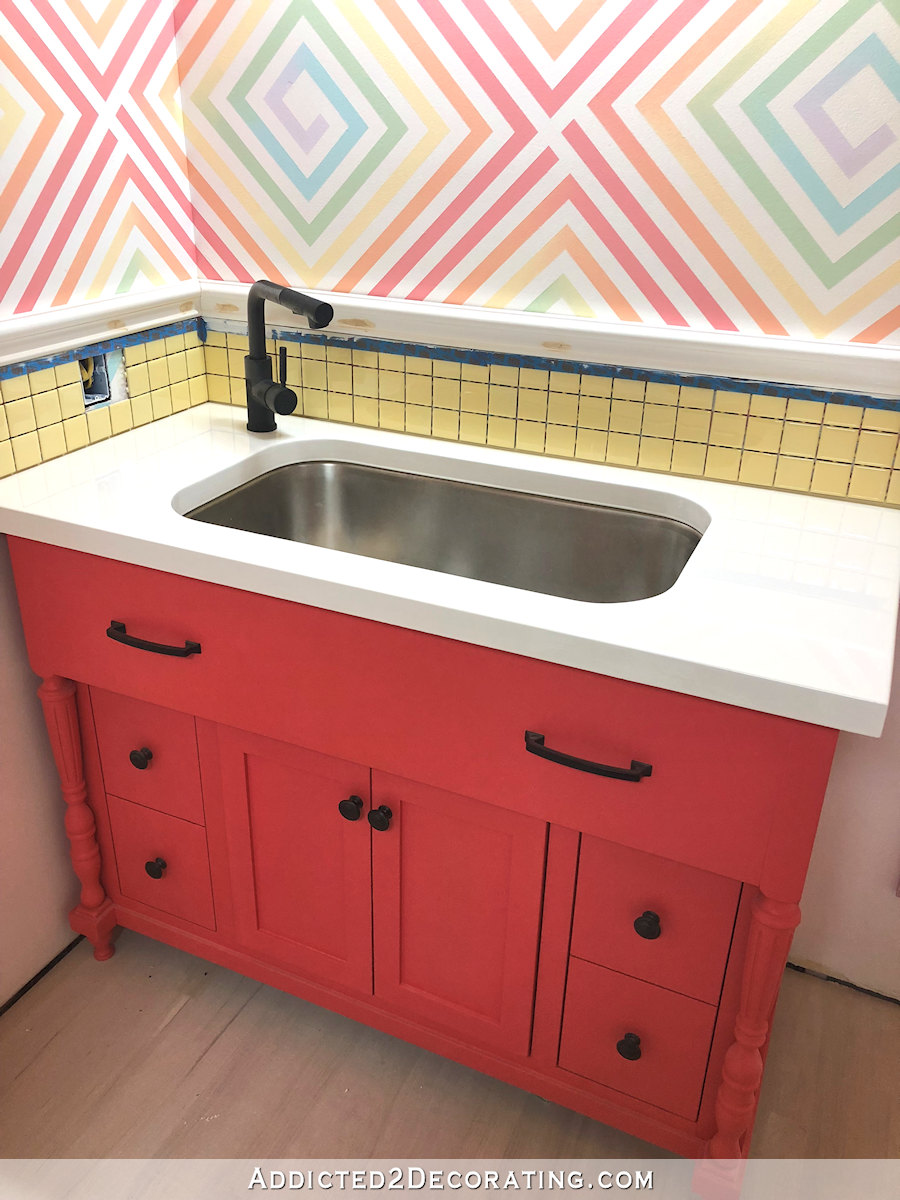
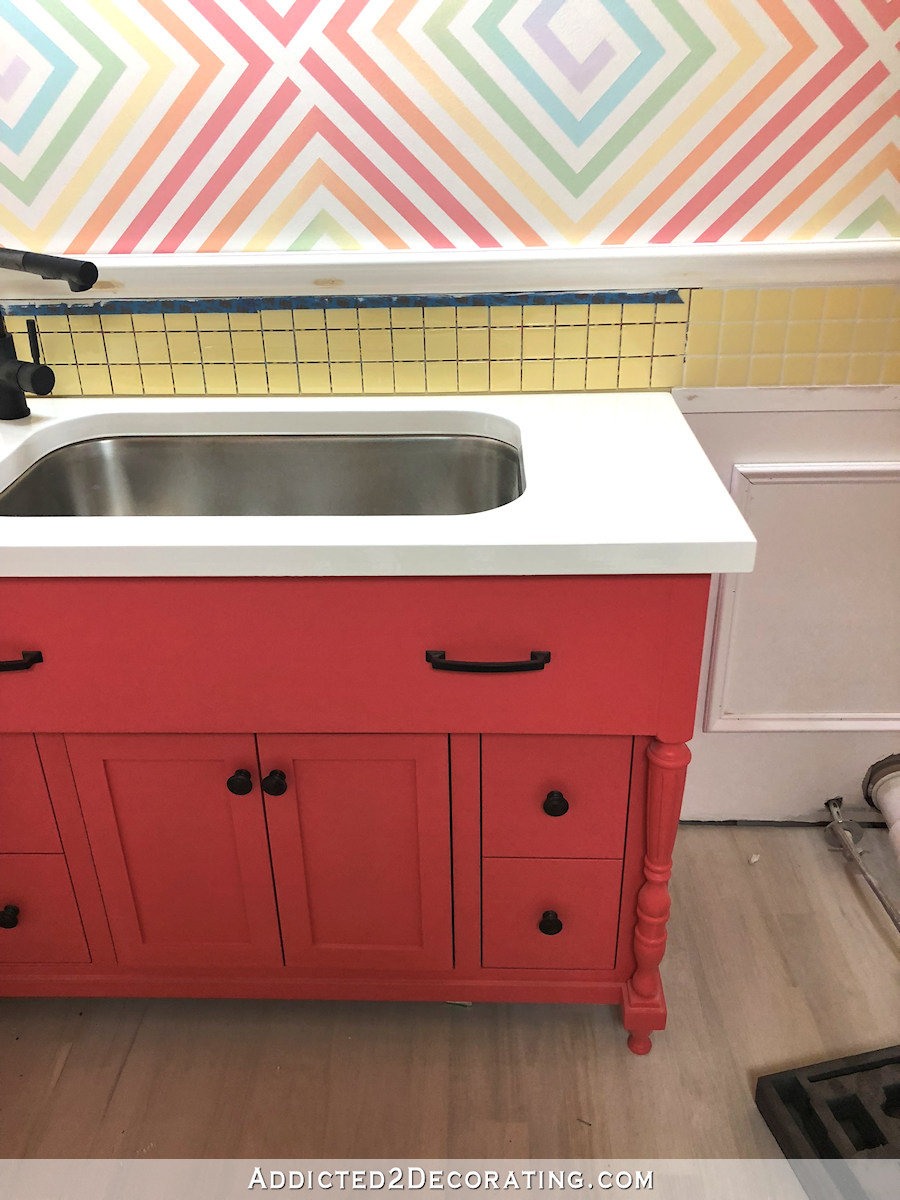

It basically looks exactly the same as it did before. But of course, the purpose for using a different brand on the second coat wasn’t to make it look different, but to make it more durable.
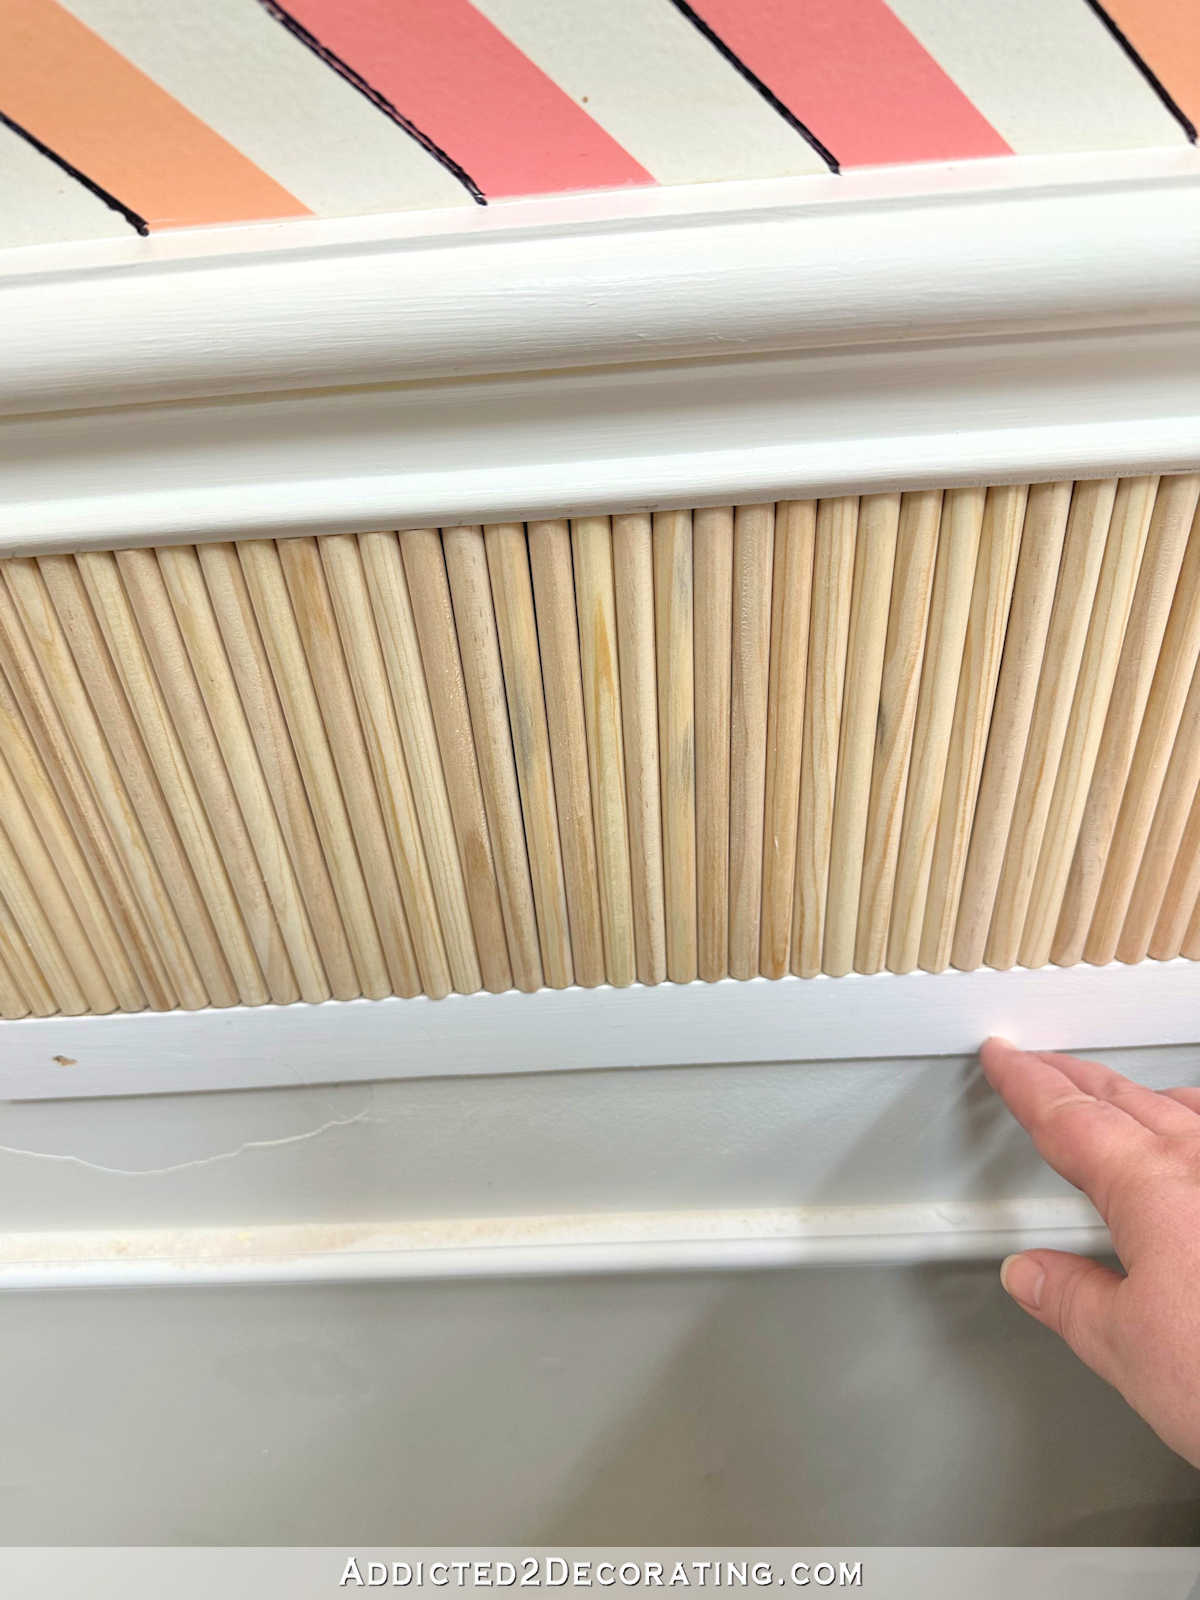
One big difference that I noticed is that the Stone Coat Countertops resin did much better on vertical areas. The ArtResin left the vertical areas a bit textured, like an orange peel type of texture. But the Stone Coat Countertops resin was smooth on the vertical areas. I still don’t have perfectly smooth vertical edges because I wasn’t able to sand out all of the texture from the ArtResin, but it’s much improved from before.

So how about that durability?
Well, I poured this countertop last Wednesday, and this is Monday. And this morning, I ran my fingernail over the surface with some pressure, and I left behind these scratches…
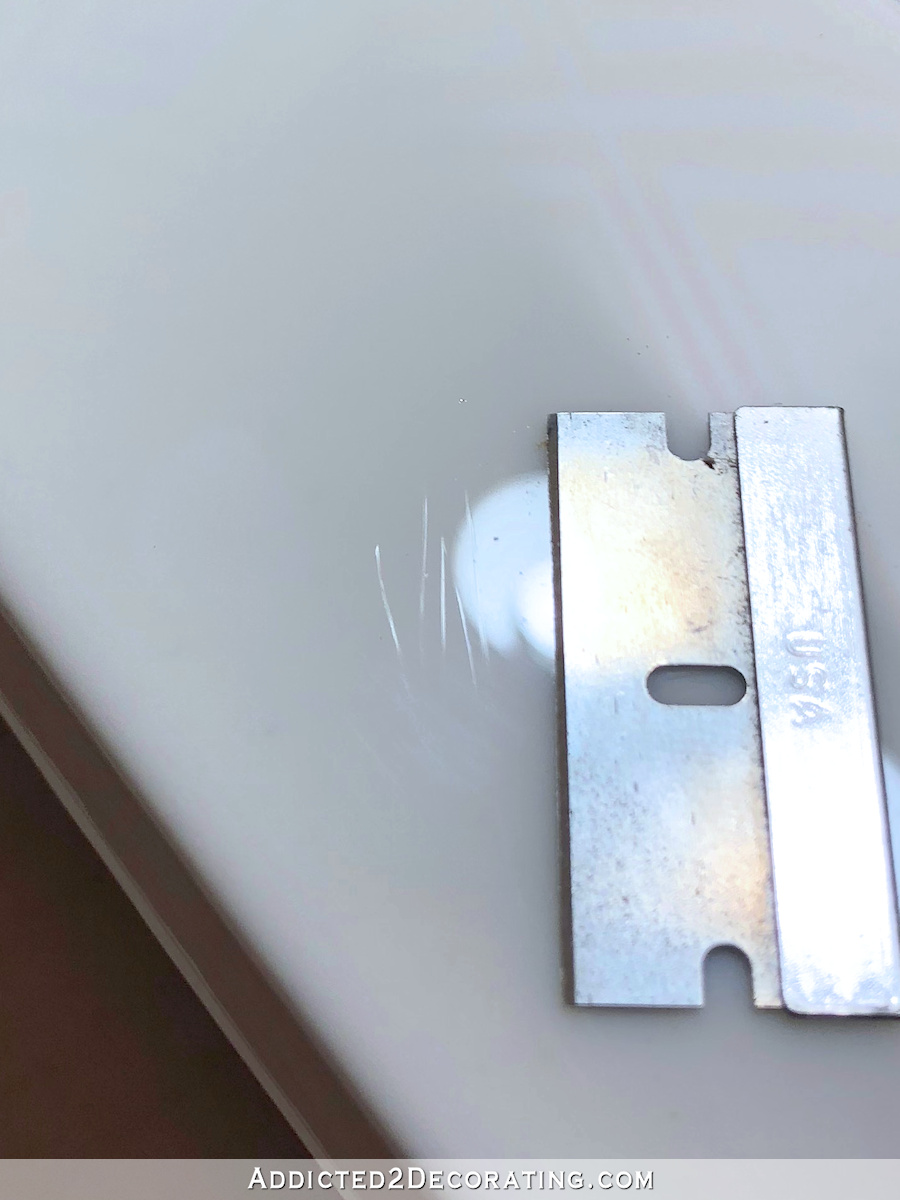
The razor blade is there to give my camera something to focus on. 😀
So is Stone Coat Countertops resin a whole lot more durable than ArtResin? Well, I don’t see any evidence of that. I do see a big difference in the way the two resins perform on vertical edges. Stone Coat Countertops wins that battle with smooth edges as opposed to the orange peel vertical edges that ArtResin leaves behind. And though I don’t have personal experience with this, the Stone Coat Countertop resin is heat resistant to higher temperatures than the ArtResin.
My Thoughts On Resin Countertops
Now, having tried two different brands of resin on a countertops and geting pretty much the same result, here are my thoughts on resin countertops.
Resin is a great cost-saving option to give you the look of a solid surface counteretop. But if hairline scratches bother you, this surface in it’s ultra-glossy state will drive you crazy.
BUT…there might be an answer to that. Remember my experiment with creating a matte/satin finish on a resin countertop? If you missed that, you can see it here…
So I’m definitely going to do that on this countertop. This is going to be a hard-working studio sink, and the last thing I want is to worry about scratching the countertop. If it has a matte/satin finish, those little hairline scratches won’t show up.

Addicted 2 Decorating is where I share my DIY and decorating journey as I remodel and decorate the 1948 fixer upper that my husband, Matt, and I bought in 2013. Matt has M.S. and is unable to do physical work, so I do the majority of the work on the house by myself. You can learn more about me here.

I really love the way your counter top looks. I can completely see myself with this look in my kitchen if I ever get the chance to renovate it.
I may be wrong, but I would imagine that the surface would have to cure for a few weeks. I used an acrylic based paint when I painted my kitchen cabinets. It was about 3 weeks before I could completely close my doors and drawers without them sticking a little. It was worth it, though. It’s been several years and they still look great.
Stone Coat needs 30 days to fully cure, depending on the humidity. We’ve used it on table tops and we are doing our kitchen counter with it.
Good to know Lorimae. I’m getting the courage up to pour a large vanity top.
Yup, we have member in the paint and finish business. He told me to allow weeks for curing on most anything. Even polycrylic says it cures fast but he told me to give it a month. I’ve decided to give things time. A small sacrifice compared to damaging or redoing.
I’m sure your efforts will perform if you can give them a chance to cure.
I think the Legarri countertops sells a poly they put over the top to matte it out and offers extra protection. You can get real stone for the prices they charge though.
I’m ready to pull the trigger at stone coat I but can’t decide on a color. I want white granite but the counter will receive sunlight from two windows and will amber. They recommend running with that and tinting base to offset it.
I can’t wait to see your countertop and bath room.
You could always hang a mosquito net around it so u don’t have to worry about bugs landing in it 😊
I’ll be interested Kristy in how your resin counter holds up in your workshop. I’m a member of the Stone Coat Epoxy Facebook group. Every week someone complains about their white and light colored epoxy counter yellowing. It will also amber if you use it near a hear source (like leaving your coffee maker on it), and will dent if you keep things out on the counter plus it scratches easily . This is all after it has cured for thirty days or more. These drawbacks made me decide to not go with a resin or epoxy counter top. Also on their site, people have done some beautiful resin shower walls. No word yet on how those are holding up.
Even though its usually dry in 24-48hrs, It does take a bit to fully cure depending on humidity, temp etc.. a few weeks is average.
Then according to their web site…., “If you want the ultimate finish order our polishing kit and use a sander and polisher to remove and tiny imperfections and polish the top to the sheen of your choosing.”
Ive done several Stone Coat Counter tops now and I agree for that rock hard, impervious to everything, hard as nails finish…a light sanding and waxing (we used 2 coats of carnuba) is the final finishing step.
Love LOVE stone coat verses legarri and others. Also they have awesome tutorials on you tube for a variety of looks.
My fav is the white quartz copy cat kitchen counter top we did with mica (goes in resin base coat) additives, and silver and white glitter (goes in the alcohol spray) with a hint of gray and teal veining. Oh my gee, that counter sparkles like a 1000 + watts!! and is amazing!
My 16month old banging pots, pans, trucks etc hasnt put a dent or scratch on it, all my husbands projects hasnt phased it, etcc and it ever does get a boo boo its quick to buff out (bathroom counter top, spilt and dried nail polish incident..looks as good as new again).
M, have you had any problem with your counter yellowing?
All expoxy resin yellows after approx. 55 days.
So you have a few choices after a week, lightly sand and remove residue with tack cloth and paint on 3 coats of
West system 207 Hardener. (Its the step 2 to their epoxy) lightly buff between coats, fully dry, then sand and wax. Stinky, high voc, resp recommended and that was a serious issue but worth dealing with.
Another Option- Rustoleum marine varnish- same 3 coats and process…No experience with this brand.
Ask stone coat about the uv protectant additive that goes in their finishing kit. Used this in our bathroom and it worked ok, some very unnoticeable yellowing on the edges close to window. The top has stayed clear so maybe we just didnt get the edges good enough.
Automotive uv protectant additive ..expensive, hard to find unless you know a car paint person.
Personally, we liked West 207. A little more expensive but worth it. But caution pets, kids and senestive people dont need to be in there when applying.
Our kitchen is south facing and has a large window and full of direct sunlight hitting countertop. 5 months in and its still crystal clear but hubby did recently wax and buff again just to be super safe.
If my room didnt get a lot of direct sunlight then stonecoats additive is way to go.
Lots of sunlight…time for the stinky stuff. Luckily smell does go away.
Edit…its West 207 uv protective varnish.
I used SCC on my kitchen island and it took a minute for it to cure. And when I say minute I mean a good 60 days. I used to get a small mug ring within the first couple of months but now it’s hard as a rock.
While I have no experience with these resin products, I would agree that the cure time would probably be at least 30 days or longer. I have been told that latex paints aren’t fully cured for 30 days, but are cured enough after a week that they are mostly free of harm. I believe that, because when we moved in to our newly built house, the walls got a few small bumps during move in. I went along with a lightly dampened cloth to wipe off marks, and the paint was coming off on the cloth. The walls had been painted at least two weeks prior to move in. So I left the marks for a couple of months, then wiped them off with no problem. Don’t rush your cure time, any “liquid” will need time to set and fully dry.