DIY Custom Color Wall Tiles (In Any Color You Could Imagine)
Have you ever needed a very specific color of wall tile and just couldn’t find it, so you settled for something that wasn’t quite what you wanted? Well, there’s no need for that, because with a little bit of paint, and a little bit of resin, you can make your own custom color wall tiles in just about any color imaginable. If you can find paint in the color you want, you can make tiles in the custom color you want.
In my studio bathroom, I decided to do a little accent tile backsplash. But since the upper walls have a very colorful and graphic design on them, I didn’t want a backsplash tile to compete with the walls. In fact, I wanted the tiles to blend in perfectly with the light buttery yellow that I’m using on the wainscoting. But trying to find backsplash tiles in the exact shade of yellow that I needed would be a fool’s errand, so I made my own.
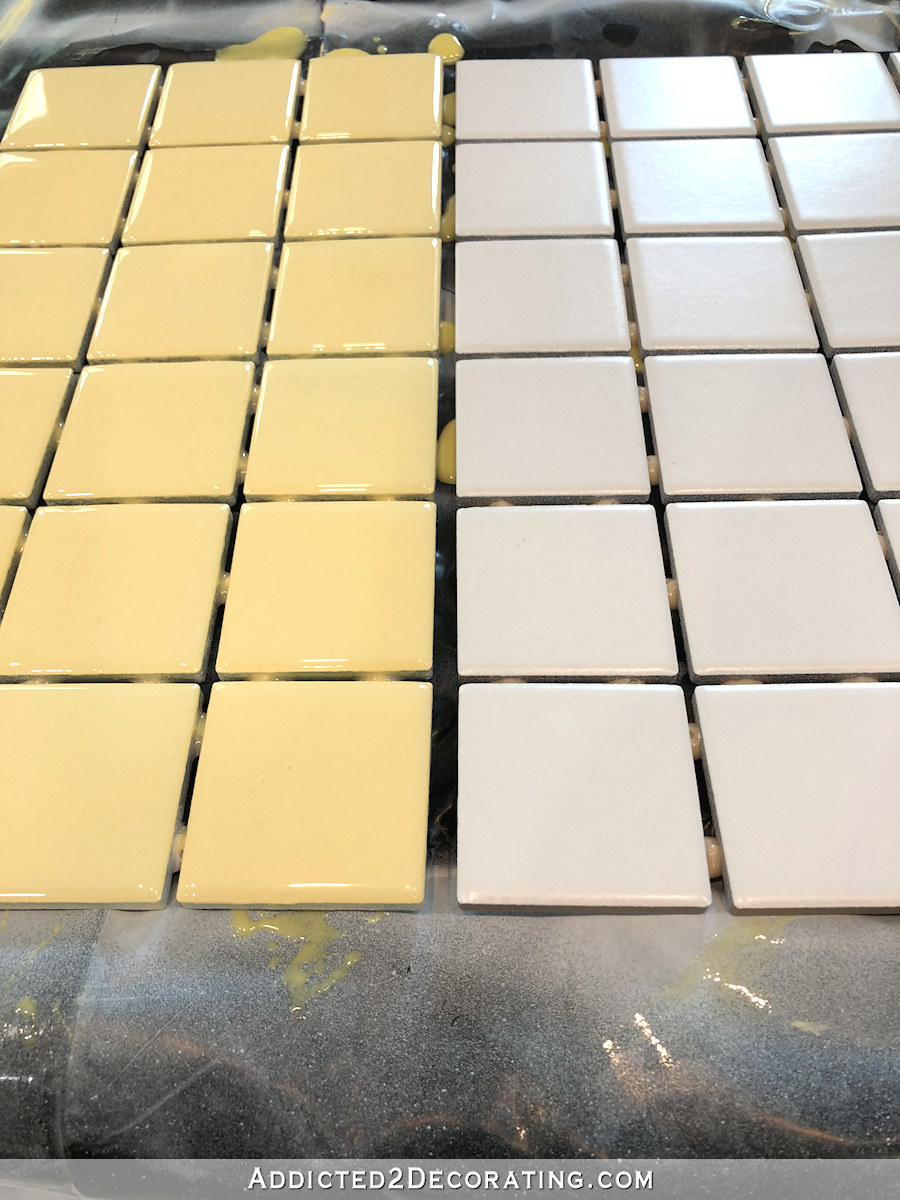
Here’s a before and after (actually, the after on the left, and the before on the right) of my backsplash tiles…
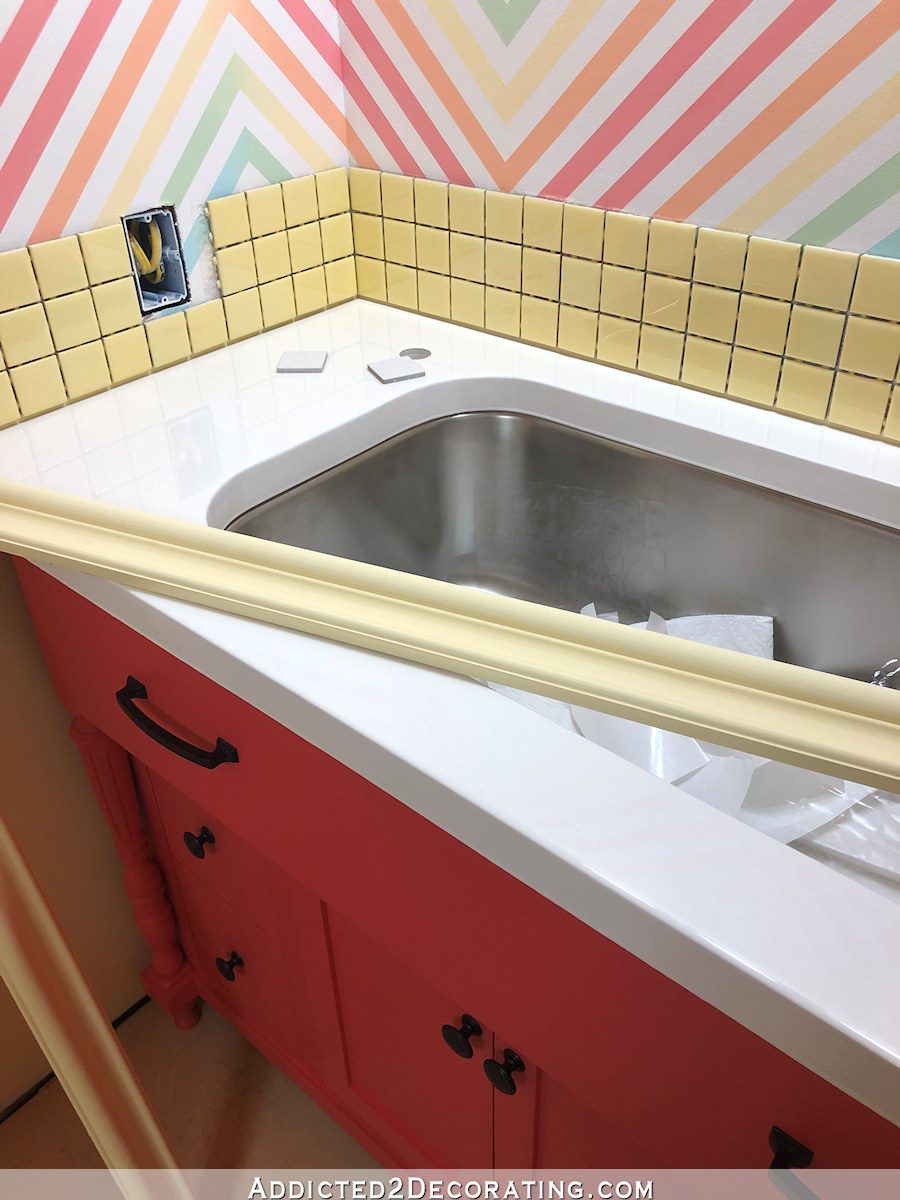
And while I don’t have the whole backsplash done yet, here’s a picture of the tiles in place. Obviously, they’re not all installed yet, and I still need to install the chair rail and grout, but you can get an idea of what the tiles look like in place…
You can use any size and shape of wall tile for this. I used these inexpensive 12″ x 12″ mosaic tiles made up of a grid of 2″ x 2″ white tiles from Home Depot. I cut them in half since I only needed 6″ x 12″ pieces for my backsplash.
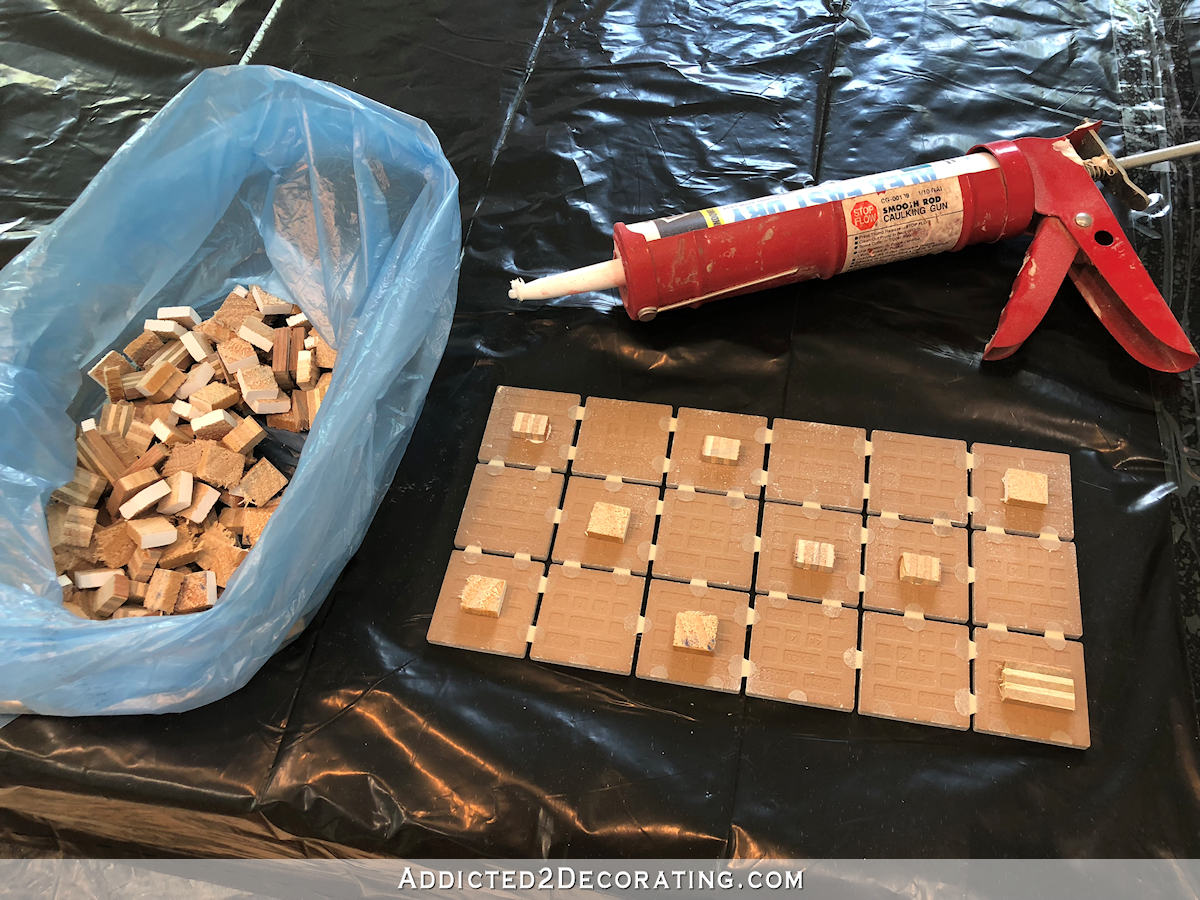
Any time you work with resin, you want to put the piece you’re coating in resin up on risers so that the piece won’t be sitting in a puddle of resin on your work surface. So I used some scrap wood and cut about 200 little pieces of wood to use as risers. Then I used caulk to attach tiny little pieces of wood to the backs of the tiles. I used the smallest amount of caulk imaginable — the absolute least amount necessary to get the wood to stick the back, like the size of a pen head. If the caulk squeezed out from the edges (like on the one on the top left in the photo below) that’s way too much and will make it way to hard to remove the wood pieces once the tiles are dry.
If you’re using larger tiles, like subway tiles, there’s no need to stick the wood to the back of the tiles. Just place the wood piece on your work surface, and place the tile on top. That’s the method I used when I made my pantry backsplash tiles. I’ll link to that at the end of this post if you want to see how I did that.
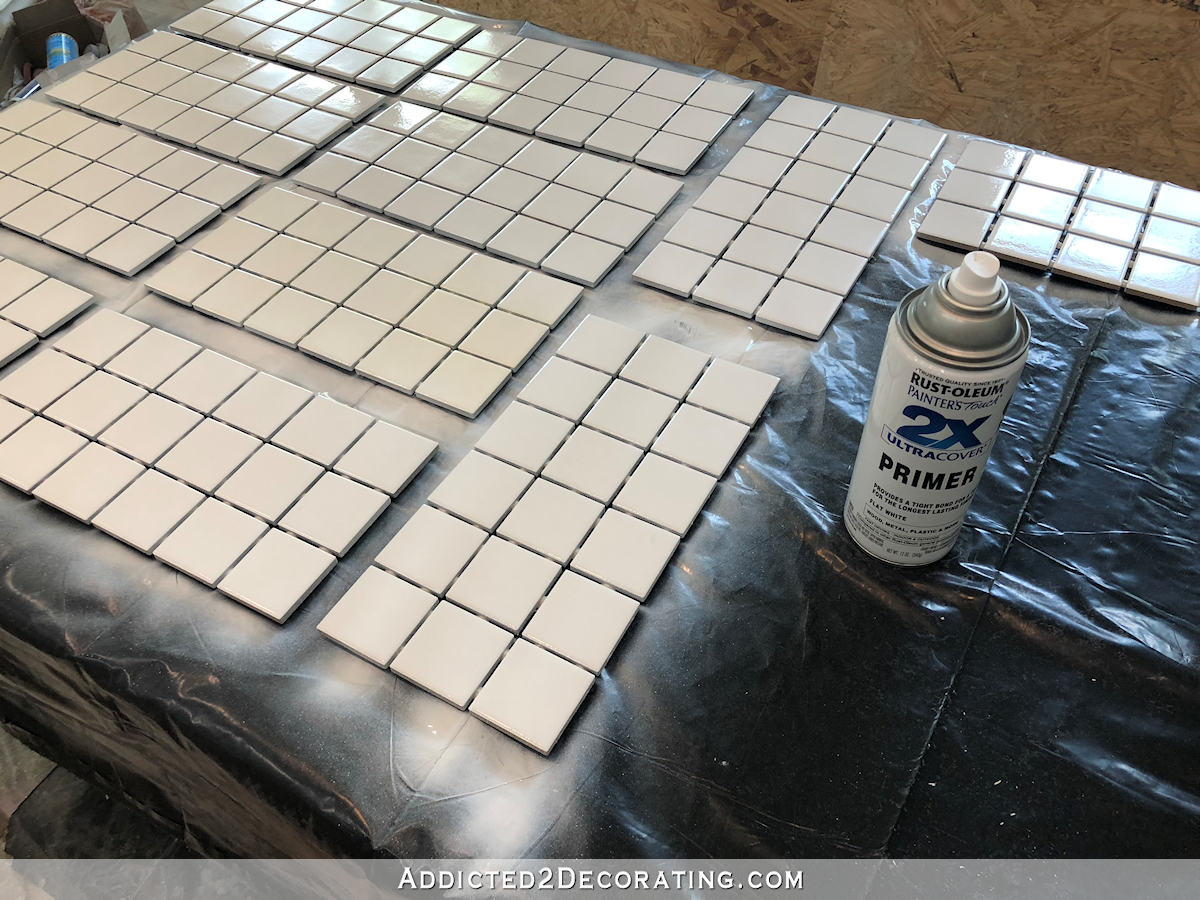
After covering my work surface with plastic (construction trash bags cut open so that they were one layer of plastic and taped together with packing tape), I spaced out the tiles and gave them all a coat of spray primer.
When the primer was completely dry, I used a small craft paint brush and gave the tiles two coats of latex paint. I used Behr paint, and the color is Marsh Marigold mixed with Pure White in about a 1:1 ratio.
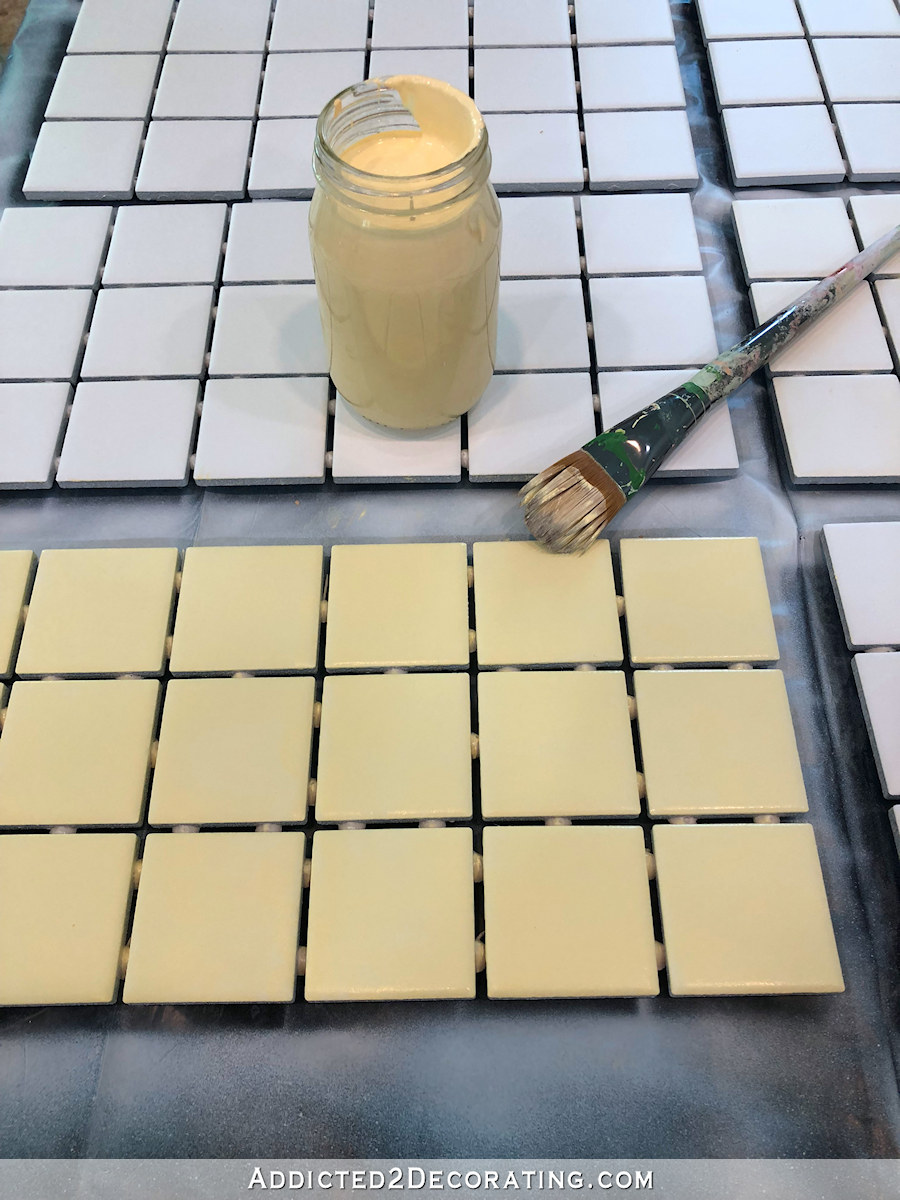
The paint I used was a flat finish, and it dried very quickly. So by the time I finished painting the last time, the first one was completely dry and ready for the second coat.
And then once the paint is completely dry, the tiles are ready for the final step that gives them the beautiful shine and durability. And of course, I’m talking about the resin clear coat.
I used ArtResin, which you can order directly from the company. It’s a two-part clear epoxy resin that you mix together in a 1:1 ratio (mixing thoroughly for about 3 minutes) and then you can use it to give artwork, tile, and other surfaces a shiny clear coating that’s super durable after it fully cures.
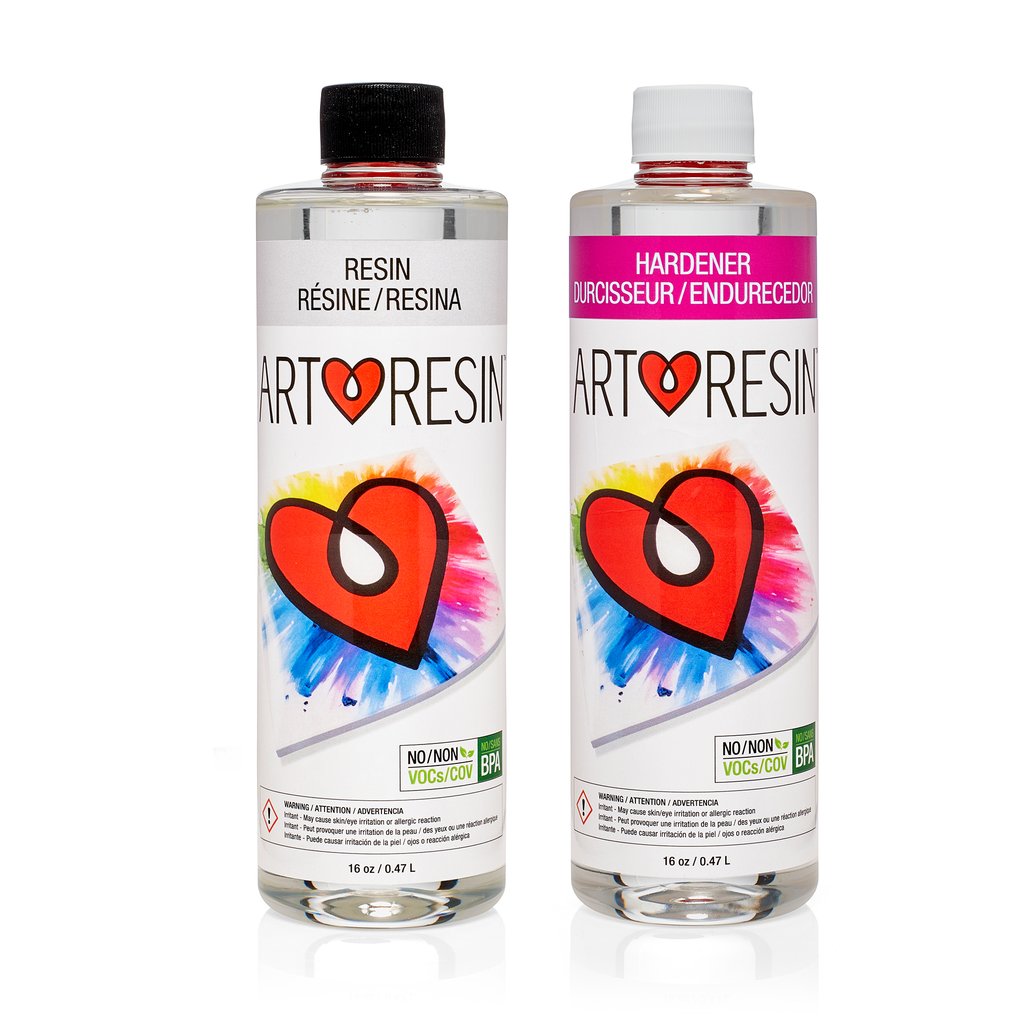
I really like ArtResin, and it’s the brand that I used on my pantry backsplash tiles.
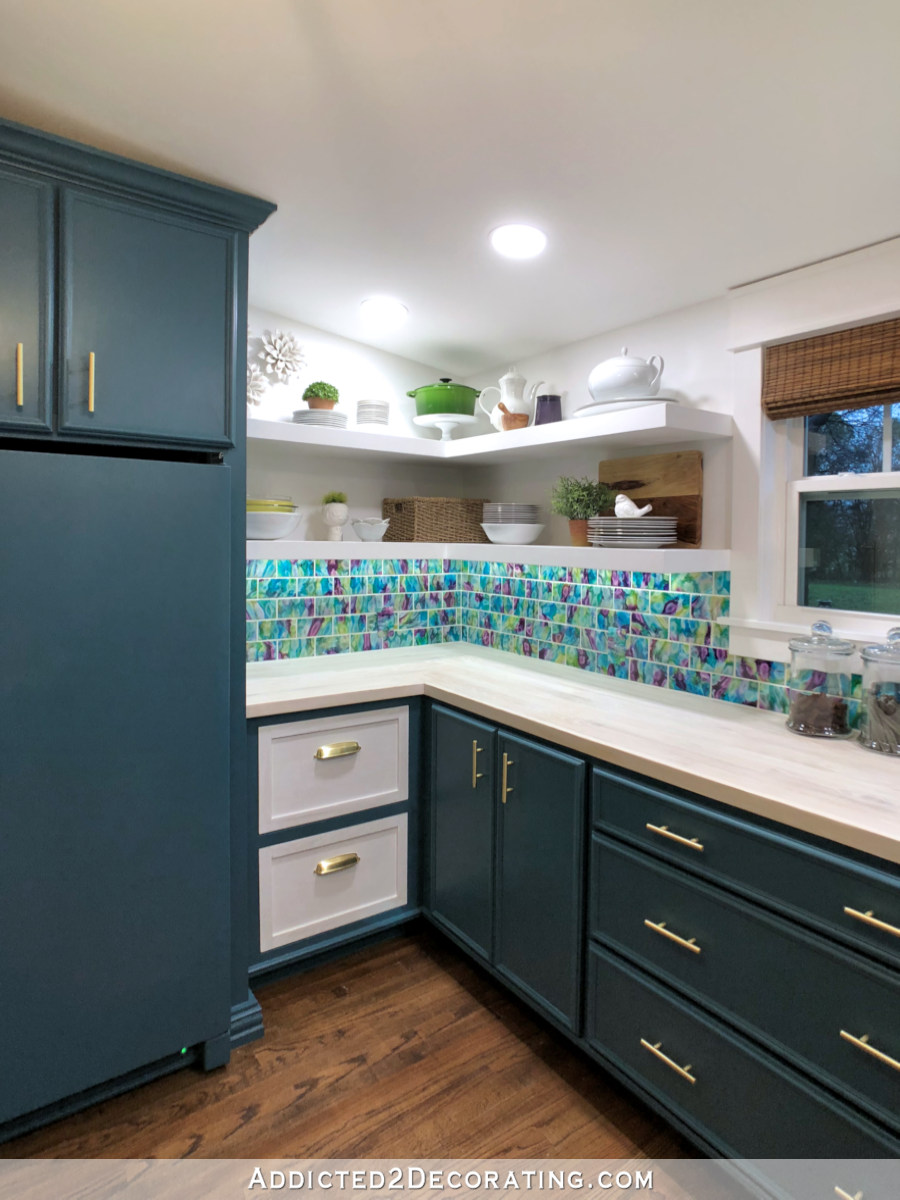
Those tiles have held up beautifully, but my pantry also doesn’t get a whole lot of daily wear and tear. ArtResin was specifically formulated to be used on artwork, which is generally hung on walls and not touched and handled often. So their product wasn’t made for the specific purpose of durability for daily wear and tear. (That company’s main goal was to produce a resin coating that was super clear and non-yellowing for artwork.)
So last week, I ordered another brand that I’m excited to try out. The brand is Stone Coat Countertops, and as the name would suggest, their resin is actually made for countertops and other hard wearing surfaces. I have no personal experience with it yet, but they have lots of amazing videos on YouTube showing the durability of their product. I bought it so that I can do a second coat of resin on the bathroom countertop. But for the backsplash, I’m satisfied using ArtResin.
Regardless of the brand, a project the size of my bathroom backsplash/tile accent (about 11 square feet) would require about two of the 32-ounce size (probably with some left over for another project), and would run about $100. Of course, every brand has slightly different coverage, size options, and pricing, but that estimate will give you a rough idea of the price.
So it’s not exactly a cheap project (about $13/square foot), but custom anything is always going to be more expensive.
Anyway, I mixed up my two-part resin, spread it out on the tiles, and used my propane torch to get rid of all of the bubbles. Then I left it to dry for about 16 hours.
The result was custom color buttery yellow tiles with a shiny, glassy finish.
I would recommend handling the tiles carefully until the resin is cured (especially the first 48 hours). The amount of time necessary for full-cure will depend on the brand of resin you use, so be sure to check that info on the label.
But generally after about 24 hours, you can install the tile, and after about 48 hours, you can grout them with unsanded grout. (Sanded grout might scratch the surface!)
I’m hoping to get my backsplash/tile accent finished up today and show you the final result tomorrow.
Helpful sources and products:
My post on how I made my pantry backsplash tiles might provide more insight on working with resin. You can find that here…
- ArtResin – This is the brand of resin that I use for artwork. It’s not really made for hard-wearing surfaces like countertops and coasters, but it is very durable.
- Stone Coat Countertops – I haven’t tried their resin yet, but I do have some on order and should receive it this week. I’m going to recoat my bathroom countertop with it, and I’ll let y’all know how I like it.

Addicted 2 Decorating is where I share my DIY and decorating journey as I remodel and decorate the 1948 fixer upper that my husband, Matt, and I bought in 2013. Matt has M.S. and is unable to do physical work, so I do the majority of the work on the house by myself. You can learn more about me here.


Such a happy color! The yellow reminds me of the tile colors that were in the house I grew up in. And, I’m going from memory, but is it similar to the yellow that was in your hall bathroom pre-renovation?
That was more of an antique white (heavy on the “antique) that had yellowed over the decades, and it was combined with burgundy. It was pretty drab. These tiles are definitely a clearer, brighter, truer yellow by comparison.
Drab is a perfect way to describe it! And there was a lot of them. These tiles look great!
I love the tiles, can’t wait to see them up on the wall. Great job and vision as usual.
Another great addition to what is turning out to be a real compliment to your studio esthetics. Luv this!
Beautiful buttery yellow!
How about an update on how your pantry is working out…things you love…things you would change. It’s gorgeous & so much space!!!
Not only can you get a custom color, but I think the finish on the tiles looks nicer too! Very cool! That will be such a cheery bathroom when you’re done! Personally, I’m super happy that you decided to limit the black to accents. How does the vanity color compare to the color you want to use on your cabinetry in the studio?
It’s very similar, but a bit more saturated. I think the two will coordinate nicely, but if not, then I’ll just use the vanity color on the studio cabinets.
What color grout will you use? Love the custom tile.
I’m going to use white. If it doesn’t look right (or looks too busy with the walls), I’ll paint it yellow. 🙂
Loving this – the soft color is gorgeous, and I love the color with your decorative wall. You worked so hard on that, and this is the icing on the cake! I am so excited to see it all done!
You are amazing.
Love you are going to have a backsplash. I think you will be glad too. Also, it looks great, love that yellow. So cheerful!
Your tile turned out beautiful. I did my bathroom counters and I have made table tops, etc. The brand I use is Pro Marine. I get it in a gallon jug, 1-1 ratio, so it gives you 2 gallons to work with. It has always turned out well for me.
OK we just bought a house with brown and beige and white tiles all various sizes….how would that look all 1 color? They are long in different lengths. Our furniture is grays and whites and want to do the blue cabinets..I am afraid if I paint them white it will look “painted over”?
I’m relieved that you decided on a backsplash, as I was worrying about your beautiful painted walls there… I love the glossy look of the tiles, so much prettier than the white ones (I mean, apart from the colour, obviously, because that is so much better already :))!
And I really liked to get a picture of your pantry in this post, it’s just so very beautiful, sigh… Are you still happy as is or have you already changed things in there? We are so curious, aren’t we :)???
A+! I was thinking about this the minute you mentioned painting your tiles for your pantry. 😀 I’m a big retro fan, so I was thinking making tiles to match the limited supply of aqua tiles I have… thanks for confirming, Kristi!
Every time I see a post from you I know it will be something clever and often mind-blowing!! I really love how these turned out—love that shade of yellow! This bathroom is going to give you such joy even when you’re washing a paintbrush!!
This is a lovely solution . It will be functional and beautiful .
Kristi, there are 2 other options to achieve you goal that are not nearly as expensive. One is to do it the way china painters do: order china painting powder, mix with a clear oil like mineral oil, paint and fire the tiles in a kiln. Then install. The second way is to buy glass paint, paint the tile and cure them in the oven. This is probably the easiest way. Spray with a gloss clear coat to get the glossy finish. Then install.
Crystal,
When you say ‘cure them in the oven,’ do you mean you bake them in a regular oven at some specific temperature for some specific time? (Color me a novice in this area.)
Thanks!
Those look really good. I love the color, subtle and should play nice with your special wall painting.
While laying on the table, I think the tiles look like delicious little pads of butter 🙂 Not on the wall, of course!
I love the change to the comments. “<—Reply To This Person." It always makes me laugh when someone replies to you or someone else…..20 comments down in the thread 🙂
Beautiful. Love it all.
I like the yellow. Using those little squares makes me think of graph paper.
Omagosh! I love this. No words necessary😋
That beautiful yellow is the same color as was used on the bathroom tiles and sink cabinet in the house I grew up in! Such a sunny and happy room – good memories. Your room is coming along so nicely!
How did you get a smooth finish on the tile – no brush strokes?
Resin is a product that you pour on. It’s not a brush-on product. And it’s self-leveling, so it creates a very smooth finish.
How did you get the paint so smooth? Or does the resin hide the brush strokes?
It’s the resin that gives it the perfectly smooth, glassy finish.