Studio Progress — An Amazing Back Entry Transformation!
The work on the drywall is still in progress, but every day, these areas are looking more and more like actual rooms. It’s so exciting! I showed y’all the studio progress a couple of days ago, so while it does look better now, it’s not a huge difference.
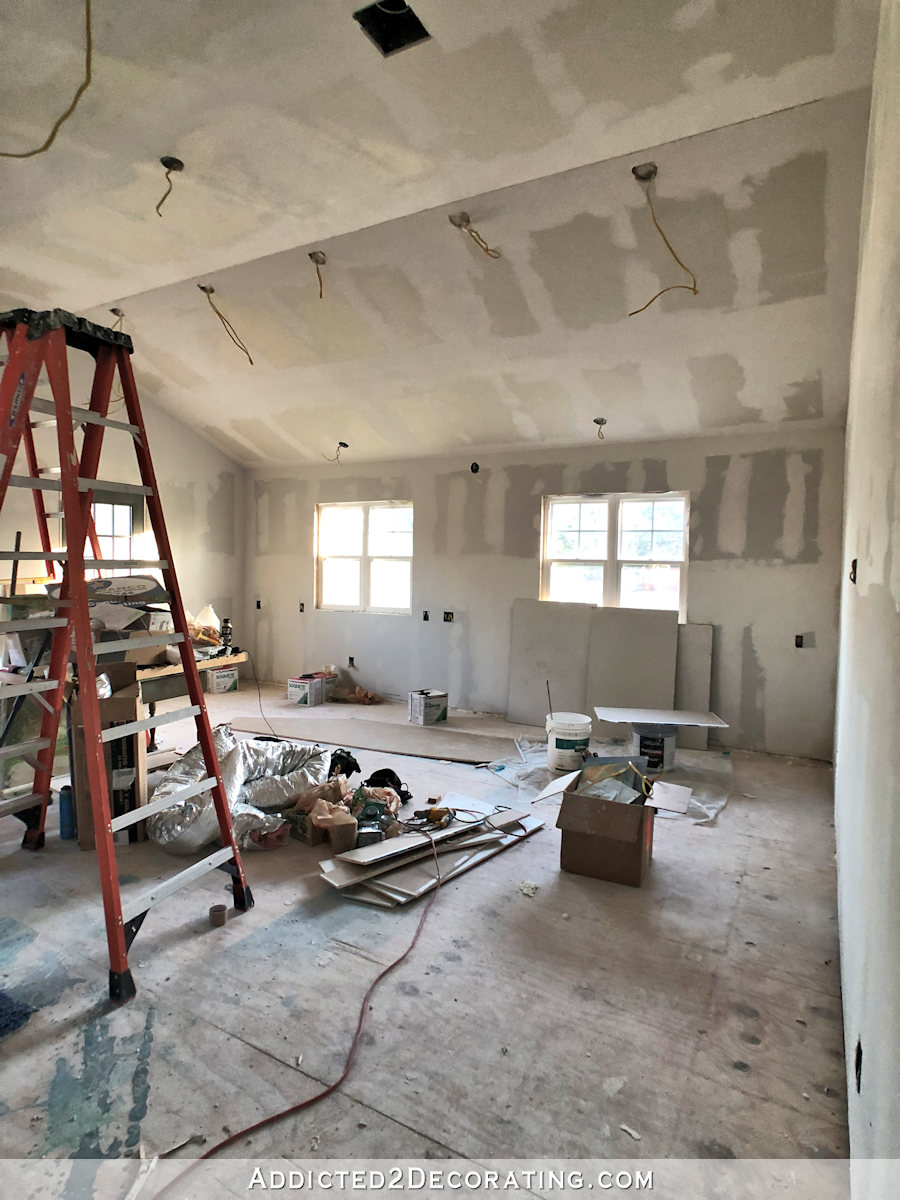
This was the view early this morning from the breakfast room door…

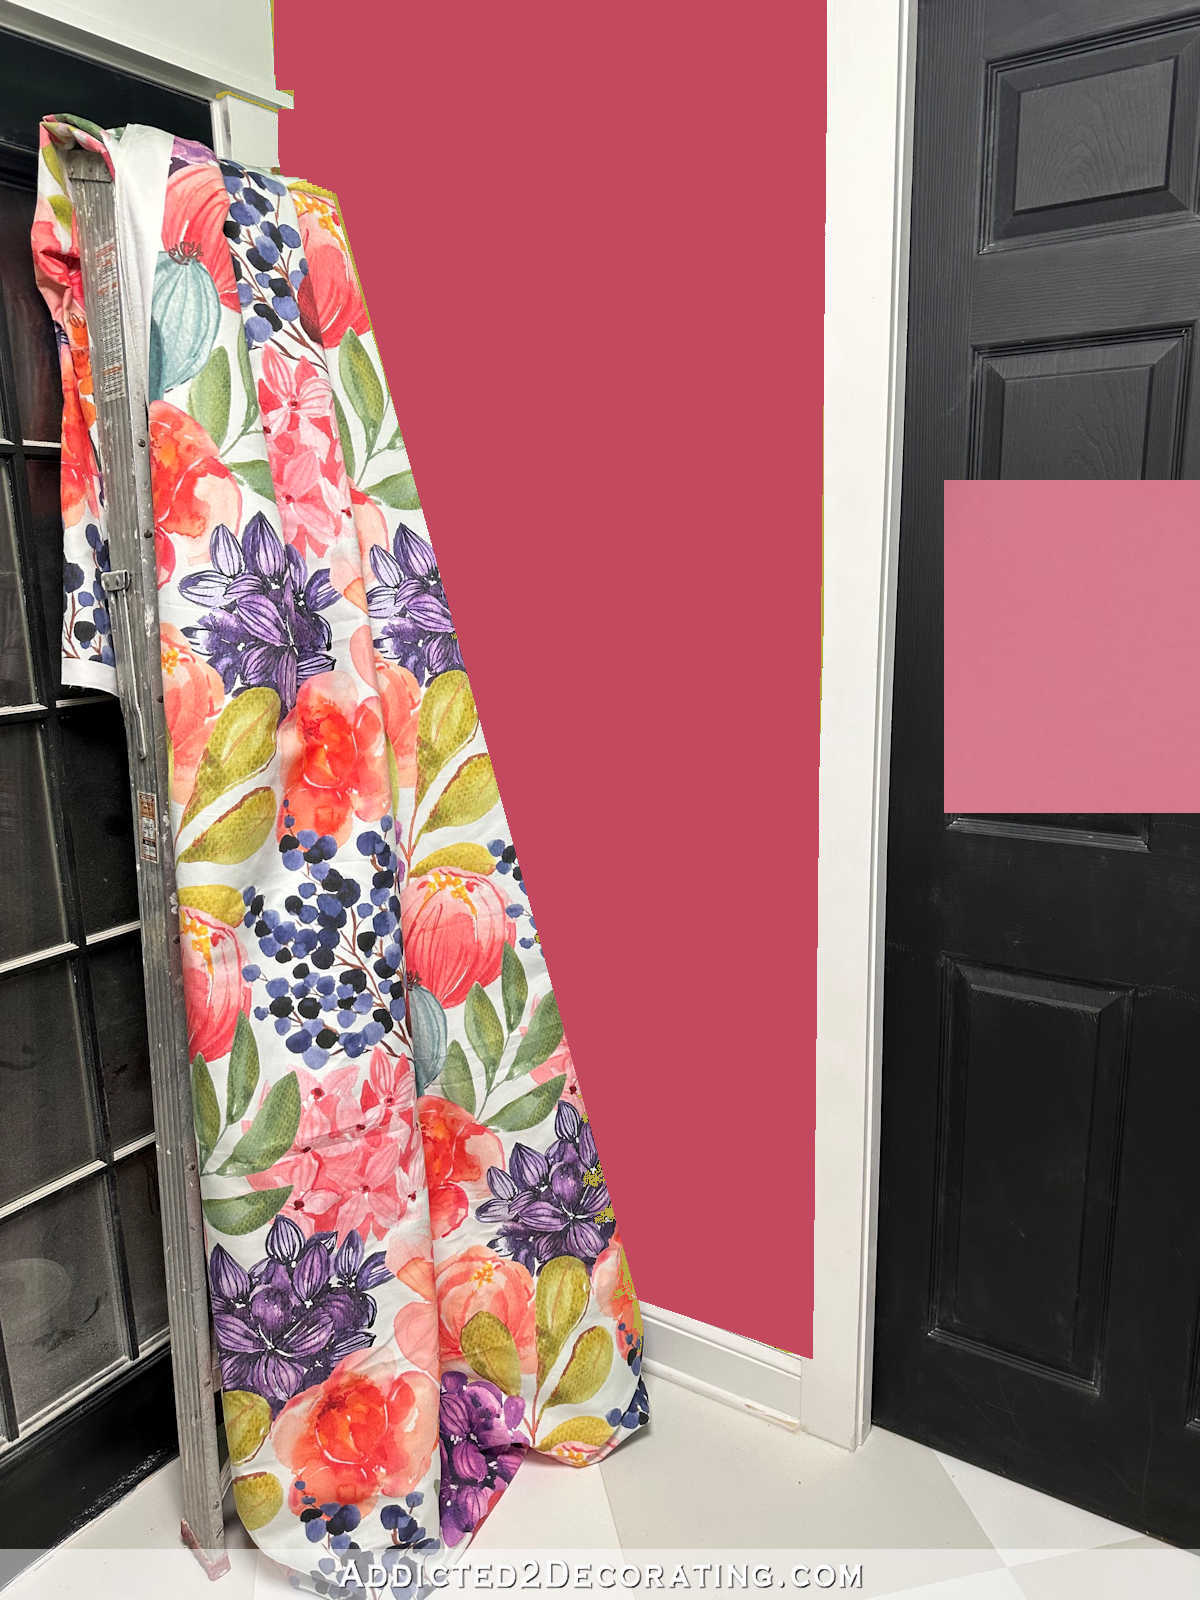
And the front wall that will be wallpapered…
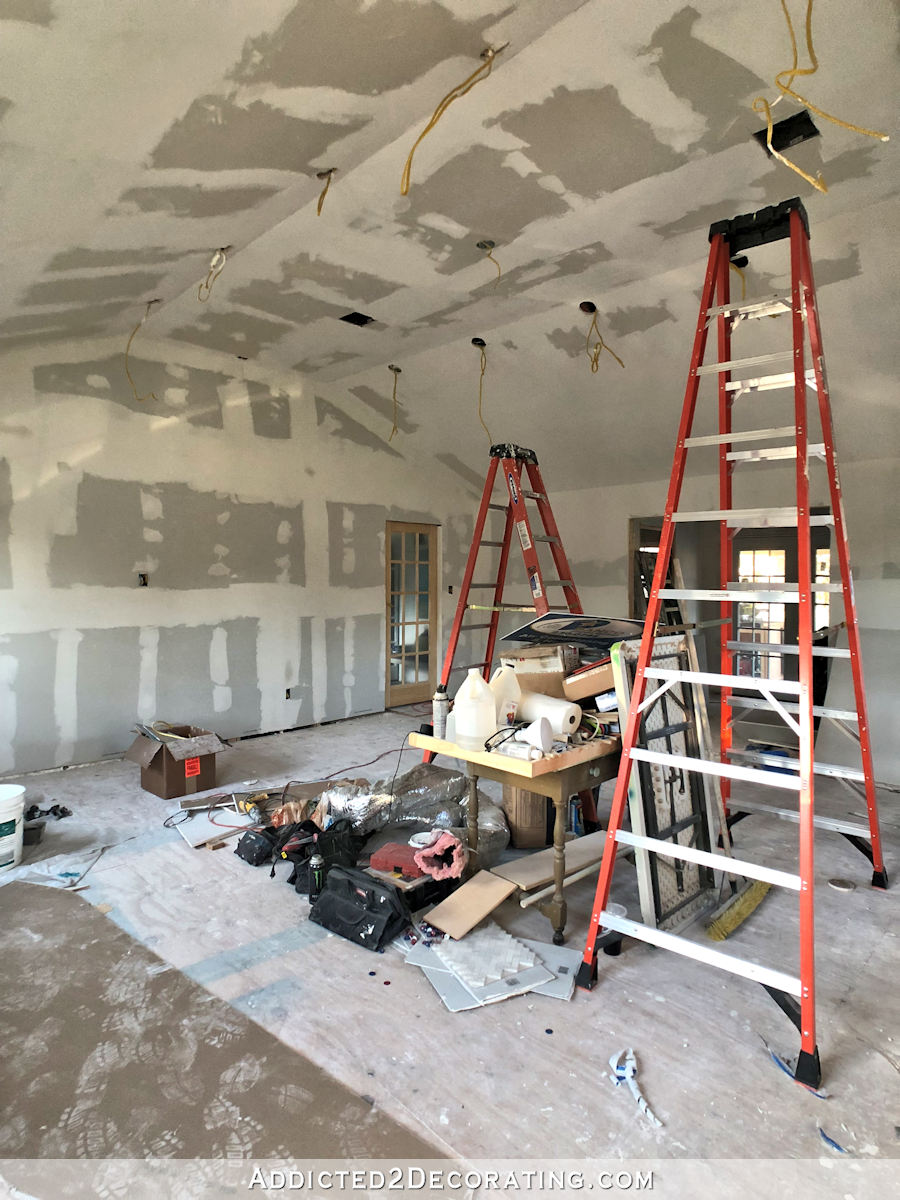
And then the view from the side portico door looking back towards the breakfast room door…
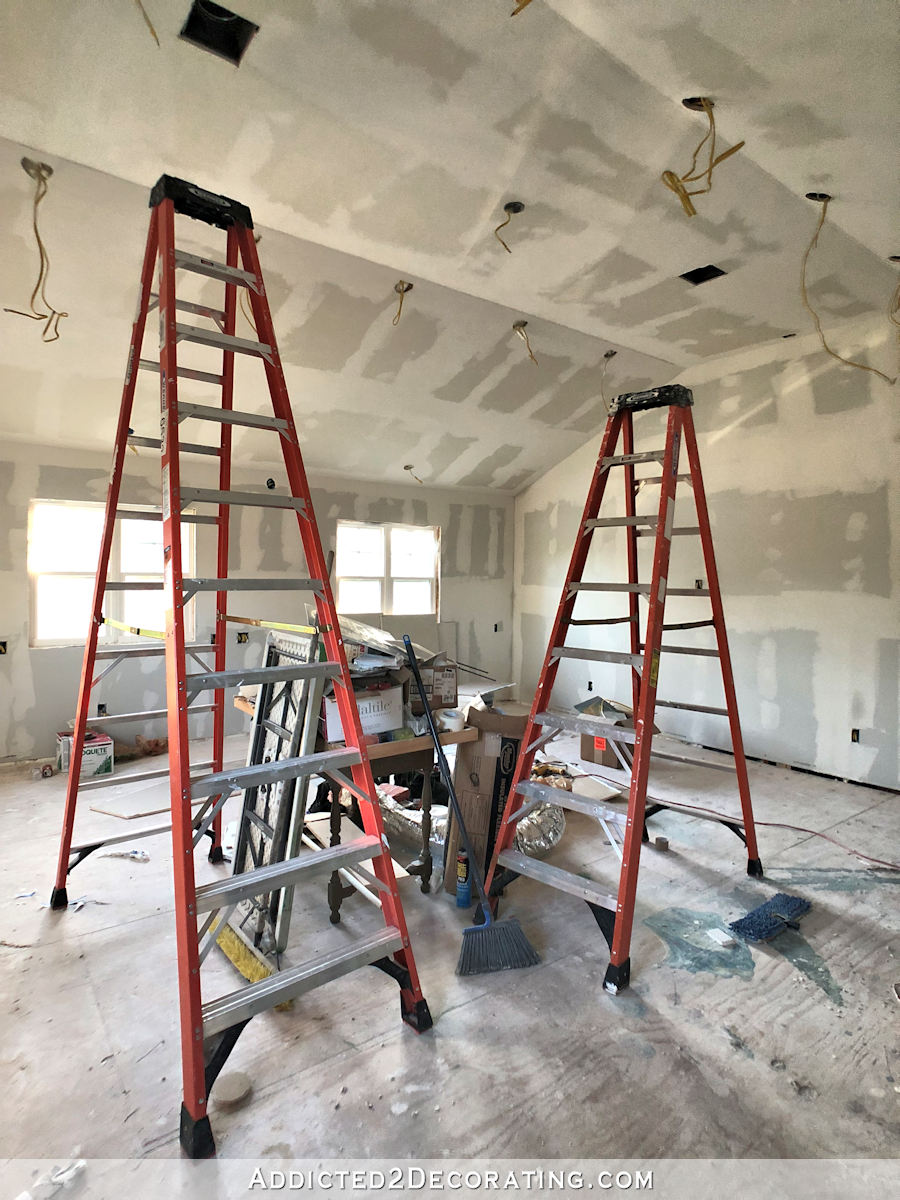
And finally, the view from the “office” corner of the studio looking towards the front wall that will be wallpapered on the left, and the shared breakfast room wall on the right.
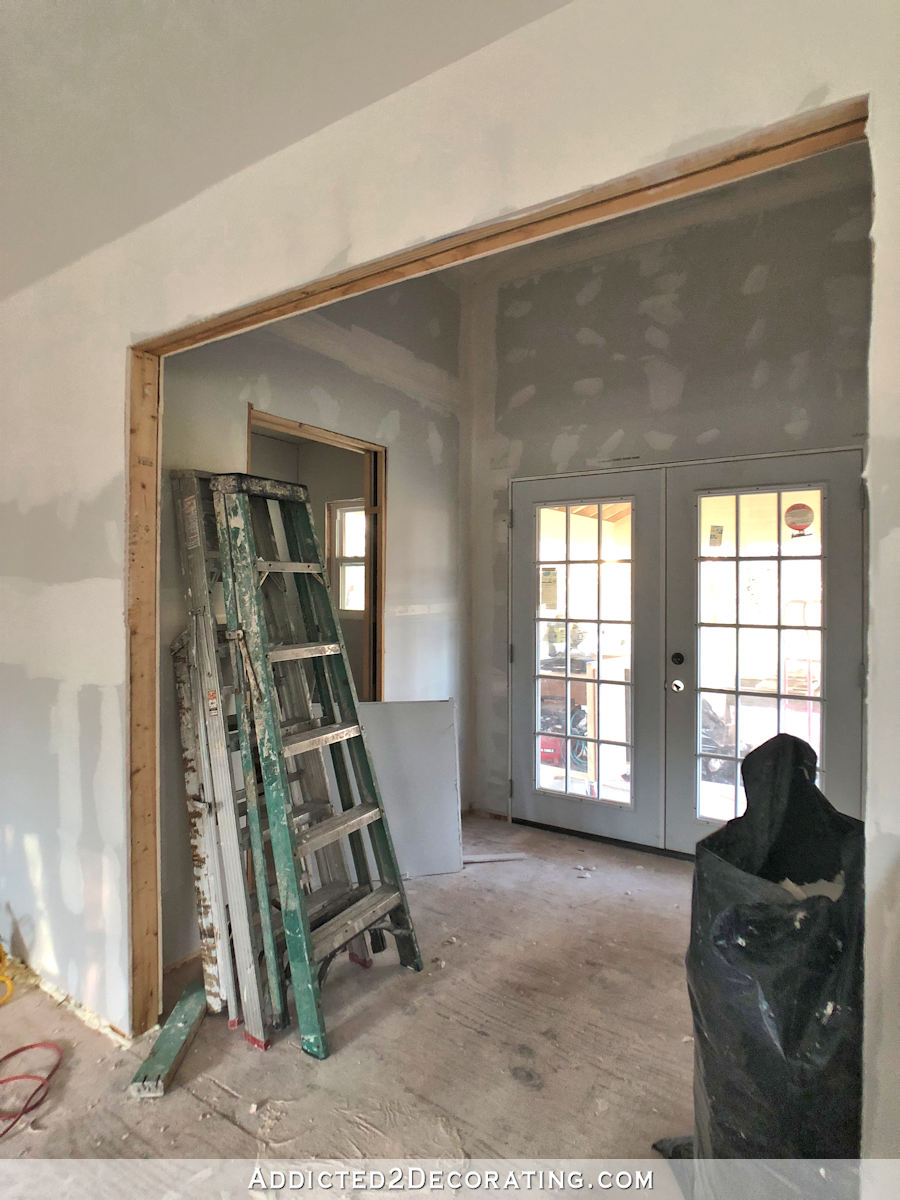
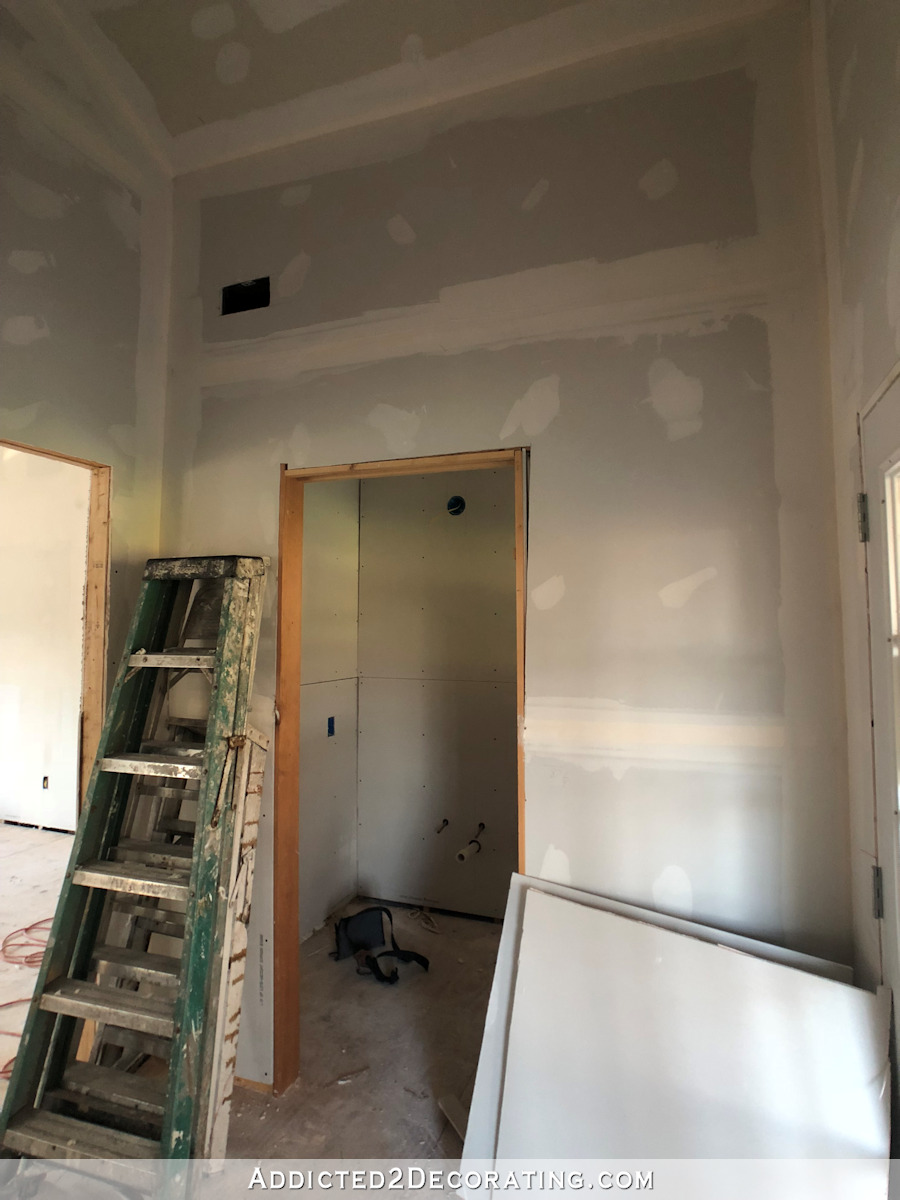
But what ya’ll didn’t see the other day (because it hadn’t been done yet) is progress on the back area — the back entry, storage closet, and half bathroom. From inside the studio, this is the view to the back entry that goes out to the carport, and that’s the half bathroom on the left…
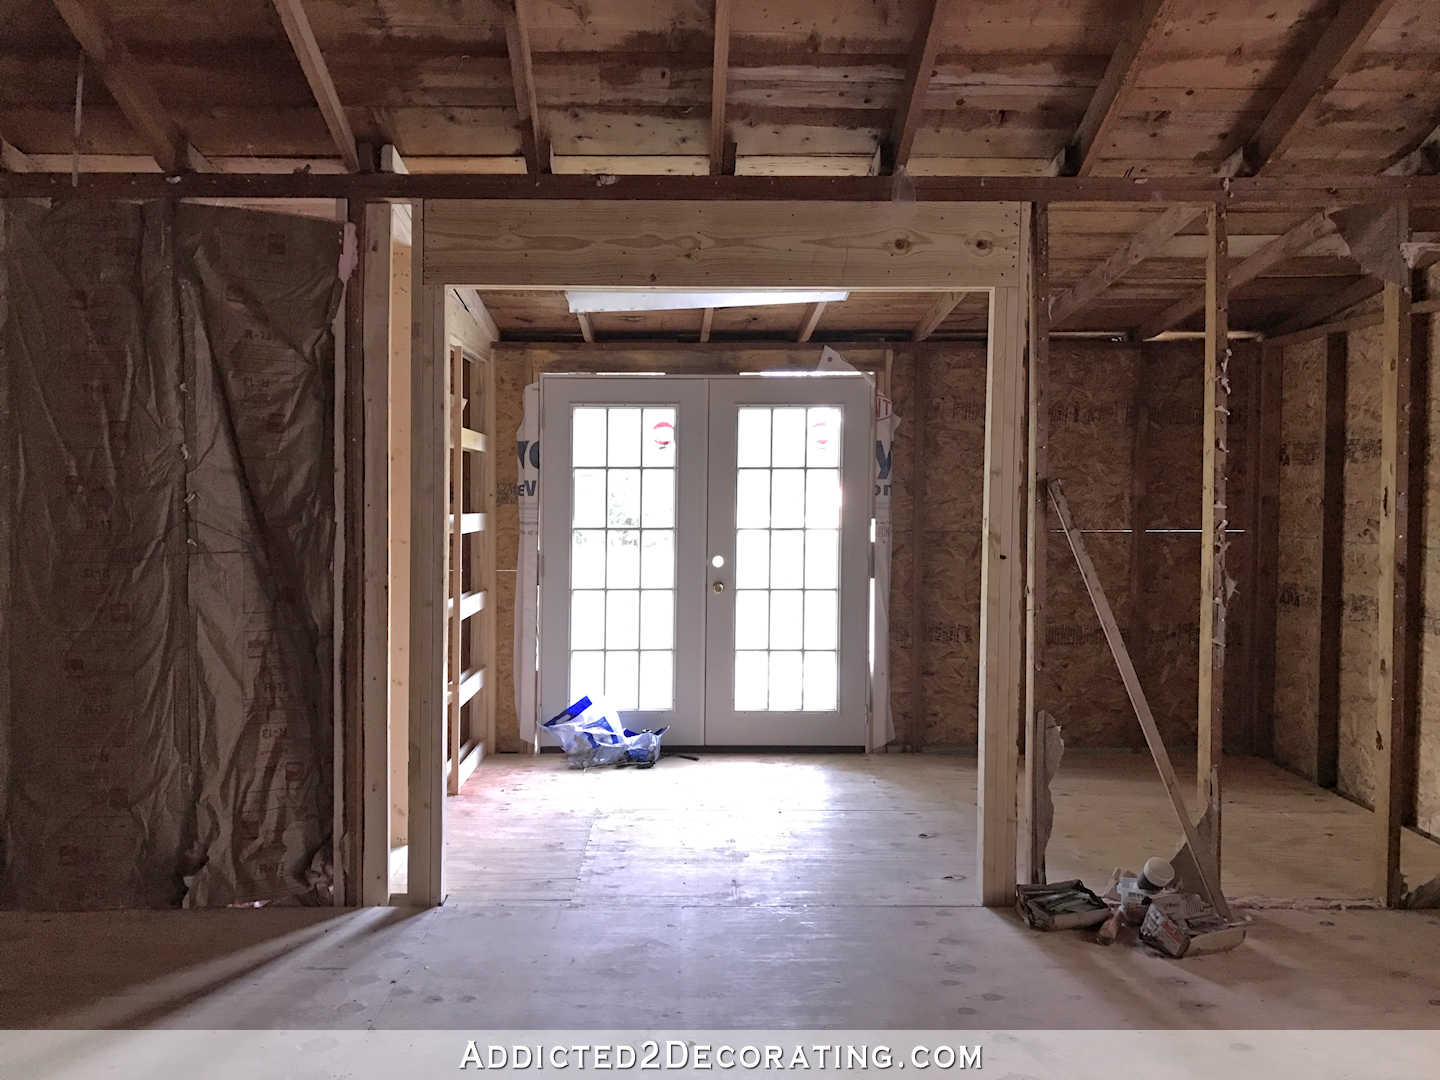
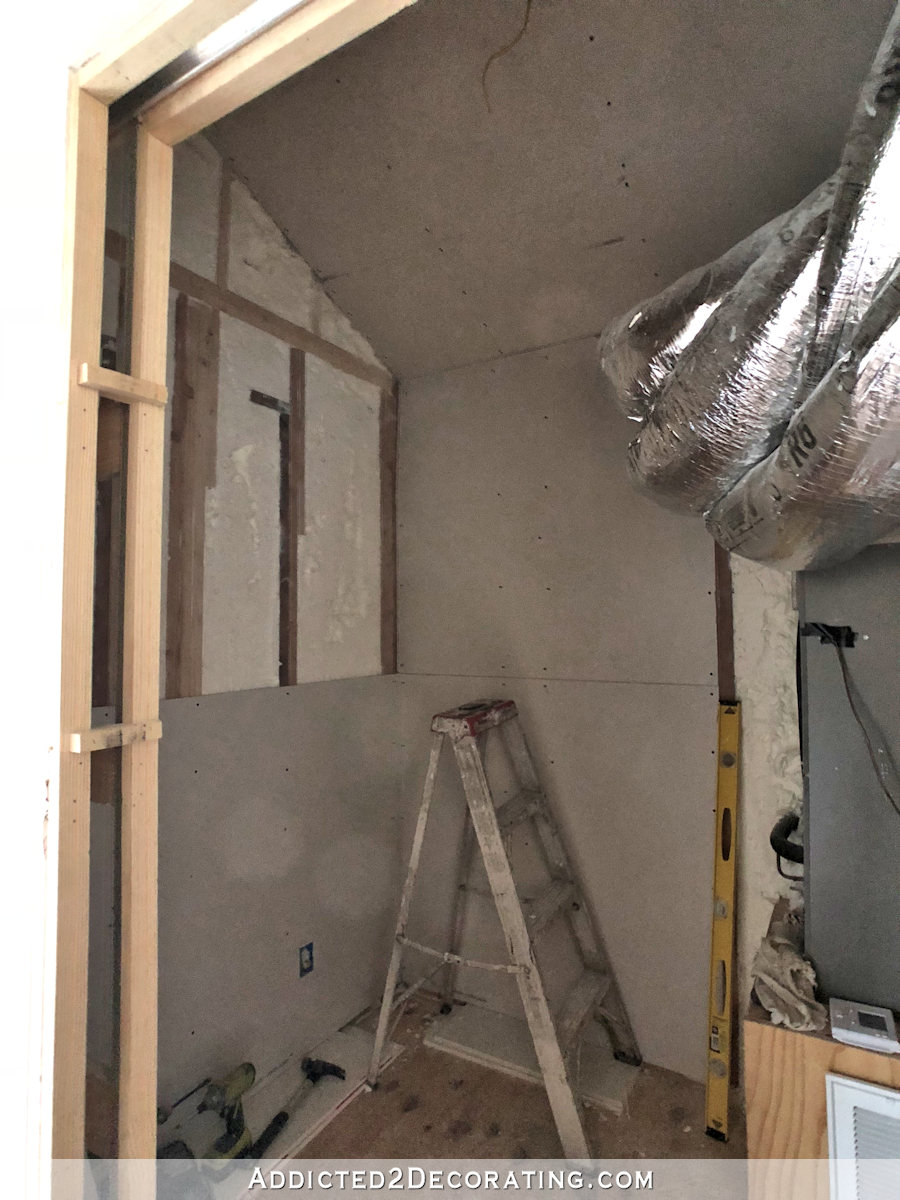
The transformation in this area absolutely astounds me. Do y’all remember what it looked like? This area was a storage room at the back of the garage. It had a low angled ceiling, just like the pantry, with the ceiling on the back wall barely clearing the back door. Here’s how it looked standing inside the storage room…
The opening on the left is the garage (which is now the studio), and the back of the house (where the carport is now) is on the right wall. The area straight ahead in the photo above is what’s now the half bath.
And even after the first phase of the garage-to-studio transformation two summers ago, the back area still looked like this with the super low angled ceiling…
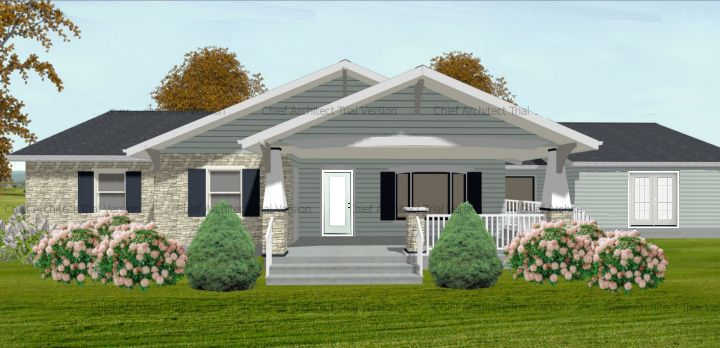
It was the addition of the carport, and the way that the carport roof ties into the existing studio roof, that allowed for this amazing transformation. I don’t have an updated photo of the carport from this angle, but you can see the roof structure here…
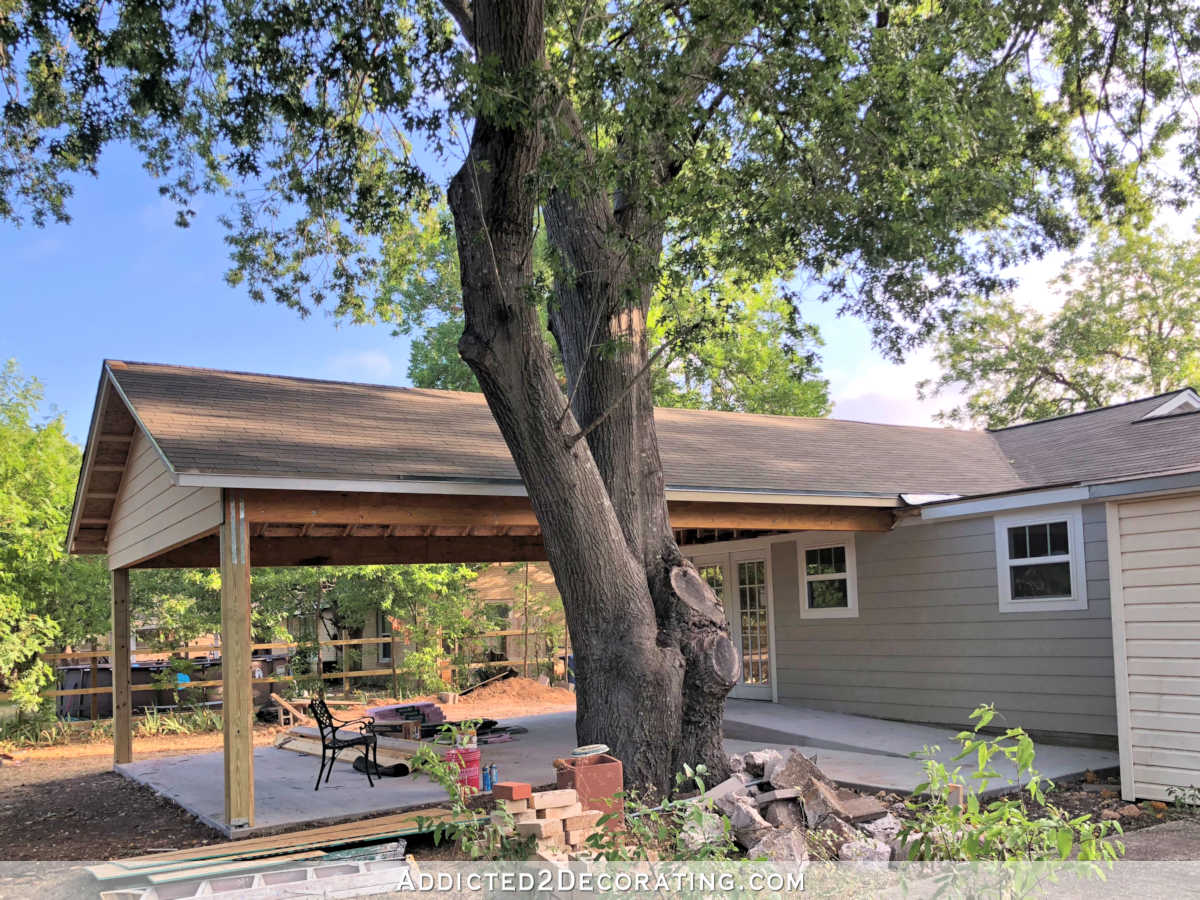
With the new much higher carport roof covering this back area, they were able to remove the existing ridiculously low roof and expose the new roof/ceiling height.
And now, look at this area! Talk about a transformation! From a barely-7-foot ceiling to an almost-12-foot ceiling.
I had them keep the angled ceiling in the storage closet. Since that closet houses this monstrosity…
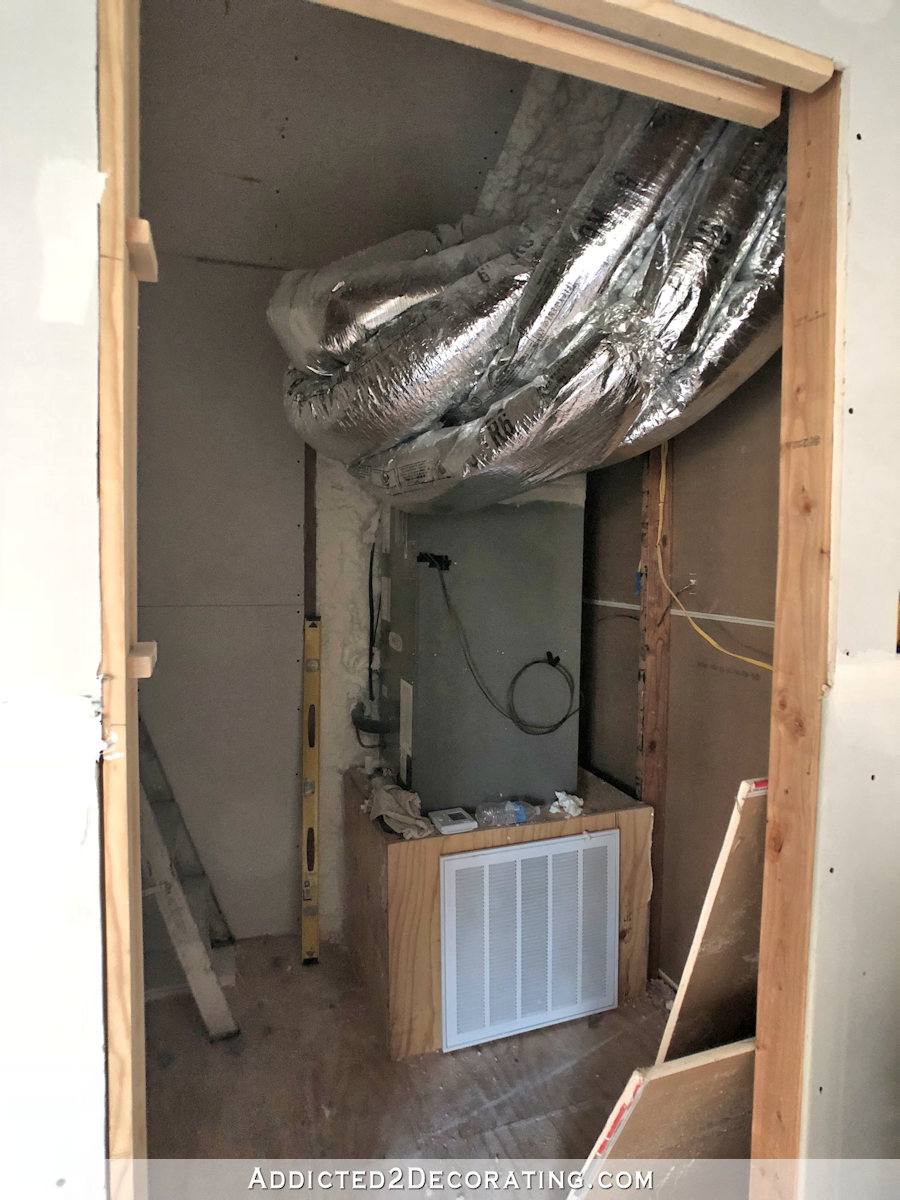
…I wanted to keep as much height as possible so that I could squeeze every bit of storage out of this closet as possible. So I’ll still have plenty of room for shelves…
And since we kept the vaulted ceiling in here, I also have all of this room for shelves on the wall with the door.
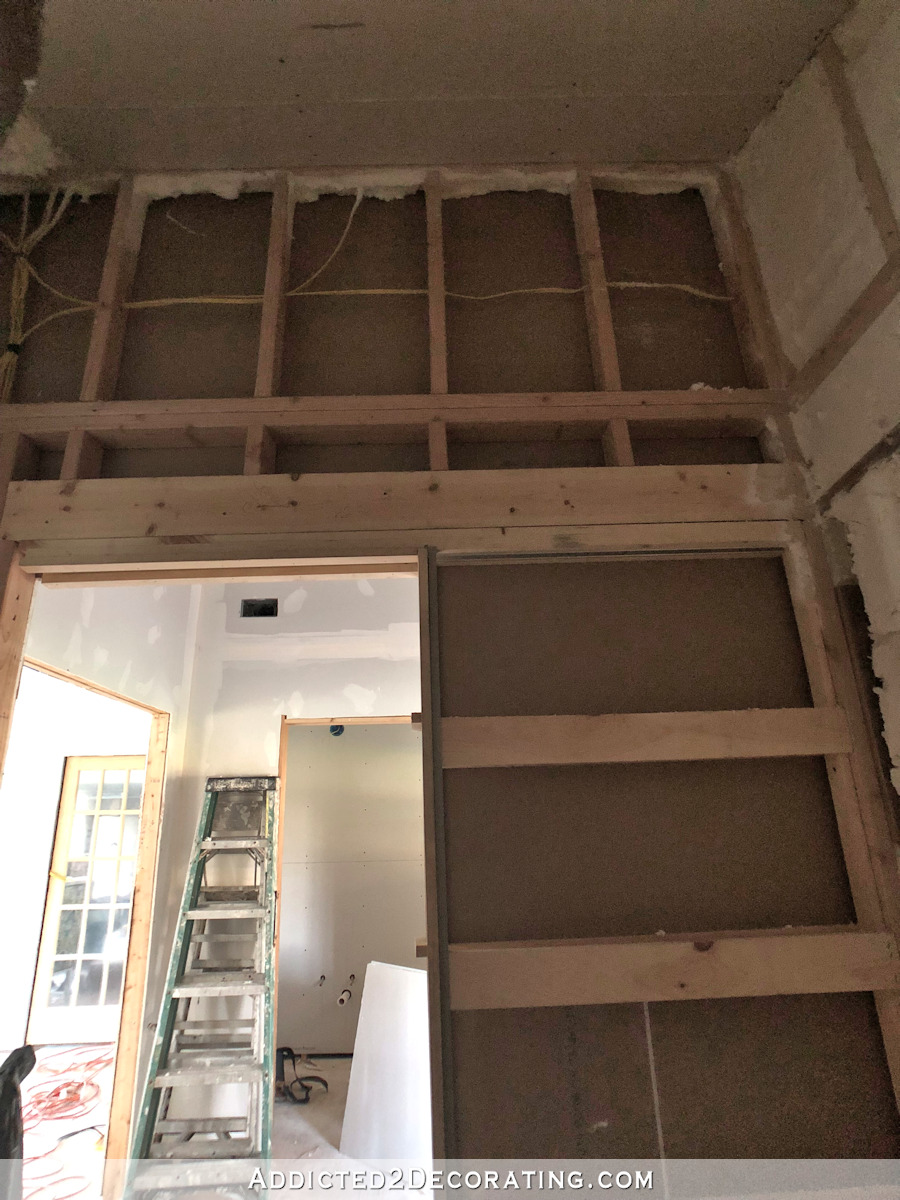
The door will be a pocket door, so I won’t have to account for door swing. I will, however, have to be creative in how to add storage to the area to the left of the door since I don’t have any studs to anchor shelves. A freestanding shelving unit might have to be placed there, but I’ll make those decisions later.
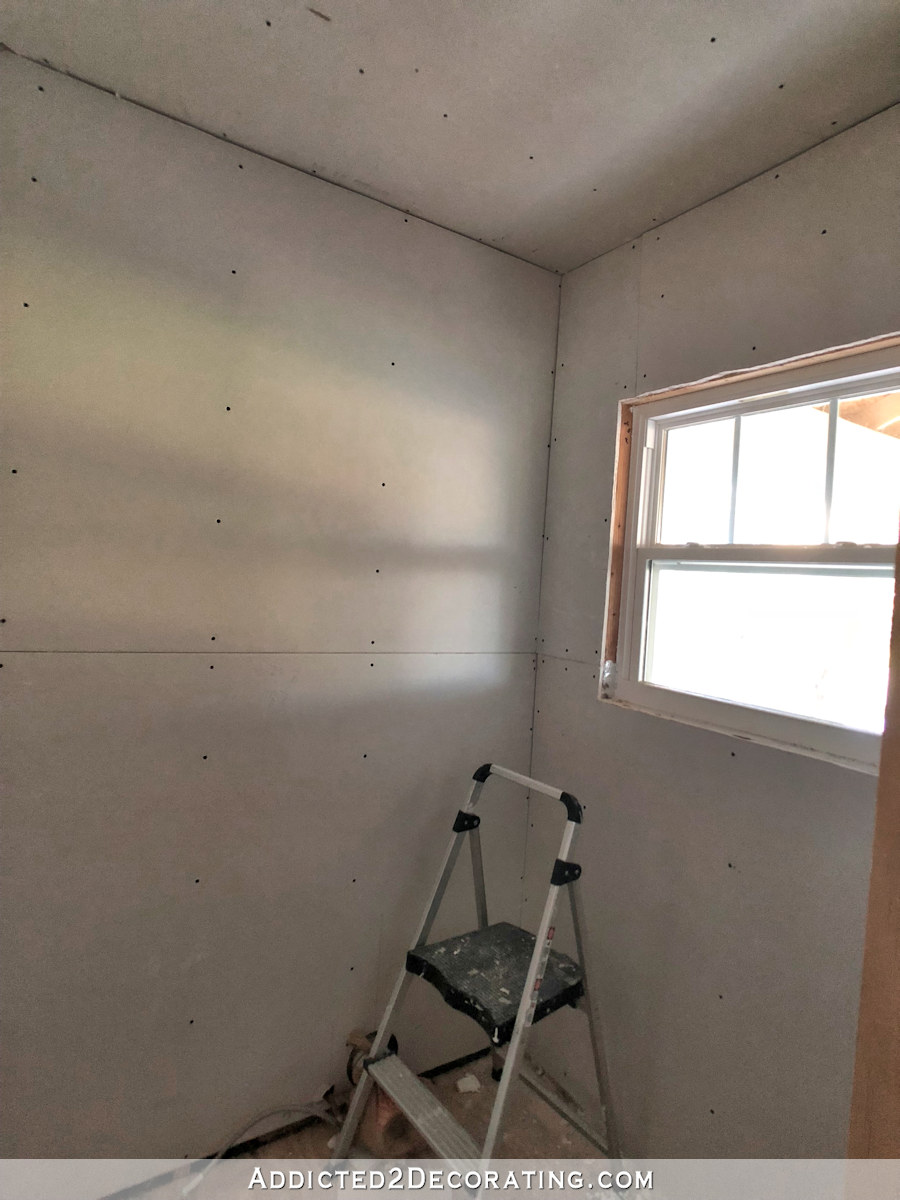
And on the other side of the back entry is the half bathroom…
We had to keep an eight-foot ceiling in this room to have room above for air ducts, but I don’t mind the lower ceiling in a bathroom.
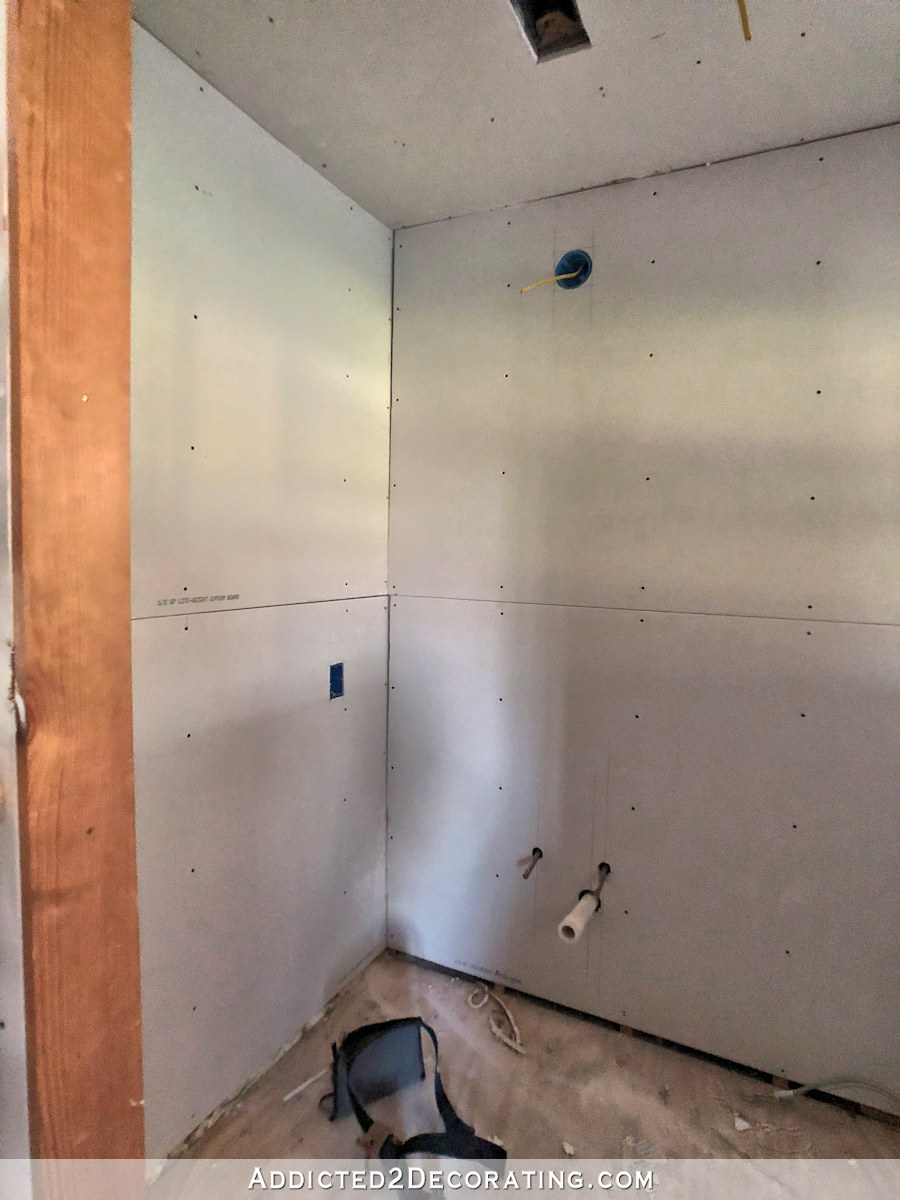
This picture kind of makes it look like the bathroom has an angled ceiling, but that’s just the perspective of the photo throwing things off a bit. The entire ceiling is flat and eight feet high.
I just can’t believe the difference in this area. I kind of wish I could turn my entire house 180 degrees so that this could be my front entry. 😀
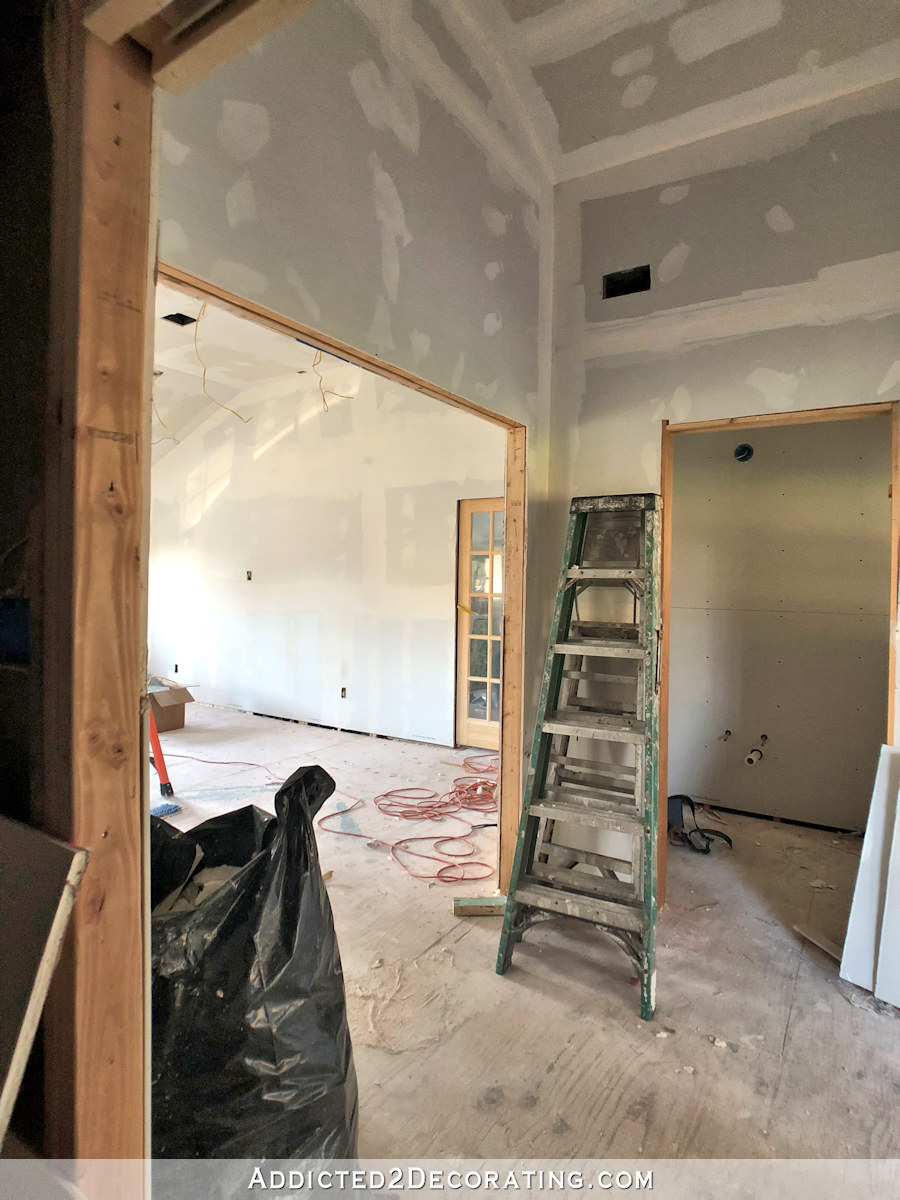
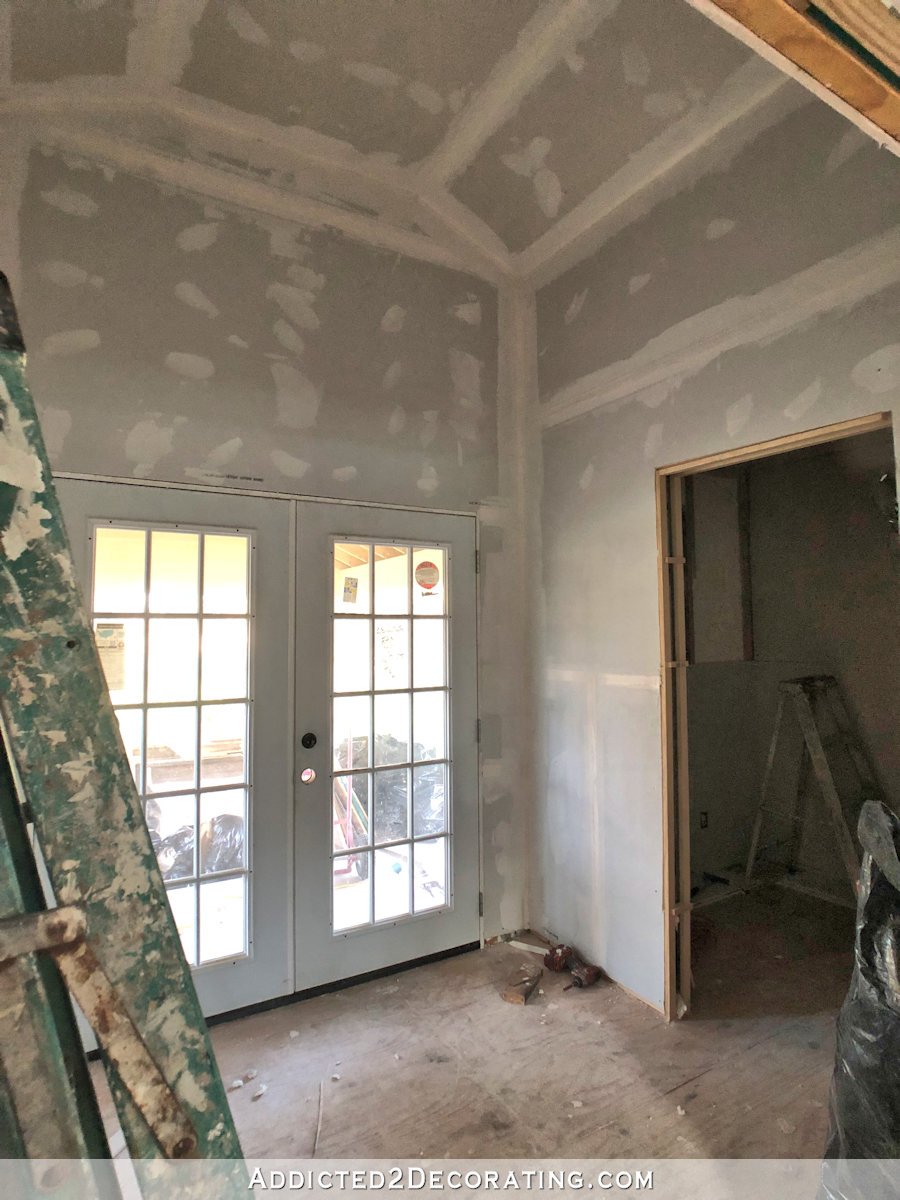
But I’ll have to settle for a grand entry from the carport. Here’s the view from the back doors looking into the back entry and the studio.
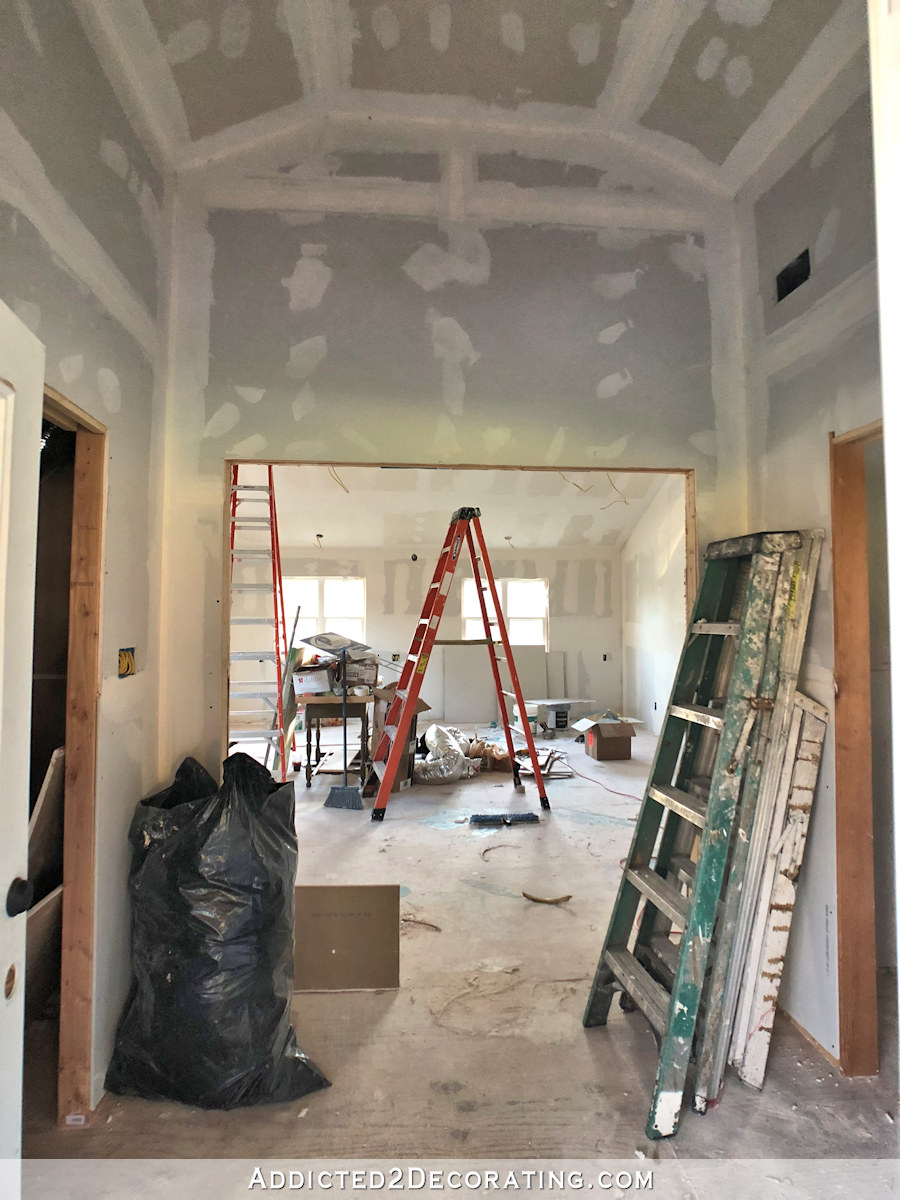
From that view, the storage closet is on the left, the half bath is on the right, and the studio wall straight ahead is the one that will be wallpapered.
I’m so excited about the progress, and the pretty stuff hasn’t even started yet! 😀

Addicted 2 Decorating is where I share my DIY and decorating journey as I remodel and decorate the 1948 fixer upper that my husband, Matt, and I bought in 2013. Matt has M.S. and is unable to do physical work, so I do the majority of the work on the house by myself. You can learn more about me here.

I am so happy for you! It all looks wonderful. I can see all the progress from the last photo – getting all those layers of joint compound on all those joints takes a lot of time! Looking at the height on the ceilings makes my knees wibbly thinking about you doing all this work yourself. So, so happy you were able to hire it out!
I’ve said it before, but to me this is the most exciting room yet.
Love it. You are doing an awesome job, and I always look forward to your progress pictures!
Thank you so much for posting these progress posts! Even though it’s “just drywall” right now, many of us check the site daily, anxiously awaiting any sort of update. These posts are what get us through, haha! Keep up the great work 🙂
Oh my word – that IS a grand entry from the carport. Love it!!!!
Got a narrow bath at the moment, I’m slowly renovating with an angled vaulted ceiling. It’s 12′ at it’s highest. It is an interesting process to get to the upper corners of that room safely. Lets say we’ll finish the walls before putting in the fixtures for ladder maneuverability. Good choice on the lower bath ceiling.
That is amazing! It will be so maneuverable for you and your hubs. Very exciting!
Looks lovely! Your clients will be greatly impressed, I’m sure!
You must be so excited! Even though it’s just drywall it already looks so good. I can’t wait to see that entry with your incredible trim detail around all the doorways.
You’ll enjoy the view more from garage. Every time you come home from wherever. Happy for you and Matt.
As I was looking at these photos, and being so excited for how it affecting your life and your love of remodeling, it dawned on me that this isn’t just affecting you. With each of these improvements, Matt’s access to you anywhere in the house and now to the outside has been dramatically changed. No longer are there steps leading to the studio and there is a zero entry to the outside from the studio and a ramp for his access and same for the front door. Matt can easily maneuver to the carport to watch you do your thing. I’m so excited for Matt and you!
you are going to LOVE this space! it will be such a workhorse, a beautiful workhorse.
Beautiful! Looking forward to the artwork for the foyer/entry. The area above the doorway is going to provide a grand backdrop. 😁
Amazing! So close to adding the pretty stuff.
One thing I did not see on the ceiling in the back hallway was a hole for a light fixture, maybe the camera angle just cut it off?
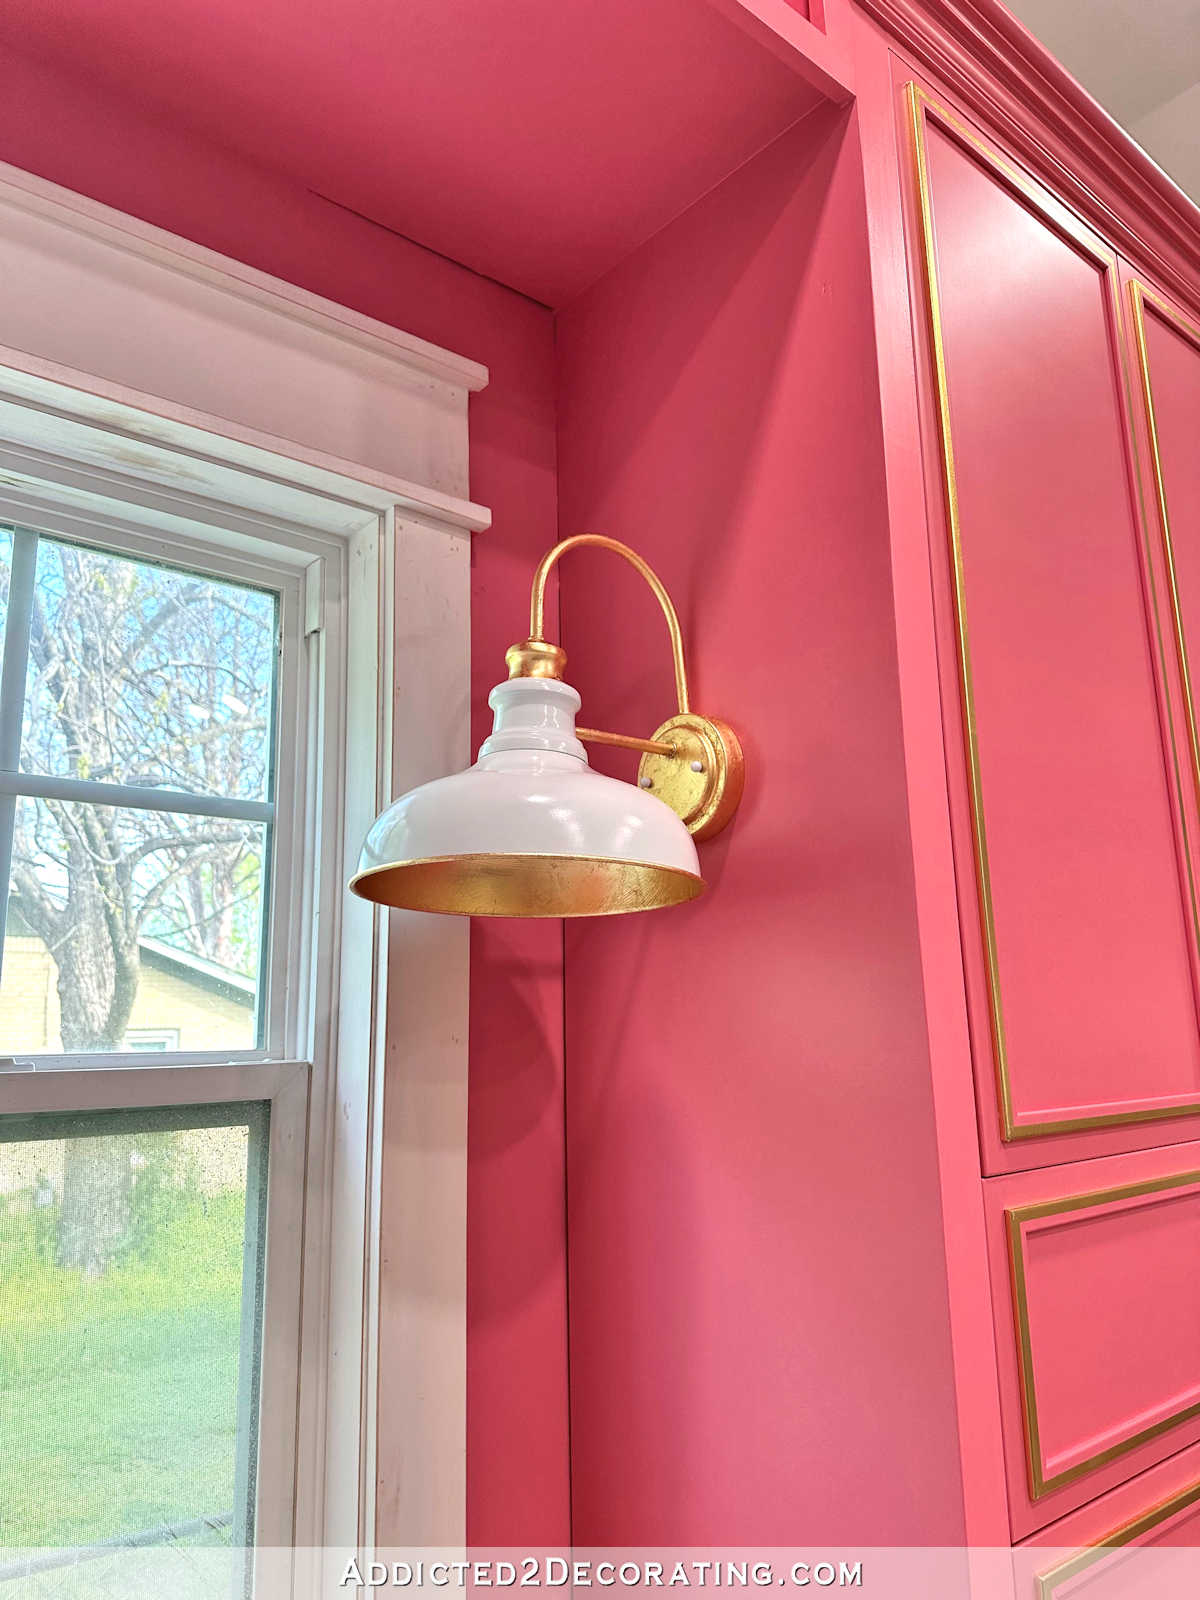
It’s there. It must be just out of the camera frame, but it’s right dead center of the ceiling. And I completely forgot until this morning that I need one more light fixture — an amazing chandelier for my back entry!
My first thought was “she can have an amazing chandelier in there”! I’m so excited to see your thoughts for a chandelier in that space. I
Wow! Looks great. It is so BIG.
I really think you knock months off with regard to the studio project being hired out. Are you going to put up the shelves and cabinets yourself or the contractor?
Once they’re done with the drywall, I’ll be doing everything else myself.
What about painting? Those ceiling are so high. You might want to get someone to at least help you with that & installing all those lights. I know you’ve had some shoulder problems in the past from working over your head. Be careful with that high work. Yes you need a grand chandelier.
That’s exactly what I was thinking too! Big grand chandelier
I know you want it to be the front entry…but I love that this is the entry YOU get every time you come home! Too often, we give our very occasional guests the best and give ourselves the “service” entrance! Every time you and Matt come home, you will be greeted by this wonderful space! I know you will make it beautiful!
Looks great!
this is incredible! Yor vision for spaces wows me every time. I can’t wait to see what happens with the other side of the house when it comes to that! I also am dying to see that wallpaper in action!
This is one enviable space!
Looking great!
Pro Tip: As I’m sure you know, you should at the very least prime the wall with new drywall primer, because wallpaper on bare drywall never comes off without damage, but you might not know that if you take the time to put a coat of high gloss paint on after the primer, the wallpaper will come off super easy when it’s time to change it.
Looks fantastic. Love the high ceiling for the back entry way. Wow, that dry wall sure was a huge job. So glad you hired that out.
You are SUCH an inspiration to all of us DYI-ers! Is that even a word? Congrats.
How about a door hung barn door style on the entry side of that closet so you can beef up the wall inside the closet for shelves? Just a thought, as they have so many hardware options now. Everything is looking awesome!
It looks great and huge!!! I remember when we put an addition on and redid our kitchen, it was so exciting! I am very happy for you. You are going to love having that room!
It’s looking very good. I’m so excited for you. Could I make a suggestion for your bathroom? Since it’s the only water source in your studio, I would suggest getting a laundry sink for easy clean up of messy jobs. I know they don’t look very nice but with your skills, you can probably make a cabinet to drop one of these large sinks in. I know I appreciate our laundry sink size when I’m working with paints or other messy items in my craft room.
Confess, aren’t you glad you hired this out? This studio is going to be AWESOME!
Oh my gosh, so glad!! Seeing how long it has taken three experienced people to do this, I estimate that I would have finished taping and mudding in September! 😂
Loving the carport entry area. That ceiling is nuts! LOL! Who else has such a grand entrance from the back? Sometimes I think I should have given up my 7 ft. x 10 ft. foyer so that I could have moved stairs in order to have proper pantry and laundry room. Everyone comes in our garage door or back door now, and the only people who use our front door are strangers or first time visitors! I take it you have chosen your light fixtures – will we get a sneak peek?
Oh my gosh, I can’t wait! You have chosen wisely, good girl. So happy for you.
Very happy for you. Awesome renovation! Keep sharing pics so we all can live vicariously! 😉
I bet you walk in and out of there multiple times with a huge grin on your face. Exciting progress!
I do! I just stand in there and stare. And walk very slow laps around the room, and then stand and stare again. 😀 I’ll admit that I do that several times a day.
Hi Kristi…somehow this looks even bigger now than before the drywall was put up! I really like the suggestion to put in a laundry sink instead of a regular sink. Especially with your magic foresight and hands to beautify it. And, if I may, I’d like to thank Ishtar for his telling you about putting high gloss paint on the newly drywalled wall before wallpapering it. We are about to put new wallpaper in a the newly drywalled bedroom and I have a pretty wallpaper for an accent wall… but now we (he to be truthful) will paint first. Isn’t it amazing how excited WE can get for YOU…and I am excited. You go girl. God bless.
Wow, Kristi, the space is really taking shape. So exciting! I am curious as to how you will paint such high ceilings. I ask this as a shortie who has painted multiple ceiling spaces in two houses. It was was killer for me at a regular height. Can’t wait to see how you do it!
WOW – how exciting! Your home is quickly turning into my dream home 😃
It looks great!!! I have followed you since you wore building the fireplace & painted the floral sofa. You have definitely cane along way since then. What year would have that been?
You look so much younger with your keto face. Good job!
That was soon after we bought the house—February 2014. Five years! 😲
Kristi, for purely selfish reasons, I am so happy you decided to contract this out. I CANNOT wait to see this studio finished. I am so excited for you!
It looks fabulous and this entry is wonderful way to welcome potential clients who come to your studio. Can’t wait for the pretty stuff!
Looking fabulous! I’m so excited, and envious! This is just wonderful!
Do you have a how to on the tape and bedding, as I am going to be helping our pastor with some repairs to a ceiling, and several other minor spots that need fixing. If yu don’t film these guys for us! LOL! in your spare time!
Just an added note, I know you already have your pocket doors built in, but for me, the sliding Barn doors for both sides would be grand, but that is just me, may not be your thing!
Have you considered using the wallpaper you created in the rear foyer area? It would make quite a statement and gives you a chance to use that beautiful paper again.