Walk-In Pantry Refresh
As I mentioned on Monday, I’ve been working on getting my house cleaned and organized before the beginning of the new year. Along the way, I’m also doing any little maintenance projects that houses often require, and finishing up those little details that have been overlooked to this point.
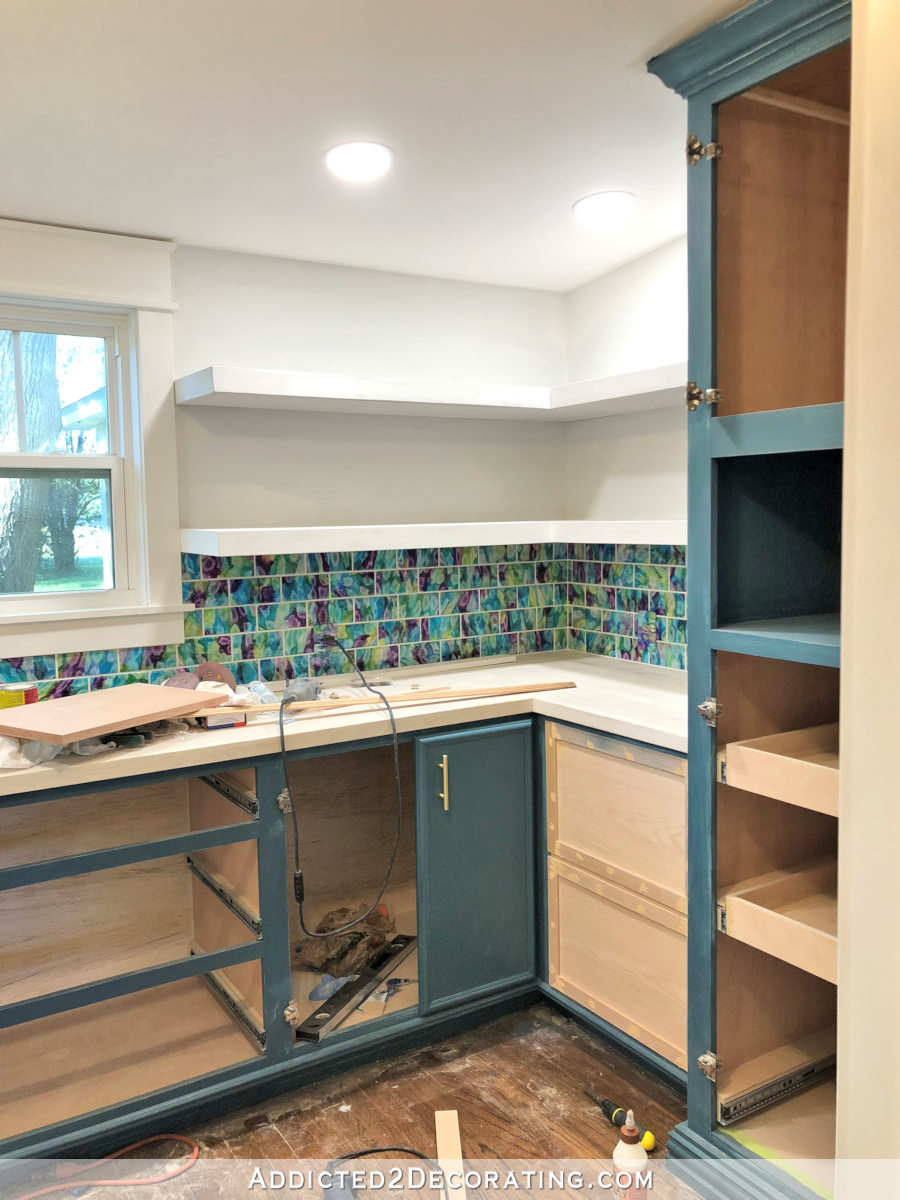
I’ve spent quite a bit of time on the pantry in the last couple of days. Not only did it need a really good top-to-bottom cleaning, but there were a few specific areas that needed some attention. I finished this pantry in January 2019, so it’s been almost three years. In that time, the countertop that I made out of red oak hardwood flooring had developed a few hairline cracks between some of the boards.

So I got a tiny can of Plastic Wood professional wood filler to fix those hairline cracks.
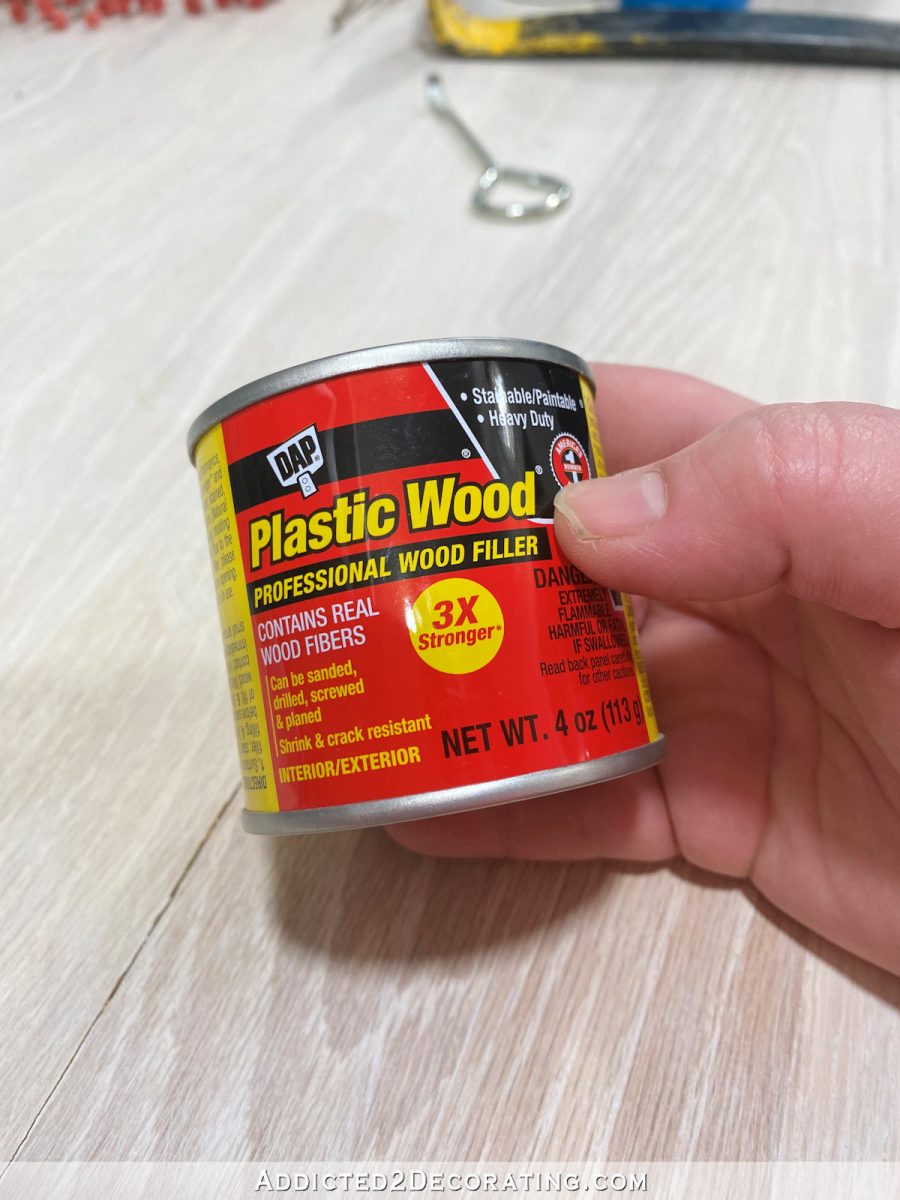
It comes in various colors, so I got the white (which is really more of an off-white) for my bleached red oak countertop.
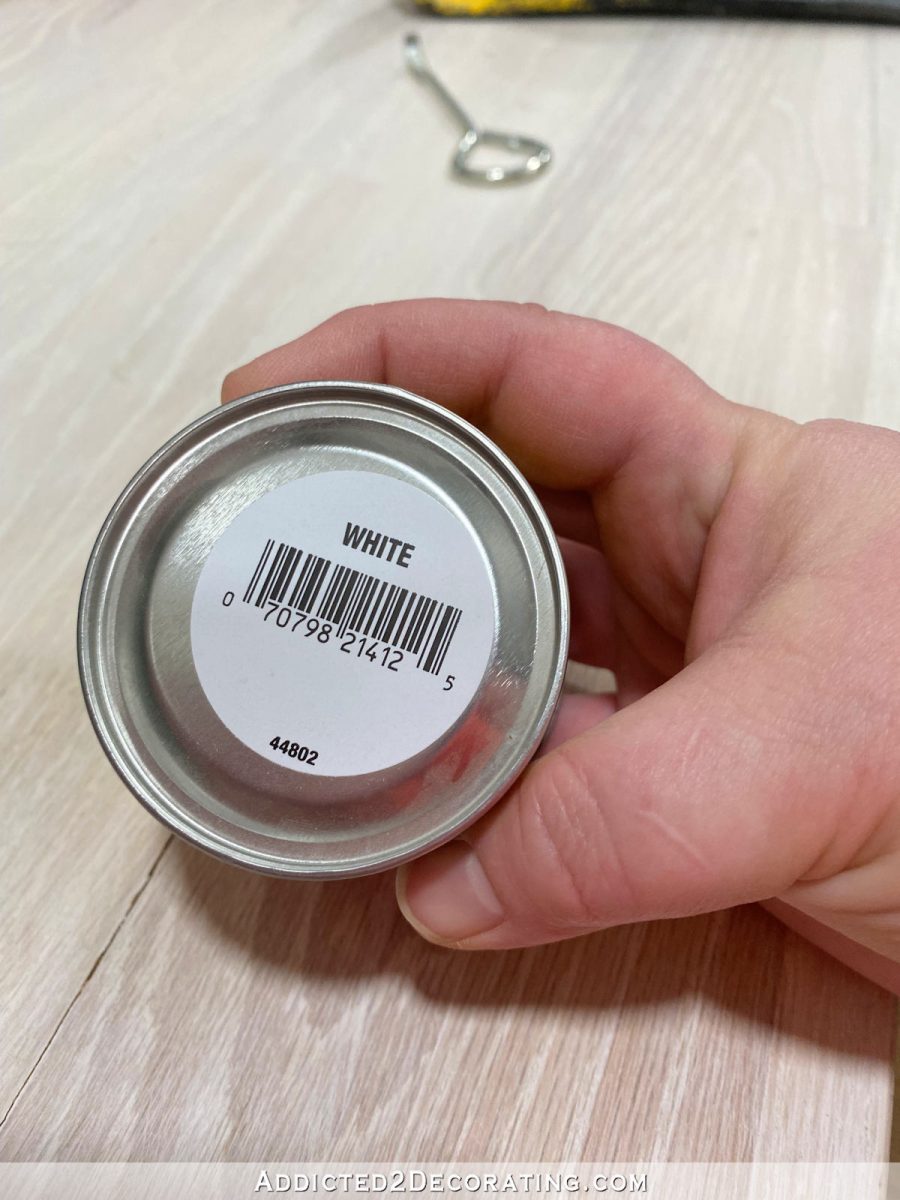
That isn’t the normal type of wood filler. Where the regular kind is water-soluble, this one smells like some sort of solvent, and it has to be stored upside down with the can opening on the bottom. This is the wood filler that I use when I need to fill holes on an outdoor project. So I just dabbed that into the hairline cracks, let it dry, and then gave it a light sanding. That’s all those little cracks needed.
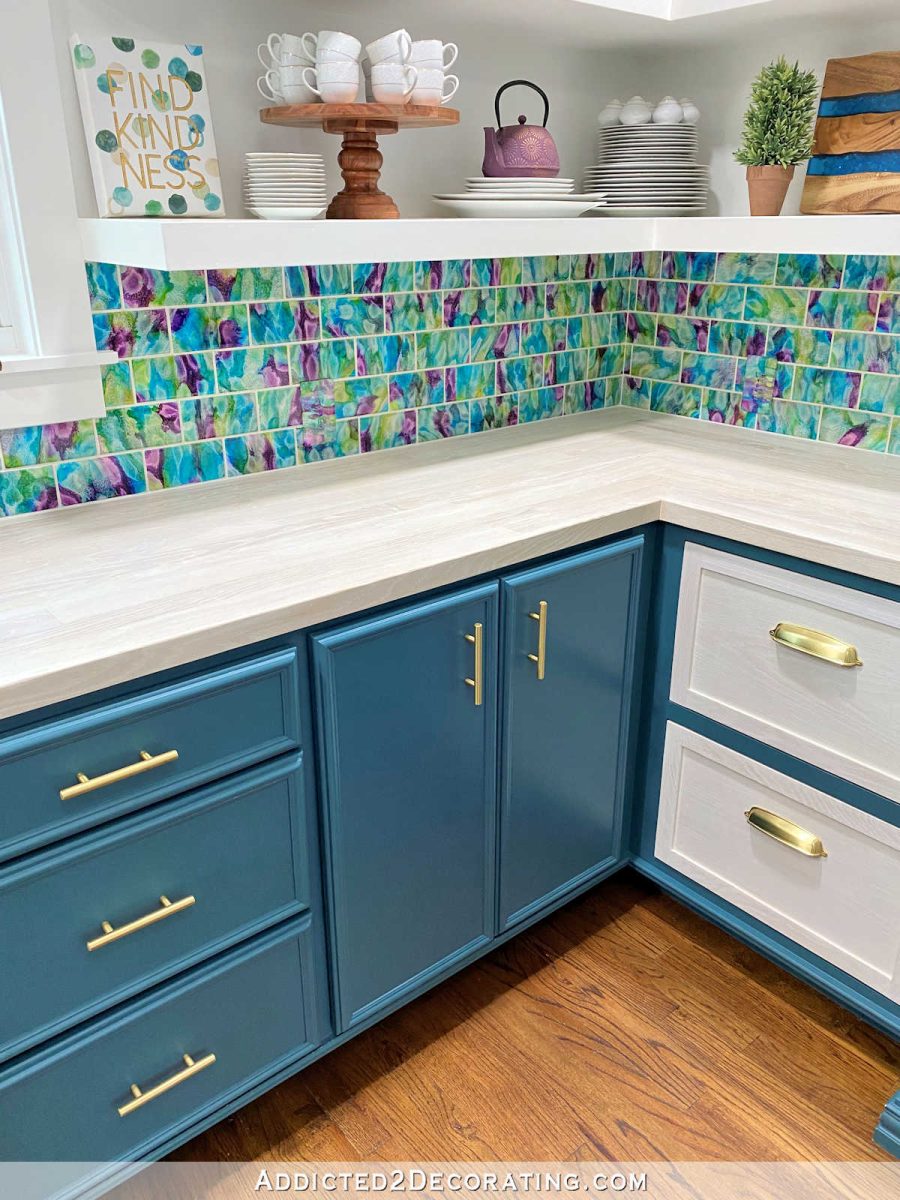
I also needed to do some caulking where the tile backsplash meets the countertop. I have no idea why I did this (I know better!), but on the first go ’round, I filled this with grout instead of caulk. And what happens when you fill this area with grout? It cracks, and some of it even comes out completely, leaving you with these voids.
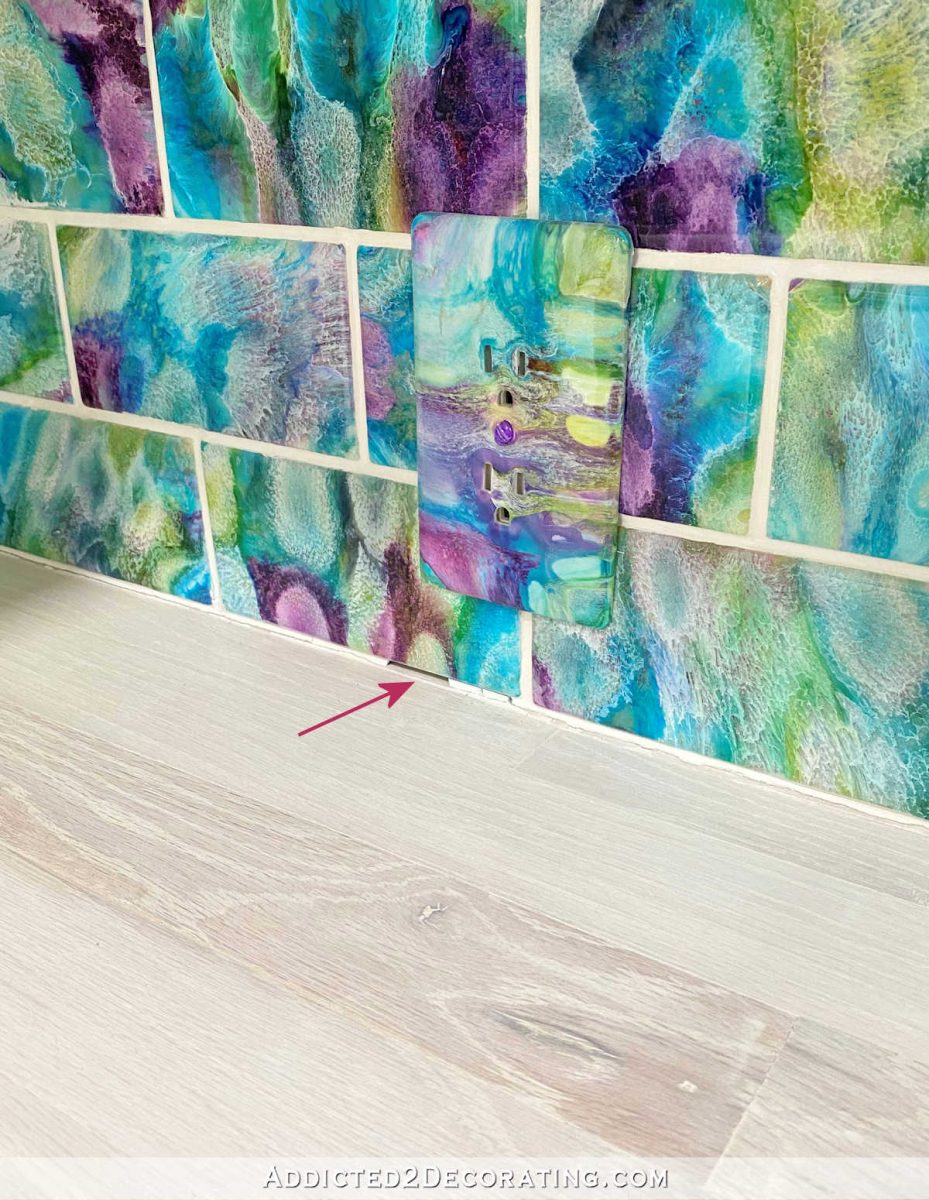
So that was another maintenance project that needed attention, and another quick and easy 10-minute project to get the whole thing caulked all around the countertop.
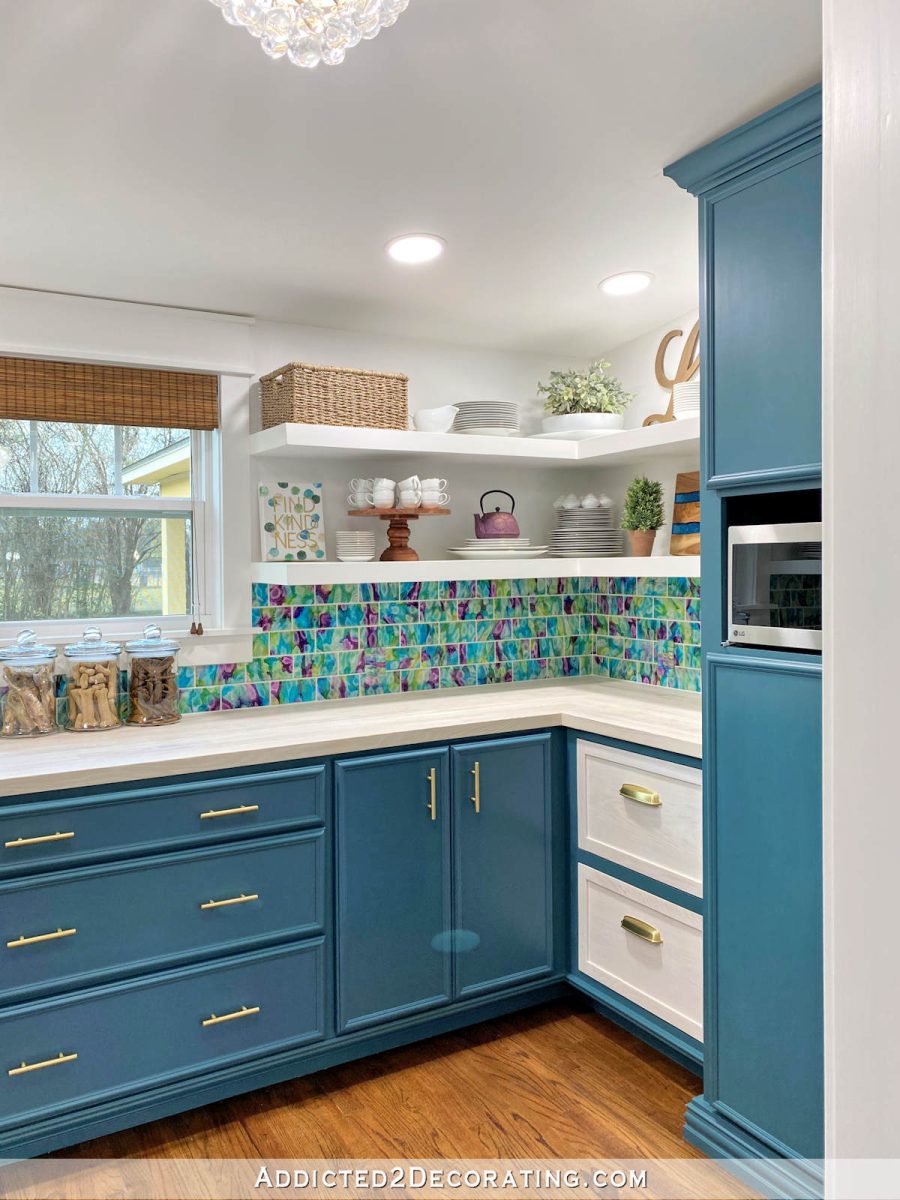
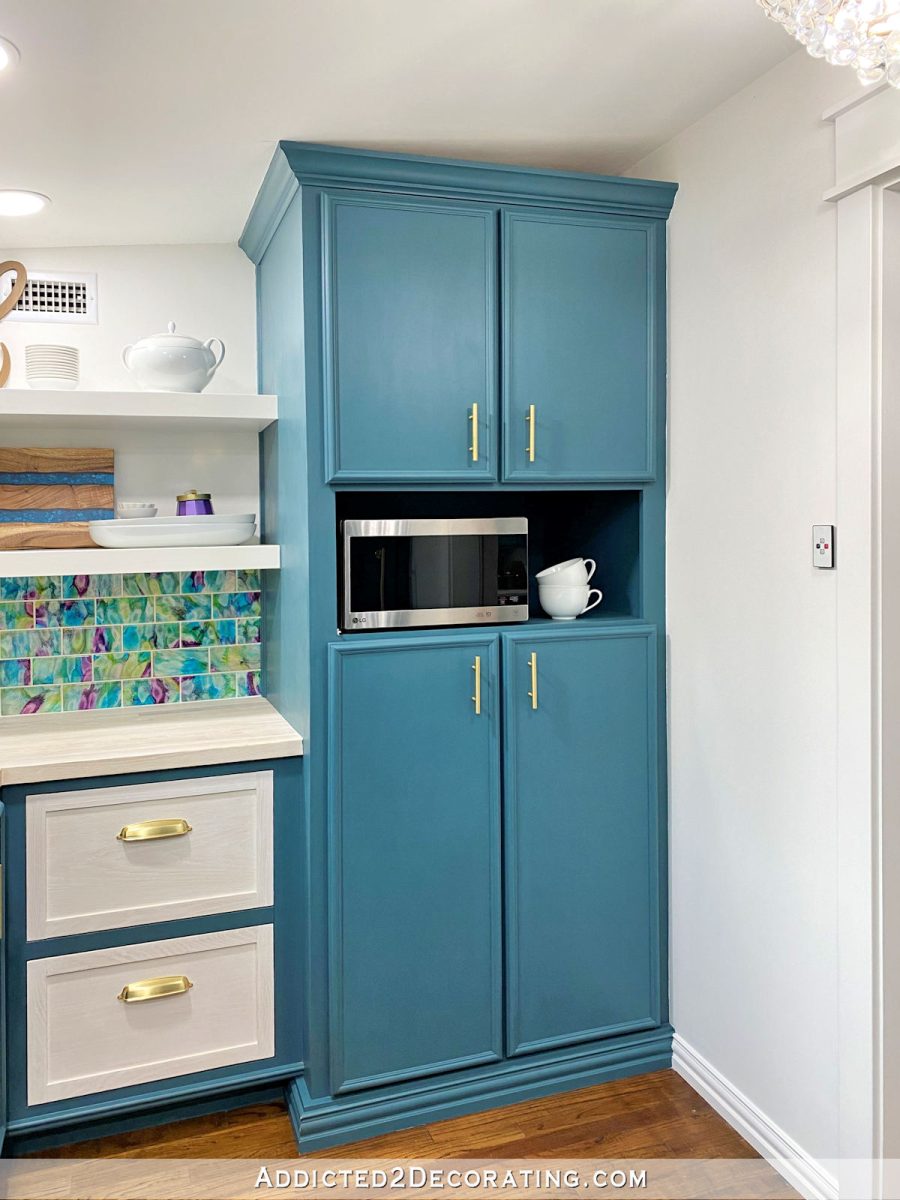
A slightly bigger project was repairing the scratched paint on the doors and bottom drawer on the main bank of cabinets. During that year that Matt and I were without a bedroom (during 2020, when our current bedroom was still under construction), our dog Cooper needed a place to sleep as well. So I brought his dog bed into the pantry, and he would sleep in here every night, and hang out in here sometimes during the day.
The doors got scratched when he would regularly push his bed up against the cabinets, lean on the doors, and then when he would scratch an itch, his claws would always scratch against the doors. It wasn’t enough to actually scratch the paint off of the surface (i.e., to break through the paint on the doors) or damage the wood on the doors, but it was enough to leave slight scratch marks on the painted surface, which looked more like a different sheen than the rest.
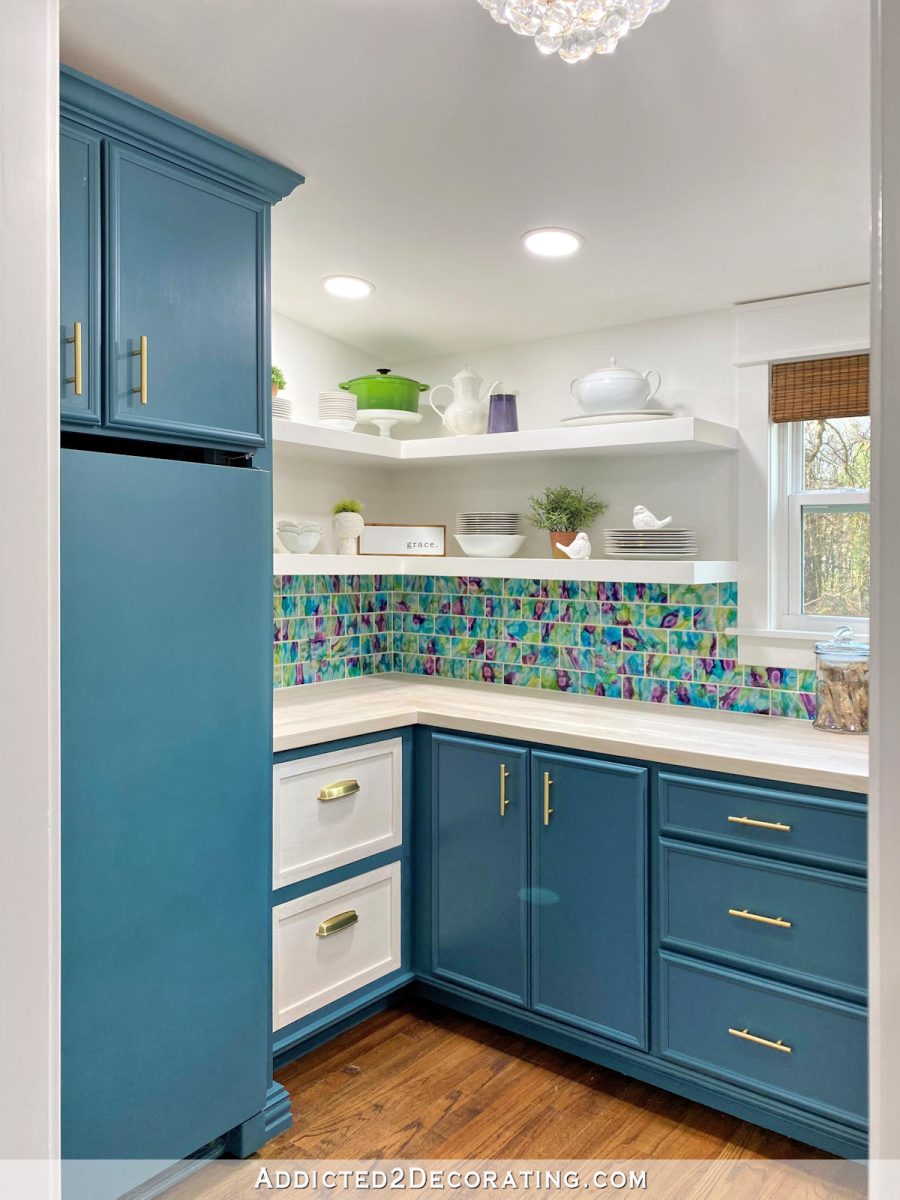
In the meantime, I had been noticing that the cabinet color in the pantry just wasn’t as vibrant as I had remembered it being at first. I don’t mean that I wanted it light and bright. But it seemed to lack a depth and a clarity that I wanted it to have.
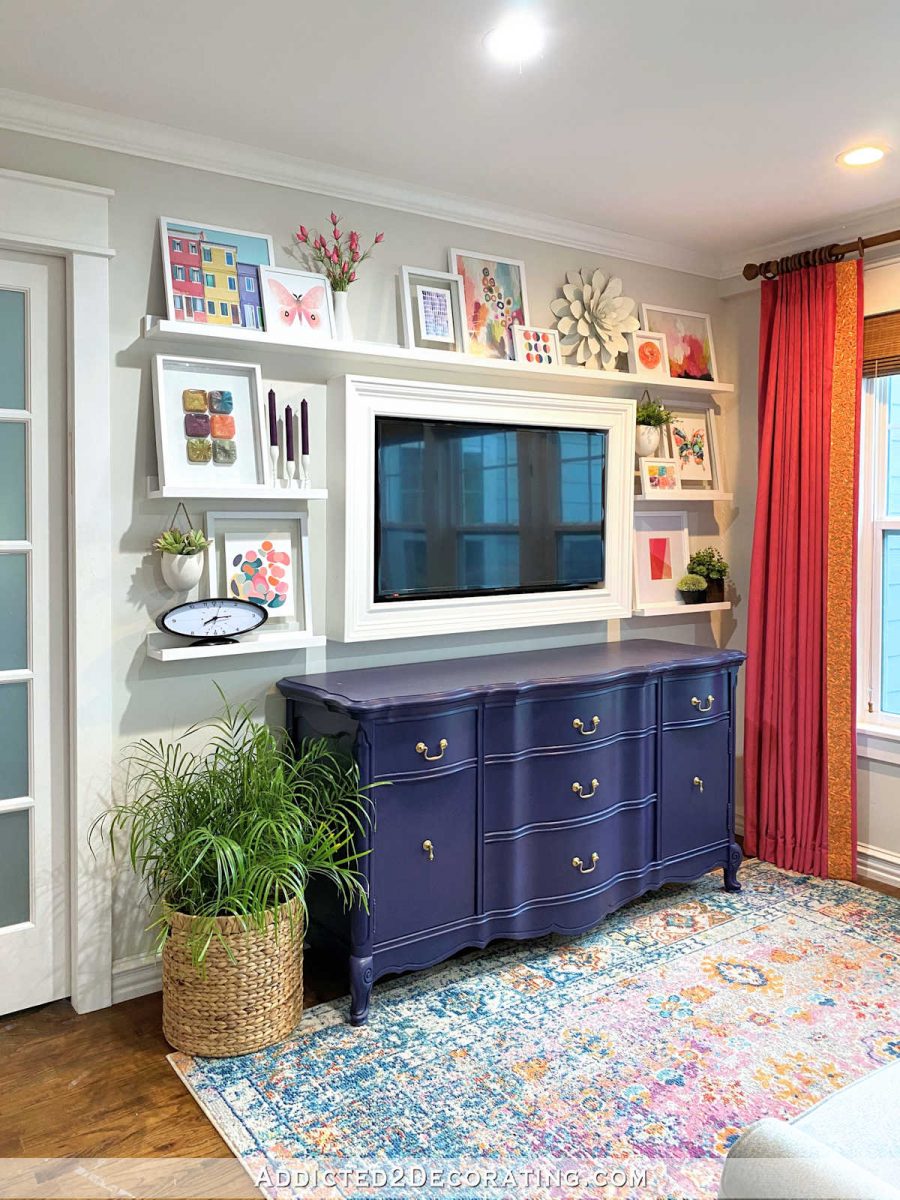
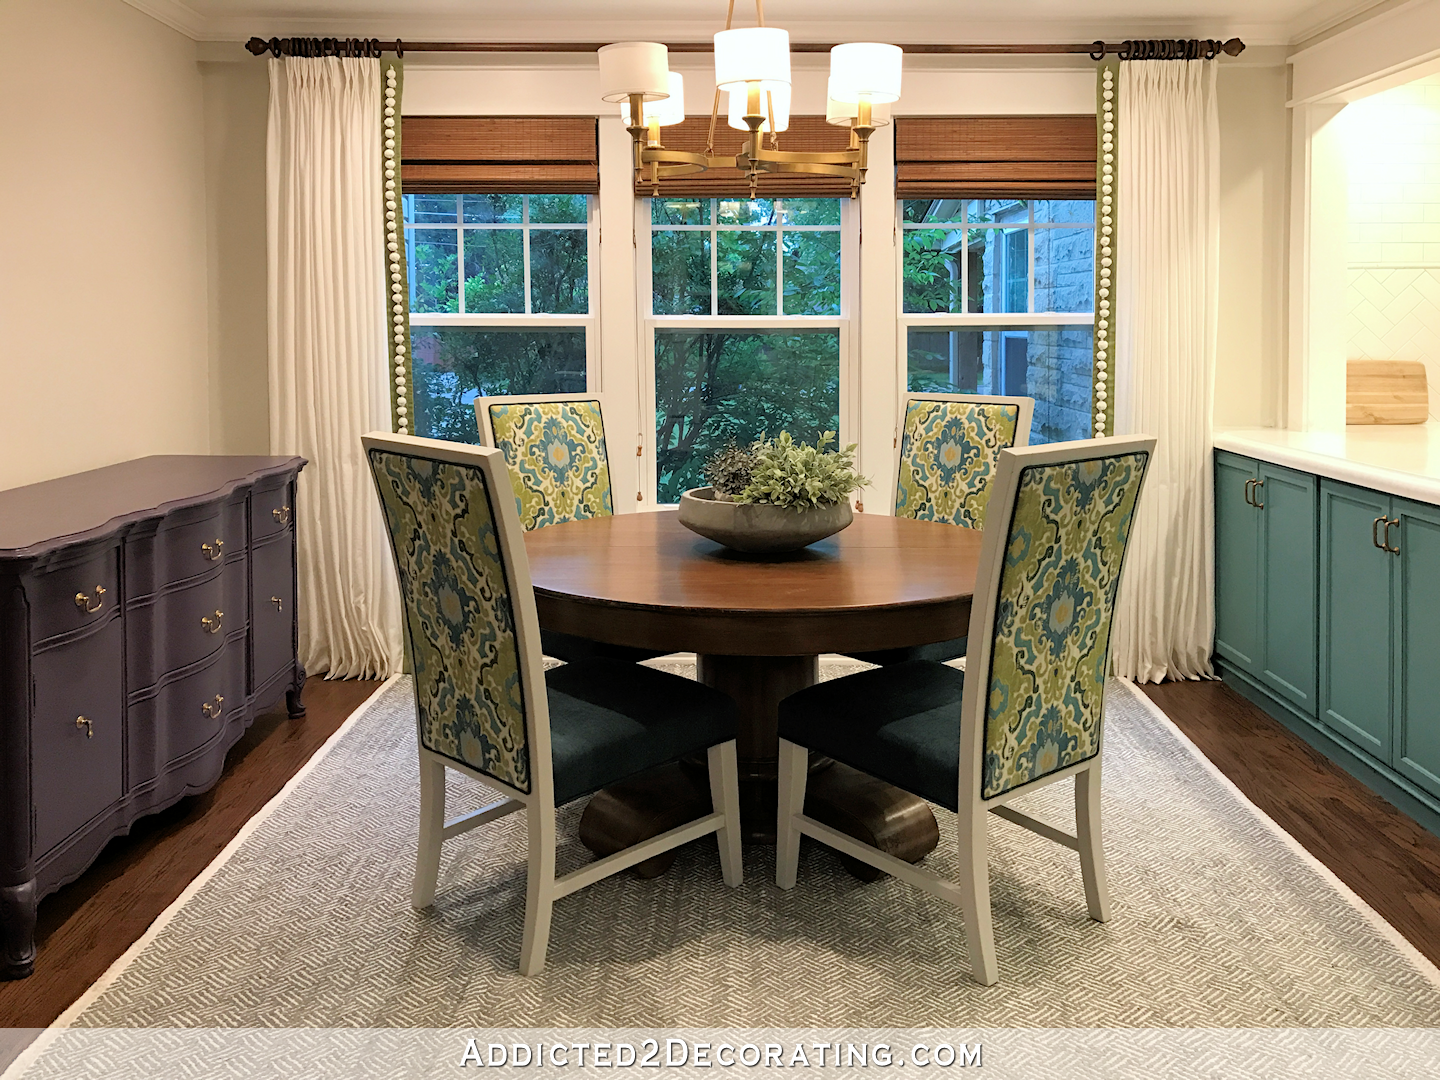
The best way I can describe what I mean is to compare it to the buffet in the breakfast room (now, sitting room) that I recently repainted. It’s been a dark purple for a long time, but this was the original dark purple…
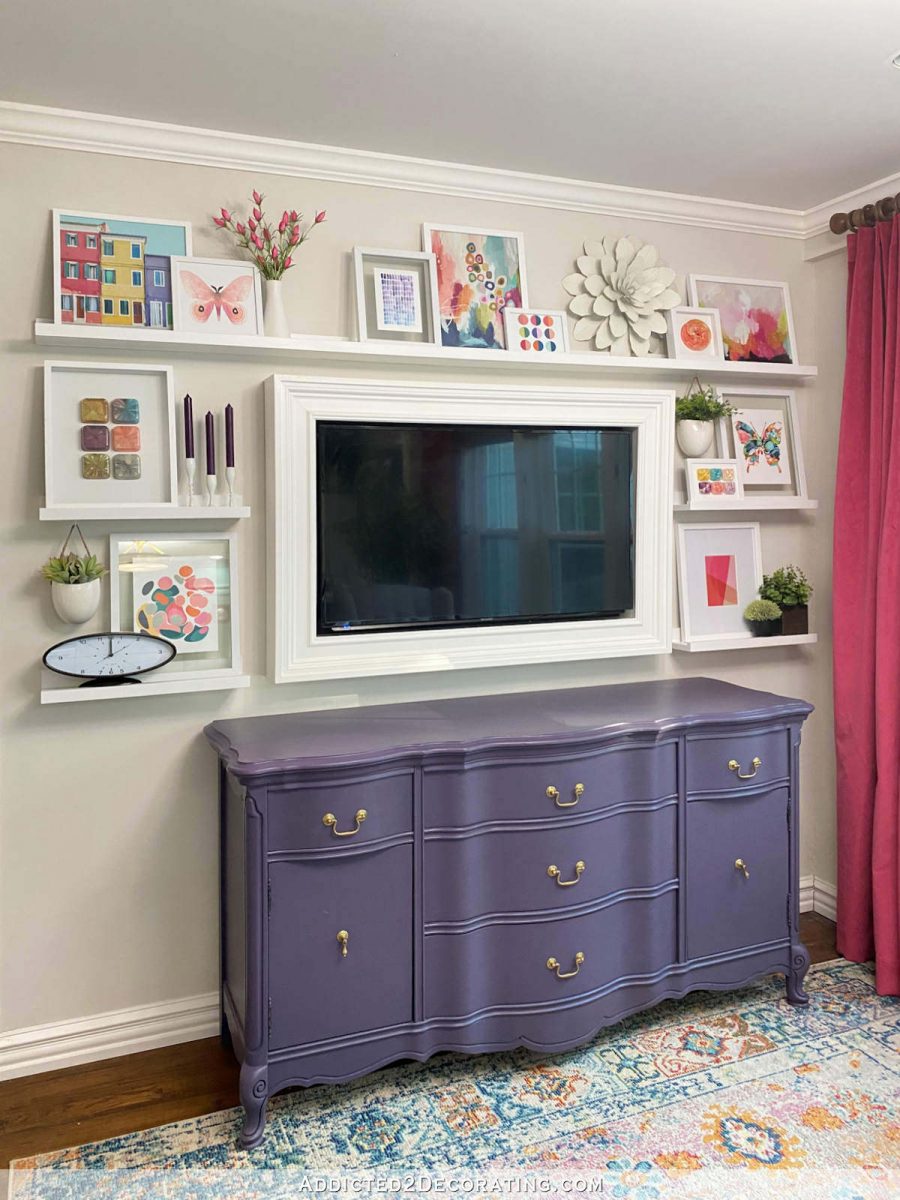
It seemed a little washed out, so I repainted it a deeper purple. But even with the new purple being a deeper color, it still has a vibrancy and clarity that the lighter purple lacked.
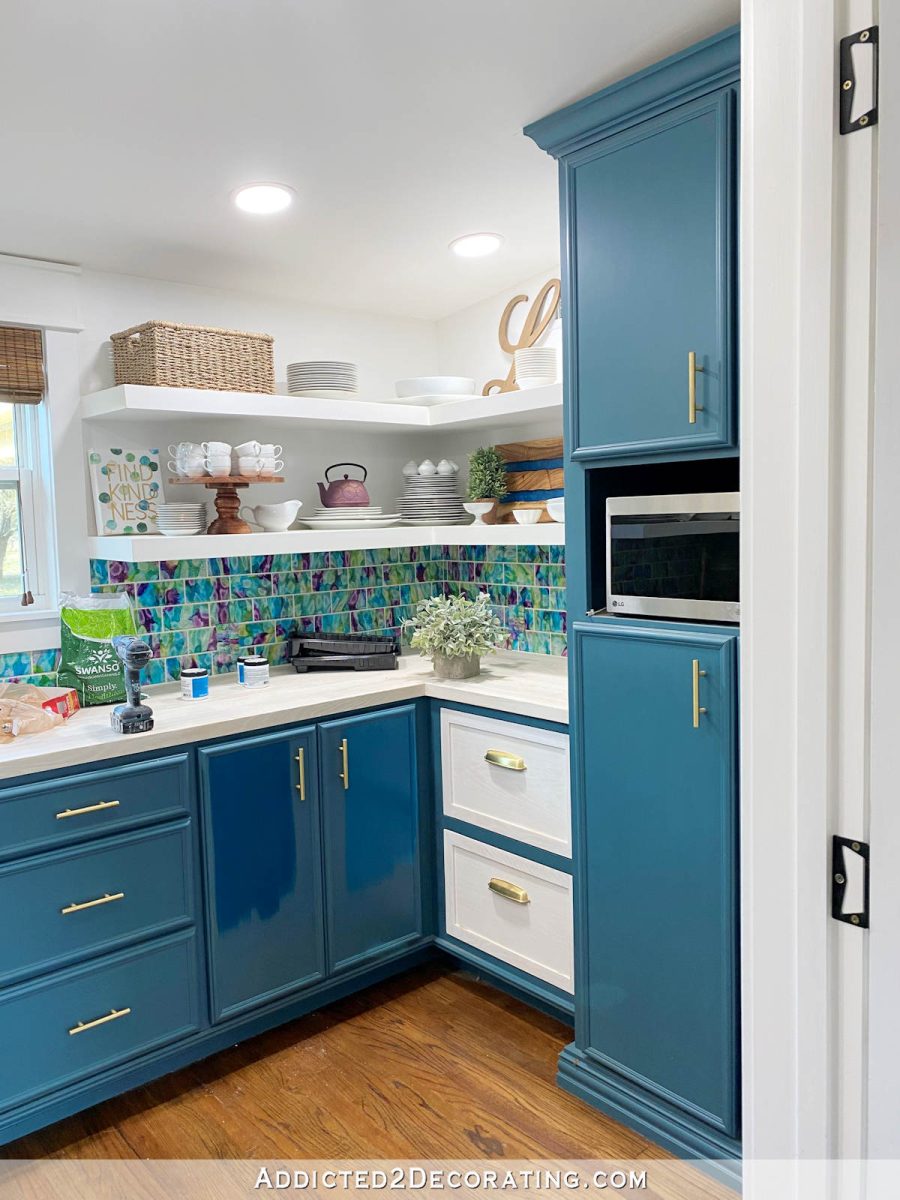
I was feeling that same way about the pantry cabinets, so I went to Home Depot to see if I could find a deeper teal that had more vibrancy to it. I figured if I had to repaint four doors and a drawer, it wouldn’t really be that much harder to repaint all of the cabinets. So that’s why you see different colored paint on these doors…
In the end, I realized that I had never changed the lighting in this room. Remember a few months back when I changed all of my lights from 2700K (warm white) to 5000K (daylight) because the warm white was distorting all of my colors? If you missed that post with the befores and afters (they’re pretty remarkable!), you can read all about that here.
Fortunately, this pantry has the type of recessed lights with several color temperature options, so I just had to pull each one down, flip a switch, and they were the right color. Then I added a couple of new light bulbs to the little chandelier, and the colors looked a whole lot better! I did still have to repaint the four doors and one drawer, but that took me all of about 15 minutes, so it wasn’t a big deal at all.
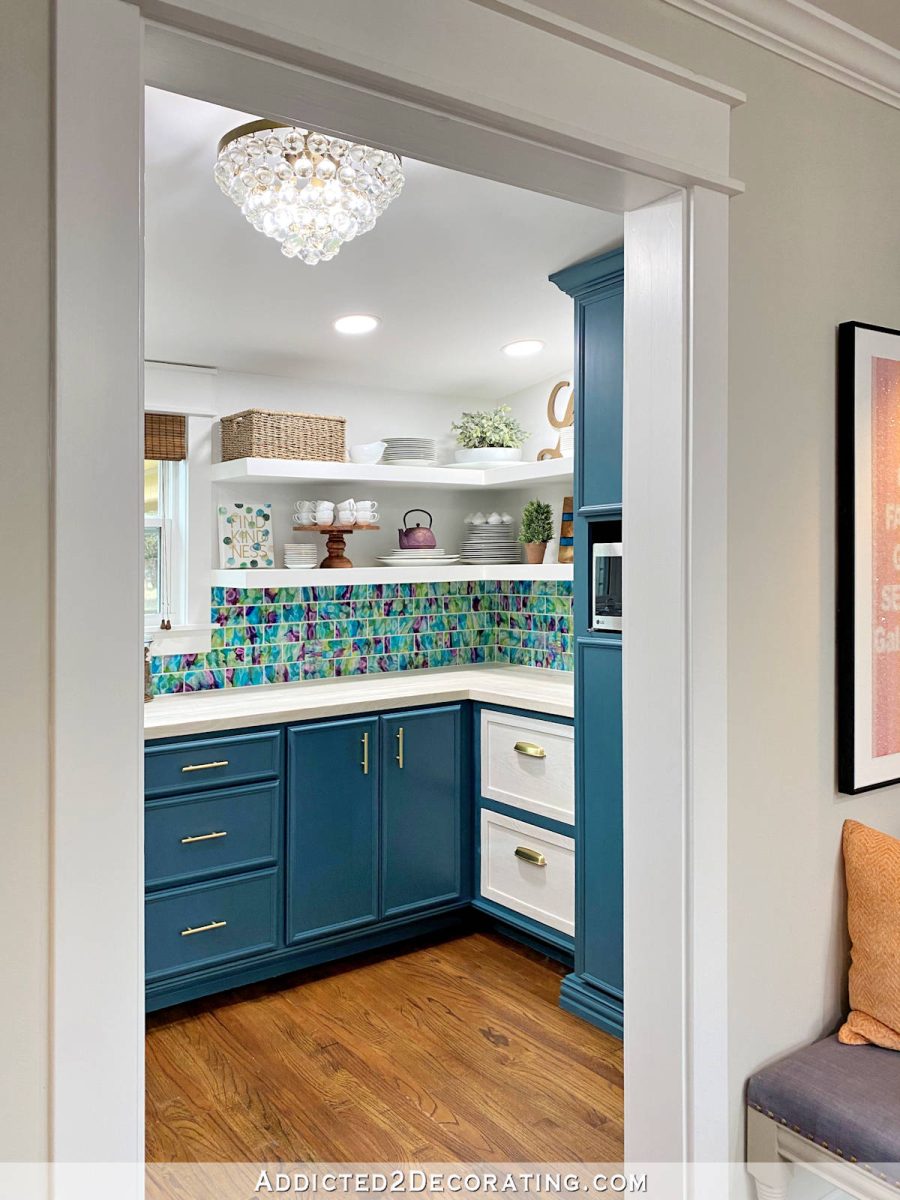
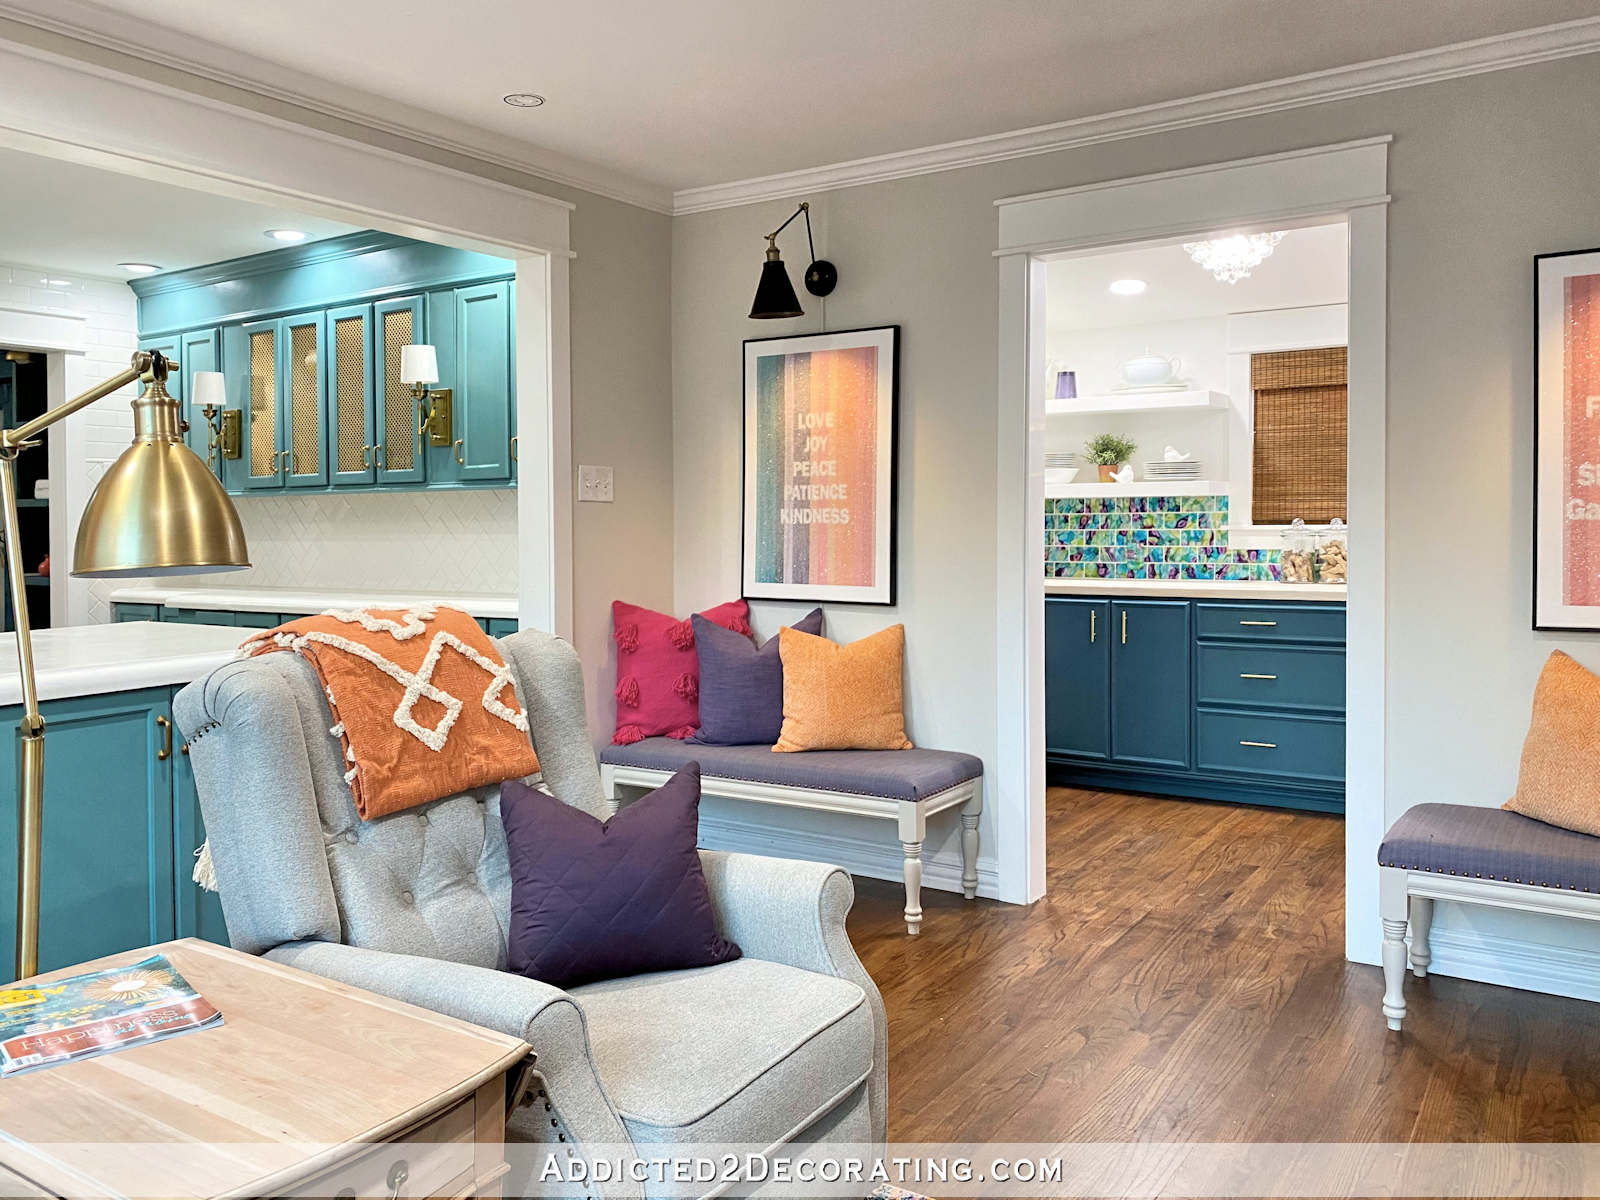
The biggest change I made to the pantry was removing the French doors. As much as I love French doors, and thought that they were so pretty on my little pantry, the fact of the matter is that I never closed them unless I was taking pictures. The rest of the time, they stayed open. And when they’re open, they’re up against the benches that flank this doorway, which made things feel a little cluttered, and made the benches feel closed in and boxed off.
I thought this would be a quick and easy project, but it turned out to be the most time-consuming of any of them. I had imagined removing the doors, filling a few nail holes, and then touching up with paint and being done. Well, not quite so fast! Going from a doorway with actual doors to a cased opening also requires removing this stop molding, which is only ever present when a doorway actually has a door that needs to be…well…stopped. 😀

If you remove doors from a doorway, and leave the stop molding, it’s pretty obvious that it wasn’t intended to be a cased opening, and it just looks halfway done. So that had to come off, too. And that was a bit more work that I had anticipated with all of the required wood filling and sanding and priming and painting.
But I’m glad I did it. I like having the pantry more visible and not hidden behind doors, or having those doors constantly open and resting up against the benches. Here’s how it looks now with a doorless cased opening.
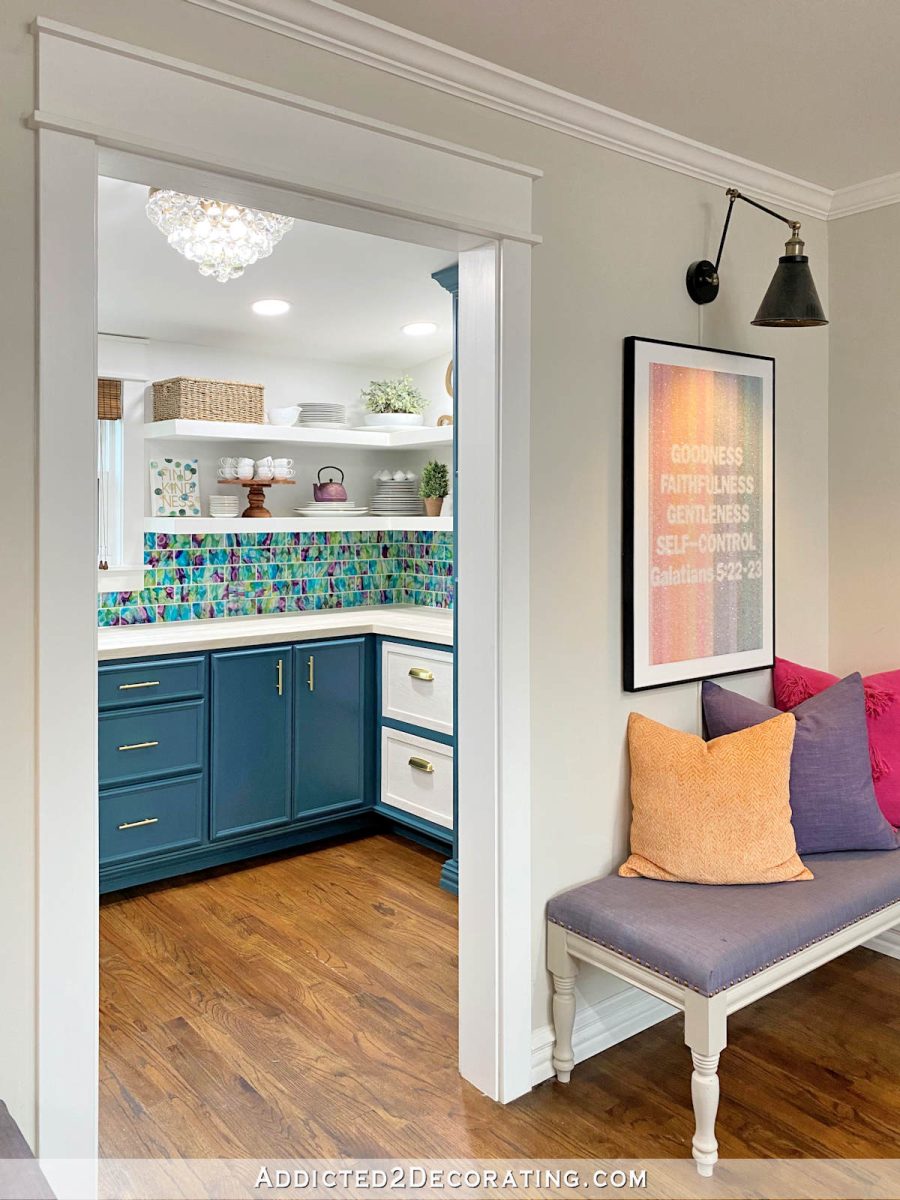
I do think it’ll take a little getting used to, because I’m so accustomed to seeing those French doors in this room. But really do like the openness of this area now.
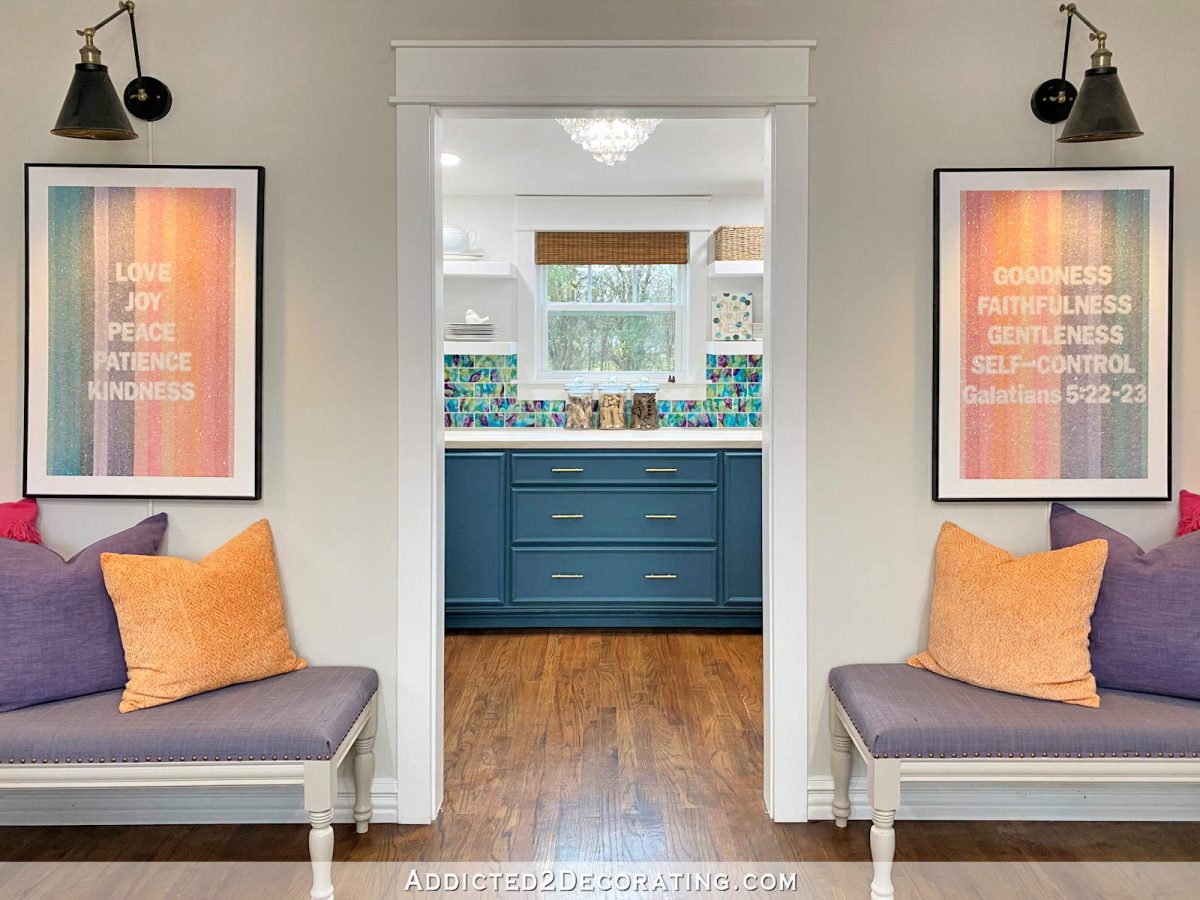
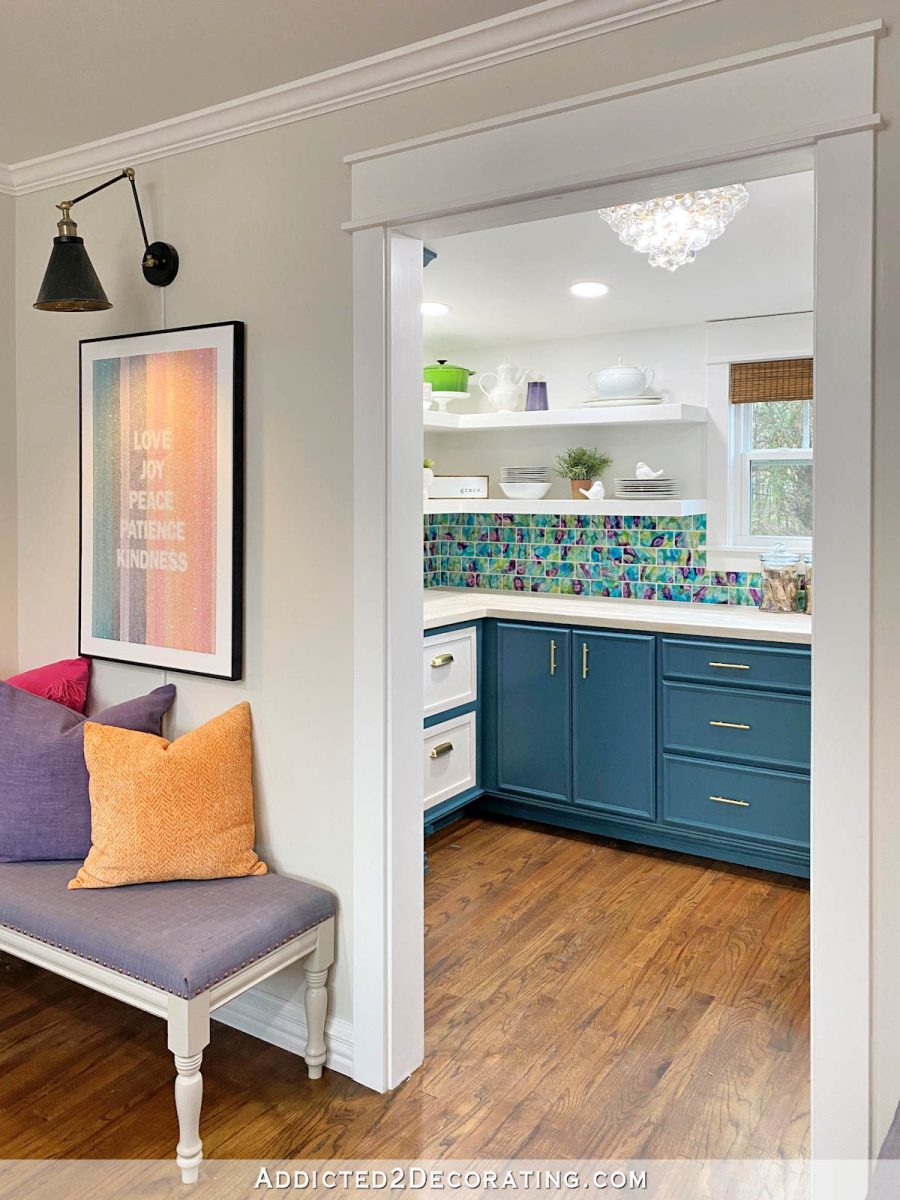
And honestly, I’m glad I kept the cabinet color. It’s the same color that I used on the bookshelves and doors in the music room, and both of these areas are visible from the front door of the house. So a change of color in here could have set off a chain reaction of changes, and that’s not really what I need in my life right now.
So the pantry is nice and clean, all of the repairs and maintenance are done, and it’s more open to the rest of the house now. And three years later, I still love my little pantry.
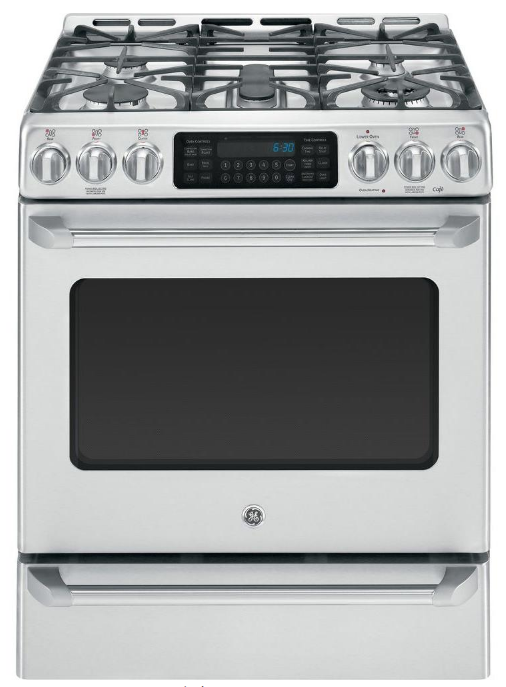
Just a note, the handle on the freezer is on the correct side for the way I use this. 🙂 If this were a kitchen, the handle would need to be on the other side. But the way I use it (come in from the kitchen, open the freezer and grab something, and the head back to the kitchen), this way works perfectly.

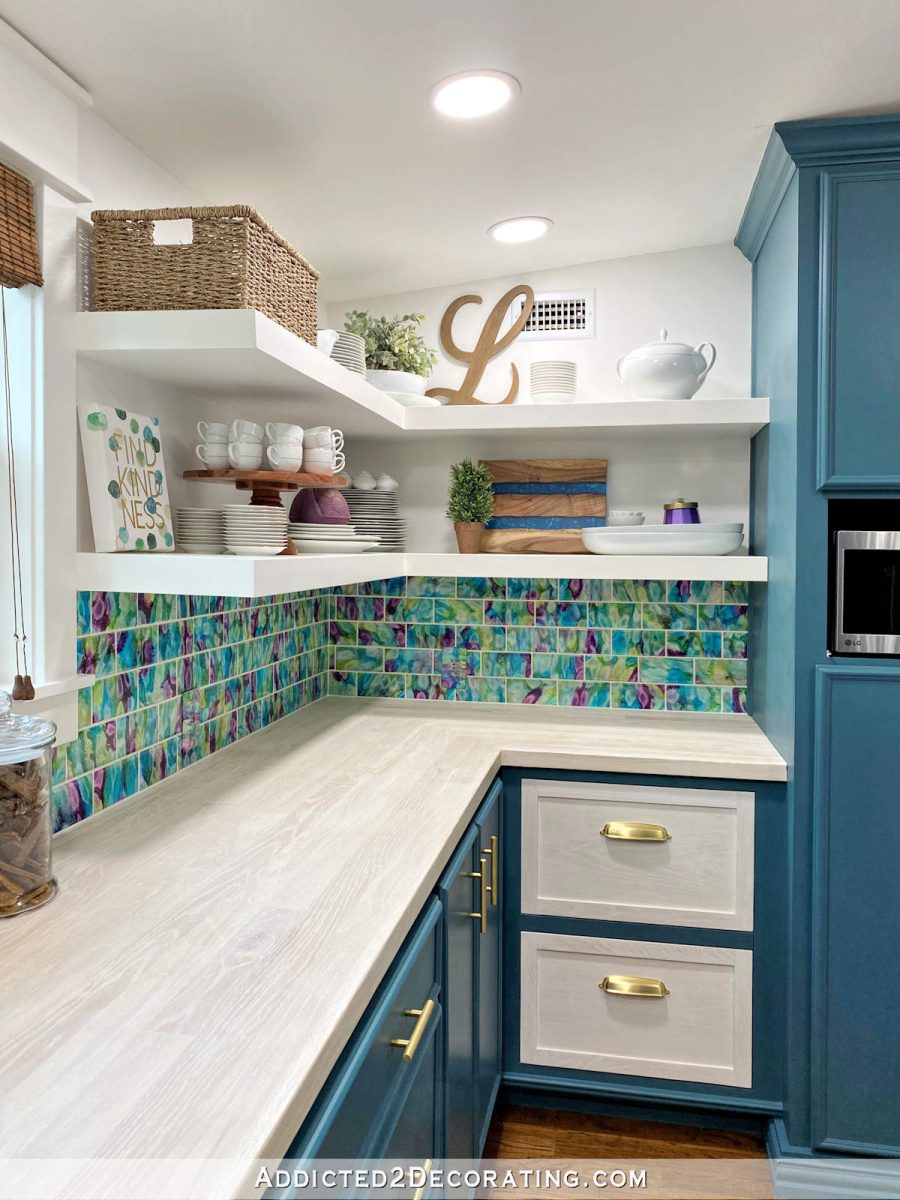
And one more update: I get questions pretty regularly about how my DIY alcohol ink and resin tile is holding up in the pantry. As you can see, it’s holding up perfectly! I don’t notice any color change (i.e., yellowing) in the resin at all. The colors still seem as vibrant today as they were day day I installed them. So while I’m still not sure if I’d recommend them for a kitchen backsplash, I have no problem recommending this project for an area that doesn’t get quite as much traffic and daily use as a kitchen does. If you missed my DIY resin/alcohol ink backsplash tile project, you can find that here.
Since the breakfast room (now, sitting room) is the most recently-finished room in the house, it shouldn’t need anything but a quick cleaning, and then I have some maintenance projects that I want to take care of in the kitchen. I’m thoroughly enjoying this process, and I’m very excited about starting off the new year with a clean house, and without a bunch of little nagging maintenance projects hanging over my head.

Addicted 2 Decorating is where I share my DIY and decorating journey as I remodel and decorate the 1948 fixer upper that my husband, Matt, and I bought in 2013. Matt has M.S. and is unable to do physical work, so I do the majority of the work on the house by myself. You can learn more about me here.
![I Have A Level Breakfast Room Floor! (Leveling A Concrete Floor With A New Layer Of Concrete) [VIDEO]](https://www.addicted2decorating.com/wp-content/uploads/2016/08/breakfast-room-leveling-the-concrete-floor-square-thumbnail.png)
Goodness! I love everything about that room!
The French doors were beautiful, but I can definitely see how they would be a hindrance rather than a help in this situation.
Love it all.
I remain in awe of your talent, drive, and skill. Love your blog and your projects!
It’s beautiful! Could you please provide a link for your bamboo shades?
I love seeing the pantry in all its glory again – it is still so very beautiful and I’m glad you kept the colour which is a perfect match for the tiles imho. You sound as if you enjoy this task and I’m happy for you that this way you are productive and still don’t overtax yourself in the last weeks of the year!
Your pantry is just adorable!! You should show it off!!
That pantry is still a winner, and anything that pretty should be highlighted and easy to enjoy!
Kristi, could you clarify why you wouldn’t necessarily recommend the tiles for a kitchen? They look rock-solid to me.
I actually think they would be perfectly fine in any area of a kitchen except for behind the stove. I don’t know this for sure, but I have a suspicion that heat may cause resin to yellow over time. I don’t know if you remember when I made a resin-coated countertop for the studio bathroom, but it yellowed terribly. I’ve tried to figure out why that happened, and I actually believe it was because the countertop was in an area of the house that wasn’t being air-conditioned. Since I wasn’t using the studio much at the time, I’d leave the A/C off and keep the door closed, and it got really hot in there. I think the heat may have caused it to yellow. I don’t know for sure, but it’s just a hunch.
I’m also not sure how it would hold up if hot oil/grease splattered on it.
But I’ve seen kitchens where there’s a solid surface behind the stove, and then a tile on the rest of the backsplash areas. I think that would work just fine.
You are inspiring me to fix some overlooked flaws in my house. I agree with all your modifications!
I love your pantry and am happy you kept the color! And I see a great difference without the doors. Looks amazing!!
Your light/bulb event inspired me to do my house. Oh my word what a difference. The brightness, esp. where we have the deep winter darkness makes such an incredible improvement. Now the bummer is when I go into other homes & buildings with poor lights!!! It is so pleasant, helpful even safer to have good lighting.
I am still just so in love with this room as i was when you did it!! Oh man!! ❤️❤️
Overjoyed for you!!!
*hugs*
I was curious why you have benches on each side outside of the pantry? I have this thing that space is valuable so I try to put furniture pieces that work for me, like a small bookcase or a three drawer chest. They have storage and are useful. The pictures you made are great so you could find shorter items that work for you. What you have looks nice but does anyone really sit there?
those swirly tiles are still so vibrant and beautiful. one of my favorite projects you’ve ever done.
Nice motivation, Kristi! I’ve got some areas that need a deep clean and some nagging maintenance chores too. It doesn’t take long to run a bead of caulk along the stairs….I should get to it!
Everything is beautiful, I am so impressed by you. To be able to do all these updates to your house is AMAZING.
Absolutley stunning…!!!
I still love your little pantry also!!! 🙂