We Have A Usable Shower!
*This post contains affiliate links.
It’s an exciting day here in the Linauer household. We finally have a usable shower in our new master bathroom. This shower was designed specifically for easy wheelchair access for Matt, and it’s going to be so nice for him.
It has a curbless entry (i.e., the shower floor is perfectly flush with the bathroom floor), a nice entry wide enough for his shower wheelchair to easily enter, and the shower itself is huge. I think that the ADA recommendations for a wheelchair accessible shower is that it should be no less than 60 inches (5 feet) square for a wheelchair to have enough room to turn. Our shower is about 7.5 feet by 7 feet. This shower is almost as big as our entire hallway bathroom.
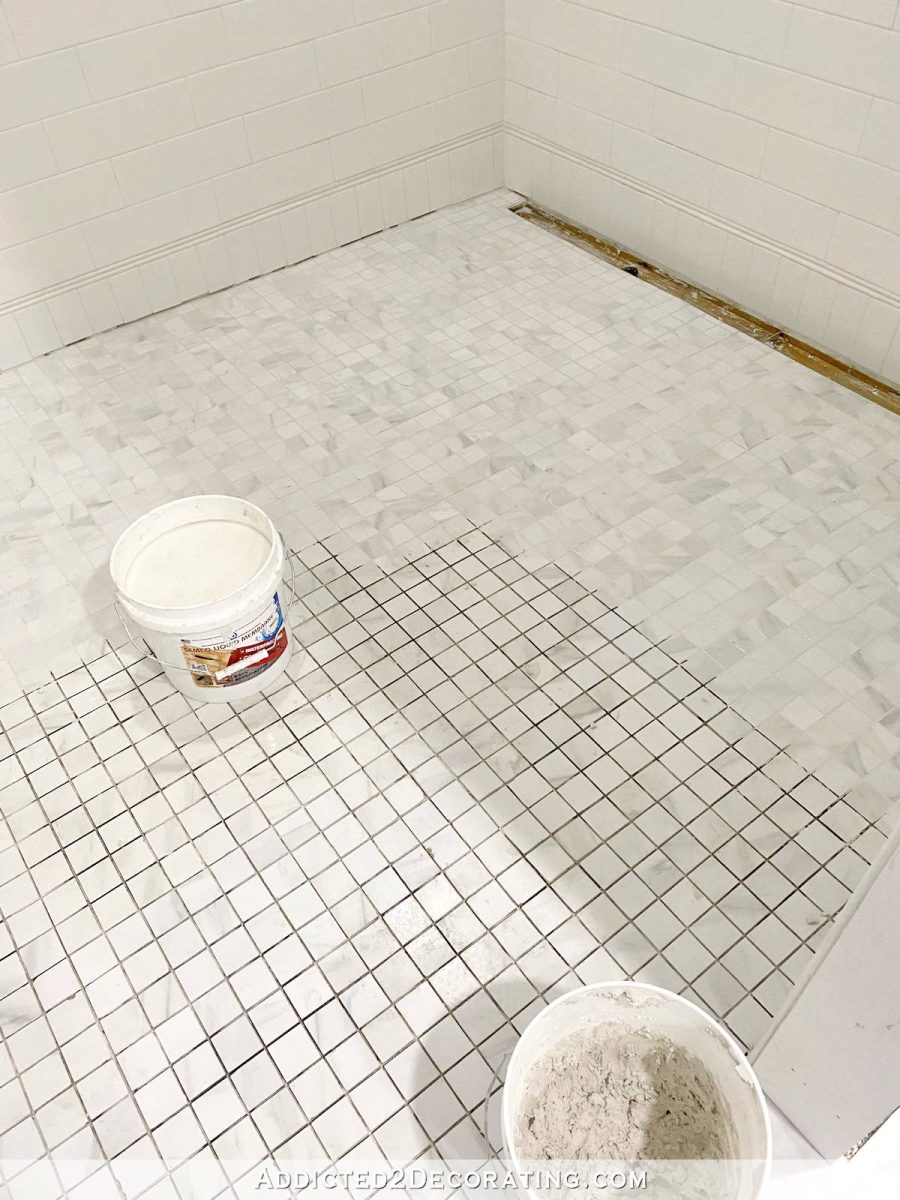
The last time I shared about the bathroom, I had installed some of the plumbing fixtures, but I still needed to grout the floor and caulk the corners and along the floor. Here’s what the ungrouted shower floor looked like…
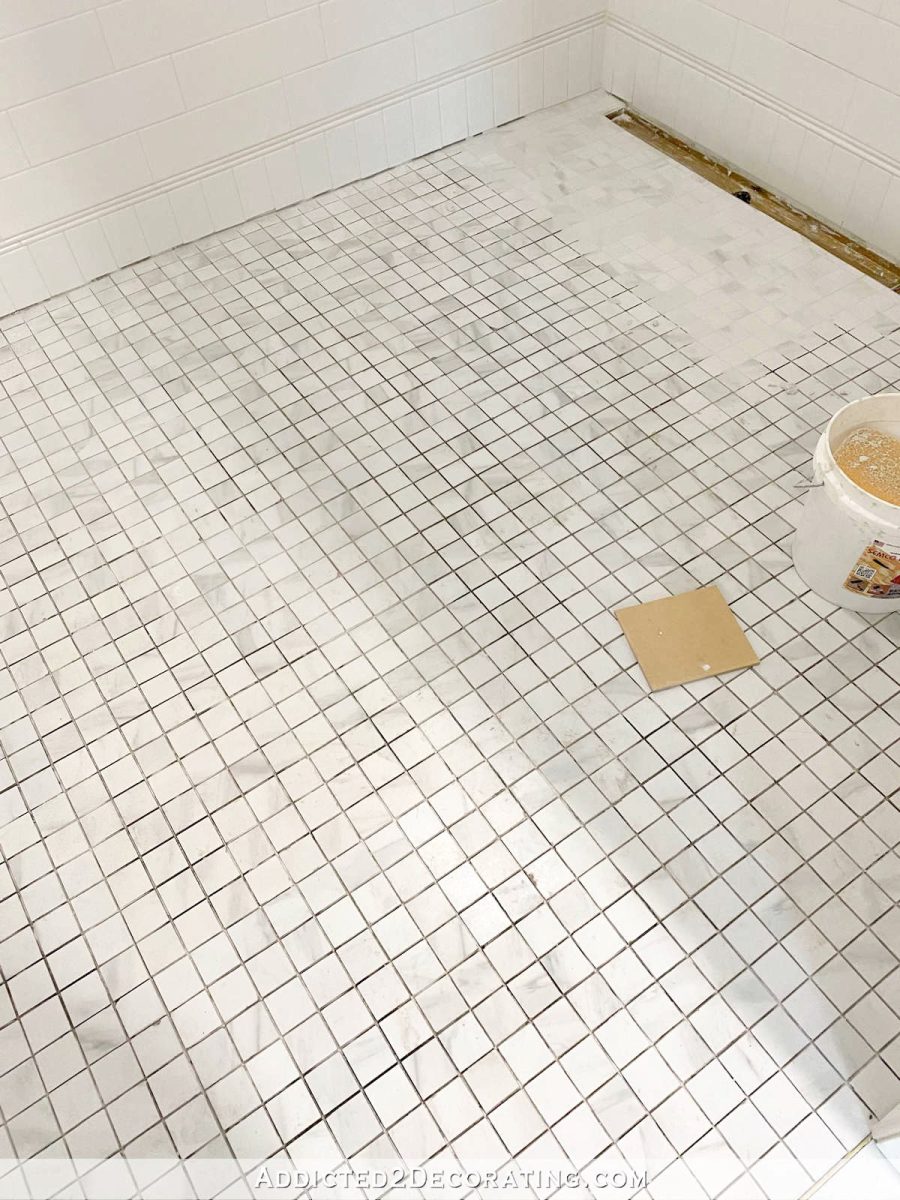
For the floors, I used Kolasus white 2″ x 2″ square tiles that come in 12″ x 12″ sheets from Home Depot.
It really is amazing the difference that grout can make. It’s magical! 😀 For this whole shower — walls and floor — I used Bright White grout. I know I’ll have people ask me if I worry about having white grout in this shower, but I really don’t. I love white grout, and if and when it starts getting a little grungy-looking (as in, discoloration that can’t be cleaned no matter how much I scrub), Grout Renew can bring it back to its bright white color.
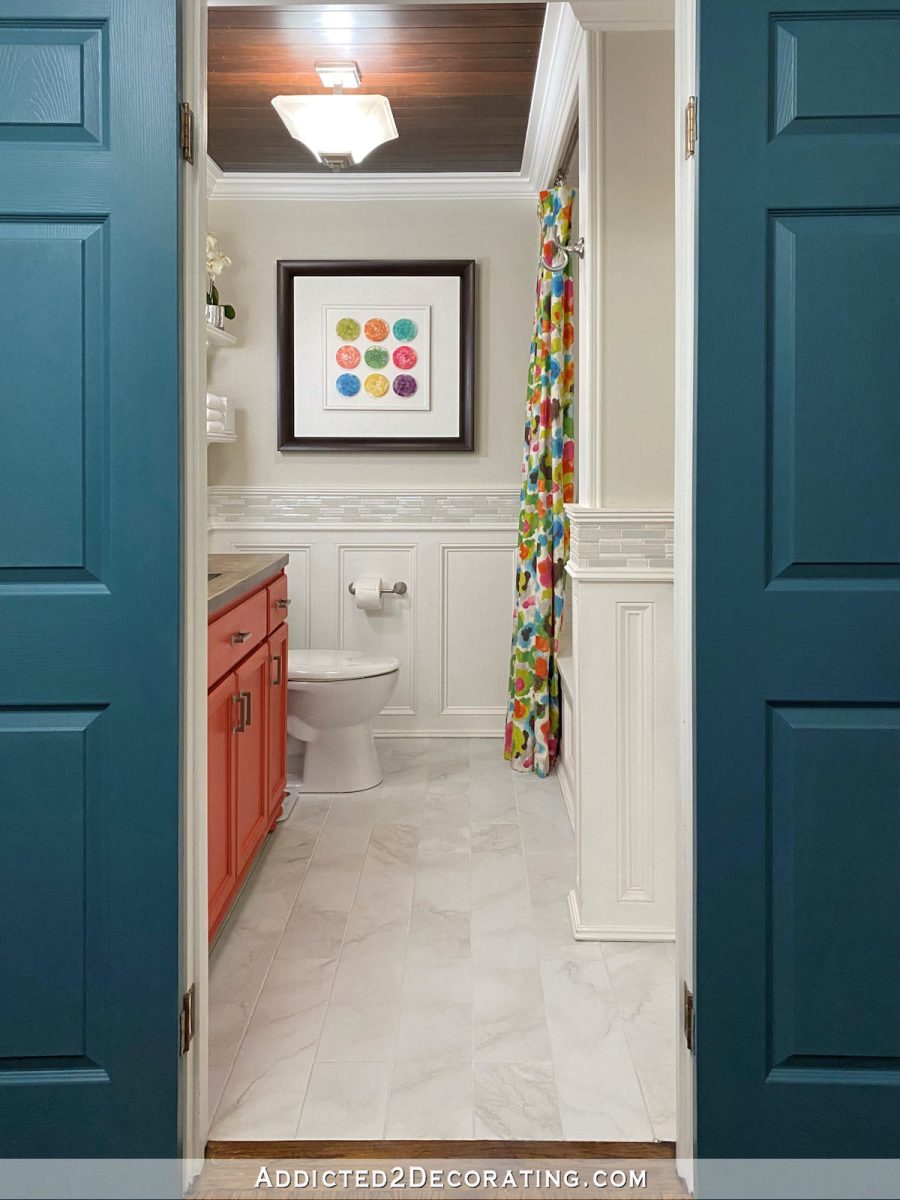
In fact, I just used Grout Renew on the hallway bathroom floor. That floor also has Bright White grout, and after several years, the grout was starting to look a bit dingy. When it gets to the point that no matter how much I scrub it (trying a Magic Eraser, vinegar in water, baking soda, etc.), I know it’s time for Grout Renew. So I took about 30 minutes the other day (it’s a small bathroom) and Grout Renewed the floor so that it looks bright and clean and new again.
I pretty much consider Grout Renewing the grout on floors to be part of deep cleaning my house every few years just to keep the grout looking bright and fresh.
So if I have to do that in this shower every few years, I’m okay with that. Anyway, here’s what the shower floor looks like fully grouted, and with the corners all caulked.

I just love the huge difference that grout makes!
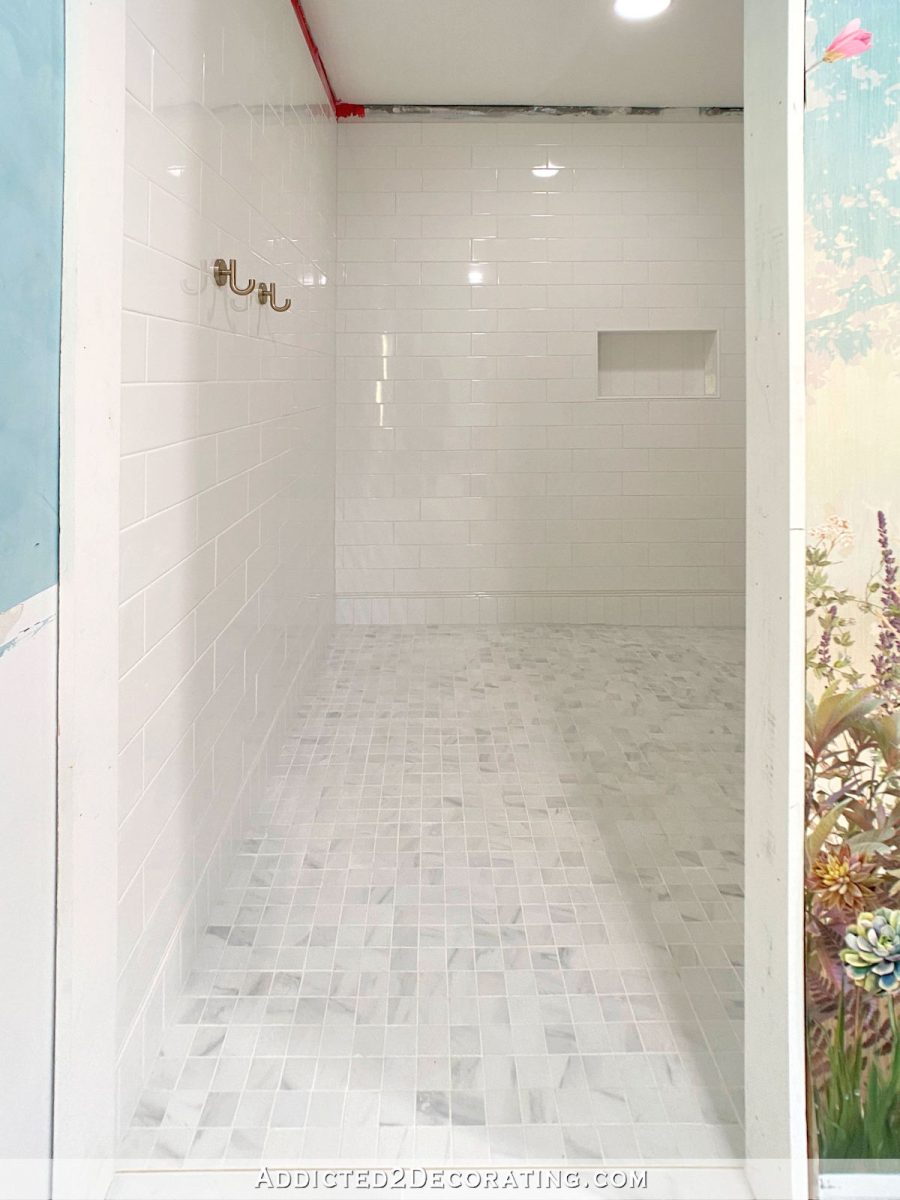
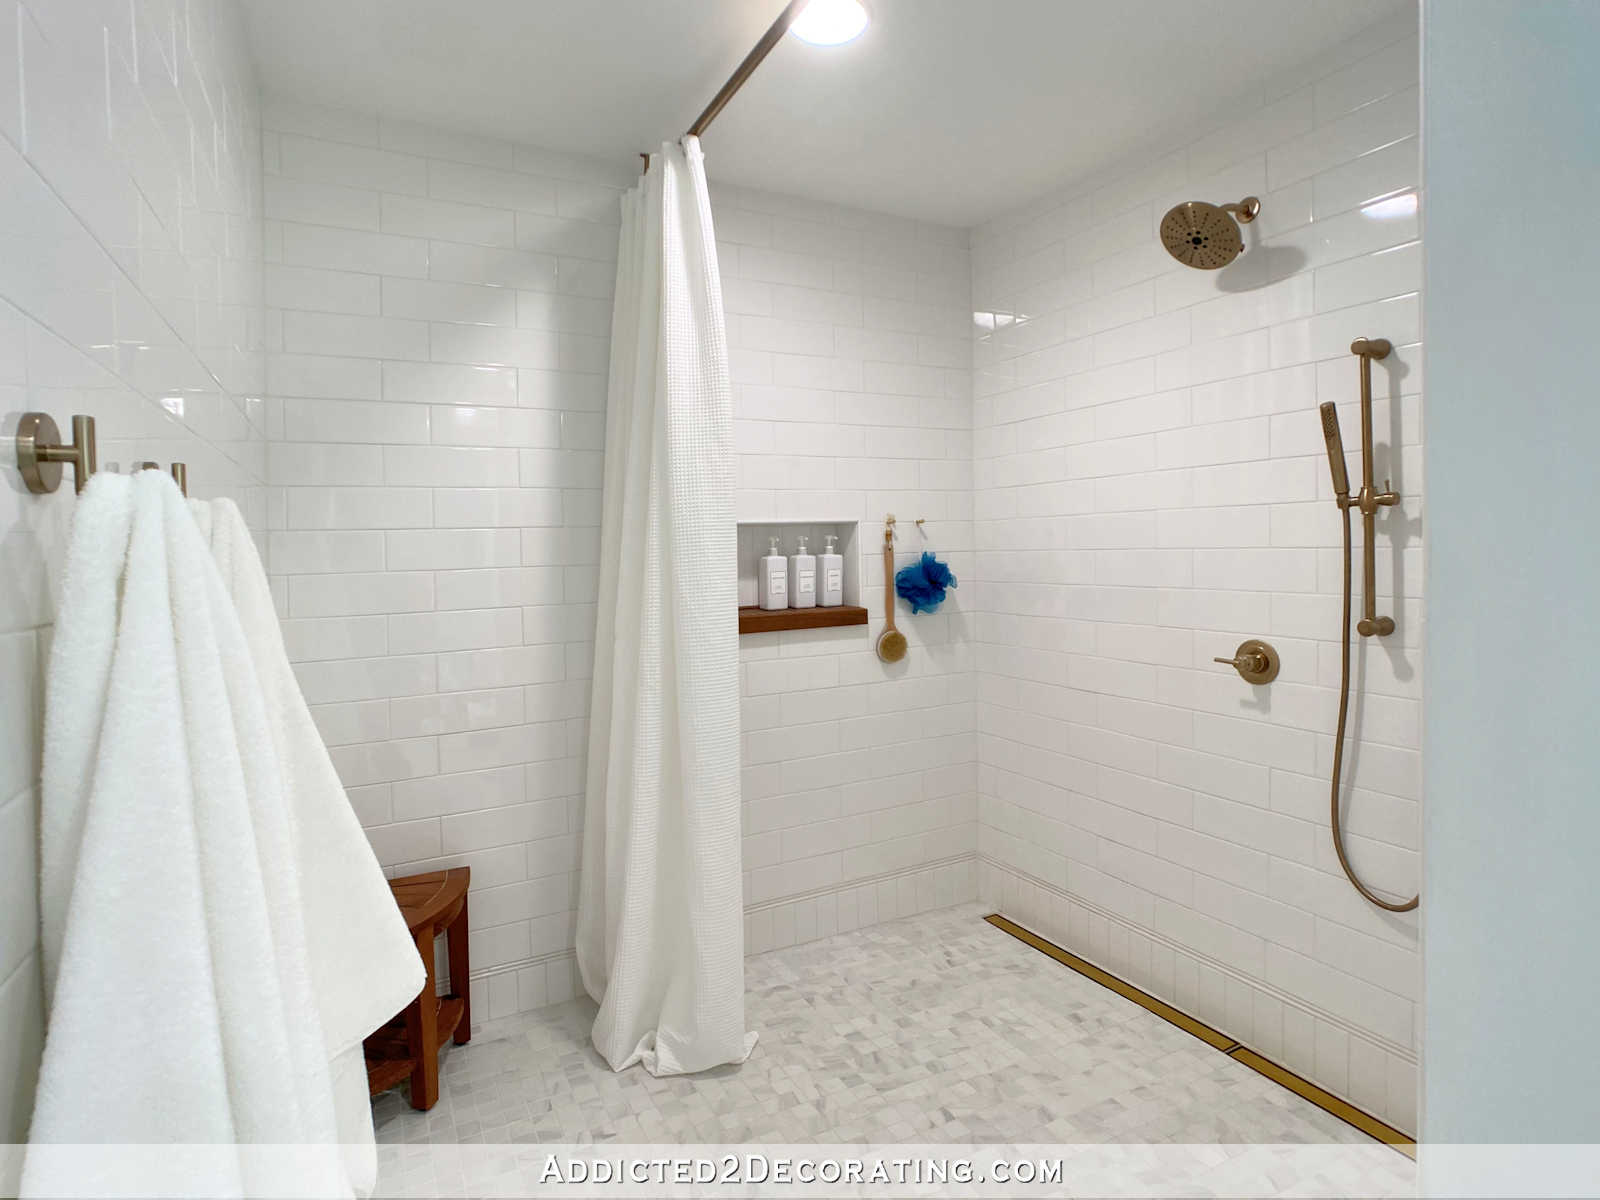
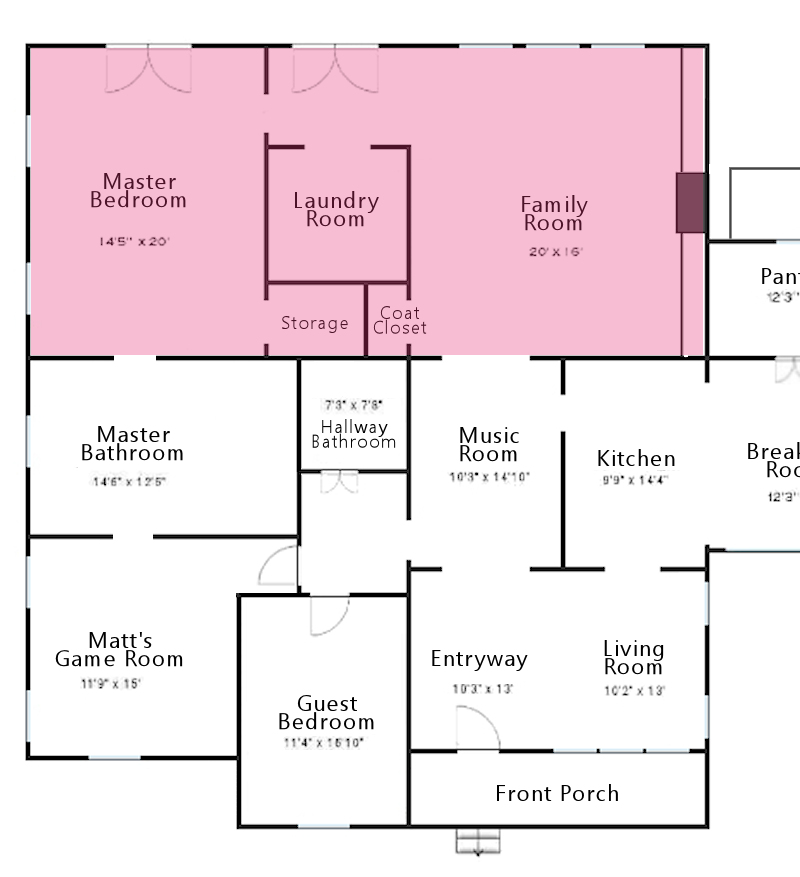
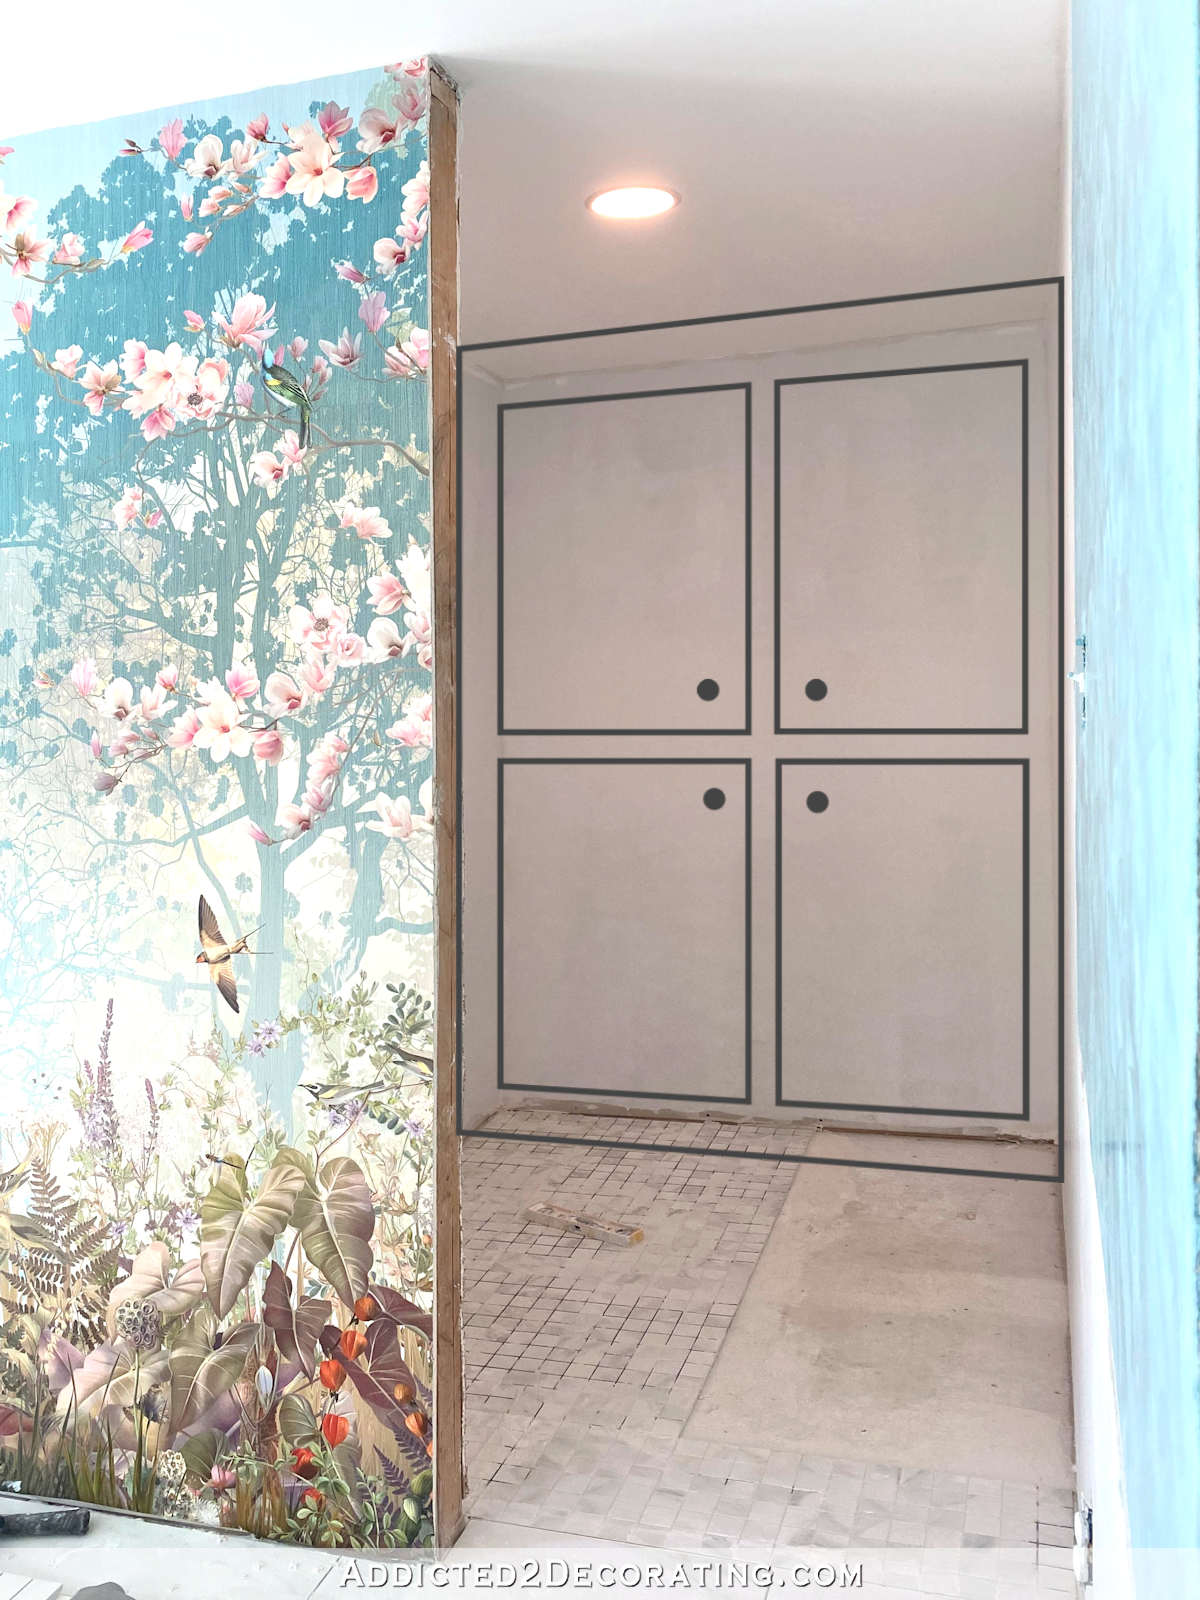
Here’s the whole “tour” of the shower as it looks now. The shower is located behind the mural wall, and is accessible via this entrance on the left side of the mural wall. (The bathtub will sit in front of the mural wall.) The bathroom floor isn’t finished yet, but you can see that the shower has a curbless entry.
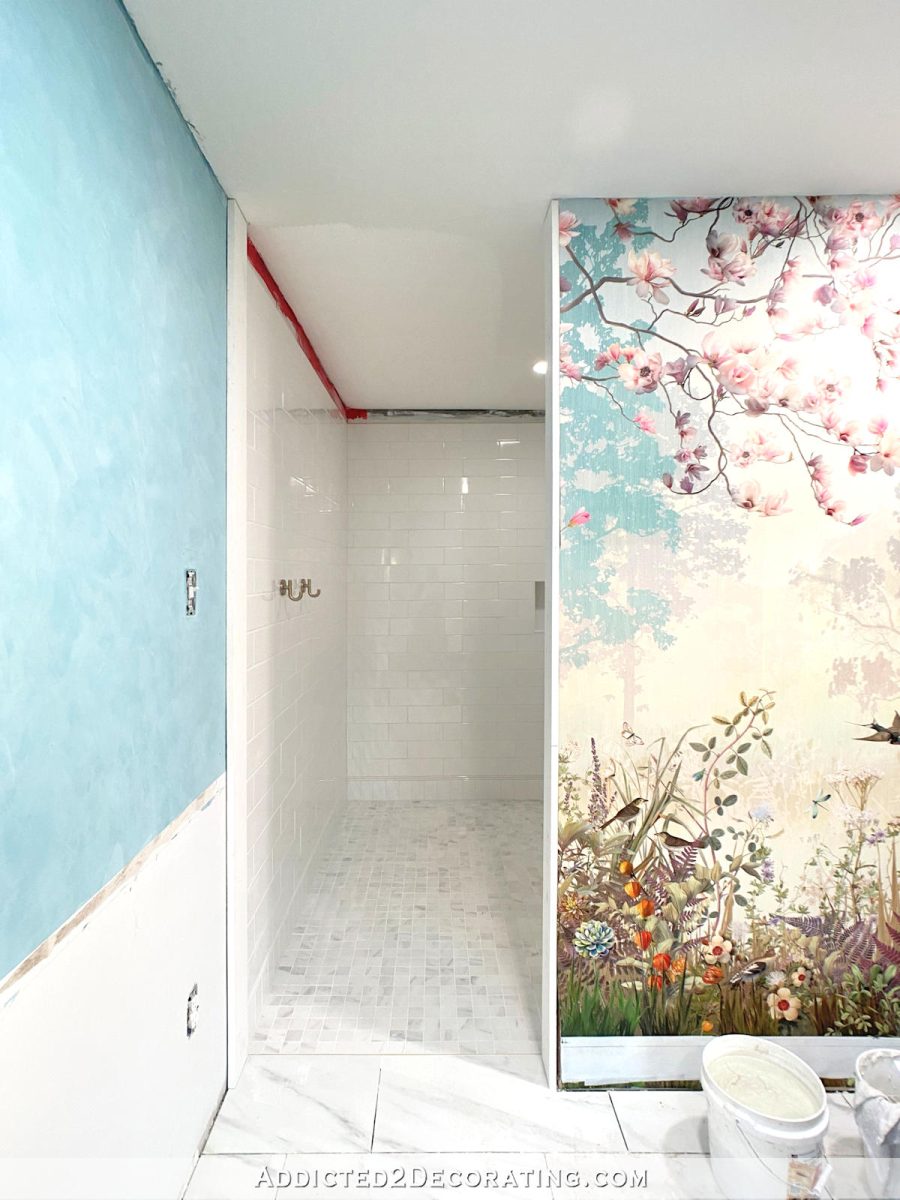
For the shower walls, I used Daltile Restore 4″ x 16″ bright white subway tiles, also from Home Depot.
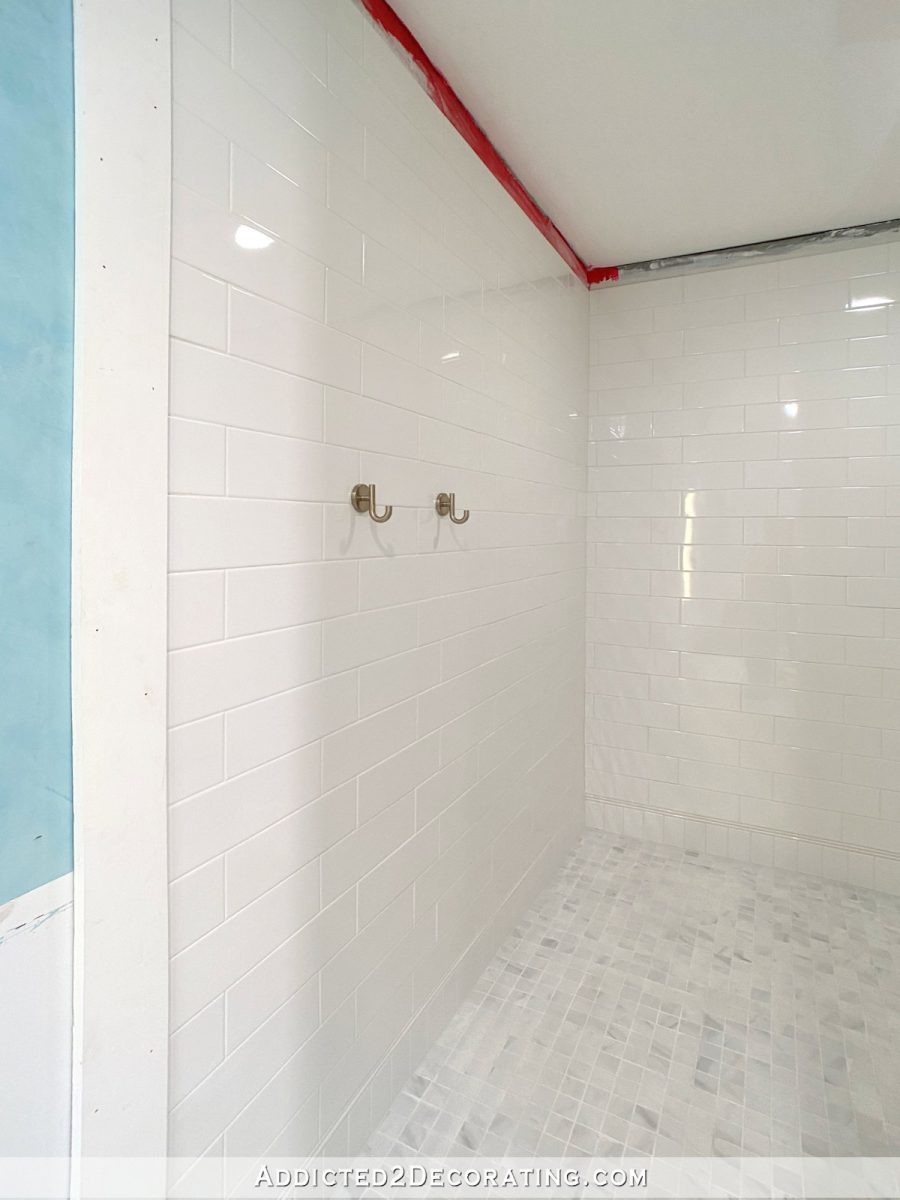
I installed two towel hooks close to the entry of the shower, but I put them inside the shower. I don’t want towels hanging on the bathroom wall, and this back wall of the shower is far enough away from the shower head that I’m fairly certain they’ll remain dry.
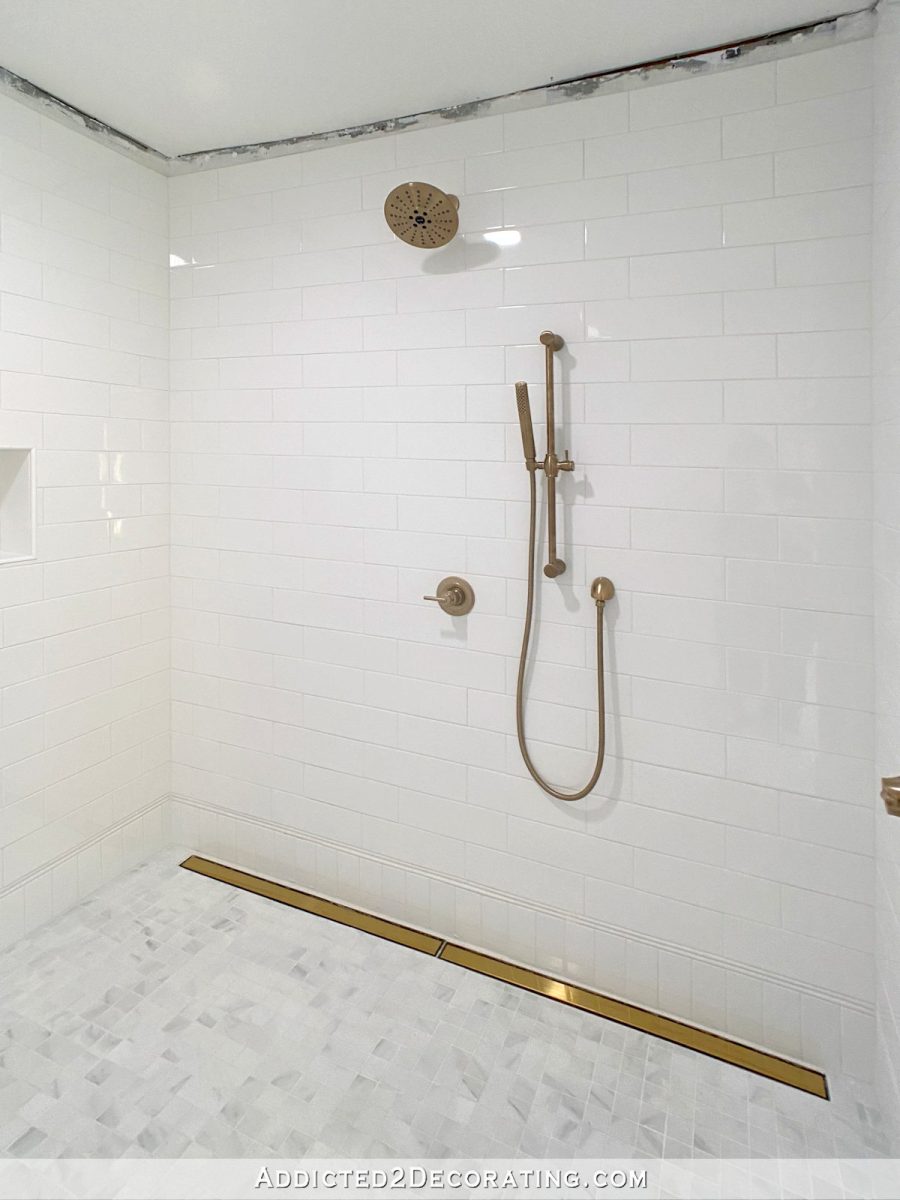
In this photo below, you can see where the slope of the floor starts. And of course, it slopes towards the linear drains that are against the wall with the shower head. The shower niche (we just have one small shower niche since neither of us is really a “products” kind of person) is on the wall opposite the shower entry. One niche is enough for us.
Below, you can see one of the linear drains, and you can see more of the slope if you look a the bottom of the niche wall. Again, that wall is about 7.5 feet wide.
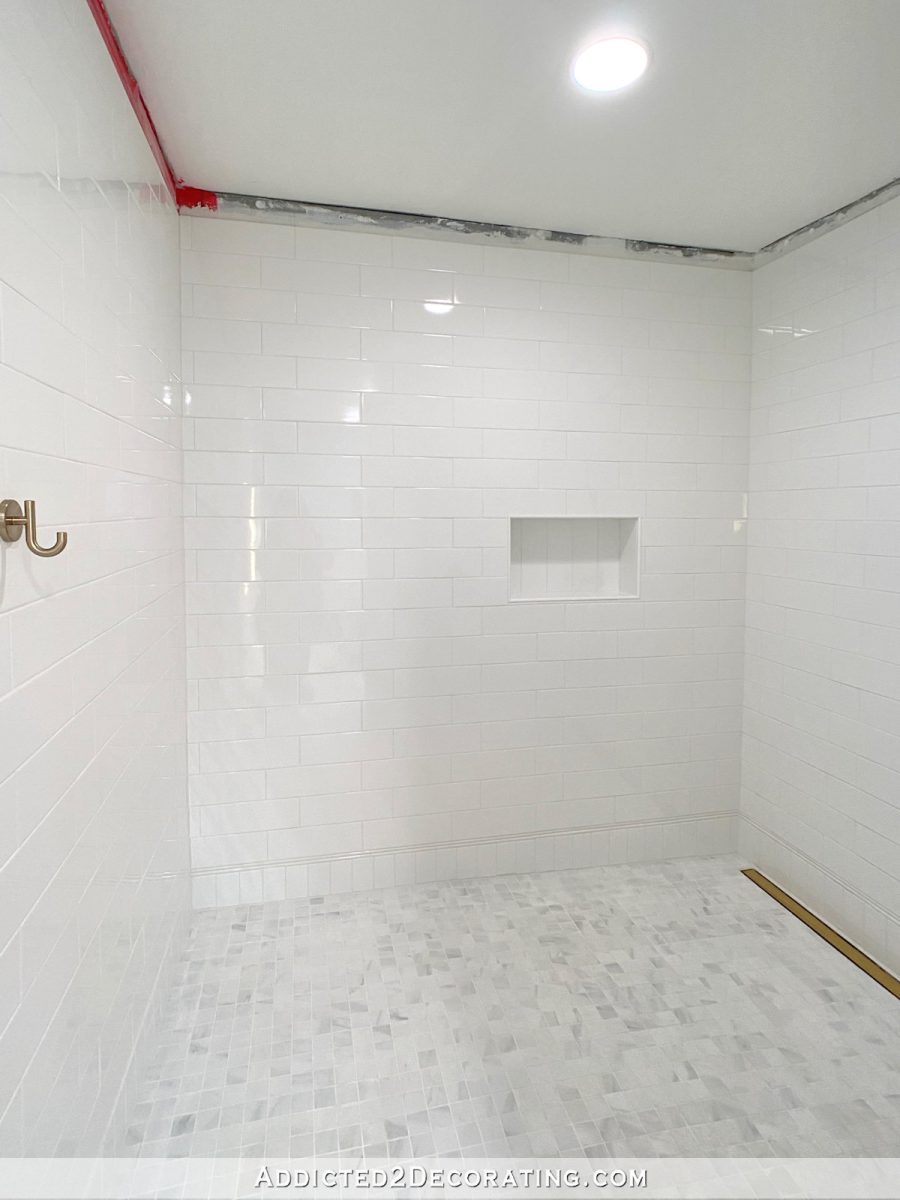
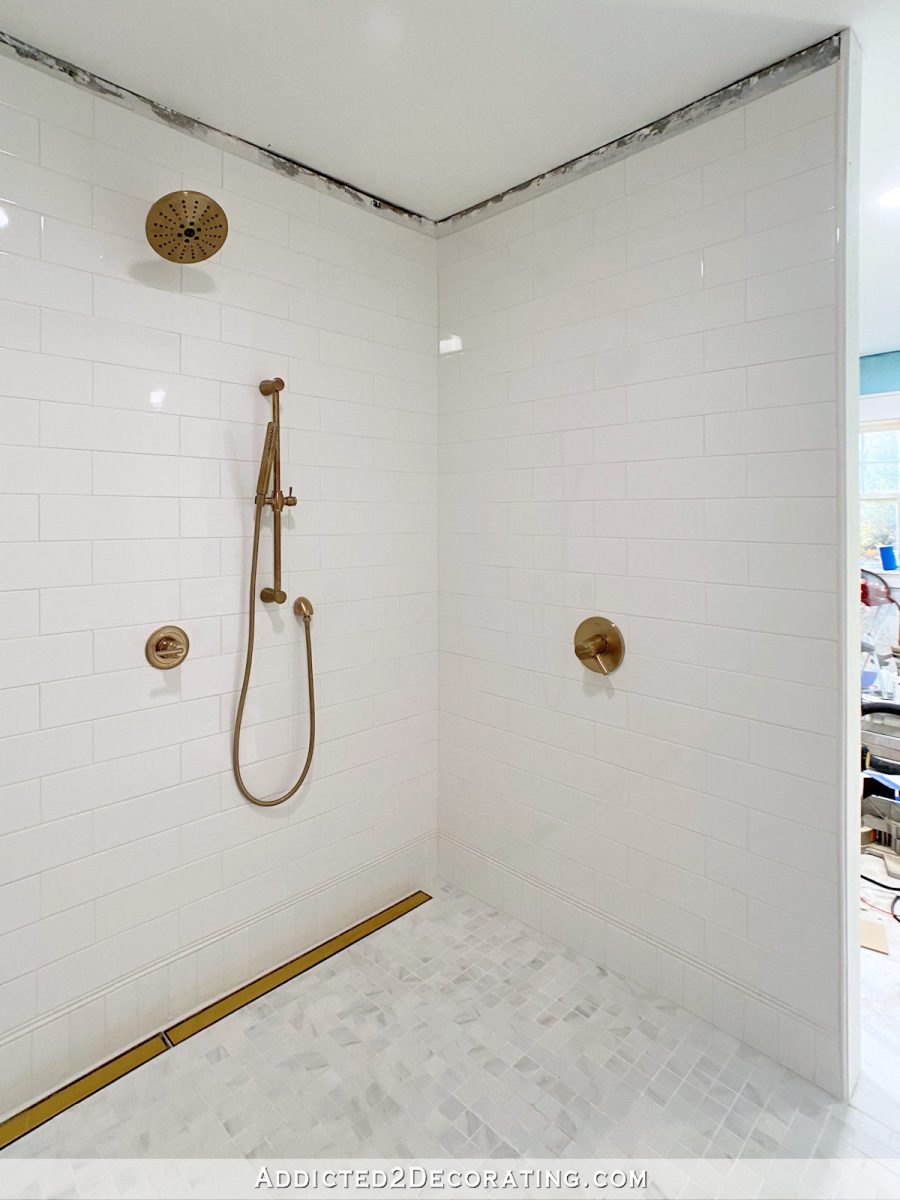
We have two linear drains to span that wall. And this wall has the shower head, handheld sprayer, and three-way diverter.
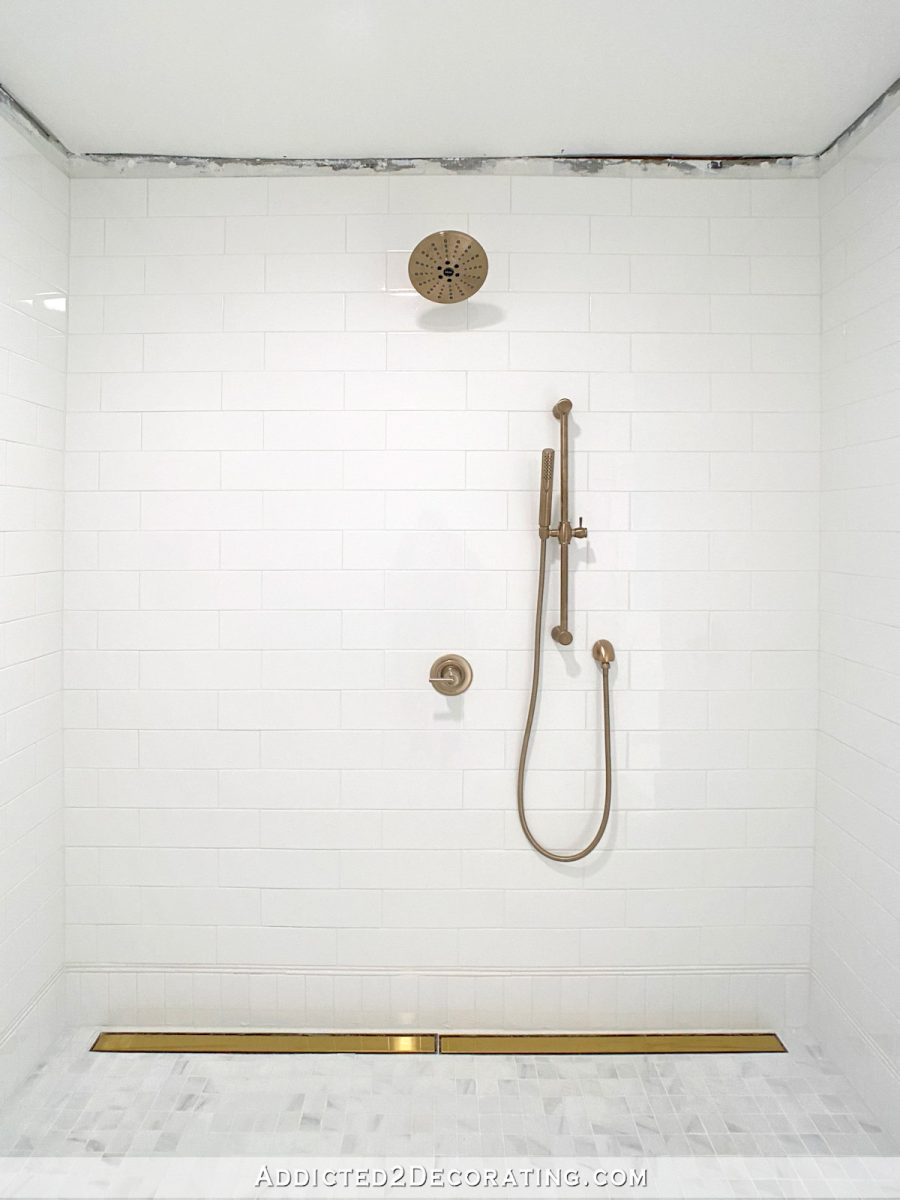
The fixtures are Delta Trinsic in Champagne Bronze. The linear drains are Neodrain 36-inch linear drains that I found on Amazon.
The actual water control valve is on the side wall. That way I can just reach inside and turn the water on without getting wet.
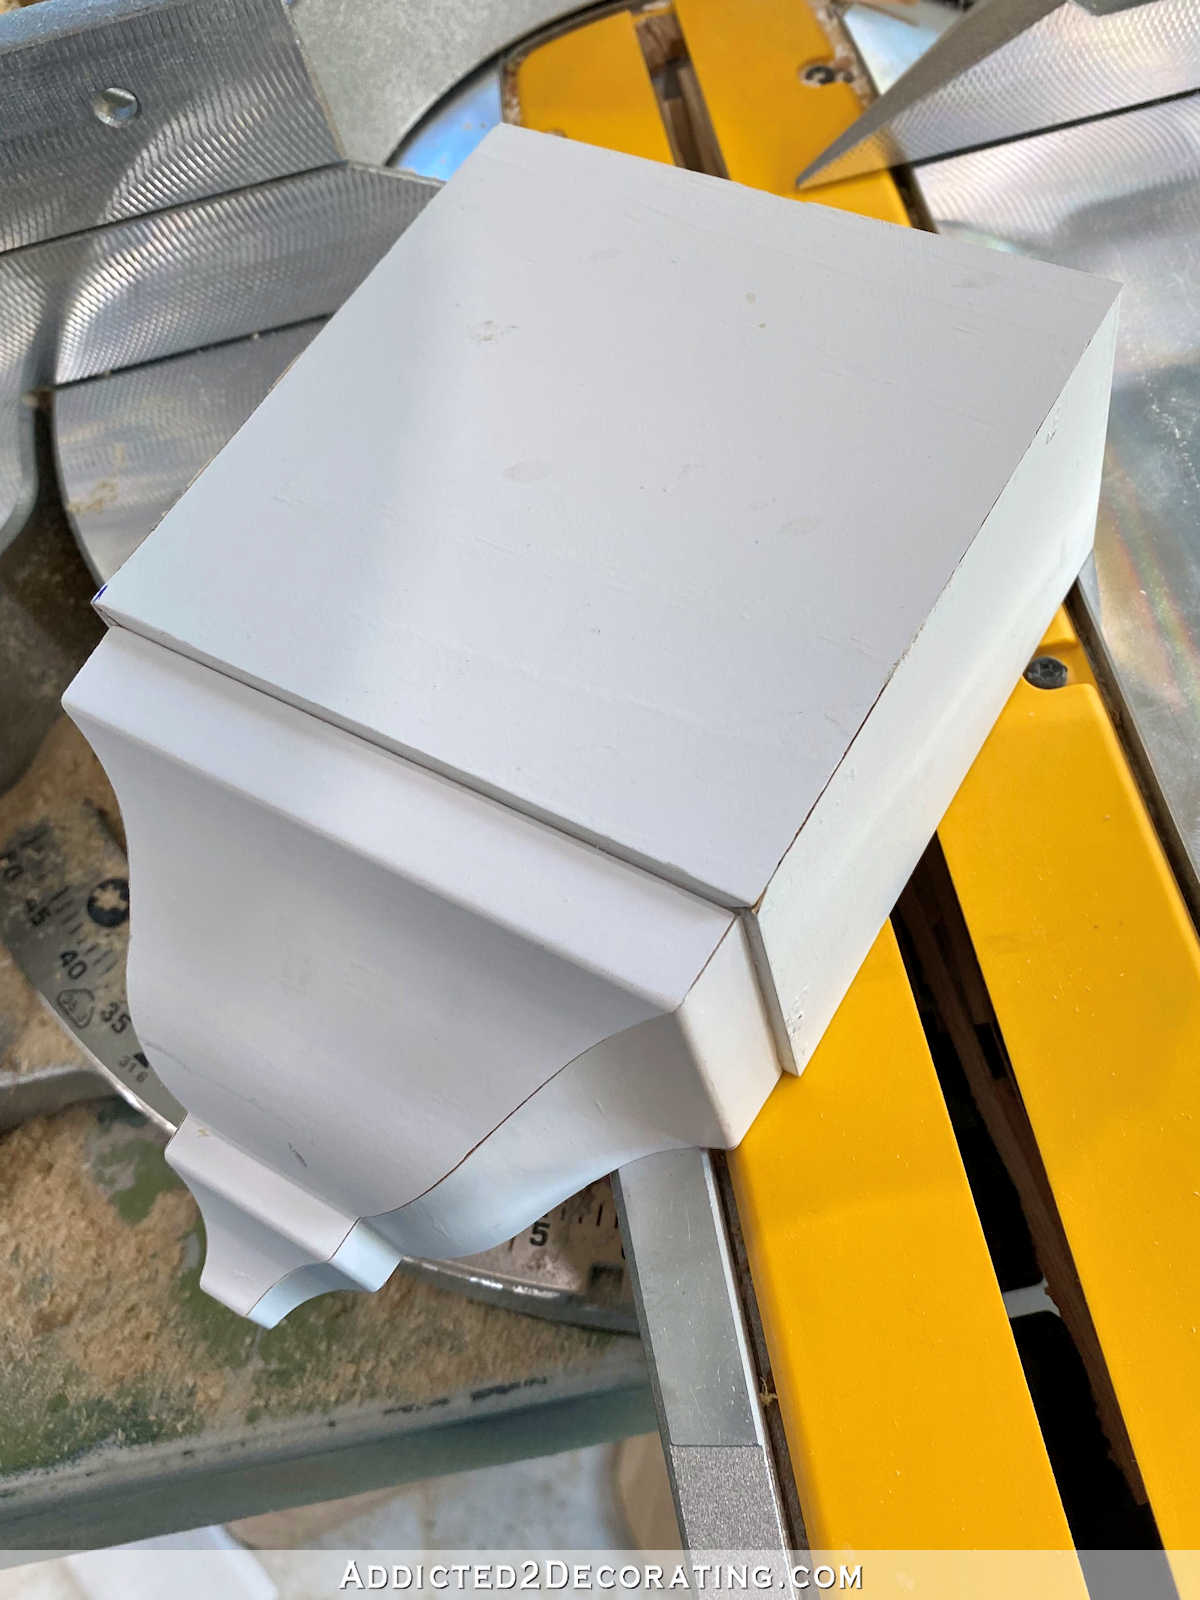
So it’s finally usable! And overall, it’s about 95% finished. It has felt like a Herculean task to get it to this point, so the rest should be easy. I still need to add trim to the top, and I’m actually going to carry the same crown molding and trim that I use in the rest of the bathroom right into the shower. I know that seems a bit unorthodox, but I’ve given it a ton of thought, and I’ll share my thoughts on it in a later post.
For now, I have a dog and a husband who need showers. 😀

Addicted 2 Decorating is where I share my DIY and decorating journey as I remodel and decorate the 1948 fixer upper that my husband, Matt, and I bought in 2013. Matt has M.S. and is unable to do physical work, so I do the majority of the work on the house by myself. You can learn more about me here.

I have a 4’ x 3’ fiberglass shower that I wanted replaced with a tile one. Two estimates came in at $6,000. Not including cost of tile. So, I would say you easily saved yourself about $25,000. And it looks amazing! I was so ready to see more progress.
Once when I was flipping out at the difference grout made in a new bathroom, my contractor’s wife said “tile is the makeup, and grout is the lipstick.”
Great work, Kristi! Of all your projects, I would imagine this shower will make the biggest impact on daily living, plus it is beautiful. You are amazing.
Can you link the “grout renew” product you use? When I Google and look on Amazon, I get a lot of options and I’m not sure which product to purchase to try on my bathroom shower. Thanks.
If you have a Home Depot locally, you’ll want to buy it there. It’s about $15 per bottle. On Amazon, the only listing I found for it was over $30 for a bottle. I didn’t check closely, so maybe those bottles are double the size of the ones I get. But I’ve only ever seen one size.
Here’s what I use: https://www.homedepot.com/p/Custom-Building-Products-Polyblend-381-Bright-White-8-oz-Grout-Renew-Colorant-GCL381HPT/203498062
Thanks so much!!
I really hope Matt enjoys his first shower! This is so exciting for your family! He has been so supportive of your vision, I couldn’t be happier for the two of you.
of all the beautiful rooms in your house, the pantry is my favorite. I think the bathroom is about to pass the pantry. everything is so well planned and beautiful. keep those posts coming…I am addicted to addicted2decorating!
Totally agree! I have been in LOVE with that pantry…but after the mural went up and the walls were done 💖💖
I’m very impressed by your well thought out details in this space! It looks beautiful and is super functional. I’ve always had issues with my shower caulk until I switched to a sanded caulk; what did you use on this project?
I also used sanded caulk in bright white. I think the brand is Polyblend from Home Depot.
I would like to hear more about sanded caulk (I didn’t know that was a thing!) vs regular latex or silicone caulk. I’m sure you’ll have a “details” post at some point, I hope you include your pros/cons for the little things like caulk in there too!
Wow! Looks amazing! I love the towel hooks too. Can’t wait to see the entire room finished!
Your bathroom is looking so pretty. You do amazing work. Sometime when you have some extra time would you be able to do a segment on tile grouting and caulking. I have both that need to be done but don’t know how to best do it.
One word. GORGEOUS.
A clean dog and a clean husband are good things, lol. Happy for you all!
Beautiful! I knew you would finish this! After you did your mom’s floor with grout renew, I was inspired to do mine. It made a huge difference. My tile is 20 years old and I don’t like it but it completely transformed it. I used the Bone color on a light bone tile that had a darker grout. Very refreshed. The floor looked kind of like your mom’s. Still looks great a year later. I did a large amount with 1 bottle. Still some left for touch up.
What a marvelous shower. YOU DID GOOD with this with making it easily accessable for your husband. Looks like anybody would enjoy taking a shower in there. Can’t wait to see the bathtub installed.
I follow GoCleanCo on IG, and she recommends 1 tsp powdered Tide, 1 cup bleach, and 1 gallon of hot water to scrub showers clean. It works. She has lots of cleaning tips using minimal products.
I’m SO happy for you.
Love it!
If I said I wasn’t jealous, I would be lying. THIS IS AWESOME!
Ooooooh! Looking so good!
YAY! Kristi you have had a very productive couple of days! It’s so exciting to see this bathroom coming to fruition and it looks like you put up the new wallpaper too!
Once when I was flipping out at the difference grout made in a new bathroom, my contractor’s wife said “tile is the makeup, and grout is the lipstick.”
Kristi I just love your decorating style. I’d love to add color like you do but am a bit timid. I’ll keep looking at your photos and loving everyone!
It’s so beautiful! I am not the person who would keep white grout clean, but it sure is lovely. Did you have details about the shower niche design? I don’t have confidence in my husband’s ability to tile one in perfectly when we start on our tile surround so I bought a one piece porcelain niche insert, but it looks kinda old school.
YIPPEE!!! I’m sure Matt can’t wait to try it out, and you as well! Now, I don’t know about the dog. If he’s like mine, ours runs when she hears the hall bath tub water!!! She hates getting bathed! Seriously, it turned out awesome. but I would maybe add a hook or two near the shower wall itself, for a washcloth or scrubbie to hang from.
👏HOORAY! You will both love your inaugural shower!
The shower is fabulous! No surprise there. I’m amazed that you did all that work yourself, Kristi. It looks so professionally finished. You’re a machine!
Beautiful!! The title with the white grout is absolutely stunning!
So happy for you Kristi!!
Amazing. I don’t even know how you find the energy and time to plan, and make it all a reality. It’s wonderful!
You are amazing and so creative and skilled!!!!
Kristi I have also just done a bath re-tile with the same tiles but in a larger size. Would you recommend a sealant after the grouting? Your bathroom is going to be gorgeous when its all done.
I can’t recommend a sealer because I’ve honestly never used one that I’ve been satisfied with. I’m not sure what I’ll use on this tile. Quite honestly, I’ve done tile jobs where I let the grout dry, and then immediately used the Grout Renew. It seals the grout better than any grout sealer I’ve ever tried.
Can we get Matt’s opinion of the shower? Did he absolutely love it???
He loves it! He said it’s “like a locker room.” At first, I didn’t know what he meant. I thought he was saying that the bathroom looks like a locker room, and that didn’t sound very positive to me. I was almost offended. 😀 But he was just talking about the size of the shower, and how men’s locker rooms often have one big shower room with a row of shower heads. 😀 He said our shower is big enough to have a few shower heads across the wall. 😀 He was joking, of course. (And I’m so glad I’ve never had to use a locker room like that!!) He loves all of the room in the shower. We’re both so thankful to have this now! It will definitely make life for both of us much easier from here on out.
Awesome! That is just so GREAT!! I am glad you are both HAPPY!!!
Congratulations! It’s looks awesome… so pretty!