Simple Quilted Patchwork Throw
Well, time got away from me, and I didn’t have time to make the pillow I wanted to make for today’s tutorial. It’ll be coming up in the next couple of week. For now, I thought I’d go ahead and write up the tutorial for the patchwork quilted throw, since so many people seem to love these. This project is a little more involved that the other Crafty Tute Tuesday projects, but I feel certain you can do it!
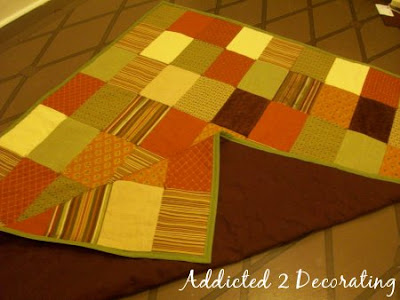
They’re really not difficult to make if you have basic sewing skills (you just need to know how to sew a straight line), and you can even use scrap fabrics and clothing that you no longer wear.
Here’s what you’ll need:
- cereal box or other thin cardboard
- marking pen (I used a very fine Sharpie marker)
- straight pins
- approx. 1/3 yard of 12 different fabrics
- 2 yards of cotton batting (or you can purchase pre-packaged batting in your preferred size)
- 2 or 3 packages of quilt binding
- 1 skein of embroidery floss
- approx. 2 yards of fabric for backing
- thread
- large eye needle (such as embroidery or upholstery needle)
- sewing machine
- steam iron
Alrighty, let’s get started!
1. Use the cereal box to make your pattern. I made mine approximately 6.5″ x 9.5″. Once your lines are marked, cut out the pattern. (Note: You should never use your fabric scissors on paper! It will dull them quickly.)

2. Use your pattern and a pen to mark your fabric scraps, and then cut out your fabric rectangles. I use a minimum of 64 rectangles, but you can certainly use more if you want your throw larger.

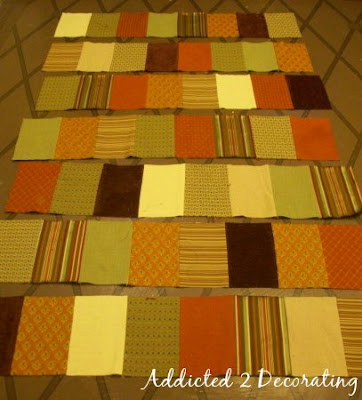
3. Lay out your rectangles in rows of at least eight rectangles. Move them around until you have them in the order that you like.
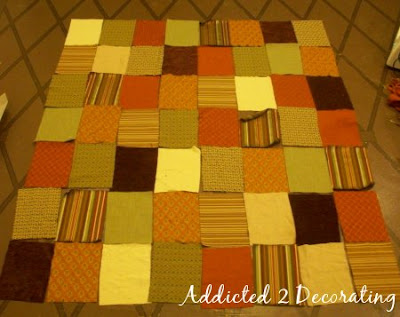
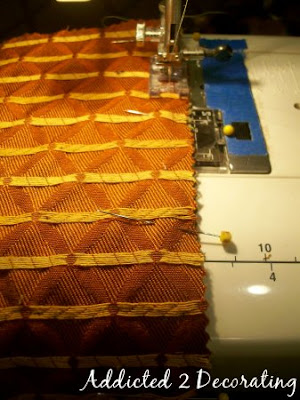
4. Once you have the rows arranged as you want them, begin pinning the rectangles together, one row at a time. Pin them with right sides together (see next two pictures).
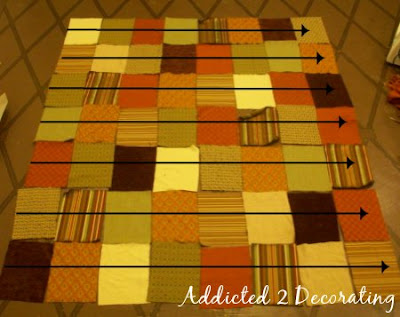
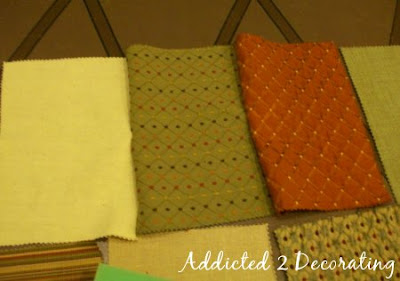
5. After you have an entire row pinned together, take it to your sewing machine and sew the seams. I suggest a standard 5/8″ seam. (This is a “do as I say, not as I do” situation. I used 1/4″ seams, and then regretted it later because the smaller seams are very difficult to press open.)
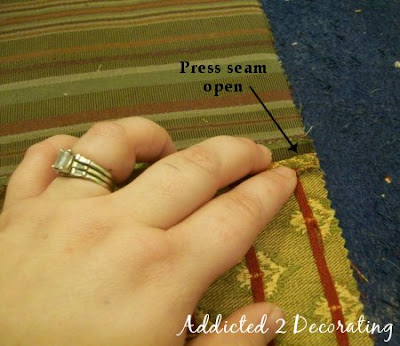
6. After all of the seams in a row are sewn, press each seam open.
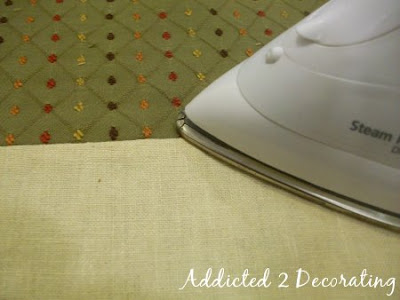
7. Then turn the row over and press the seams on the front side.
8. Continue until all of the individual rows are sewn, and all of the seams are pressed.
9. Now take the first and second row, and with right sides together, pin them together, with the bottom of the first row pinned to the top of the second row. Ensure that the seams are aligned. Once the rows are pinned all the way across, sew the rows together with your sewing machine. Again, press the seams open.
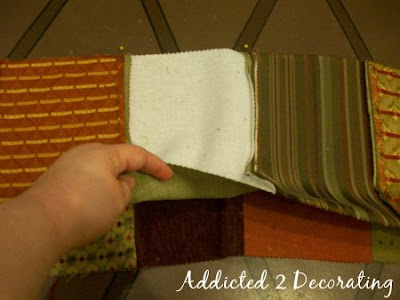
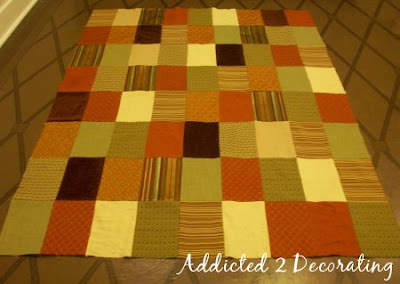
10. Continue sewing the rows together, with the right sides together, and press the seams open as you go along. When all of the rows are sewn together, it should look like this:
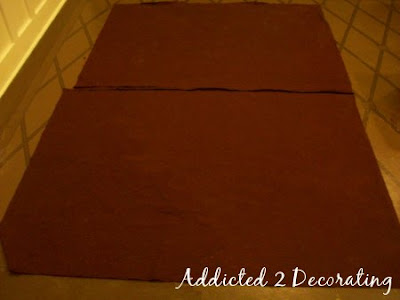
11. Place the backing fabric on the floor, with the right side facing down. If the fabric isn’t wide enough for the throw, you will have to sew two pieces together (shown below) to make the backing large enough for the throw.
12. On top of the backing fabric, place one layer of batting. I prefer cotton batting to polyester batting, because it’s much easier to work with, and it lays flatter and smoother.
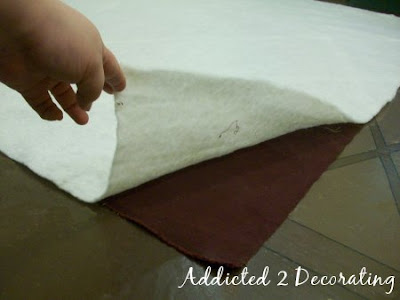
13. On top of the batting, lay out the patchwork face, with the right side up. Beginning in the middle, pin the face fabric, smoothing out to the edges as you go.

14. Continue smoothing and pinning until the whole face fabric is pinned all along the edges.
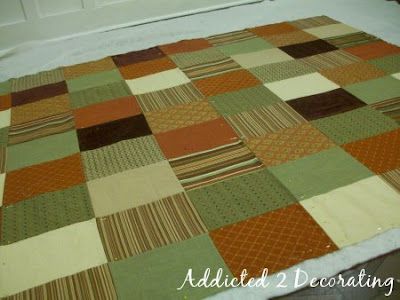
15. Now trim along the edge of the face fabric to remove the excess batting and backing fabric.
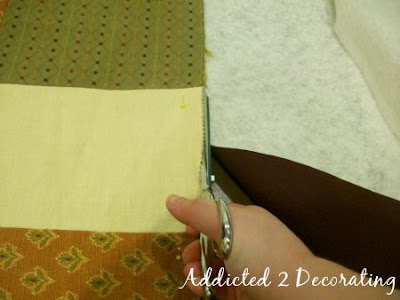
16. Using your needle and embroidery floss, at each corner, stitch all the way through all three layers. Cut the floss and then tie a knot in it to secure the layers.
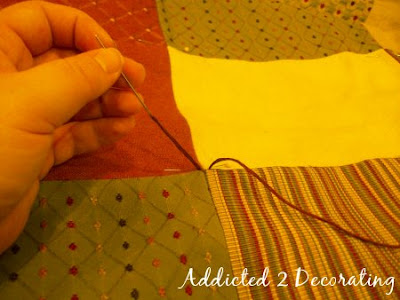
17. Then trim the floss to about 1/2″. Repeat this on all of the corners.
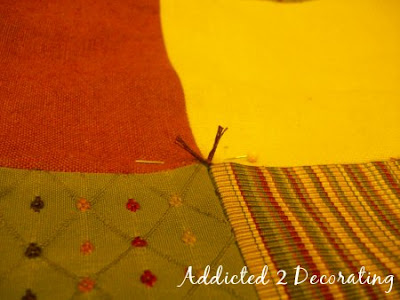
18. Next, you will sew on the quilt binding.
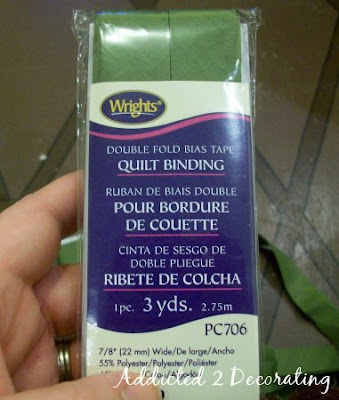
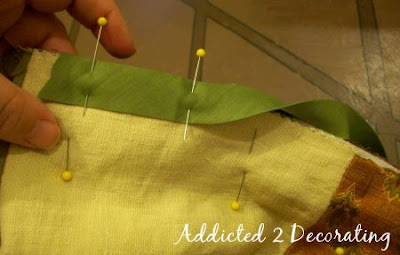
19. Choose a starting point (you can really start anywhere, but just don’t start close to a corner), and pin the binding to the edge. Be sure the edge is completely encased in the binding. There’s no need to pin the entire thing. Just place two or three pins to get it started.
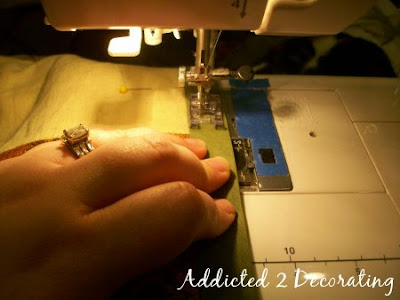
20. Then take it to the sewing machine, and begin sewing the binding on. Try to keep the stitch about 1/8″ from the inside edge of the binding.
21. When you reach a corner, stitch all the way to the edge of the throw.
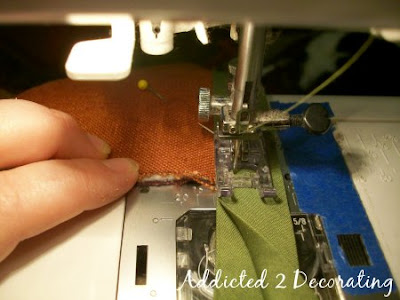
22. Remove the throw from the machine and clip the threads. Then open the binding, and curve it around the corner of the throw.

23. Fold the binding tape so that it creates a nice mitered corner. This may take some practice, but you’ll get it. Then secure with two or three pins.
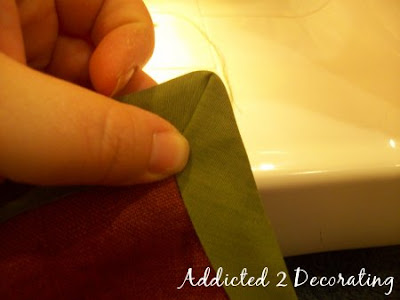
24. Return the throw to your sewing machine and continue attaching the binding.
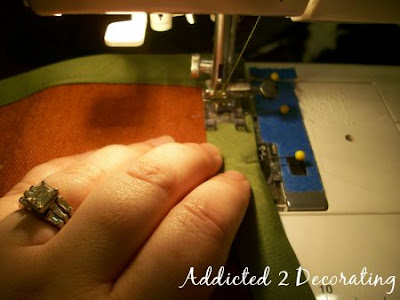
25. When you reach the end of the binding, sew all the way to the edge.
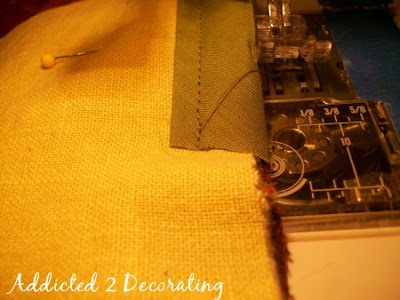
26. Take a new piece of binding, open it up at the fold, and turn it down about 1/2″ towards the inside of the binding.
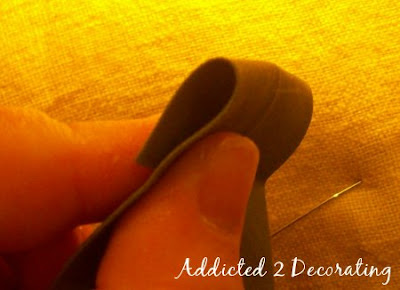
27. Now refold at the center.
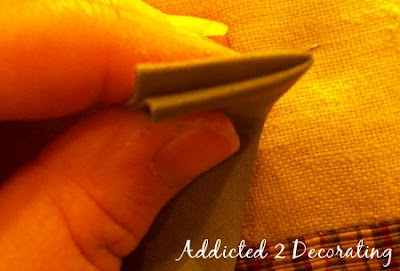
28. Now attach the binding over the raw edge of the previous piece and pin. Continue sewing.
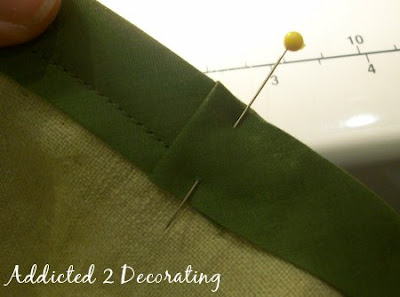
29. Once you’ve made it all the way around with the binding, you’re finished!

Now see…that wasn’t so hard, was it? 🙂
I’m linking this post to:
- DIY Day at A Soft Place To Land



How big was the end result? Twin size? You are most talented lady!
It wasn't quite twin size. It was approx. 45"w X 60"l.
I couldn't find the "contact us" button.
Hello,
My name is Shawn Higgins. I'm looking for related sites to link up with. My site (www.floors-web.com) is an informational site all about floors and rugs.
I'd like to link to your site by writing a 500-600 word article that will include anchor text linking back to my site. Please let me know if this is a possibility. I enjoy reading your site and it's been very helpful over the past few years. I'm very knowledgeable about floors and rugs and I think I could provide you and your readers quality information.
I look forward to hearing from you!
-Shawn
[email protected]
I recently found your blog and am really enjoying it. Your decorating projects are inspiring!
Being an avid quilter, I would like to offer a little advice on your project. Seams should not be pressed open on quilts because it weakens the seam. Seams pressed open are more likely to split with all the wear and tear a quilt endures. For your project, I would press the seams in row one in one direction and the seams in row two in the opposite direction (and so on). When you sew the rows together, matching up the seam lines is easy because they "nest" together. Just a suggestion!
Gosh, that looks like a lot of work! Thanks for another great tute, Kristi!
Hi bifty~
Thanks so much for the tip!! As you can see, I'm not an avid quilter. 🙂 In fact, I've never made an actual quilt–only these pseudo quilts…lol. I'll definitely try your way next time. I'm so used to sewing various things, like window treatments, clothing, etc., and always pressing the seams open.
Azra, this certainly is no more "work" than the beautiful works of art you make! I'll bet one of these throws takes less time than one of your pieces of jewelry. Now THAT looks like a lot of work to me. 🙂
A pseudo quilt is right up my alley! I am so bookmarking this project and making one this summer – I have two grandchildren coming in the fall!
Thanks so much for sharing this!
WOW – thanks so much for posting the very detailed instrucions for the quilt. I had seen the quilt on your blog earlier this year and wondered how you made it. It looks great and seems so easy now with the detailed instructions.
Thanks for your great blog. I enjoy reading it!
I'm not much of a quilter, but I've done a few throws and such, so for what it's worth, I'm offering up this little bit of advise: when you're pinning your quilt top, batting and backing together, use safety pins. You have to remove them as you sew, but they are less likely to fall out as you move the throw around. And if you have to stop and then start again another time, they don't get all stuck together when you fold your quilt up.
Again, this is what I do, and may or may not work for you. Just a thought! 🙂
thank you so much for these clear instructions. I have wanted to make a memory quilt for years and now
I know it's not an impossible task, I aim to start before I pop off ! Wish me luck cos hopefully you will have taught this old dog a new trick !
What a great “pseudo quilt” – I call them picnic quilts because that’s what I want to use them for. I really appreciate the post because I need to use some up, and the comments have been helpful, too.