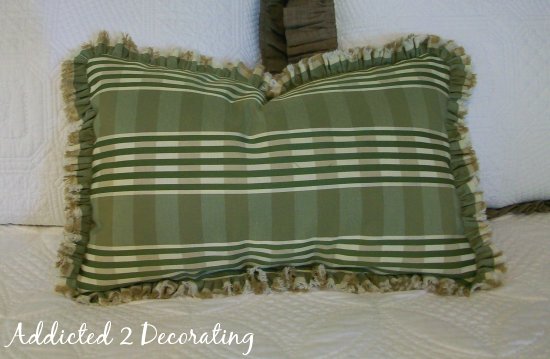
Pillow With Selvage Ruffle
How about an easy sewing project for this morning? Remember this pillow I made for John & Alice’s master bedroom?
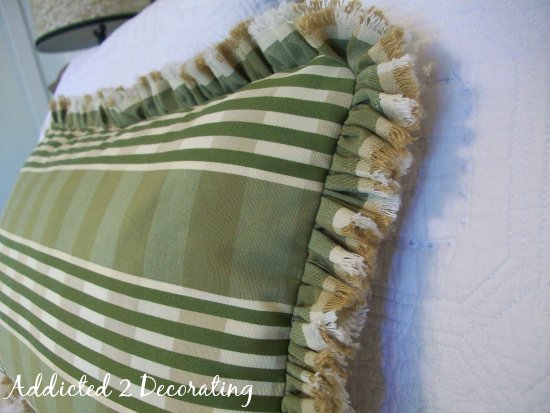
I needed a pillow to go in the chair that I reupholstered. I found a scrap piece of fabric that I could use, and I wanted to add a fringe trim, but didn’t want to spend any more money. So I searched for a creative substitute, and found it in the trash! I had cut off several yards of selvage from the fabric, and it had a cute little fringy edge, so I decided to gather it up, and use it as the decorative trim on the pillow.
Here’s how I made this pillow…
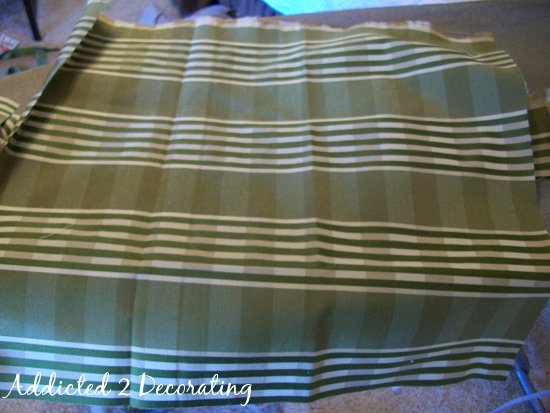 |
| When I finished the skirted bedside tables for John & Alice’s bedroom, I was left with this little scrap. It was just enough for a pillow front. I trimmed it down to about 10″ x 18″, and then cut a piece of canvas dropcloth the same size for the back of the pillow. |
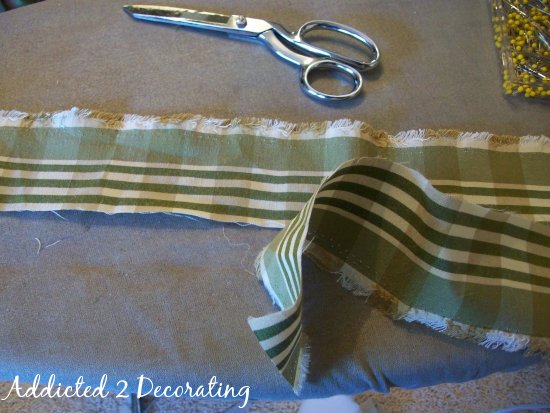 |
| I took all of the pieces of selvage that I could find and trimmed the strips to about 2 inches wide. |
 |
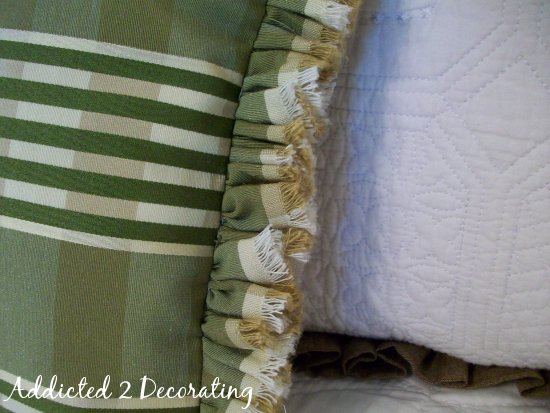
| It was the little fringy edges that I wanted to use as a decorative detail. |
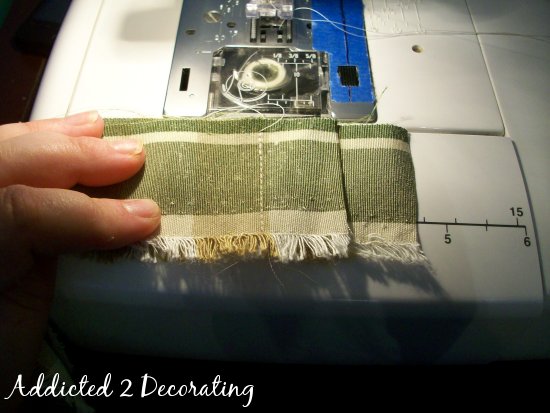 |
| When all of the lengths of selvage were trimmed to 2 inches, I sewed them together end-to-end. I tried to match the pattern, which is why the bottom piece is sticking out further to the right than the top piece. After the two pieces were sewn together, I trimmed it to about 1/8″, and then folded the two pieces so that the raw edges were enclosed in the fold… |
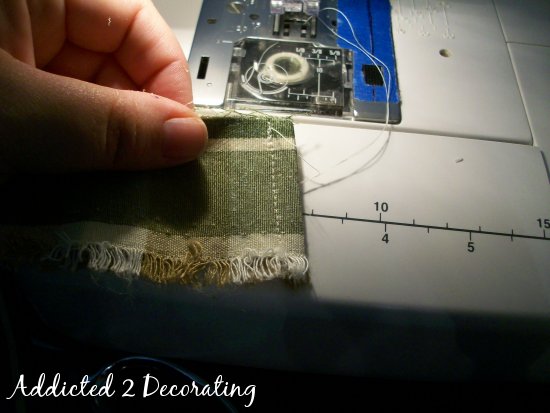 |
| …and then I stitched again about 1/4″ from the edge. This encased the raw edges so that they wouldn’t show, and so that they wouldn’t unravel. |
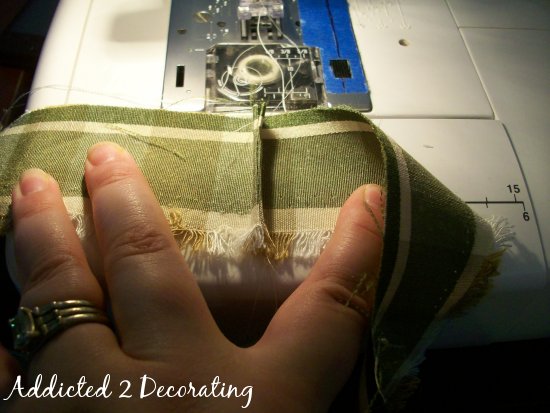 |
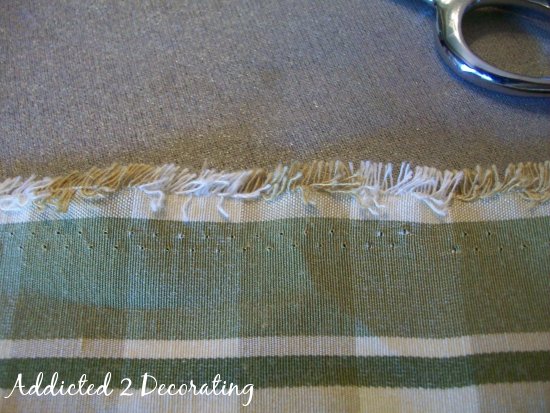
| This is what the seam looked like after it was sewn. You can see that there are no raw edges visible, because they’re encased within the stitched area. I repeated this with all of the seams. |
I don’t have a picture for the next step, but I put a gathering thread all along the length of the selvage strip (on the opposite side from the fringy edge). Actually since my strip was so long, I used several individual gathering threads no longer than about 2 feet long each.
(Need some guidance on gathering? Click here for a great tutorial.)
Next, I pinned my selvage strip to the pillow front ONLY at the four corners. Note that I pinned it with the gathering thread edge lined up with the edge of the pillow front, and I pinned it to the right side (i.e., the front) of the fabric. This took a bit of math (algebra…yuck!!) to determine how long each section of selvage strip needed to be in order for the finished ruffle to be even all the way around.
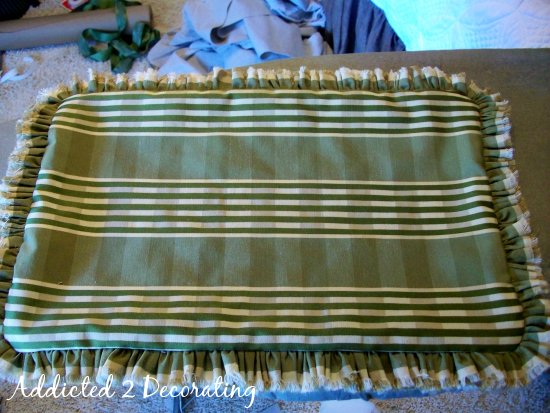
Then I started gathering…and gathering…and gathering some more, until all of the slack was taken up, and the pillow front looked like this…
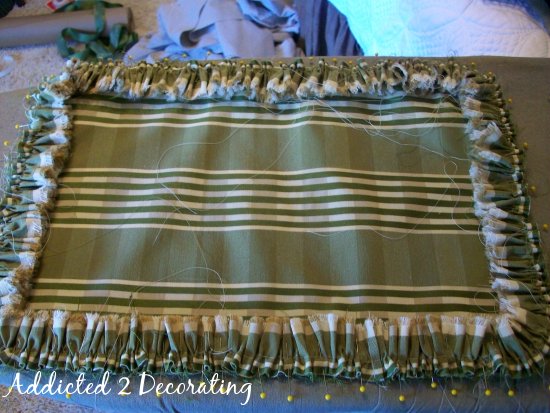 |
| When it was fully gathered, I pinned it all the way around the edges, and then used the sewing machine to sew the ruffle to the top fabric all the way around. I sewed it about 1/4″ from the edge. When it was sewn all the way around, I removed the pins. |
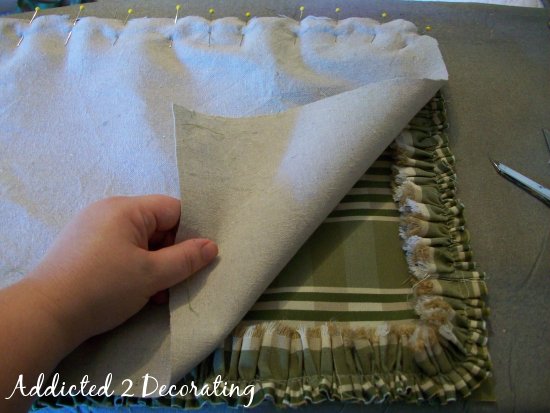 |
| Then I was ready to add the pillow back. I lined up the edges and the corners, and then pinned all the way around. |
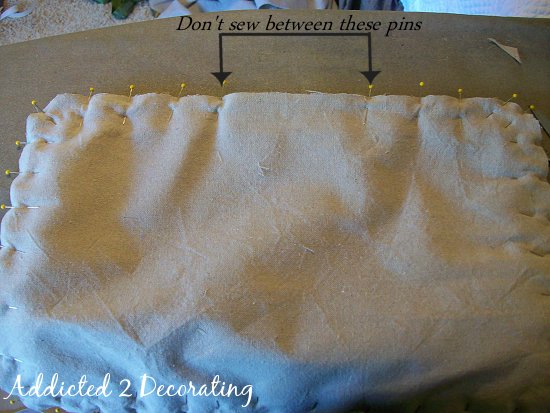 |
| I left about a five inch space on the bottom edge of the pillow. This area is left open so that after the layers are sewn together, the pillow can be turned right-side-out, and stuffed. |
 |
| And here it is…all sewn up! All that was left to do was to use the five-inch opening to stuff the pillow (I use packaged polyfil from JoAnn Fabrics), and then hand-sew the opening closed. |
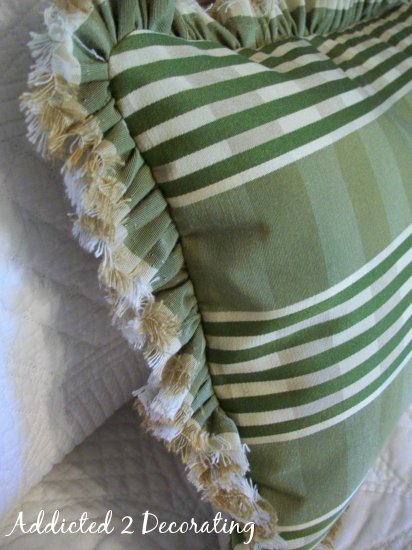 |
| The selvage added a cute little fringy detail…at no additional cost!! |

I will admit that gathering that much selvage felt a bit overwhelming at first. I wanted the ruffle to be as gathered as possible, so I used every bit of selvage that I could scrounge up. I think I had at least six yards…it may have been more. But once the gathers started going in, it became easier to handle.
Also, this is just my own sewing tip: I know many people don’t take the extra step to sew on the trim to the pillow front. Instead, they’ll just sew the trim and the pillow back on at the same time. I used to do this, and quite honestly, my pillows always ended up a bit sloppy. I found that I have a much neater finished pillow if I’ll take the extra five minutes to sew the trim separately, and then sew on the back of the pillow.
So we’re half way through DIY project week. Are you getting DIY’d out yet?! I just have a few more to go!!

Addicted 2 Decorating is where I share my DIY and decorating journey as I remodel and decorate the 1948 fixer upper that my husband, Matt, and I bought in 2013. Matt has M.S. and is unable to do physical work, so I do the majority of the work on the house by myself. You can learn more about me here.


What a cute finishing idea, and a way to get rid of some selvage that you probably would never have used otherwise.
I'm like you – I'd rather take the extra time to sew one side first when it comes to "fussy" things like that.
Love that "no waste" attitude! The ruffles are beautiful and look expensive. I also take that extra step with ruffles, piping, etc. It just makes a nicer finish.
One Quick Comment Great idea.
Can you be anymore genious this is fantastic!!!!
Bella 🙂
One Quick Comment Great idea.
What a cute finishing idea, and a way to get rid of some selvage that you probably would never have used otherwise.
I'm like you – I'd rather take the extra time to sew one side first when it comes to "fussy" things like that.