
Dining Chair Makeover Progress (And Why It’s A Bigger Project Than I Expected)
Y’all, I’m still working on the dining room chairs makeover. To be clear, I don’t even have two of the fabrics that I plan to use on the chairs yet. I haven’t even ordered them. But I had definitely expected to have the chairs stripped, sanded, primed, and painted by now. As a reminder, I found these chairs on Facebook Marketplace, and the price was really reasonable. The chairs are heavy and very sturdy, so the fact that none of the chairs needed repairs before I gave them a makeover was great.
But what I couldn’t see on photos in the Marketplace listing was that these chairs had a very thick, intentionally sloppy, and very textured factory finish on them, the intent of which was to give them an aged and almost Old World look.
I didn’t even notice it when I picked them up or got them home and into the dining room. I didn’t even notice it until I started sanding them.
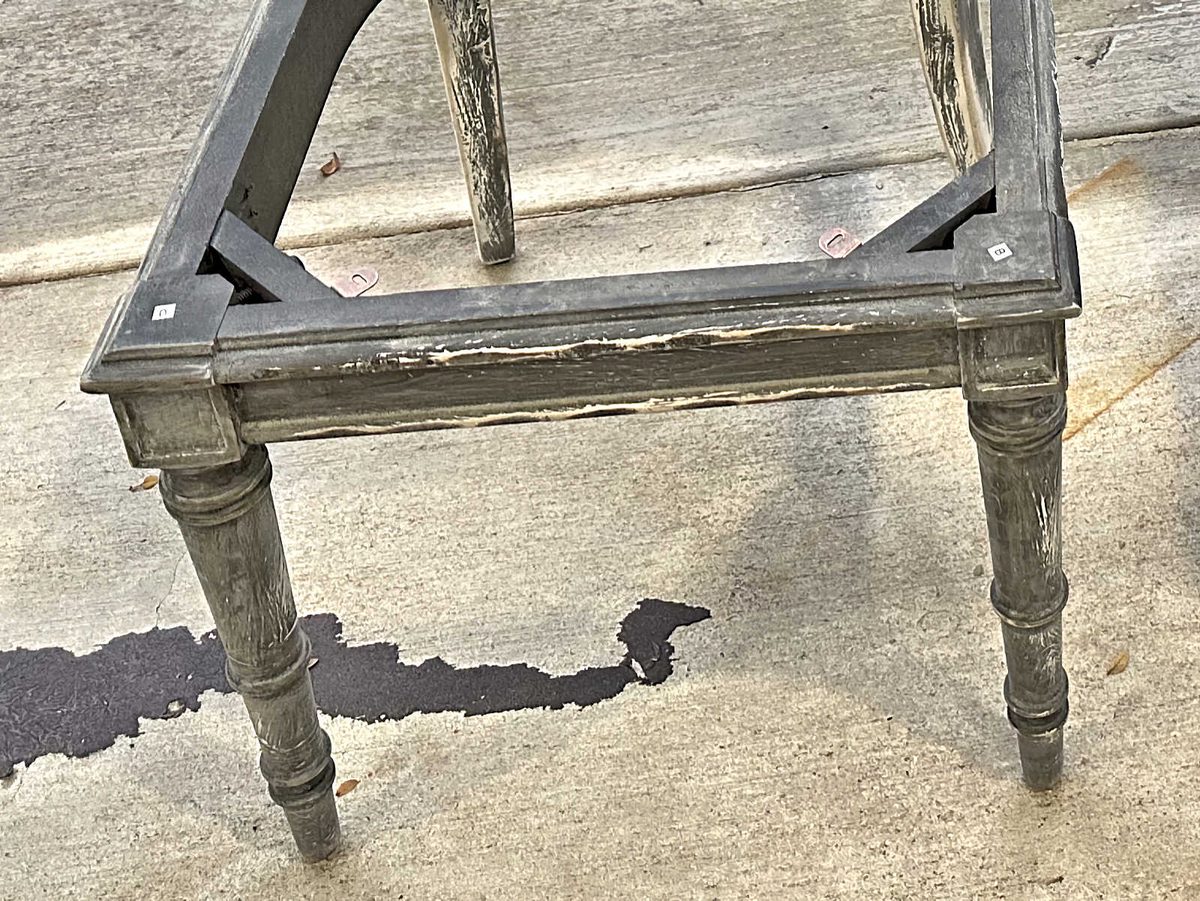
And then when I started sanding them, I noticed something else. Not only was there a thick, sloppy, textured factory finish on them, but there was also a series of intentional dents that had been put into the trim all around the chair backs and seats.
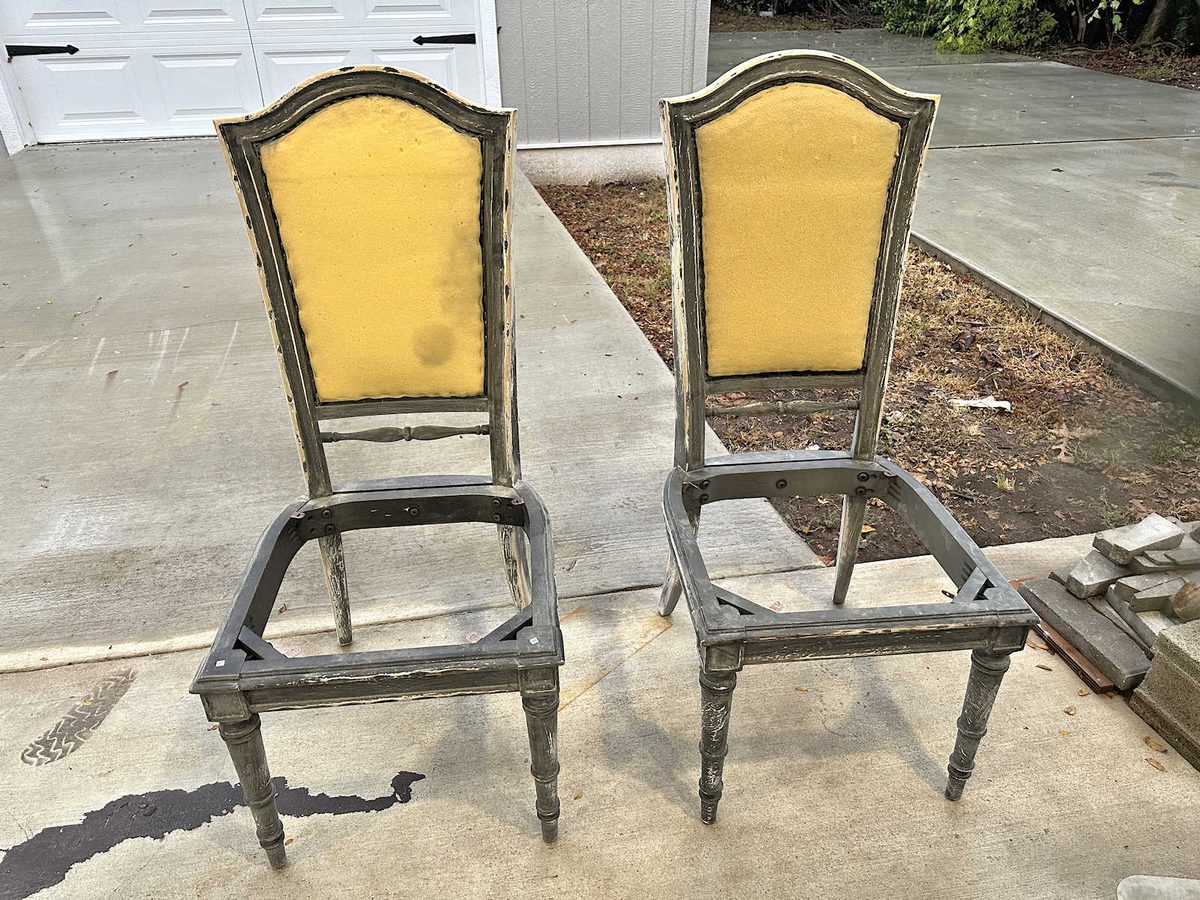
You can see the areas where my sander didn’t even touch the finish around the edge because it was like someone took a hammer and put a dent into the wood to make it look aged and worn. Again, it’s that intentional Old World look, and you can tell it’s intentional because of the almost perfectly even spacing between them (which is one big reason I hate these “aged” factory finishes).
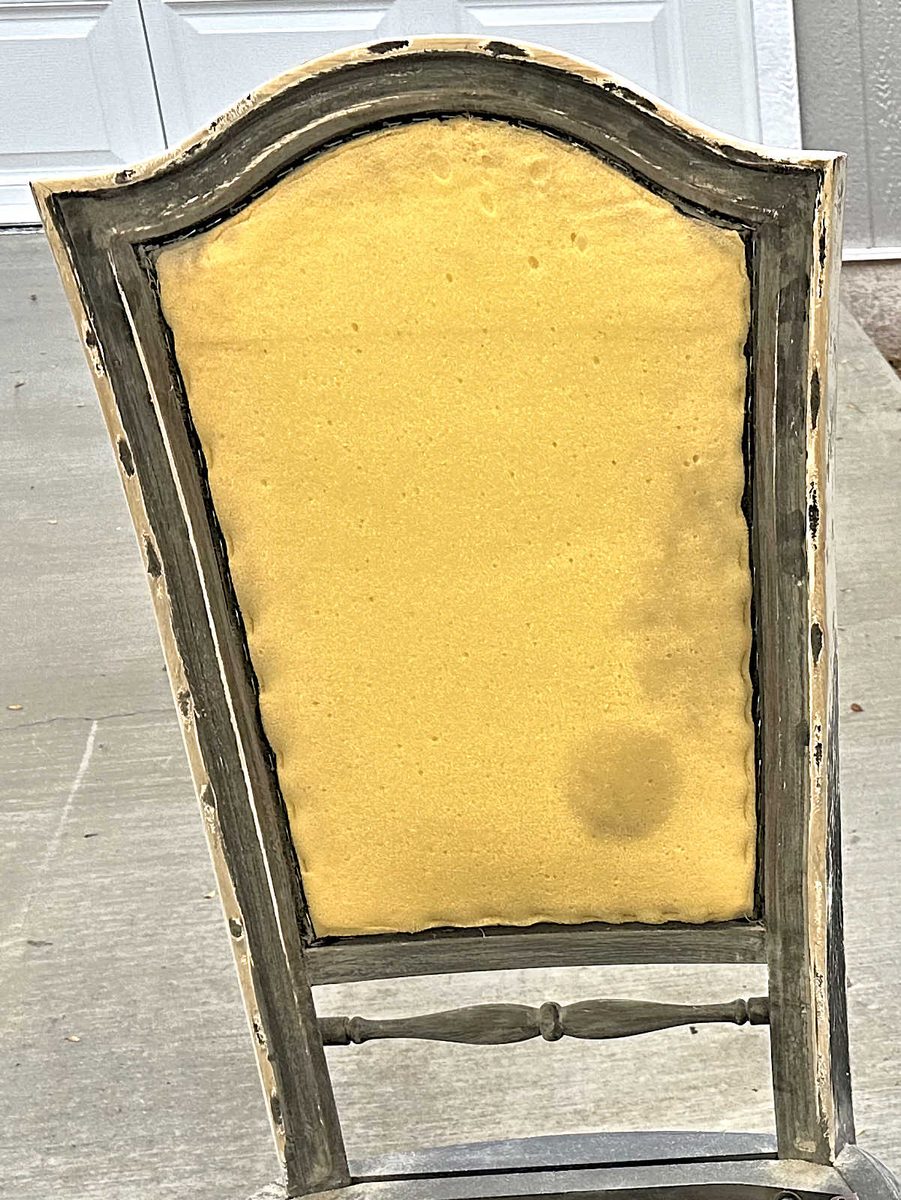
It wasn’t just around the backs, but it was also on all four sides around the seats.
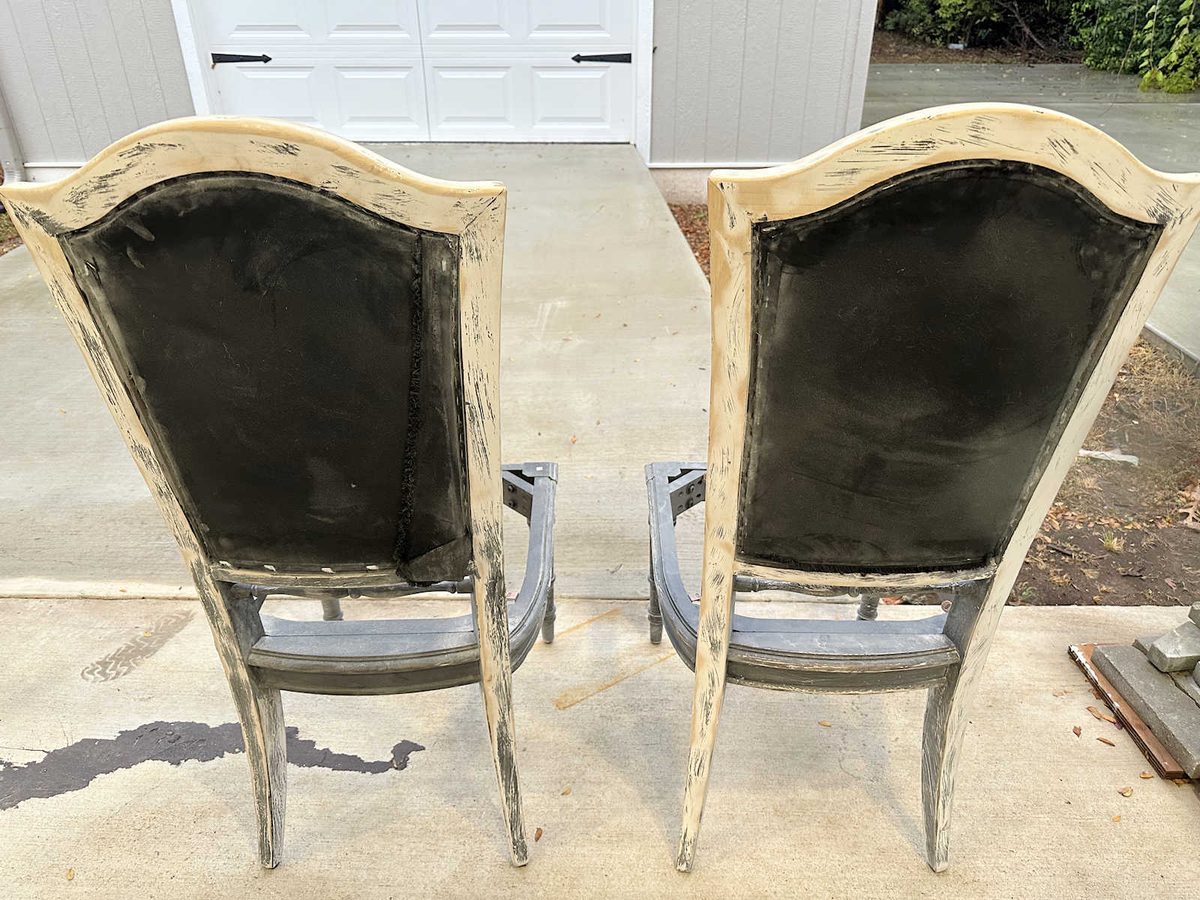
Fortunately, there was none of that on the backs of the chairs.
If you know anything about me and my style, you know I do not like aged finishes. I don’t like my furniture to look aged, antiqued, or Old World. I don’t like dents, dings, scratches, or any other method used to give furniture an intentional aged look. I like my painted finishes to look new, fresh, and clean.
Needless to say, these chairs ended up being a lot more challenging than I had expected when I bought them. Initially, I weighed the option of using a solvent-base wood filler to fill in all of those dings and dents, but that seemed way more labor-intensive than what I wanted to do. Then I tried to talk myself into just ignoring those dents (since all the chairs were already sanded enough for primer) and living with them like that. But I just couldn’t do it.
So I ended up re-sanding all of these chairs again, and this time I started with 80-grit sanding discs on my sander and I sanded out all of those dents. I was a bit nervous about how much I had to take off in order to get those areas smoothed out, but it worked out just fine. Of course, once I had them all sanded out with the 80-grit sandpaper, I had to go back and sand the again with 220-grit. Finally, by 7:00 yesterday evening, they were ready for primer.
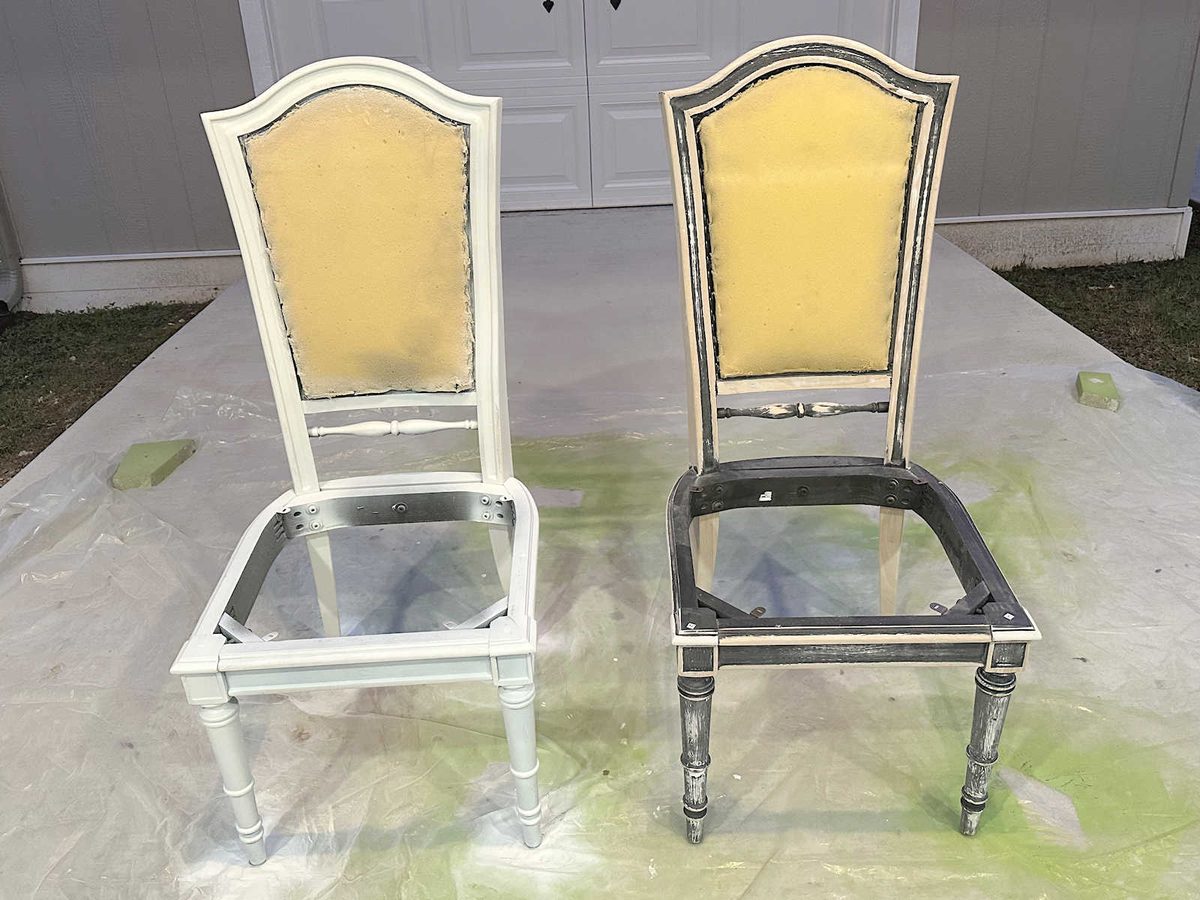
I just want to remind you that the foam and fabric that I left on the chairs will be replaced. I just left that on there to protect the thick cardboard that supports the chair backs because I didn’t want to remove that cardboard and take a chance on ruining it, and I didn’t want to get paint on it.
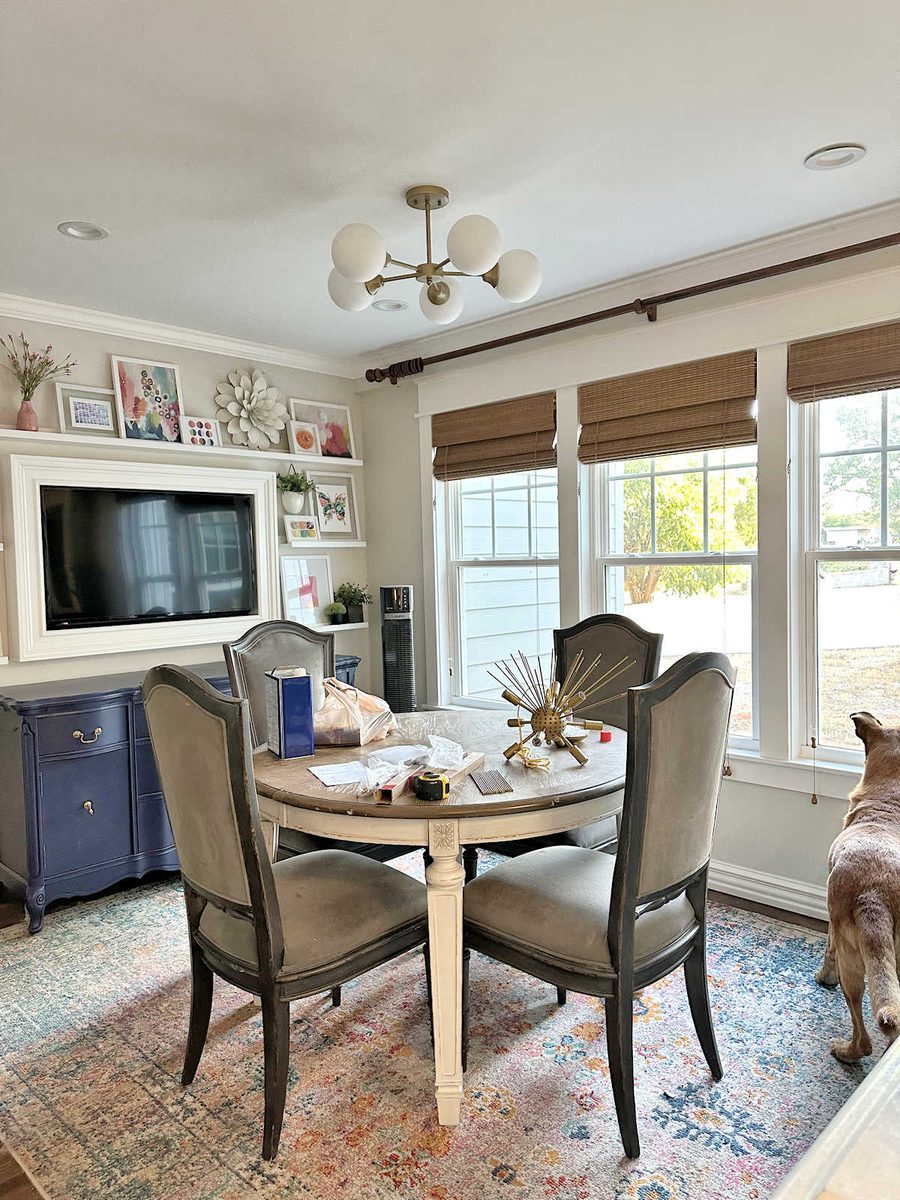
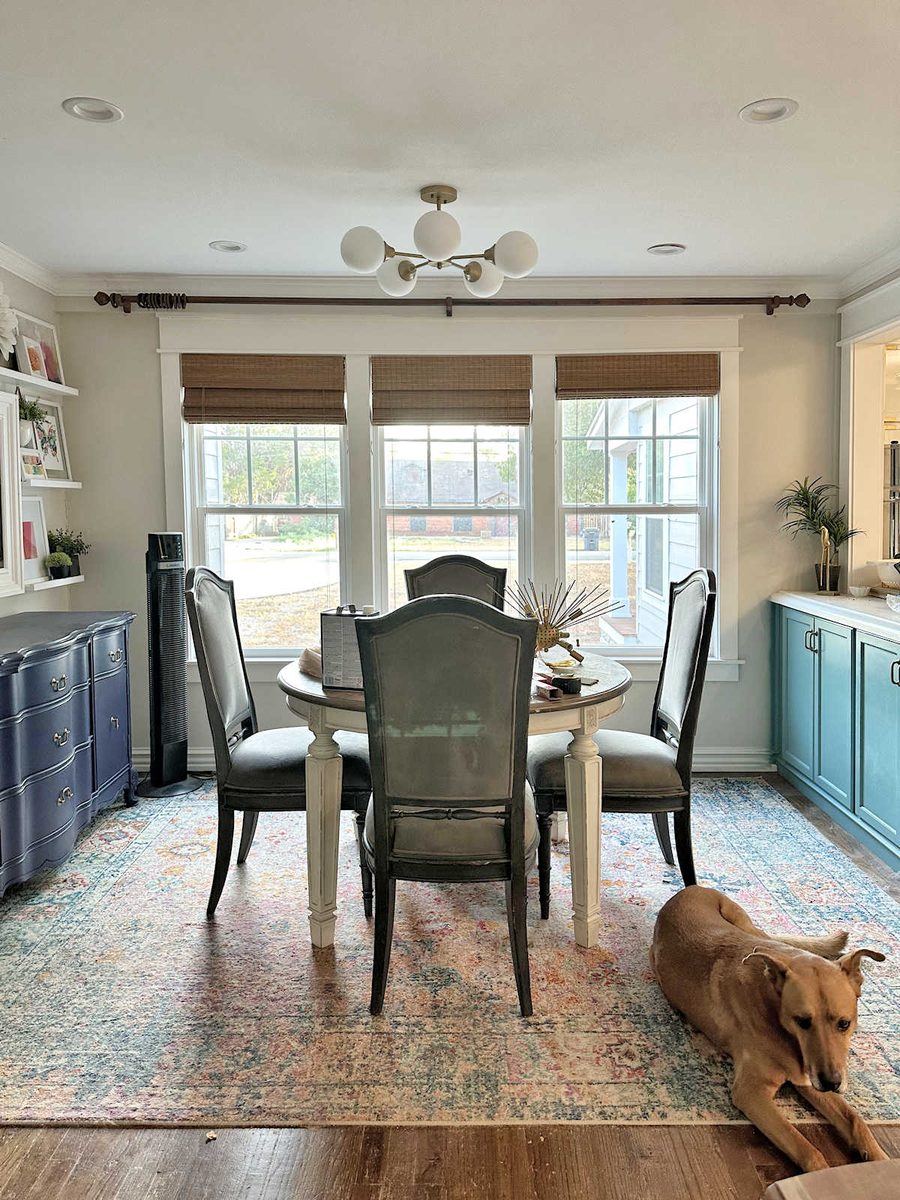
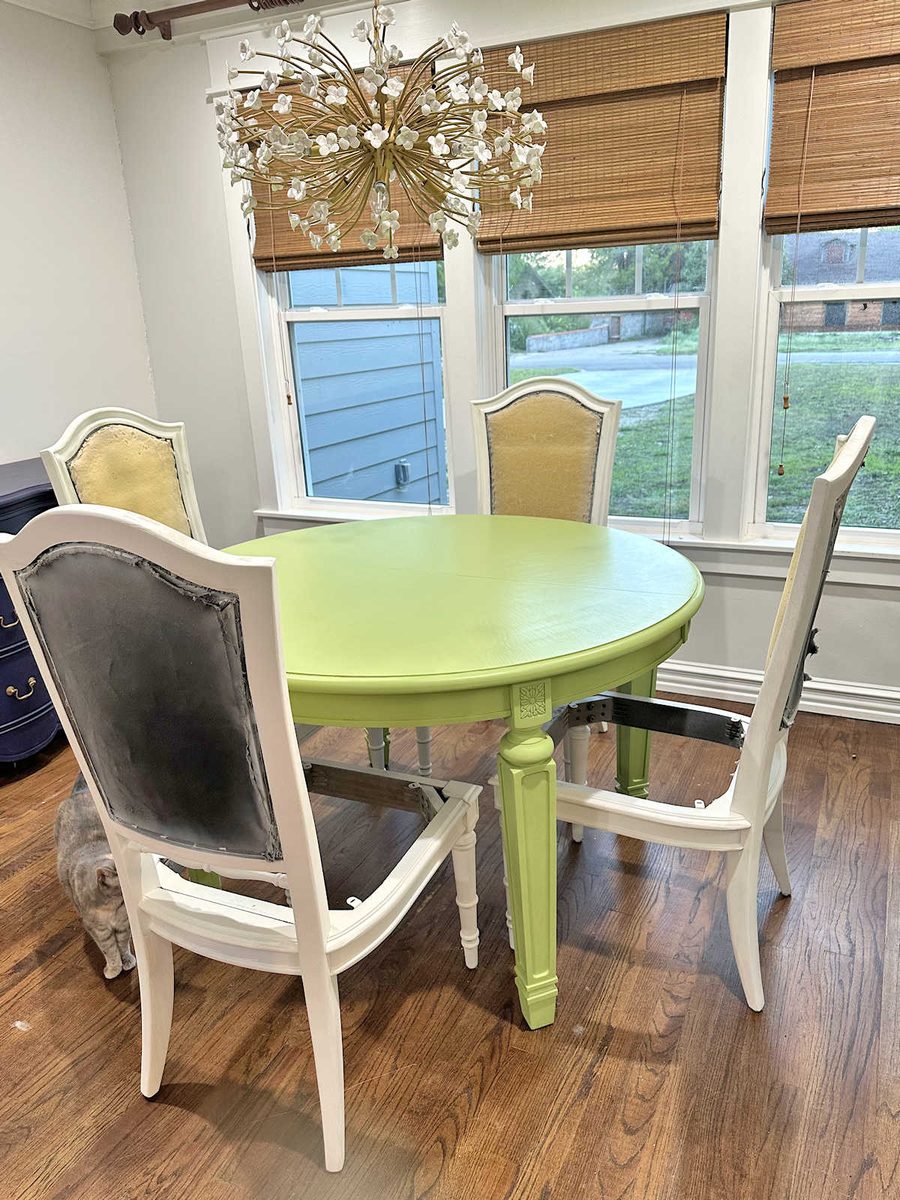
So that’s as far as I’ve gotten, and that’s why these chairs have taken so long to get to this point. They still need another quick sanding with 220-grit, and then I can finally get them painted today. But when I brought them inside last night, I was so excited to see just how great they’re already looking (if you can look past the black fabric and old foam).
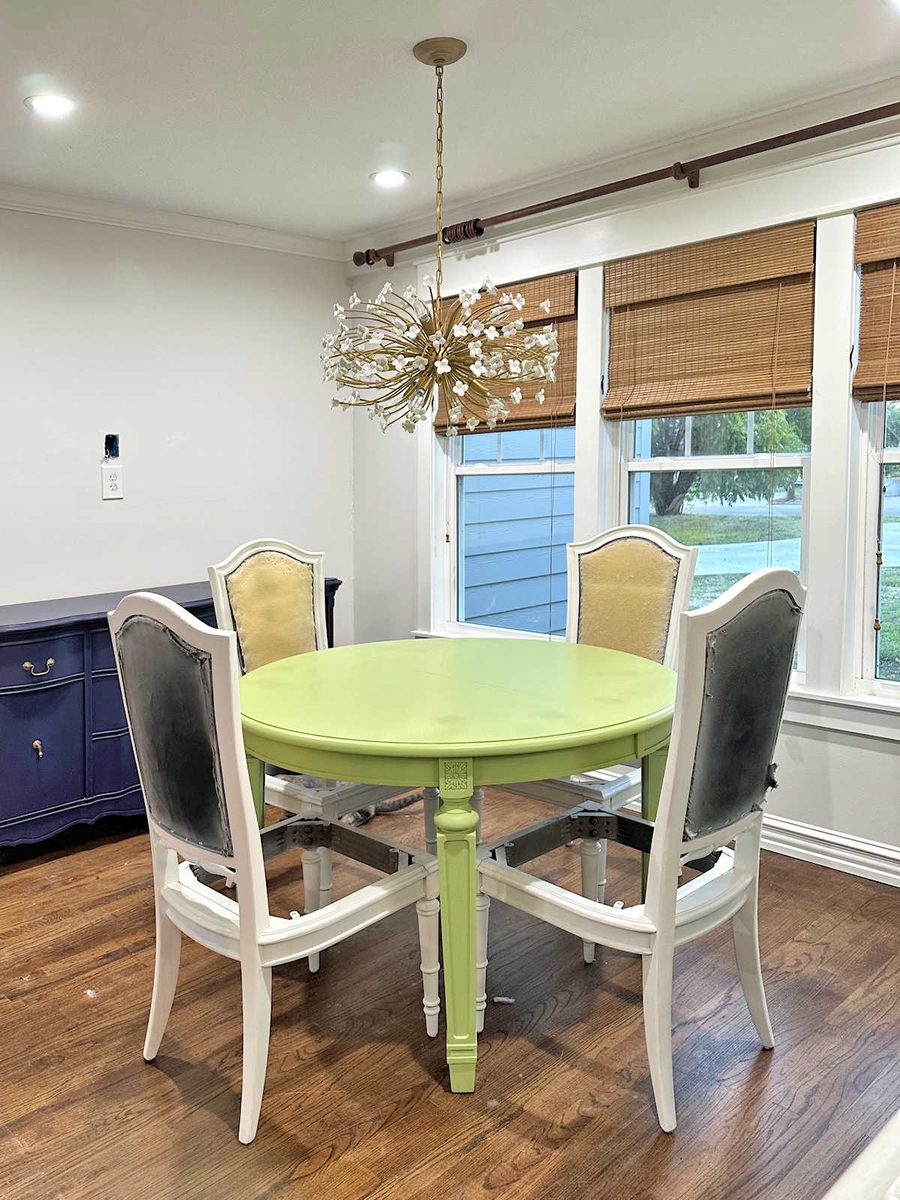
I also still need to put the clear coat on the table, but I love seeing how this is all coming together.
I also wanted to share these pictures because I thought y’all would get a kick out of them. I don’t know if I’ve ever told you about my sweet Cooper and how I’m pretty sure he missed his calling. I’ve always thought that he should have been a drug-sniffing dog or a bomb-sniffing dog because he is obsessed with sniffing.
Any time I bring something into the house, I have to stop and let him sniff it. And then he’ll continue sniffing until he’s satisfied. He does this with every person who walks through the door, every item I bring into the house, and he sniffs me repeatedly throughout the day any time I stand still or sit down. So when I brought the chairs in, he started his routine, sniffing every chair until he was satisfied. It’s cute, but the boy sure does slow me down. 😀
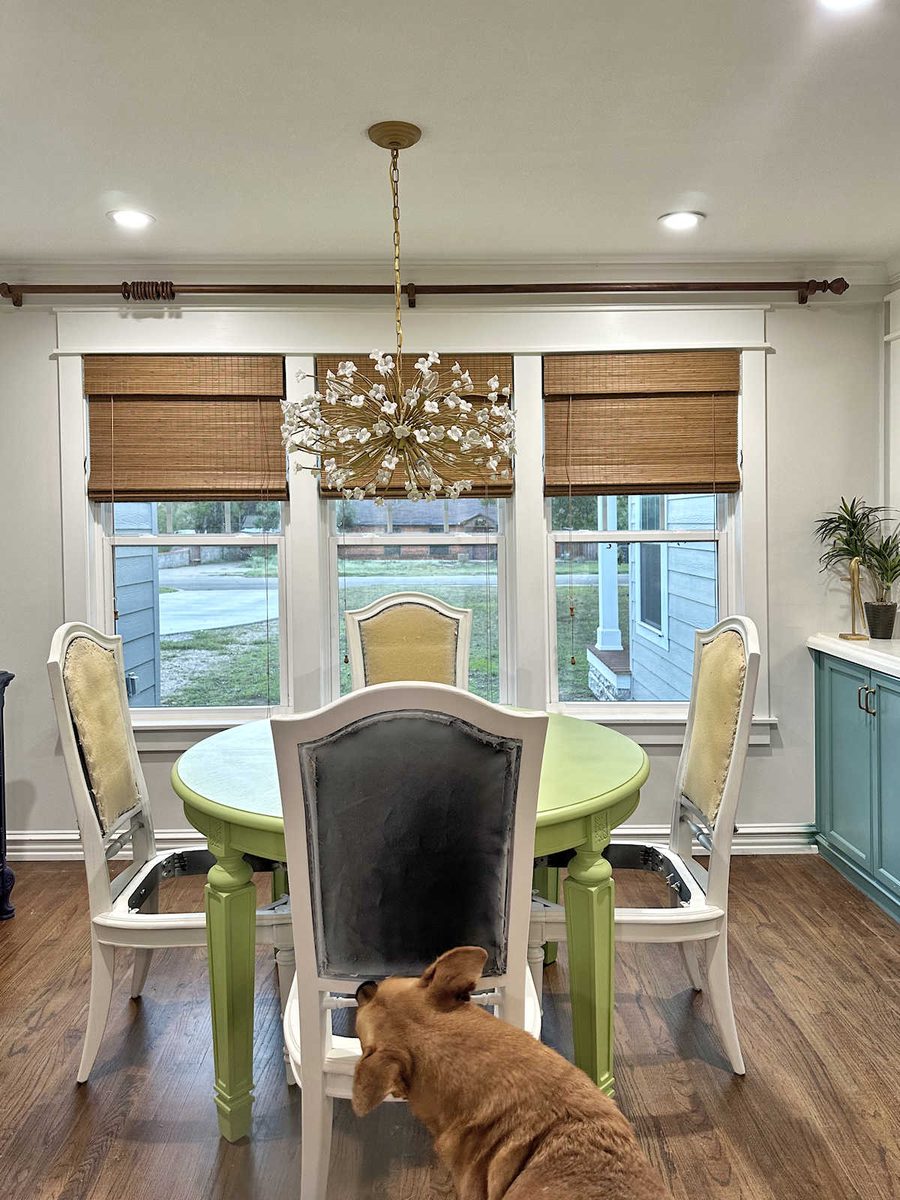
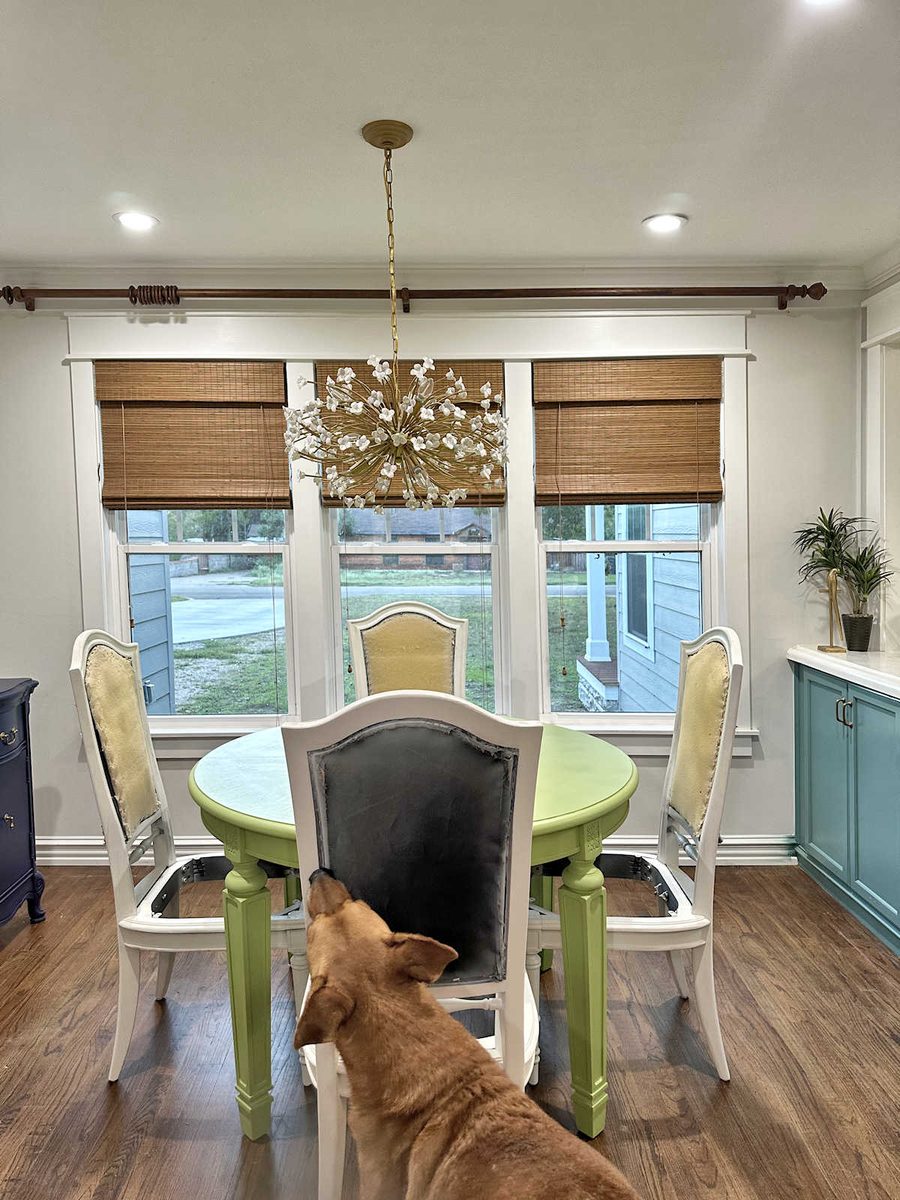
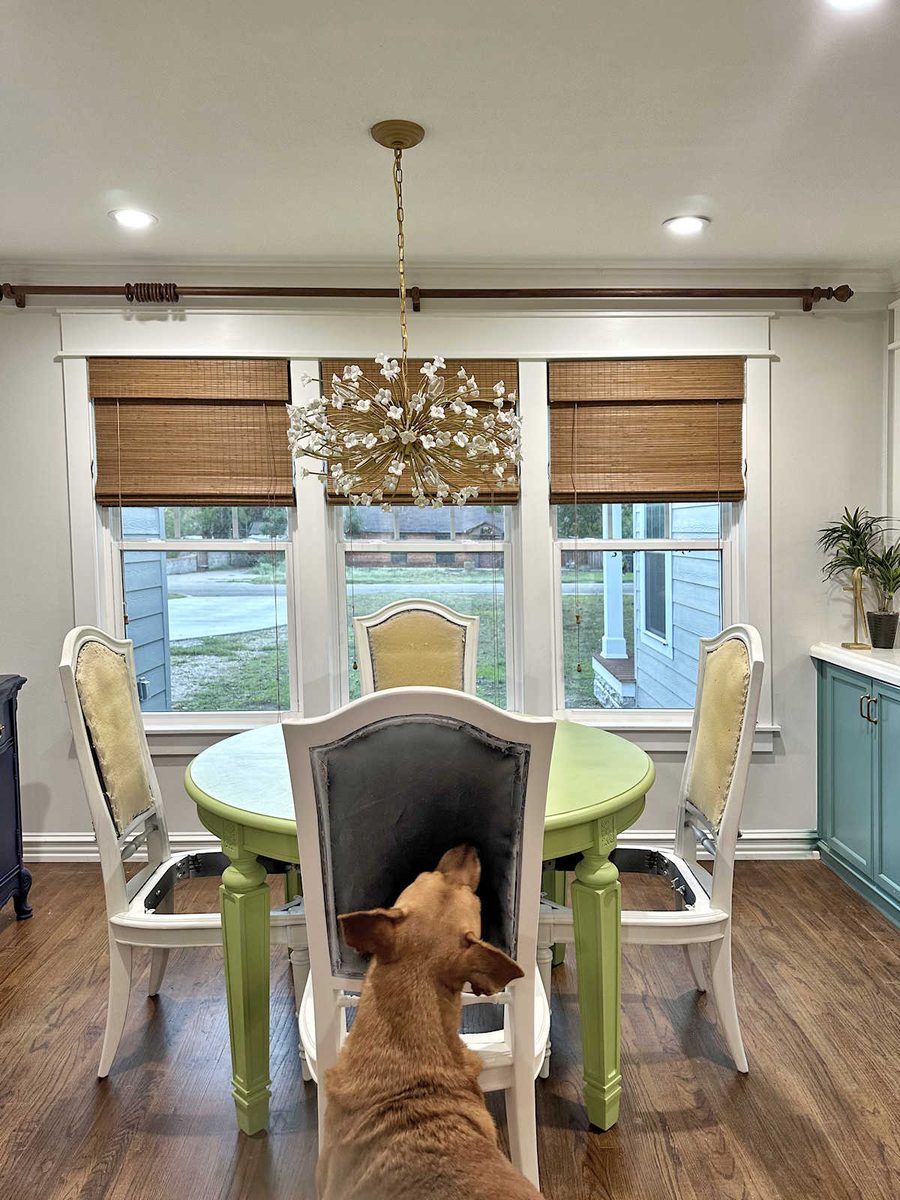
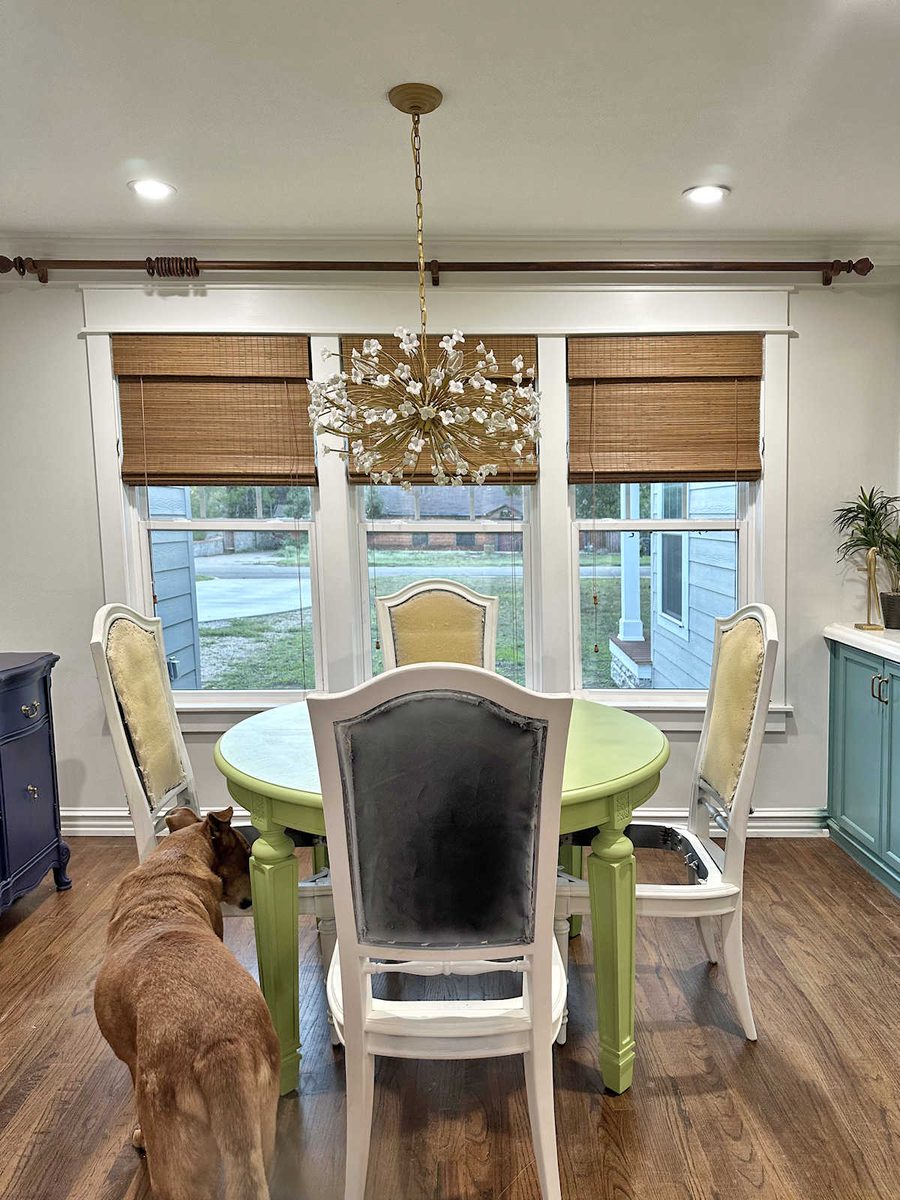
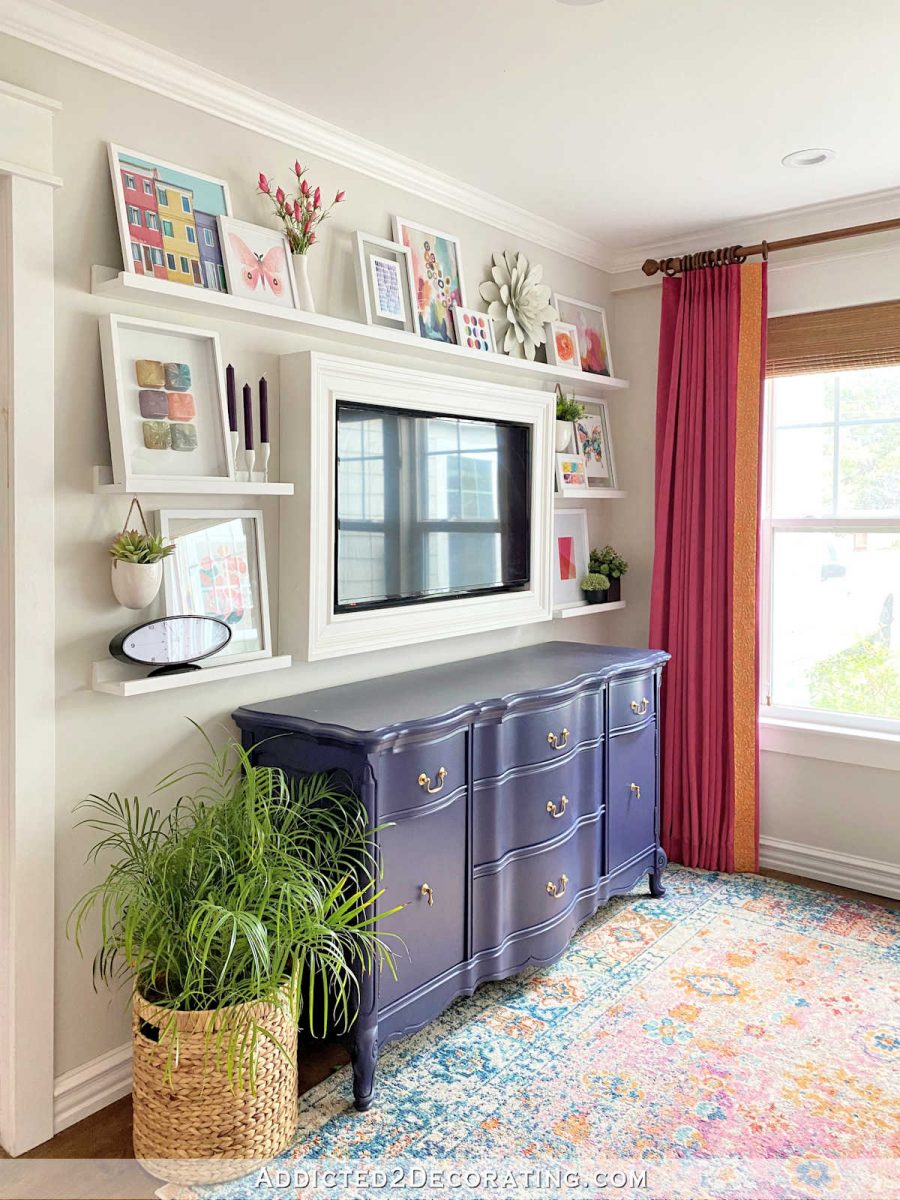
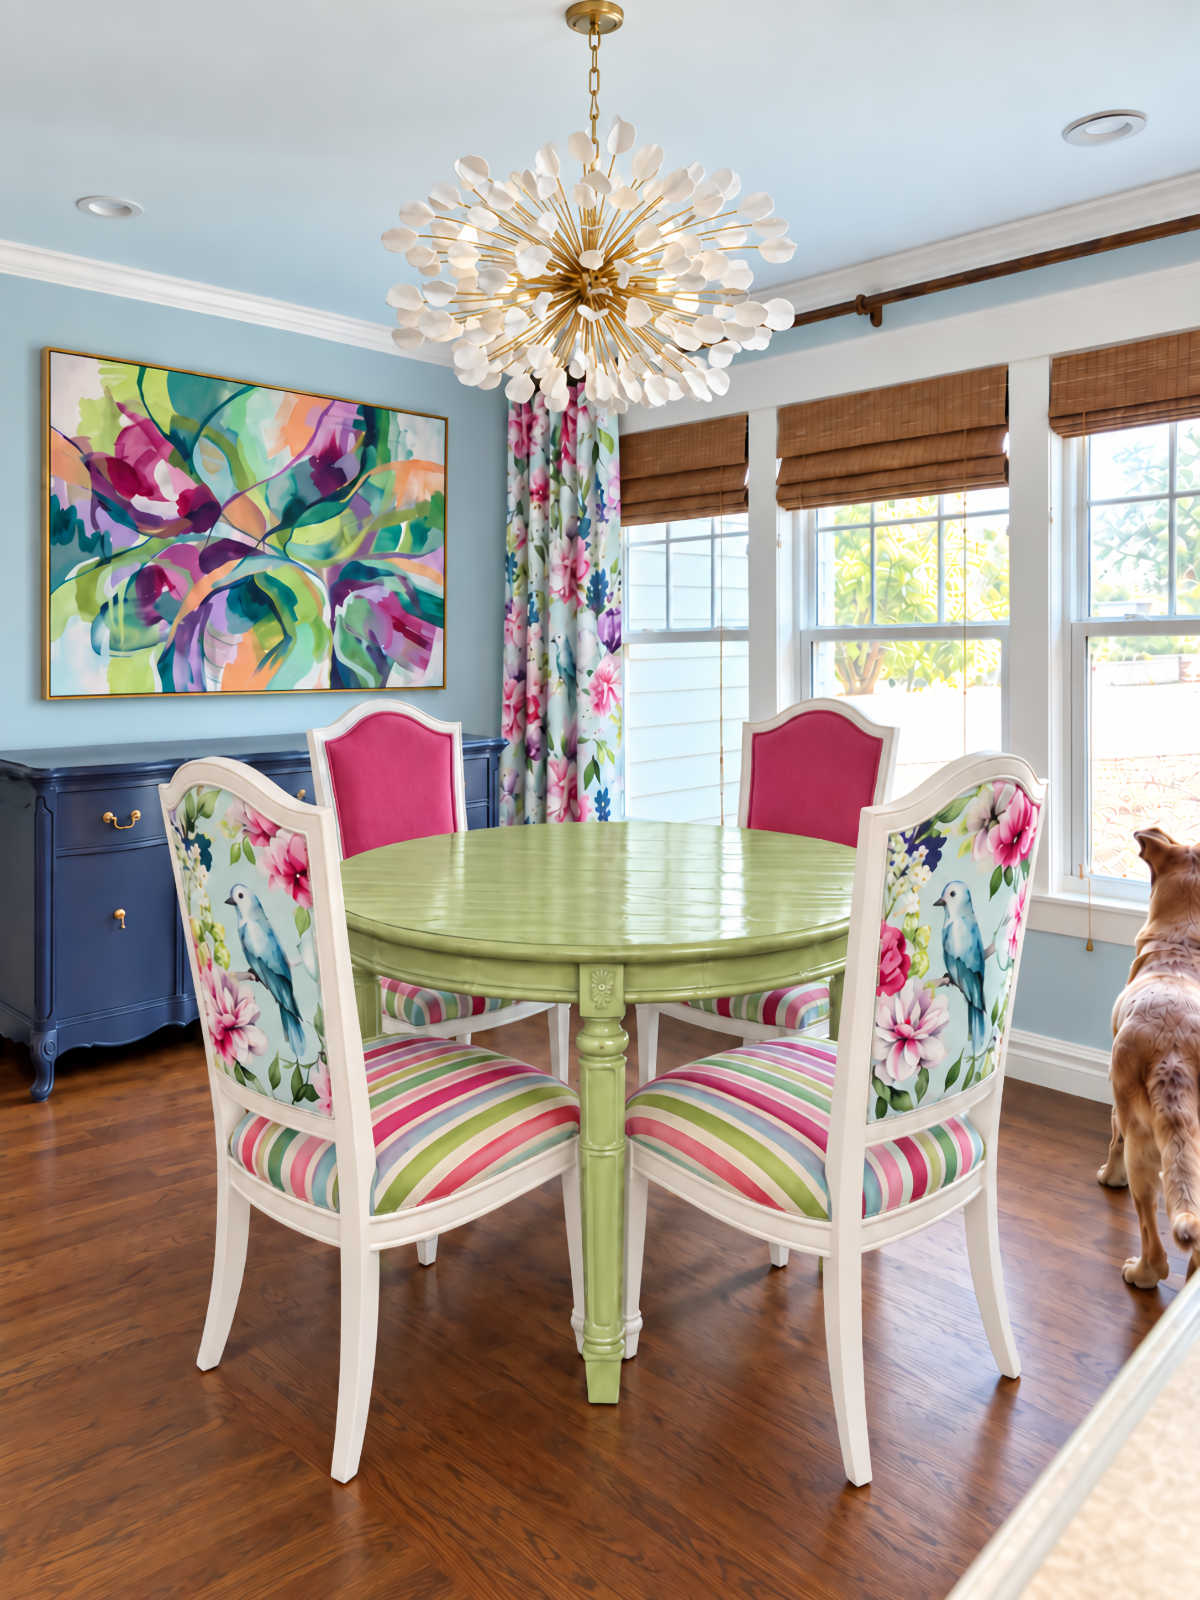
Anyway, I am making progress, slowly but surely. Yesterday when I was working, I got a little discouraged at how long this room has taken me so far, and how much I still have to do. But when I sat down at my computer this morning and pulled up the pictures at the beginning of this post, I was actually very encouraged. I’ve gotten a lot done! I removed the shelves, repaired the walls, and painted the walls with my new favorite neutral wall color. I’ve sanded and painted the dining table. I’ve gotten the rug and most of the clutter out of the room. I’ve made a chandelier. And I’ve stripped, sanded, and primed the chairs. So I really have gotten a lot done in the room! I’m glad I went back to those older pictures so that I could remind myself that progress really is being made.
More About Our Breakfast Room

see all breakfast
room diy projects
read all breakfast
room blog posts

Addicted 2 Decorating is where I share my DIY and decorating journey as I remodel and decorate the 1948 fixer upper that my husband, Matt, and I bought in 2013. Matt has M.S. and is unable to do physical work, so I do the majority of the work on the house by myself. You can learn more about me here.


Talk about a ‘nosy’ dog! My chuckle for the day.
Those chairs, even in their naked, stripped-down state, look fabulous! They
look elegant with the table, but not stuffy.
It is curious to me how much I love the ‘cathedral’ profile of the top but when I see that in a kitchen cabinet I’m totally turned off!!
Now, go easy on yourself, you have so much to do in your everyday life that you must get done. I think your progress is fine; it’s not like you have a boss tapping his foot and watch!!
I have been thinking how quickly you are getting everything done in this room. Taking apart, repairing, creating a fabulous light fixture, sanding, sanding again and again, picking out colors, fabrics, painting and painting. Not to mention researching and pondering art. Great job! It is already looking so pretty. BTW, it seems the worst rude critics have went away and it once again enjoyable to read comments. Blessings
I love following along on all of your projects! I hope that you’ll do some in-depth tutorials on how to re-upholster those chairs. Mine are the exact same design and I’m very intimidated to attempt it, but I love the chairs – I just want different fabric.