DIY Frosted Front Door With House Numbers
*This post contains affiliate links.
I’ve mentioned several times that I rearranged the furniture in the living room (which I will show you very soon!). Now that the back of the sofa creates a more defined entryway, that means that any time I sit on the sofa (my favorite place to sit in the living room), my back is to the front door. There was just something very unsettling to me about having my back to a full glass front door, especially when sitting on the sofa at night.
So I decided to frost the front door and incorporate our house number. Here’s how it turned out…
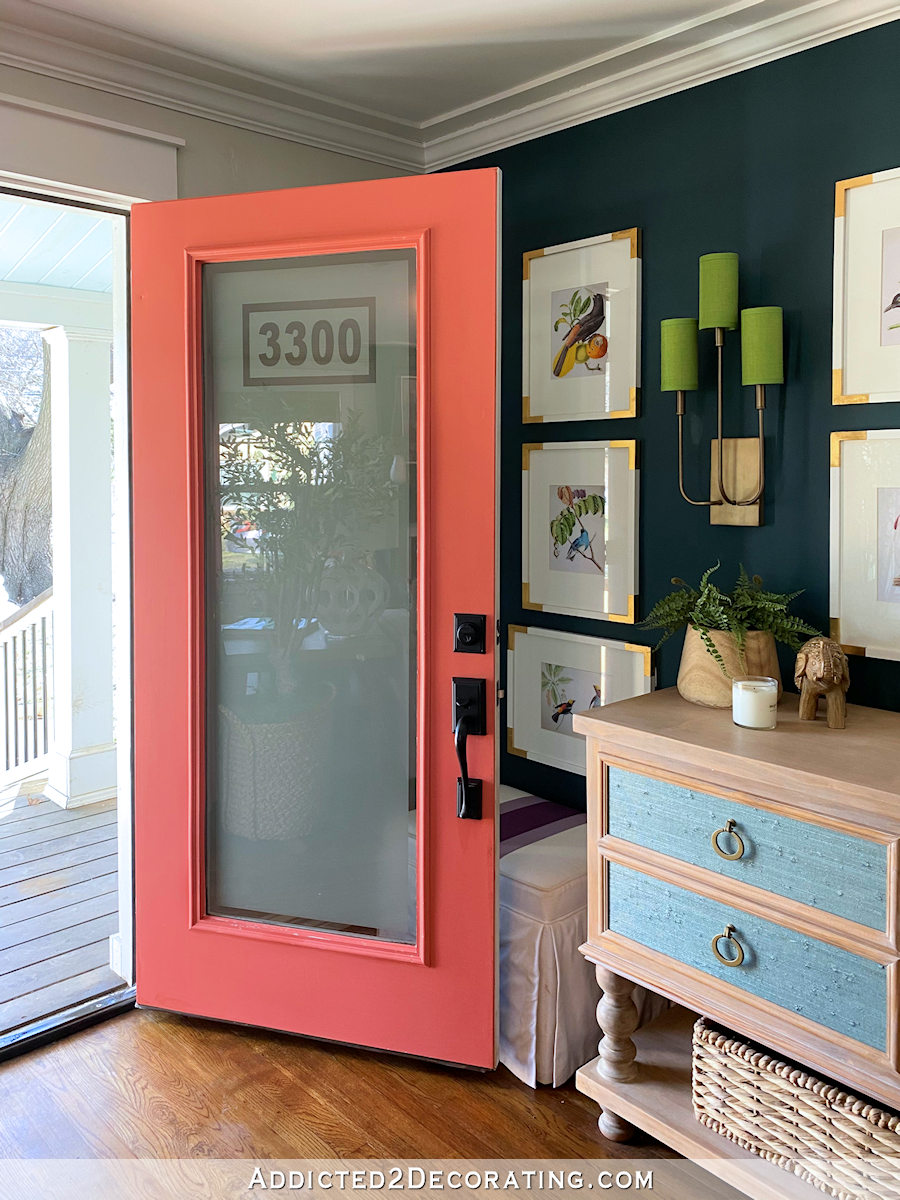
I used my Silhouette to cut the house numbers out of Gila privacy frosted film, which made it incredibly easy and accurate. If you don’t have a Silhouette or Cricut, you can cut the numbers by hand. It would be a tedious job, but as long as you use a brand new blade in an X-acto knife, and take your time to get the numbers precise, it’s doable.
But I took the easy way. I made a rectangle about 11.75 inches wide and 6 inches high, and then filled it with large numbers using the Arial Black font with the size at about 330pt. I also had to remember that when placing the film on the cutting mat, the side of the film with the clear plastic (i.e., the plastic that gets removed and discarded to reveal the sticky side of the frosted film) faces up.

The cutting mat of the Silhouette is sticky so that it holds the paper (or whatever is being cut) firmly in place during the cutting process. So removing the frosted film from the sticky cutting mat was a bit tedious and took quite a bit of patience because the film can tear easily if you’re not careful with it. But I managed to get it loose without any tears and set it aside while I worked on the door.
I cut a piece of film the approximate width of the glass, and then used a very generous amount of the application solution, sprayed directly on to door, to place the film where I wanted it. Once I had the backing peeled off and the film in place, I used the squeegee that comes with the application solution to remove the excess liquid from underneath the film.
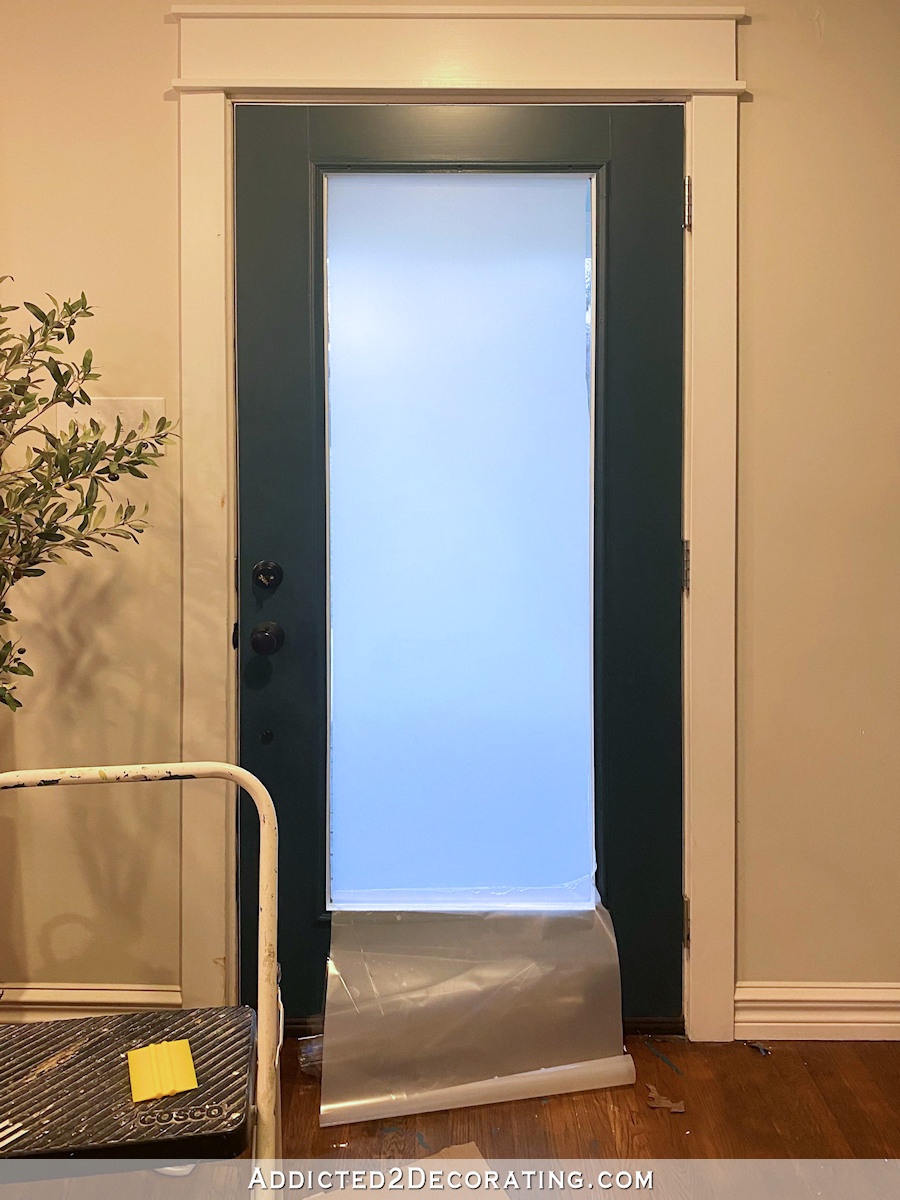
This took me two tries. The first time I did it, I had five pieces of dog hair, as well as a few other random pieces of lint and dirt stuck between the film and the glass. I tried to convince myself to live with it, but I just couldn’t. When I decided to remove it and start over, the film had been on there over an hour and had dried and stuck very well, so when I removed it, all of the adhesive stuck to the glass.
So I had to head to the automotive store and pick up the Gila adhesive remover (auto stores carry it because it’s used to remove tinted film from car windows) to thoroughly clean all of the adhesive residue from the glass and start again.
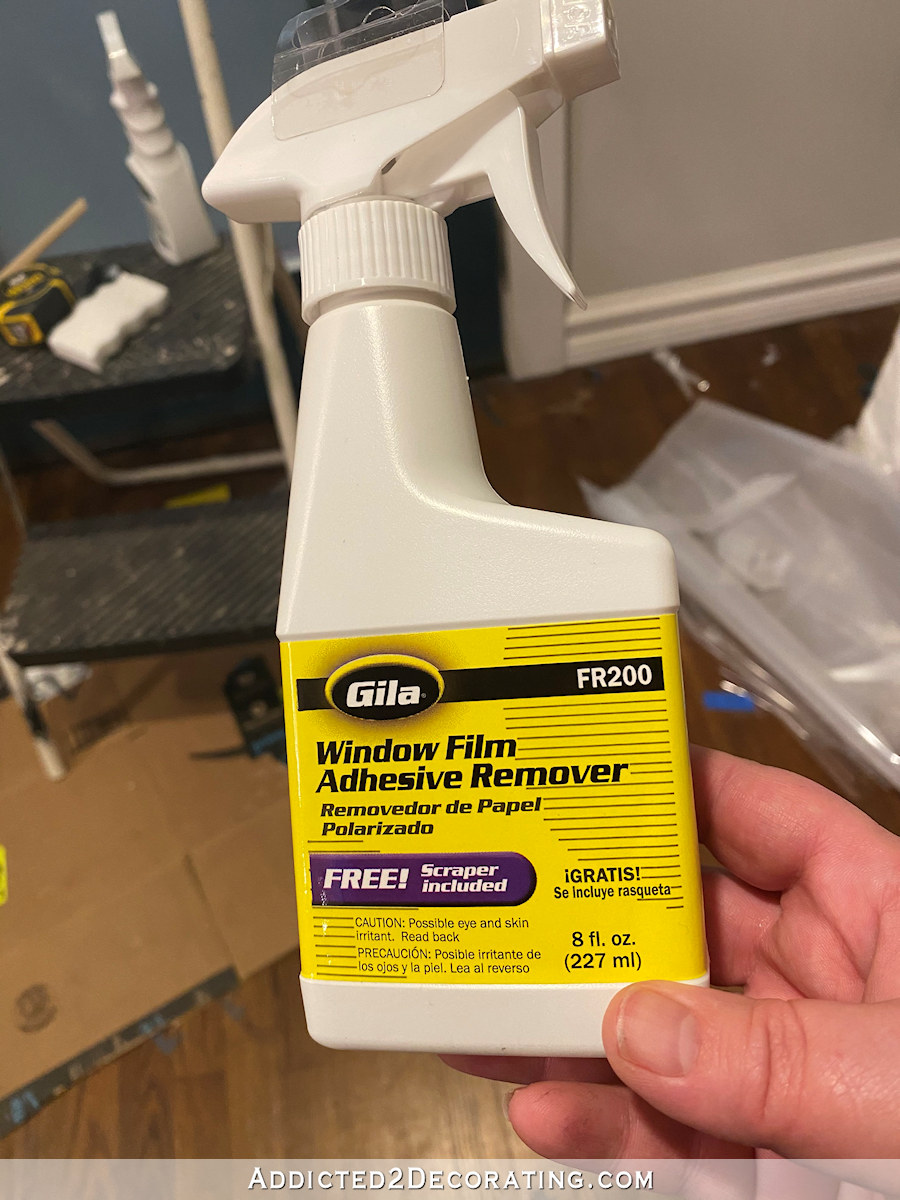
That stuff works like a charm. If you have to remove this film from glass, and have adhesive residue left over, any other way of trying to remove that film (including Goo Gone) will frustrate the heck out of you. I know this from experience. 😀 It’s just not worth the hassle to try other remedies when this stuff works so well.
So after getting all of the residue removed from my first attempt, and cleaning the glass way more thoroughly than I did the first time, my second attempt went amazingly well. There’s not a single piece of dog fur or other particles trapped under that film anywhere.
With the film on the entire glass, I then used a piece of scrap trim (about an inch wide) as a guide to trim a border around the glass. I did this using the trimming tool that comes with the application spray and squeegee.
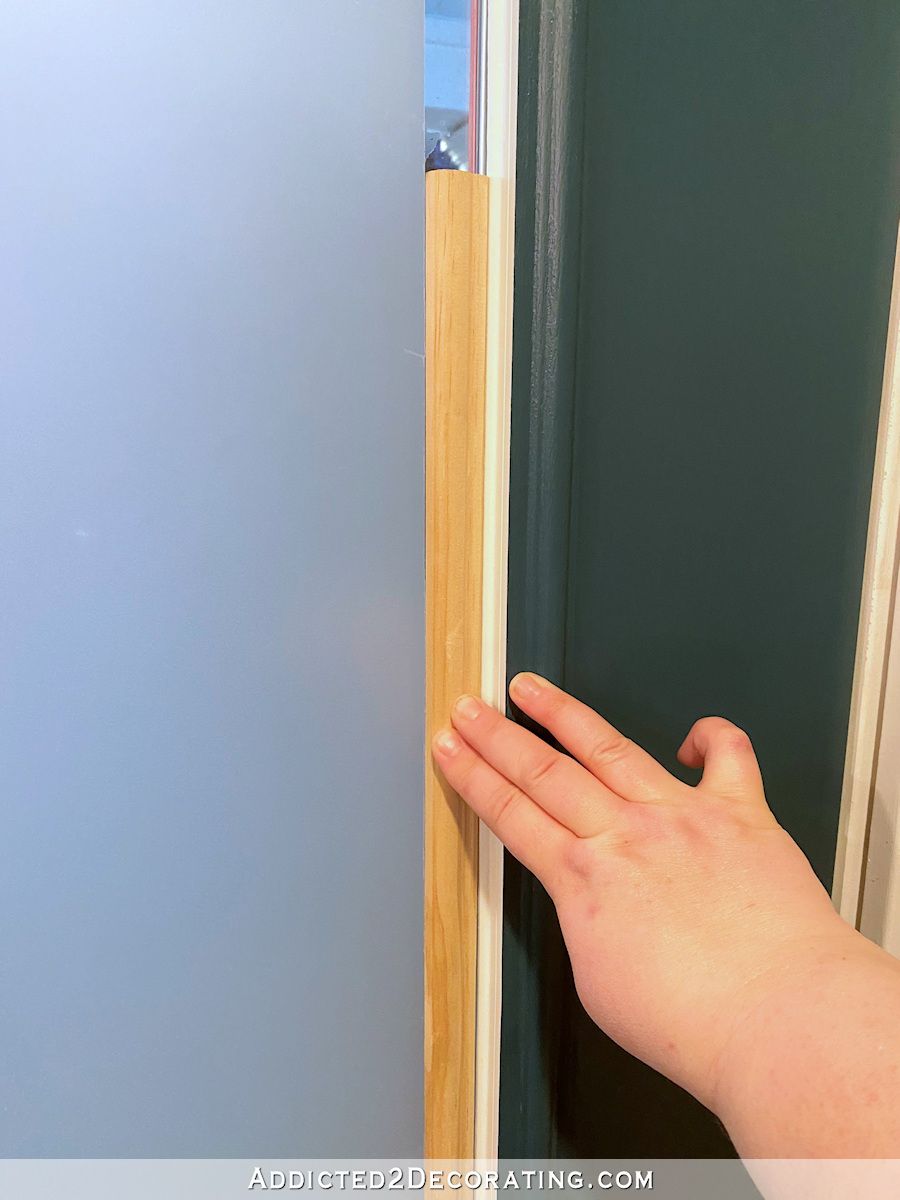
And once that was cut all the way around and removed, it looked like this…
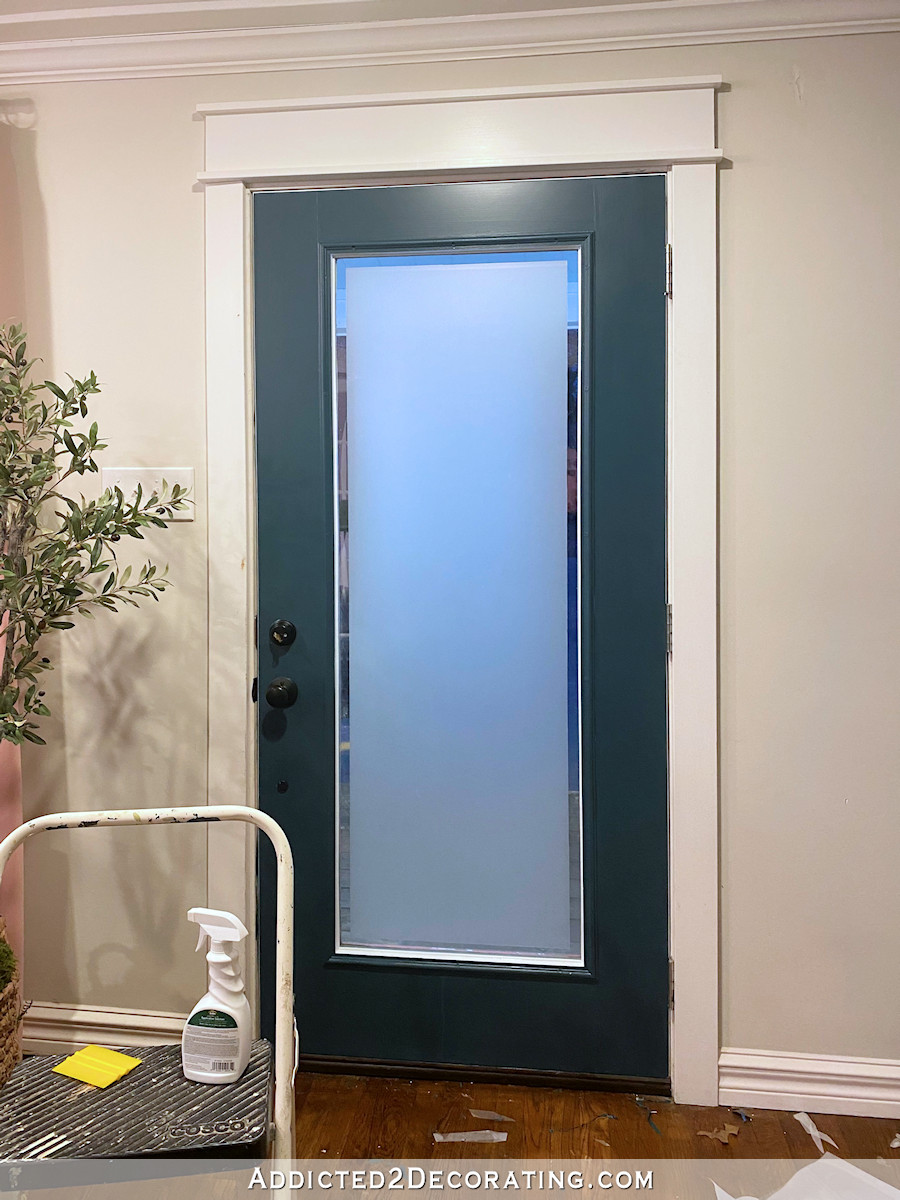
Just a word of caution, after you apply the frosted film, you have about 45 minutes to an hour during which it will peel off quite easily. Once you get past that time, and it starts to really dry onto the glass, it’s impossible to remove without leaving that sticky residue behind. So if you’re going to trim a border or add numbers, do it all at once. Don’t wait and do this project in phases over two or more days.
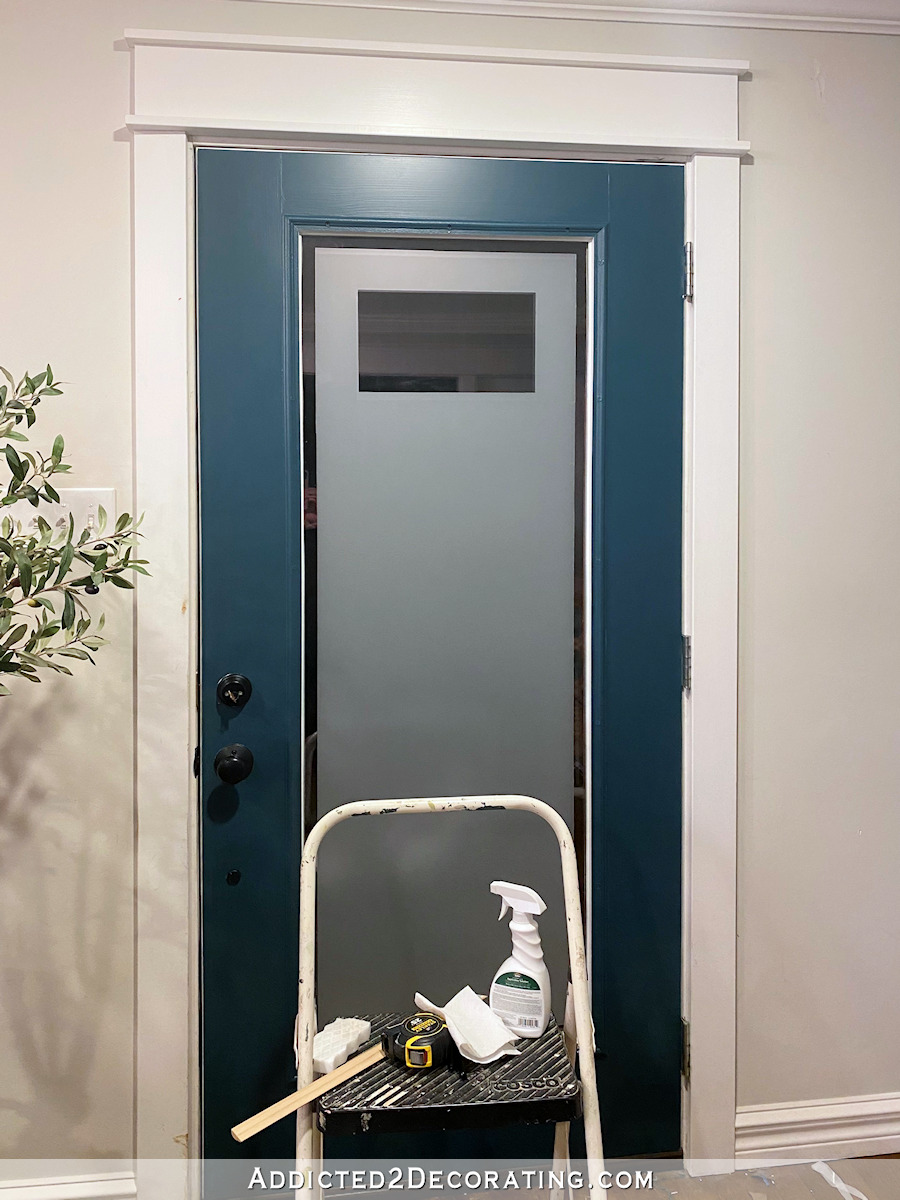
Next, I moved on to the house numbers. I measured the rectangle that I had cut on my Silhoutte (which was 11.75″ x 6″), and added 1.5 inches to both the height and width to give me the size of the rectangle I needed to cut out of the film on the window. I measured very carefully for placement so that it would be equidistant from the sides and the top, and then used my same straight edge (i.e., the piece of scrap trim), and an X-acto knife with a brand new blade in it to cut away the rectangle where the house number would go.
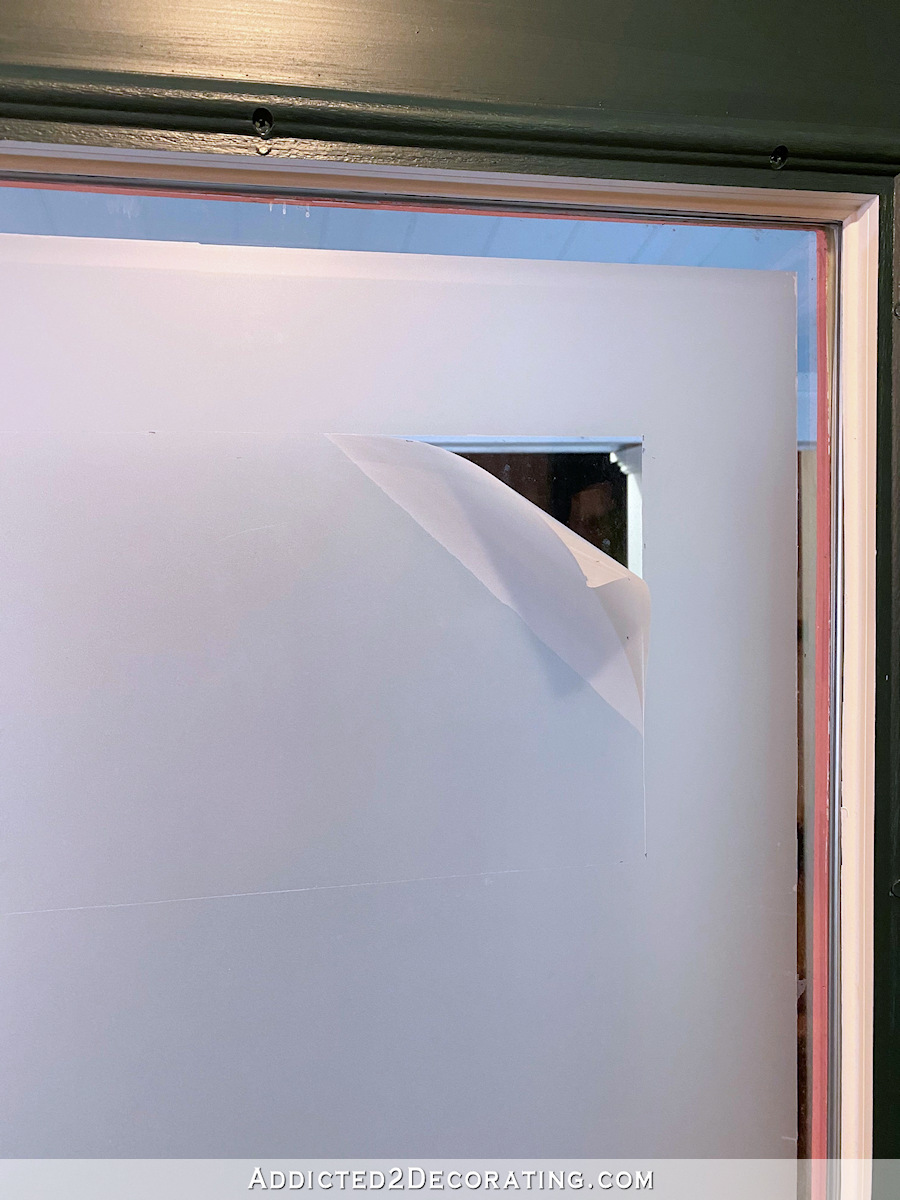
Most of that came off easily, but there were a few areas where sticky residue was left behind.
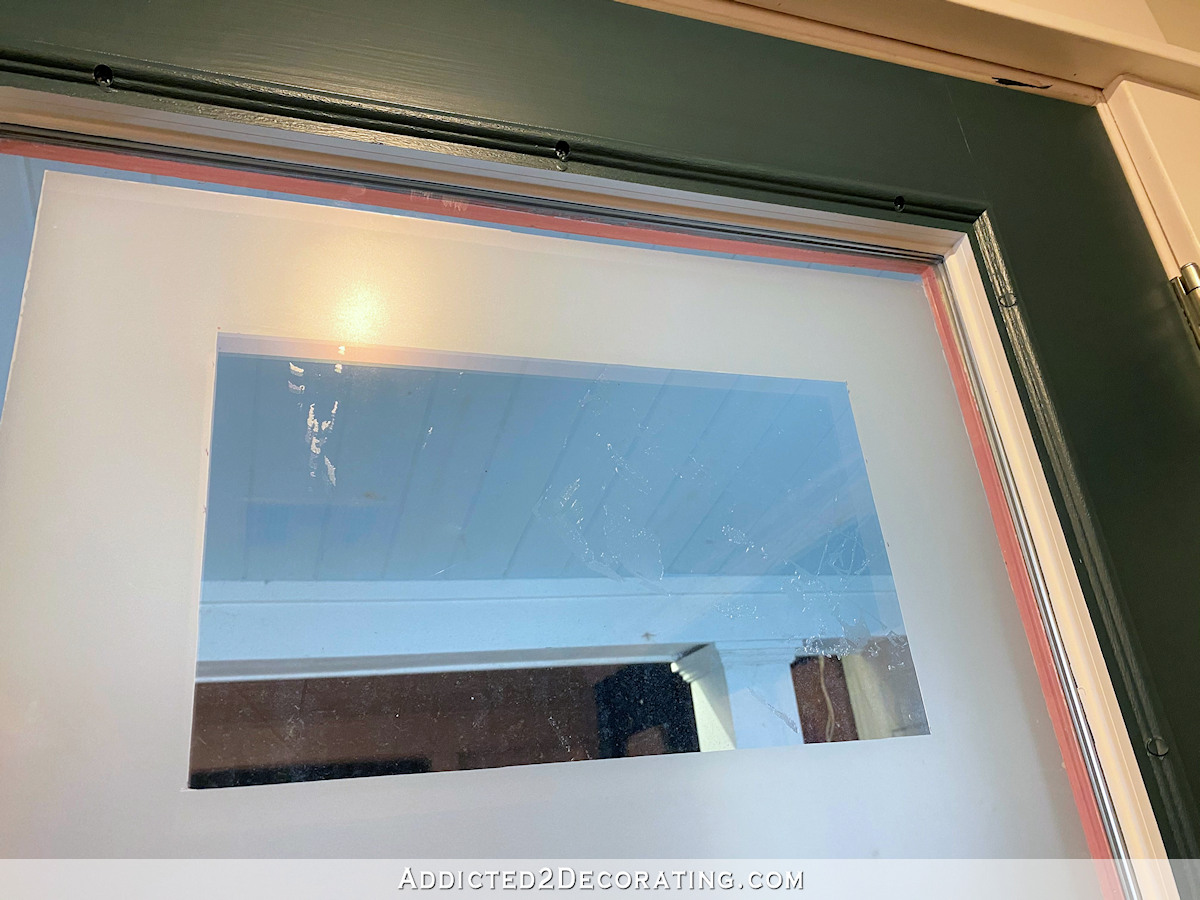
So I sprayed some of the adhesive remover onto a paper towel (I did NOT spray it directly onto the glass), and then very carefully and strategically used that paper towel dampened with the adhesive remover to remove the adhesive. I used extra caution to make sure that I didn’t get any of the adhesive remover on the frosted film. Here’s what it looked like after it was all cleaned up and ready for the numbers.
Separating the house numbers window film from the protective plastic was probably the most tedious part of this whole project. It would have helped to have an extra set of hands to hold the peeled film away from the plastic or any other surface, but I managed on my own. I didn’t rush it because it would have been very easy to either tear the film, or to get it stuck to itself. And if that happens, it’s game over. There’s no other option but to cut another house number. Once you get the film stuck to itself, there’s no saving it.
So it took a great deal of patience, but I managed. And then I sprayed the application spray onto the house numbers film rather than onto the glass, and positioned the numbers. Before doing any squeegeeing, I stepped back to view the numbers and make sure the placement was just right.
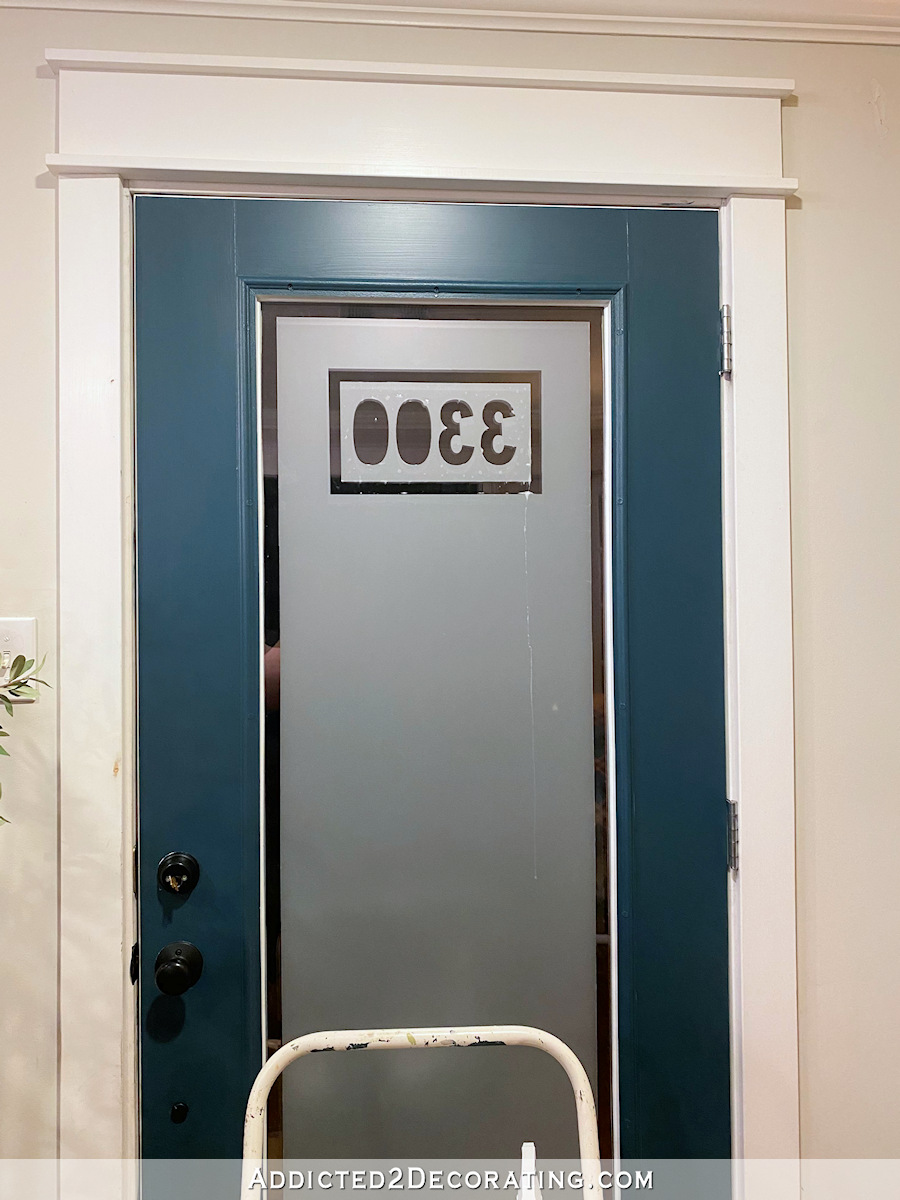
Then I very carefully squeegeed the house numbers. I took my time, and tried not to press down very hard initially. If you squeegee this small house numbers piece of film with the same pressure as the main piece of film, it will definitely move, and then it’s a struggle to get it back into place. So I worked very carefully and methodically.
And finally, I placed the two center pieces on the zeroes, and it was done.
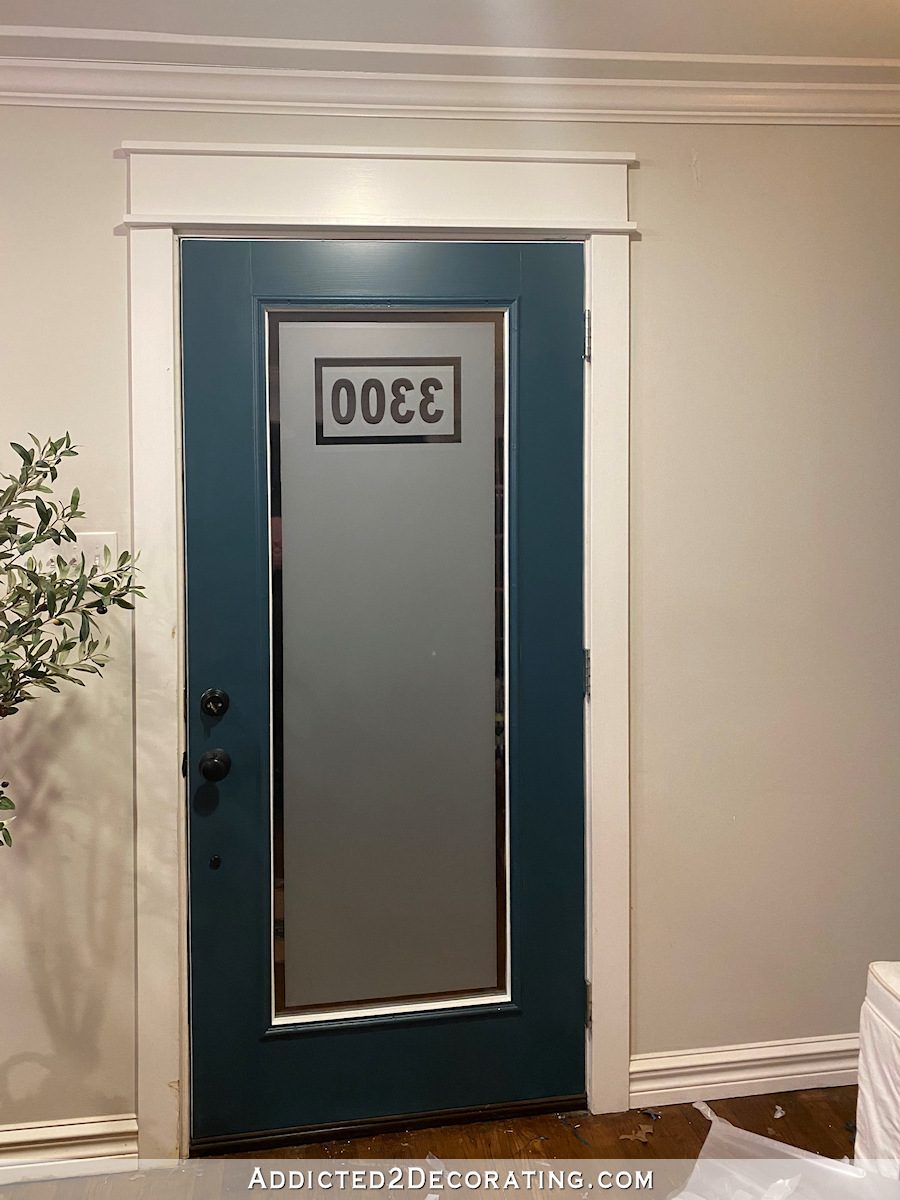
If you’re wondering why the inside border of the door next to the glass is white, it’s because that application spray literally took the paint off of those areas. I have no idea why it affected that area, but didn’t affect any other areas on the door where the spray was running down. But the paint on that inside area peeled off almost in one solid piece. It’s a perfect white border, so I’m not sure if I’ll even bother repainting it.
Anyway, here’s how it looked when I was finished.
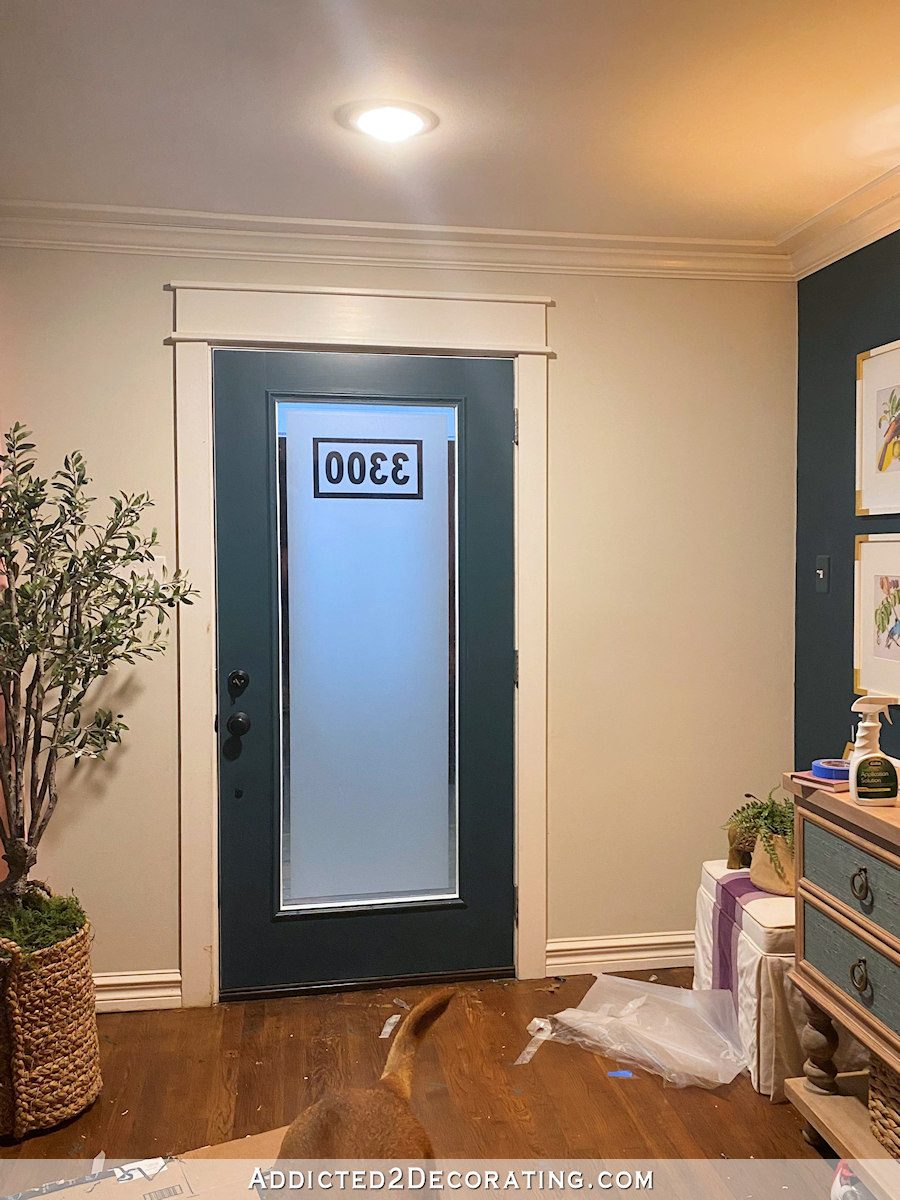
And here’s the view this morning…

It definitely shows up better at night (obviously), but it will also show up better if I take pictures in the afternoon rather than the morning when the sunlight streams through the front door and windows.
Here’s the early morning view from the outside…
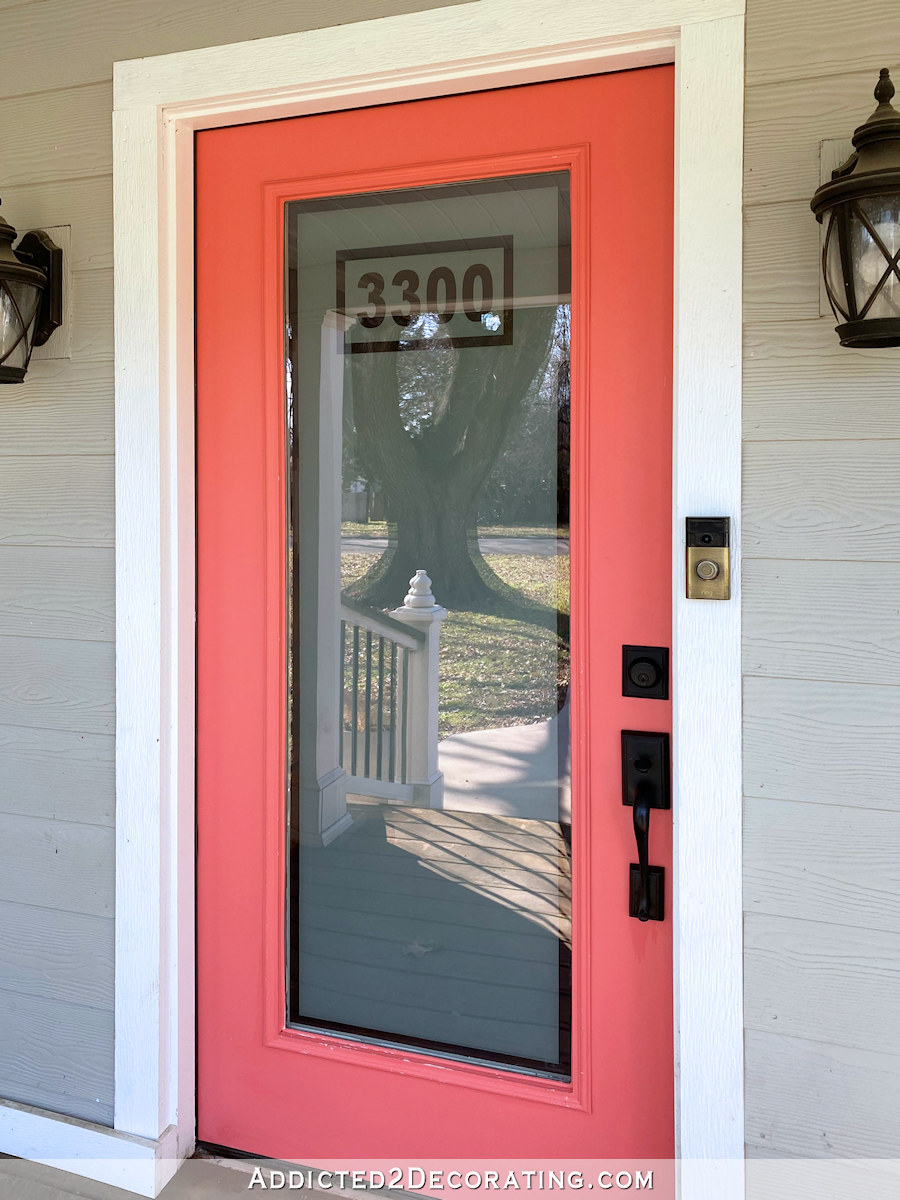
I love how it turned out. And now I won’t feel so exposed and vulnerable when I’m sitting on my sofa with my back to the front door at night.


What a lovely solution you came up with! I’m looking forward to the big reveal.
I like the look of your frosted glass and the house number is great!
Me too!! Looks great!
I love it! Great job well done x
Great idea!
Job well done, as per usual! Very nice! I even love the white trim that came about by accident LOL!
I was thinking the same, happy accident!
excellent
This is sooooo gorgeous! I really love the frosting, especially with the numbers incorporated.
Looks great! I’m wondering if there is a DIY method I can do to frost a window without using frosted film?
There are frosted glass sprays that you can use. It doesn’t seem to go on evenly, though. Most projects I’ve seen using the spray look splotchy.
Agree, Kristi. I used to spray and paint by hand small glass bottles which mostly looked ok but larger items were easy to get splotches
You continue to have more patience than I will ever have. Love it with the numbers.
The frosted glass plus the teal color of the door looks great!
Ohh wow. That was a hard fussy job you had to complete and it turned out beautifully.
You constantly amaze me! Looks great !
Great job!
Our front door had a long window that made me uncomfortable at night. Anyone could look all the way into our living room. I used a patterned film that produces rainbows when the sun shines and provides privacy! I love it! Many neighbors had decided to hang curtains, but after seeing my rainbows, many have changed their window treatment.
You are amazing. I love everything you do!
I’m so impressed with the amount of patience and diligence you bring to your projects. Something for me to strive for.
I love it! That was a very creative and perfect solution!
Love it. I too would have struggled to sit in there, even without my back turned. The frosting works so well.
I like this idea! And my wheels are turning . . . Looks great!
I love this! Planning on adding film to a bathroom window so appreciate the tutorial!
Looks great and I love the clear frame you created around the window – it’s in the details!
I love it!!
Is it possible to revist how you made the wall candelabra in the entry?
Please ignore the question..
I wondered how long it would be before you frosted the front door. Looks very nice.
That came out great! I’ll bet it wasn’t fun, but it makes the door look FINISHED!
Love it! Didnt you consider a full glass storm door at one point? That would be great for an added layer of security, as well!
Perfect solution to your ‘problem.’ It looks great!
Love it! You did a fantastic job. BTW have you thought about getting a single lite storm door? That would allow you to open your front door to get the light in your house and the view and keep the weather out. My dog loves to sit in front on my storm door to check out what’s going on outside. I like the extra light.
Oh just gorgeous! I love that. Also love where your couch is sitting 😂 Can’t wait for the full reveal, you just gave a teaser.
I have a solid door with glass panels on either side.
I frosted these glass panels and put a design into them at the top and bottom using a reverse stencil. I used the spray frosting in an aerosol can and it worked great.
Sixteen years later, I am sitting here looking at it, and it is still perfect.
I actually like the little bit of white around the black. To me it just makes it pop!
So Pretty! I love the colors on both sides of this door. You must be so excited to see your vision coming together for this entryway.
Really adds to the door. I’m a big chicken, gotta have a covering on my frosted door to feel comfortable at night. My hubby thinks I’m crazy. He says no one can see in. Maybe I’ve watched to many scary movies in my past 😂 Perfect work, once again.
Super cute and still private
It looks amazing!
Looks really nice!