How To Paint A Refrigerator (Or In My Case, An Upright Freezer) — Before And After
I finally tackled a project that I have been excited to tackle for a while now — I painted my upright freezer. Have you ever wondered, “Can you paint a refrigerator?” Well, I’m here to tell you that you can. Whether it’s a refrigerator or an upright freezer like mine, you can give it a customized look with paint, and it’s not even difficult!
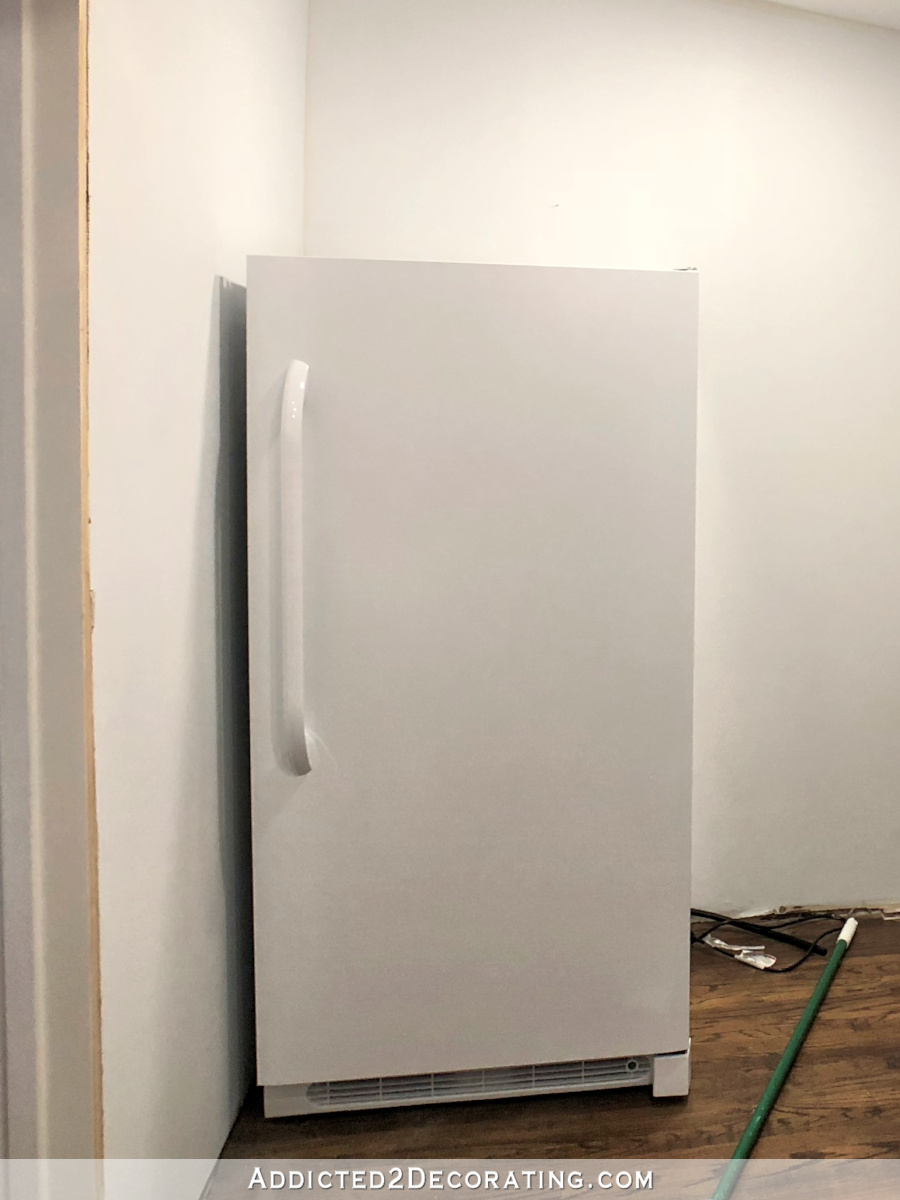
If you’ll remember, the original look of the freezer was quite utilitarian — solid white with a thick plastic handle.
And now, that same freezer has a beautiful dark teal finish on it with a new, beautiful brushed brass handle.
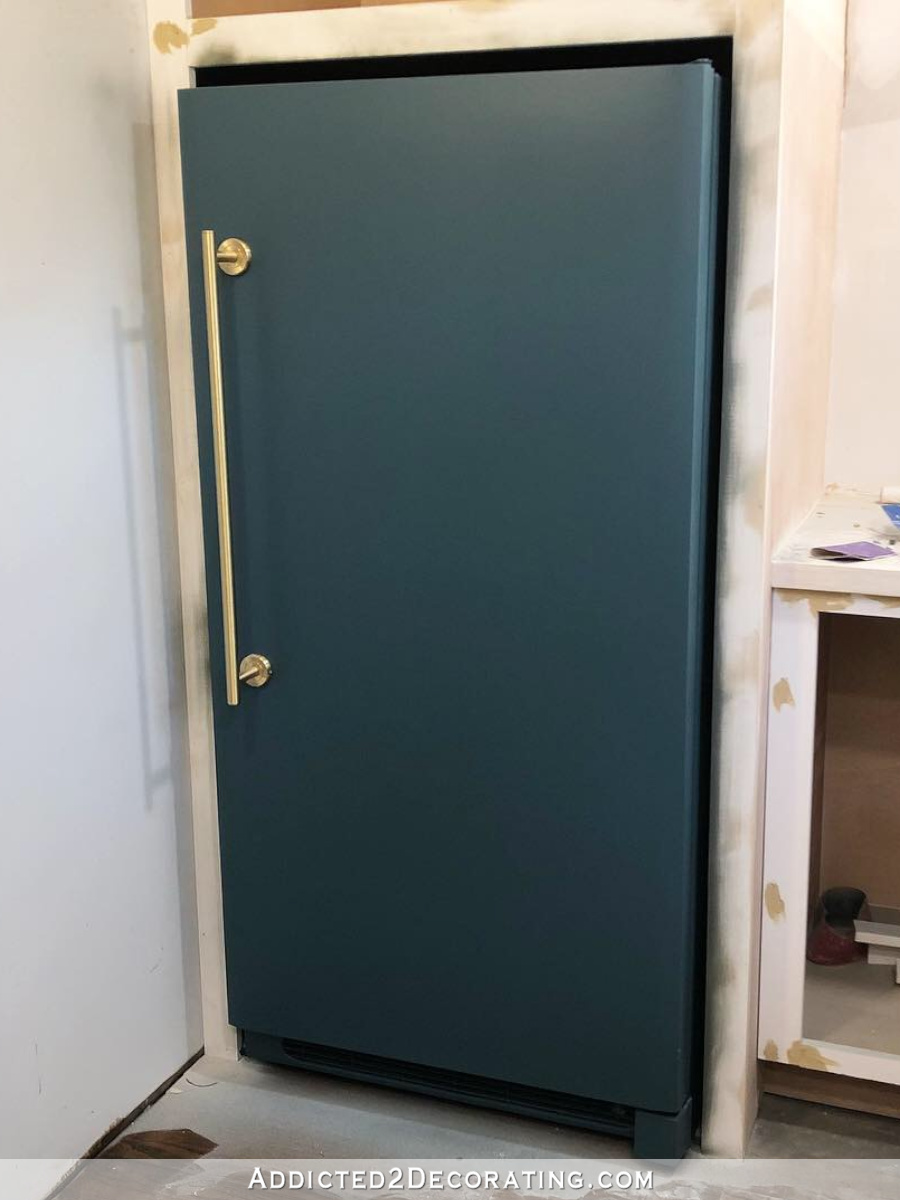
So much better, right?! And the best part is that this was so easy! Seriously, it was way easier than I had anticipated.
I did paint the entire thing — sides, top and front. But this room is pretty small, and once I pulled the freezer out into the middle of the room to work on the sides and top, it was impossible to get pictures. So you’ll only see pictures of the progress on the front of the freezer.
But let me show you how I did this…
How to paint a refrigerator (or upright freezer)
1. Remove the handle(s).
Before I could get to any of the painting process, I removed the original handle from the door. These are almost always attached with little screws that are visible on the sides of the handle where they connect to the door. You’ll probably need a little Allen wrench to get those screws out.
Once the handle is off, you’ll see some little posts that the handle was attached to. I wasn’t sure how those little posts were attached to the freezer door, so I just left them and moved on for now, although I knew they’d eventually have to come off since they didn’t work with my new handle.
If you don’t plan on switching out the handle, you’ll need to leave those little posts right where they are.
2. Sand the existing finish on the refrigerator or freezer.
With the handle off, I was ready to get started on the refinishing process. I started by sanding the smooth factory finish using 60-grit sanding discs on my rotary sander. If you’re looking for a new sander, click here to see the one I have and use regularly. It’s a Dewalt variable speed 5-inch rotary sander, and it’s the best one I’ve ever owned (and I’ve owned a few over the years 😀 ).
My freezer has a texture to it, so this is what it looked like after I sanded.
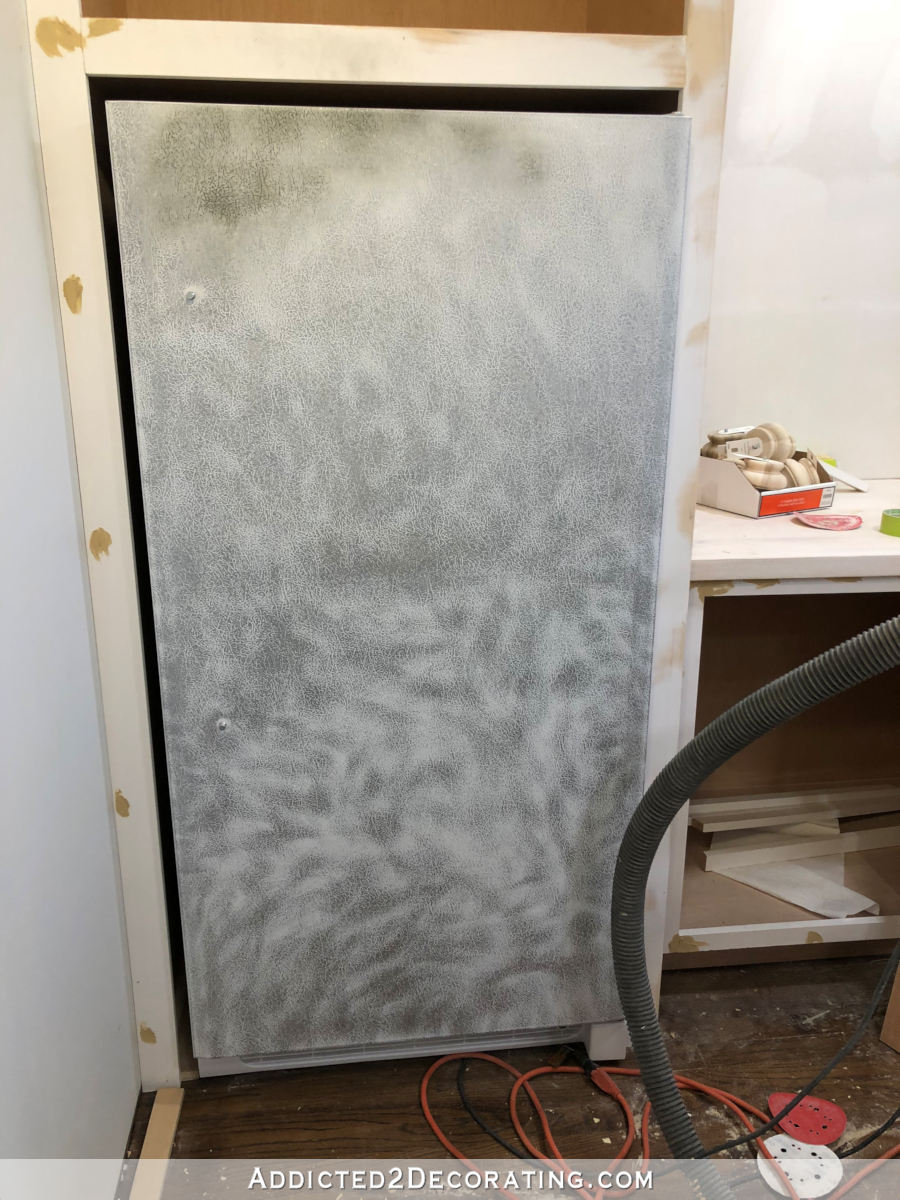
The sanding went much faster than I thought it would. Those 60-grit sanding discs made very quick work of it.
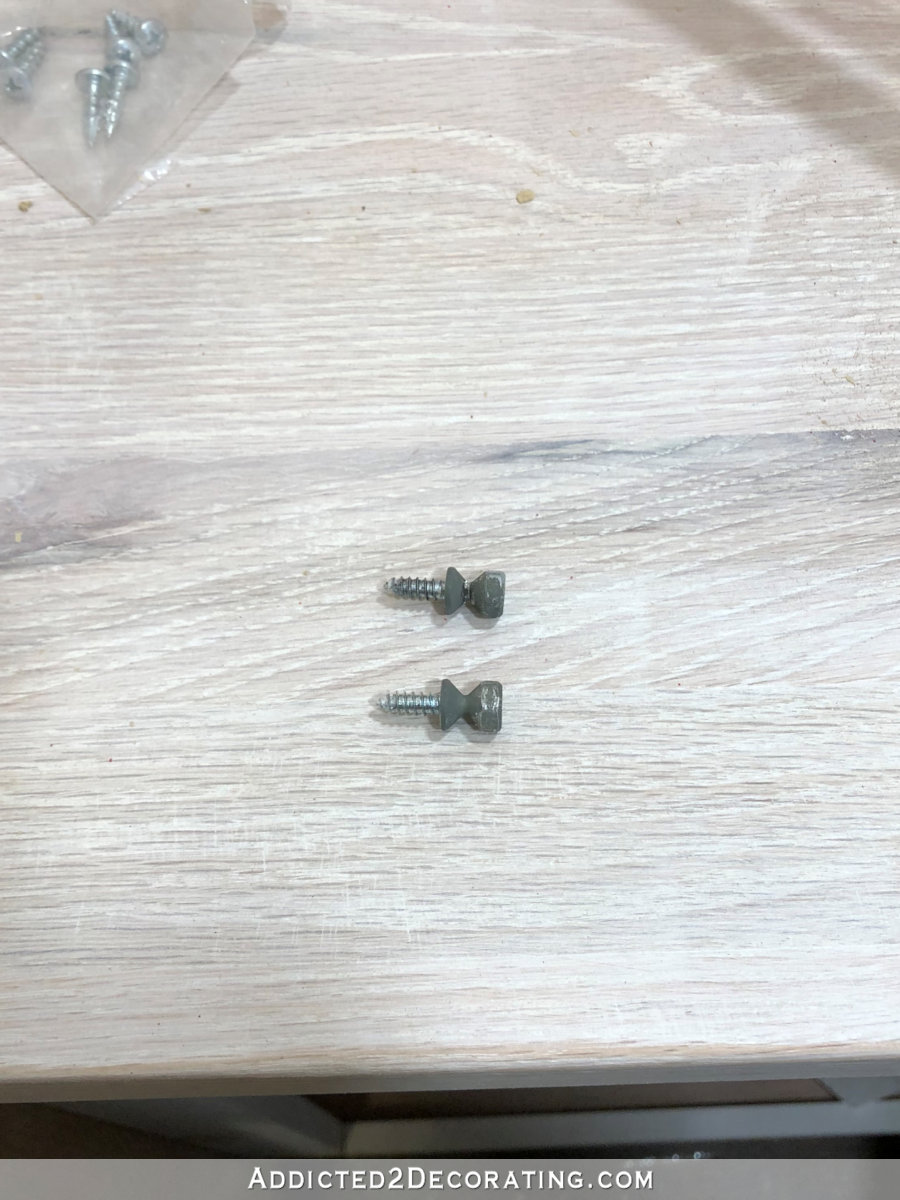
You can see the little posts for the handle on the picture above. I needed to get those off and get the hardware for the new handle installed before I moved on to the next refinishing steps, and I quickly realized that they just twist out. They’re actually little screws with posts on them. They came out pretty easily using a pair of pliers to get a firm grip on them as I twisted them out.
3. Install brackets for new handle (optional).
After seeing the screw ends of those posts, I felt pretty confident in attaching the mounting hardware for the new handle using #8 1/2-inch screws. I wanted to attach the mounting hardware at this stage because I figured if I did it after the freezer was painted, I would risk scratching the new finish. Better to do it now before/during the priming stage so that any scratches could be touched up before the final finish went on.
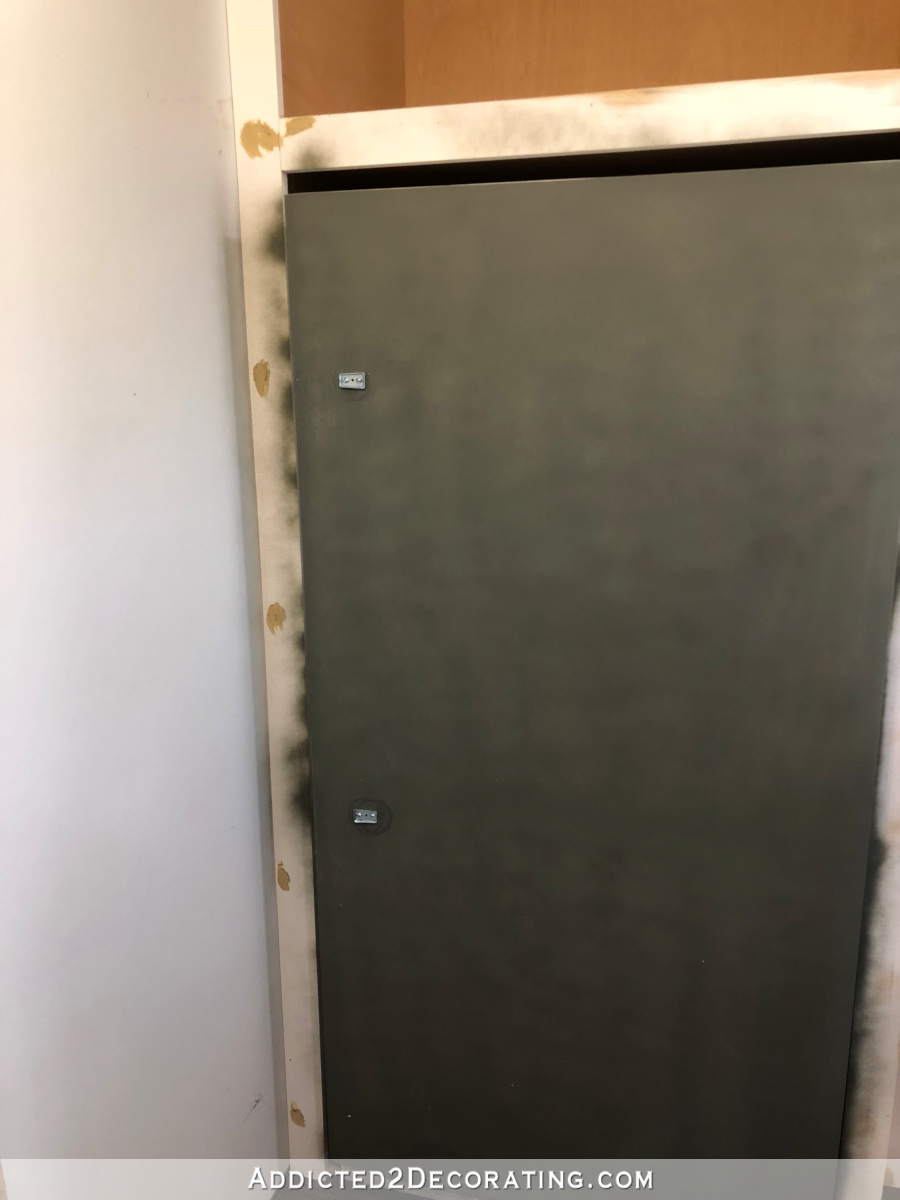
5. Use a spray primer to prime the surface of the refrigerator or freezer.
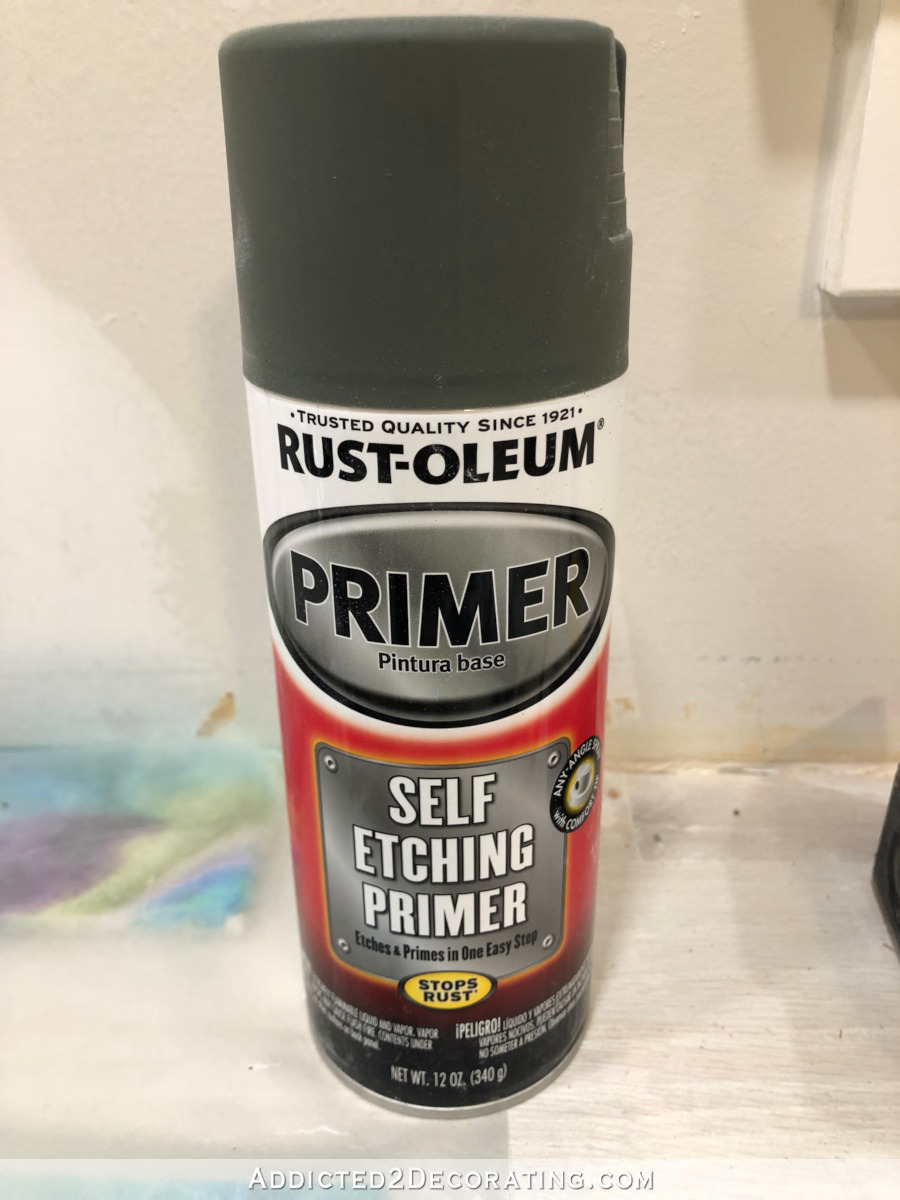
I used a self-etching spray primer that I found at Home Depot. I think I used about three cans in total.
After letting the primer dry thoroughly, which I think took a couple of hours, I sanded the entire surface by hand with 400-grit sandpaper. That sounds way more labor-intensive than it actually was. It only took about 30 minutes to sand the entire thing.
6. Paint the refrigerator with a sprayer or roller.
With the freezer primed and lightly sanded, I was ready to apply the final finish. For this, I just used regular Behr latex paint in an eggshell finish.
For the sides and the top, I used my Critter sprayer, which you can find here. I highly recommend this sprayer. It’s inexpensive, and does a beautiful job. It’s what I use to paint cabinets and other small projects as well.
On the front of the door, I actually did a second and final coat using a small 6-inch roller that is labeled for “smooth surfaces.”. Since my freezer has a textured surface, this worked perfectly. If I were painting a refrigerator with a smooth surface, I’d skip that step and just do a second and final coat with the sprayer.
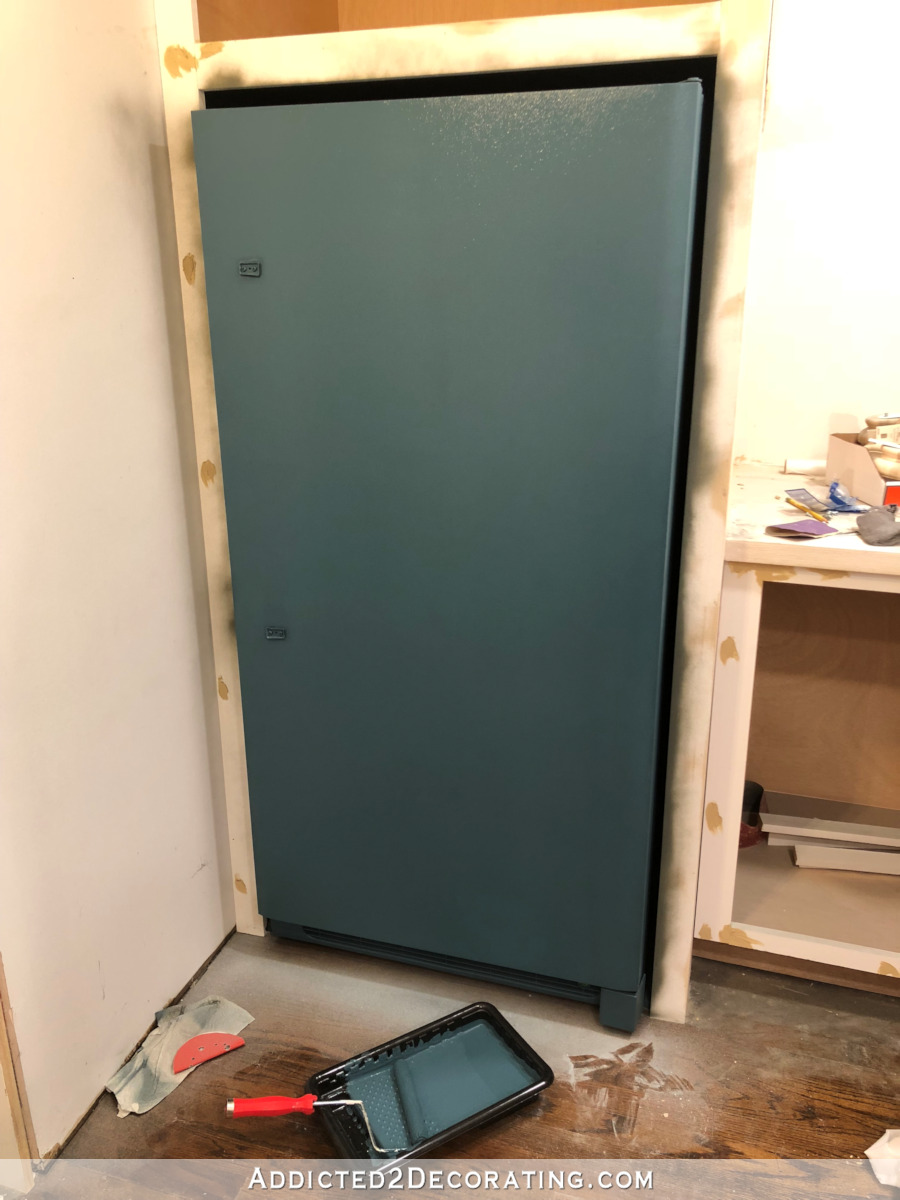
7. Attach the handle.
Once that dried completely, I attached the new handle onto the mounting hardware that I had installed.

And that’s it!
Painting a refrigerator or freezer – additional tips for a quality finish…
- Before priming and painting the freezer, I didn’t tape anything off, like the plastic seal around the door. Since I was painting my freezer a dark color, I didn’t want that white plastic seal showing, so I just painted right over it. I just made sure to keep the freezer door closed the whole time I was painting so that it acted as it’s own taped off area. The outside areas of the plastic seal (i.e., the parts that show when the doors is closed) are now painted, but the inside parts are still white, and they still seal to the original factory finish.
- I did remove the grill below the door in order to paint it. It was attached with two screws that I easily removed, and then I sprayed it using the Critter. That way I could get a good finish on it without spraying paint into the area with the motor and other mechanical parts of the freezer.
- I’m still deciding on whether or not to use a clear topcoat. If I do, I’ll use a General Finishes topcoat, which is my absolute favorite. It’s so superior to Minwax Polycrylic that they’re not even in the same league, and it’s way better than any Rust-Oleum water-based clear coat that I’ve ever use as well. General Finishes Topcoat is what I used on my kitchen cabinets, and I’m amazed at how durable it is and how easy it is to clean. I buy mine here on Amazon. On the other hand, while a plain, unprotected latex paint finish is less durable, it’s much easier to touch up. If I get a chip or a scratch, it’ll take two minutes to touch it up and be on my way. With a protective topcoat, touching up a scratch or chip is quite a bit more work. So for now, I’m just going to live with the plain painted finish and see if I think I might prefer the added protection of a clear topcoat.
- Regarding the handle, I actually used a towel bar. You can click here to find the exact handle/towel bar I used. To find the right size, I just measured the distance between the original handle posts and used that measurement to find a new handle. Even though I knew I would be removing the original posts, I also knew they would leave holes that would either have to be repaired with Bondo or be covered up with the new handle. I didn’t want to mess with Bondo (especially since my freezer has a textured surface), so I just made sure that I bought a handle that would cover the holes.
That’s all the info I can think of to share with you about how to paint a refrigerator or freezer, but I’m sure I left something out. If you have more questions, just let me know!
UPDATE:
My pantry is finished! Want to see the entire project from start to finish? You can find every single post about the pantry build right here…
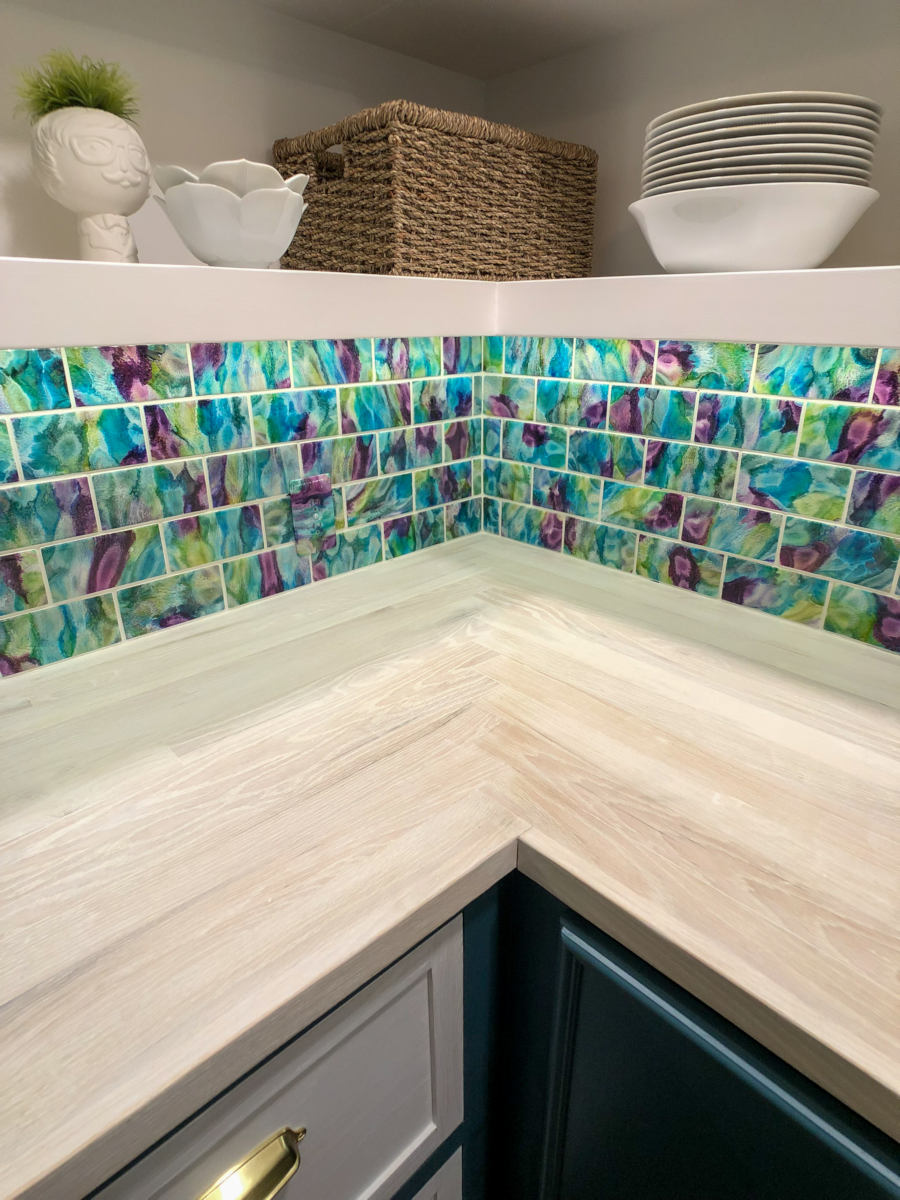
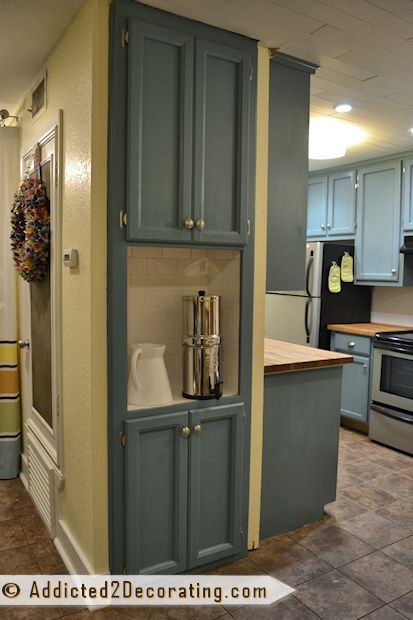
Or you can skip to the end and see how it turned out. Here’s a peek of the finished pantry…
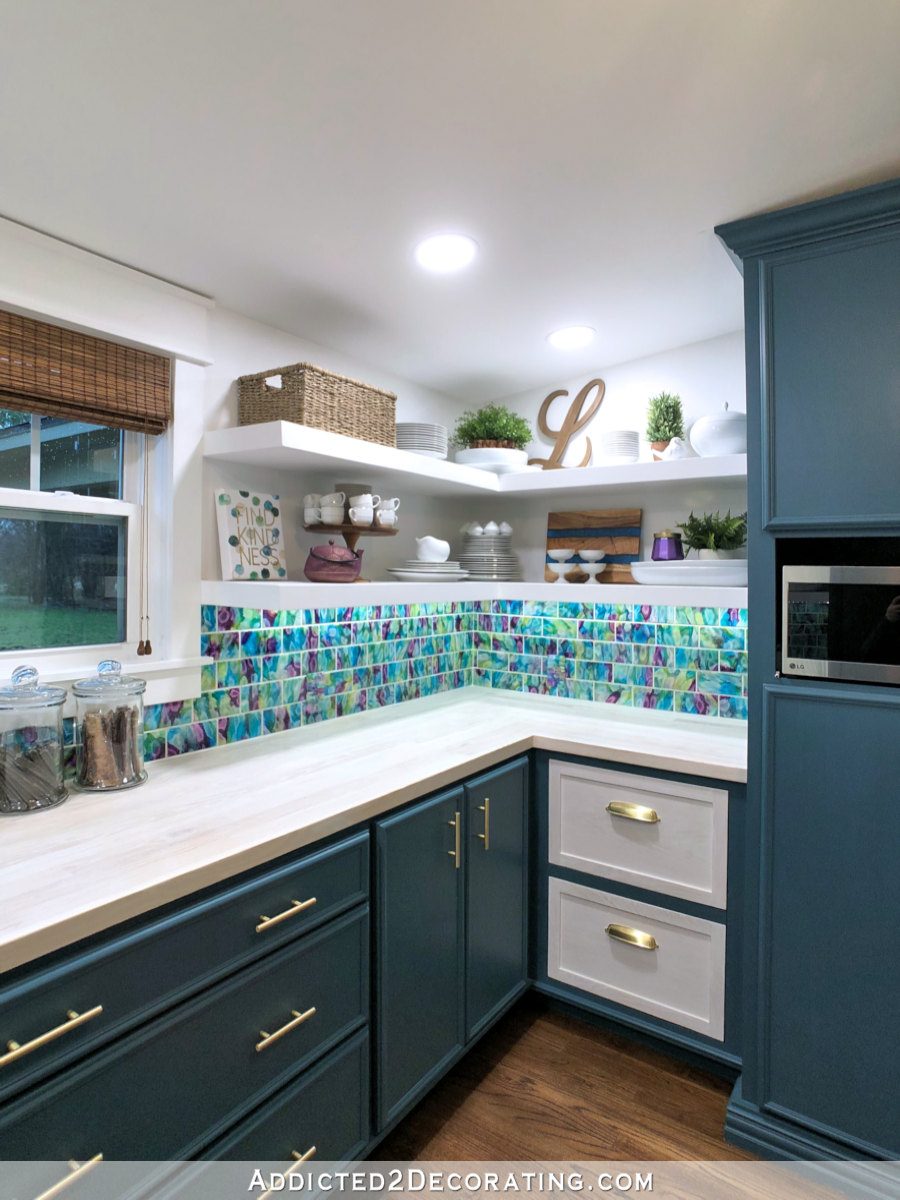
You can see more pictures on the before and after post right here…



That’s an elegant freezer!
The fridge door handle is on the wrong side!! It should always be placed next to the counter top side not by the wall side so when the door his opened you can access the counter top.
“Wrong” and “right” in decisions like this are subjective, not absolute. I made a conscious decision to put it where it is for a reason, and this is absolutely the RIGHT way for ME.
https://www.addicted2decorating.com/my-pantry-freezer-form-over-function-or-function-over-form.html
What color behr paint is that?? It’s beautiful
As far as the 6 inch roller for smooth surfaces- does that mean to use it on smooth surfaces or achieve smooth surfaces?
This is the most helpful blog ever. I got catfished into buying a lemon I thought was turnkey and am facing similar situations with similar expectations.
I’m so glad you’re finding some helpful info! So sorry about your house. 🙁 But I’m sure you can make it beautiful!
As far as the roller, the label on the package will actually say “for smooth surfaces.”
I really like it and that brass handle is just the icing on the cake! Woot! Woot!
I love the color and that handle–so beautiful Kristi!
Are you putting a top coat on the cabinets? If so, would the finish of the freezer look enough different to be obvious? And eventually annoying?
Oh my gosh, that looks awesome, what a great idea! Love it so so much! I think I would go with a top coat.
WOW! Just WOW! You continue to amaze me! Now I’m staring at our white upright freezer in the garage wondering what color I want to paint it! haha
What wa the colour that you used
What a very cool idea – it wouldn’t have occured to me to simply change the look on a freezer or fridge – you are such an inspiration! I love the chosen colour and assume that’s the one you are going to use on the cabinets as well? It will look beautiful!
AMAZING !!!!!
Did you spray the primer inside? Did any iverspeay get on your walls, floor or countertop? How was the smell?
*Overspray
You’ve changed the appliance decorating world. Wow!!!
I can’t wait to try something like this.
Blown away by how awesome this looks! And the color is BEAUTIFUL!!!
Ditto, it’s stunning!
Now that’s about the most elegant freezer I’ve ever seen! I like the color, and presume that is the color you decided on for the pantry cabinets? If you put a topcoat on the cabinets, will it have a different sheen than the freezer? Really looking forward to seeing the finished pantry!
Again, a successful job! I love teal and I can see people all over the country painting their ugly freezers and refrigerators.
Did you have to tape/cover the door, your cabinets when using your sprayer indoors? Just curious and it’s probably a silly question but I’m new to all this stuff. Thank you for the info.
Stunning! 👍
I love the idea of not have a big white “brick”! Can’t wait to see how this blends with the cabinets.
Amazing transformation. Just love it.
Perfect.
Ok, I’ll eat my words, I was one that said “don’t paint it, put a door on it” 😳 but the handle here makes it! Looks So glamorous.
Wow, this is beautiful. I would never have thought to paint a freezer!
It looks great! I painted a refrigerator using good ole, oil based paint from Sherwin Williams. Sanded lightly, and applied it with a good foam roller. The paint job ended up lasting well over 5 years without a scratch. Unfortunately, the refrigerator finally died and we ended up getting a new one. Since this is an upright freezer that you won’t be getting in every day, and it’s in the pantry which won’t be a high traffic area, I doubt you will need a topcoat.
Wow, what a difference……it looks so elegant now. Love the color and the new brass handle certainly adds the wow factor!
Okay, now I know how you did this, I can’t wait to do mine little freezer which sits in its space almost in my living room! I covered it up, but still not happy with it. Then I saw your finished project and I am going to go for it!!
Wow great idea and it looks amazing
Would love a link for the brass handle!!
There is one under #4 toward the bottom of the post. It’s actually a towel bar! How cool and creative is Kristi?!
I believe she posted it in the last paragraph.
I cannot wait to see your finished pantry!! You are doing an amazing job and it is so inspirational!
Looks great! Are you going to use gold bars for your cabinets also? I can hardly wait to see the finished room!
Never tho’t of painting an appliance in a pantry. But YOU did & it’s amazing. Love the color AND the handle.
As Karianne would say: You are a rockstar!
Curious what your history is with painting appliances and durability? I painted metal bathroom towel bars, etc. and they have worn off or scratched. Clearly I did something wrong.
Your refrigerator turned out very pretty.
Home run! It’s a standout especially with the brass handle. I’m wondering though why you didn’t use oil based; that seems to be your go-to for things like this.
I, too, am surprised how easy it was. There may be a painted fridge in my future!
Beautiful! Looks like you spent several thousand on a custom appliance…
When you first talked about painting your brand new freezer, I cringed. But boy, it is BEAUTIFUL!! What a perfect color and finish. That gold handle is just the perfect touch.
Wow,
Great color and love your creativity using a towel bar! I see my garage freezer going from turquoise to teal in the near future! 🙂 Thank you for sharing all your product tips too!
Wow! That makes your freezer look soooo high end! You might want to change your floor plan to make it front and center- LOL! (Just kidding, of course!) But it truly looks beyond wonderful- GREAT JOB!!!!!!!
I do believe this is the prettiest freezer I’ve ever seen. Cheers, Ardith
could you please explain how you attached the mounting brackets to the freezer? Did you screw directly into the door or did you somehow use the mounting holes that were already there. Did you have to use a different mounting screw than what came with the bracket? Also, might you have an idea of how to mount a wooden panel to a fridge that is not a specialized one to receive a front panel? Thanks Kristi. Love how it turned out.
Kristi answers many of these questions in her post.
Adele, I read her entire post. I saw where she took out the original mounting bracket/screw that held the plastic door handle. She used new brackets that look to have 2 screws. Therefore I was asking if she screwed those directly into the door panel or somehow used the hole that was there from the original mounting screw. Those type of mounting brackets, that it looks like she used generally come with short screws, so I was wondering if she used those or changed them out for something else.
Of course that last question I had about mounting a wood panel was just hoping she might have an idea about.
Awesome!😁
Your fridge looks great, but my biggest takeaway is that I really like that towel bar for an actual towel bar! 🙂 The brushed nickel set is right up my alley!
I love Amazon too- but am I the only one that has the fear that it will one day take over the entire market? Haha!
As a random aside, I love how *everyone* is going gaga over Emily Henderson’s Portland house kitchen with teal cabinets, wood floors, brass hardware, marble counters, and white subway tile like it’s going to be next year’s major trendsetter.
https://stylebyemilyhenderson.com/blog/portland-project-the-kitchen-remodel-reveal
https://www.mydomaine.com/emily-henderson-modern-kitchen
Not that it isn’t absolutely beautiful, but I think we’ve all seen this somewhere before…
Always enjoy reading about your renovation process. Also, thank you for generously sharing your resources for your tools, paint and handles. It is so helpful to see what is used behind the scenes to make it all happen. This has been a very interesting project to watch! Good luck with the rest of your project!
That’s fabulous! I’m very impressed! I’d never thought of changing out a handle.
WOW!!!🙀IT LOOKS AWESOME!!! Love the color. Excellent job!!👍
You are just so handy and awesome…it is sickening. I mean that in the best possible way. Dang, you make it all look so easy.
How did you attach the handle since it’s not really a freezer handle. I didn’t see that in the post
That’s A. Ma. Zing!!! and beautiful!!! Thanks for the details!
the brass handle takes this pantry to the “too kool” level. I would never have thought of a towel bar for a handle. You amaze me!
BTW if you did use the gen finish top coat would you spray it on with your little critter? I use this same top coat and hate that i cannot get to level perfectly. It always has brush streaks.
A Towel Bar???? Who would of thought…. I love it!!
I need an IG sneak peak! You’re making us wait too long for an update! 🙂
HAHAHA, I came here to say the same thing. No blogs, no peeps on Instagram. I’m feeling neglected!! 🙂
In the early 1980s, my mum had a side by side fridge in harvest yellow and decided she wanted it to be white so she wouldn’t have to buy a new oven, dishwasher, etc. I have no idea where she came up with this idea, but she had it taken to an auto shop and they painted it for her.
I know if my mum wasn’t in her late 70s now, she would have loved this site. She did major plumping, electrical, sewing, knitting, etc. She didn’t pass some of those skills onto me. I have wallpapered since I was 9 (I will only do an accent wall at my house – because I hate removing wall paper even though I prime it carefully). I can do minor plumping, knitting and sewing.
I love the idea of the towel bar (wonderful). I am going to start on small projects on the weekends so I can finish the job within a month. I work and am afraid I might get overwhelmed and not finish a project.
I am so envious of Kristi’s skills and energy. I loved her kitchen, tile and door frames.
I use spray paint for everything I can diy. However, I’ve never thought about painting my fridge. What a fantastic idea. Yours looks fabulous.
We recently decided to put our freezer in the kitchen. Thank you for giving us an idea to turn this unsightly convenience into something beautiful. You are one amazing lady!
Best I’ve seen and such a gorgeous color! It’s been a year, what do you think, still holding up? Did you top coat it after all? Any thing you’d do differently? How about the painted seals – still flexible, still tight? Again, really beautiful job and explanation. Thank you!!
Kristi, did you ever go back and put the clear finish coat on this freezer or just leave the latex finish as is?
Thanks!
I just left it as is, and it has held up perfectly. However, keep in mind that this is a freezer in a walk-in pantry, and not a refrigerator in a kitchen. If I had painted my refrigerator in my kitchen, I’d definitely use a clear protective coat (or three) since it would be used much more frequently, and it would be in a room with exponentially more traffic through the room than a pantry receives.
I have long thought of doing this to my 2 door fridge/freezer. We live in the sub tropics, with fans on daily, but condensation is causing the doors to rust. Is it feasible to respray the doors? I would have to sand then use a rust rid paint, then prime, and follow with 2 top coatsof a metal spray paint.