Layered Ombre Vase
I’ve come to the realization that I’m a hoarder of bottles, jars, and large cans with lids. It just always seems so wrong to me to throw out a good container that can be reused. So lately, I’ve been trying to come up with creative ways to use them, and yesterday I created a layered ombre vase with one of my #10 cans. And yes…those are spoons…again. 🙂
 [pinit count=”horizontal” url=”https://www.addicted2decorating.com/layered-ombre-vase.html” image_url=”https://www.addicted2decorating.com/wp-content/uploads/2012/06/layered-ombre-vase.jpg” description=”Layered ombre vase made from plastic spoons, from Addicted 2 Decorating” float=”left”]
I started with a #10 can, and gave it a coat of black paint. All I had on hand in black was chalkboard paint, but obviously the “chalkboard” part isn’t necessary.

Then I used scissors, and cut the heads off of plastic spoons, just like I did here. I had already determined that I needed 7 rows of 15 spoons. (I ended up actually needing 8 rows.) So after I cut them, I lined them up and gave them a coat of primer.

And then I mixed up my paint for the ombre effect. I started with plain Martha Stewart craft paint in Carrot. Then I used the same amount of orange paint for the other six rows, but added progressively more white paint.

And then I painted the spoon heads row by row, using progressively lighter paint for each row.

After all of the paint was dry, it was time to start gluing. Of course, I used my hot glue gun for this.

I got about this much finished, and realized that I wasn’t too crazy about the spoons pointing up. (Dark pictures…it was well after dark and I was working under the light of one single light bulb.) 🙂

I much preferred them to point down, like this…

So I took my can opener and removed the bottom of the can (which was now the top of the can). Of course, that presented a bit of a problem, since now my vase had no bottom, so I used an empty pickle jar (from my container collection) and slid it down into the can. It worked just fine.

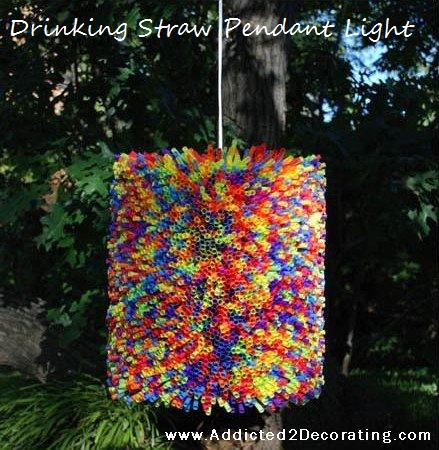
I’m really tempted to do this again, but instead of making it into a vase, I want to make it into a pendant light. It would be so simple! Just cut a hole in the bottom of the can (which would actually be the top of the light) large enough for an Ikea Hemma pendant light cord to fit through, and you’ve got a very pretty little pendant light! Oh, the creative juices are flowin’ now!!

Addicted 2 Decorating is where I share my DIY and decorating journey as I remodel and decorate the 1948 fixer upper that my husband, Matt, and I bought in 2013. Matt has M.S. and is unable to do physical work, so I do the majority of the work on the house by myself. You can learn more about me here.
Just when I thought you couldn’t top that spoon wreath – you do it again! I predict the spoon vase going viral!
Kelly
Kristi … Your so dang creative! I love it
Hugs lady
Brooke
Kristi, it’s beautiful! And I’m glad to see the watermark, even if I’m sad has to be there!
You moved the watermark!
Yep. It makes me sad to have to do it, but it seemed like my only option. 🙁
love it!
This will be huge!! I love what you can do with a spoon! 🙂
I have a question for you since I never want to make the mistake of not giving the proper person credit for their work. If I click on a picture on Pinterest and then click the Embed button to put it in my blog , am I giving the proper credit?
Thanks so much!
I still am unable to read your blog posts via Google Reader. Will that be returning soon?
love. love. love. the colors, & everything. I can not find “non heavy duty” spoons anywhere to save my life. Everywhere I go I ask if they have cheap spoons I can break.. and they look at me funny! haha weirdos. I will find some soon so I can finally do a spoon project 🙂
I got mine at Walmart, the great value brand. They cut pretty good too, only cracked a few.
You’re insane with plastic spoons! I just love it. The idea about a pendant light is wicked awesome. P.S. I like the new watermark on your pictures.
Kristi! I think you need to patent this spoon thing you’ve got going …. It is just soooo cool. Just think you can spoon anything .. how about a table top with a piece of perspex over it ?? I’m going to give it a go and promise to link to your site (and definitely won’t steal your pics).
Take care
Kristi,
I love that you took a bad situation (DIY Thievery) and turned it into fuel for more genius! Way to go!
How very clever! Amazing what can be done with plastic spoons!
I love this idea. I found your mirror the other day on pinterest and it inspired me to make my own. After I finish that I’ll have to try this. You have such great ideas and got me back into crafting. Thanks.
Awesome idea … must try it, thanks for this …
I absolutely love this, and am going to try it out! Pinning now!
So glad I discovered your blog! Getting my ‘hands dirty’ is the best & I love to Zen out when I’m creating. You have fun, easy & delightful projects.
Keep it up!…;-)
nice idea 🙂 do u have any art work done with the sticks of the spoons that are cut off… no idea is striking my mind to reuse them …. please post if you have any, i would love to do it 🙂
Me vino de maravilla esta idea.Trabajo en un en una escuela donde sobran a diario cantidad de cubiertos plasticos del almuerzo de los chicos; ahora podre hacer esto con ellos, anteriormente habiamos hechos con platos y cubiertos cuadritos.
Muchas gracias por brindar siempre proyectos interesantes, Un abrazo desde MONTEVIDEO, URUGUAY.