My Experience Using Rubio Monocoat On Walnut — A Follow-Up
I wanted to give y’all a follow-up on my experience using Rubio Monocoat on the walnut vanities and storage cabinet in our master bathroom. When I built these items, I told you about how I finished them with the Rubio Monocoat Oil Plus 2C in the color Pure (which basically has no color). And while I loved how it looked on the walnut, I became a little frustrated with it over time.
When I did the finishing originally, I did it according to the instructions that I had found on several videos, which all said to sand the wood to a 120-grit finish and then add the Rubio Monocoat finish. But after finishing these pieces, and continuing on with the other work that still needed to be done in the bathroom, I noticed that dust didn’t wipe off of these finished surfaces easily at all.
In fact, the finish felt just a bit rough, and it was rough enough that if I tried to wipe off dust, the roughness of the wood would grab onto the dust rather than it wiping off. There was no way that I could have a finish like that in a master bathroom…or anywhere in my house, really.
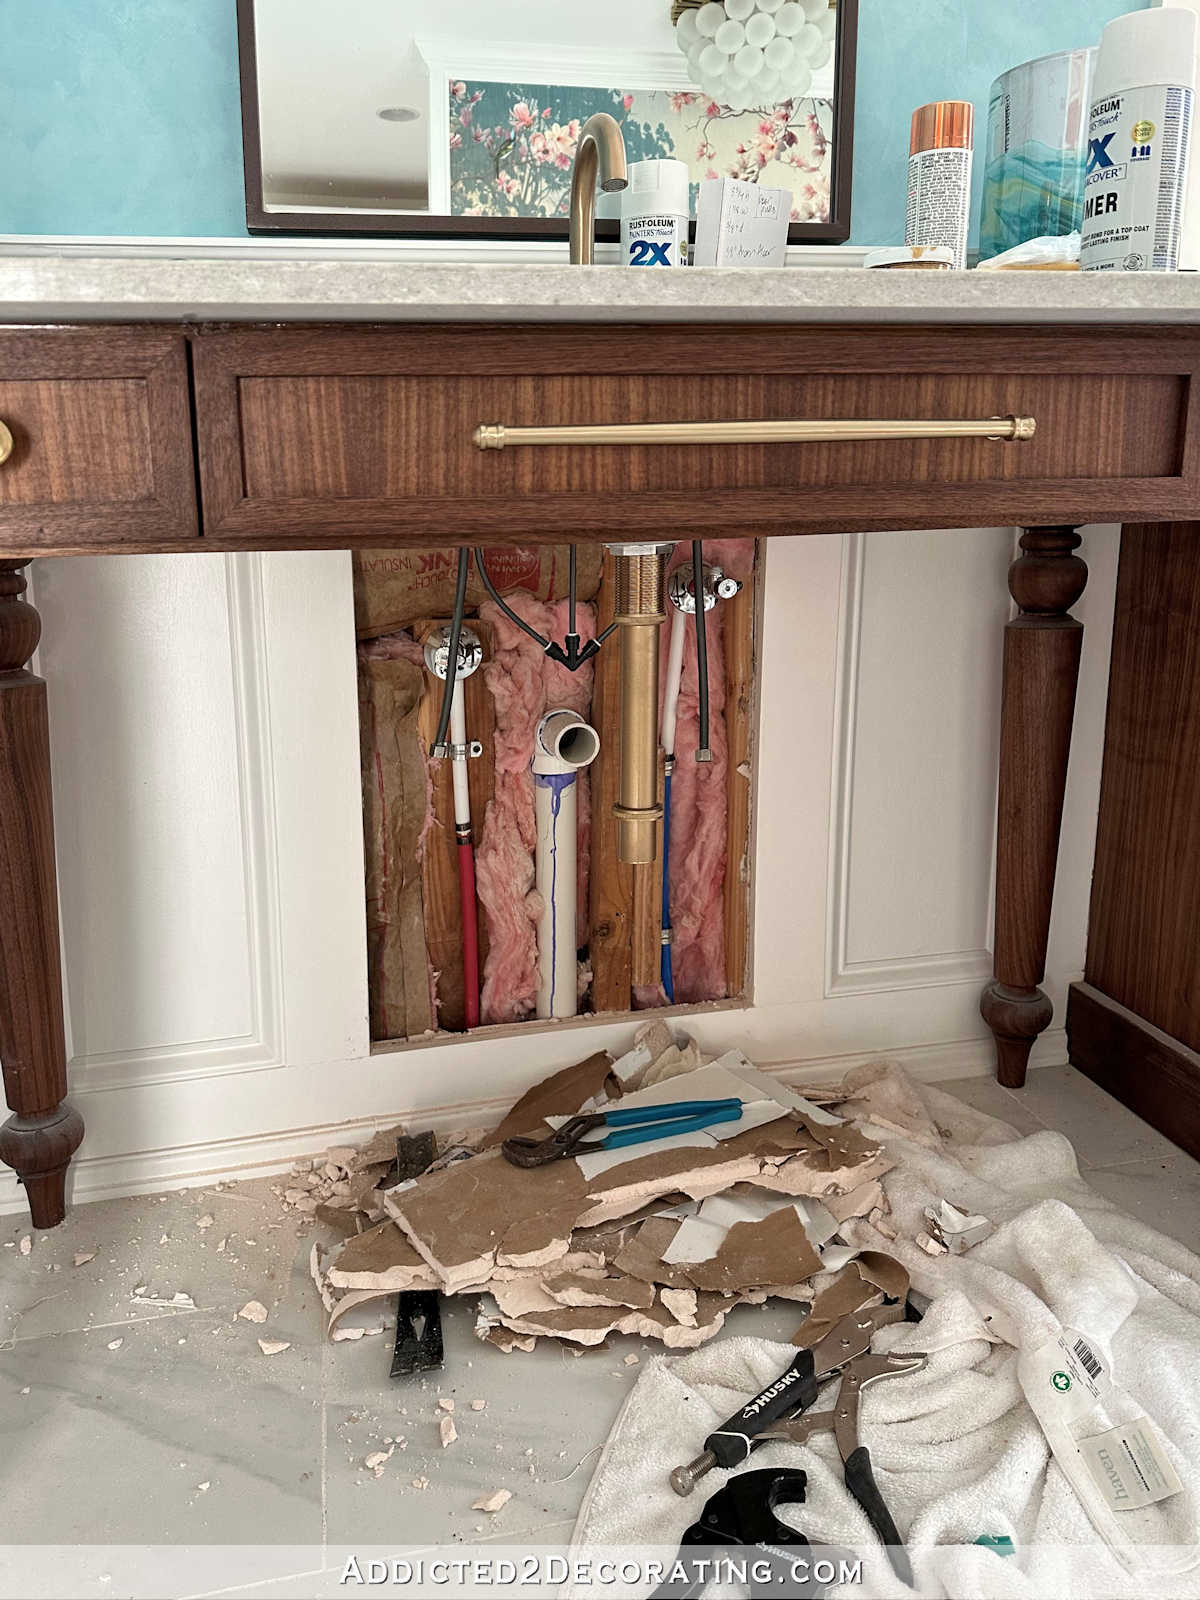
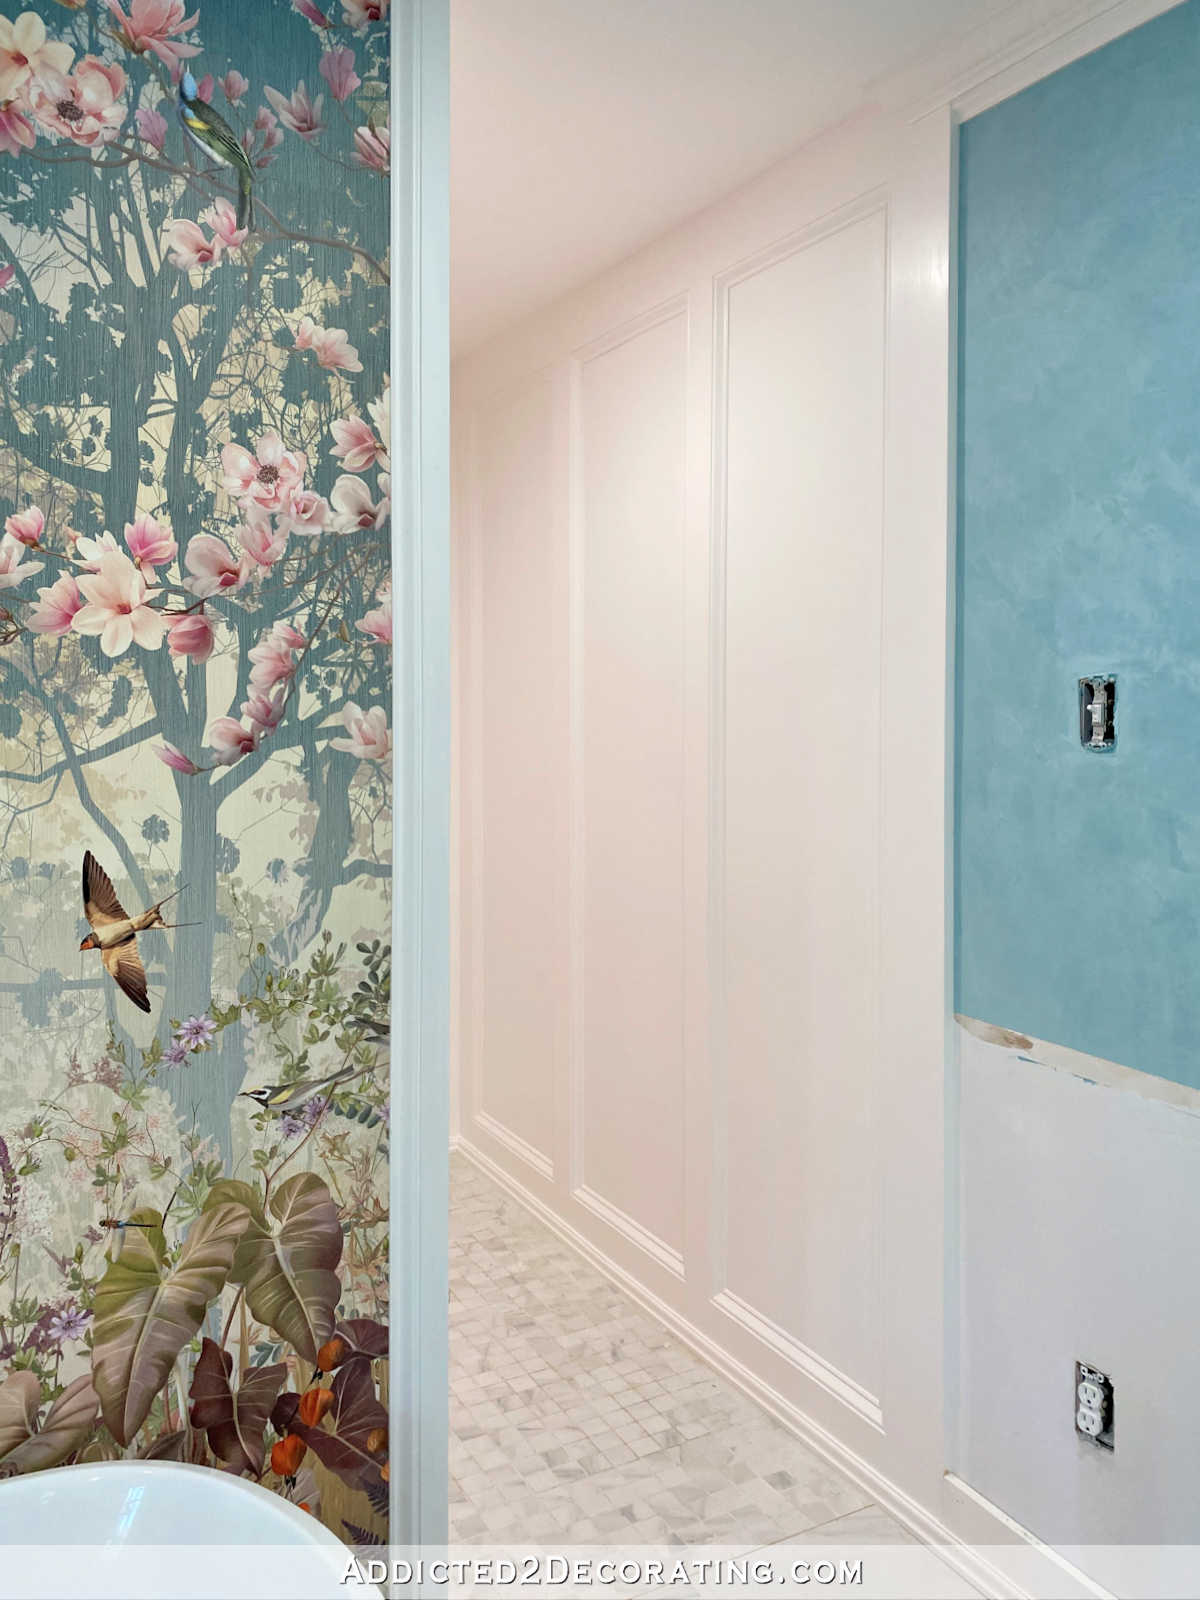
Anyway, last week got a little crazy for me as I had to get the bathroom to a certain point in order for the guy to come out and do the laser template for the countertops at the end of the week. That meant that I had to get the walls behind the vanities finished to a certain point, and then I had to get the vanities installed. And once installed and templated, those vanities could not be moved. So everything had to be finished just right before he got here.
That meant that I had to make a decision on what to do about the finish on the vanities and the storage cabinet. I was very pressed for time, but I decided that it would be worth it in the end to give these pieces another sanding and another coat of the Rubio Monocoat Oil Plus 2C.
And, oh my gosh, I’m SO glad I did!!! I gave everything another sanding using 220-grit sandpaper, and then applied the second coat just like the first coat (mix according to the directions, apply with a white spongy applicator, wait about 10 minutes, wipe off excess and buff with a clean cloth).
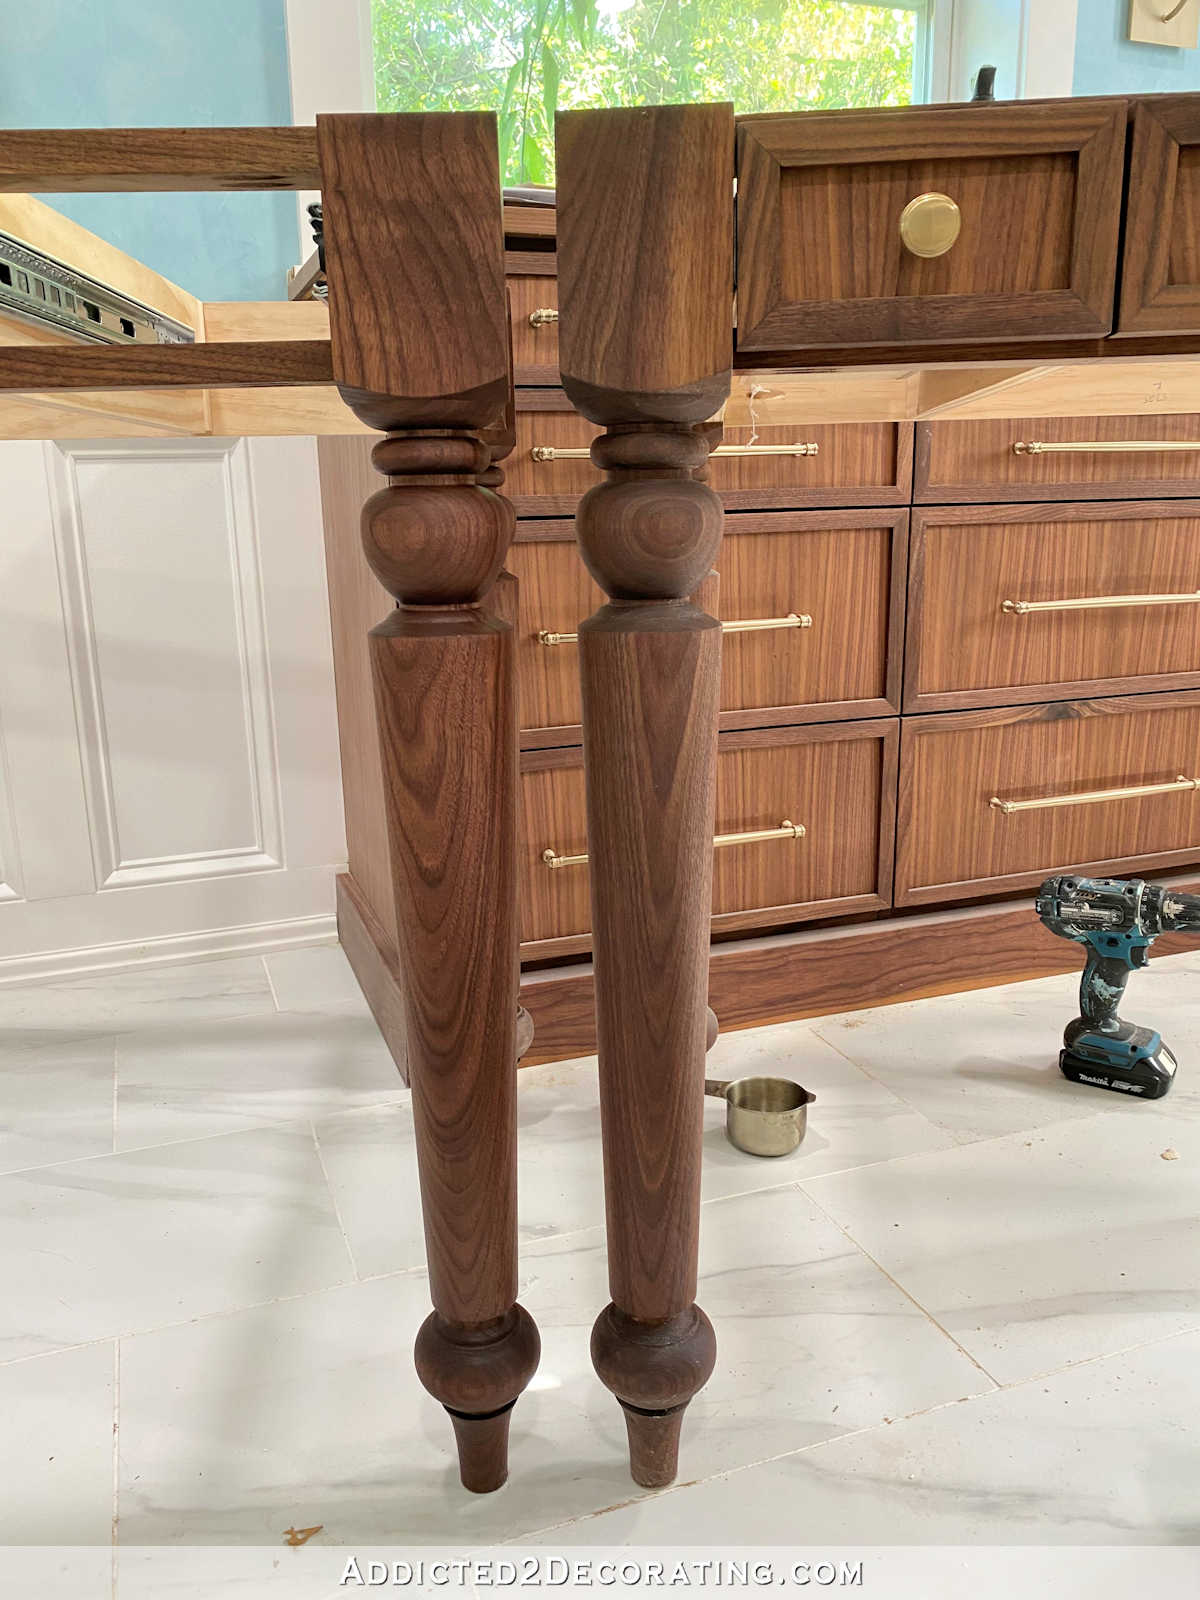
This second coat made such a huge difference!! I wasn’t expecting it to actually look any different with the second coat, but it did. You can see the leg on the left with the two coats has more depth of color, where the one on the right looks more ashy.
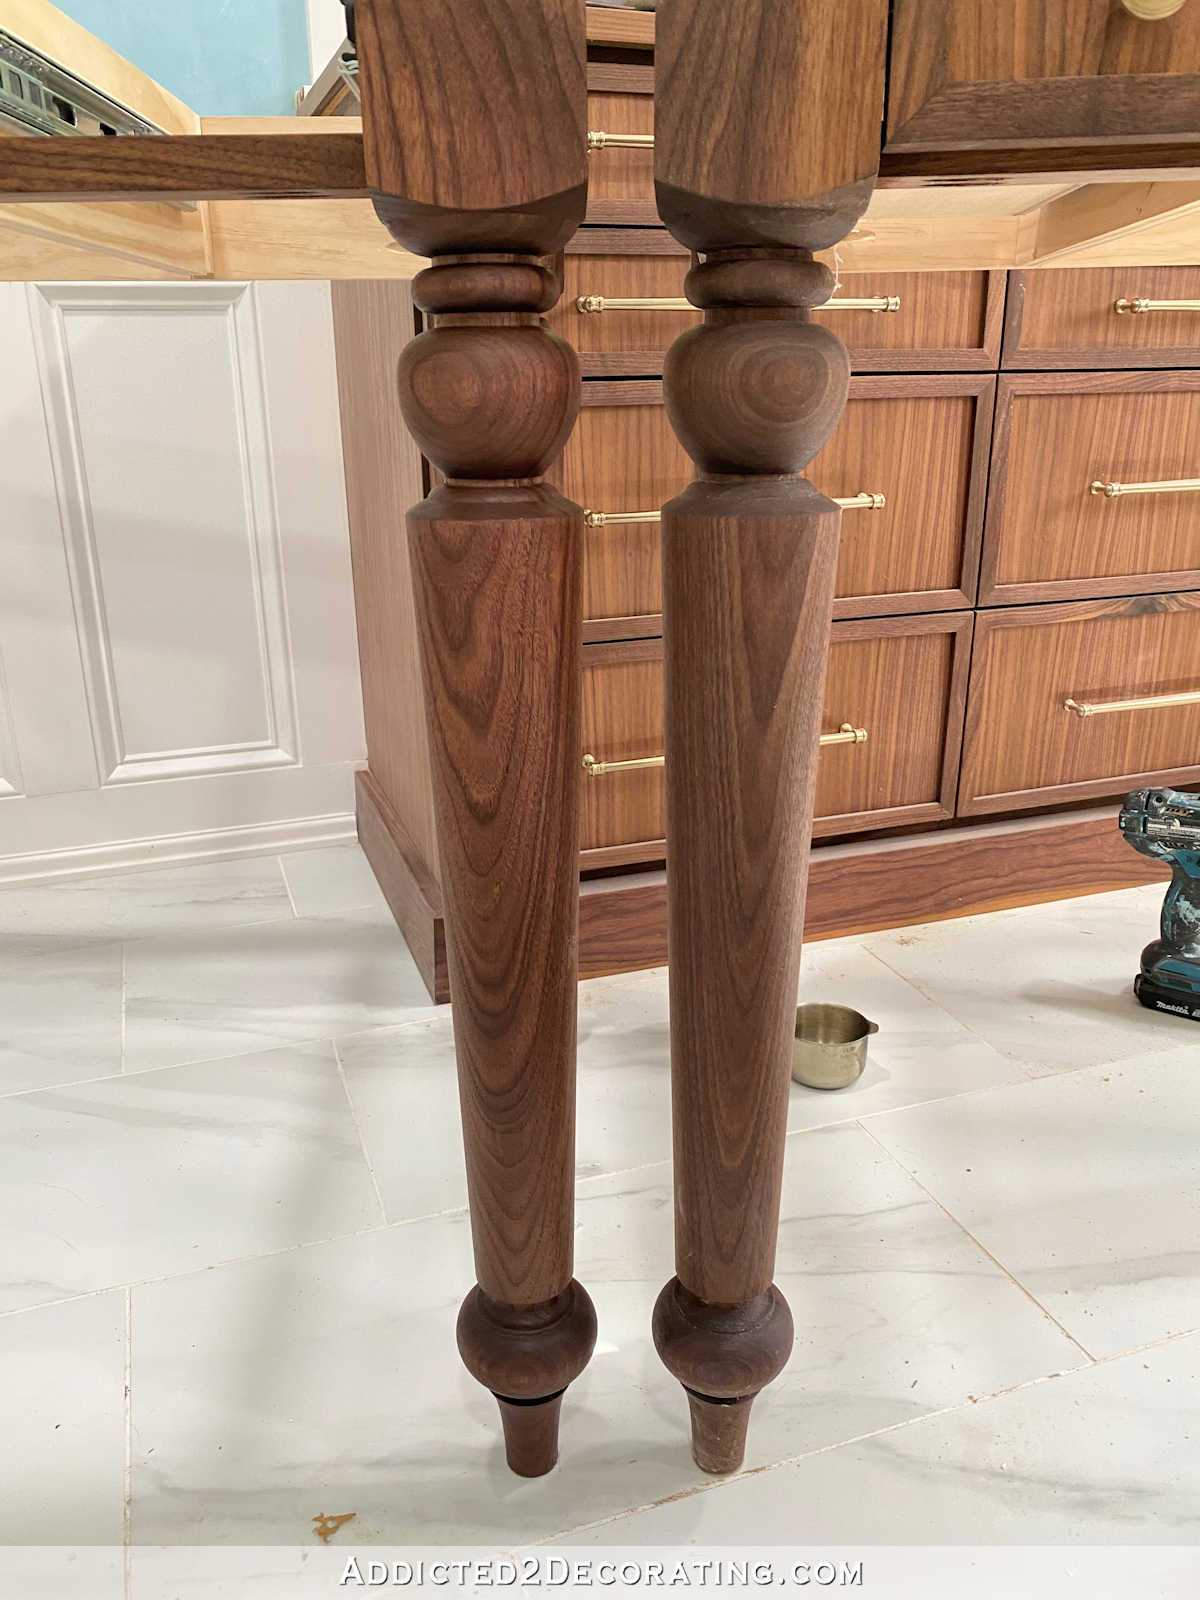
But the biggest difference is in the way it feels. Again, the leg with the original finish (sanded to 120-grit and one coat of Rubio Monocoat) has a slight rough feel to it, and dust doesn’t wipe off easily.
The leg with the second sanding to 220-grit and a second coat of Rubio Monocoat is so unbelievably smooth. I mean, it is silky smooth! It feels very much like a professional finish, and dust wipes right off of it very easily.
So while deciding to do that second sanding and second coat of Rubio Monocoat definitely put me in a bind last week, and required a couple of very late nights to get it done, I’m SO glad that I did it. It really took these pieces to another level altogether, and while it didn’t make it a huge difference in how they look, the feel of the finish puts them in a whole different league. It feels like such a professional finish now.
This is my first experience with Rubio Monocoat, and it has the name monocoat because it’s only supposed to require one coat. But just based on my own personal experience, I would highly recommend two coats. I would still sand to 120-grit and do the first coat simply because that allows the oil to penetrate deeper into the wood. But I would highly recommend a second sanding and a second coat, at least on walnut. Perhaps one coat is enough for other species of wood. I’ve only had experience with walnut, and I know that the two sanding, two coat process will be my process from now on when I use this on any walnut project.
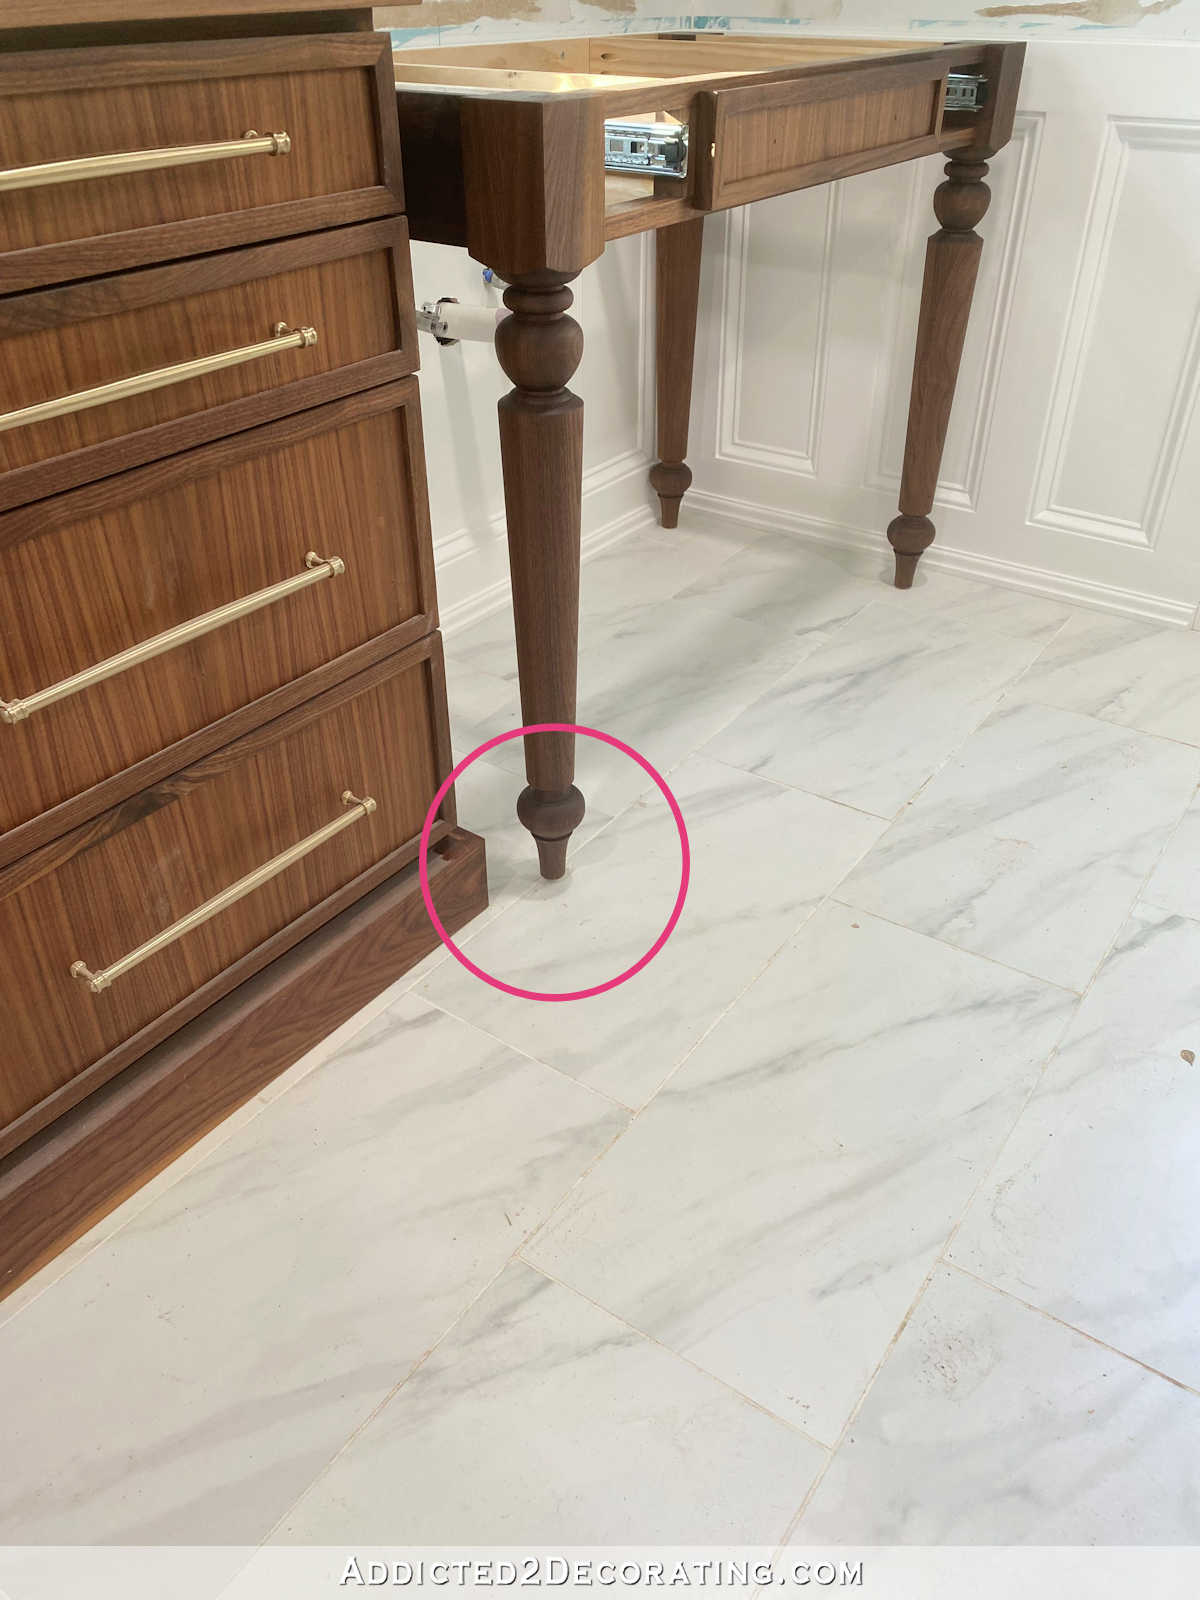
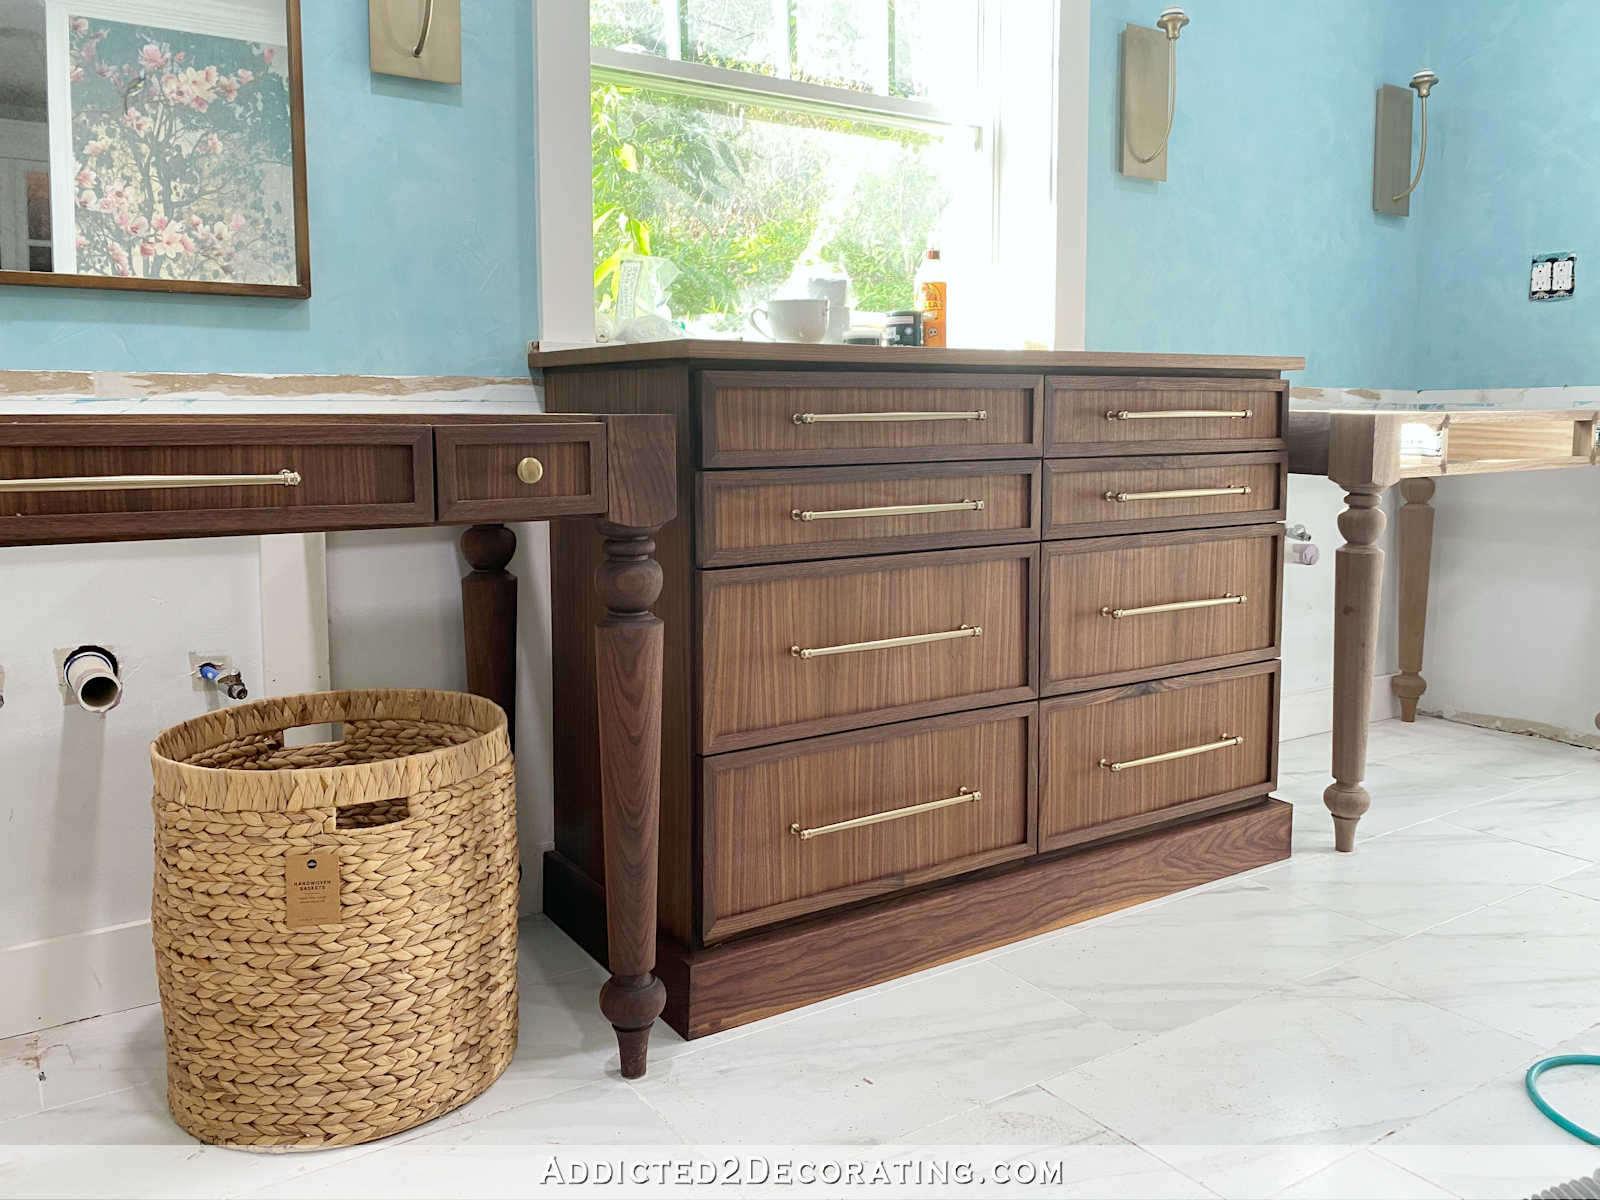
So it was a close finish, but I did get everything done in time for our scheduled appointment for the guy to come and do the templates. I finished the walls to the point where they needed to be, and I installed the vanities (i.e., screwed them to the walls with very long screws), and now they can’t be moved again.
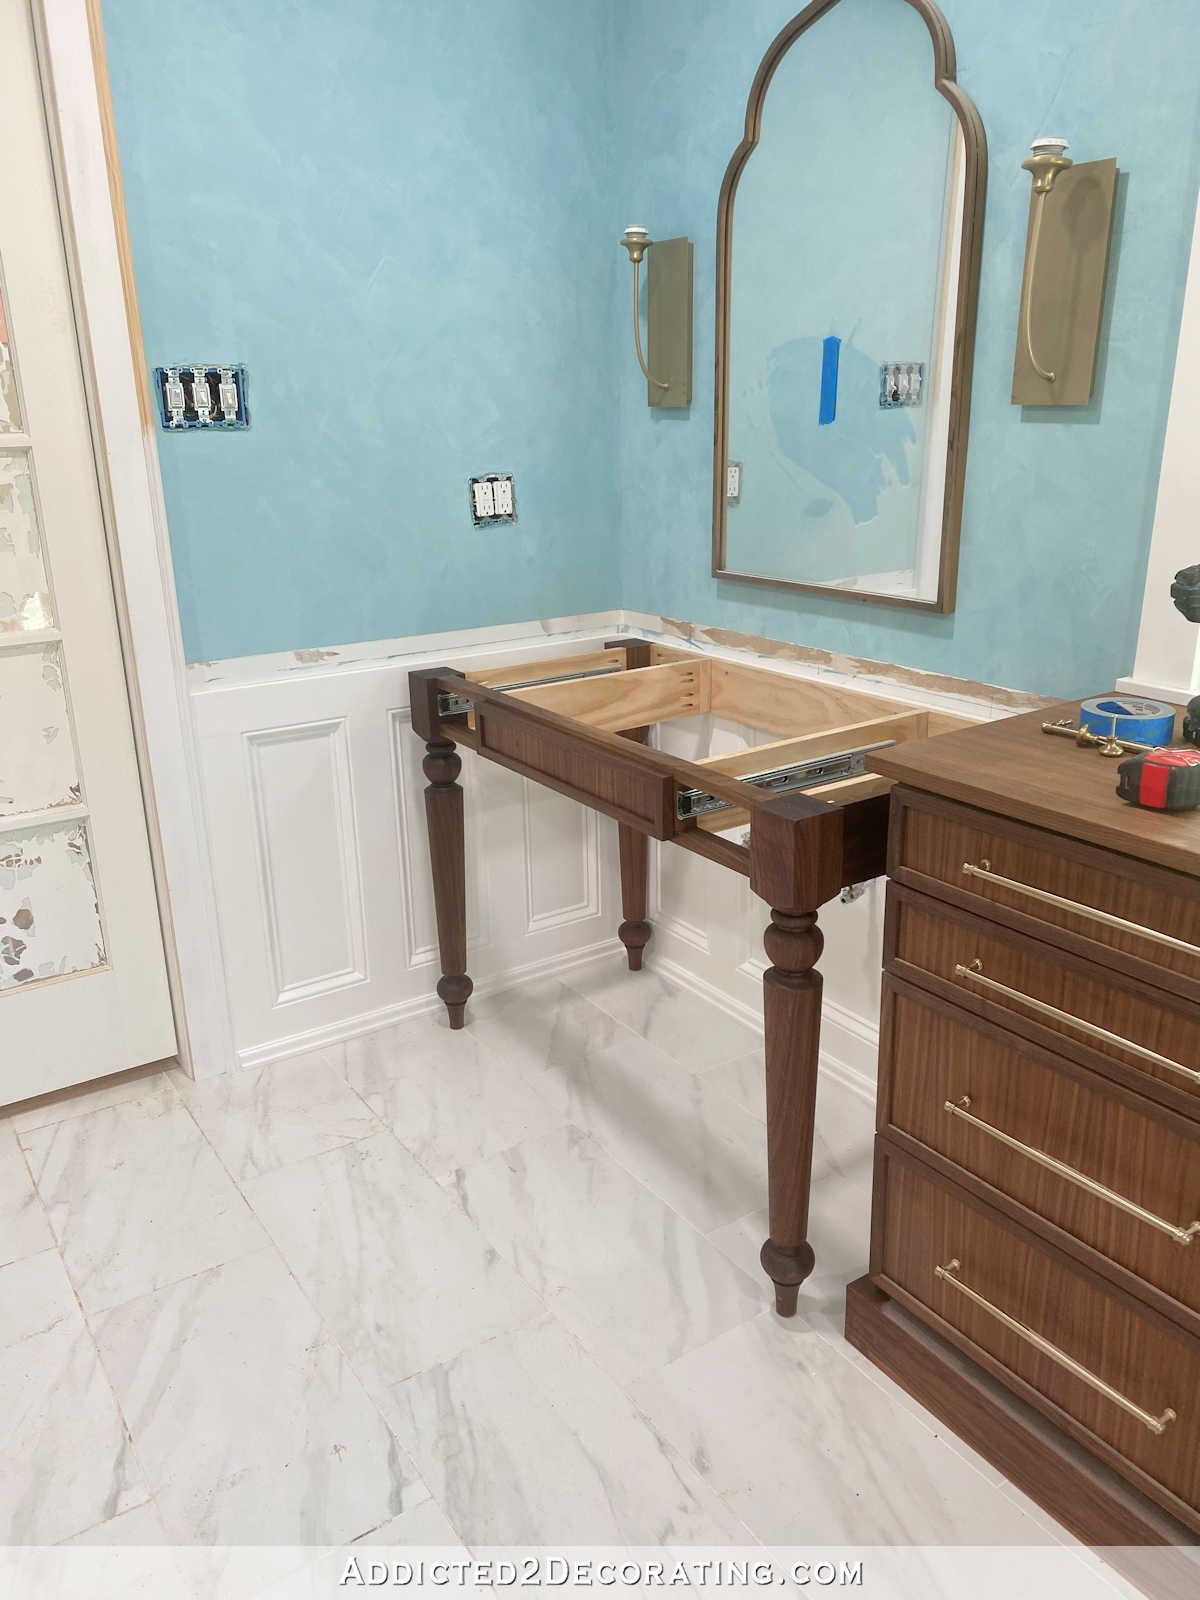

I had a little bit of frustration trying to get these vanities in place because, working in an old house, nothing is ever level, square, or plumb. So when I got the vanity on the right side in place and attached so that it was level-ish, the front left leg was completely off the floor. I don’t now if you can even tell in the picture (hopefully it’s not too noticeable), but I will have to add a spacer under this leg before the countertop is installed.
But that was really the only hitch that I ran into during the whole process. Everything else went very smoothly.
And for those of you worried about the different widths of the panels on either side of the door, I fixed it. Now they’re all the same. Of course, this isn’t finished yet. But once it’s finished, it’ll look just like the panels on the other side of the door. And yes, they’re narrow. 🙂 But I love how the narrow panels look on the vanity side, so I wanted to match them.
Anyway, I’m at the point in this master bathroom remodel where those final projects and finishing touches are very deceptive. I look around the room, and somehow it seems like I should be able to finish up everything in about a day. And yet, these finishing touches seem never ending. But it WILL get there! I just need to keep working diligently, and I’ll have a completely finished bathroom very soon.
If you want to see more about my DIY vanities and storage cabinet, you can find those posts here:
How to build the table-style vanity:
- DIY Table-Style Bathroom Vanity With Drawers (Part 1 — The Basic Build)
- DIY Table-Style Bathroom Vanity With Drawers – Finished! (Part 2 — Making The Drawer Fronts)
- Finishing A Walnut Vanity With Rubio Monocoat Oil Plus 2C
How to build the chest of drawers:
- DIY Chest Of Drawers — Part 1 (Walnut Storage Cabinet For Our Bathroom)
- DIY Chest Of Drawers — Part 2 (Walnut Storage Cabinet For Our Bathroom)
- DIY Chest Of Drawers — Part 3 (Walnut Storage Cabinet For Our Bathroom) — Finished!
If you’d like to see all of the posts about this master bathroom remodel project, you can find those here: Master Bathroom Remodel — From Start To Present (Still In Progress)

Addicted 2 Decorating is where I share my DIY and decorating journey as I remodel and decorate the 1948 fixer upper that my husband, Matt, and I bought in 2013. Matt has M.S. and is unable to do physical work, so I do the majority of the work on the house by myself. You can learn more about me here.
OMG, this is all so cool! The end is near and again, I am blown away by your skills and perseverance. So glad you have learned to listen to your gut and not be afraid to redo. It is a great example for me.
The finish is so beautiful!
Such a difference and improvement! It looks so rich now.
The thought occurs to me that the company that makes the product may have no idea that a second coat would be better. And, probably neither have the customers who followed directions and got the result you did with one coat.
Would it seem reasonable to you to let them know about the result you got with two coats and include photos to show them? You are able to present information in a logical and factual way, which does not come across as critical. I think they would appreciate your feedback and who knows? They might even change the directions on the product container.
Your bathroom is your crowning achievement, Queen Kristi. I applaud you for it and all you do.
Regards to Matt, please.
All look great in master bath but the wall finish takes the cake – outstanding
Thanks for the update. I will be interested in hearing how it’s holding up against water/splashes a year from now.
Would you use this finish on a dining table?
I wouldn’t hesitate to use it on a table base. But for the top? Probably not. I’d want something very durable, and the oil-based finish I’ve been the most impressed with for table tops is Minwax Polyurethane. If you want to use a water-based finish, then I’d recommend my favorite General Finishes High Performance Topcoat.
Almost time to change the color on your floor plan chart, for this bathroom! And I bet the home gym will not be far behind! SO exciting for you and for all of us! I hope you and Matt are still enjoying some outings! Watching for the ALL DONE! pictures.
What a beautiful finish! Glad you didn’t settle.
Yes definitely better with w/ 2 coats and finer sanding
And just like that, very soon there will be only the gym and Kristi’s studio on the list before the addition is built. Can you imagine?
Your bathroom is magazine level of wonderful!
I guess I would have hung the top of the vanities off the wall and eliminated the back legs. With the paneling it just looks very hard to keep clean. Beautiful paneling. You are always giving me such great ideas.
Great article
I’m curious- do you think the great finish was due to the 220 sanding or the second coat?
I think it’s both. Anytime I use this, I will do a 220-grit sanding after the first coat, and follow up with a second coat. It creates a perfect finish.