One Room Challenge, Week 2 – Bathroom and Back Entry Progress
It’s already time for the second One Room Challenge update! Yikes! That first week flew by since I joined the challenge a few days late. But now I’m fully on board, and things are going really well.
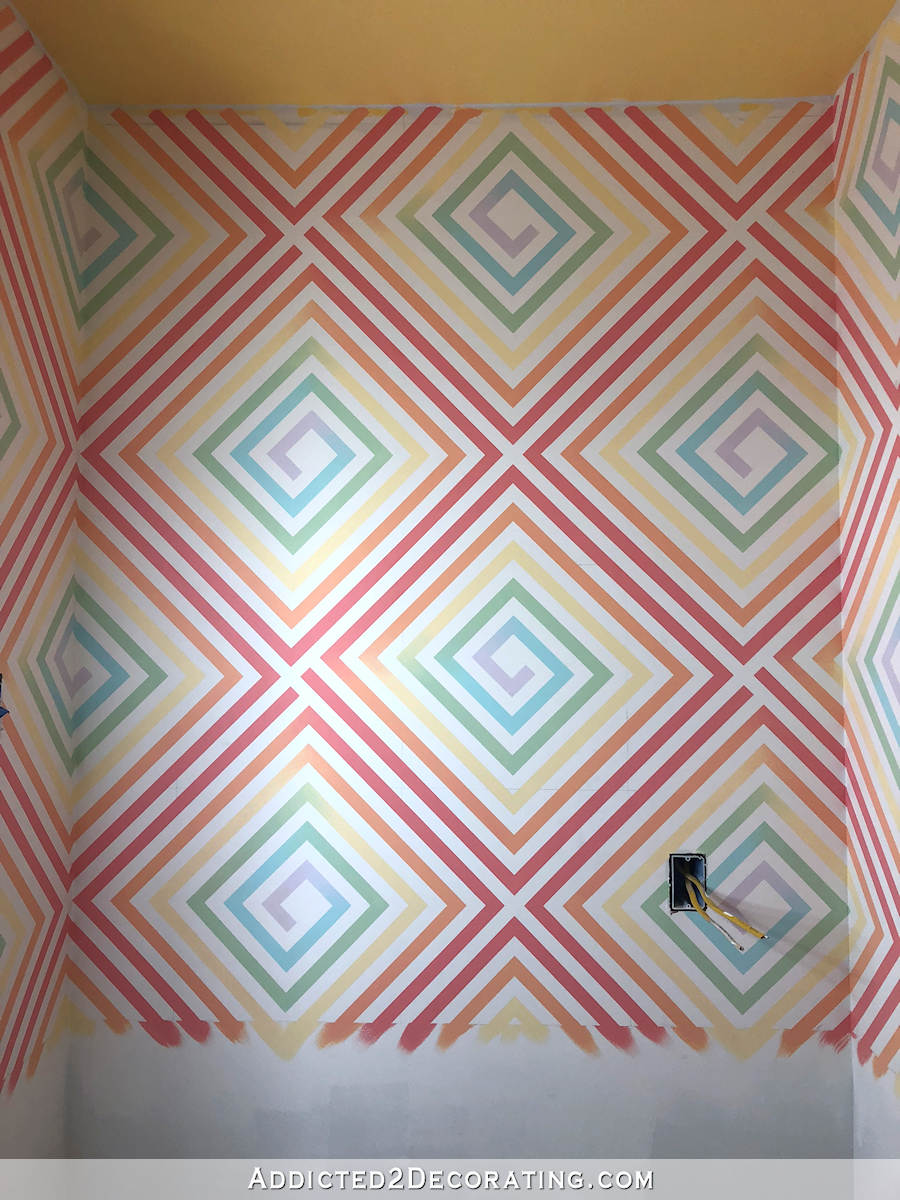
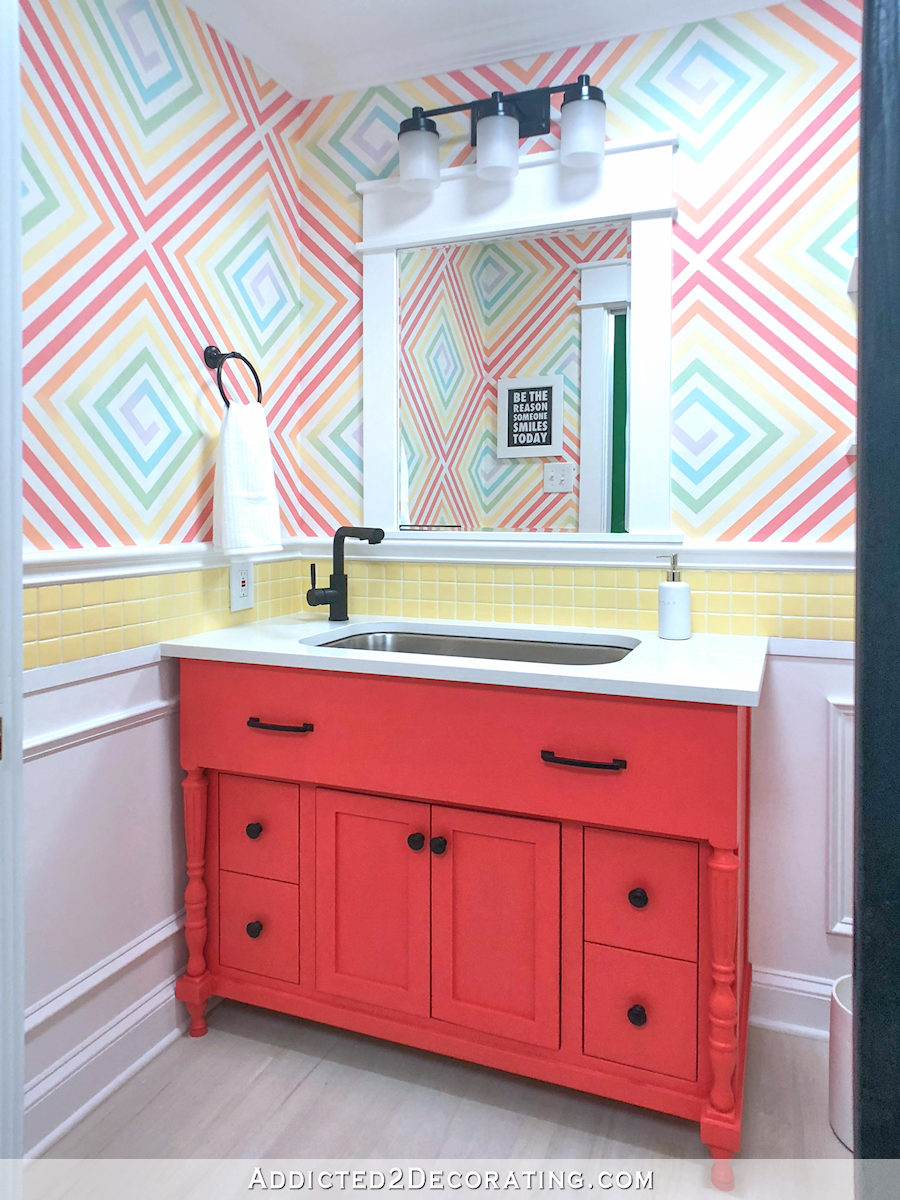
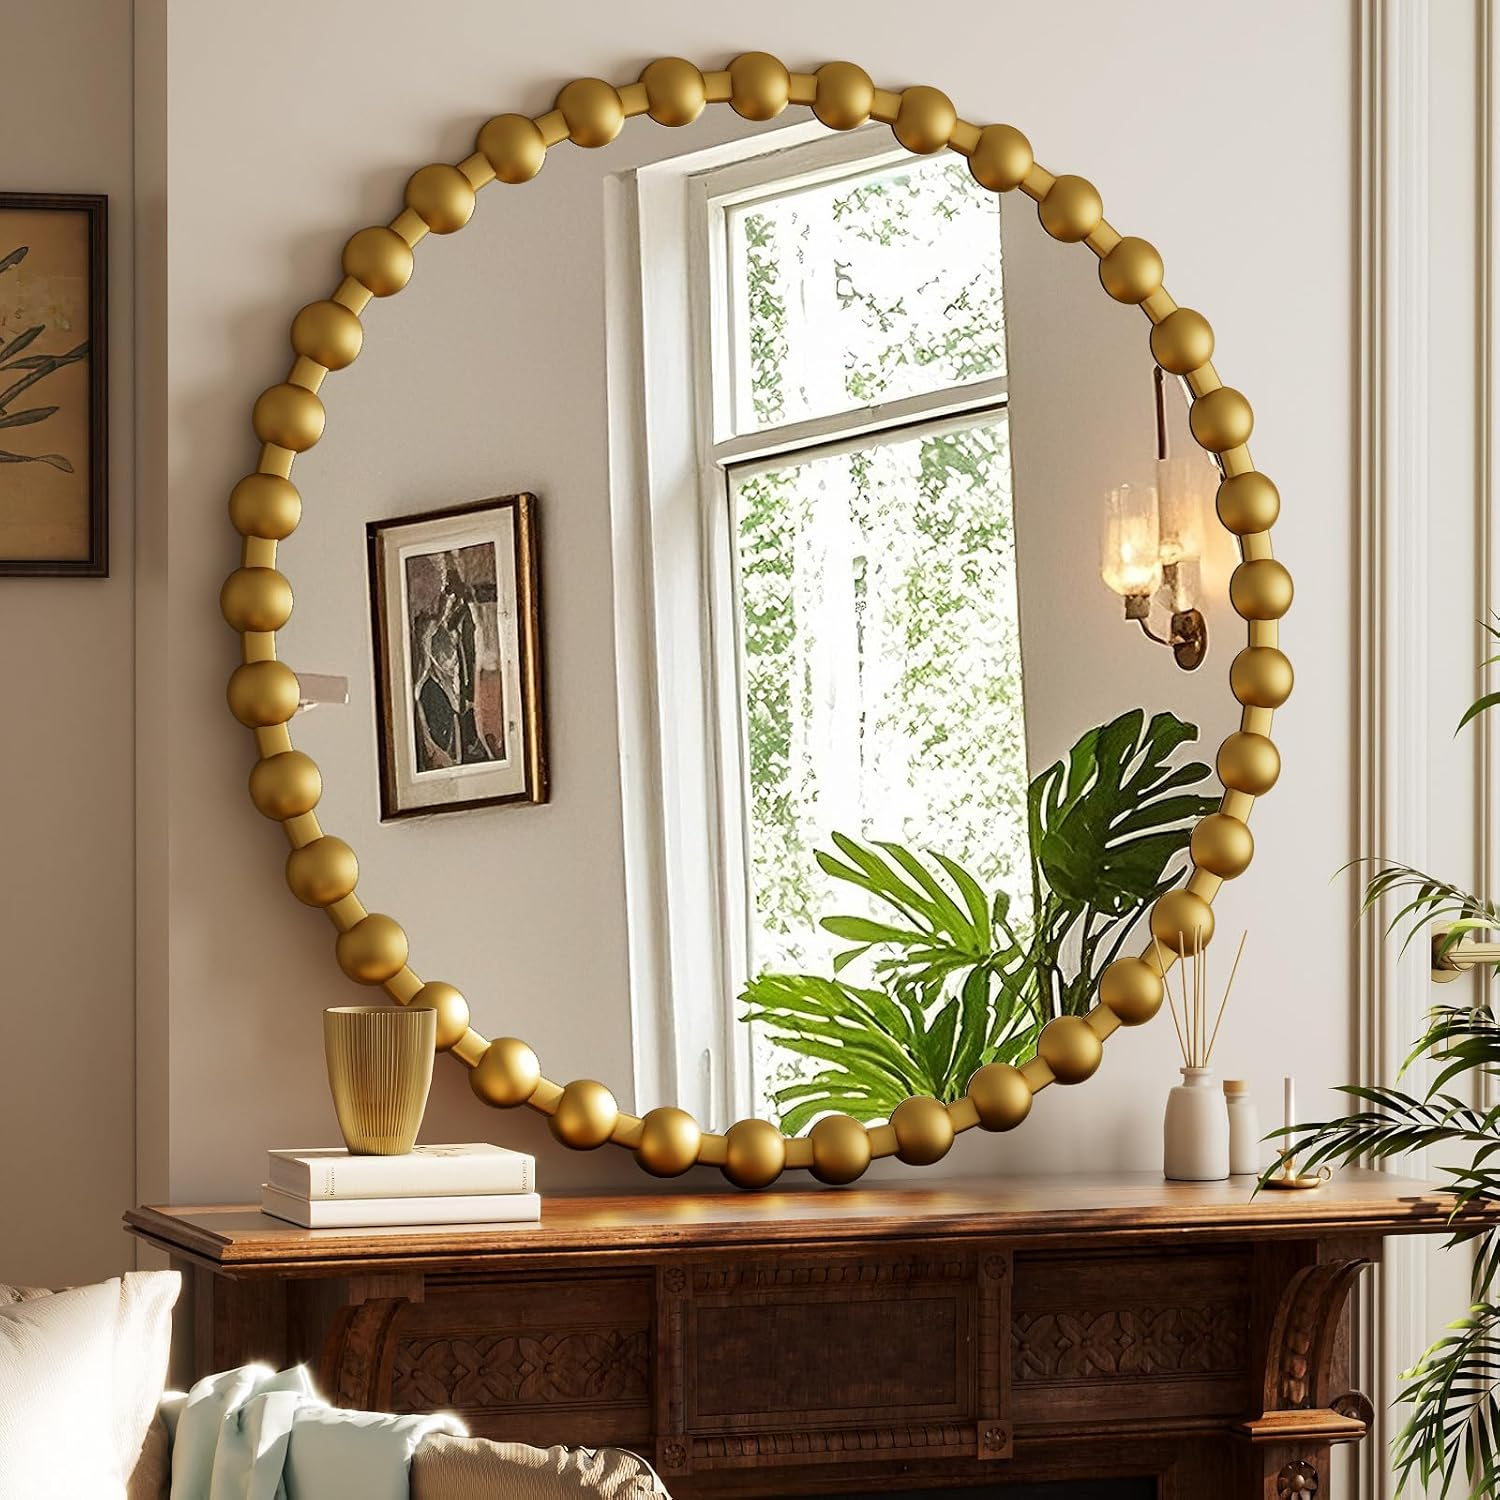
As I showed y’all yesterday, I did get the bathroom wall design finished…
If you missed that, you can see more here…
With that done, I turned my attention yesterday to the flooring. After a snafu with the original flooring I was planning on using, I finally decided to go with unfinished nail-down red oak hardwood flooring. It’s the same flooring that’s in pretty much the entire house, with the exception of the hallway bathroom, which has tile, and the two rooms that will eventually be torn down (sunroom and master bathroom). Most of that is original to our 1948 house, but the flooring in the kitchen and the breakfast room is new. I think because this flooring is so common in old houses in this area, the Home Depot here carries this flooring in stock, which is incredibly convenient.
Also convenient is the fact that the last time I checked into using this flooring in the studio, the price was $3.65 a square foot. Right now, it’s $2.99 a square foot, and then on top of that, I got the quantity discount. (If you don’t know about Home Depot’s bid room, I share that tip here.)
So I’ve had the flooring sitting in the studio for about a week-and-a-half now so that it can acclimate to the room, and I was finally able to get some of that put down yesterday.
I didn’t get as far as I had hoped because I got a much later start than I had planned, and then had a lot of cleanup to do before I could even start on the flooring. But I was able to get the #15 felt paper stapled down, and then I got about halfway done with the installation in this back area.
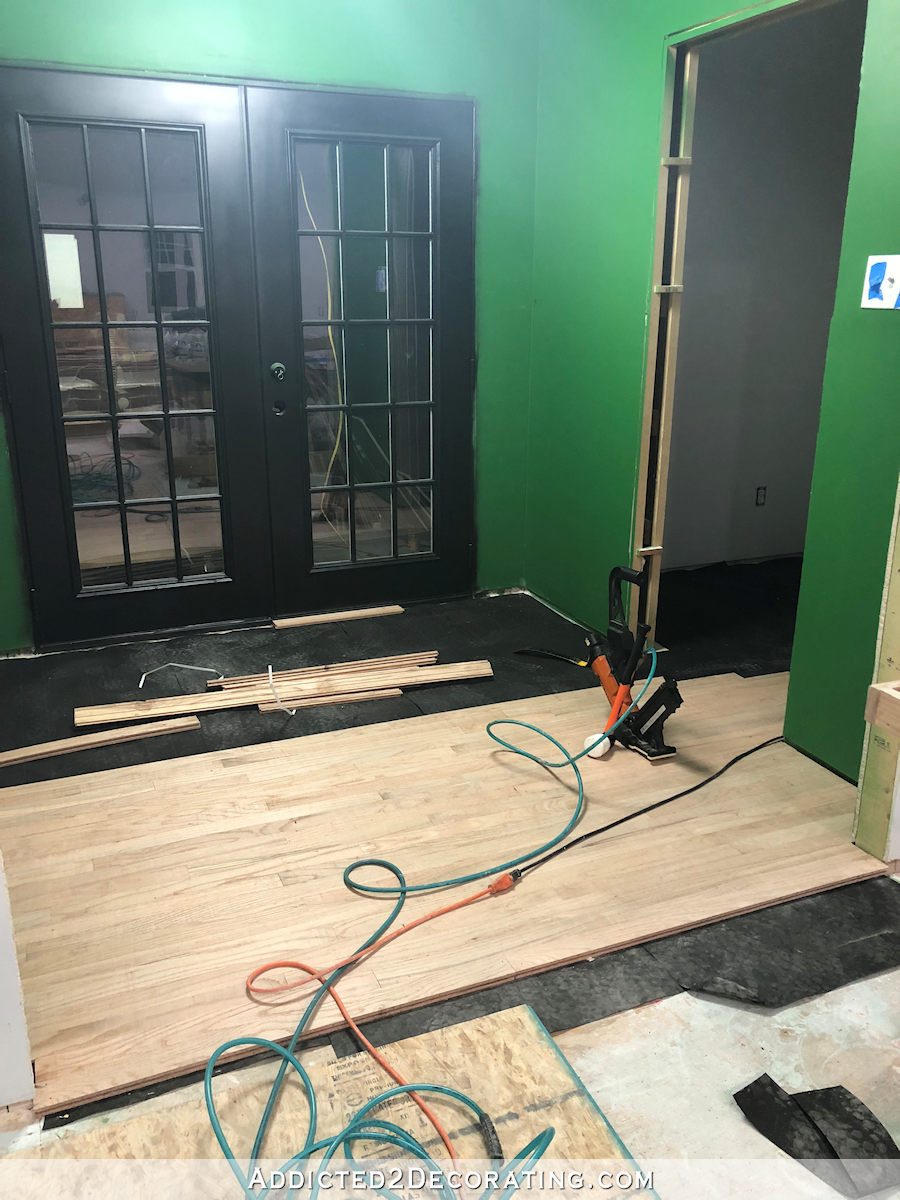
I started at the entrance to the back entry (the entrance to the entrance 😀 ) and I’m working my way to the back door. The entry floor opens up into the bathroom and storage closet floor, so I’ll continue going that direction in all three areas all the way to the back wall of the house, and then I’ll have to come back and go the opposite direction to fill in those blank areas in the bathroom and storage closet.


I should be able to get the installation done today, and then I’ll move on to the next thing. I’m not sure just what that is at the moment. 😀 Like I said, I’m pretty much making this up as I go along.
But at some point, when I get to the floor finishing step, I do still want to do a black and white floor pattern in the back entry. Since I’m no longer working with tile, this design will have to be done with paint. But I think it will still be stunning and eye-catching.
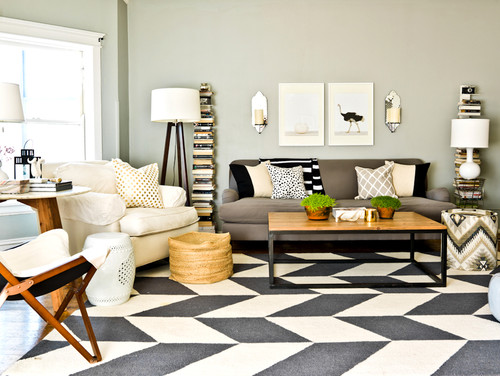
I want the painted design to be very simple and bold. I think I’m done with intricate painted patterns for a while. 😀 So I’m debating three different designs. The first is a simple chevron design…
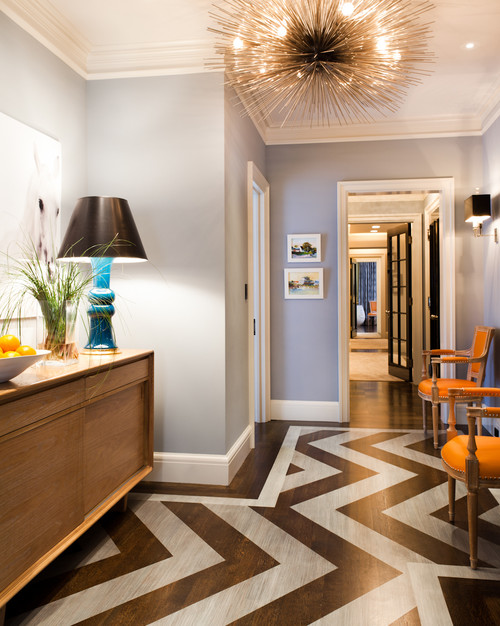
The second is this chevron pattern with the offset colors…
And the third, because I’m me and I love all the stripes, is this offset striped design…

I pretty much like all three of those equally, so the one I go with will probably depend completely on my mood at the exact time I decide to start taping off a design on that floor. 😀 If I had to choose right at this moment, I would go with the second one with the offset chevron design. I think. Probably. But for now, I just need to finish installing this flooring.
Be sure to check out the progress of all of the other One Room Challenge guest participants!


Addicted 2 Decorating is where I share my DIY and decorating journey as I remodel and decorate the 1948 fixer upper that my husband, Matt, and I bought in 2013. Matt has M.S. and is unable to do physical work, so I do the majority of the work on the house by myself. You can learn more about me here.

I love either of the offset designs!
The floor is coming along very nicely. I really like the off set stripe pattern but that’s just me. Any of them will go well in your entryway.
Oh gosh! I love that first one for myself! Can’t wait to see which one you choose.
You’re progressing so nicely! Love everything you’ve done and can’t wait to see the finished project! Beautiful work!!
Remembering how many times you redid your kitchen floor, I suggest you put your regular finish on the floor and find a very flat, indoor/outdoor rug (think camping rug) in a great pattern. Then you can continue to change your mind with new rugs.
This is a great idea!
Lol….I was thinking the same thing. Also it will be a place to wipe feet when comining in from outdoors.
Have you considered creating a floor cloth? With your mad skills it would be easy peasy! You could get your dramatic design & protect the floor at the same time! Easier to switch out too. Love following along!
Also very easy to roll a wheelchair over as it is only thick duck cloth with no lip.
Rugs aren’t wheelchair friendly, even if they’re flat.
I like all of them, but am trying to visualize how they will look in context with the bathroom walls… they are likely to be seen together, no?
I was wondering the same thing…..but knowing Kristi, she’s already figured that out. 😉👍🏻
Yes, they’ll be seen together. That’s why I’m going with a pattern that’s completely different — bolder and bigger — than what’s on the bathroom walls. I like different geometric patterns used together as long as they’re very different. If they get too similar, they don’t look right together.
I love the second design! But O.M.G., I just noticed that ceiling fixture in Thom Felicia’s Photo! That is AWESOME, isn’t it?
Hi Kristi
I love that you just dive in and install a hardwood floor. Amazing. I have a couple of technical questions.
How do you keep the flooring parallel to the starting wall?
Do you level the floor first? I admire your can-do attitude
I wish I was brave enough to install hardwood flooring! I was wondering why you wouldn’t start at the door. I’d be scared that I’d have to rip one of the pieces of flooring because it wasn’t the right size to fill the remaining space. I wish I could do this stuff! It looks beautiful!
When I started installing the flooring, I planned to have this area going a different direction that the flooring in the studio. That meant that the pieces in the cased opening between studio and back entry would be very noticeable. If you’re going to have to rip pieces, you don’t ever want to put them in the most noticeable places (i.e., right where the floor transitions from one direction to another direction in a cased opening), and instead you want to put any ripped pieces where they’d be less noticeable (i.e., shoved up right next to threshold of the doors).
Your progress is amazing! Especially considering the work that went into the bathroom wall. I hesitate to say anything, but every time I look at the walls all I can think of is the lularoe logo. Not that that matters at all. It will be gorgeous when it is finished!
Heather, I see carnival lollipops, but hey, Kristi loves color! 🙂
Looks fantastic! Some day, can you post about how to lay a hardwood floor? I was noticing the tools, especially the orange power tool that looks like it’s used to ensure that the boards fit tightly together, and wondering if you rented it for this project. Anyway, I love how your studio and its entryway/ancillary spaces are evolving and also look forward to seeing how you use the space once it’s complete.
I love the look of number one, but most of all the idea that there is a border around that is the same as the finish on the flooring in adjoining rooms (that you can see in the photo). If you choose your pattern and do it in the center with a border to match the studio, you would have the look of a “rug” without the rug obstacle and the border would tie the entry to the studio. Good luck – you do such good work!
Yes, that border appealed to me, too and I think it might help create a division to whatever the look of the floor in the studio (and the half-bath and utility room) might be. I like that pattern most, anyway, so I might be slightly biased 🙂 I’m curious about the final look whichever design you decide on – I’m sure it’ll look great with the green/black/white entrance!
I think you’re on to something there! My favorite is #2 but all of them have very plain walls that make the patterns pop. I think the border/rug type look might give a better balance.
I vote for #1, but it looks like I’m in the minority. But I really see it working with the transition between the back area and studio. You could do the border so well around this back area with a black threshold at the black french doors. Whatever you finish with, I know I’ll love it and be wowed!!
Have you thought about using black stain instead of paint? That could be so pretty! LOVE both floor ideas. Especial the “rug” look! Tile “rugs” are my favorite!!
I’d encourage no floor pattern. So the rest of the patterns in this room and nearby rooms can be the star. And give you more time to figure out what else you might want to do in the room. Relief is equally important in design. Hence, the popular phrase, “less is more”.