Half Bathroom — Where I Left Off
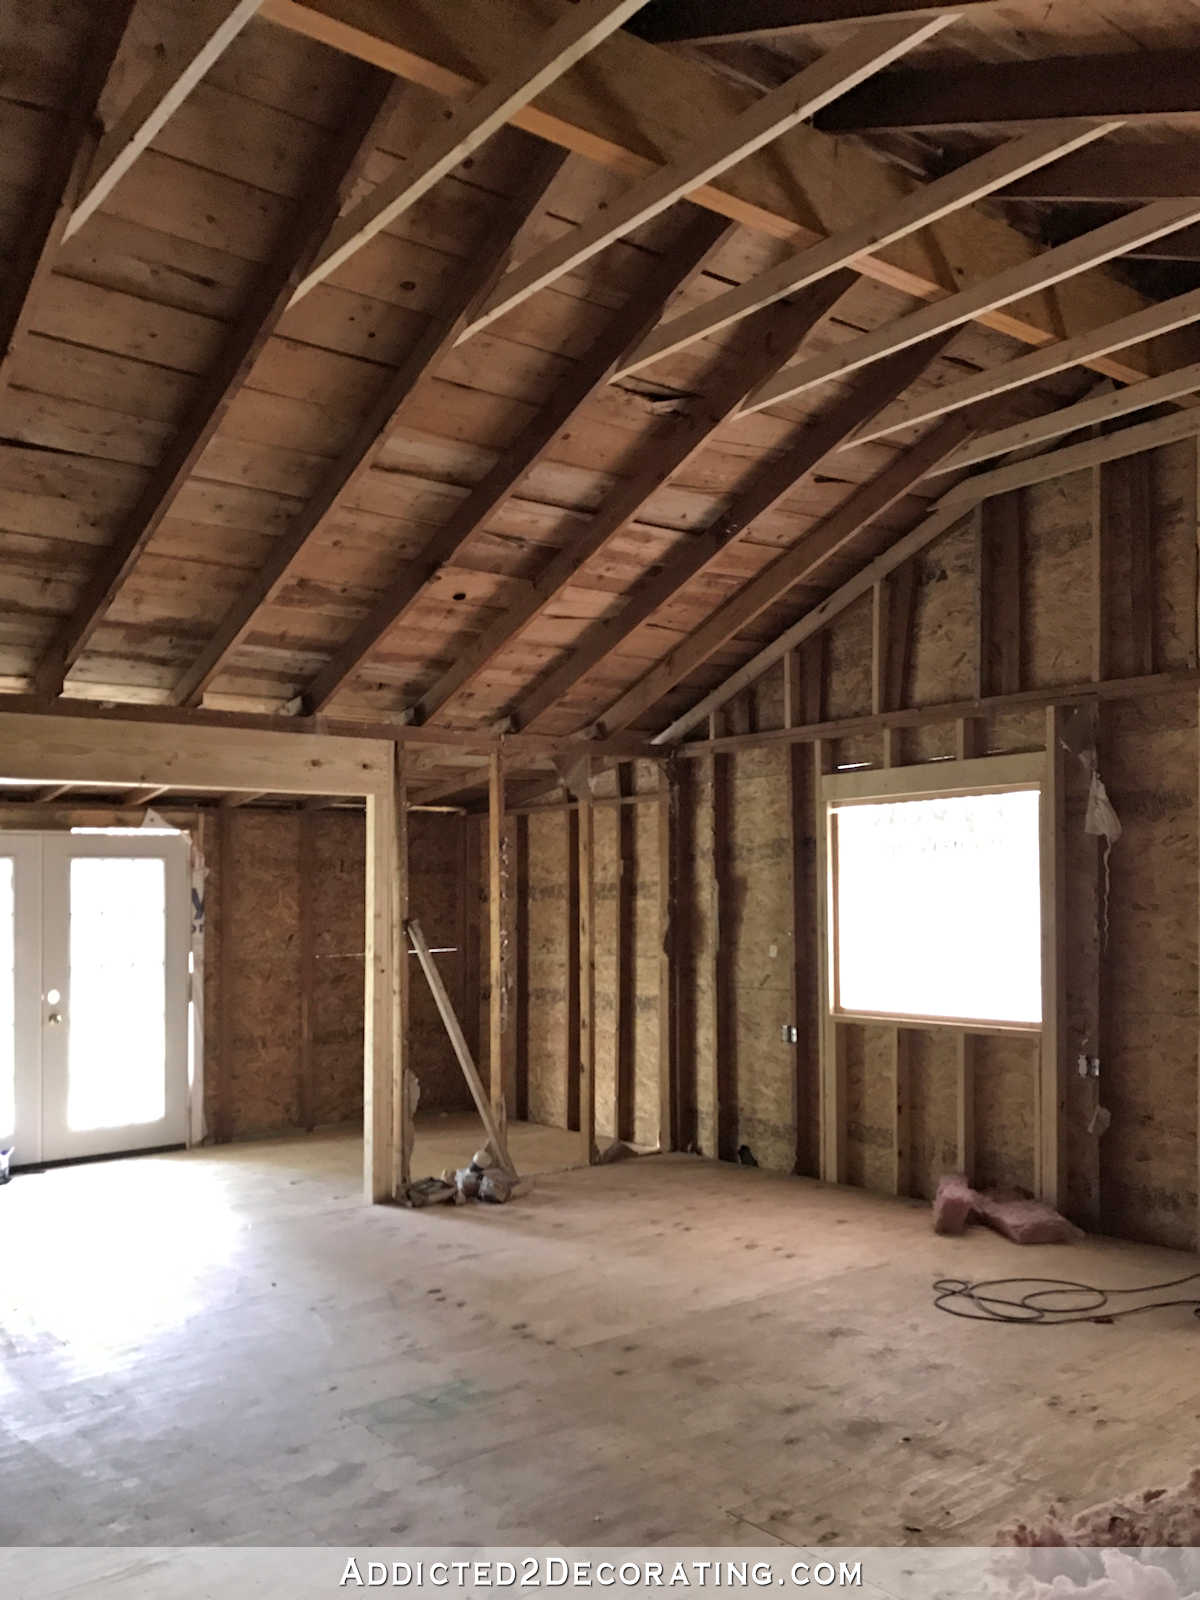
Now that I have the back entry of the studio mostly finished (with the exception of a few finishing touches), I need to concentrate my energy on getting the studio half bathroom finished. If you missed the post showing how the back entry looks now, you can find it here…
I really lost focus on the half bathroom over the last few weeks. I was going full steam ahead on it right up until I got to a point where I couldn’t do anything else on it until the floor was finished. Then once I started working on the studio floor, the bathroom was pretty much forgotten.
So now it’s time for me to get it finished. Here’s where I left off.
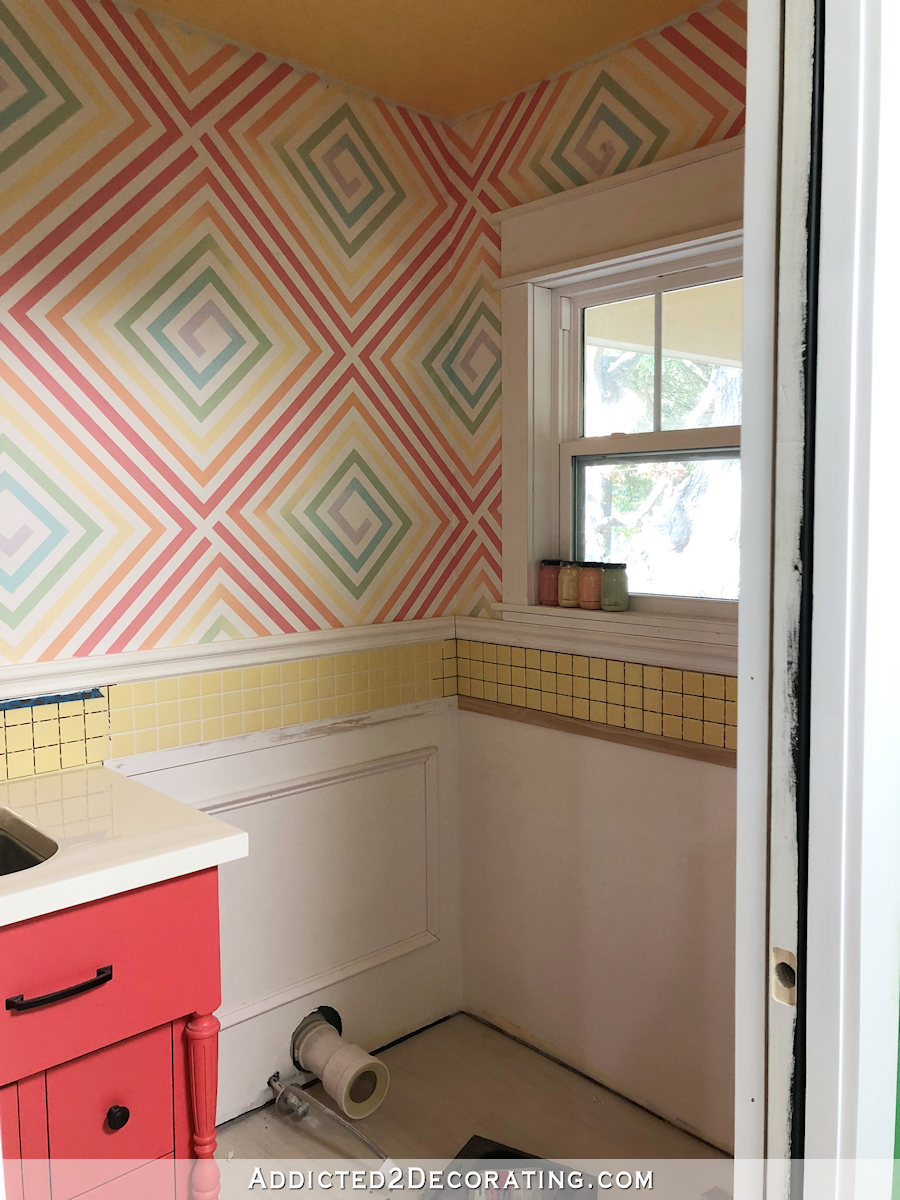
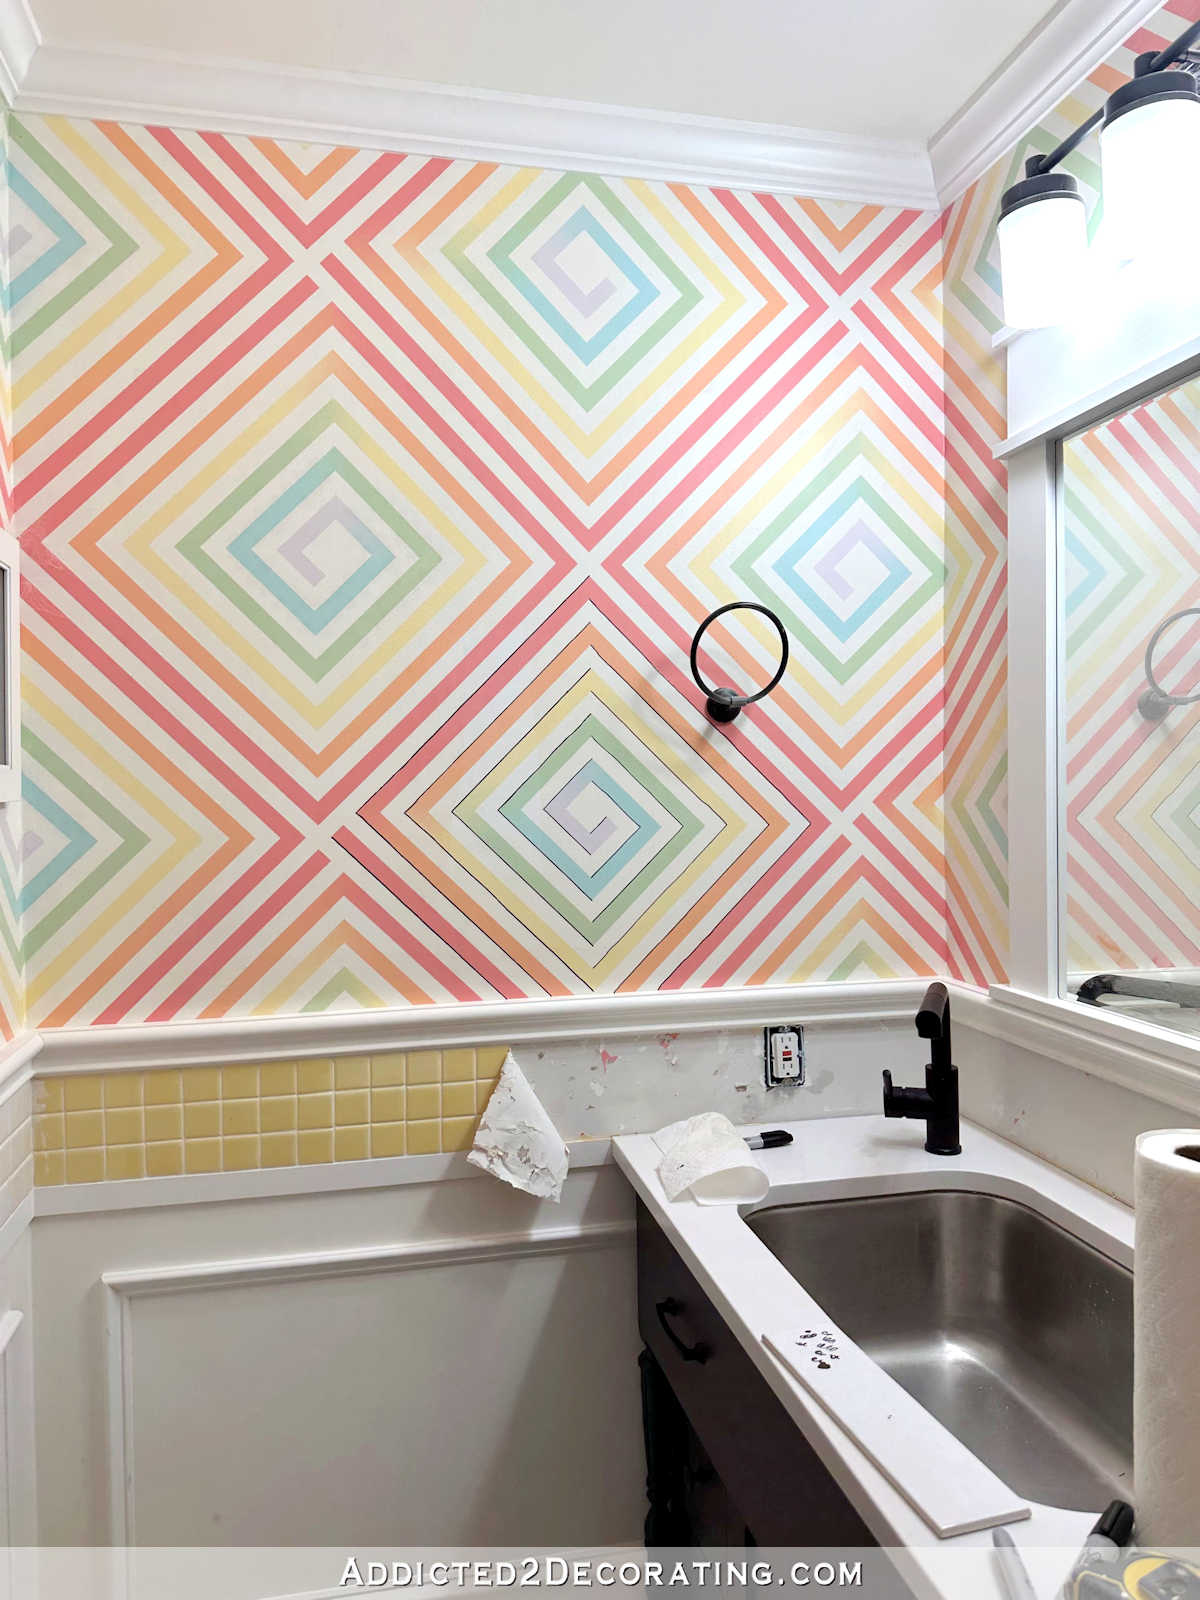
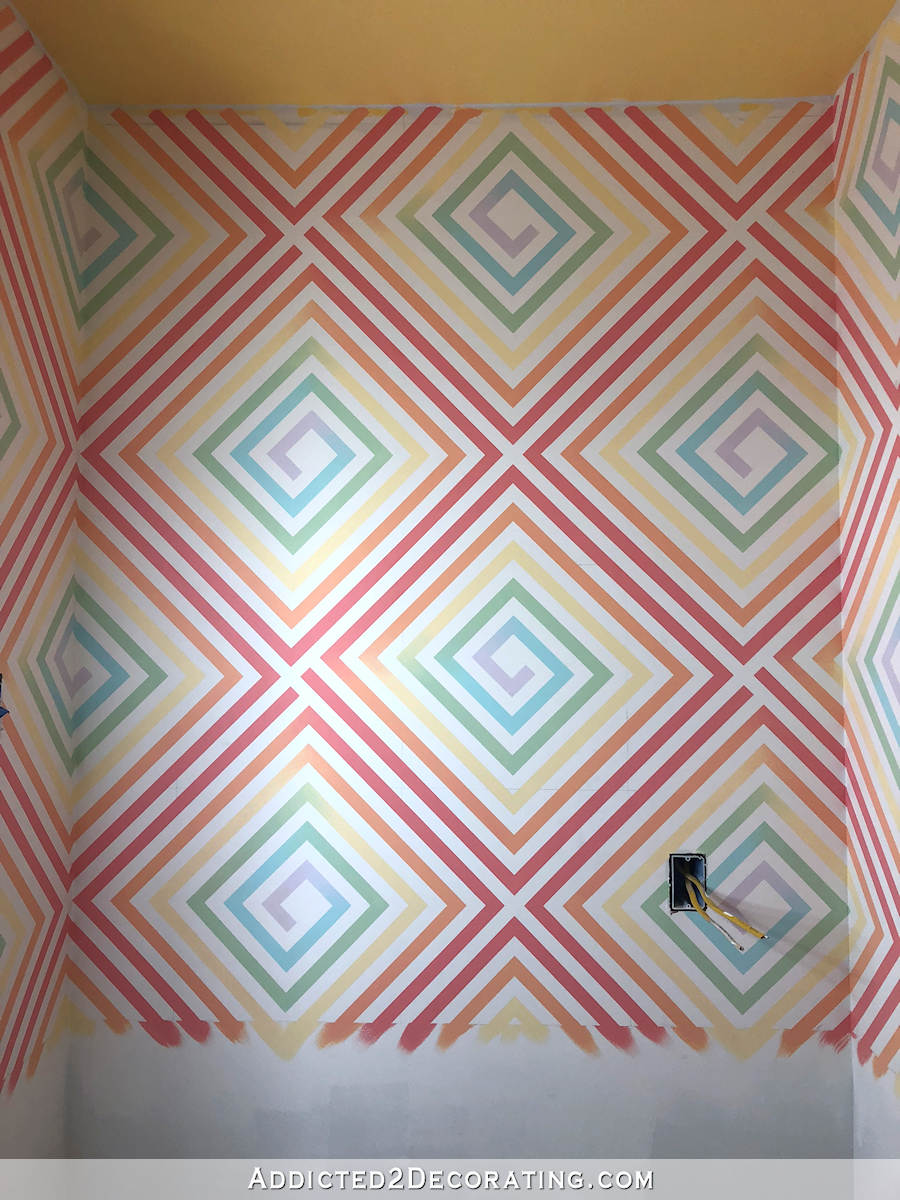
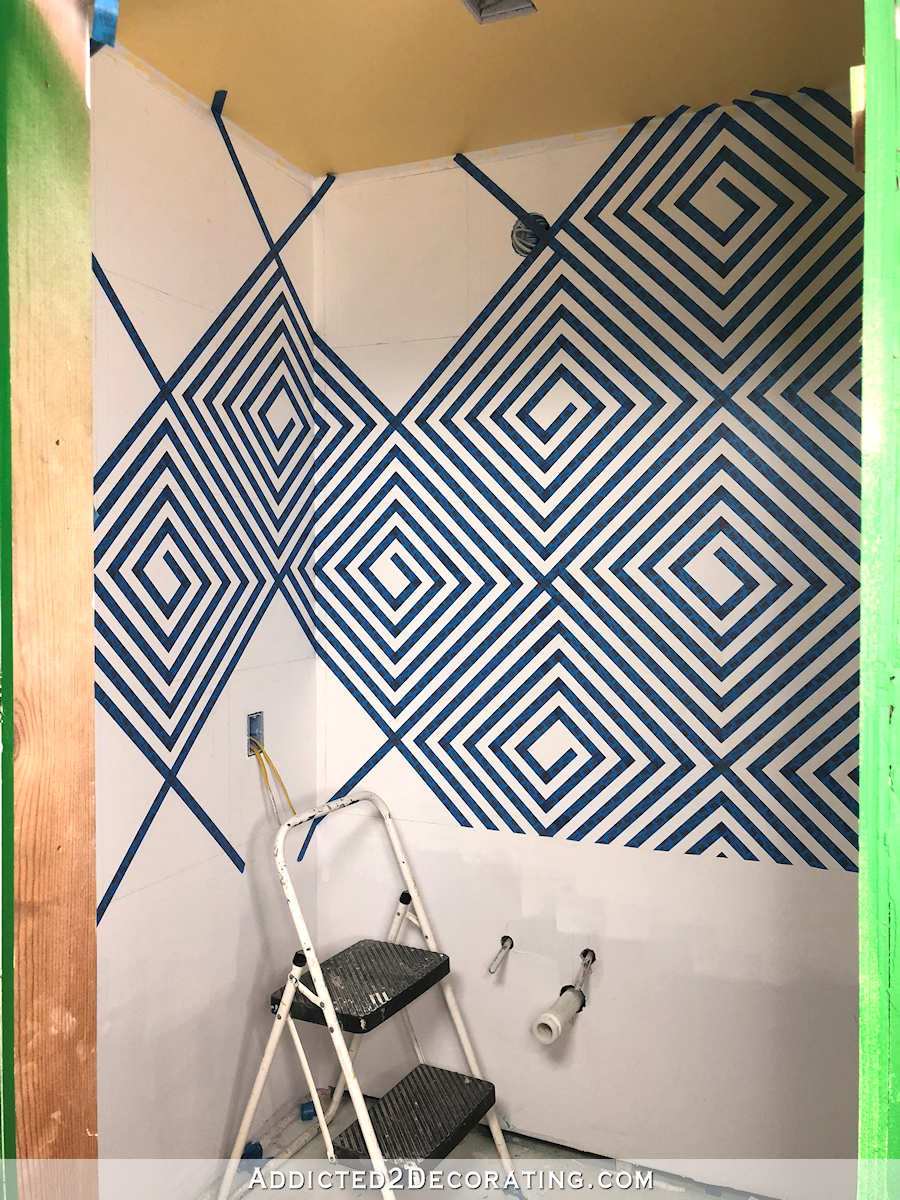
I got the geometric hand painted design finished on the walls (although I forgot to remove the tape on one wall, so I’m hoping it’ll still come off cleanly and not ruin the design). You can see the details of that project here…
I also made some custom yellow resin tiles for the backsplash/wainscoting, which you can read about here…
But I only got about 85% of those yellow tiles installed, so I need to install the rest and then grout the tile. And I only have that one section of picture frame molding behind the toilet installed, so I still need to cut and install the rest.
And then there’s the issue of the baseboard trim. I have absolutely no idea how I’m going to trim around that thing for the special toilet I had to have in this bathroom, but I have to figure out some way to make that look nice.

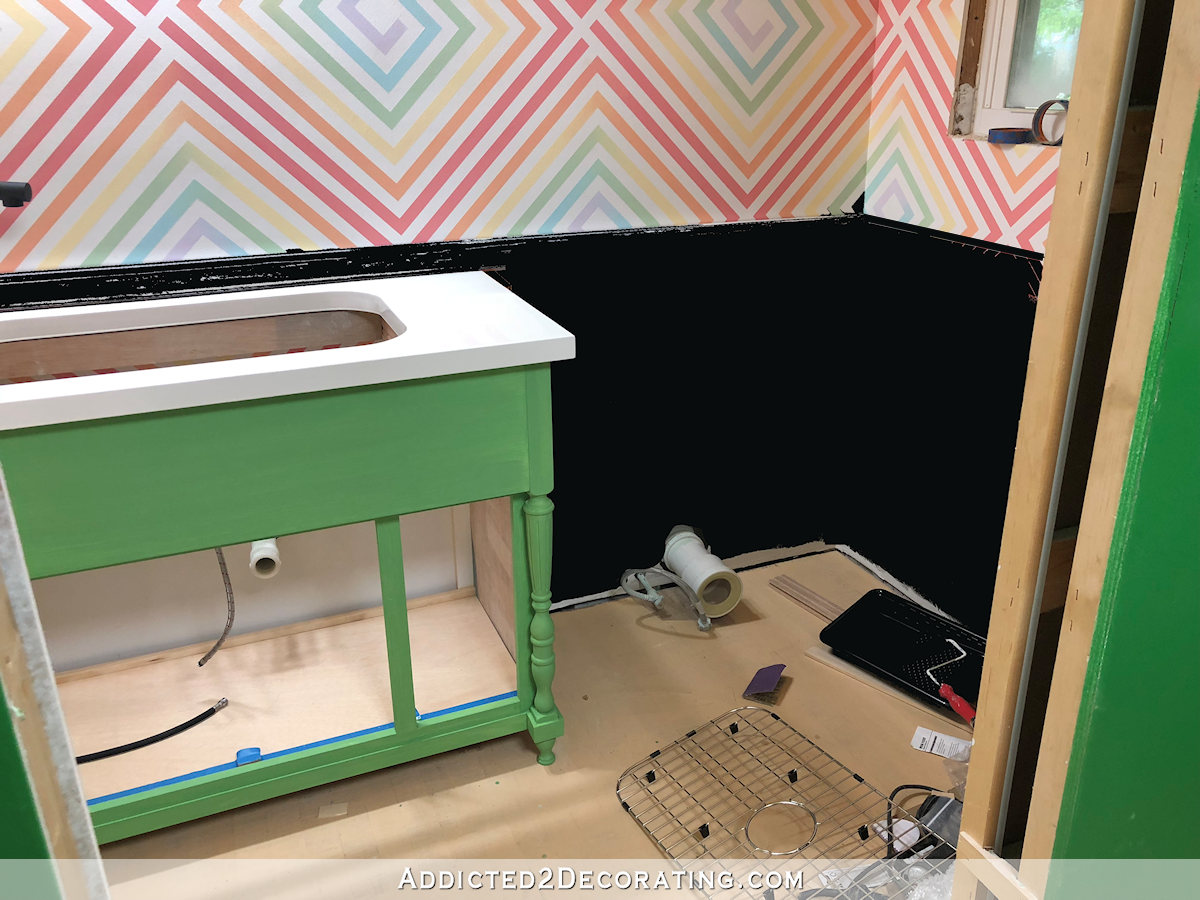
I got the vanity built, which you can read about here…
And I also made the resin countertop, which you can read about here…
But now I need to put all of that together and actually attach the countertop, install the sink, and install the faucet.
I’d also like to repaint the ceiling. I had originally painted the ceiling yellow, but I just don’t think it works. It draws too much attention, so I’d like to go back to a white ceiling so that the walls and vanity can be the focus of the room.
And obviously, I still need a mirror. I’ve been on the lookout for a mirror for this bathroom, and just haven’t been able to find one that I like.
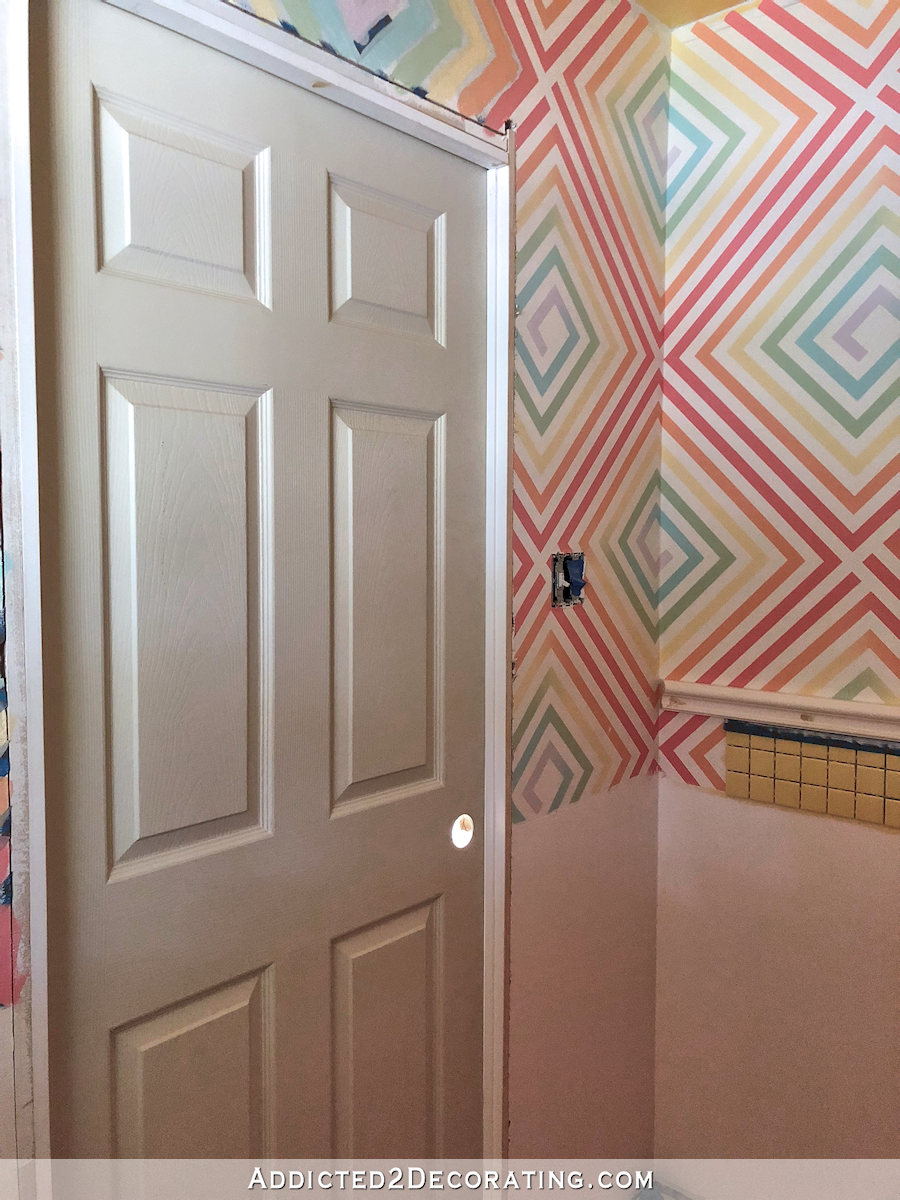
And finally, the door still needs casing on the bathroom side, and the door needs to be painted.
So here’s what the complete “to do” list looks like before I can call this little bathroom finished:
- Paint the ceiling white
- Install crown molding (wood fill, sand, caulk and paint)
- Remove the rest of the tape from the wall design and do any necessary touchups
- Buy or make a mirror
- Install the ceiling light
- Install two outlets and hook up the electricity for the room
- Install the door casing (wood fill, sand, caulk and paint)
- Install the rest of the tile and then grout
- Install the rest of the picture frame molding, baseboards (wood fill, sand, caulk and paint)
- Finish the vanity/countertop/sink area (attach sink and countertop, hook up faucet and sink drain pipes)
- Paint the door and install a locking door pull
- Install the toilet
I think that’s it! I might need to go back to my daily video progress reports that I used to keep myself accountable while I was working on the pantry. Those seem to keep me focused. 🙂

Addicted 2 Decorating is where I share my DIY and decorating journey as I remodel and decorate the 1948 fixer upper that my husband, Matt, and I bought in 2013. Matt has M.S. and is unable to do physical work, so I do the majority of the work on the house by myself. You can learn more about me here.
You didn’t say what the few finishing touches needed to finish the back hallway entrance are. Is it just the artwork that you want? If not, why not put a ‘signed, sealed, and delivered’ stamp on the back entrance so you can have that area complete before starting in the bathroom?
It is looking great! And, like the pantry, I’m sure it will be one of those spaces you just come to look at and admire, once it’s done. Sending you “motivational” vibes for a productive next few days!
You go girl! I agree on the ceiling. Have you looked at Kirklands for mirrors? I get most of mine from there. Good prices and nice looks. Of course I don’t know what you’re looking for in a mirror, but it’s a suggestion.
To remove tape that’s been left on too long, soften the adhesive with a hair dryer. I’ve done this and it saves having to do touch up painting. Can’t wait to see your finished bathroom!
Kristi, I can’t remember if I asked you which wood filler you use now and what caulk. I wrote it down a few years ago and now I cannot find where I put it. Can’t believe how much you get done! You are just amazing.
Kristi, when you read this, would you consider putting in a prominent place all your favorites? Paints, polys, fillers, grouts etc? I found your DIY tools post finally by searching “dremel”, but we just bought an older house that’s going to need work, and I’d love an expert’s take/advice on somewhere to start as I baby step into this big diy world… I still think you need your own YouTube channel. I read every post the day it comes out, but sometimes I wish I could just SEE you do it! I’d even watch ads for the privilege… 😉
I hope you will get the bathroom finished so you can feel you accomplished another big task. That way you will feel much better about your progress. You are making great progress, and once you are completely finished with each room, you will feel much freer instead of looking at so many unfinished projects left to do. Then move onto the next big thing. 🙂
Michelle, Yes!! Thank you!
I hate to encourage you to dismantle what’s already done, but if you take the baseboard off and rebuild it, you can split it above the round hole so that it’s in two pieces. then cut it as close to the pipe as you can (use a scrap of pipe or a compass). Then, you can put the left side in, then the right side, nail it in place, and wood fill the seam so it doesn’t show. If you get it close enough, you can caulk around the pipe and paint the pipe to match the trim or the floor. They might make a plastic grommet/gasket that size, too, so you don’t have to caulk (think like one side of a cat door/portal), but I’m not sure.
Here is my mirror idea:
https://image.lampsplus.com/is/image/cropped/24K38cropped.fpx?qlt=65&wid=780&hei=780&op_sharpen=1&fmt=jpeg
Amazingly beautiful and seemingly perfect for this room!
Absolutely love that mirror for that space!
Go Kristi!!!!
I’ve forgotten…what’s special about the toilet?
Kristi, you can do this! I too think the ceiling in your half bathroom will look better in white. It’s exciting to see all these projects come together. I just love the back entryway and whilst I loved the original green on the walls, the ‘new’ green is just fabulous!
It makes me so happy that bit by bit, you are making every room of your home shout, whisper or laugh “Kristi”!
PS I think you might really like 12 Week Year (Brian Moran) …
https://12weekyear.com/
Watch the 3 free vids… well worth it 🙂
Love you’re going back to white ceiling! Start with one step projects like the ceiling and get them done. Progress will seem faster!
I’m still amazed at the skill it took to do that wall design! It’s so perfect, I’ll bet that people who see it will think that it’s high end wallpaper.
I bow down to your incredible talents!
For the pipe, I wonder if there’s a narrow ceiling medallion kit that is split you can use. A round frame might be dividable, and hide the seam. For a fully diy’d solution custom cut a circular piece of something (cone, funnel) with a manageable seam, trim that outer seam with an octagon or round frame. Check out roofing materials, you can find a “boot” for specific vent pipe diameter that may be easier to work with, but I bet it’d be costly and hard to find it paint-able. If this makes you over-think, them ignore this.
I really love the brighter, lighter green on the walls—I would have a big smile on my face every time I entered that foyer space, whether coming or going! I think you should use this mirror in your half bath—I think it’s one that you’ve said you really liked. https://www.ballarddesigns.com/atoll-rectangular-mirror-with-clear-glass/decor-more/mirrors/all-mirrors/198109