Why I Should Never Be Left Unsupervised With A Sander In Sight
I’m just not housewife material. Oh, sometimes I wish I were. But it seems that I’m simply incapable of doing regular ‘ole housework and just leaving it at that. More times than not, my “housework” turns into some sort of home improvement project. Here’s what I’m talking about…
*This post contains affiliate links.
Saturday night around 8:30, I was in the kitchen cleaning, washing dishes, doing regular stuff. That’s when I started thinking about those frustrating bleached spots on my countertop. Before I knew it, I had broken out the sander and the shop vac, and a hour later, my countertop looked like this:
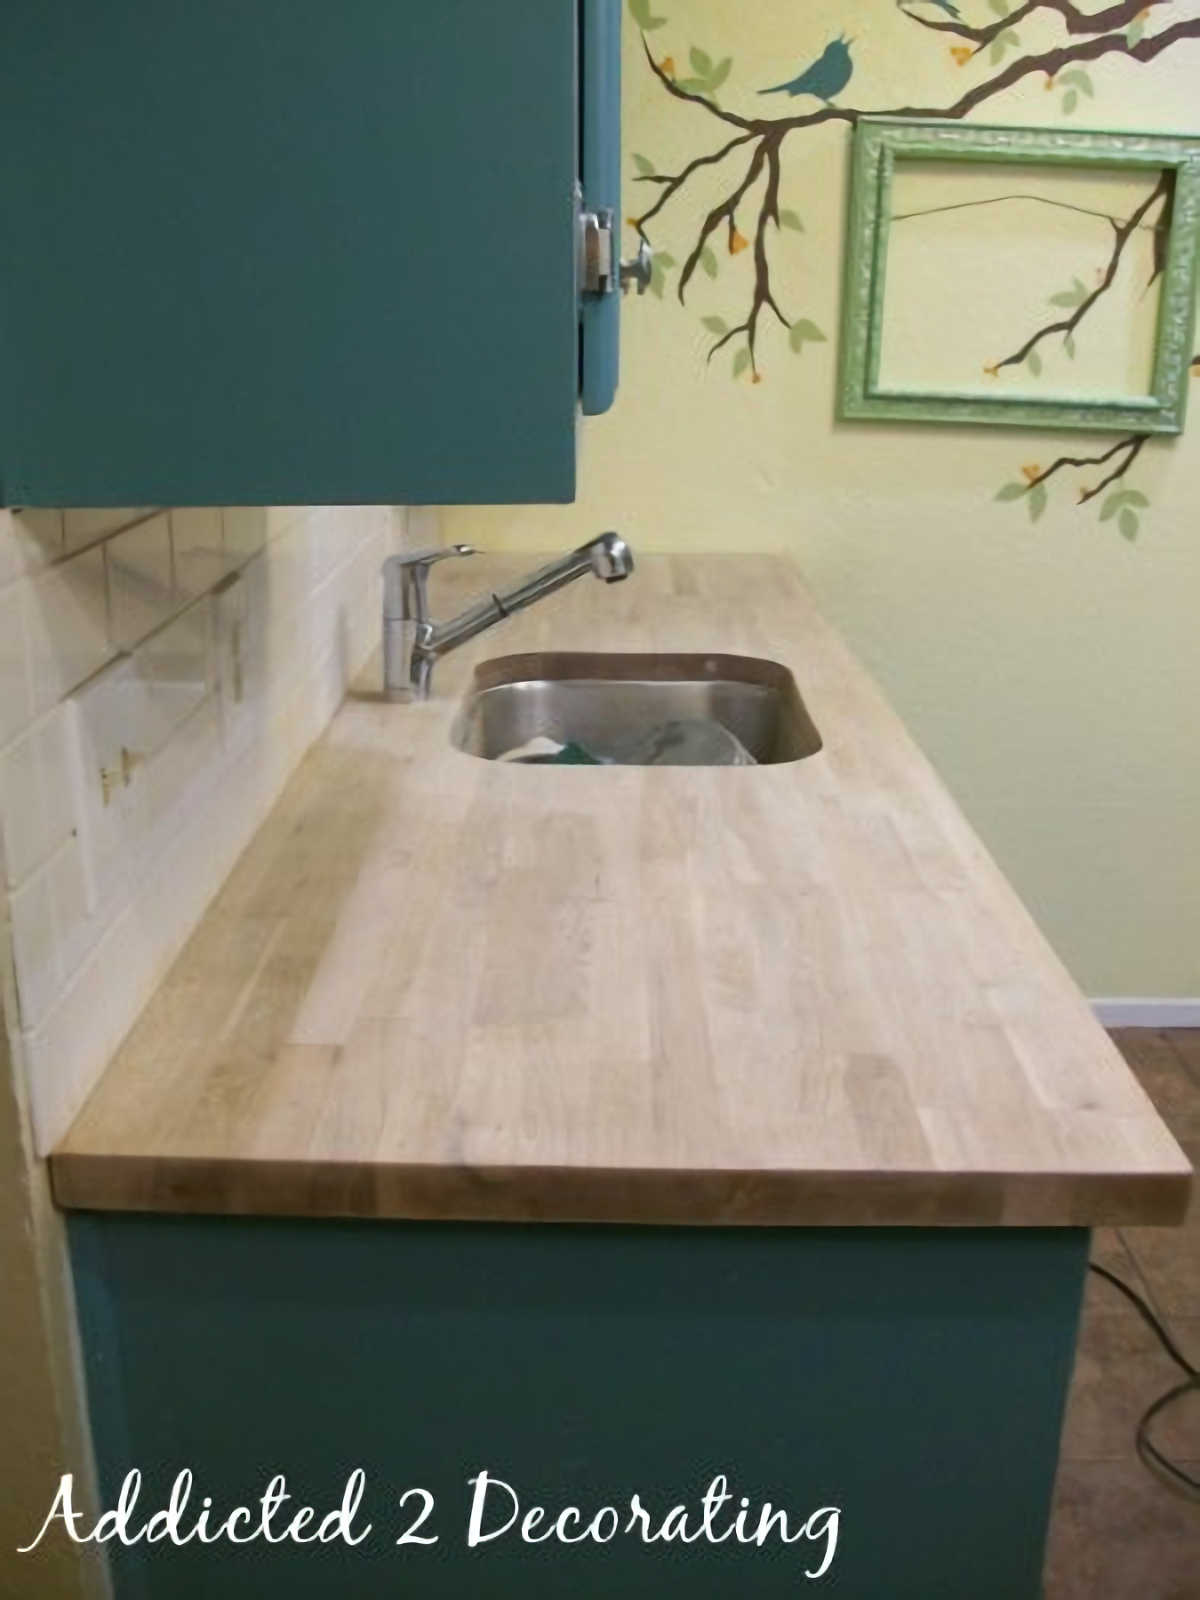
Is there anything more beautiful than the sight of freshly sanded, perfectly smooth raw wood just waiting for stain and sealer?! I think not!!
And as you can see, I didn’t even get all of my dishes washed! There are still a few stragglers in the sink, quickly forgotten once I had my sander in hand.
What’s funny is that just the day before, Matt had asked me which tool was my favorite to use. He assumed it would be my new miter saw, but I surprised him by saying that my favorite was my sander.
I mean, to me, there’s just nothing better than a tool that allows me to strip an old piece of furniture down to bare, gorgeous wood. And I was excited about this little impromptu project, because it gave the just the excuse I needed to go purchase a new tool — a Black & Decker Mouse sander — to be able to sand in the corners and behind the faucet…
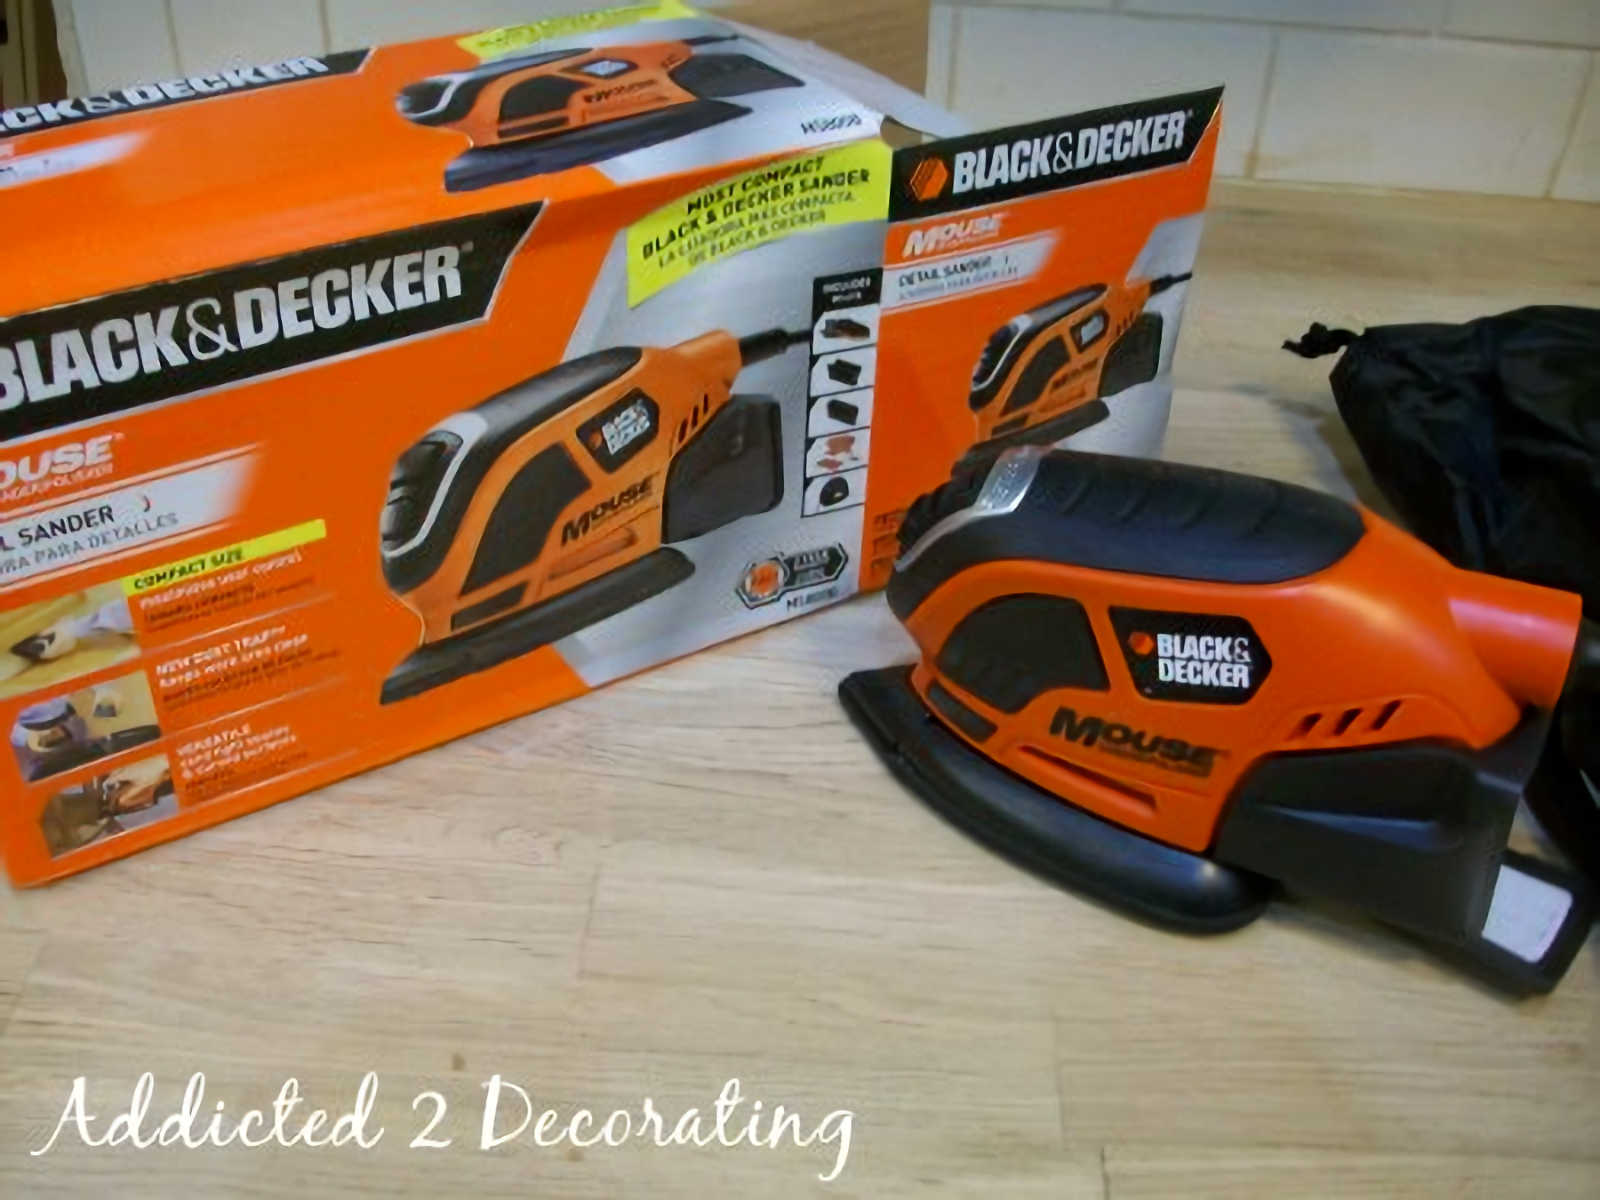
I can’t believe I’ve gone this long without purchasing a detail sander!! This little thing is amazing. It even comes with an attachment that sands spindles on chairs. Talk about a time-saver!!
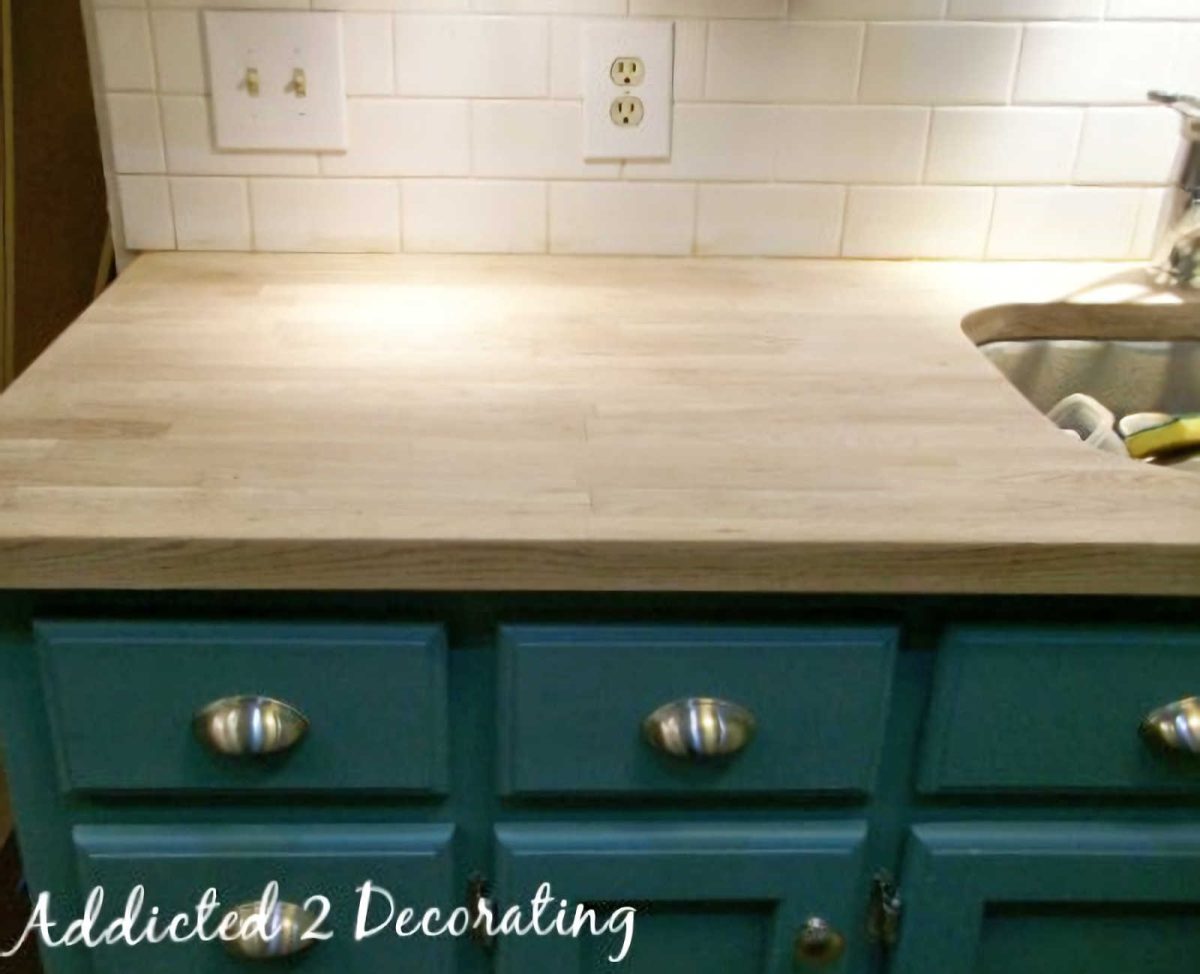
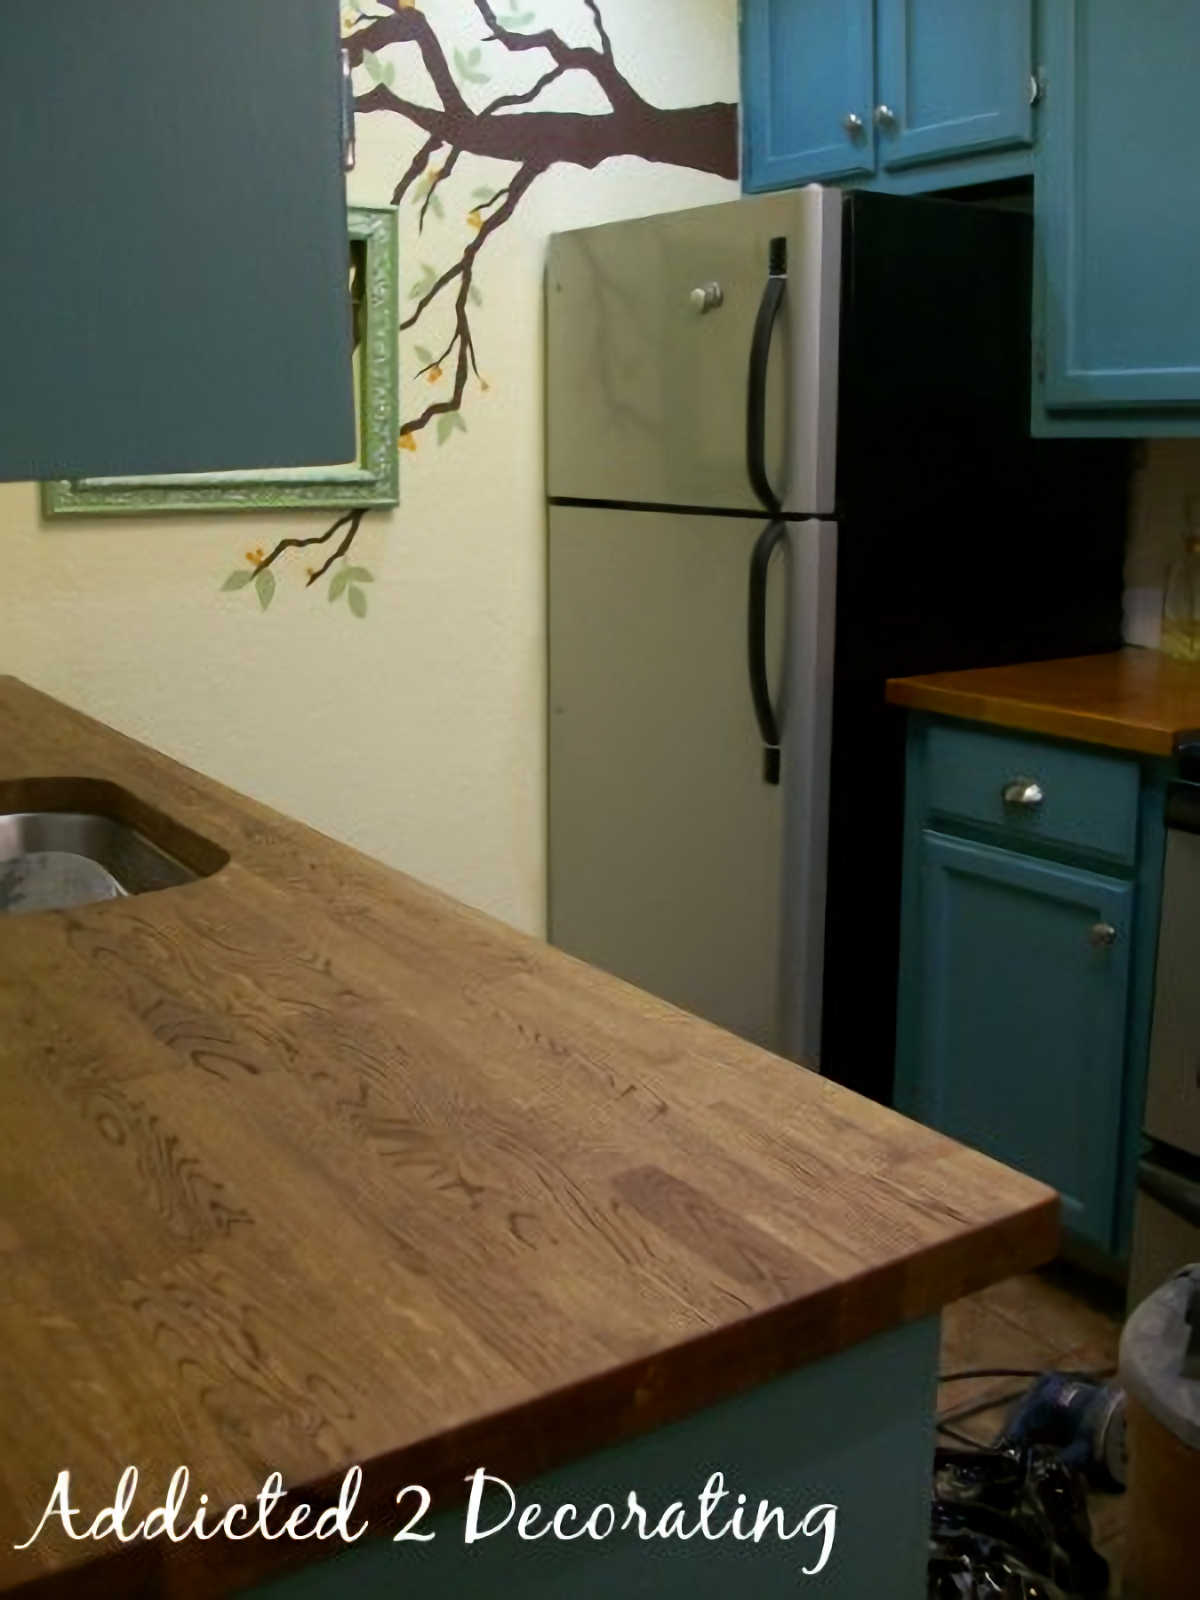
I also took this opportunity to change the stain color on my countertop. I’ve just never been really thrilled with the original stain color I chose, which was Minwax English Chestnut. It was just a little too orangy-red for my liking, and I always felt like the color was a bit too saturated and dark.
So this time, I used Minwax Dark Walnut, and rather than staining the countertop, waiting 72 hours, and then applying the Waterlox Original finish, I opted instead to mix two tablespoons of stain with 1/4 cup of Waterlox and use that as my first coat (per the instructions I found on the Waterlox website). I figured that this method would give me the lighter color countertop that I wanted.
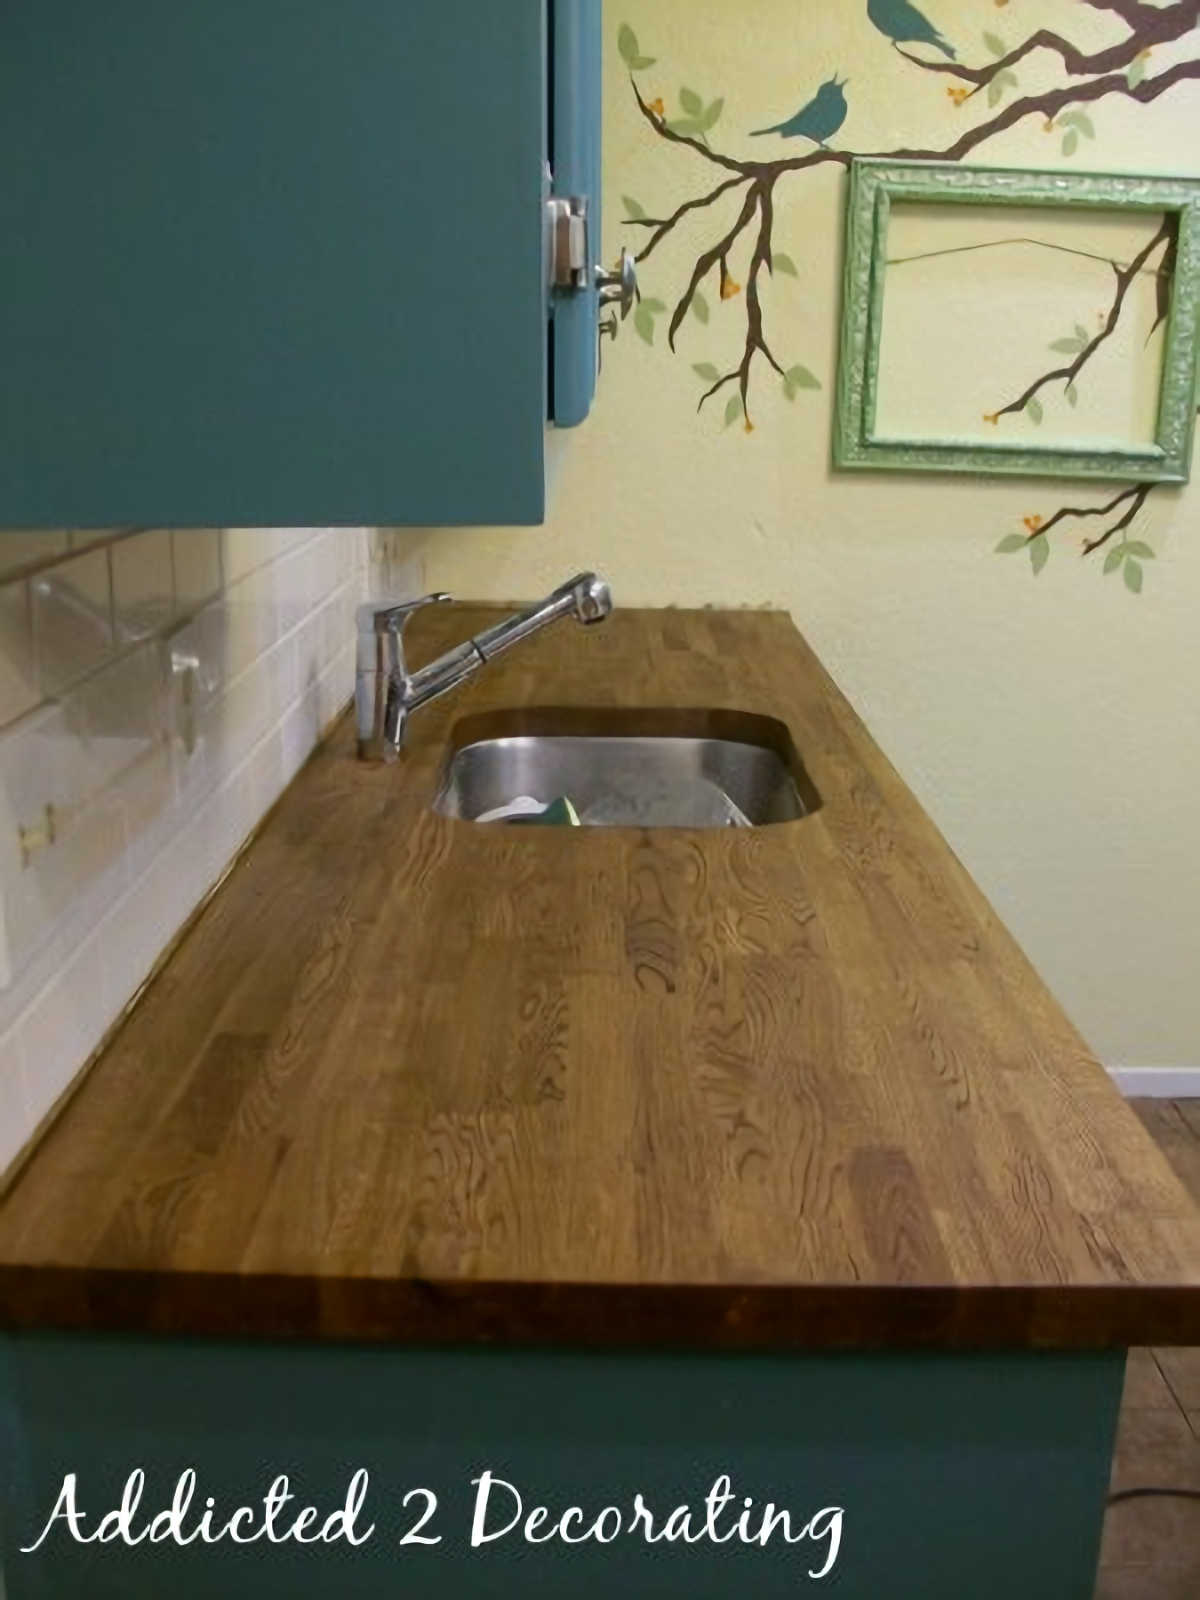
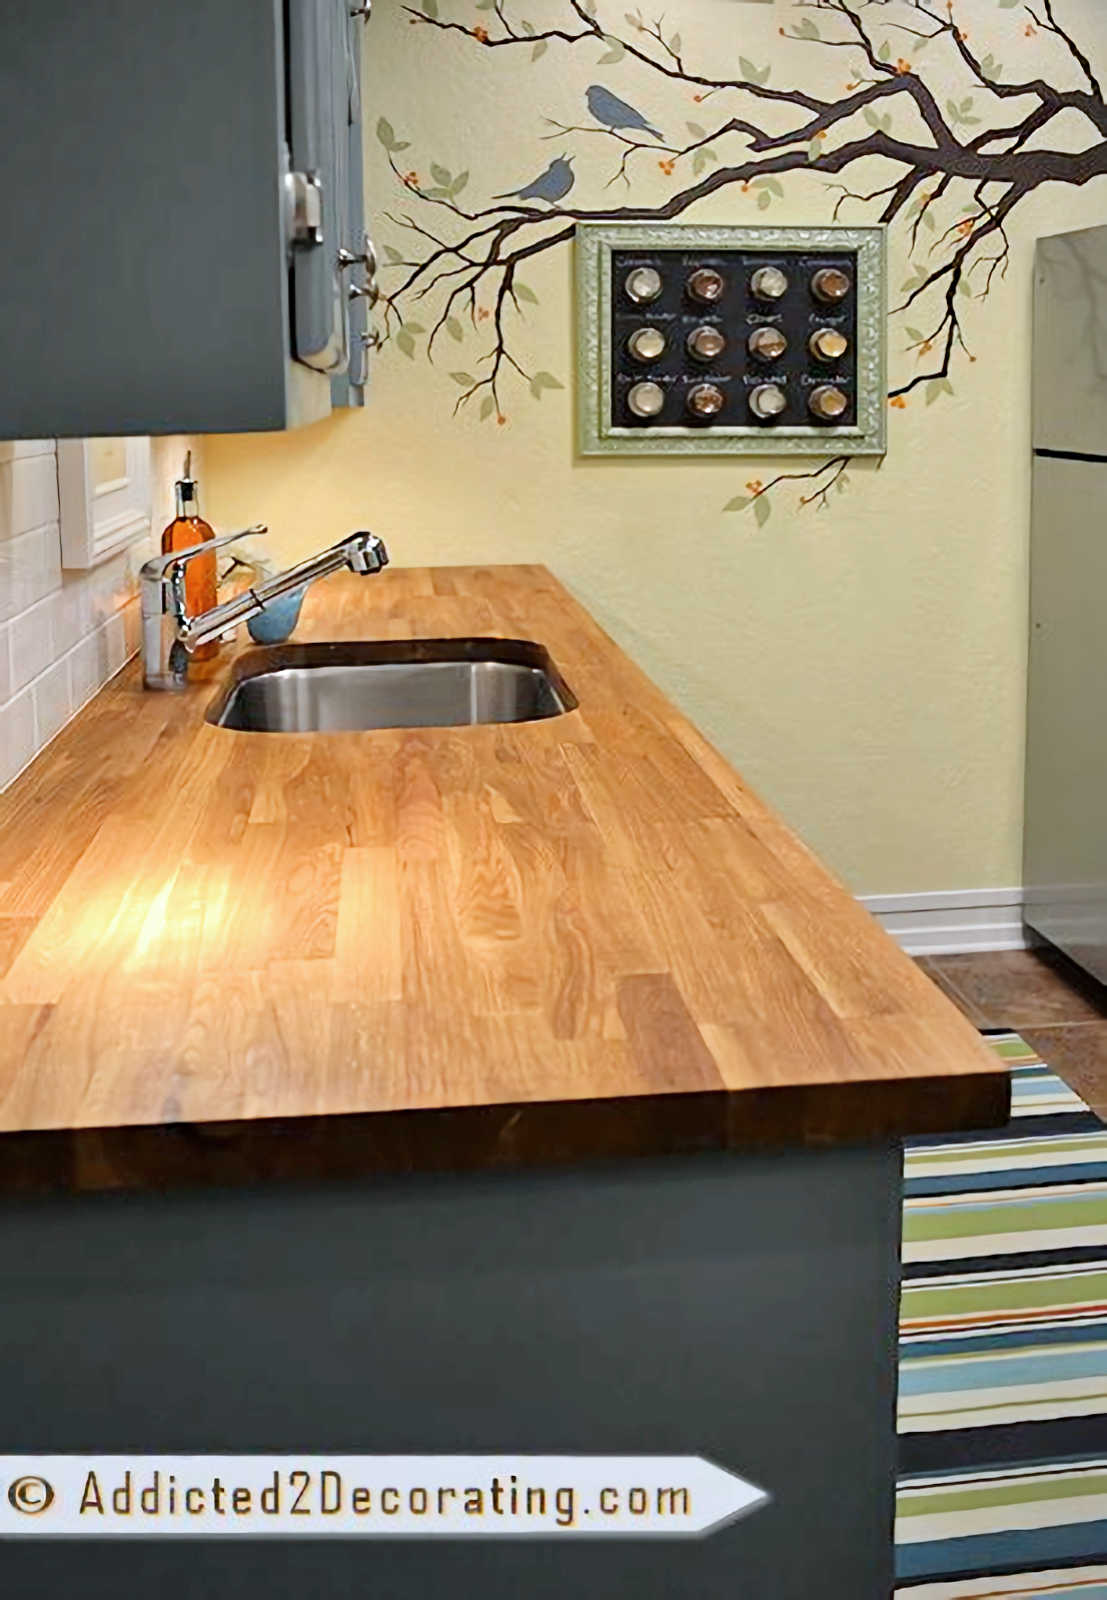
They still need a couple more coats of plain Waterlox (i.e., no stain added), but here’s the new color.
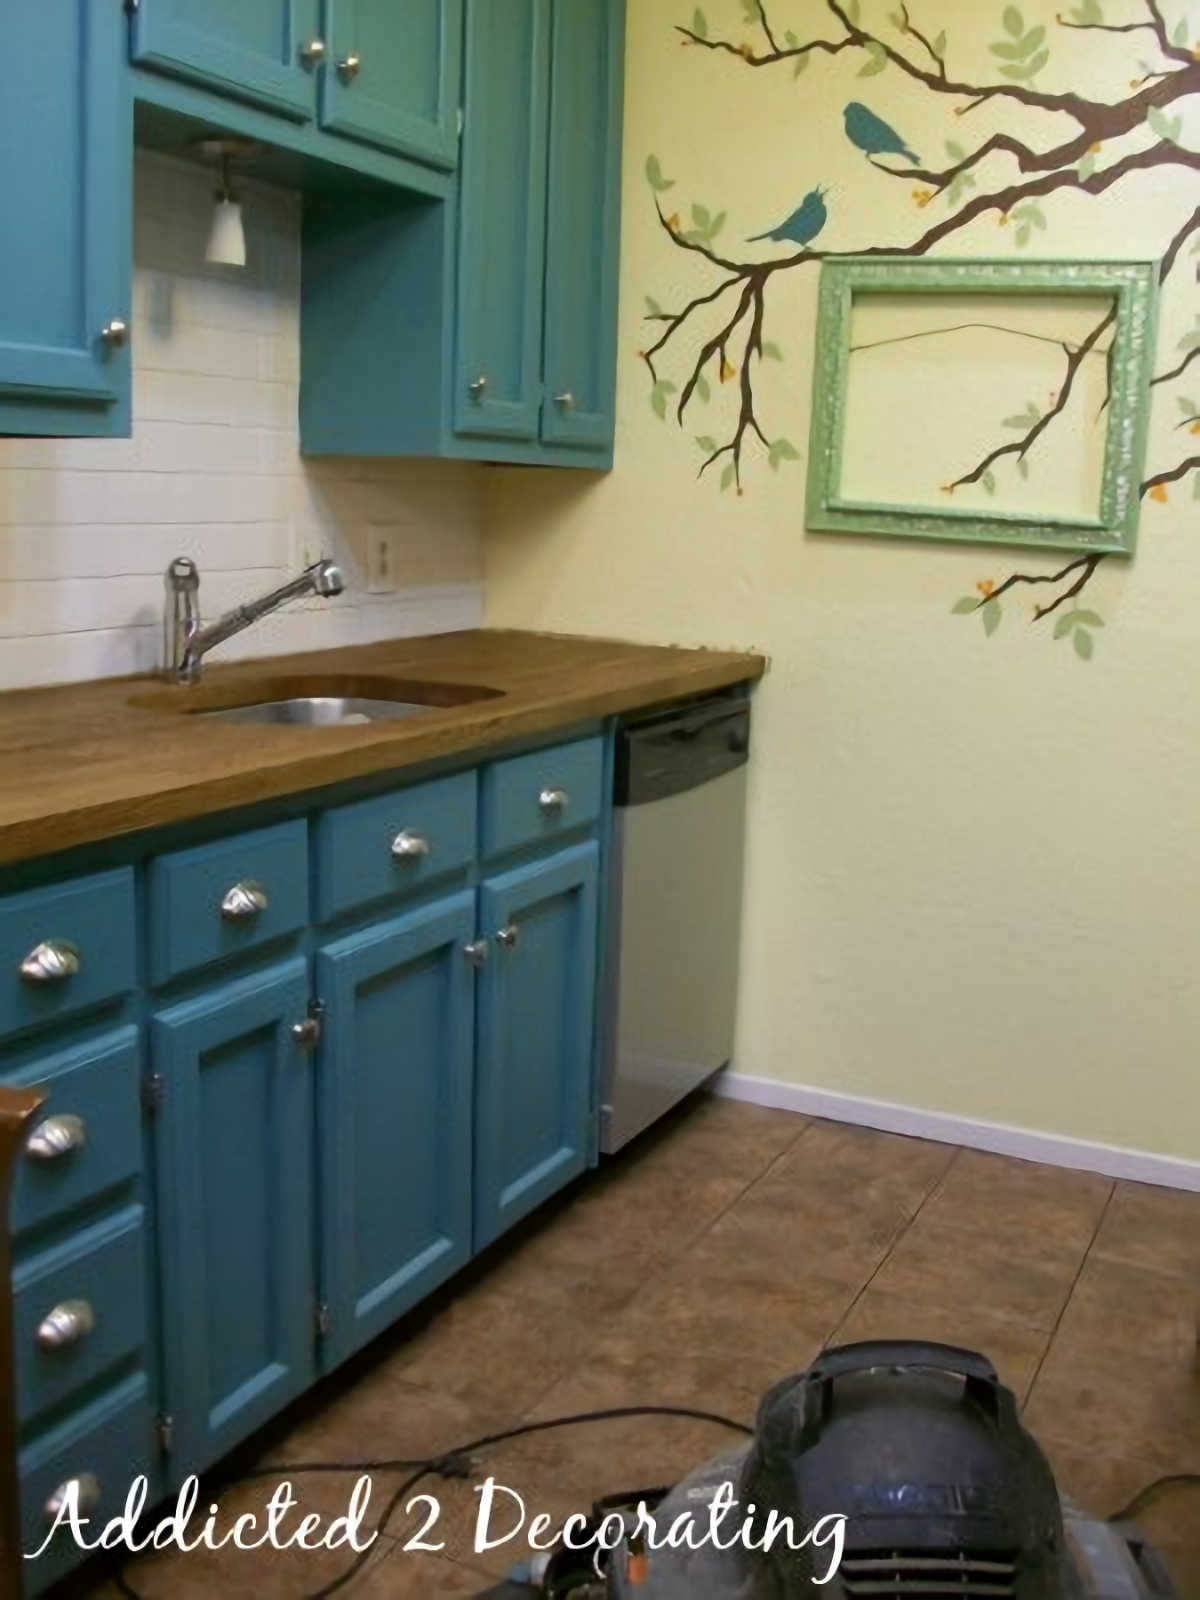
And how do you like that empty frame that’s been hanging there for months now? 😀 Pathetic, I know.
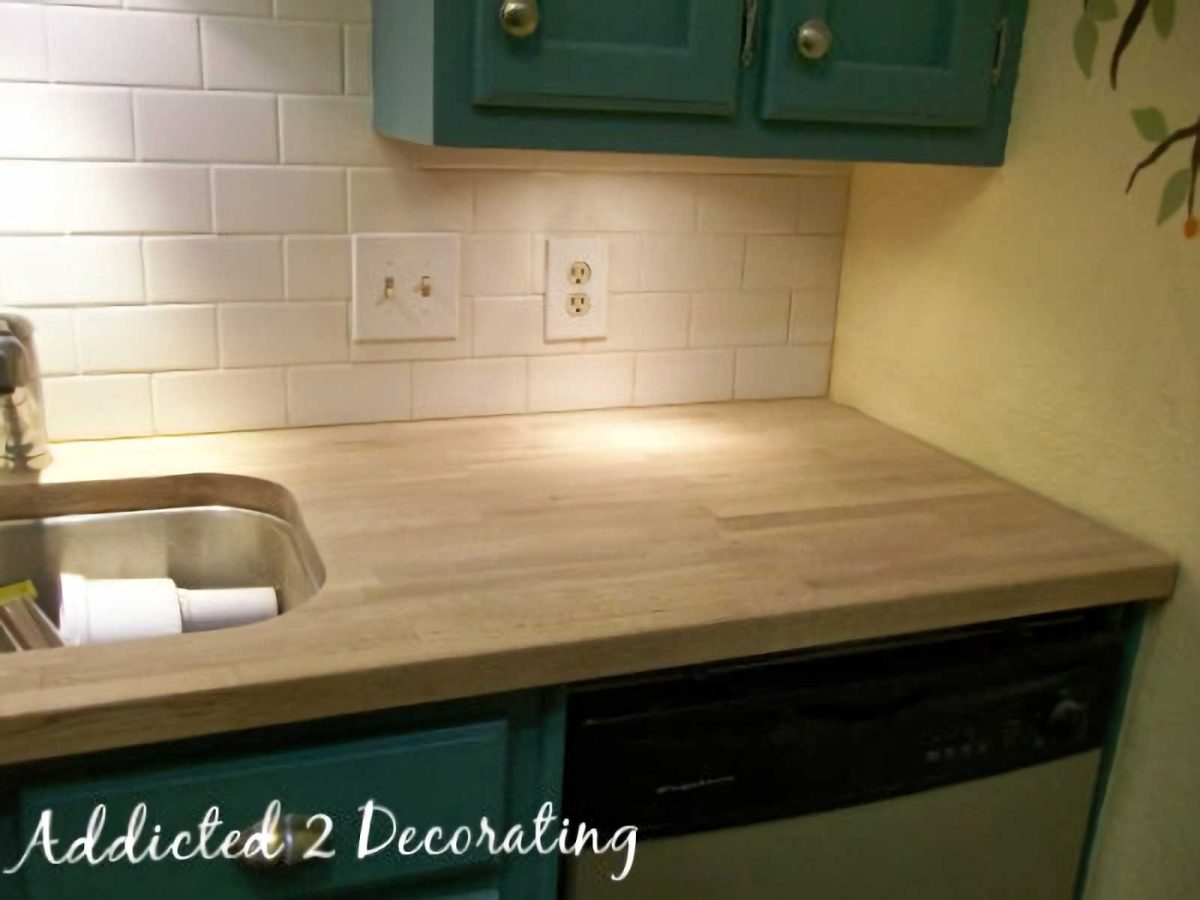
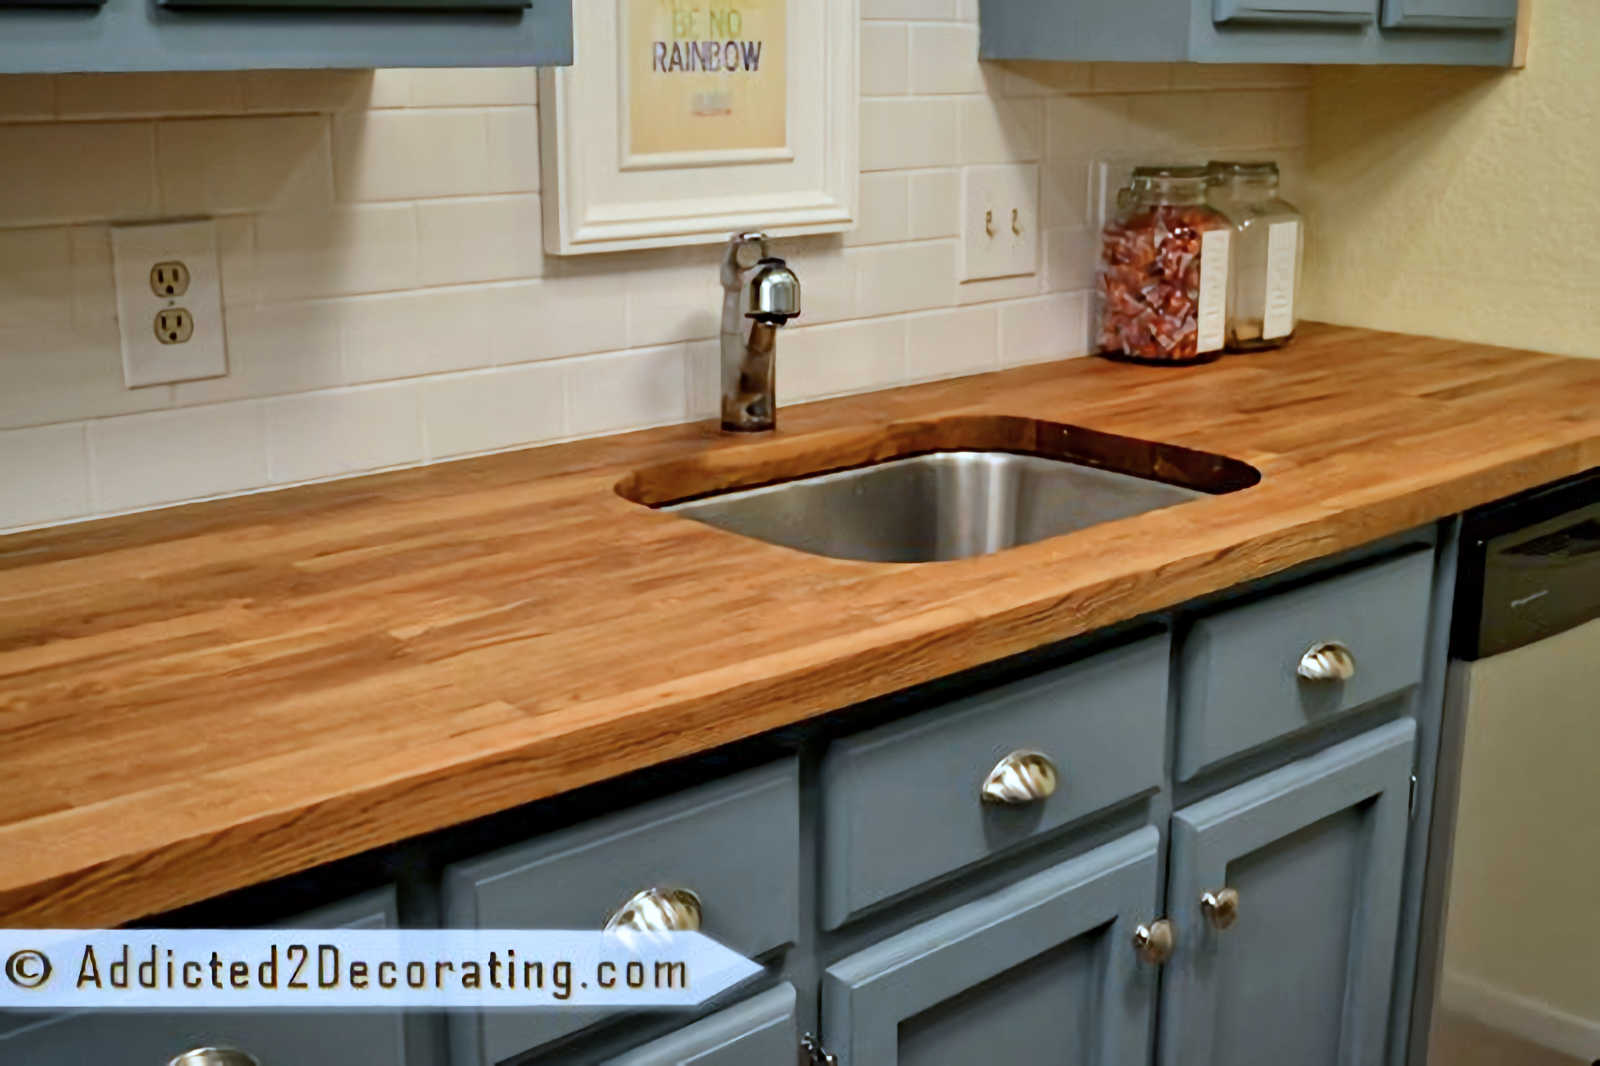
I tried my best to get a picture of the new color compared to the original color. You can see the original stain color on the opposite side of the kitchen, to the left of the stove. See how orange it looks? That’s always bothered me.
I really do like the new, softer, less orange color. It seems to be a truer brown, which I really like, and with less color saturation, I think it looks more natural.
So that’s how I do “housework”. I know I can’t be the only one with this little problem. Do you get sidetracked with home improvement projects as well?
UPDATE:
Below you’ll find more updates on my butcher block countertops:
- The finish in this post didn’t work out in the long run. Click here to see how they looked after about 17 months…not good at all! So next I tried…
- Oak butcher block countertops stained with Rust-Oleum Ultimate Wood Stain in Early American color, sealed with Rust-Oleum Ultimate Polyurethane in a matter finish. This didn’t last either. And then I found…
- The absolute best and easiest way to seal butcher block countertops!

Addicted 2 Decorating is where I share my DIY and decorating journey as I remodel and decorate the 1948 fixer upper that my husband, Matt, and I bought in 2013. Matt has M.S. and is unable to do physical work, so I do the majority of the work on the house by myself. You can learn more about me here.


Kristi, I love it. I understand you. My trigger is paint. I will drop it all to get a paint project done, doesn't matter what time of day. I love the new color on the counter.
-Laurie
I love the new color! How cool that you can just sand down your counter tops and bang you can change the look. I had never seen your kitchen before, I love it, especially the branch and frame on the wall. Oh and the color of the cabinets, just gorgeous. Sometimes I feel ADD, because I do exactly that! I start to put things away and the next thing you know I am rearranging the room which always includes a new project.
I love this story! I can relate well to it. 🙂
I love this story! I can relate well to it. 🙂
Ha! I am with you on this, I don't really find it possible to be a regular "housewife", though believe me I have tried!!!! Your countertop looks Fabulous, love the new tone! Janell
That is a beautiful color! I love it!
Love the new stain color too. Yes, I also have this disorder. Yesterday I was working in the LR (icky stuff — picking up and putting away crap) and found myself in the dining room moving furniture, prepping the last wall for paint, and assemblying the new light fixture all while the LR remained "messy" and definitely NOT picked up. SIGH….
I love the new stain color!! I love the whole kitchen!! 🙂
I get side tracked real easily too. 🙂
I really like the new stain color. I'm like you, I would of changed it as well. Now, I'm thinking I REALLY need one of these detail sanders since I'm thinking of stripping the paint off the steps, just might go check them out. Thanks for the review on this one. You've really motivatied me.
I love your kitchen!! and the new counter top color goes beautiful with the cabinets…much better than the old stain….also did you paint your cabinets yourself?
Holy Sh*#t woman!!! You are so awesome!! It does look better/fantastic. You are an inspiration 🙂
Kristi,
I fully agree with you on this stain color and need to say, you made an excellent choice and you did a great job. This stain color looks so much better than the old one. I'm sure it brings out the look of the wood grain even more than the old stain color did.
Paula Jo
I get side tracked so easily. It would be nice to completely finish a project lol. The countertops look fantastic!
I love the new color! How cool that you can just sand down your counter tops and bang you can change the look. I had never seen your kitchen before, I love it, especially the branch and frame on the wall. Oh and the color of the cabinets, just gorgeous. Sometimes I feel ADD, because I do exactly that! I start to put things away and the next thing you know I am rearranging the room which always includes a new project.
I have been following you for a couple of years now. We are redoing our kitchen. As I am in the middle of sealing my butcher block counter tops, thinking I wish I could get Kristi’s advice. While googling to see how many coats of waterlox is recommended, I came across this blog. Still can’t find my answer. I hope you can help me.
Tracy, I would do a minimum of four coats on a kitchen countertop. More, if possible, but I realize the dry time is long, and most people can’t go without their kitchen for many days. The more, the better.