Waterlox Butcher Block Countertops (Sealing My Oak Countertops)
I’ve been working hard on my kitchen makeover lately, and I’m so excited to share the progress with you! The biggest project lately has been my countertops, which are now finished. In my last post about the countertops, I showed you how I had installed them and then added one coat of Minwax English Chestnut stain to the unfinished oak. Since then, I’ve sealed them with Waterlox Original. So let me show you my Waterlox butcher block countertops.
*This post contains affiliate links.
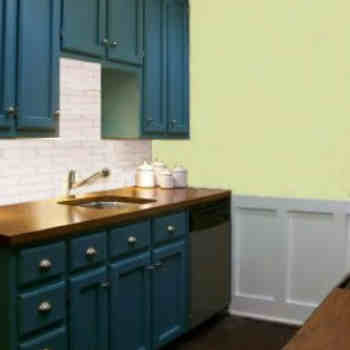
First, let’s revisit the “before” countertops…plain (and very stained) apartment-grade laminate:

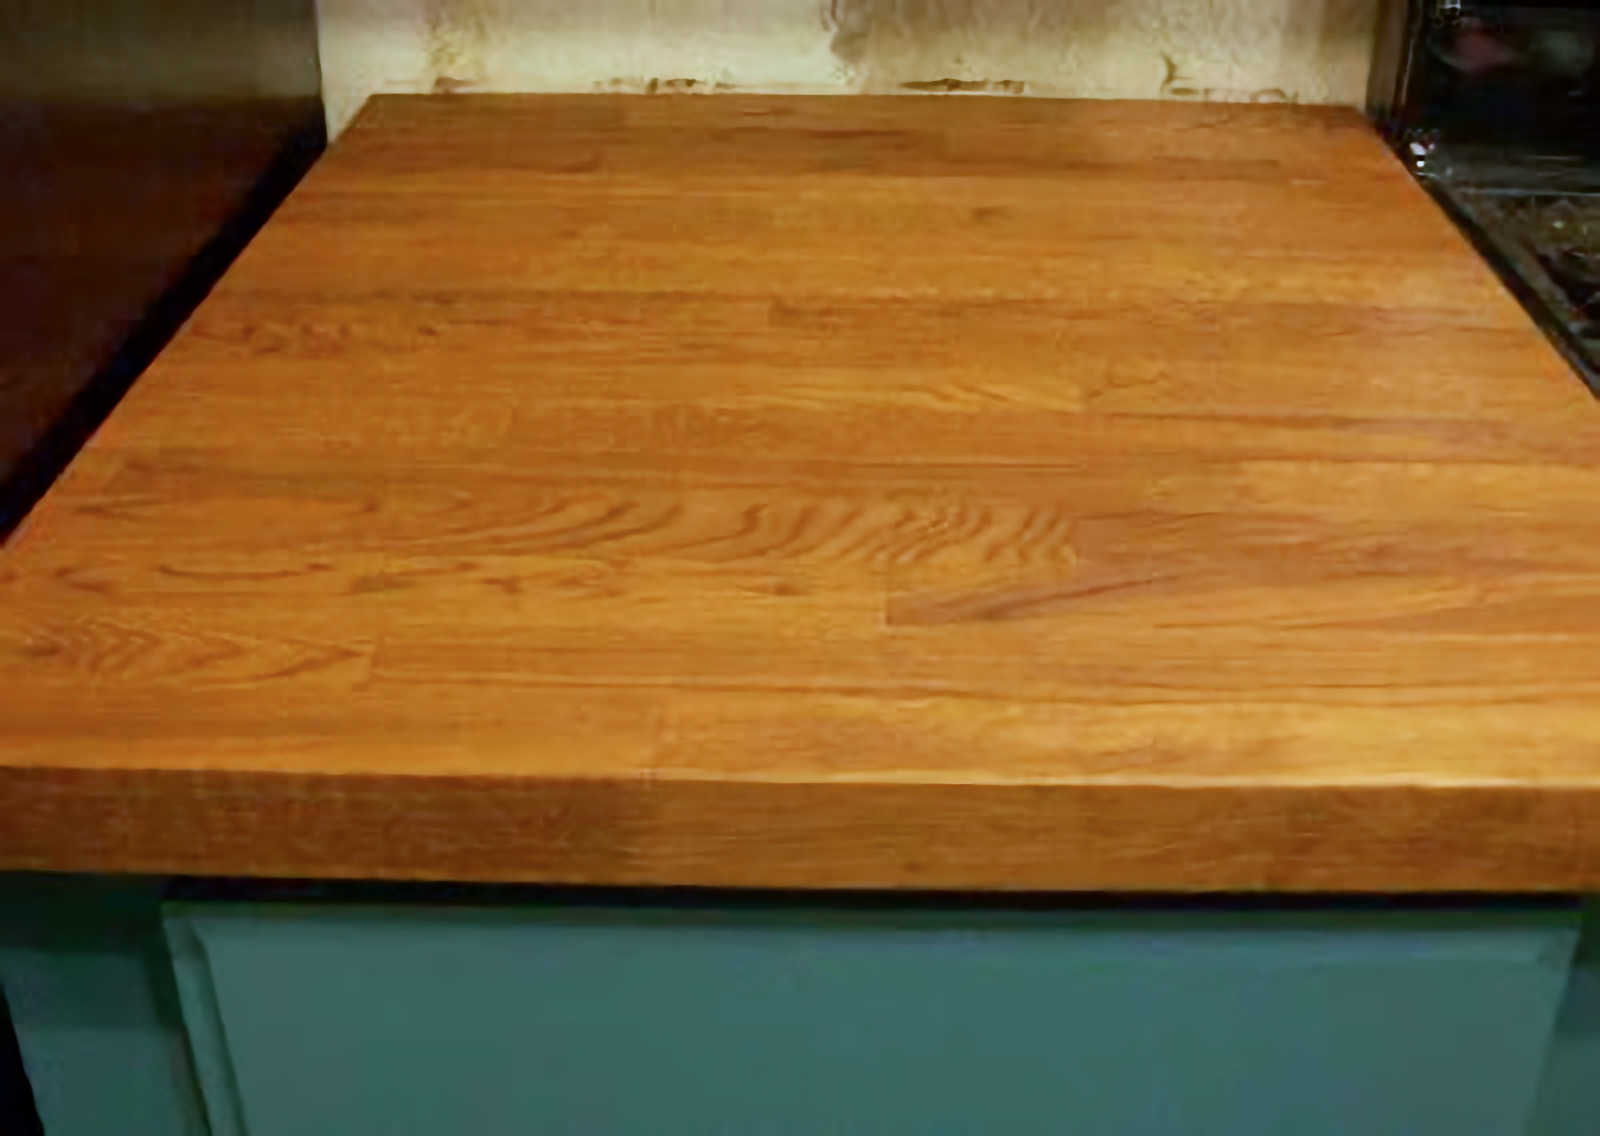
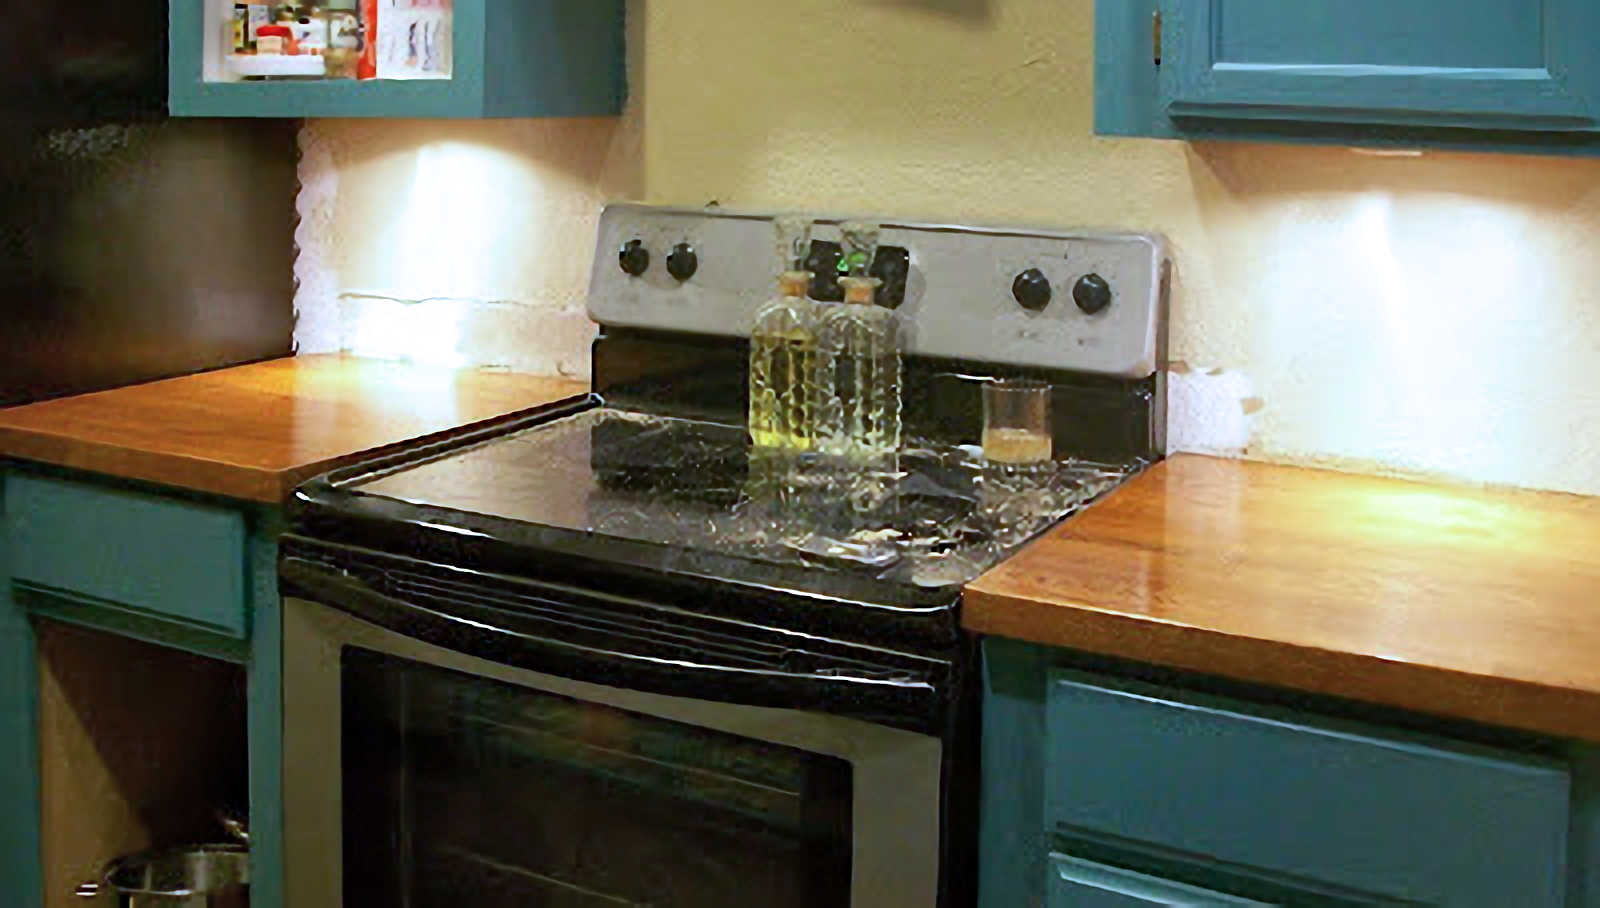
And here are my new butcherblock countertops! This is what the countertops looked like with stain only–no Waterlox sealer (and before the sink hole was cut–that’s the template lying on the countertop):

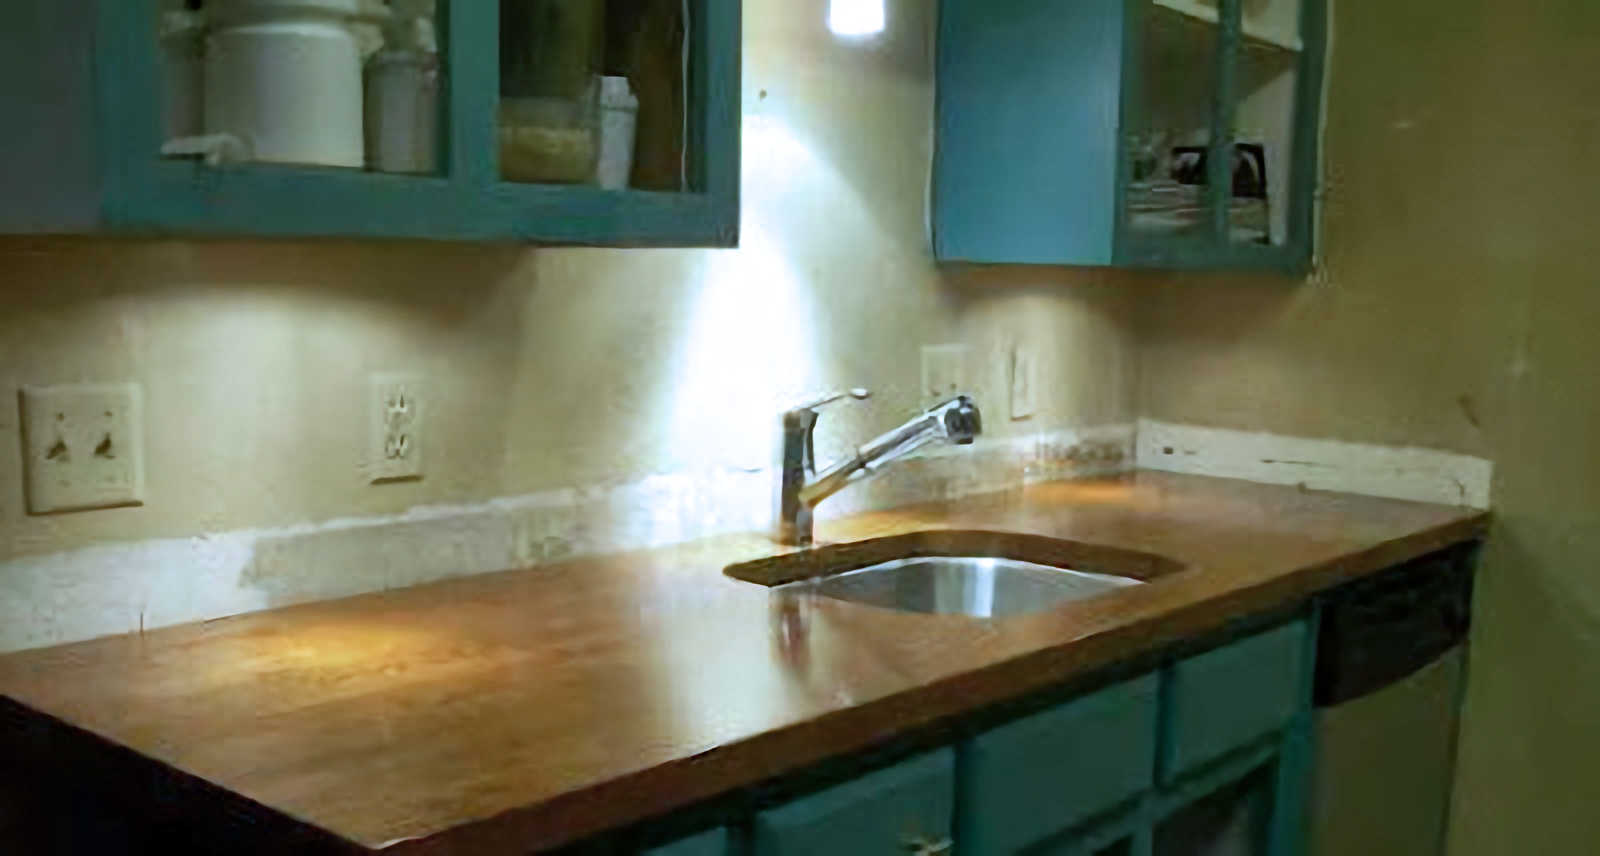
And here’s what they look like now, with all of the coats of Waterlox applied:
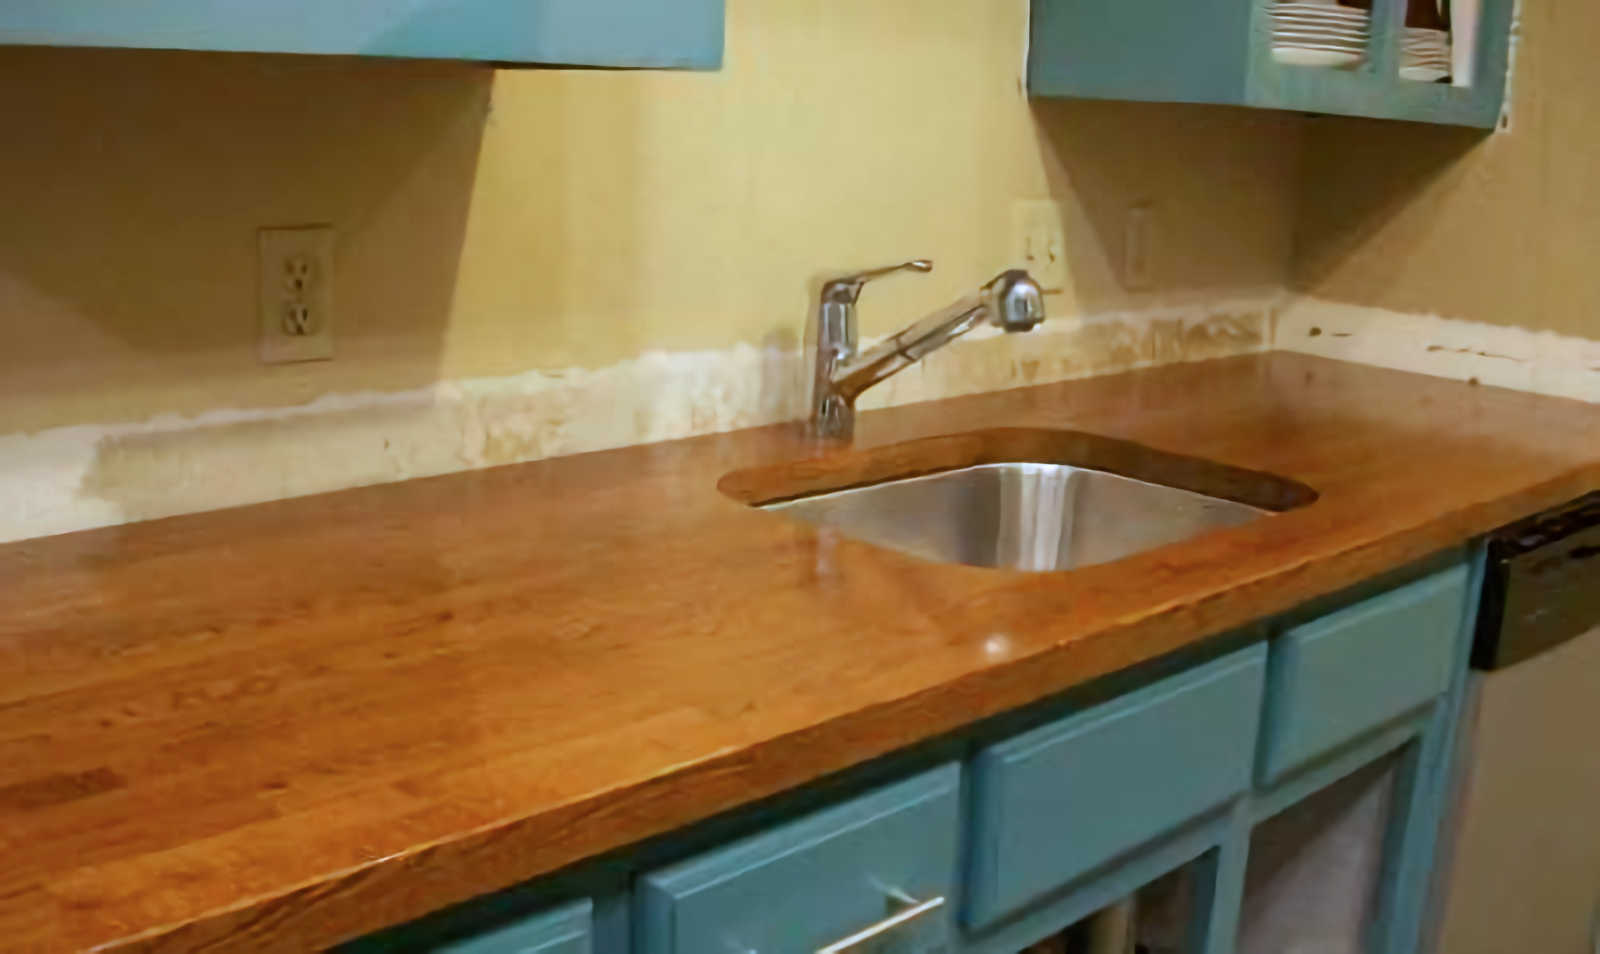
I used the Waterlox exactly as the directions stated, so I’m not going to repeat that here. If you want to try Waterlox, it comes with very clear directions, so just follow those. This is the Waterlox Original finish.

You’ll have to excuse the construction mess on the stove. I didn’t want to spray any cleaner next to my countertops since they’re not fully cured yet, and I still don’t have the plumbing in the sink hooked up, so I couldn’t even sponge it off, so it’s a mess. But anyway…
I think my countertops are BEE-YOU-TEE-FULL!!! I had said previously that I wasn’t sure if I’d like the original Waterlox finish, which is a medium gloss. But I have to admit, it’s really growing on me!
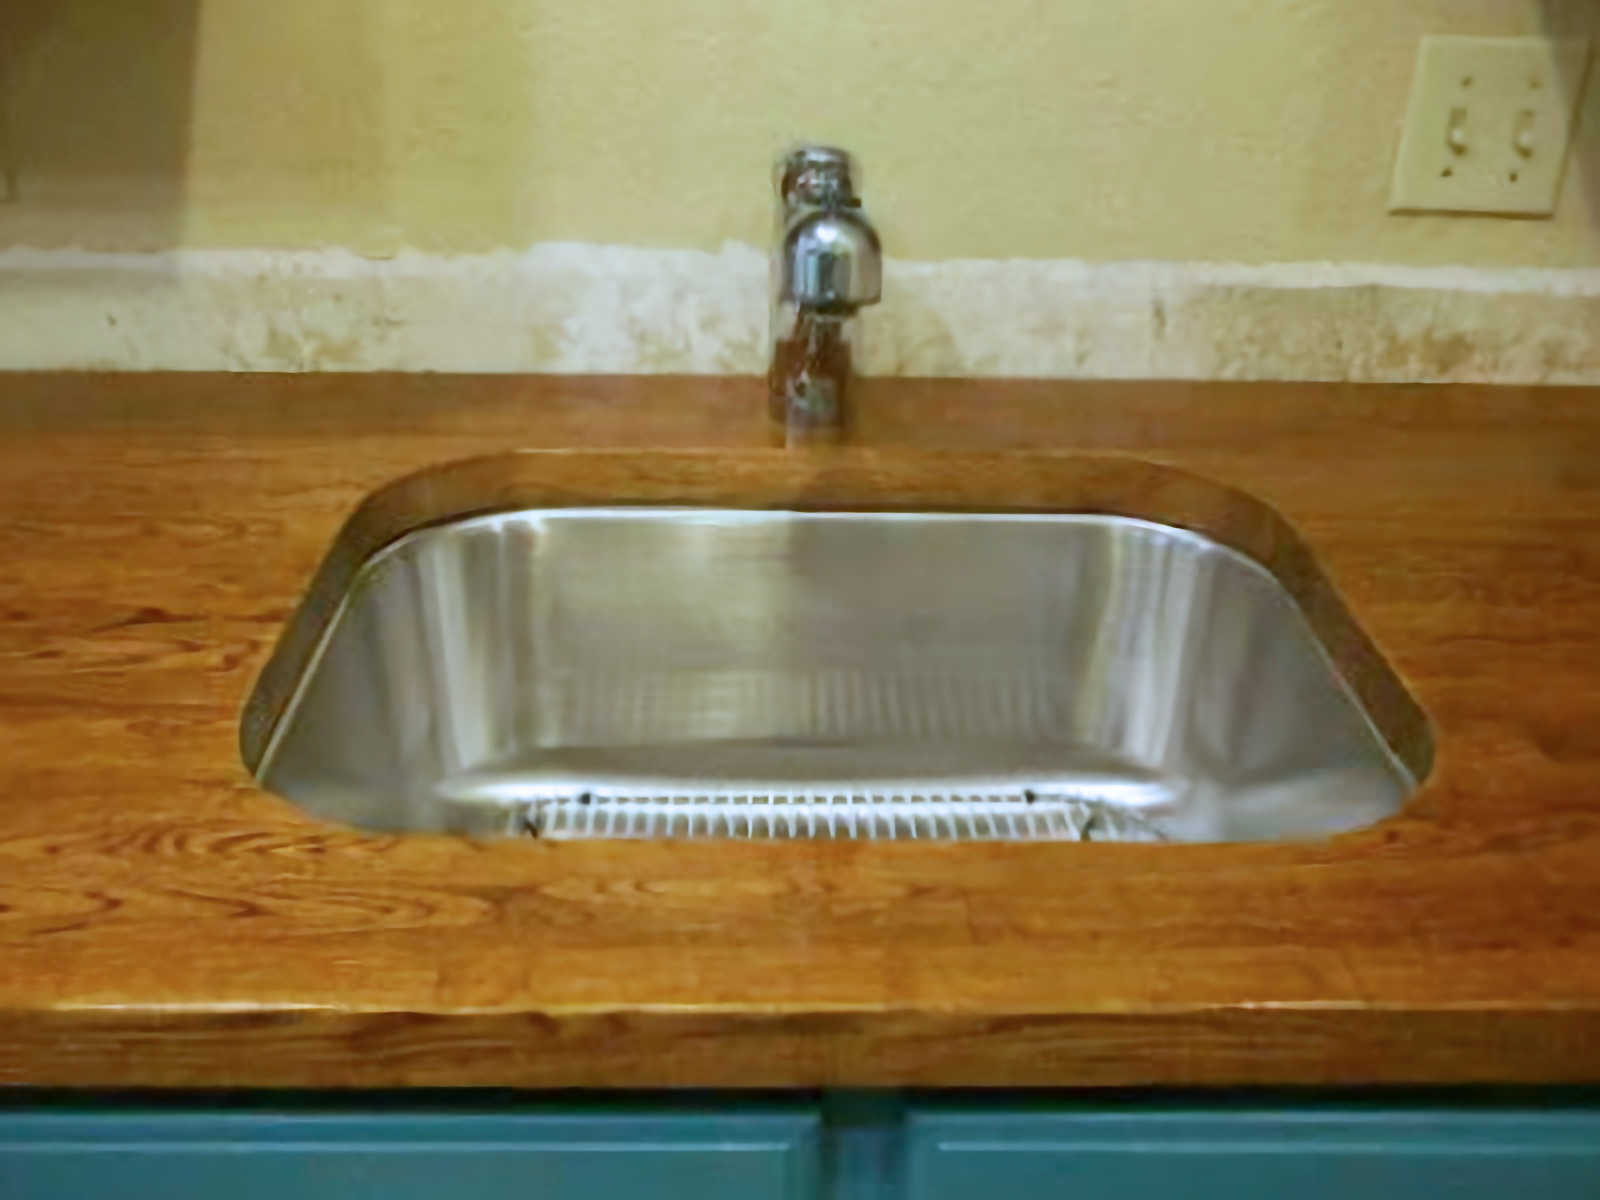
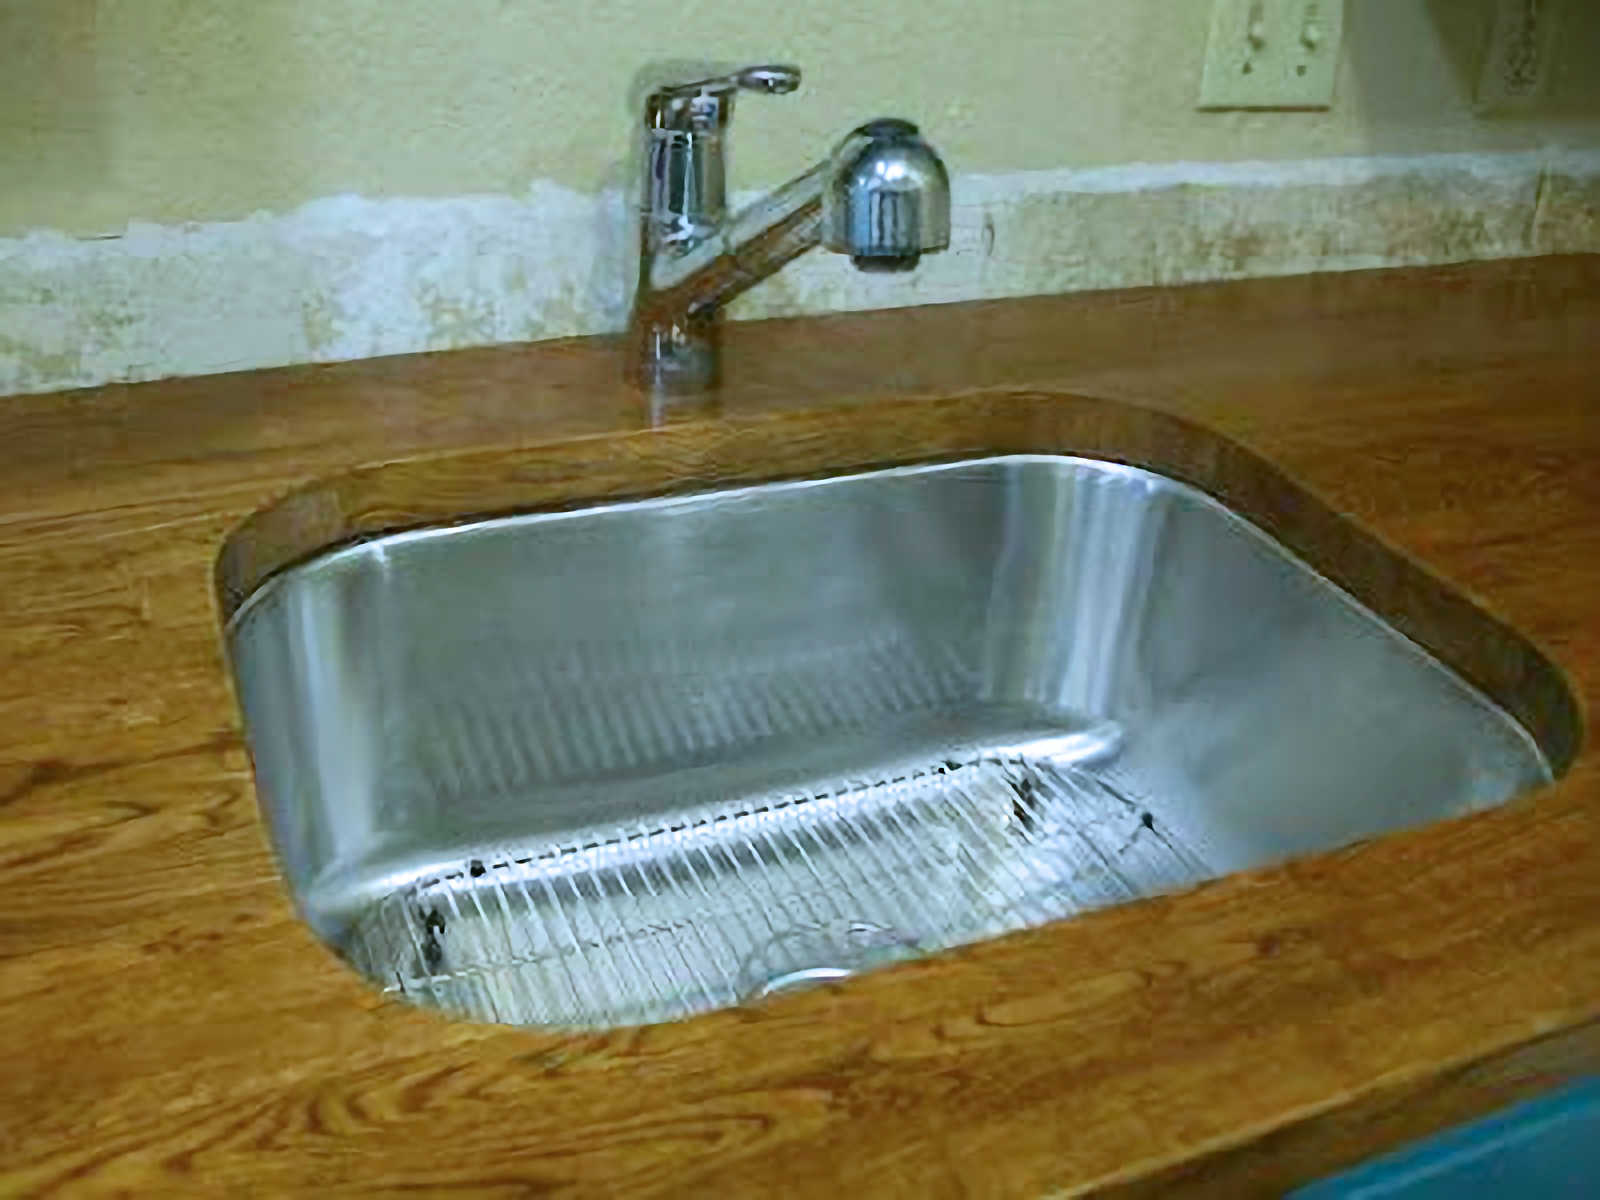
And I’m loving my new sink! Well, okay, I haven’t actually USED my new sink yet, since I still don’t have the garbage disposal/drain hooked up, but I think it’s so pretty…and shiny! And it’s soooo deep!! I went from a sink that was probably six or seven inches deep, to this one, which is nine inches deep, and since it’s an undermount, it actually looks like it’s 10 1/2 inches deep. Now THAT’S no apartment-grade sink, I can assure you!
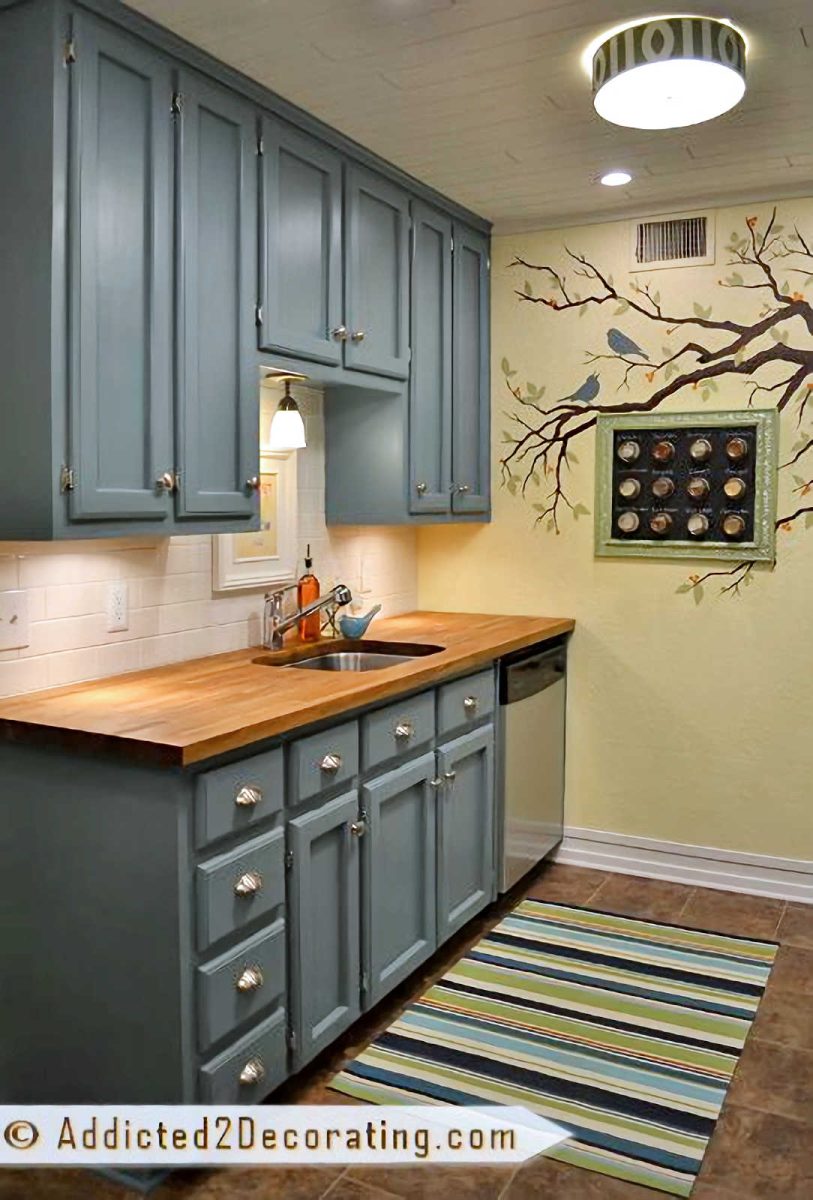
And I also finished one other project…installing undercabinet lighting:
Okay, I seriously need a new camera. I can’t understand how it is that I turn on MORE lighting and the picture gets darker! But believe you me…when all of the lights are on in the kitchen, I feel like I need sunglasses. It’s fantastic!
I went from having two lights in the kitchen–one main light with two bulbs, and a single-bulb fixture above the sink, to now having four recessed lights, one main light (I still haven’t picked out a fixture, but it’ll have at least two bulbs), a sink light, and five undercabinet lights, all in my postage-stamp sized kitchen. And I still have to add the vent hood over the stove, which will also have a light. I love it!
Now if I can just get my cabinet doors and backsplash finished, I’ll be well on my way to having a completed kitchen. That will be such an incredible feeling!!
UPDATE:
I ended up not liking this stain color that I chose (Minwax English Chestnut), so in my attempt to find the perfect and easiest maintenance finish for butcher block countertops, I tried several other things before finding the PERFECT sealer. Here’s what I tried:
- Oak butcher block countertops with Minwax Dark Walnut stain and sealed with Waterlox (click here to see how they looked after about 17 months…not good at all!)
- Oak butcher block countertops stained with Rust-Oleum Ultimate Wood Stain in Early American color, sealed with Rust-Oleum Ultimate Polyurethane in a matter finish
- The absolute best and easiest way to seal butcher block countertops
Want to see other posts about this kitchen?

Addicted 2 Decorating is where I share my DIY and decorating journey as I remodel and decorate the 1948 fixer upper that my husband, Matt, and I bought in 2013. Matt has M.S. and is unable to do physical work, so I do the majority of the work on the house by myself. You can learn more about me here.


Kristi,
I love your blog! I have been following your kitchen progress for a few weeks. Very beautiful!! I am new in the blogging world but really enjoy it. Thanks for making such a fun place to visit!
Alicia
http://lishas-life.blogspot.com/
Every time you post an update I want to run straight to Ikea and get those counter tops! Have you said what you are doing for the back splash? Did you cut the counters yourself?
Alicia, I'm so glad you've joined the blogging world! I'll definitely pop over for a visit.
Lucrecia, if you're in the market for butcherblock countertops, DEFINITELY go with the Ikea countertops!! They're gorgeous and inexpensive. Every time I take a picture of them, I'm disappointed because the picture just doesn't do them justice.
I will be doing a very simple white subway tile backsplash. I'm so anxious to get the backsplash done! The current paint just looks dirty. The white tile will give it a crisp, clean look.
I did cut the countertops myself with a brand new blade in my hand-held circular saw. If I had to do it over again, I would have followed up with sanding with VERY fine sandpaper on my power sander. Instead, I just used used my hand and rubbed some sandpaper over the edges. I got in too much of a hurry.
The only thing I didn't do myself was cut the hole for the sink. I was too nervous to do that, and was afraid of making a mistake, so I called in a pro. Of course, after seeing him do it, I realized that I certainly could have done it myself. I already had all of the tools!
He used a hand-held circular saw for the straight edges, then a jigsaw to cut the rounded corners. He followed by using a rotary sander to smooth the edges and give all of the hard edges a slightly rounded look.
Wow, I love the butcher block countertops! I had no idea Ikea had those! I love your sink too. YOu made a great choice with the single basin. I had this at my old house and i.loved.it. Beautiful!
Beautiful! I think we're going to have to make a trip to our nearest Ikea store to jump right on this project! We're also going the way of the white subway tile backsplash. After a full day of searching online for something inexpensive I finally gave up and took a trip to Home Depot with my husband to pick up something for one of his projects. I decided it wouldn't hurt to take a little jaunt past the tile isle, and wouldn't you know it, they have really cheap white subway tiles, just what I was looking for! We've been piling up on our kitchen items, ie, sink, faucet, new garbage disposal, getting them on clearance and Craigslist. Everythings waiting on countertops! Thanks for the inspiration!
Wow–that's nice! Were your counters pretreated with any finish by Ikea? I've read that some people have had to remove the factory-applied oil before staining and waterloxing their counters. Did you use any kind of wood conditioner before you stained? Finally, what did you use to apply the waterlox? Brush, cloth? Sorry for so many questions, but I would love my counters to look just like yours! Thanks!
Hi Carol~
I complete understand all of the questions. Before I finished my countertops, you wouldn't believe how long I took researching, reading, etc. I was sooo concerned about making a mistake, or having the finish peel off, or just messing up my countertops beyond repair.
I'm sooo happy with the results, though.
On to your questions: I think the Ikea countertops come pre-treated with one application of their oil. I didn't do anything to remove it. I just stained right over it.
I bought pre-stain conditioner, but ended up not using it. When I tested the stain on the underside of the countertop, I realized that the stain went on smoothly without the conditioner.
I applied the first three(!) coats of Waterlox with a cloth. In fact, I cut up one of Matt's old white t-shirts and used that. I finally decided that it was going on too slowly (and too thin), so I used a brush on the last two coats.
Hope that helps. Good luck!
Very helpful–thanks!
I'm just about to install my Oak Numerar and am very tempted to go with an undermount sink, but I'm scared considering the exposure of the end grain to water. How are yours holding up months later? Was the Waterlox enough?
The Waterlox has held up perfectly against water! The only problem I've had was where some lemon juice dripped on the countertop and it sat there for who knows how long, and it affected the color where the drips were.
So, definitely be careful with really acidic stuff. More than likely, you're much cleaner than I am. 🙂 I can be a real slob. But even with that, I've had no problem with water at all.
Now it's almost one year later. Do you still love your countertops? Would you put them in again? What do you NOT like about them? Thanks. This is what I'm considering.
Hi Sarah~
Short answer, yes, I love them and I would use them over again.
However, I've learned that it's important to be careful with acidic stuff. I think I got fresh lemon juice on my countertop and didn't wipe it off for a couple of days (yes, that means I didn't clean my kitchen for a couple of days…I know, I know), and it bleached a couple of spots on the countertop. I still haven't fixed it, and I'm not even sure how to go about it when I do.
But anyway, I know that acidic stuff can dull even granite countertops (although the fix is easier with granite), so it stands to reason that it will damage wood countertops if not cleaned up within a reasonable amount of time.
Other than that, I absolutely love them. And really, that was my fault. I mean, there's no excuse for me not cleaning that up for two days. My messiness gets me into trouble sometimes. 🙂
Love your blog. Just stumbled upon it researching Ikea countertops for what seems like a buzzillion days. Did you use the oak or beech? Looks like oak but hard to tell. What stain did you use? I know you touched on it but did you stain then waterlox or stain and add stain to waterlox? thanks in advance
I used the oak, but if I had to do it over again, I'd use beech because it seems to have less grain.
The stain I used was regular 'ole Minwax from Home Depot. I've actually refnished my countertops since this post. The first time I did it, I stained the countertops, and then used the Waterlox on top. The second time, I added stain to the first coat of Waterlox, and then used plain Waterlox on subsequent coats. Either way seems to work just fine. I think it depends on how dark you want the countertops. If you want them really dark, then it's best to use the stain separately, get them the color you want, and then use plain Waterlox on top. If you're just wanting to add one layer of stain, then you can add it in with the first coat of Waterlox. Just be sure to do a test on a scrap piece or on the bottom.
Hope that helps!!
It really nice to see articles that features improvement in kitchen. I really love what you did with your sink and faucets but I think it will be cooler if the walls are painted white.
It really nice to see articles that features improvement in kitchen. I really love what you did with your sink and faucets but I think it will be cooler if the walls are painted white.
I'm just about to install my Oak Numerar and am very tempted to go with an undermount sink, but I'm scared considering the exposure of the end grain to water. How are yours holding up months later? Was the Waterlox enough?
Very helpful–thanks!
Wow, I love the butcher block countertops! I had no idea Ikea had those! I love your sink too. YOu made a great choice with the single basin. I had this at my old house and i.loved.it. Beautiful!
Just found your blog from "Under the table dreaming." I'm planning on going the IKEA butcherblock countertop rout as well, but I've been told that the undermount sink with butcherblock is a huge risk. If you don't mind me asking, have you had any problems with your undermount sink or water damage around it?
Thank you!
Caitlin, I haven't had any problems at all!! I just sealed around the sink area really well with Waterlox, and the installed the sink with epoxy and then undermount sink clips with wood screws.
Wonderful! Thanks for the quick reply! 🙂
I love your new countertop;
me and my husband are currently re-decorating our kitchen and have been looking
online for ideas on what to do for my kitchen. I've always been a fan of wooden
countertops and because yours looks beautiful I feel I may have to do the same,
I want to thank you for your blog, it's great for inspiration.
Hi Kristi!
Your Numerar is really gorgeous…I just got my Numerar installed last week & my husband been treating it with Behandla ( oil tung treatment from IKEA). He did applied sand paper the most fine one before he applied that too. Before he applied the Behandla, the surface seems smooth enough but after 3 layers of Behandla applied the Numerar surface seems a bit rough now with all the grains from the oak came out.
I definitely freaked out to see the surface is a bit rough with all the grains start to coming out. Did you applied sand paper to your Numerar before applied the Waterlox sealer?
Thanks
Nadia
Yes, I sanded it. That's the great thing about these countertops! You can sand and refinish as many times as you want!
Thanks Kristi for the super duper reply….
Mind asking what grit of sand paper you used?…My husband is using 1000 as recommended by the hardware store he said… Did you sanded in between coats or just before the first coat?…Thanks (again) in advanceNadia
1000-grit sandpaper? I've never even heard of such a thing! Seems like that would be about the equivalent of using a brown paper bag, which wouldn't do much on oak. I used 150 at first, and then finished with 200.
1000-grit is the most fine sand paper u can find…as u suggest using 200, my husband is using 1000 which is 5 times more fine that suggested one…anyhow, it's good to know the correct thing… my husband will be grateful with the info…hehe…
Thanks a lot Krista….real appreciate for quick reply…Happy blogging!
I just purchased Granite Countertops for my kitchen. I can not believe the transformation! It gives the whole room a new look, I could not be happier!
I don't think that yellow wall pain goes well at all with the cabinets and the countertop. I think the kitchen could use a lot of work on it.
Of course it could use a lot of work. It was IN THE MIDDLE of a remodel. For some reason, I thought that was clear in the pictures. And that was the original wall color that was there BEFORE the remodel started.
I am truly thankful to the holder of this website who has shared this impressive paragraph
at at this place.