Ideas For Dressing Up My IKEA Veddinge Cabinet Doors & Drawer Fronts
After having a bit of a setback with the painted studio floor, I’m back on track and almost finished with the floor. I’m not quite sure which project I’ll take on next in the room, but I can tell you which project has been consuming my mind over the last couple of days — adding trim and paint to my IKEA Veddinge cabinet doors and drawer fronts. I’m so anxious to get to that project!!
I bought the Veddinge cabinet doors and drawer fronts specifically because I was planning on painting them a custom color, and I wanted the freedom to add trim in any configuration that I wanted. And if I remember correctly, the Veddinge was the cheapest option, which made it the perfect option for a DIYer like me to add custom touches.
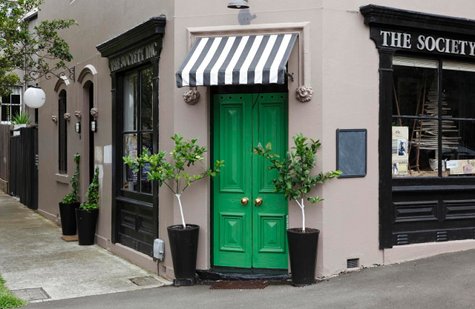
Right before I ordered my cabinets, I came across this picture that I plan to use as inspiration for the design of my studio cabinets. — this blue built-in bookcase with gold accents from Kristie McGowan.

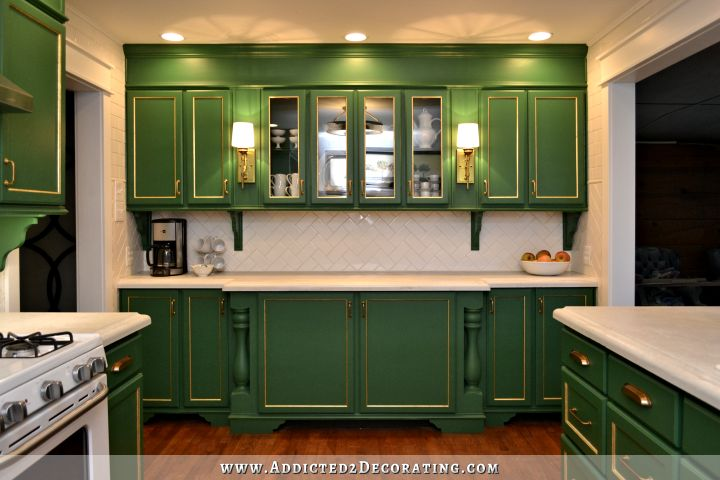
I love the simple trim on the cabinet doors, and how it’s echoed in the frame around the upper open shelves. And those gold accents are perfect! I do love gold with cool colors, like that blue built-in, or my original green cabinets in this house.
Gold just seems to work perfectly with cool colors. I’m not sure how I feel with gold accents on warm colors, like the pink that I plan to use on my studio cabinets. Right now, I’m almost 100% sure that I’ll be using the darker pink below, which is called Tuberose by HGTV Home Sherwin Williams from Lowe’s.

Warm colors seem to work better with silver accents in my mind, but I don’t do silver accents. (I had enough of those in the 80’s, 90’s, and early 00’s.) So I do plan to bring back the gold leaf (that will take me back to the days of the original kitchen remodel) and give it a try on the Tuberose cabinets. It may or may not work. We’ll see.
But as far as adding trim, I had planned on just buying small wood trim from Home Depot, gluing/nailing it onto the cabinet doors and drawer fronts, then doing my typical wood filling, sanding, and caulking before painting everything. And I still might do that. It would definitely be the cheapest way to achieve the look I want, and I’ve had plenty of experience with it. After all, I made slab doors for the cabinet in the hallway, and then added trim to the front in the exact way I’m describing.
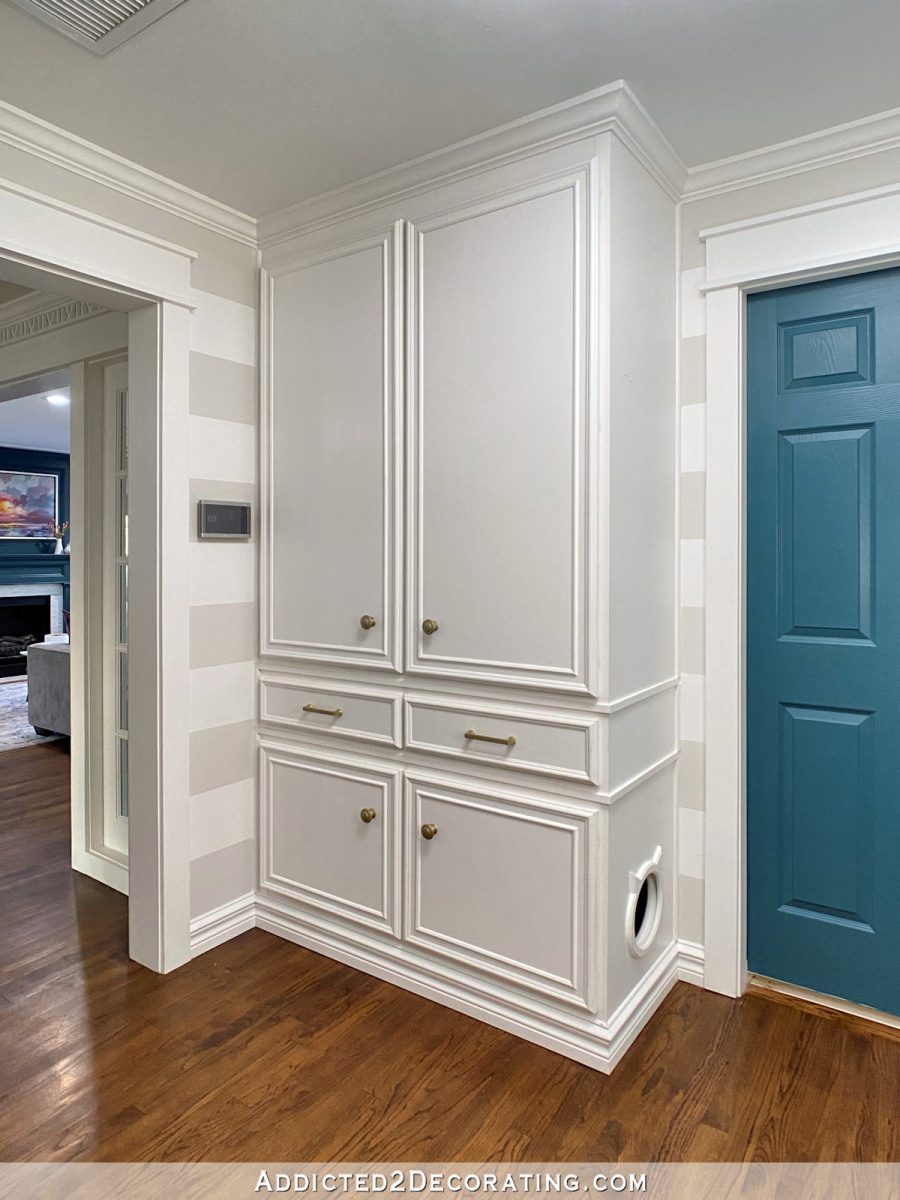
And then I also did the same thing on the pantry cabinet doors and drawer fronts…

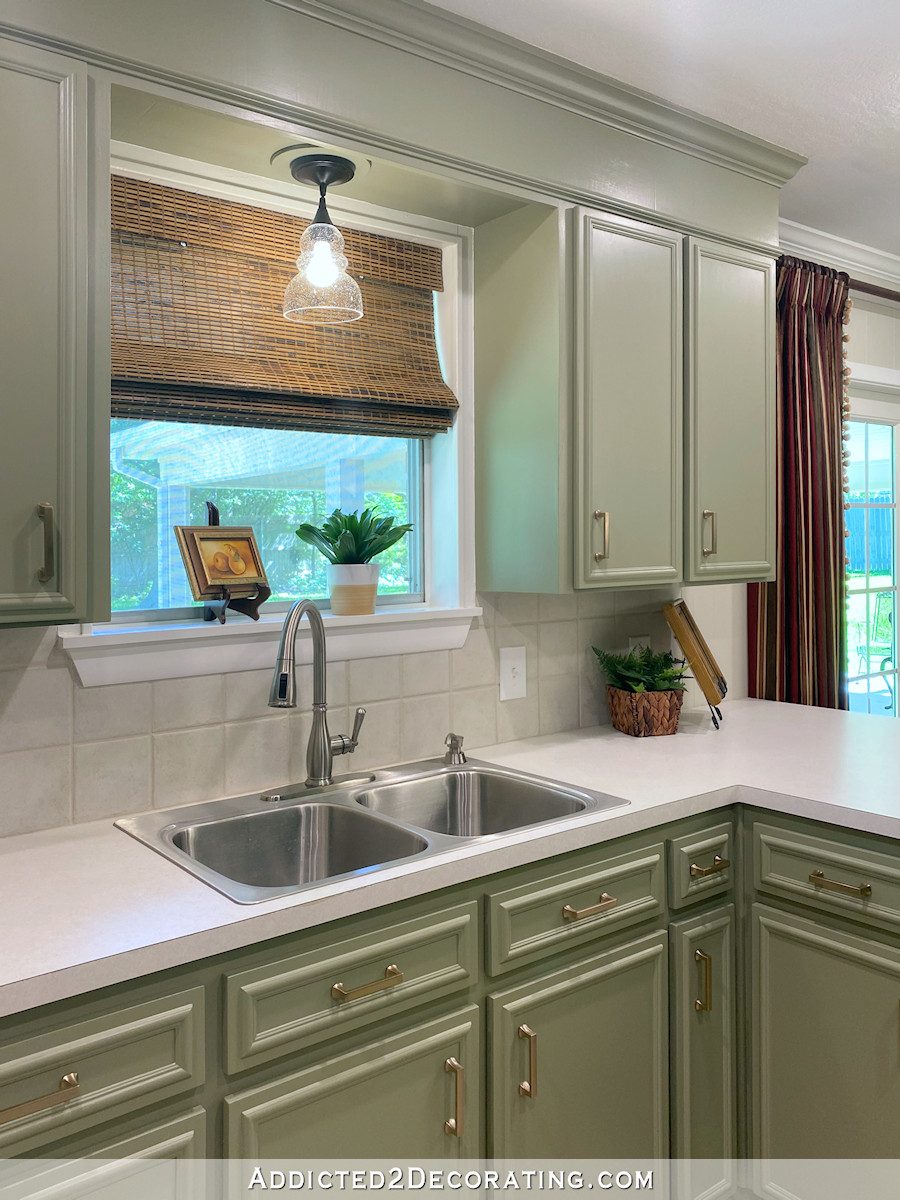
And I also did that in my mom’s kitchen when she and I worked together to makeover her kitchen. I made new slab doors and drawer fronts to replace the originals, and added trim to the front.
So that’s what I’ve been planning to do with the IKEA cabinet as well, and I very well may still do that. Like I said, it would be the most economical options.
I will admit that when I opened up the boxes of the IKEA doors and drawer fronts, I immediately got a little nervous about nailing trim to the fronts. The finish on these is so perfect and smooth! I don’t know if you can tell from a picture, but there’s not a flaw to be seen in the paint finish on these.

That finish is so perfect that I started to wonder if it was actually a plastic laminate, and putting nails (even tiny finish nails) into plastic laminate can be tricky business. It can crumble the laminate, especially if it’s cheap plastic laminate. But I double checked, and in the “materials” section of the product description on the IKEA website, it doesn’t mention anything about plastic laminate. It says they’re made out of fiberboard, polyurethane paint, and acrylic paint. So I should be fine putting tiny finish nails into it.
But there’s another option that I’ve been considering, and that’s Overlays. I remember seeing these for the first time several years ago, and then I completely forgot about them until they randomly appeared in my Instagram feed just recently. They’re basically laser-cut PVC designs that are cut to the exact size you need, and that adhere right to the door and drawer fronts. Here’s an example from their website:

I don’t want anything that intricate. I still want a simple frame design. But if I bought those, it would allow me to avoid having to put any finish nails into the doors and drawer fronts. And it sure would be a lot faster! AND they would be perfect. Lasers can cut things with absolute accuracy that my DIY attempts can’t compete with.
Plus, I love trying new things, and this is a product that I’ve wanted to try for many years, but have never had (or made) the opportunity. So this might be a fun change of pace. I haven’t priced it yet. I’ll be curious to see how the price compares to purchasing unfinished trim and doing it myself. I’m sure Overlays would cost many times more than buying unfinished trim, but it might be worth it if I can save a ton of time! We’ll see, but it’s a fun idea to consider.

Addicted 2 Decorating is where I share my DIY and decorating journey as I remodel and decorate the 1948 fixer upper that my husband, Matt, and I bought in 2013. Matt has M.S. and is unable to do physical work, so I do the majority of the work on the house by myself. You can learn more about me here.

I hope the overlays are cost effective, I love that idea!! I saw something similar years ago for walls.
I agree. Fun to try something new and sure hope it’s affordable.
Ooooh the overlays look fun! I just seen a DIY’er on Insta, can’t remember her name or I would surely tag her, but she used 12 x 12 overlays (not custom) on her office ceiling for a textured effect paired with crown mouldings and small chandelier…all painted a pewter piney green, so chic! So I do like the idea of trying something new! But I also work in a metal fab shop, we farm out work to be laser cut and it can get pricey!
Wow! You are the Queen of millwork! I swoon over every cabinet you’ve built!! That said, these Overlays you featured (and should be paid to do so) are just the trick for an all thumbs, no talent retiree. I’m definitely pinning and bookmarking ideas so I can redo the 1980s vanity in our house.
I think those overlays look really cool.
Overlays sound great!
Love the look of Overlays! You can’t go wrong!
If you do the overlay, will it be painted. If so why not get embossed wallpaper. There are so many different designs to choose from. Less intricate work for you but gives you an overlay look. Whatever you do it will look great.
There’s no embossed wallpaper that will give me the frame look of the inspiration photo that I’m going for, and definitely not in the custom sizes that I need.
Instead of gold leaf I suggest you use gold foil. Not messy like gold leaf and super easy to do.
Have you considered black accents instead of gold? I think that would look fabulous on your cabinet doors. Keep up the good work.
Overlays seems like a very cool option! They don’t seem too pricey either, which is perfect. I checked out their designs and they have a Greek key design that I remember you doing in a curtain panel? The panels are hacked for Ikea cabinet fronts, too. I hope you try this, as I will be following closely to check out your process.
I love the Overlay idea. Anything that saves time, and effort. As long as it’s cost effective. I will have to check these out. Good luck! I just know that whatever you decide, will look absolutely amazing.
Dresser reminds me of the cut out doors in the piano room! Love it