Simple DIY Cabinet Doors (Make Cabinet Doors With Basic Tools)
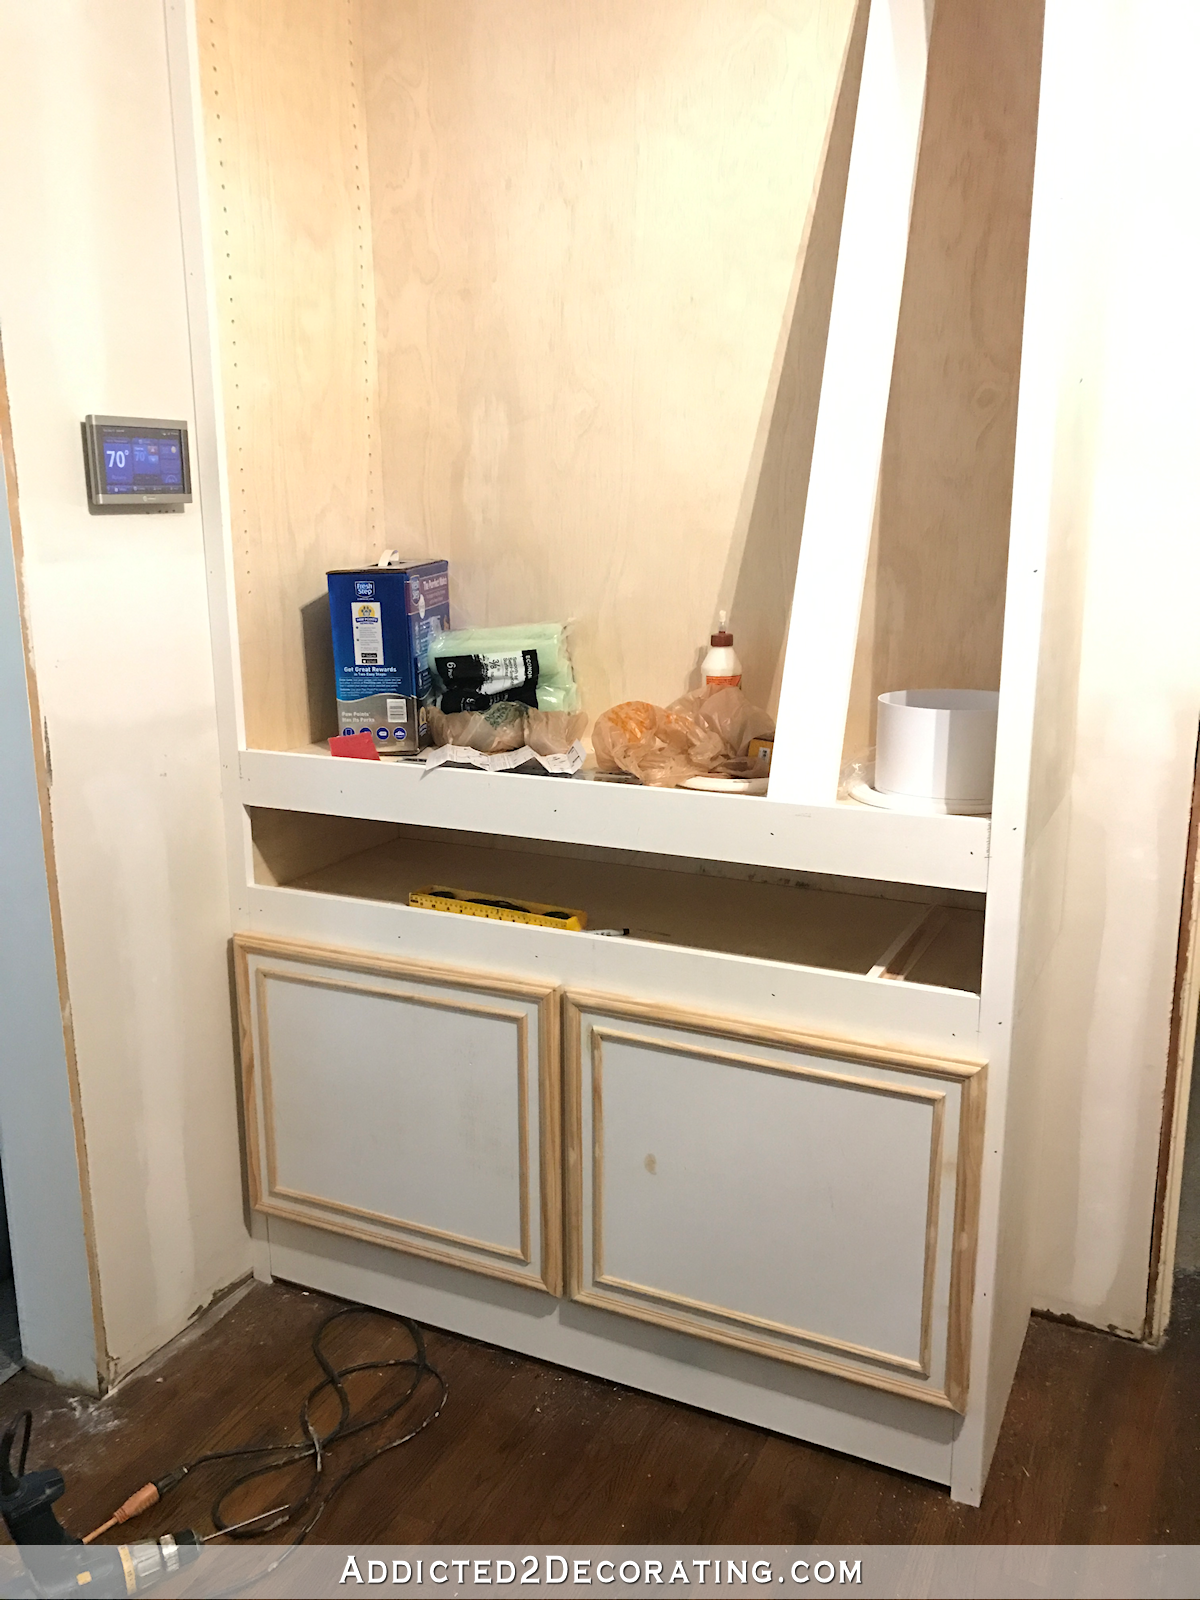
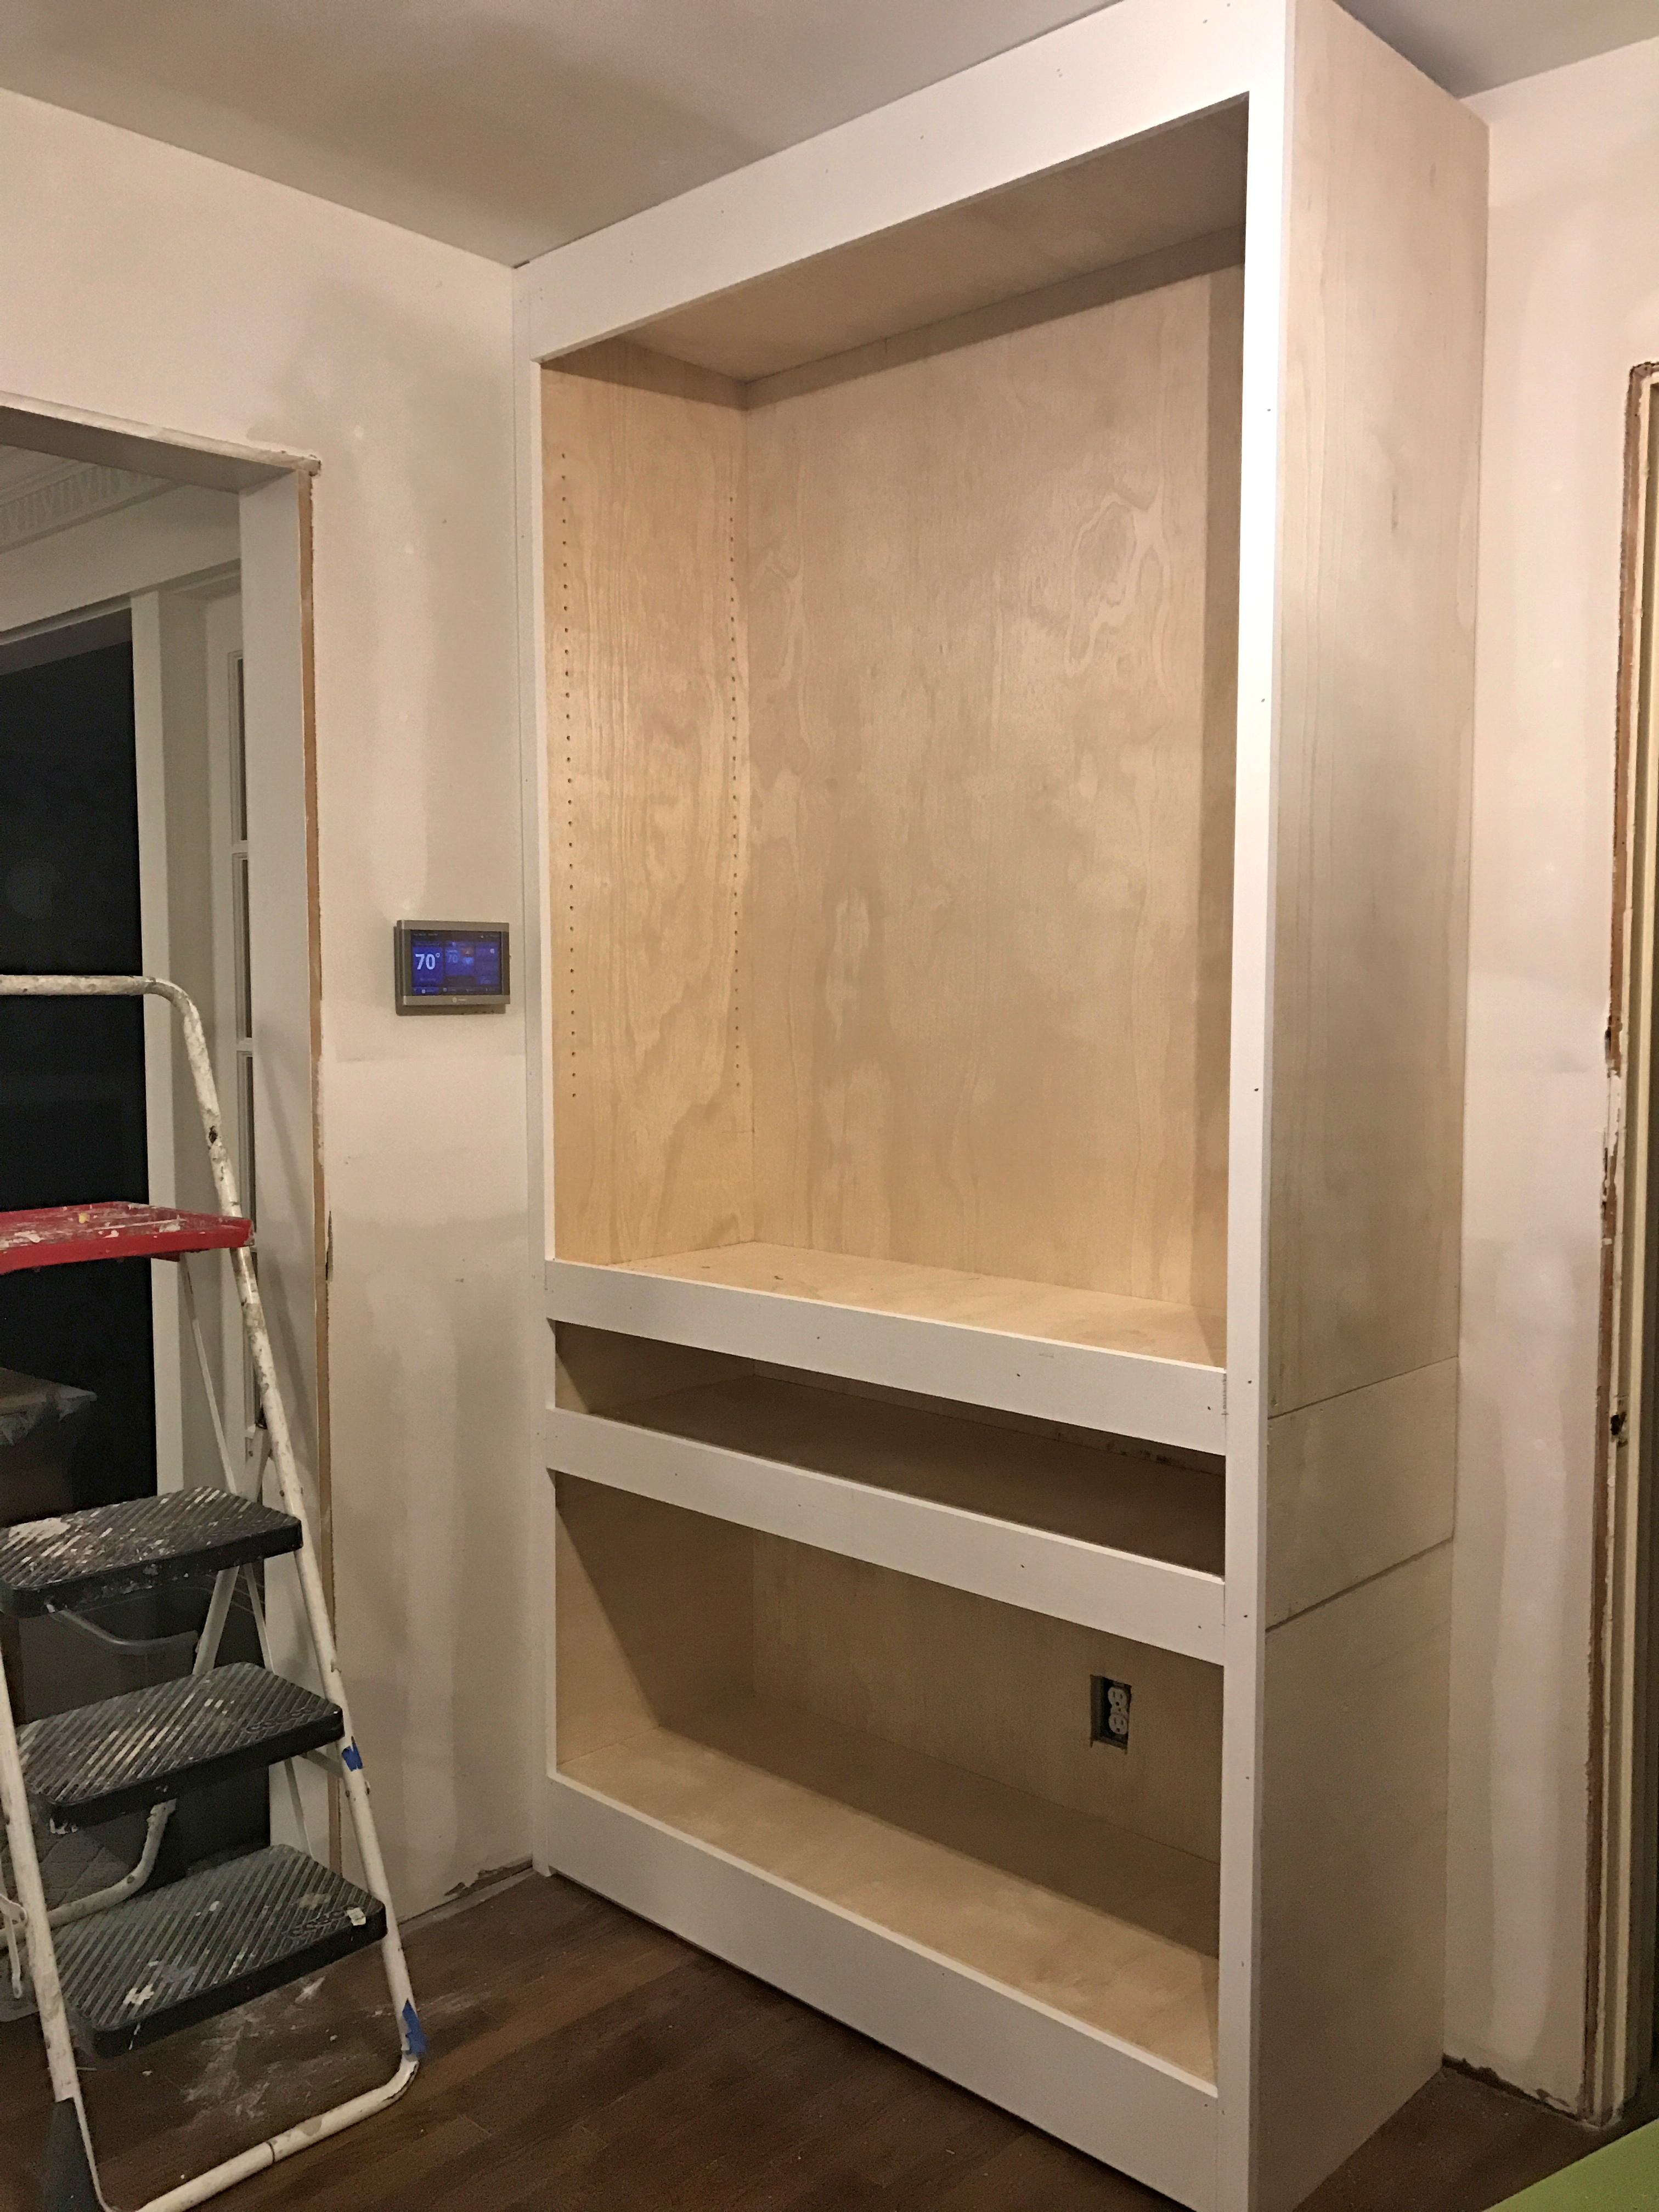
My hallway cabinets are still under construction. If you missed Part 1 of this project, you can see it here:
I contemplated purchasing custom cabinet doors for my hallway cabinets, just like the replacement doors I purchased for my kitchen. But the last order I placed took about six weeks to get here, and I didn’t want to wait that long. So I decided to make my own DIY cabinet doors this time.
After watching several “how to make cabinet doors” videos on YouTube, I started feeling overwhelmed. They all used tools that I don’t have, and tools that I didn’t feel like purchasing and learning how to use just for four cabinet doors. So I decided to bring back one of my old DIY projects from the condo days, and improve upon it just a bit.
When we lived in the condo, I did a makeover in the hallway bathroom that included some new cabinet doors and drawer fronts for the vanity. I found a way to make them with just the basic tools (miter saw, nail gun) that I already owned. Here’s how those doors turned out…
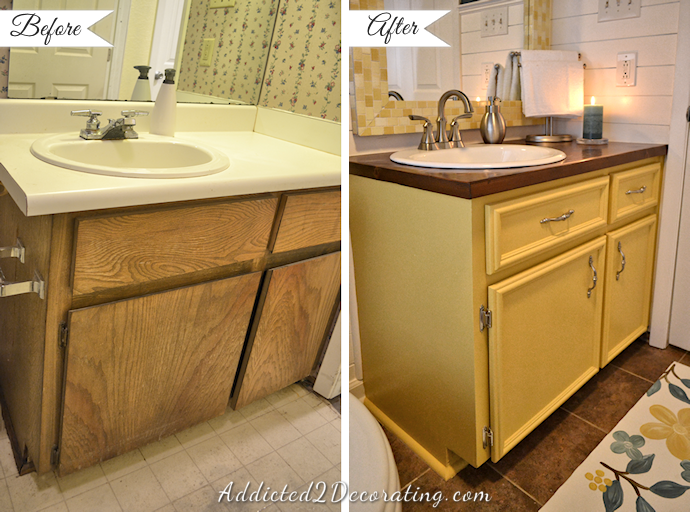
If you missed that project, you can see it here:
And if you missed the whole before and after bathroom makeover post, you can see it here:
I was very proud of those doors and drawer fronts, but I thought they could be improved upon just a bit. First, I used 1/2″ plywood for those, and and they felt a bit too lightweight. And then I used exposed hinges, which look a bit dated to me.
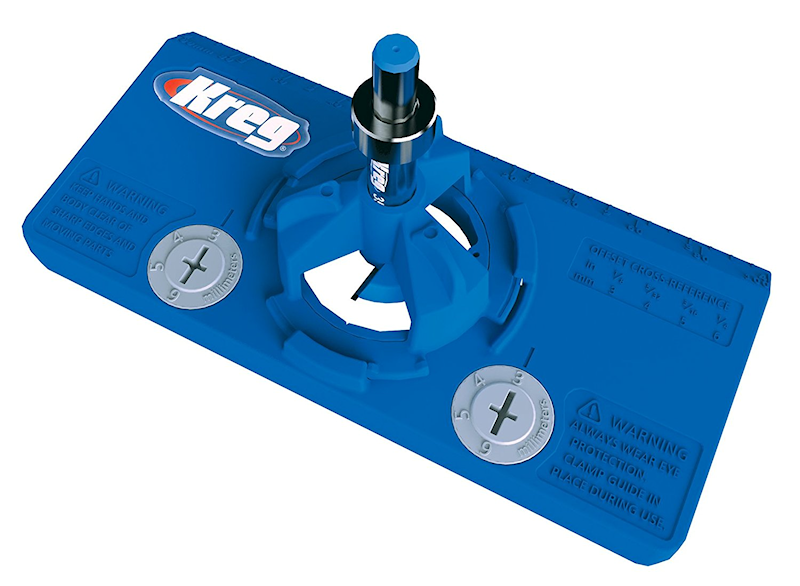
So I improved upon that idea for my hallway cabinets by using 3/4″ plywood for more substantial doors, and I also used a Kreg concealed hinge jig (which I purchased here) to drill the holes for the concealed hinges…
Granted, that’s not a basic DIY tool that all DIYers have, but at just over $20, it’s not going to break the bank. And if I had ordered custom doors, they would have charged me $20 ($5 per door) extra to drill the hinge holes.
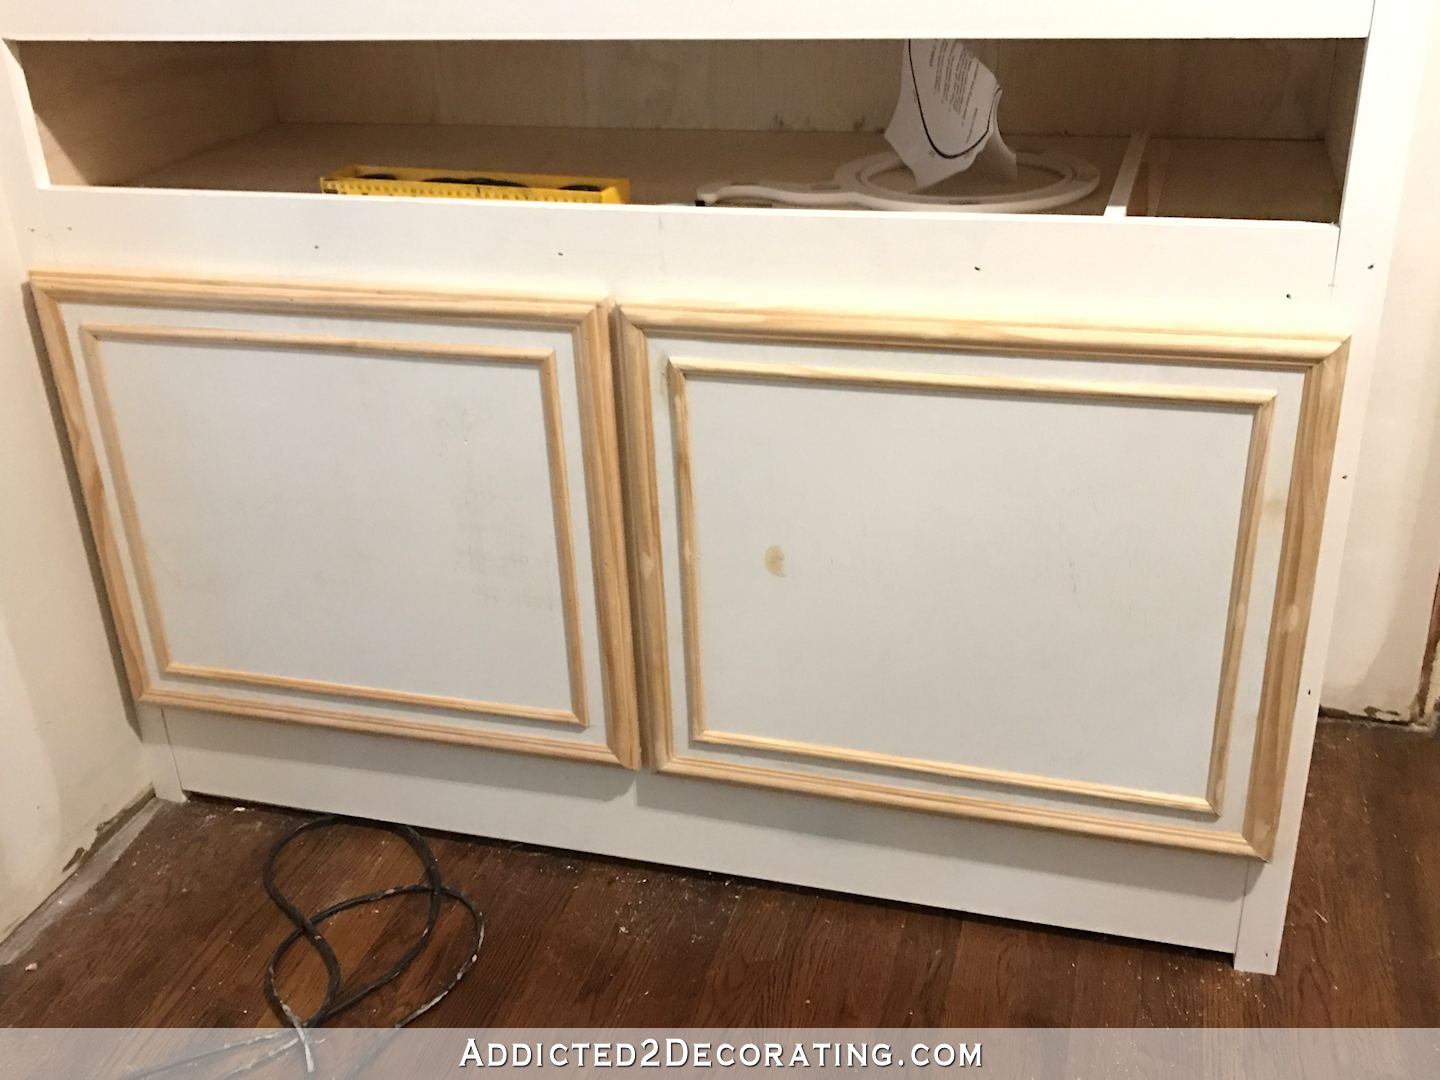
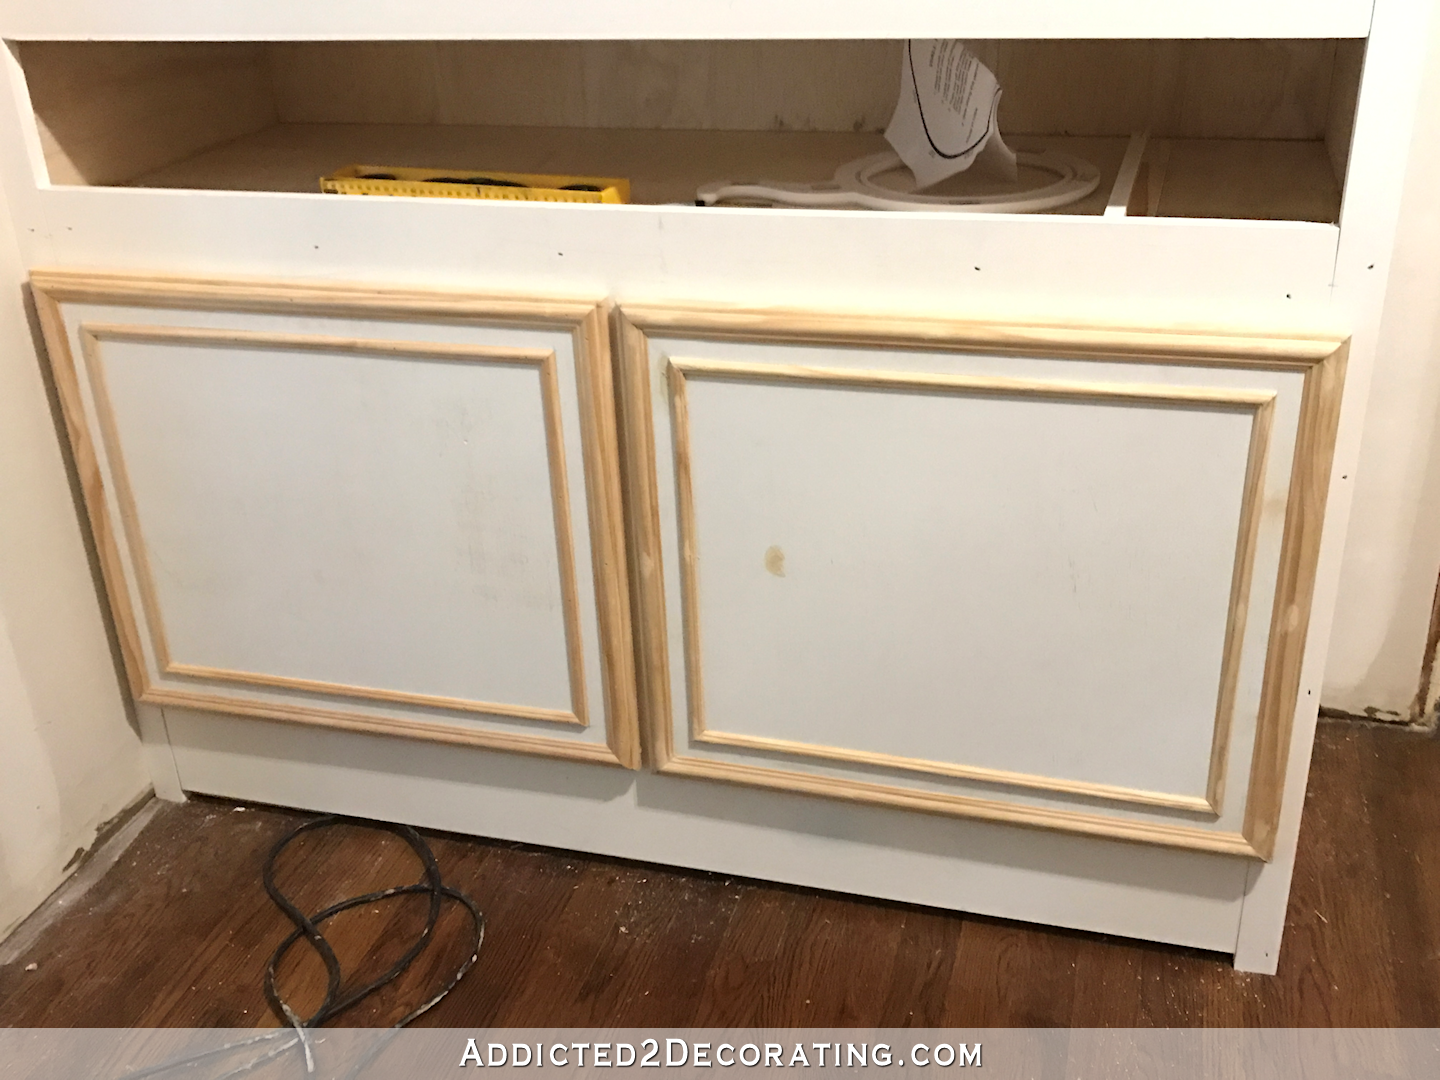
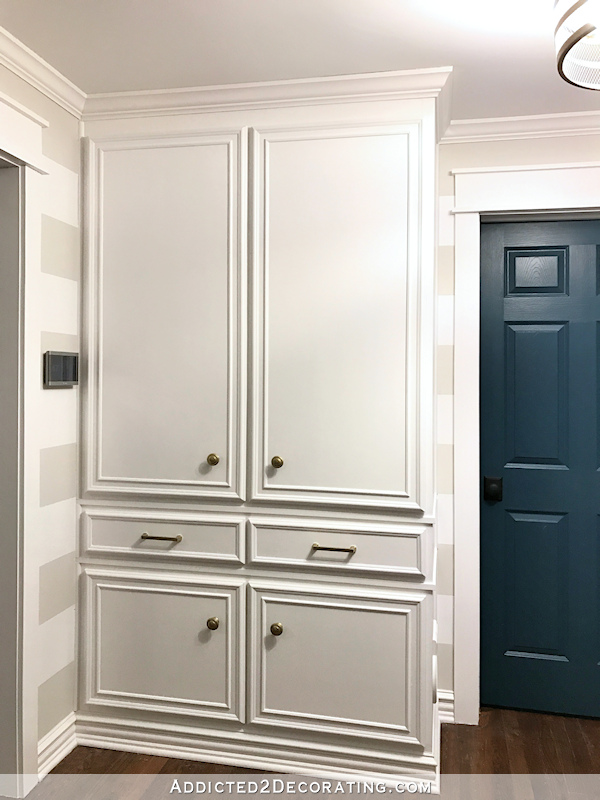
Here’s how my (currently unsanded and unpainted) cabinet doors turned out.
I’m still working on the drawer front and the upper doors, but let me show you how I made these doors.
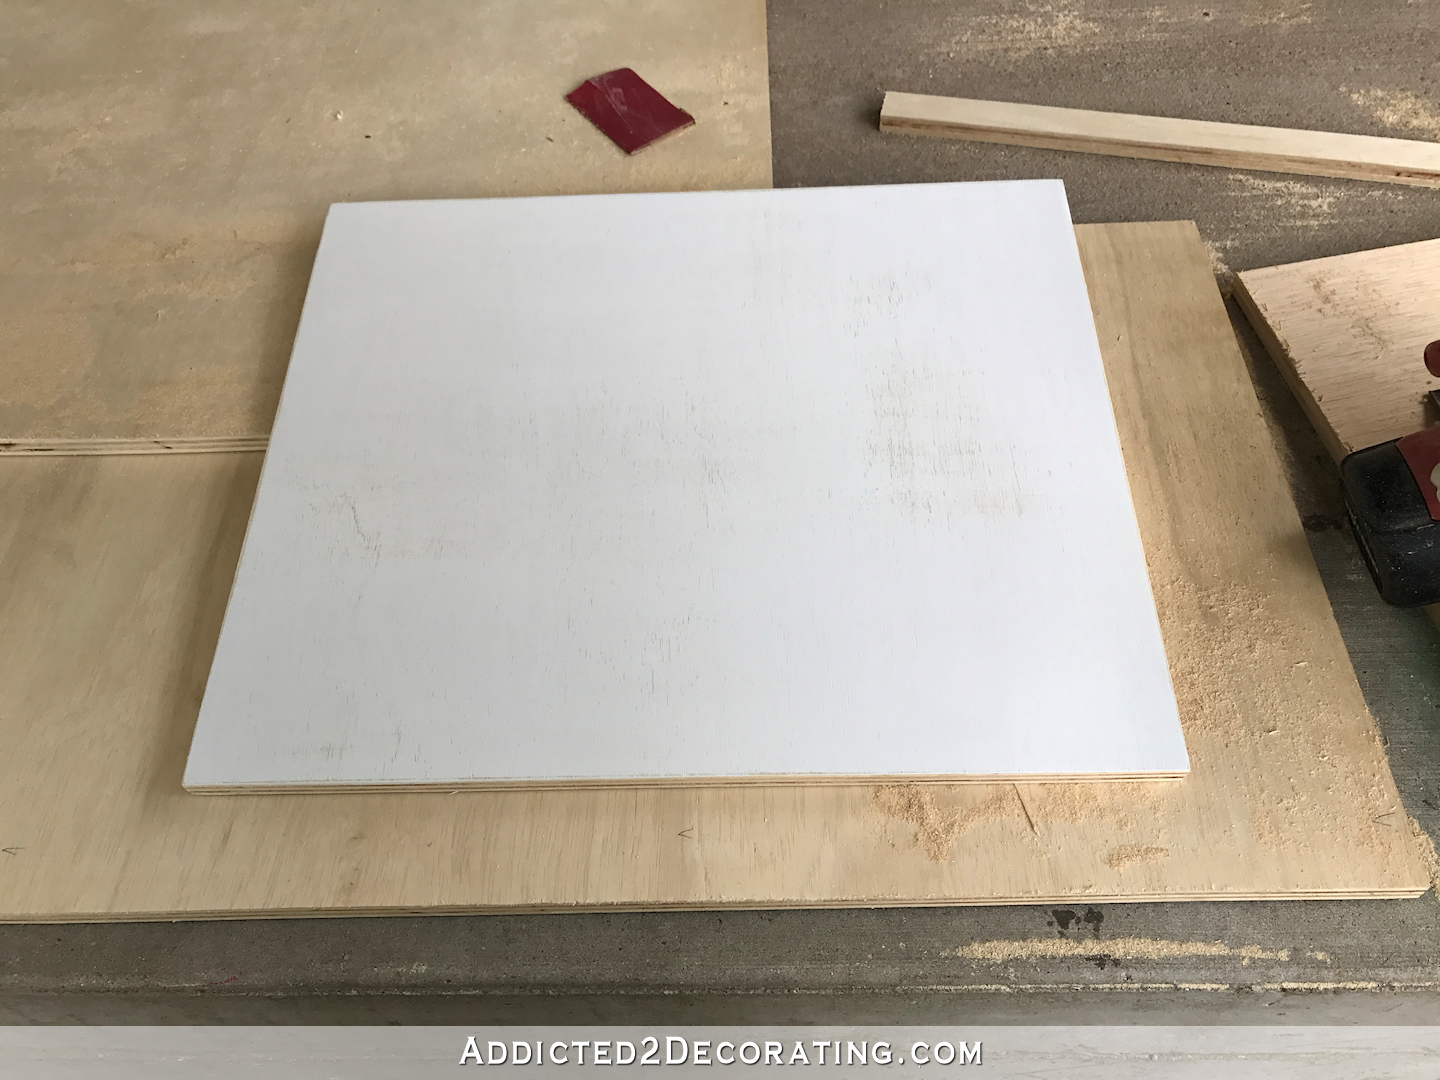
I started by cutting my 3/4″ plywood to the desired size (door opening plus 1/2″ inch, since I’m using 1/2″ overlay hinges, and the trim I added in the next step adds another 1/2″ inch to the width and height). Then I put two coats of primer on the front, let it dry completely, and sanded it smooth.
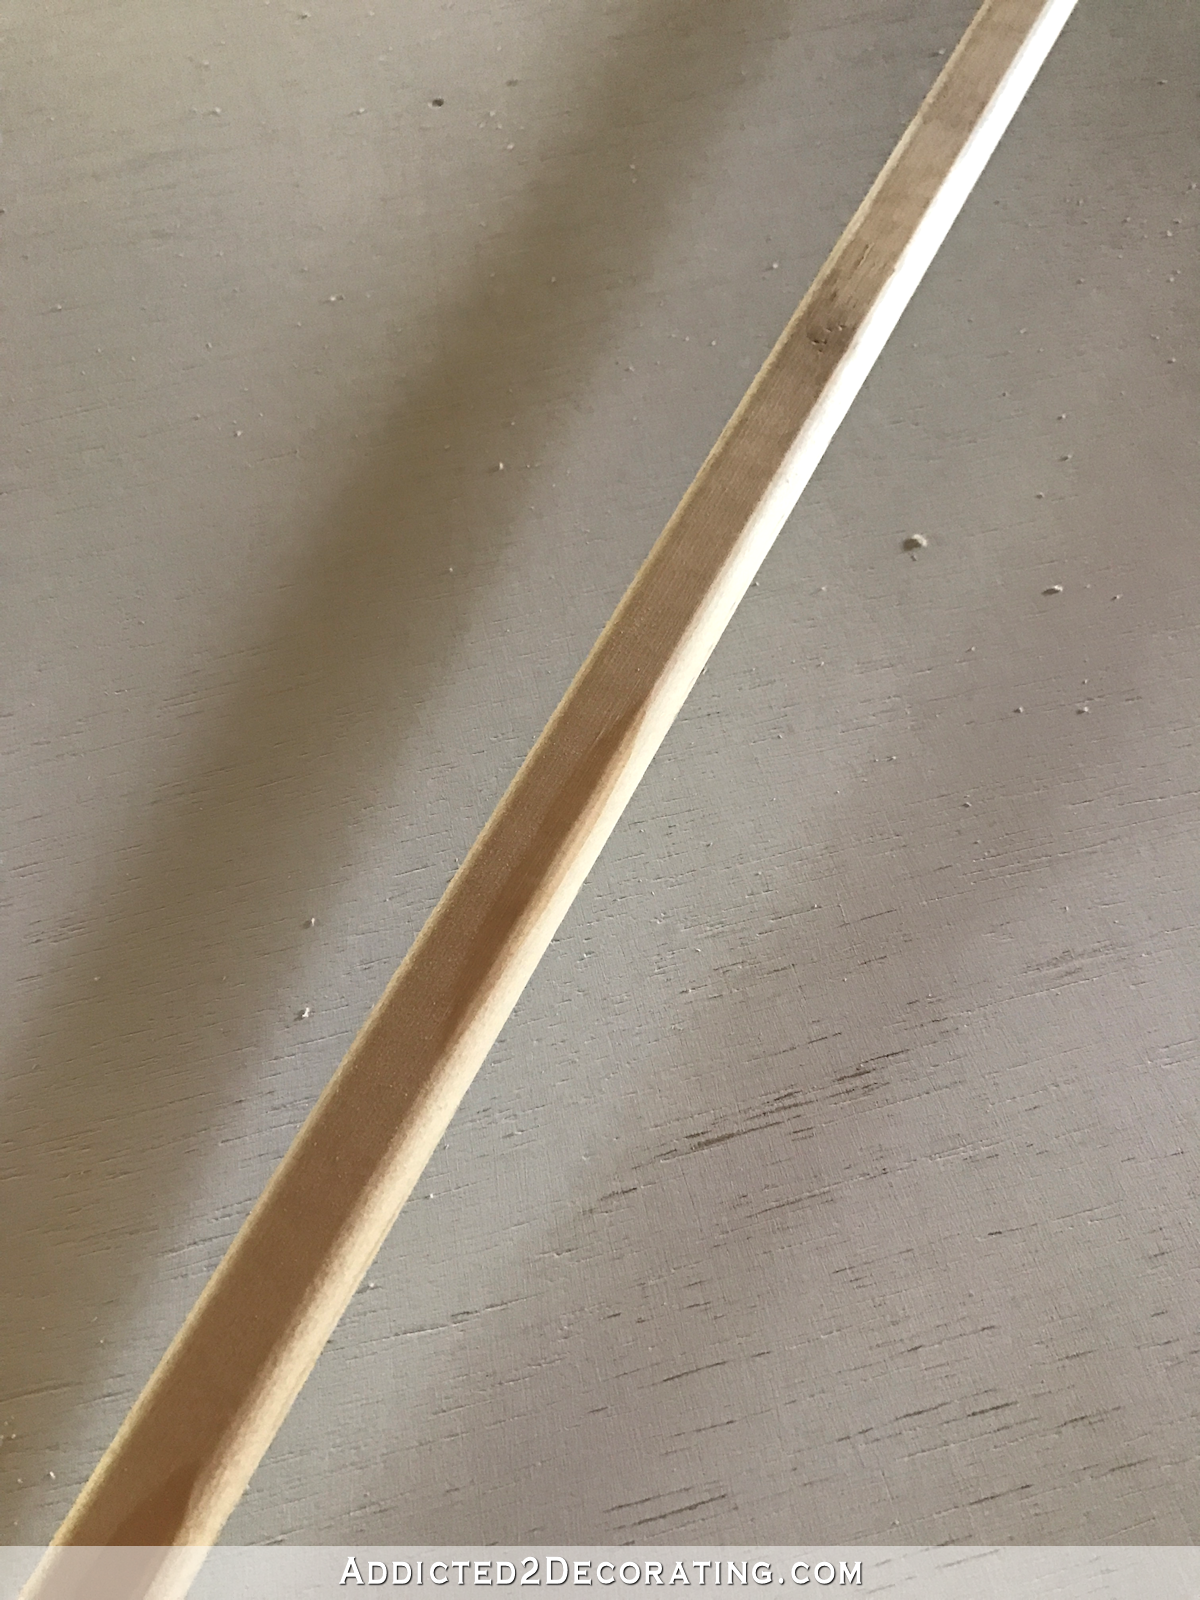
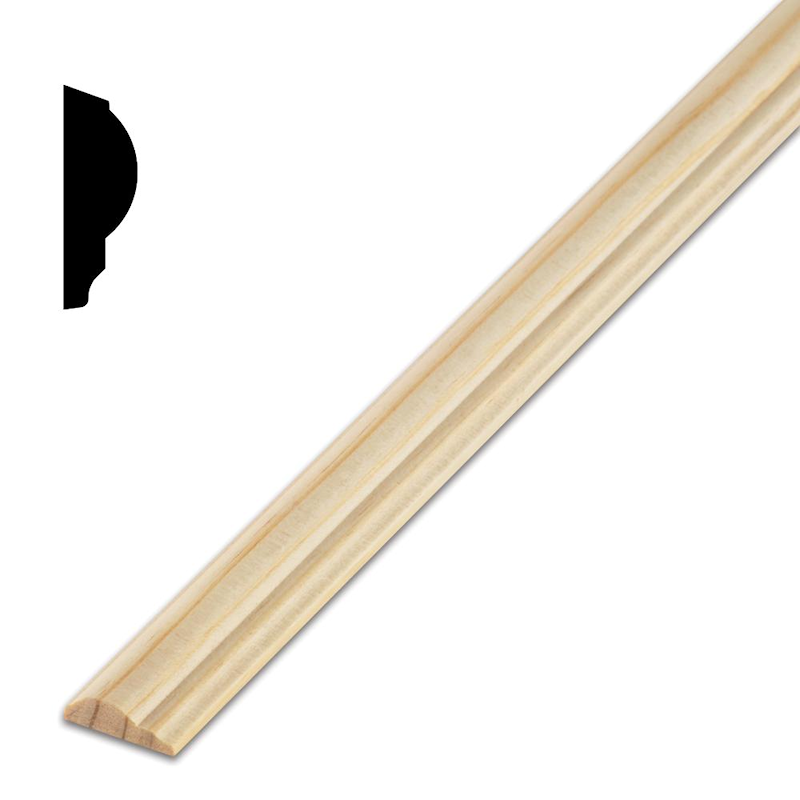
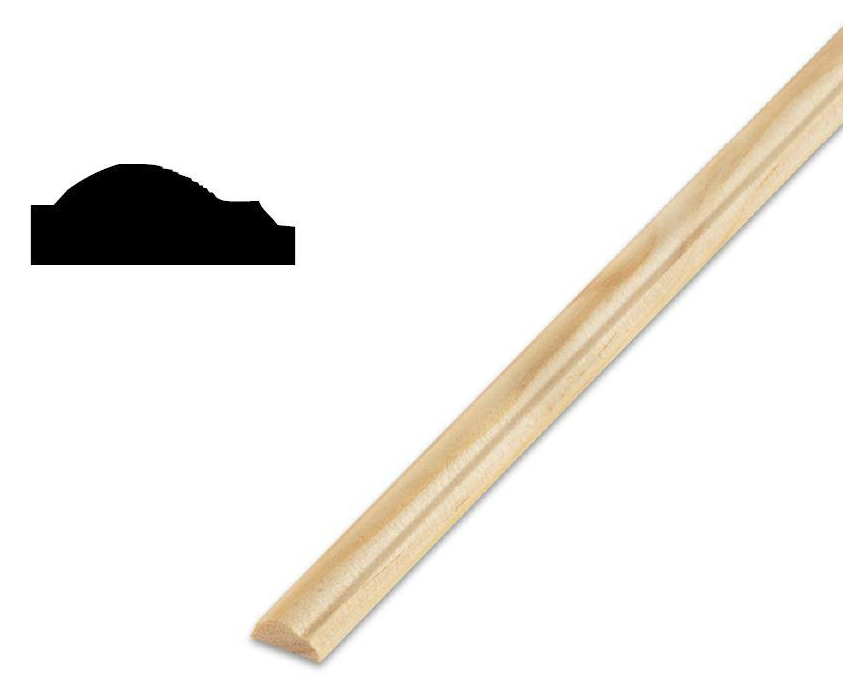
Next, I used screen moulding, purchased from Home Depot and sold by the foot. It looks like this…
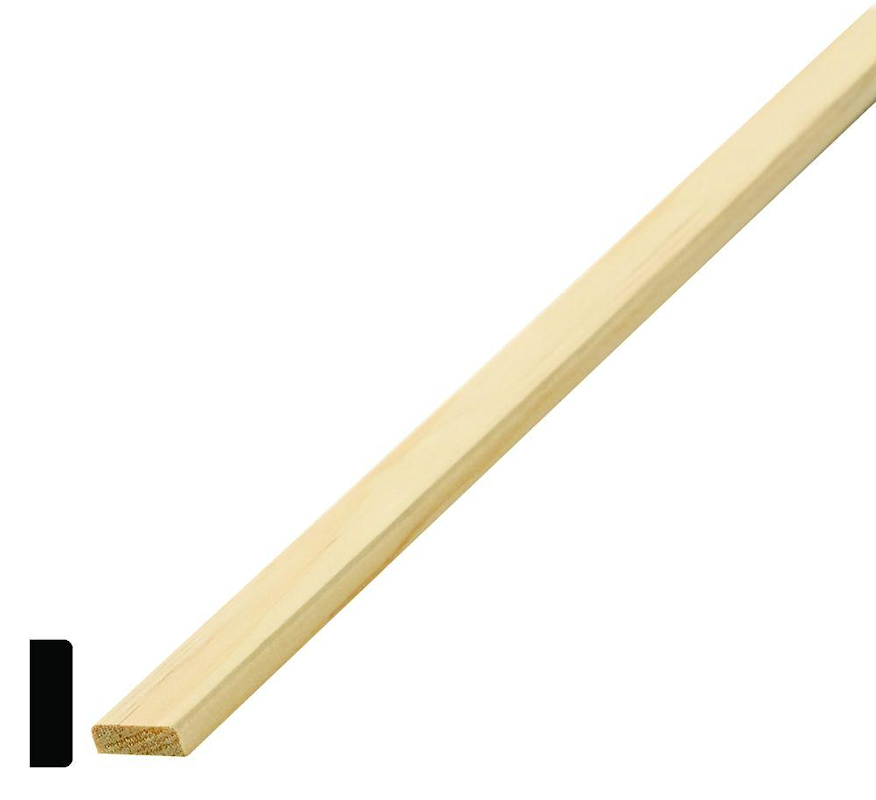
Here’s the image from the Home Depot website…
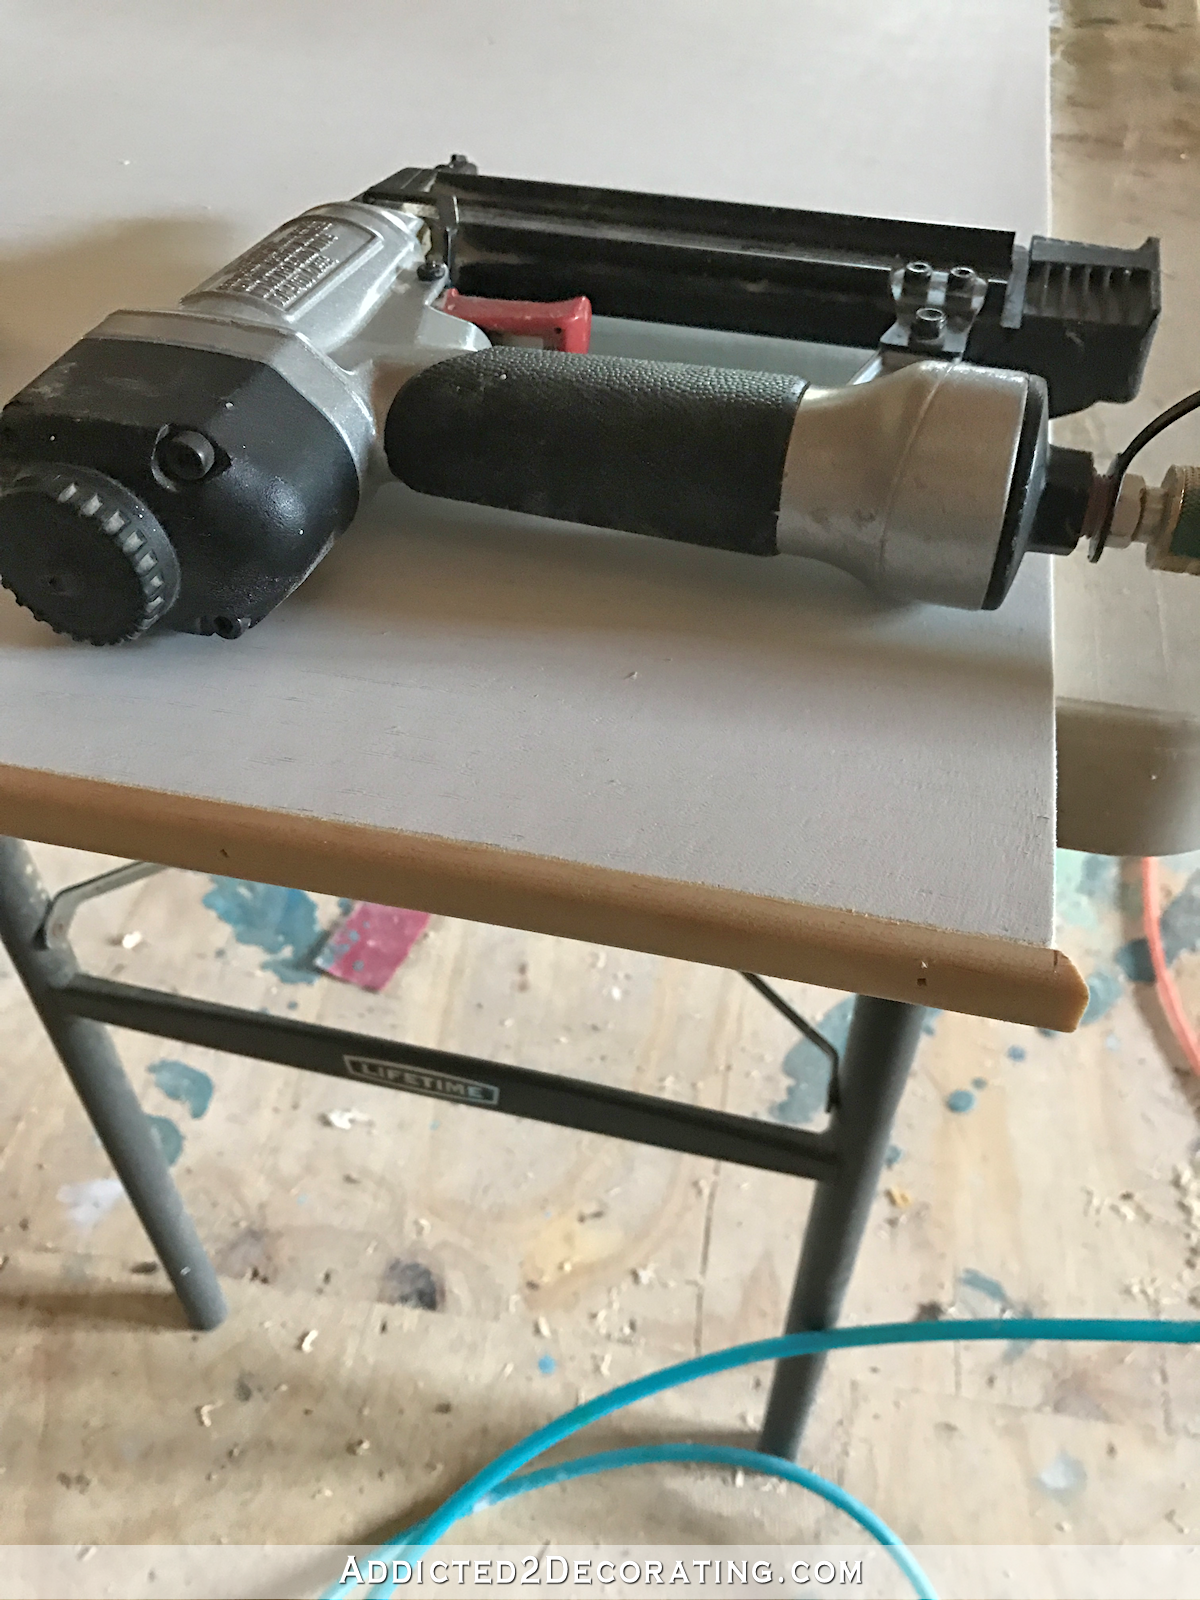
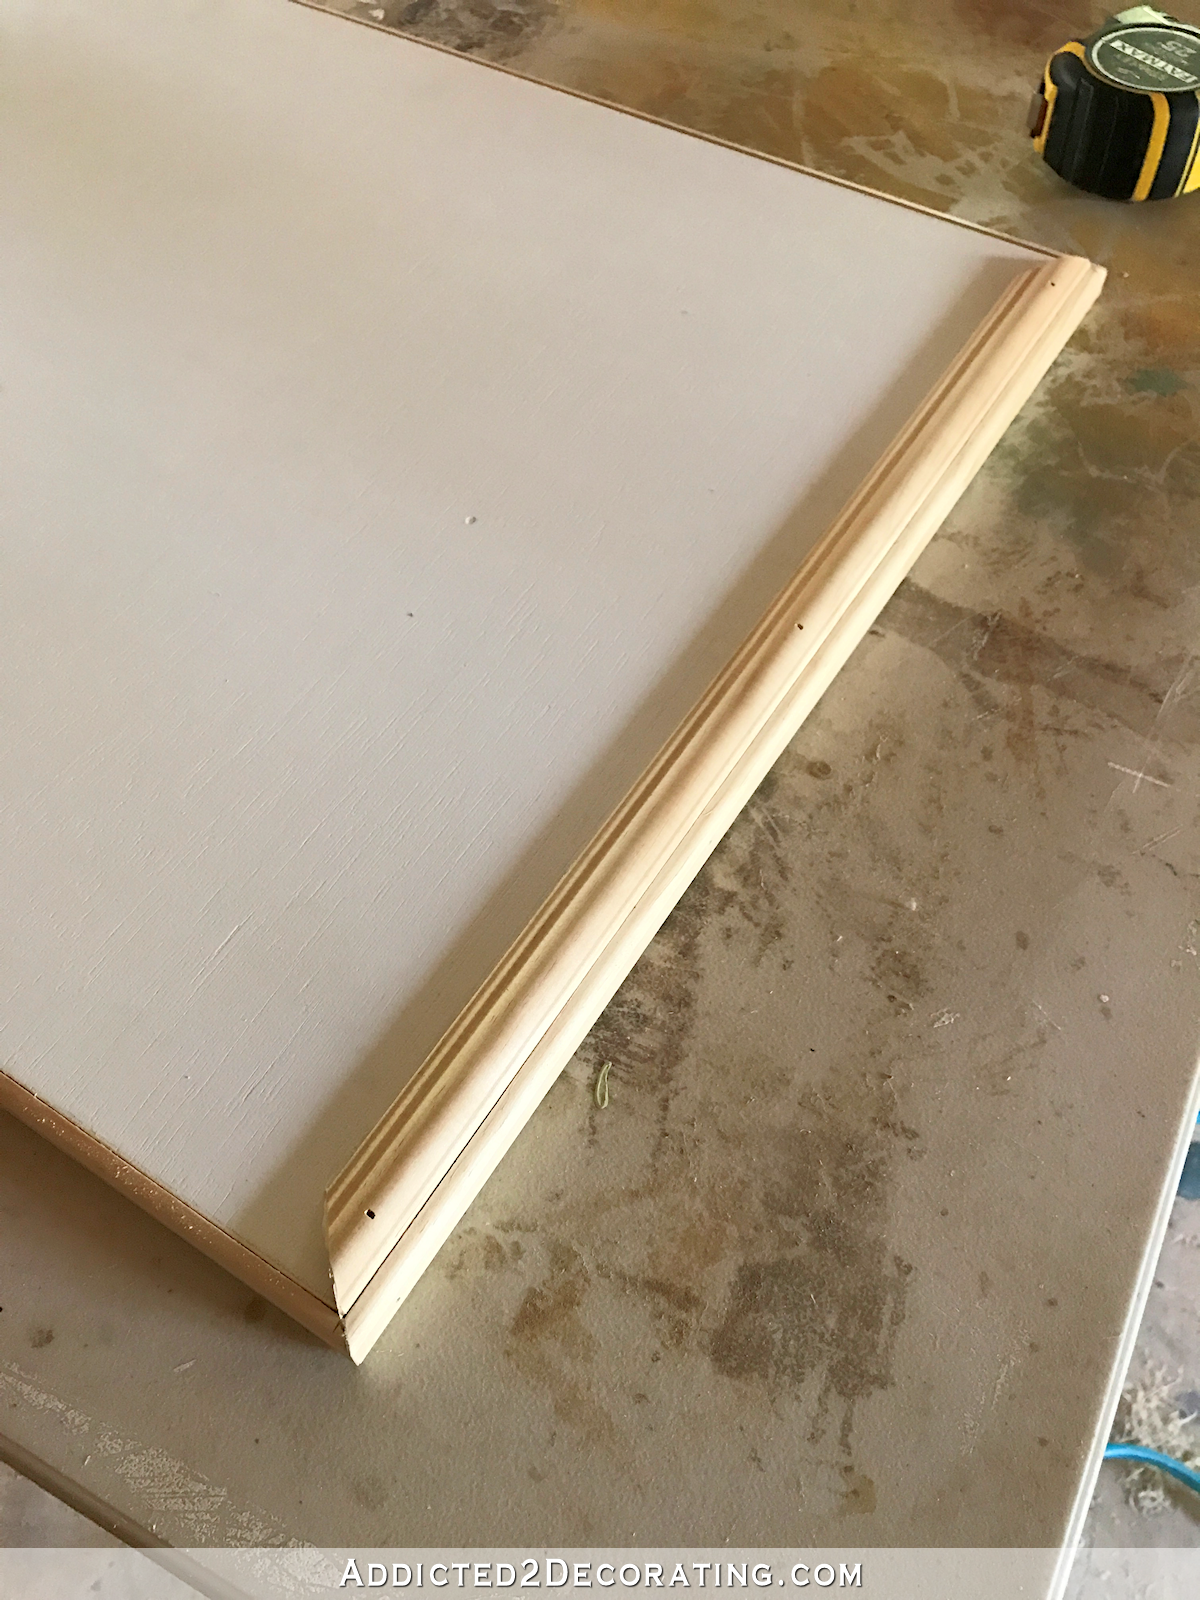
I cut that using my miter saw, mitered on the corners, and attached it to the edge of the plywood using 5/8″ 18-gauge nails and wood glue.
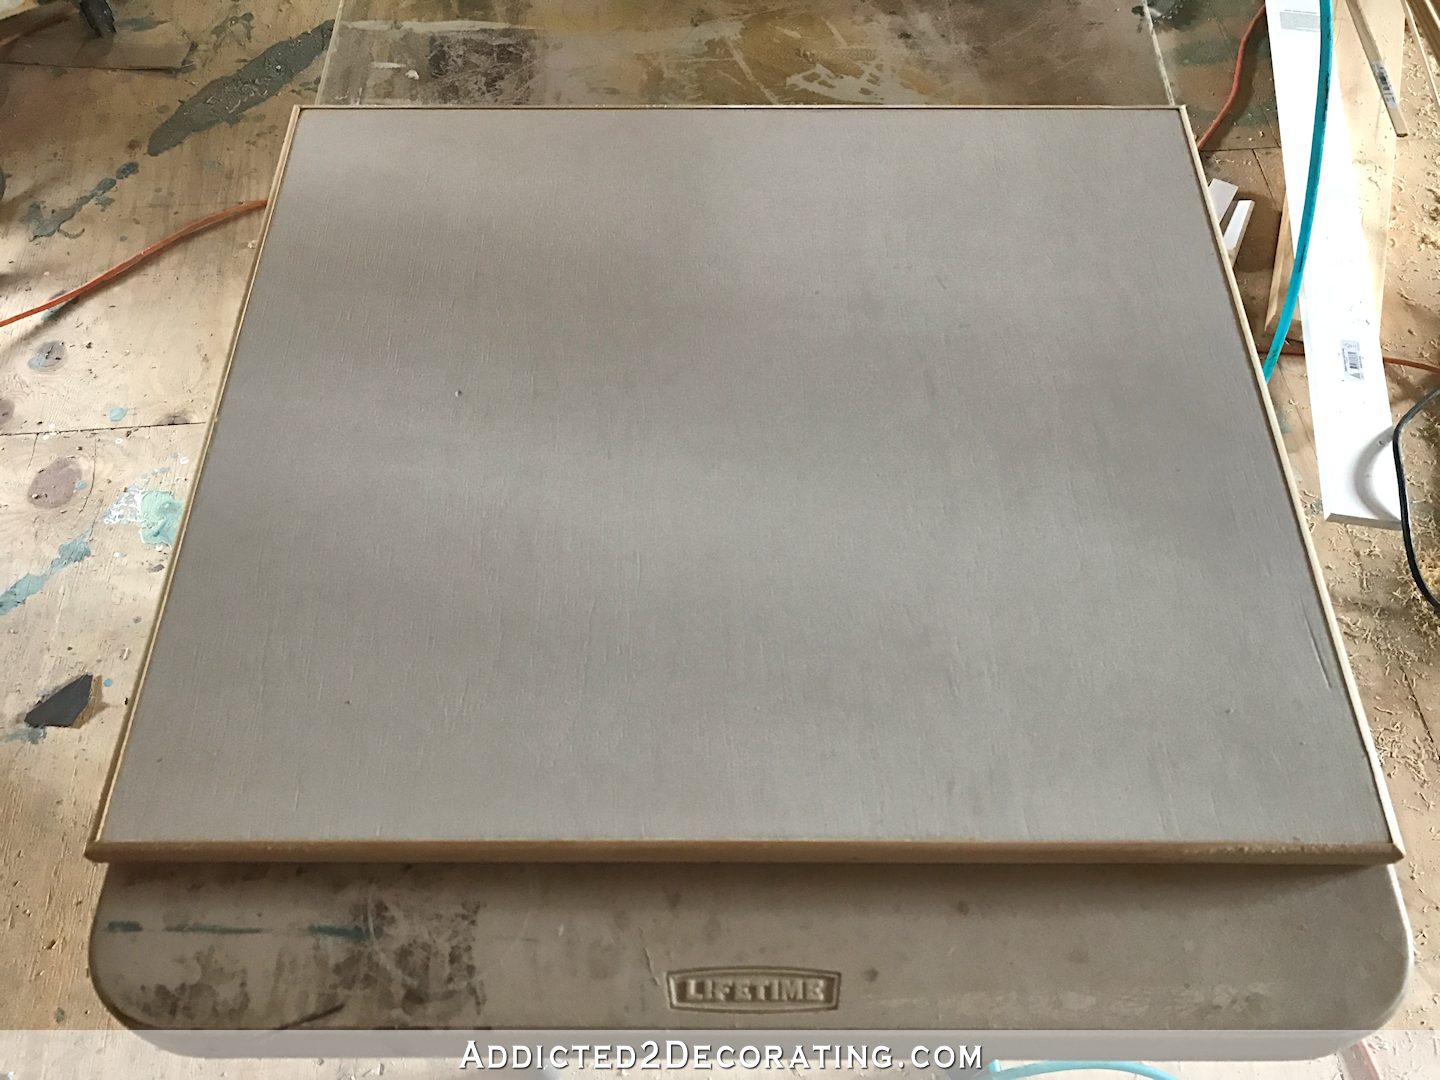
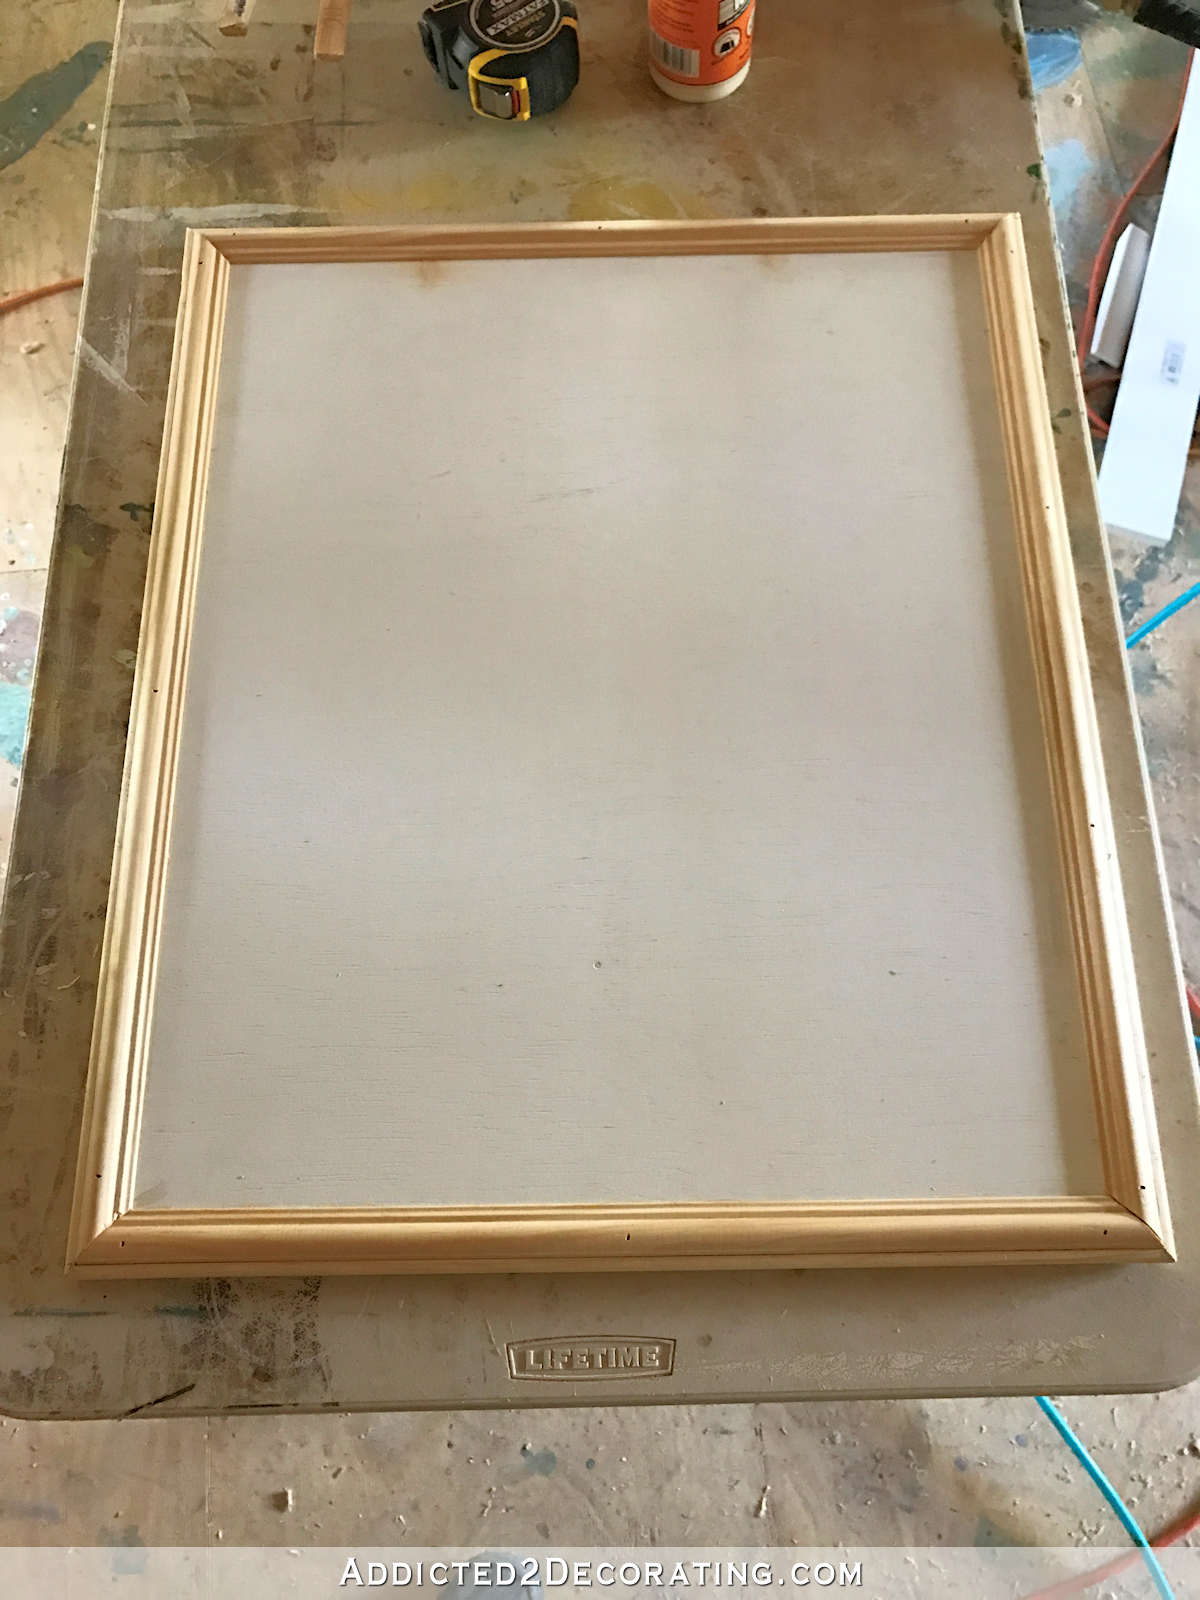
Here’s how it looked with all four edges covered with screen moulding.
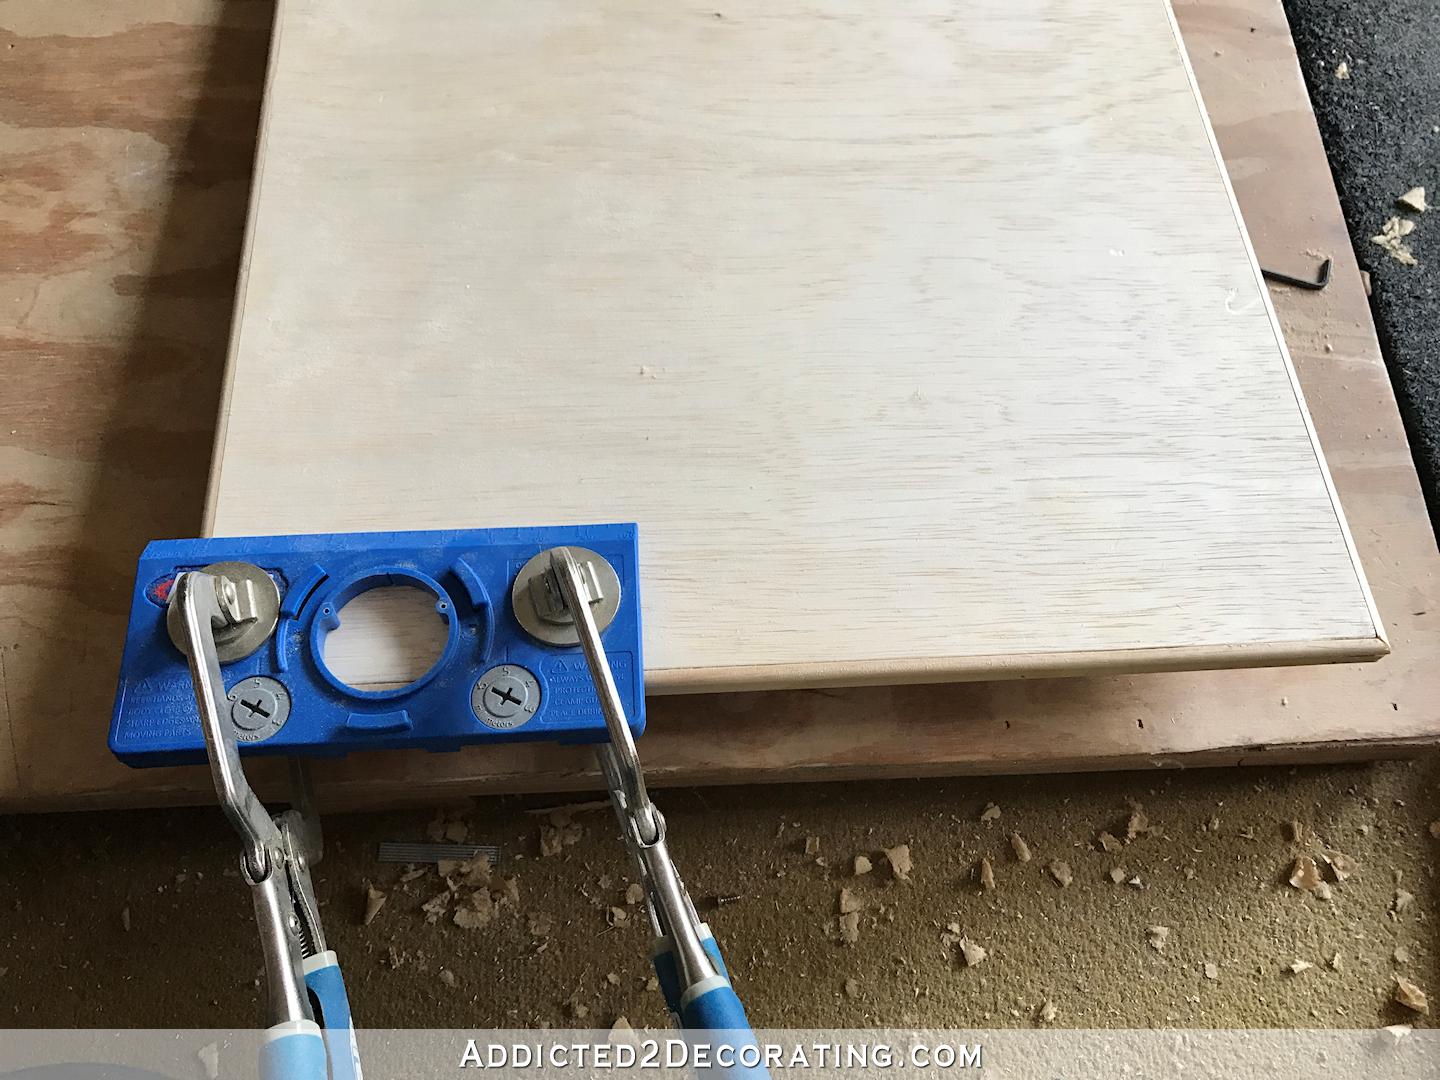
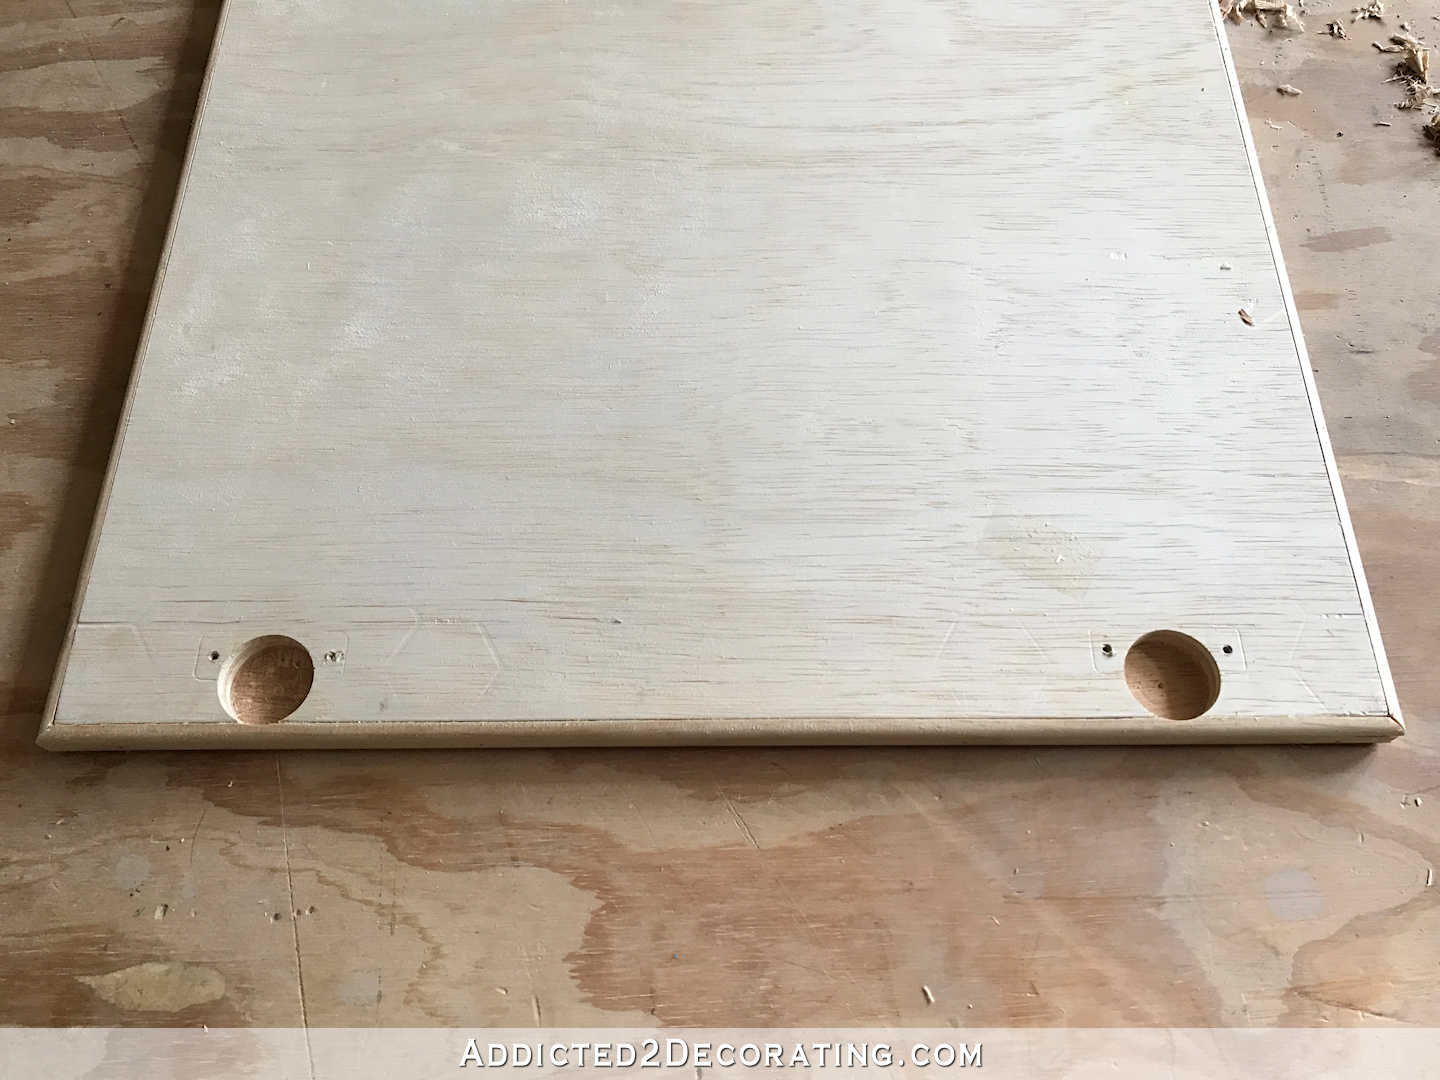
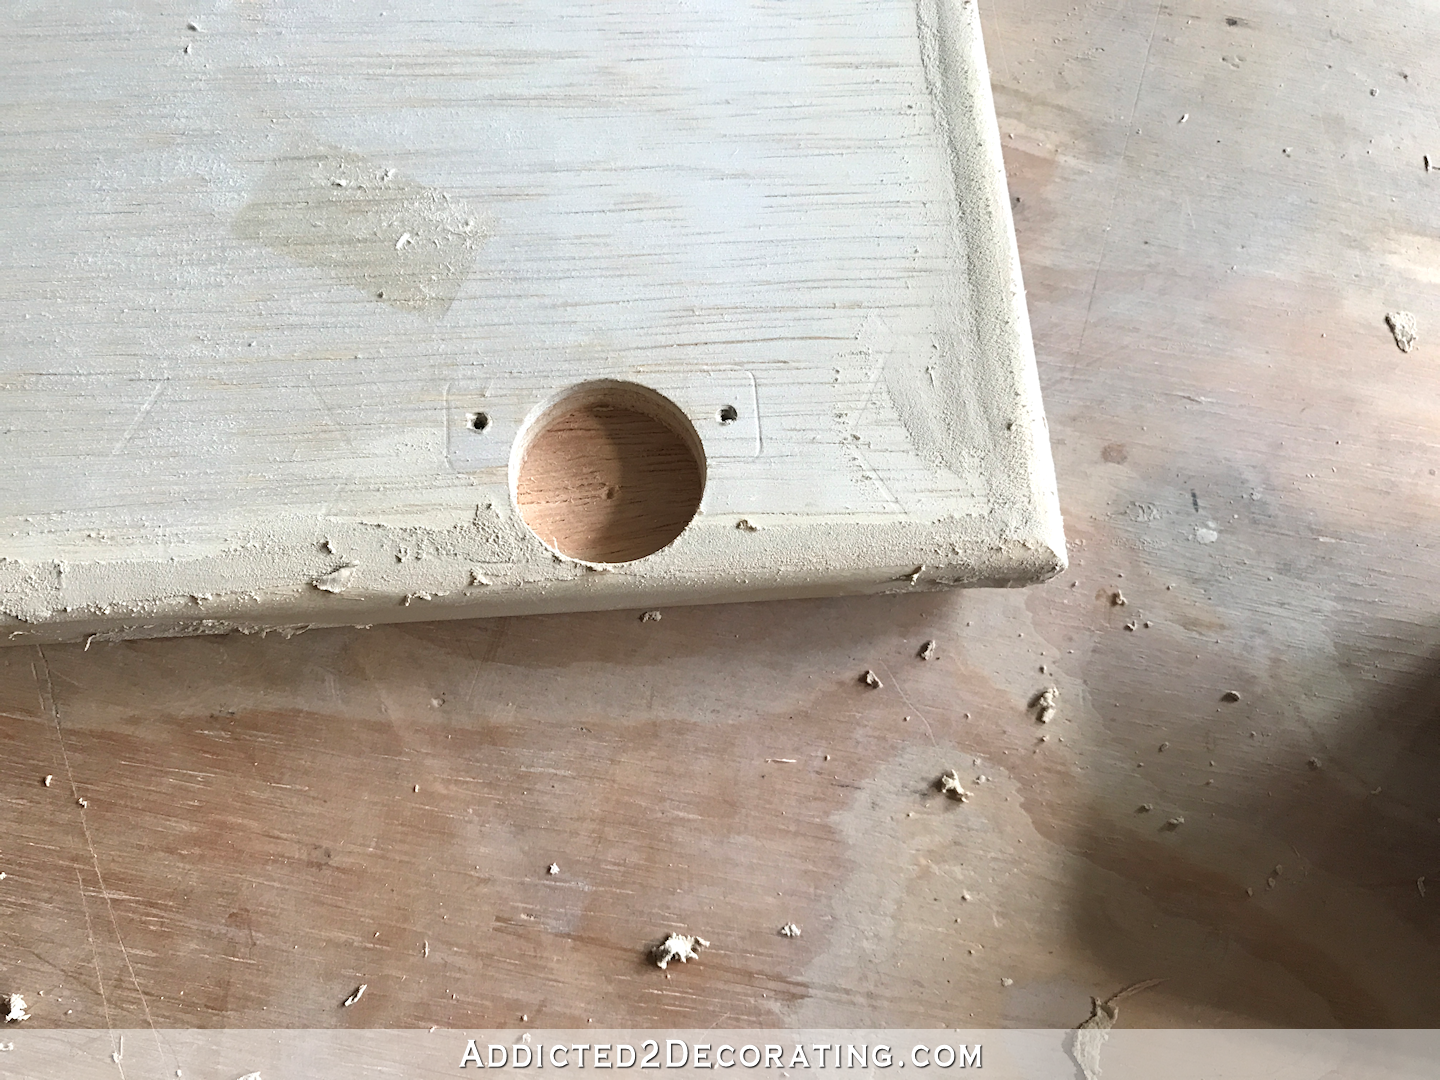
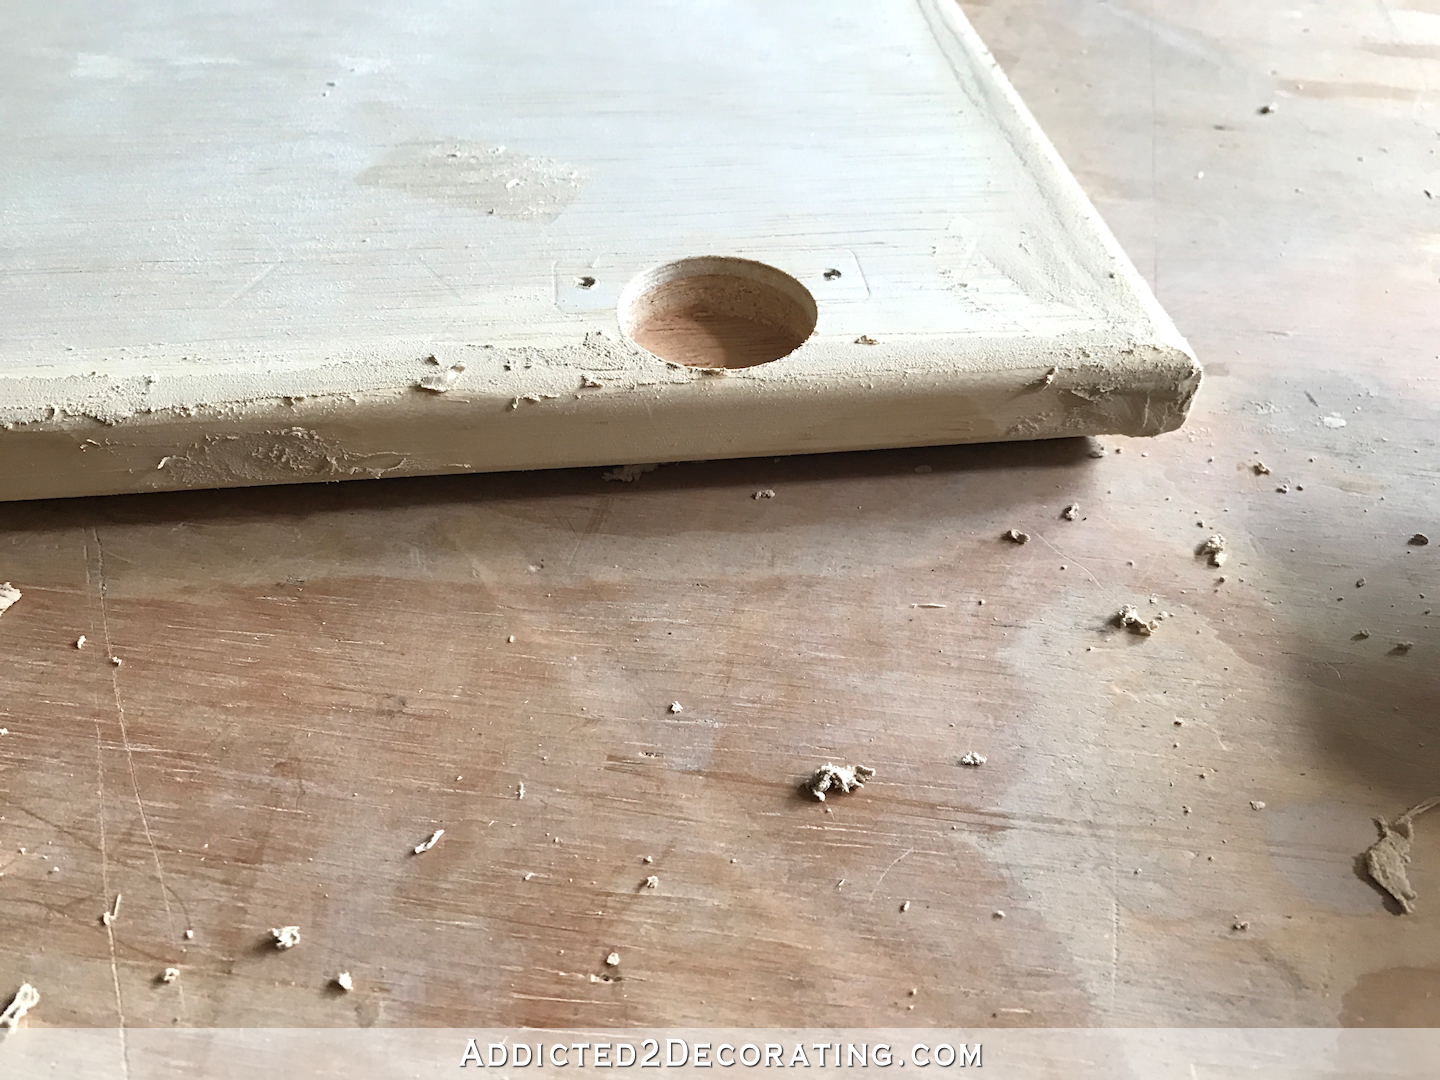
At this point (before attaching any moulding to the face of the door) I used my Kreg concealed hinge jig to drill the hinge holes on back.
This jig is incredibly easy to use, and drills perfect hinge holes.
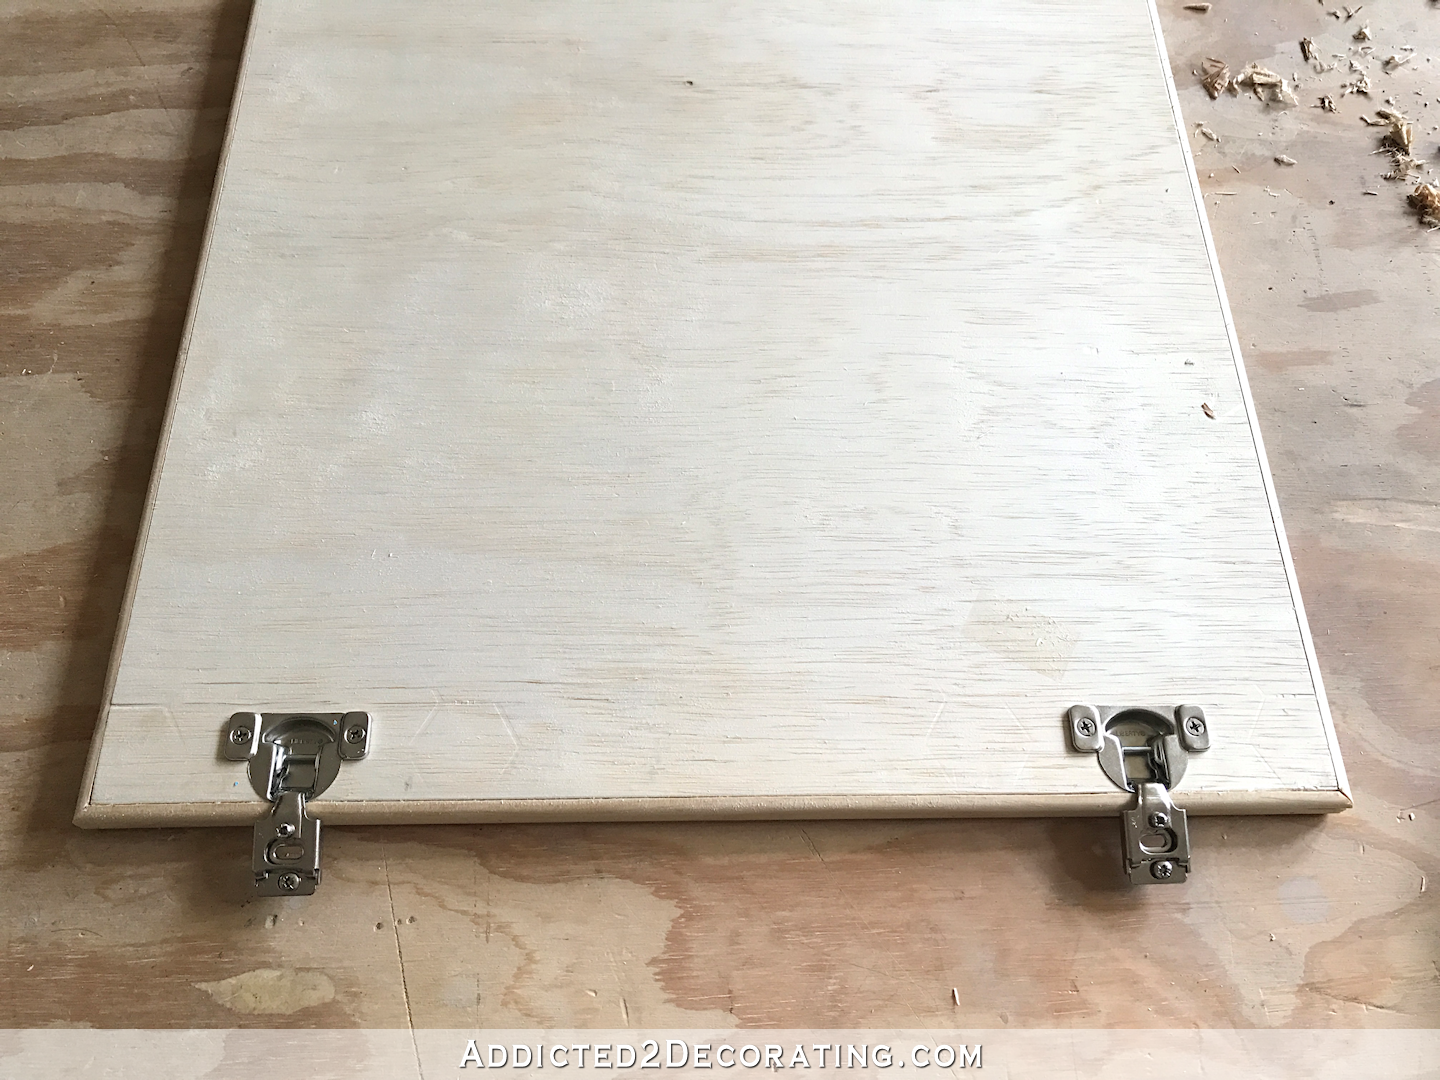
I tested the fit of the hinges, and then removed them before moving on with the next step.
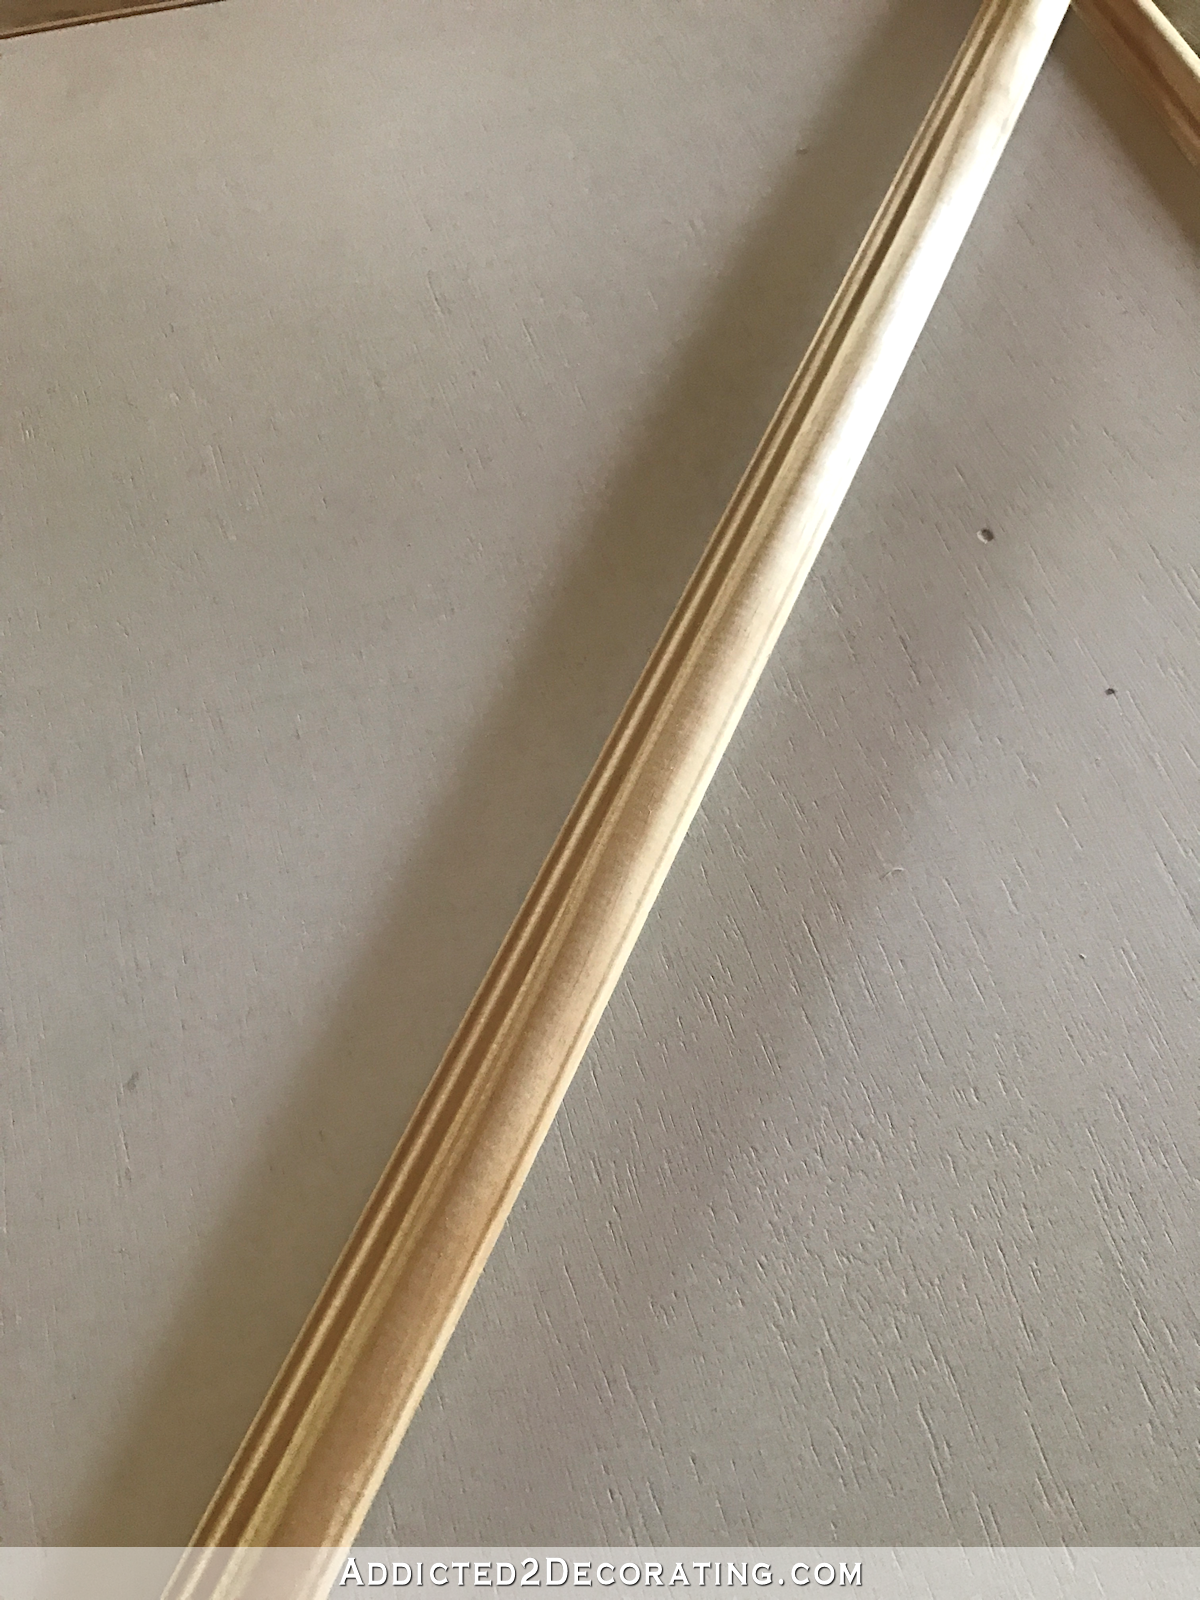
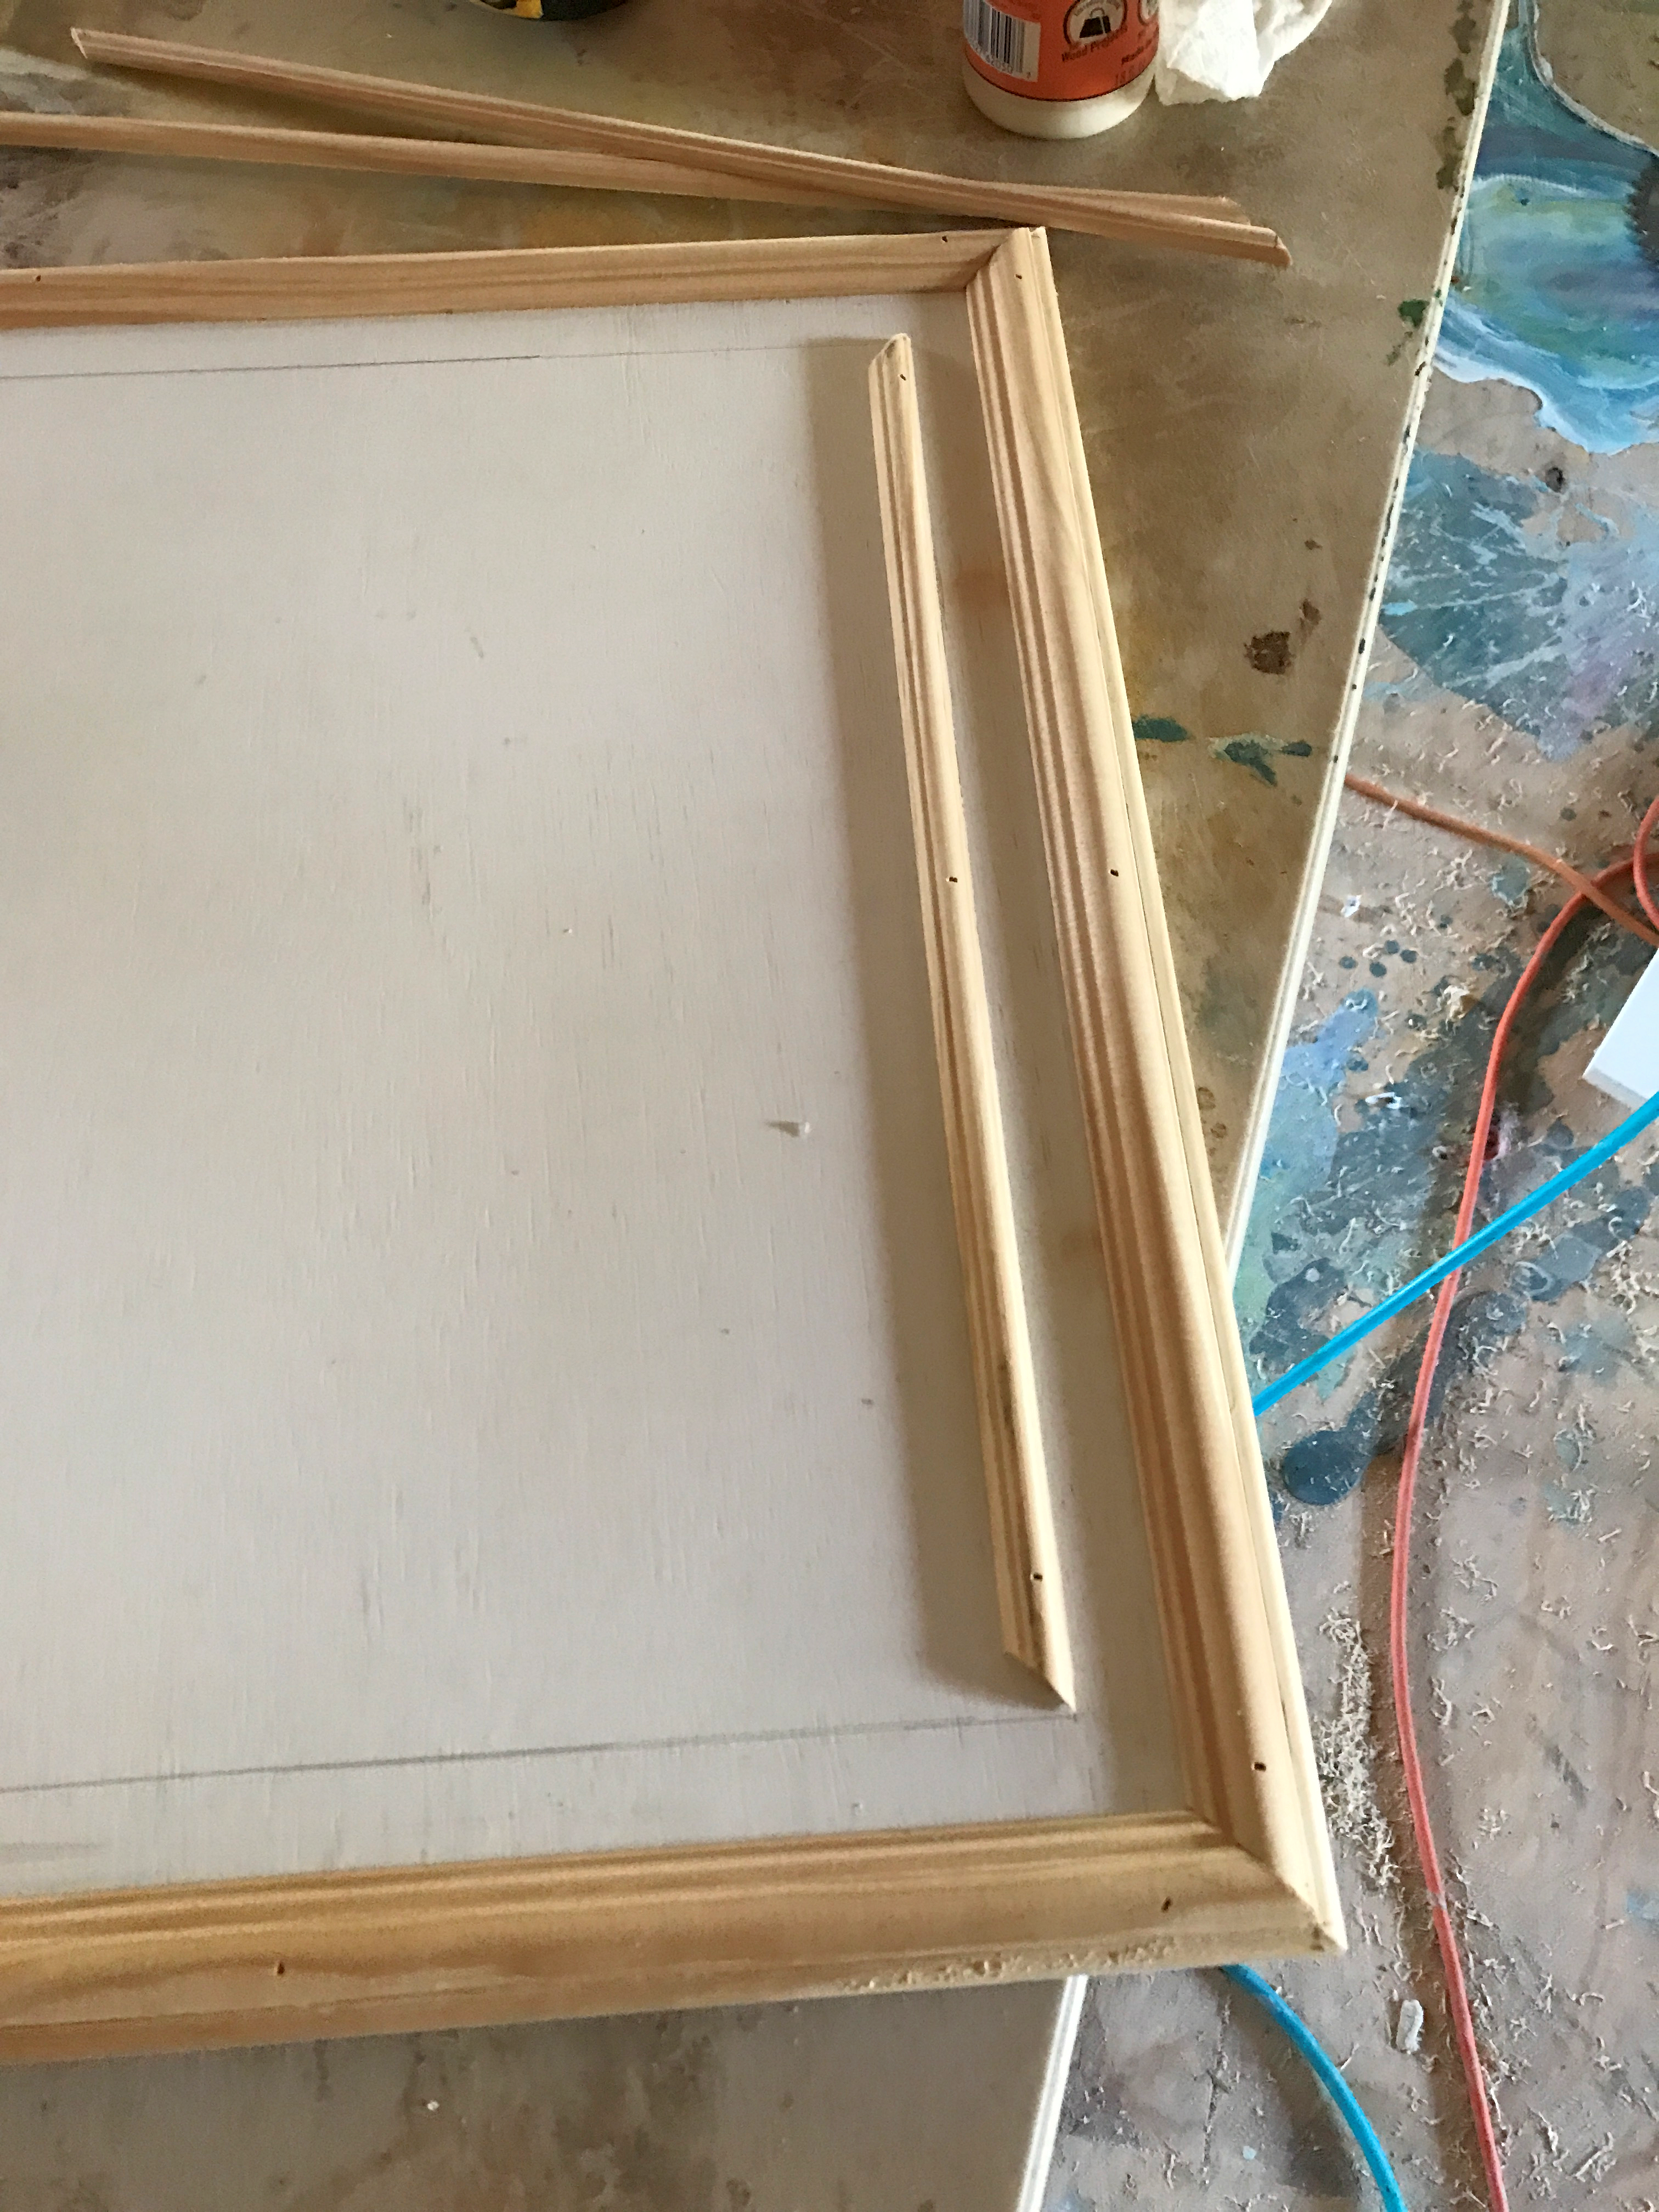
Next I used this medium sized cabinet trim moulding (from Home Depot, sold by the 8-foot piece)…
Here’s a better look at the profile…
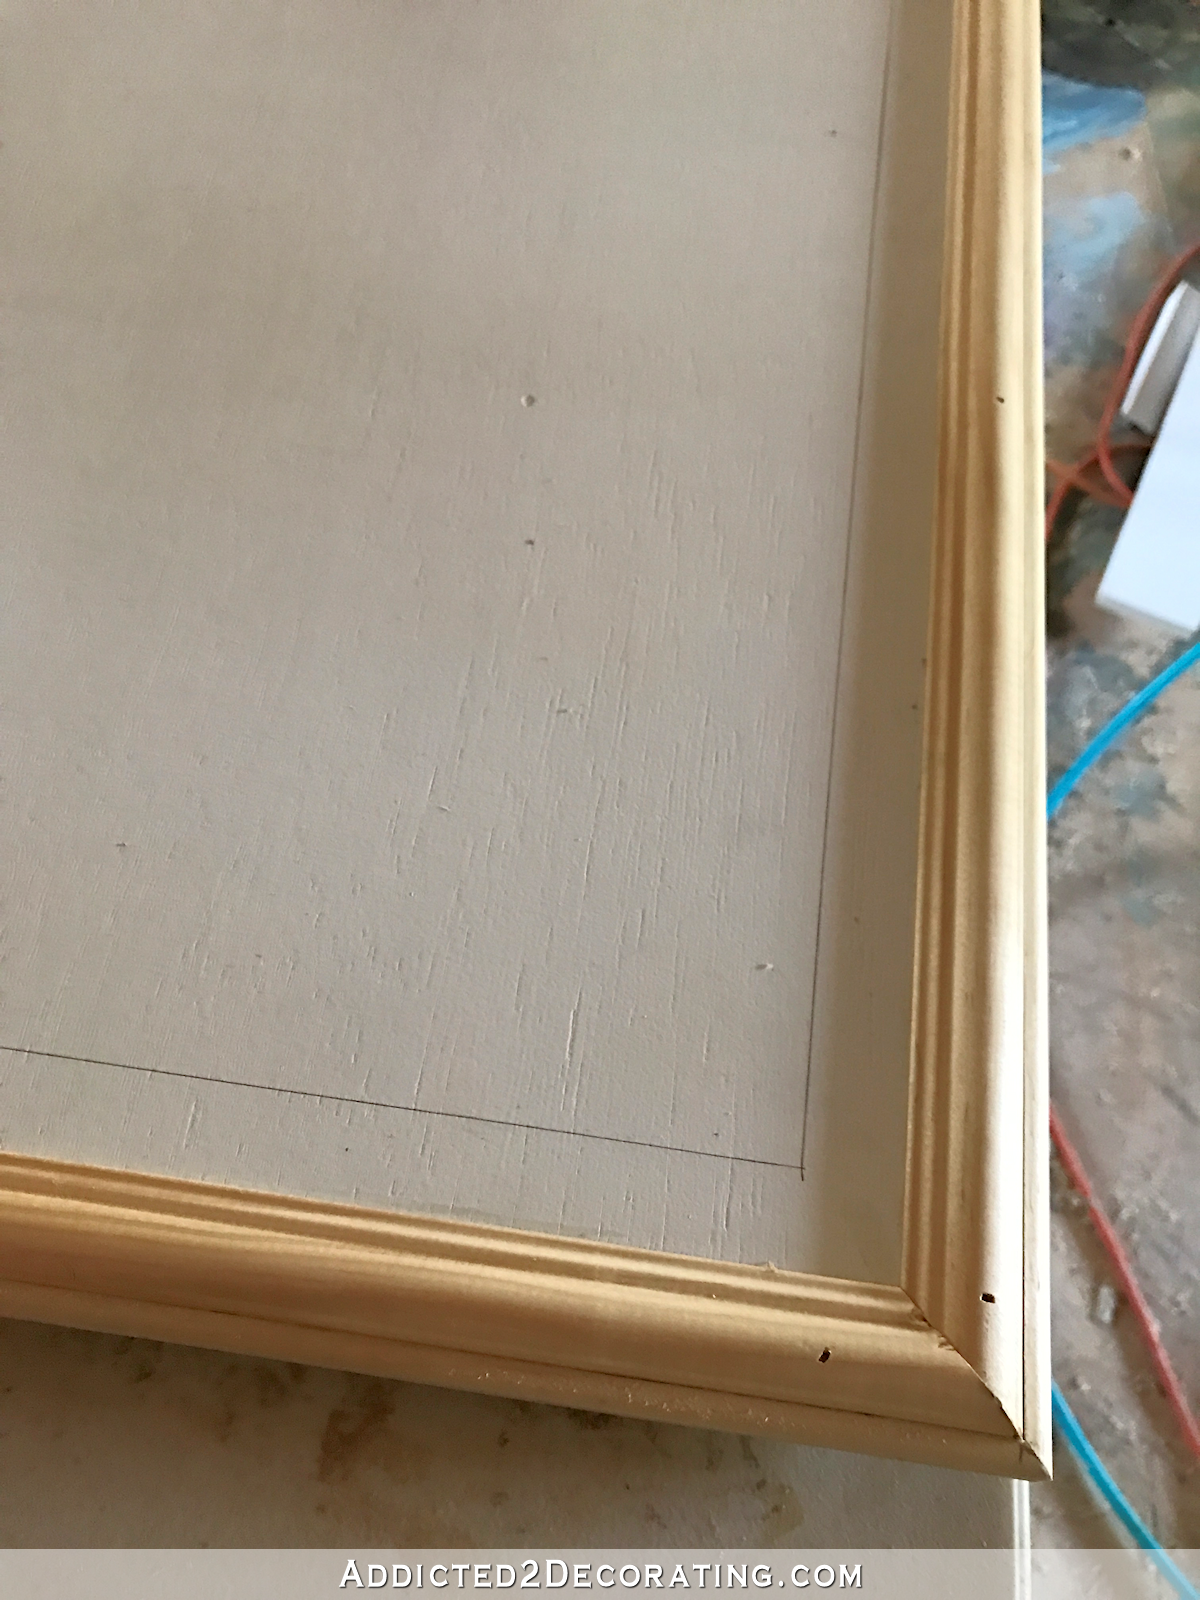
And I cut it to fit along the edge of the face of the door, mitered on the corners, and attached with 5/8″ nails and wood glue.
With all four pieces attached, here’s how the door looked…
I could have just kept it like that, but I wanted to add one more piece of moulding. I used the edge of a scrap piece of 1″ x 2″ lumber (1″ lumber is actually 3/4″ thick), and marked a guide line 3/4″ inside the moulding I just attached.
Then I used this tiny cabinet trim moulding…
And I cut it to fit along the lines, mitered on the corners, and attached with 5/8″ nails and wood glue.
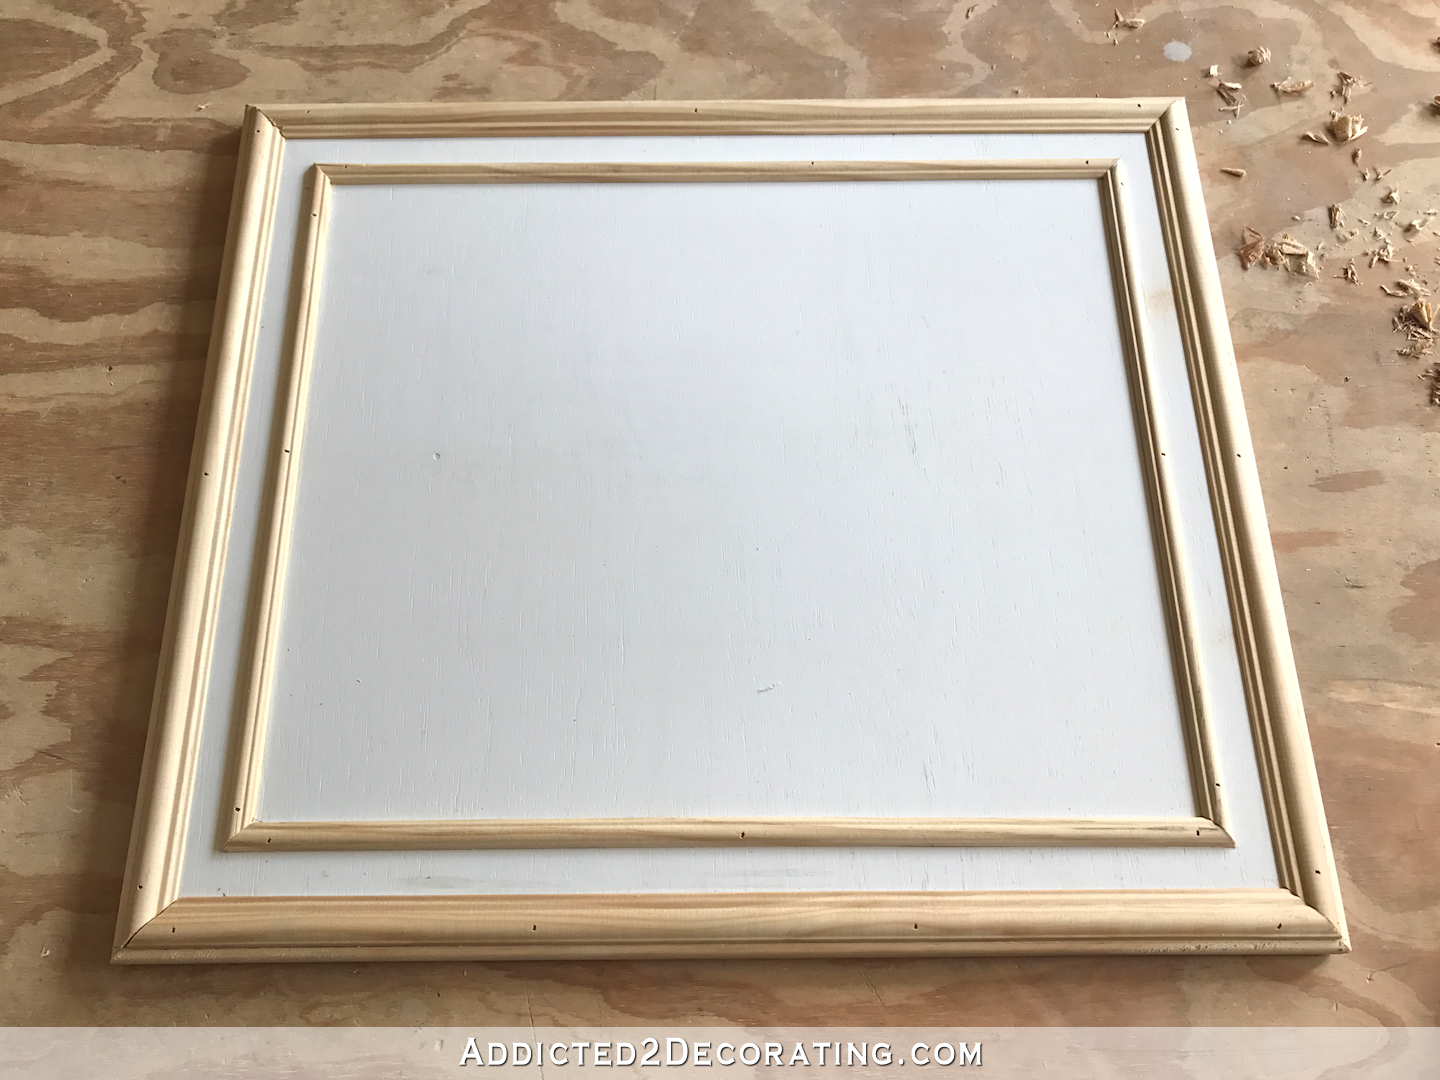
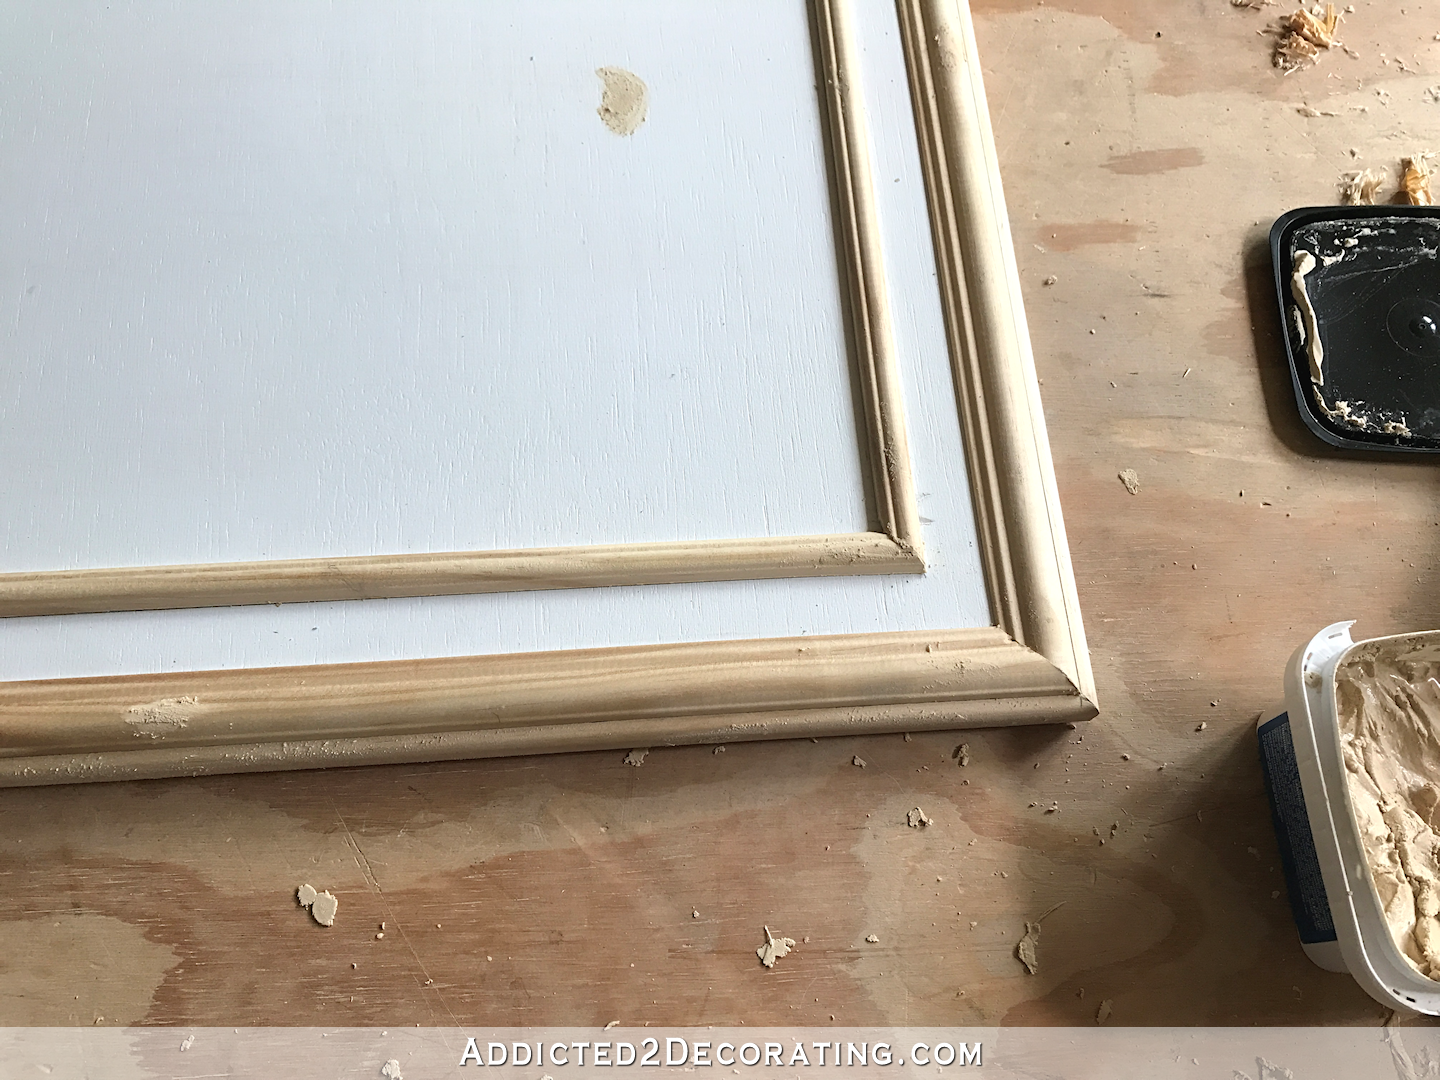
And here’s how that looked with all four pieces attached…
Then it was time for wood filler. I filled the area where the edge trim met the plywood on the back of the door…
I filled the nail holes and corners on the edges…
And I filled the nail holes on the front of the moulding, as well as the corners and one little hole on the face of the plywood.
I haven’t sanded, primed, or painted the doors yet, but I installed them to test the fit.
They worked out perfectly!
I’m hoping to get the other doors and drawer front made today. I’m anxious to get paint on this cabinet!
I haven’t taken time yet to figure out how much these doors cost, but I can guarantee you they’re a heck of a lot cheaper than the ones I custom ordered (which were actually reasonably priced for custom doors). And of course, the possibilities are endless as far as how you can configure the trim to customize these doors.
If you prefer the look of shaker or recessed panel doors, you can forgo the decorative trim and just use flat, thin pieces of wood (like a wide, thin lattice) and attach it around the edges of the face of the door to look like shaker doors. Or, of course, you can get as creative as you want. The possibilities really are endless, and no special cabinet door-making tools required! (Well, except for that $20 jig. 🙂 )
UPDATE:
There are a few more posts about this project, including one about a pretty significant and frustrating mistake I made on this build, and what I had to do to correct it.
You can read about more of the building process here:
And then in this post, I had the cabinet almost completely finished:
AND THEN, when I was almost to the finish line with this cabinet project, I realized I had made a rather significant mistake and had to undo and rework quite a bit of what I had done:
But as frustrating as it was, I learned an important lesson that I’m quite sure I will never repeat. And yes, I finally did finish the cabinet…for real this time:
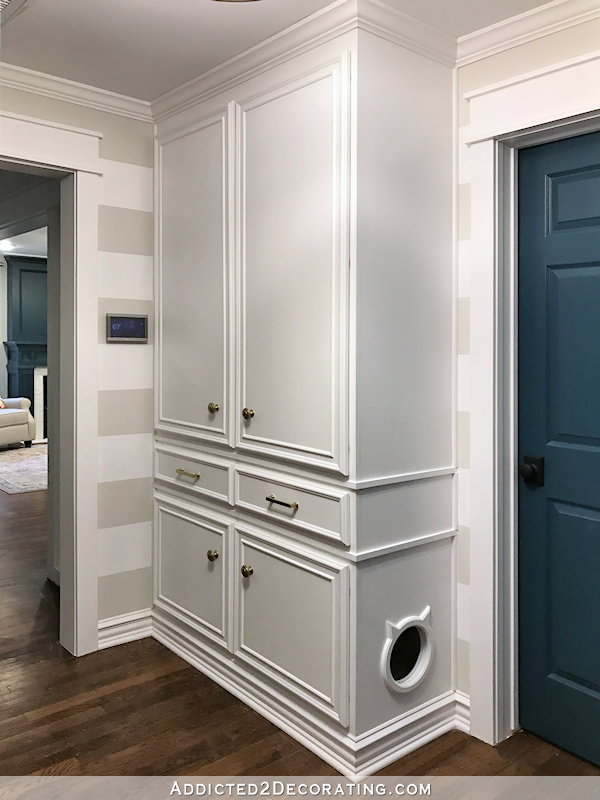
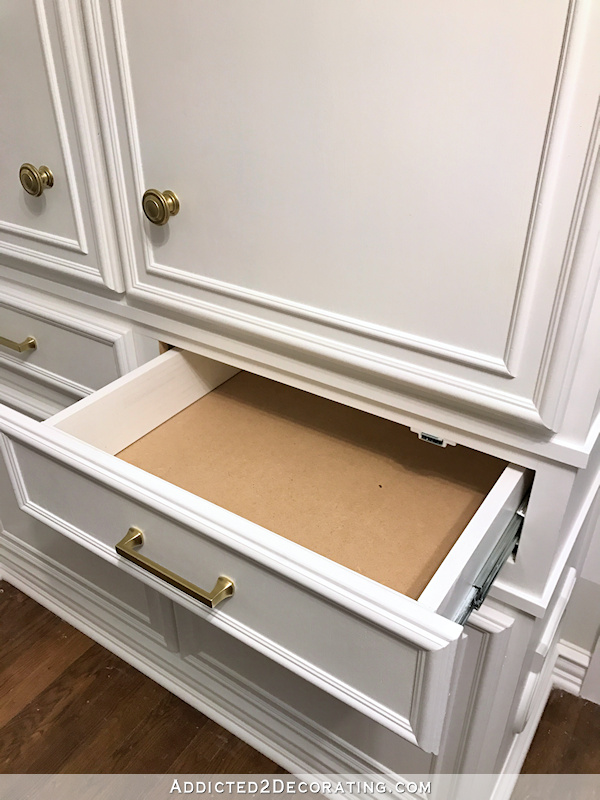
And here’s a peek at the finished cabinet once I made the repairs and got it all finished…
Addicted 2 Decorating is where I share my DIY and decorating journey as I remodel and decorate the 1948 fixer upper that my husband, Matt, and I bought in 2013. Matt has M.S. and is unable to do physical work, so I do the majority of the work on the house by myself. You can learn more about me here.




They look great! I’m going to order that jig, I need to make doors just like this for some bookshelves in my kitchen. I’ve put it off because I didn’t know how to hide the hinges. You make it look so easy, I think I can handle it. One quick question, how do the hinges attach to the cabinet? I can’t quite figure out from your picture if they are recessed, or flat, or are they attached to the interior side of the cabinet? Off to do more research.
Thanks!
I also would like to see the process for attaching hinges to the cabinet part so that the doors are perfectly straight. Thanks!
They attach to the edge of the 1 x 2 that I used as the face trim on the cabinets. Here’s an up close view (not mine) of how they attach: https://i.pinimg.com/236x/d0/83/64/d083646458a44bba51d6bea4c6d30b13–sawdust-girl-cabinet-ideas.jpg
To be clear, on the part that attaches to the edge of the face frame of the cabinet, you see three screws. Two of those screws are only for making fine adjustments to the hinge (up/down, in/out) and don’t come off. Each hinge is attached to the face frame using only one 1-inch screw.
I was just searching online to figure out how to dress up some basic storage cabinets and the doors. This is a great idea. We added an electric fireplace and two cabinets to each side of it in our master bedroom. The cabinets are very basic and I want to make them fit a bit more with the style of the fireplace 🙂 Something like this will be perfect!
Great progress Kristi, the door fronts look very professional, and you make the process look so easy with your instructions and photos! Well done.
I should have known Kreg makes a jig for those hinges! I’ve been thinking of how I can make the doors for some bathroom storage I’m planning to build, and that’s just what I need. I’ve used the concealed hinges that just screw on to the back of the door and the inside of the cabinet, but they don’t have the adjustability of the hinges you’ve used. Thanks for the info!
Kristi,
Does the drill bit come with the jig?
It does come with the 35mm bit for the actual hinge holes. You also need a tiny drill bit (I think it’s 1/16″) for the small screw holes, and that doesn’t come with the jig. You can see the details, as well as a video of it in action, here:
The doors look very nice. I’ve use the small trim before on plain, boring room doors as well to dress them up.
I think this is the video you meant to attach on how to use the Kreg jig.
Hello, Kristi, First of all I LOVE your blog– very inspirational. I was wondering if your work follows a particular decorating style or period in Art History or is it more eclectic about what inspires. The paintings that you did in the hallway on the last blog post looked modern but some of the other pieces look transitional. Thanks.
I don’t try to adhere to any specific design style. To me, rooms that are 100% traditional, or 100% modern, or 100% any other style, start to look stale. I like a mix. If I like it, I’ll try to fit it in somewhere. I find that I end up with a look that feels more “collected over time,” which I prefer.
Kristi – You are my DIY crush. You can do just about anything – design, sew, reupholster, art work and build. You inspire me to do so much on my own (other than the climbing in the attic to rewire). I can now see myself making cabinet doors. The $20+ Kreg jig to hide hinges is so worth it.
Those look pretty spiffy! Wouldn’t it be great to make matching frames for the artwork you’re going to showcase in this area?
Kristi, I need a tool to use to drill and get perfectly spaced holes for cabinet knobs. We just bought a house that has no knobs or pulls on the cabinets and I want to take them down and drill holes for the knobs and pulls I have purchased. Is there a jig that can be used to do so?
Thanks,
Anne
Of course! 🙂 Here’s an affiliate link to Kreg’s cabinet door hardware jig. They have a jig for pretty much anything you could think of. 🙂 –> http://amzn.to/2xtpoXo
Thanks so much for the info!
Hi Kristy,
I think I’ve read back through your blog, quite a ways, and I don’t think you’ve addressed this before: how to you get everything lined up, square, even, etc? I think your stuff always looks so good because everything lines up, etc. Can you share some tips for that? I know the “measure twice, cut once,” but I still end up with stuff being “off”…are you just super careful or are there some tips you’ve gathered over time?
Thanks!
Carol, this is a great question, and funnily enough, I was thinking the exact same thing moments before I read your post, and for the same reason. Kristi’s projects always look so professional and precise, and I’m in awe of how she gets everything to look so balanced and squared up. Inquiring minds, Kristi! 🙂
Great job, Kristi! Now to add a few (more) Kreg jigs to my Christmas list! I only have the Kreg Jig Jr (which has been extrememly useful).
Nice going Kristi! What is that thing on top of the cabinet door on the table? Is that a nail gun? That cabinet is going to look so nice but is dust going to get under that small opening near the floor or are you going to cover it up? I personally cant wait to see how the drawer hardware is installed and what you buy.
Fabulous as always. I will definitely use this method for a cabinet I am planning. What brand of wood putty did you use?
Lovely. Quick question. Will the left upper door not open all the way due to the thermostat on the wall?
Hi Kristi,
Thanks so much for this post. I may be using the Kreg jig soon, but was wondering what’s involved in aligning the door hinge holes with the cabinet hinge holes. I have existing holes in my cabinets and need to make doors with corresponding holes. What do you think? Will that actually be simpler than it sounds?…..or incredibly difficult?
I’d be very grateful for any advice. Thanks so much,
Liz.
It’ll be a little more challenging than if you were starting from scratch with no holes to line up, but it’s definitely doable. You’ll just have to measure very carefully for placement of the hinges on the doors.
Thanks Kristi. You’ve really given me food for thought. I’ll be replacing all my kitchen cabinet doors and drawer fronts, and was thinking of having someone do it for me, but to be truthful, there really is no reason I can’t make them myself. I have all the right tools. I mean, there’s no deadline so I can do it in my own time, and each door will be better and easier than the last. I’ll save thousand$ doing it myself.
Thanks so much Kristi. You really are such an inspiration!
Kind regards, Liz. (Australia).
Great Project. You’ve definitely inspired me! Can you tell me info on type/name of concealed cabinet hinge you used? Thanks!!!
These are the ones I used: https://www.amazon.com/gp/product/B0009V1UCC/ref=oh_aui_search_detailpage?ie=UTF8&psc=1
Thank you, Kristi. I think your Blog is AWESOME!!!