The Pantry Is Back On Track (New Lights, A Square Wall, Trimmed Cabinets, and Tile Progress)
These last few days have been so productive, and the pantry project is back on track!
In my last post about the pantry (which you can read here), I described how the left wall was so out of square that it was impossible to install cabinets or open shelves on that wall. So I started tearing out drywall to come up with a fix…

And I also mentioned that the ceiling lights would have to be moved because they’re in the way of the tall cabinets on the side walls of the pantry…
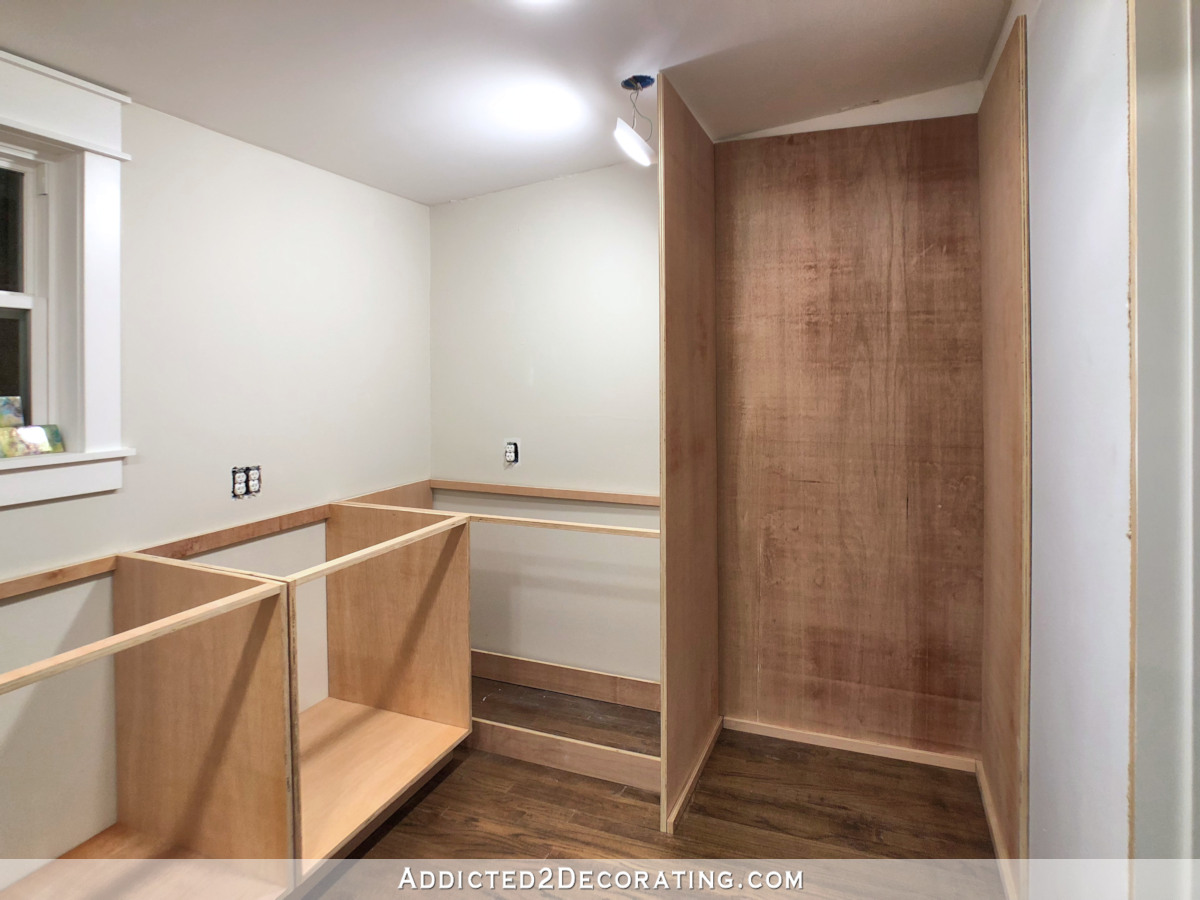
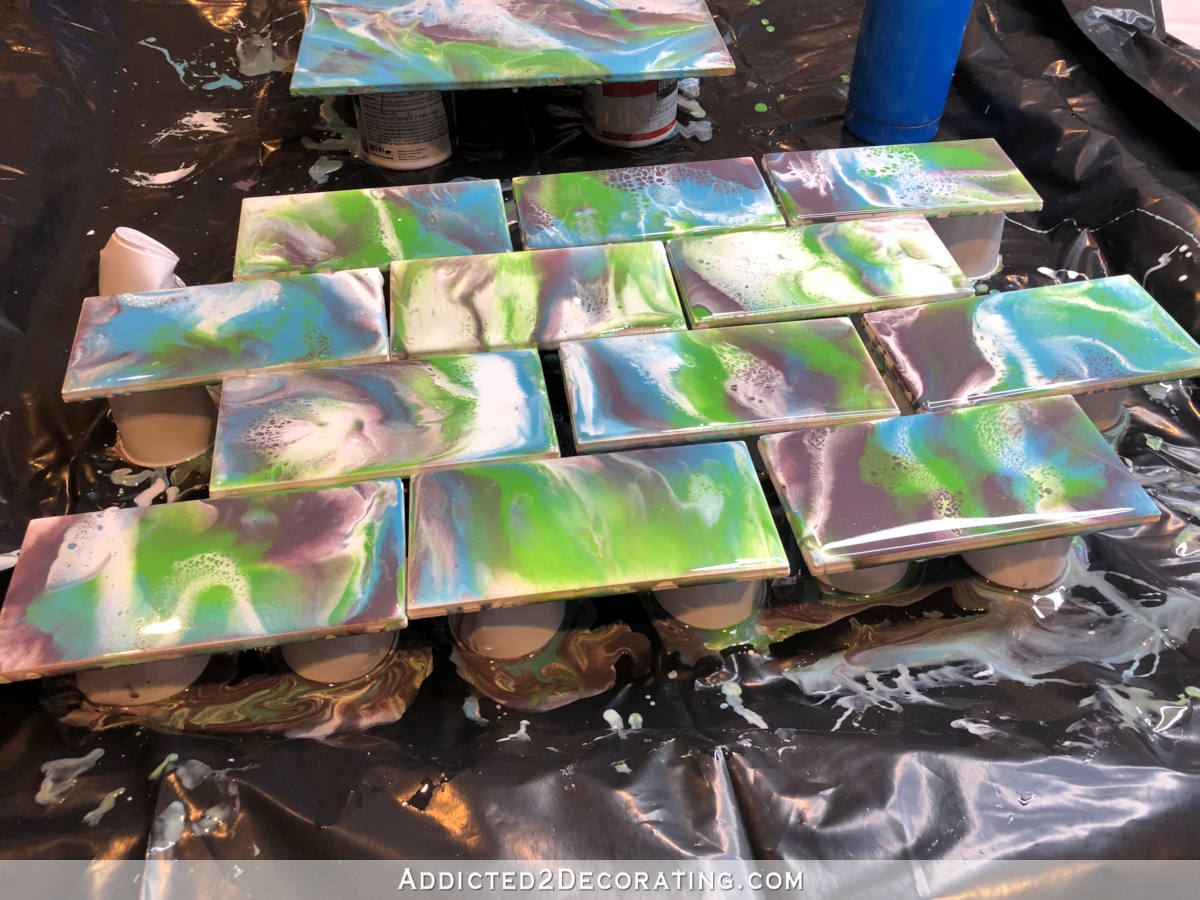
Well, I came to my senses and hired out all of those tedious projects to my drywall guys (who actually do more than just drywall). They got it done fast, and while they were working on all of that, I was able to resin 100 more tiles for my backsplash.

(Sorry for the awful nighttime photo!)
That means I now have 200 tiles completely finished, and I only need about 50 more, although I’m going to do a few extras just to be sure I have enough.
I feel so relieved to have all of these things fixed in the pantry. The thought of having to repair drywall and move lights was really stressing me out (I hate dealing with drywall), so deciding to hire it out was such a weight off of my shoulders. I still need to prime and paint the new drywall on the left wall and the areas on the ceiling that had to be patched after the lights were moved, but that’s the easy part.
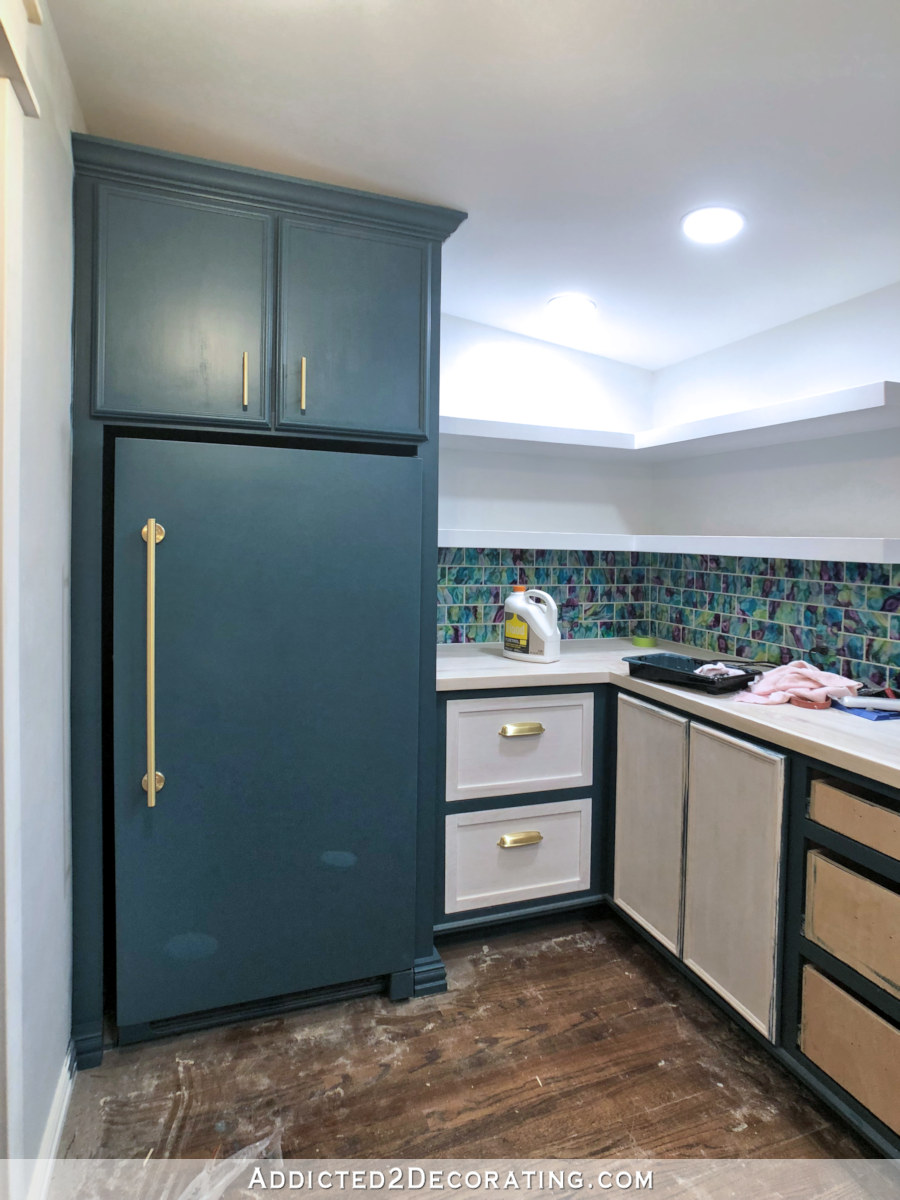
I had them do the left wall in a very strange way, but it won’t show at all when it’s finished. I had them shim out only the area of wall between the corner and the edge of the freezer cabinet, and re-drywall that section only. That left a vertical line at the edge of the freezer cabinet where the drywall bumps out from the original wall.

The reason that I had them do it that was was simple. I had spend a ridiculous amount of time installing the cabinet box around the freezer and getting it perfectly level, plumb and square with the side wall (i.e., the pantry door wall). And after getting it perfectly into place and shimming it just so, I screwed it to the wall and the floor to keep it perfectly in place so it wouldn’t budge as I installed the rest of the cabinets.
Well, after going to all of that trouble, there was no way I was going to remove that cabinet so that they could add drywall that wouldn’t even show at all once the cabinet is finished. So I just had them square the wall right to the edge of the cabinet and leave the rest alone.
That left that awkward bump out above the cabinet, but I still have to build the upper part of that cabinet, so it will just slide right next to that bump out and cover it up.
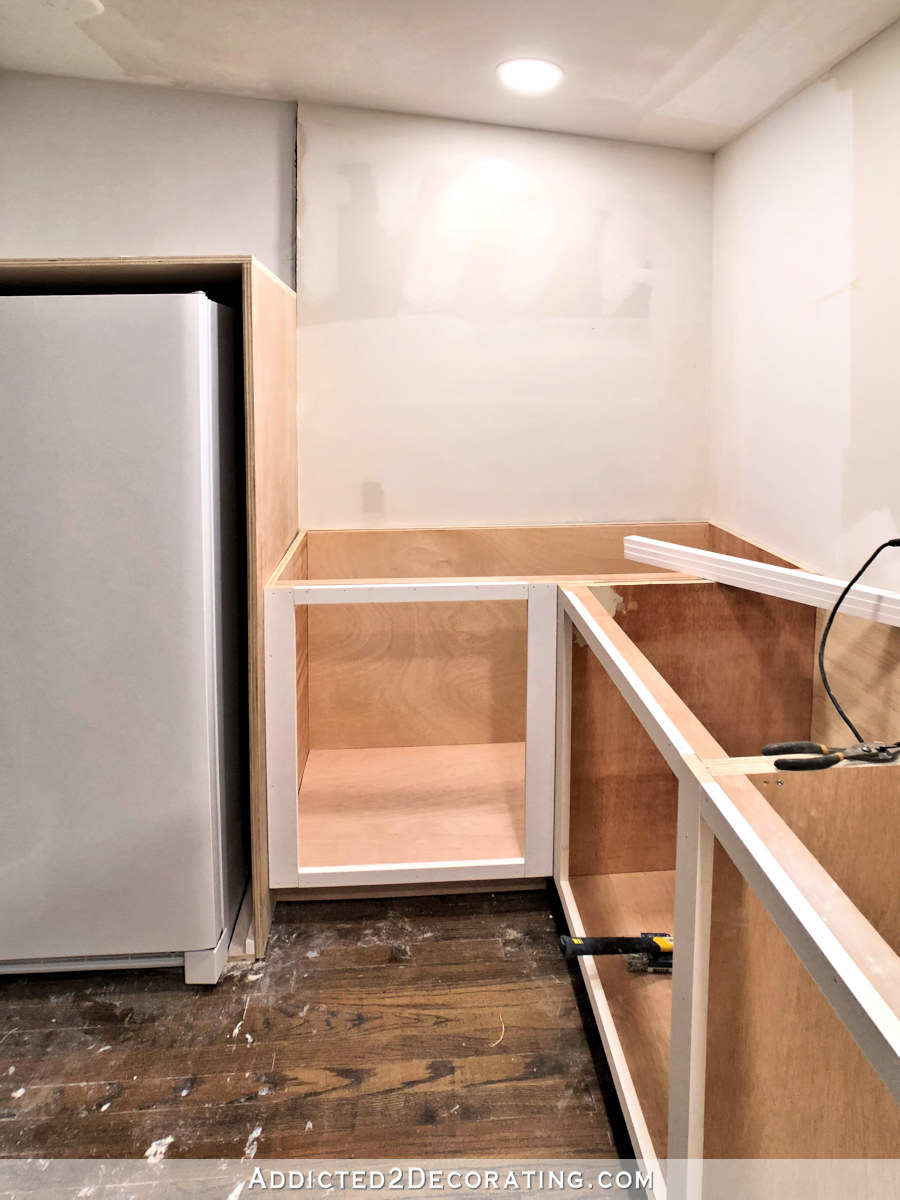
Anyway, the good news is that the main area — the 50 inches between the corner and the side of the freezer cabinet — is now square, which will make building my countertop, installing tile, and building upper open shelves so much easier.
I’m really pleased with the new lighting placement in the pantry, and while they were at it, I also had them replace the lights altogether. I never was really pleased with the original lights I had installed in the pantry. There’s no attic space above this room, and there’s only a small amount of space between the drywall and the roof decking. So at the time I bought the original lights, those were the closest I could find to give me the look of recessed lights.
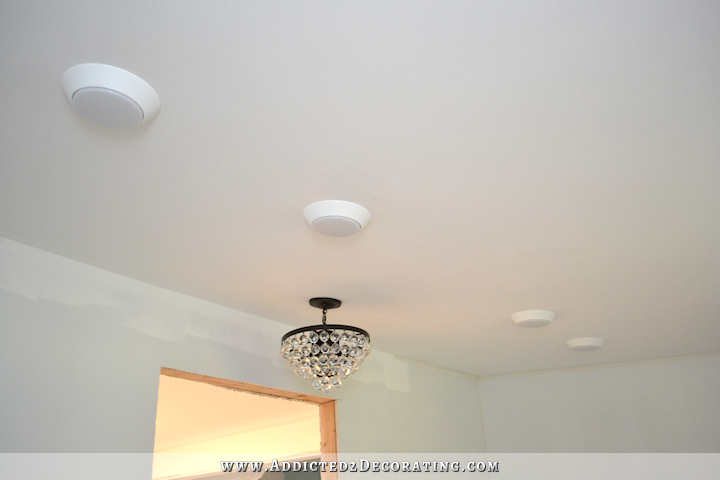
Of course, they looked nothing like actual recessed lights, but they were the lowest profile flush-mount lights of that diameter that I could find. I never did like them, though.
Well, just a few months ago, I was introduced to these super wafer thin recessed LED lights. They’re about a 1/2 inch thick, and can be installed pretty much anywhere since they don’t have any type of box that requires space between the ceiling joists.

And the best part about them is that they come with five different settings so you can choose what type of light you want — from 2700K (very warm lighting) to 5000K (daylight) and three settings in between. I think I chose the middle setting. Super warm lighting is way too yellow for me, but I also don’t light fake daylight lighting. It feels too cold and institutional for me. So the middle setting seemed just perfect.
And the trim kit sits flush with the drywall just like a regular recessed light trim kit does.
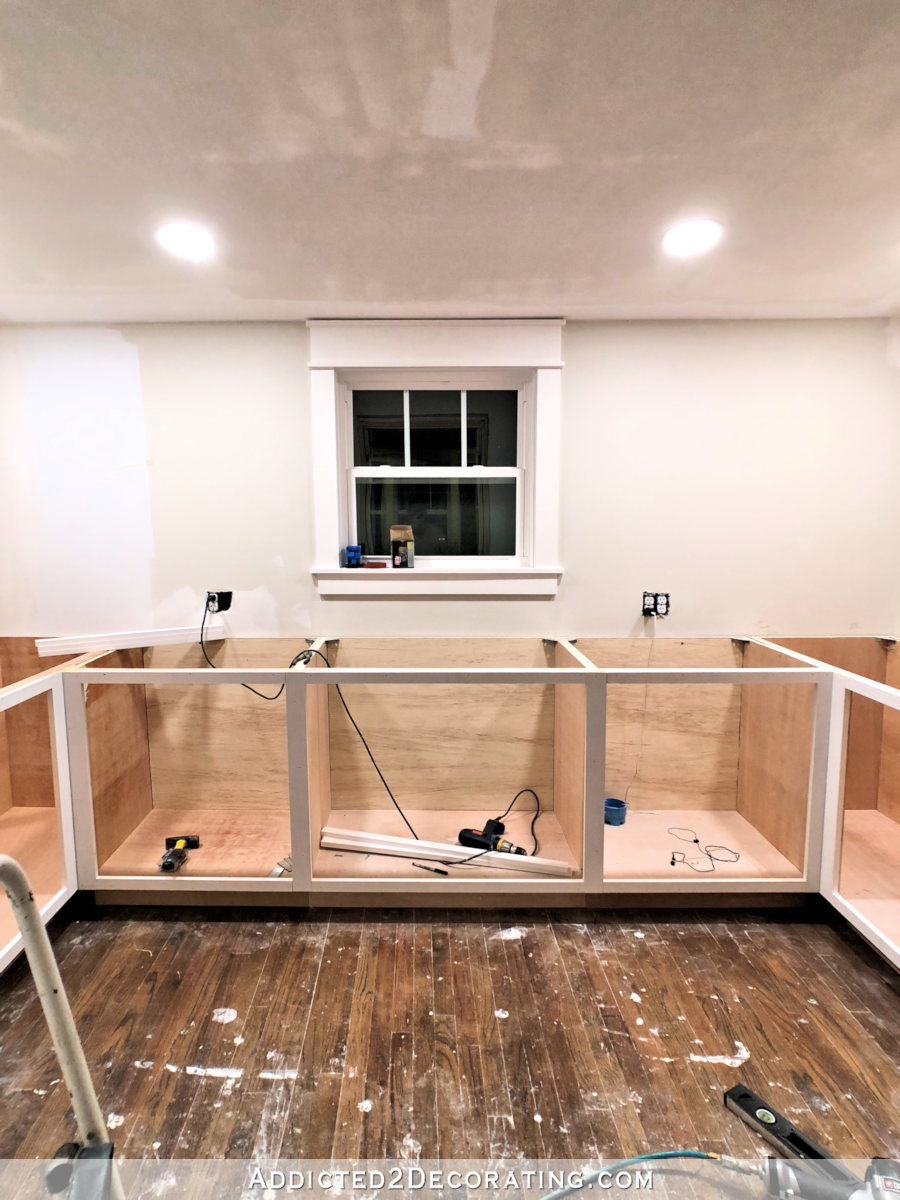
So after they finished up with the lights and the drywall, and I finished the next 100 resined tiles, I was able to install the cabinets and get them all level and square, and then start on getting them trimmed out.
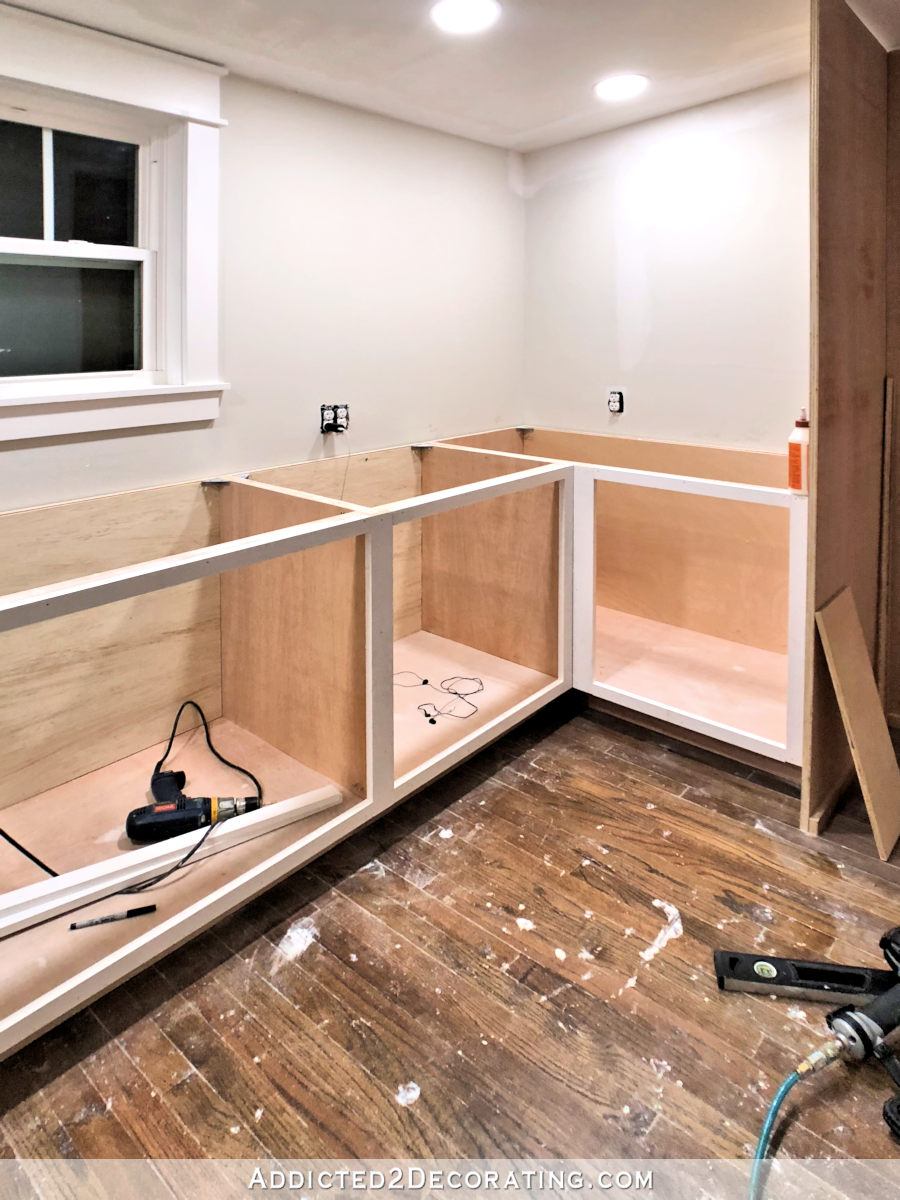
I only got the main trim on the main cabinet boxes installed, but I feel like I’m off to the races now. I’ve got square walls, new lights, proper light placement, and smooth drywall. It should be smooth sailing from here on out. 😀
Update:
My pantry is finished! Want to see the entire project from start to finish? You can find every single post about the pantry build right here…
Or you can skip to the end and see how it turned out. Here’s a peek of the finished pantry…
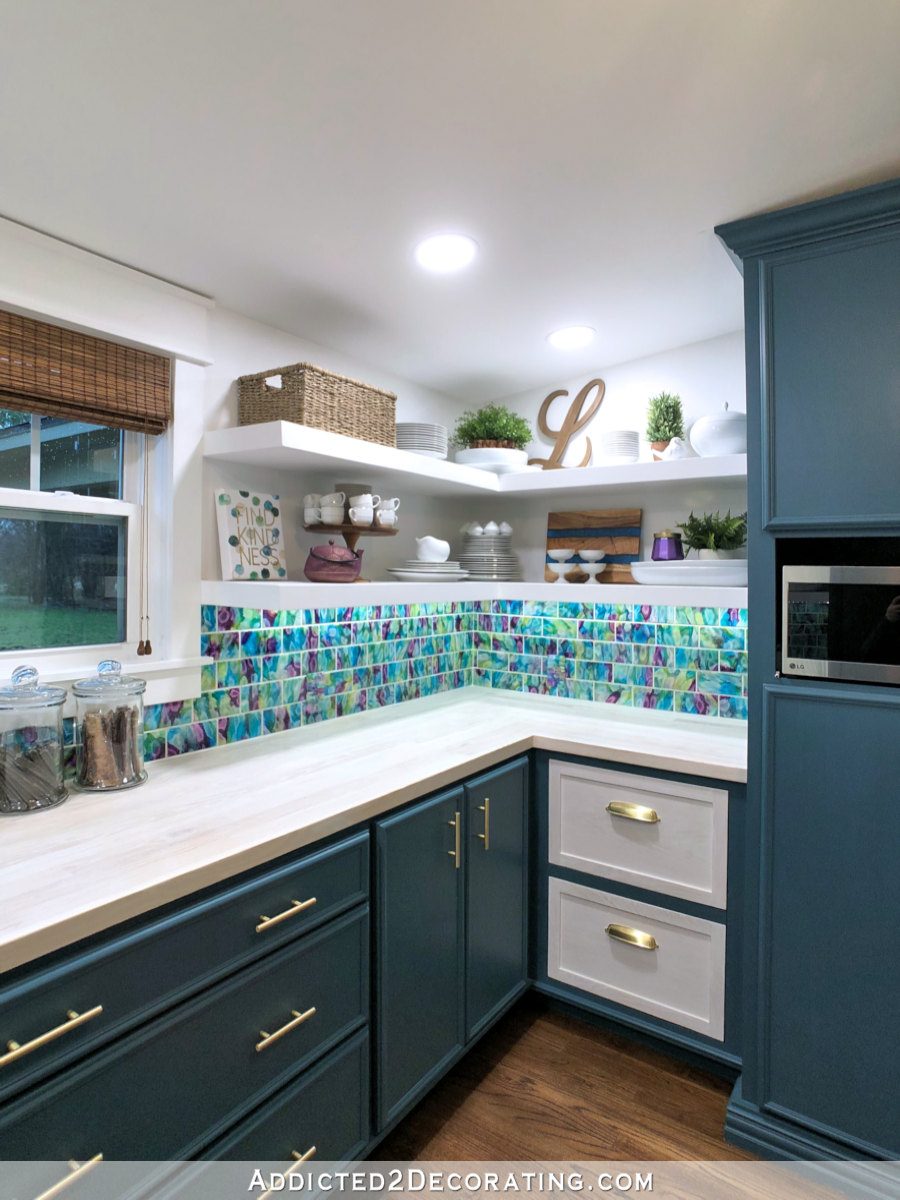
You can see more pictures on the before and after post right here…



![Breakfast Room & Pantry Progress [Video]](https://www.addicted2decorating.com/wp-content/uploads/2016/08/breakfast-room-progress-August-2016.png)
Awesome Progress! It gives new meaning to the Triple Crown. 😀
Keep up the good work. I’m looking forward to the reveal!
Wonderful!
It’s so good to see your progress! Those lights are just right. We’ve used some similar in our renovations and my husband (an electrician) raves about how easy they are to install.
I can’t remember exactly what you said you planned to do in the corner cabinets, but I think I remember you were planning to keep it simple. I kept it simple in my corner cabinet, with one easy solution. I used linen closet wire shelving for the one shelf. It allows me to see what’s on the bottom of the cabinet in the corner and lets light in there. Not fancy, but it works great.
Does anyone else remember the post about refinishing the floors where Kristi vowed to protect them!? X-D
Way to go on the progress! Everything is looking great, and that was a very clever solution to the out-of-line drywall!
Haha! Oops! 😀 Well, it’s just a little (or a lot of) drywall mud. Nothin’ a little soap and water can’t fix. 😀
Ram Board is your friend.
Ha! I thought the same thing! I can be a little lax about protecting my floor as well. But I’ve also paid the price for it! I’m trying to be better. I just get a little too excited about getting to the fun part!
What happen to your chandelier light over the window?
It just needs to be re-installed. He actually installed it, but it wouldn’t turn on. He changed the bulbs, and nothing. So he removed it, checked the actual wires to be sure they were getting power, and they were. So I’m thinking an internal wire got pulled loose in the actual light, so I have to take a few minutes and troubleshoot that. I’ll re-install it once I figure out the problem.
TY for the info on the new lights. I’m so excited to watch the transformation of this space. Fingers crossed for smooth sailing here on out. Your hallway transformation is one of my favorites and I have a feeling the pantry will be right up there too.
I’m glad you’ve managed to hire the tedious work out and continued the fun stuff (even though I don’wouldn’t exactly consider doing that many tiles fun – and even 50 more to go, I admire your stamina!!). I keep my fingers crossed that from now on everything will work out for you without any glitches. Btw how much do you feel pressured by the ORC schedule? I hope not too much because we know that you are awesome even if you do not meet their timeline 🙂
I loved the comment about the state of your floor (yet again), it would give me nightmares and once again I admire how cool you are about things that you can fix – you sure are my DIY heroine!!!
Many, many thanks re: the wafer thin ceiling lights. I have the same “no attic space” issue in my MB closet. Yet another problem solved by Kristi!
Ditto the thanks! I’ve got open beam ceilings and a flat roof with almost no space for any recessed lighting I’ve seen. These might just work!
Me too! I’m trying to figure out how these work…..do you have them wired in somehow? I have an old 1948 house with no closet lights or ceiling lights in the living room.
And I loathe fake daylight bulbs, I’d rather err on the side of too warm.
Yes, they’re hardwired. They have a transformer box (very small, and it just sits on top of the drywall) that you wire to the wires in the ceiling. Then you plug the light into the transformer. The light fits into a six-inch hole in the drywall, just like any other six-inch recessed light. So it doesn’t require a junction box like a standard ceiling light.
Cool! I want those for my kitchen!
Such a lovely big space for storage! This is where I goofed..I did a utility/pantry combo and then made it too small, so there’s barely any actual storage in there. It’s a bit tight. If I was designing the house again..I’d expand the dining area of the kitchen and have a real pantry. We’ve got some big cabinets in the downstairs work area that are serving the function.
I burst out laughing at your last line…should be smooth sailing from here on out. Does that ever happen? It doesn’t usually with me. Looking forward to seeing your next steps.
Those shallow recessed lights are a real find! My husband put in the standard kind, and it was a job of work. Your tiles are frankly ASTONISHING – can’t wait to see them installed.
You go girl!!! Everything looks on track and I think you’ll like that lighting. Can’t wait for your next installment!
Everything looks good so far you are doing an awesome job love the new lights can’t wait to see everything finished
I’m so glad you hired that drywall work out. You really didn’t need to be spending your time on that. All this progress is so exciting! You must be thrilled! Keep up the good work!
Hi Kristi. You are amazingly talented! The changes you’ve made in your home are classically fresh and charming with a flair. I’m fairly new to your blog but have already learned very much. You give so many of your readers diy courage to venture out and try new things. Your tiles are fab! I didn’t see your pantry drawings so my question may be answered there. Are you hiding your electrical outlets? Just can’t imagines seeing them in the middle of your beautiful tiles. Thanks again for sharing.
A new fan…
Gail
I thought about hiding the outlets that are on the backsplash area, but changed my mind. Instead, I decided to reduce the number from six to four (so the two-gang outlets on the back wall will just be single gang outlets), and then I plan to use the outlet covers that cover the entire outlets (except for the holes for the plugs) and do the same resin treatment to those that I’m doing on the tiles.
I knew you’d have a plan. Bravo!
A while back I saw another way to disguise the outlets – I used it for my kitchen because I hated the white covers on my darker granite. SO, you take a picture of the granite, print on regular paper, and mod-podge on to the cover. I wound up spraying them with clear top coat to make them shiny.
I’m pretty happy they way they disappear now – although my husband can’t find the outlets as easily! I also sponged some of the same colors on the outlet themselves – keeping away from the holes!
Great idea hiring out the drywall etc work. This pantry is going to be super. Love your resin tiles. Can’t wait to see them up.
Glad you hired out something that is such a pain. And those lights are AWESOME! I’m sure you have thought of this, but does your freezer compartment have enough room for ventilation? I always wonder about boxing in appliances.
Great idea to also color the outlet covers!
But those floors – ouch! I would rather protect than clean any day.
I guess I must have missed your post about the roll out cabinets? Looking at this I don’t see any.
I am wondering if you have tried to cut the tiles you have finished making yet? I am curious to know how the epoxy holds up at the cut and if the final cuts would need to be epoxied after a final dry fitting. Love your progress.