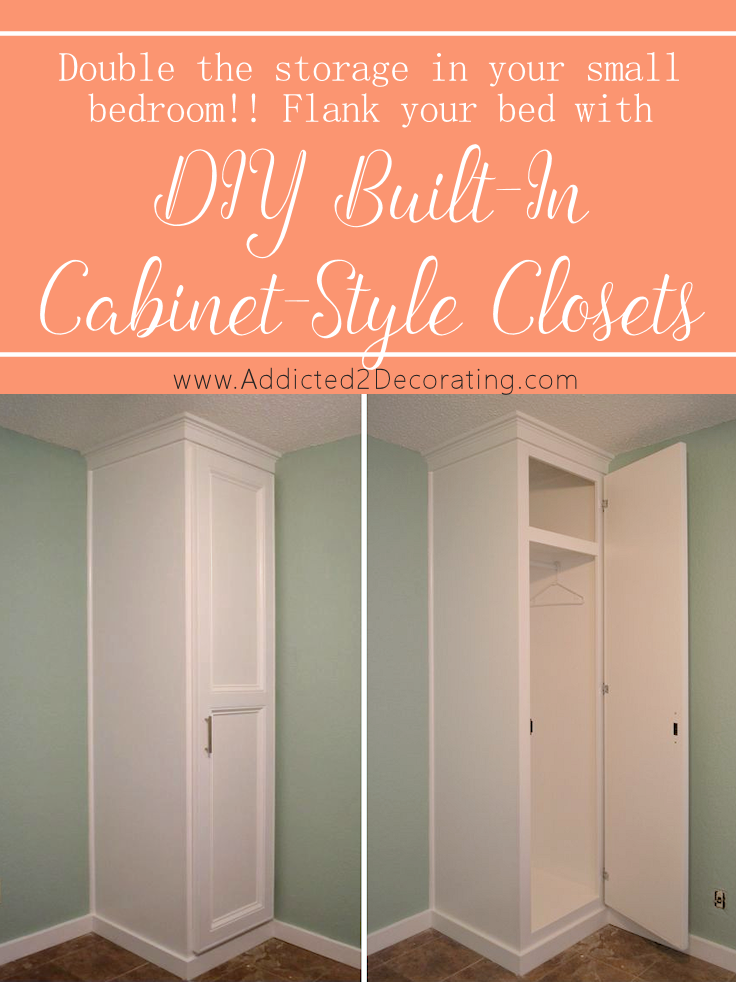
DIY – How to Build Cabinet-Style Closets To Flank Your Bed (Double Your Bedroom Storage!)
Well, it took a bit longer than I had anticipated, but I finished the built-in closets on Friday evening.
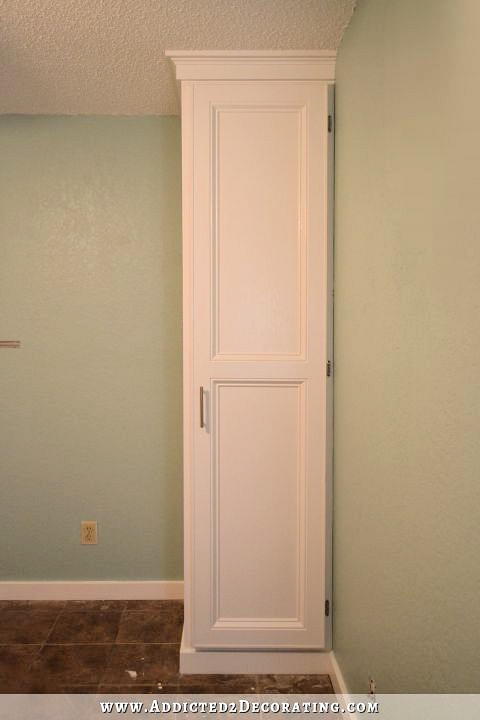
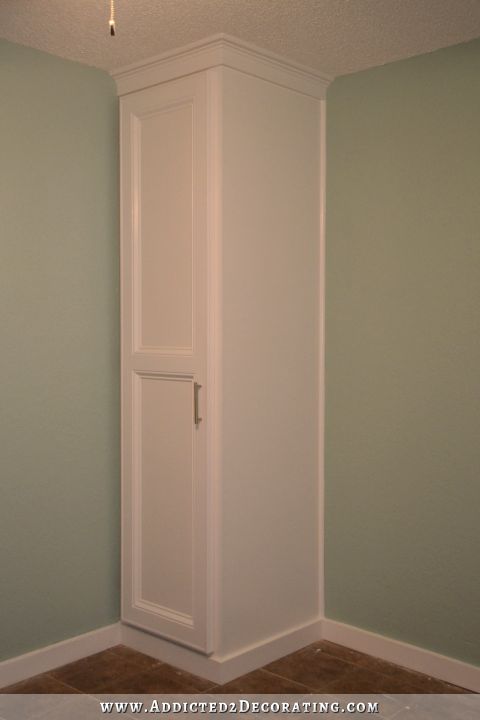
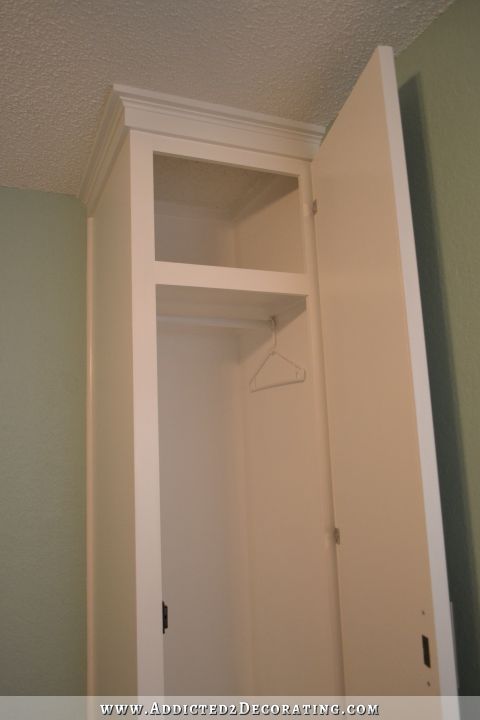
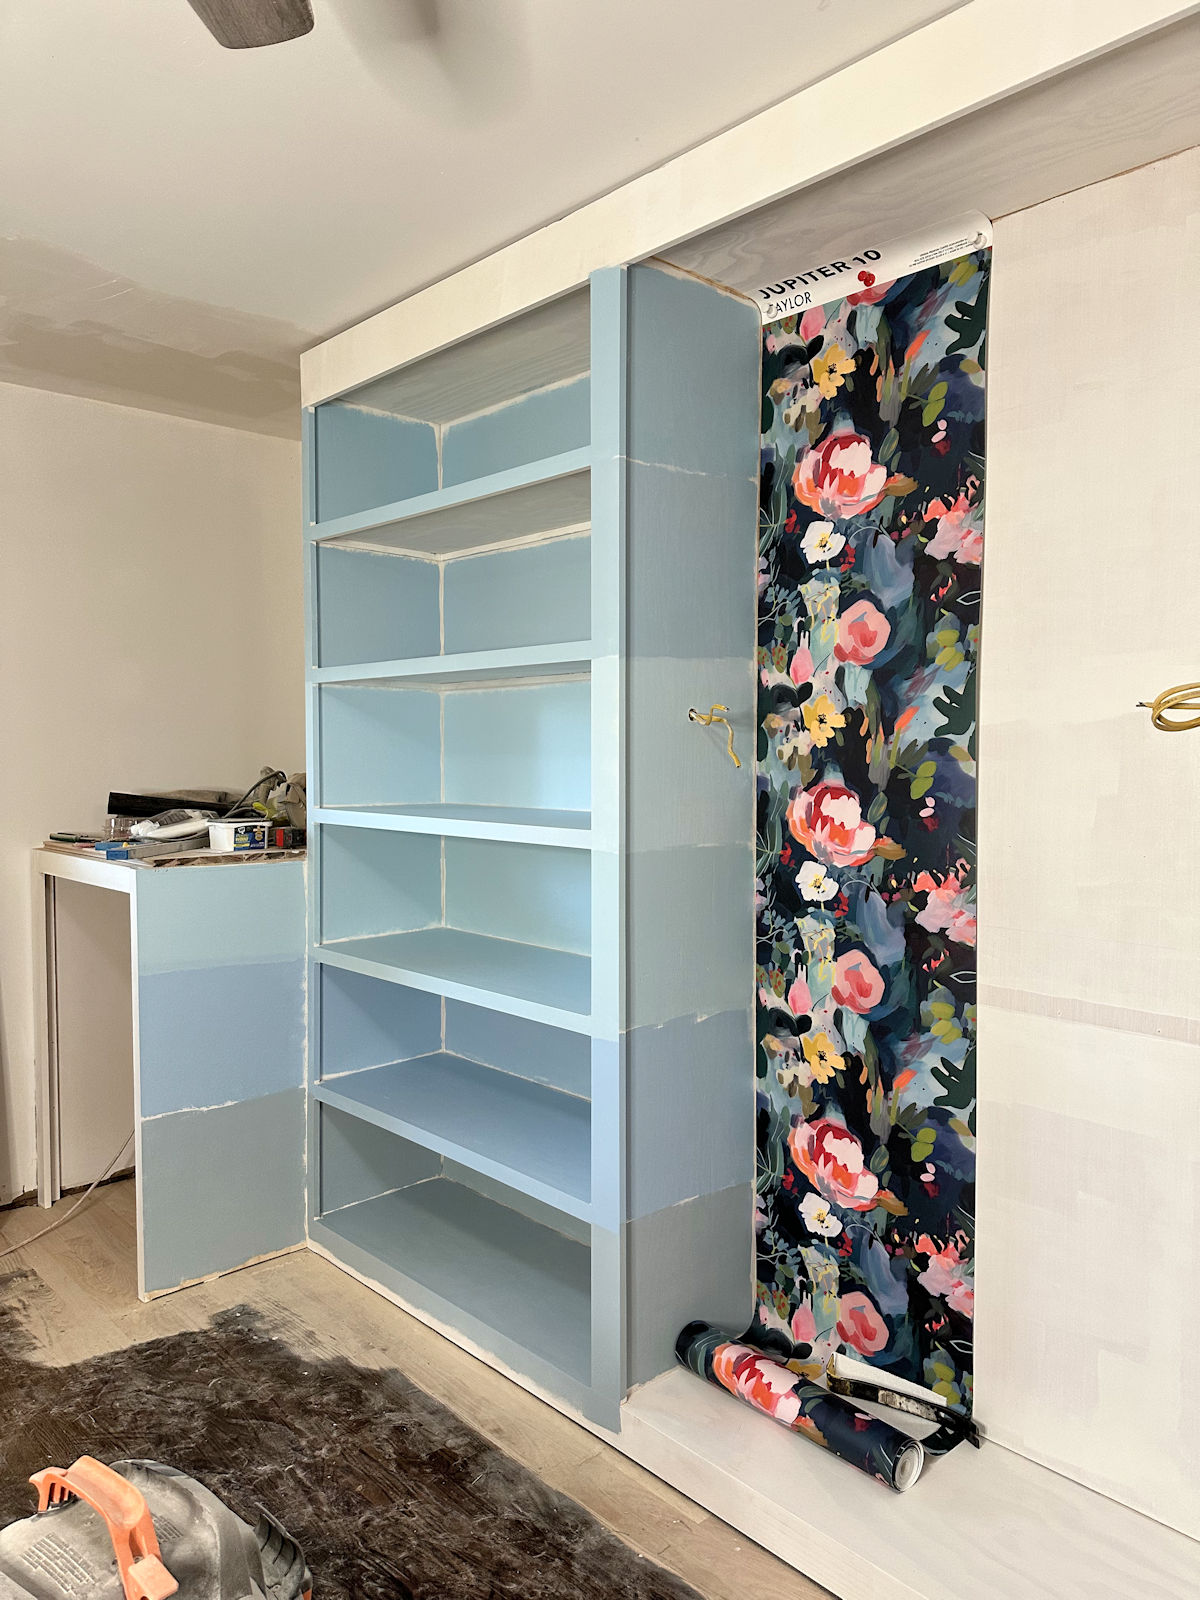
Then I took another day to scrape off the wallpaper remnants, clean and patch the walls, and give the walls a fresh coat of paint. For the walls, I chose a light, muted, somewhat grayed aqua called Marina Isle by Behr. Here’s how the right bedside closet turned out…
If you missed the previous posts on this project, you can check out Part 1 here…

And you can check out Part 2 of this project here…

The paint color I used on the closets is Polar Bear by Behr, which has been my go-to trim color for many years now. I don’t like stark whites for trim because they can look cold and harsh, and I don’t like whites that have hints of yellow, because they can come a little too close to “antique white” for my taste. This white has just the tiniest, slightest hint of red added to it, so it’s a very warm, creamy white.
I’m really proud of how these closets turned out. The quality of the construction is miles above what the original closets were that I started building in here a few years back. And while these closets aren’t very wide, I think they’ll offer quite a bit of storage. In a condo this size, any additional storage is a huge bonus.
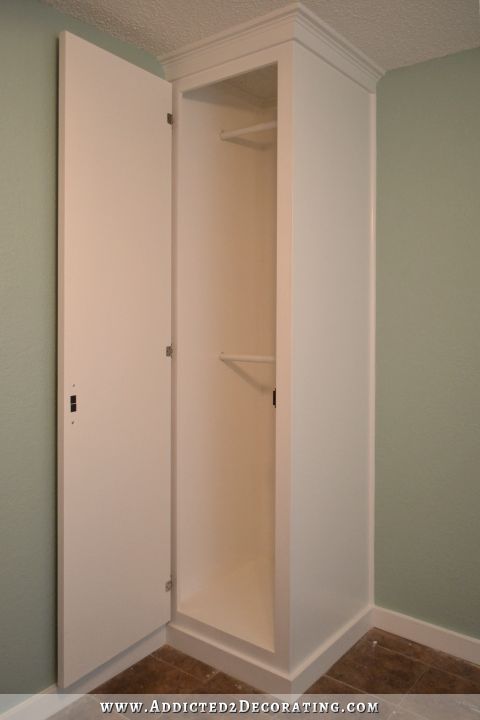
In the closet on the right, I added a shelf at the top, and then one hanging bar for longer clothing items.
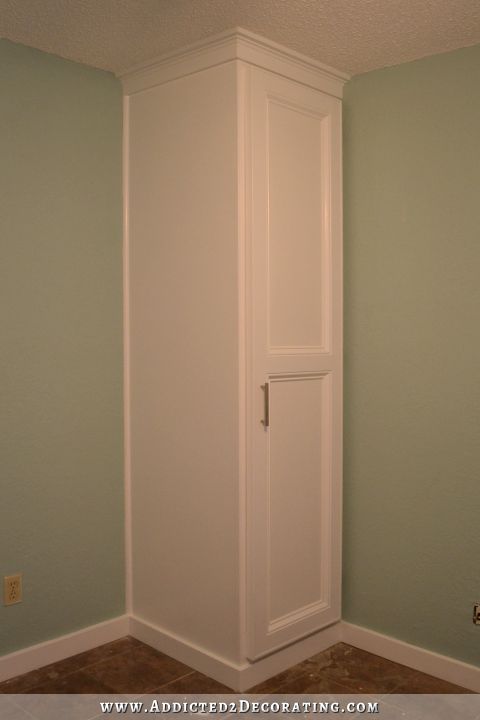
The closet on the left looks identical on the outside…
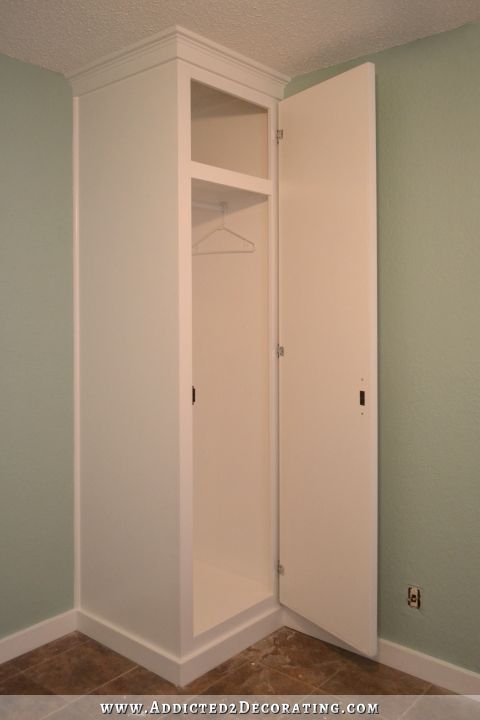
…but the inside is configured with two hanging bars for shorter clothing items.
Combined, they offer about 69 inches of hanging storage. That’s over ten inches more than the original closet in this room (which is now shelf and drawer storage).
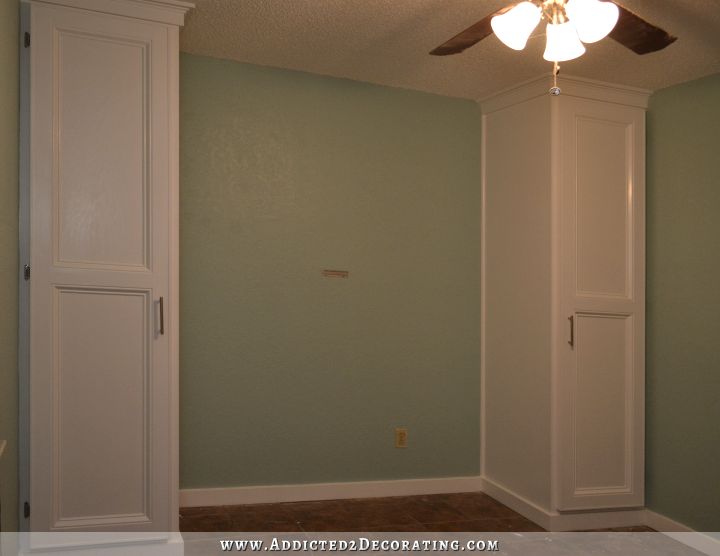
And they ended up costing about $168 each. Not too bad, right?
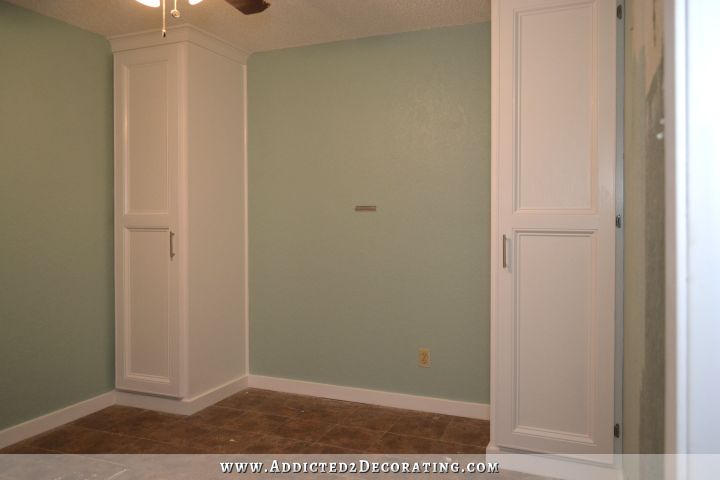
You can see I still have some wallpaper scraping and painting to do on the walls (on the right wall). That’s turned out to be a bigger job than I had hoped, but there’s no turning back now. And I’ve had far worse wallpaper removal experiences, so while this isn’t coming off as easily as I had hoped, it’s still much easier in comparison to removing old wallpaper from unprimed drywall.
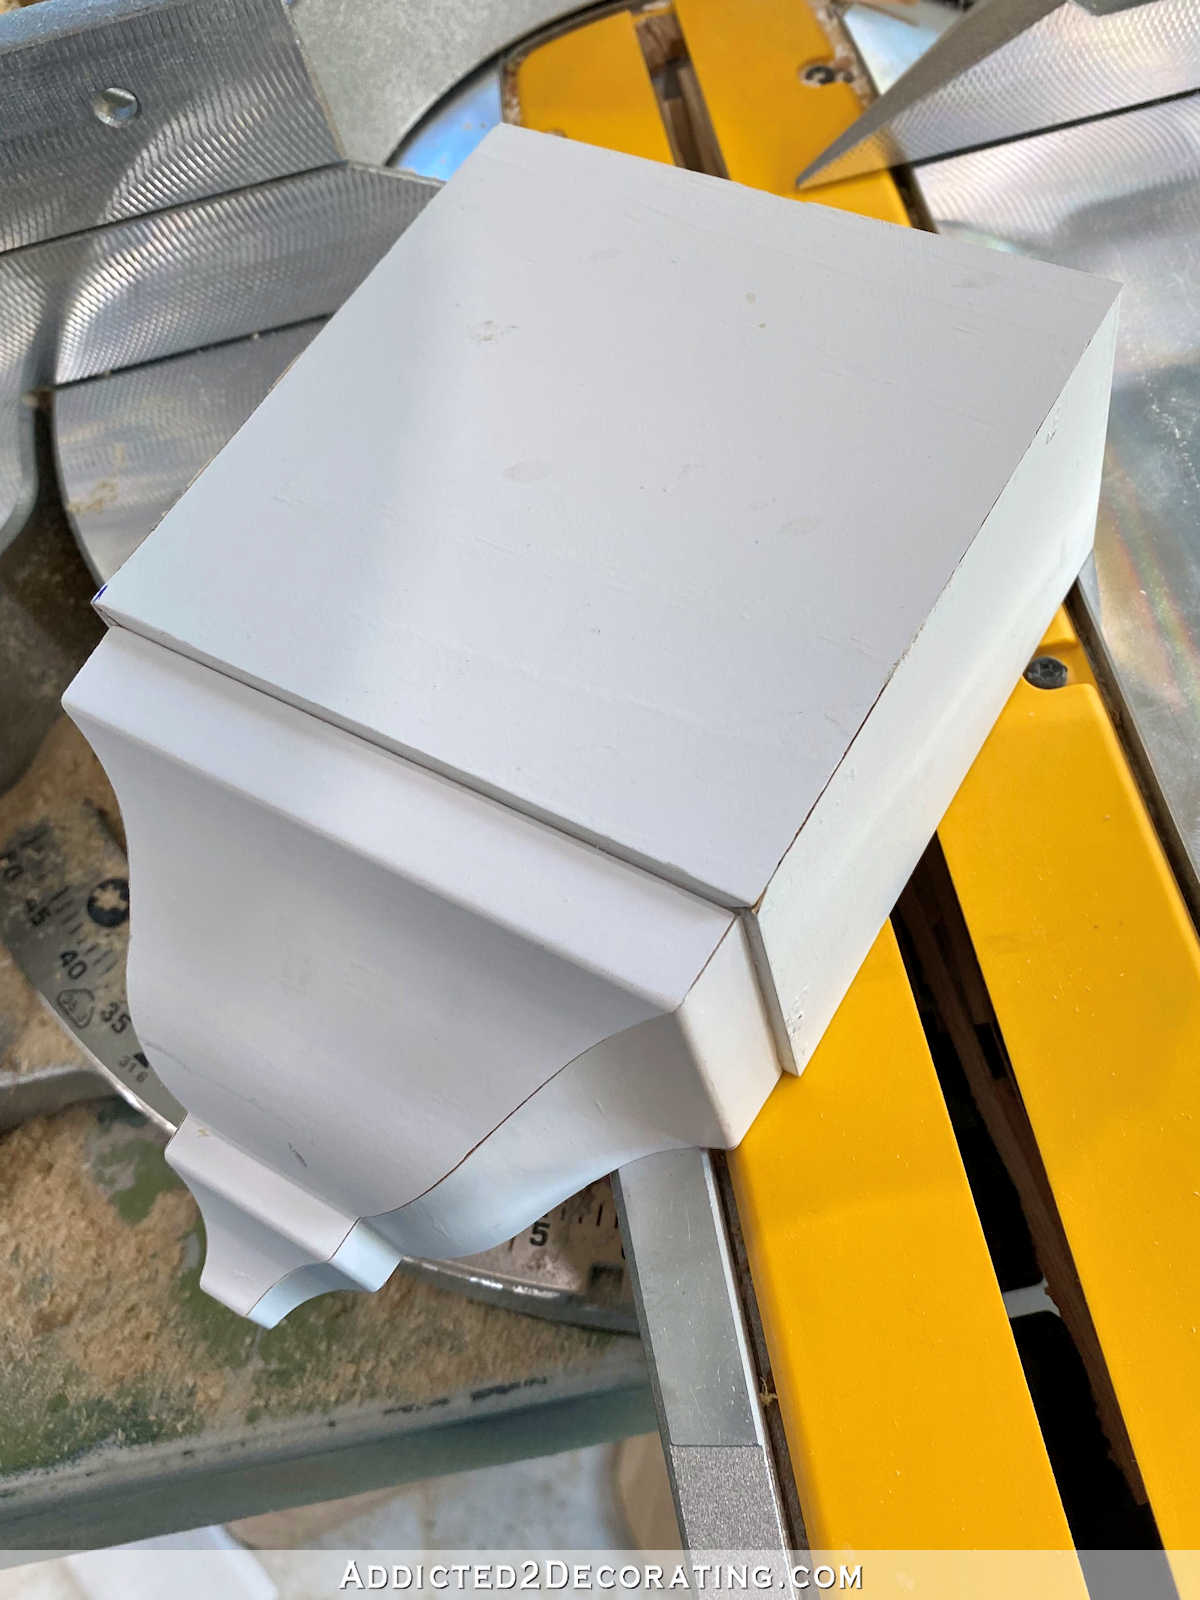
Oh, and remember my not-so-perfect mitered corners on the faux crown moulding?
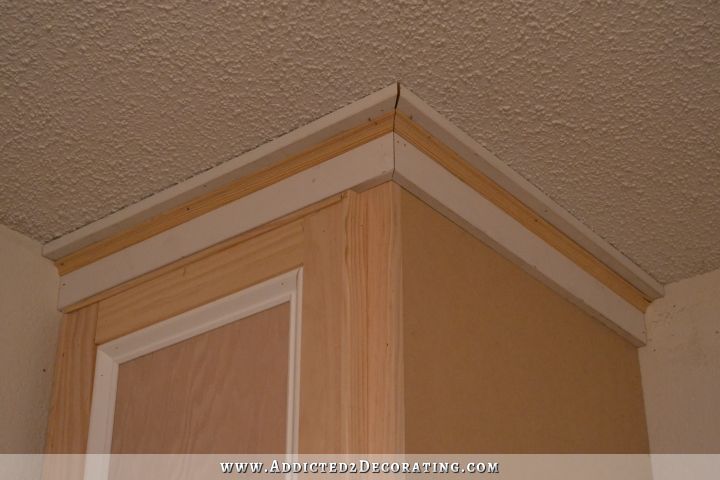
Here’s how it looked after I filled the cracks with wood filler, sanded it smooth, caulked, primed and painted.
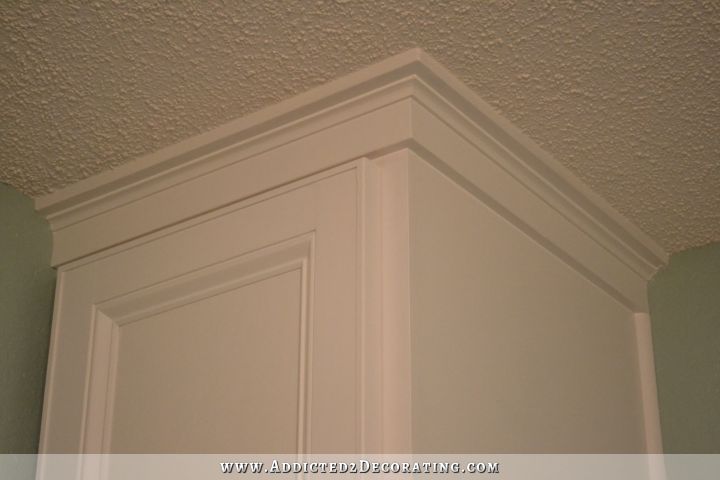
I’m tellin’ ya…wood filler and caulk are a DIYer’s best friends when it comes to getting a high quality finish on a project with less-than-perfect cuts and joints.
And as far as the shelf that I added to the closet on the right, there’s nothing fancy or difficult about it. I simply cut three pieces of scrap 1″ x 2″ lumber, and attached those horizontally to the back and the sides of the closet interior using wood glue and my nail gun. Then I cut a piece of 1/2-inch MDF to fit to create the shelf, whch I glued and nailed to the 1″ x 2″ supports. Then I cut a piece of 1″ x 3″ lumber and attached it to the front edge of the shelf. Then with a little wood filling, sanding, and caulking, it blended right in.
It feels really good to finally have this project finished. This was the biggest unfinished project in the whole condo, so the rest of my to-do list should feel pretty simple in comparison.
UPDATE: This room makeover is complete!
Click here to before and after pictures of this room makeover.

Planning a small bedroom makeover?
Don’t forget to save this idea for later!

Addicted 2 Decorating is where I share my DIY and decorating journey as I remodel and decorate the 1948 fixer upper that my husband, Matt, and I bought in 2013. Matt has M.S. and is unable to do physical work, so I do the majority of the work on the house by myself. You can learn more about me here.

The closets look great !
I will be using your idea of triming for the ceiling in my bathroom so thank you SO much for posting in details how to get that done. Any ideas what to use to sand a bath ?
Sand a bath? I’m not really sure what you’re asking.
I have a very old bath. The heavy kind. When I bought the house, I tried all sorts to cleaning products to make it look white again. No luck. So, I thought I could sort of paint it but it says to sand it clean first and I am not having much luck. It still looks awful. I was wondering if you knew of something to help me do a better job. I used my sanding machine, the one that is shaped like a triangle ? And a sand paper block. It does make a difference but not a big one.
A pumice stone perhaps? I know they make ones for toilets, so I imagine you could use that for your tub as well!
I suspect you are to sand it to knock off the glossy finish, so it will have “tooth” for the new finish to be able to adhere to it. Good luck!
Looking great!! I really like how the closets look in the room.
I think my favorite part may be the way you did the molding at the top. Perfect!
And the finished project looks great. Sure they will be a favorite feature of a future owner.
You did yourself proud, again! They look great. And as soon as you get the rest finished, I’m sure there’s an immediate sale.
They came out beautifully but then we all knew they would. Somebody will be really blessed to get that condo with all of the added extras you have provided.
You amaze me with your talent!
The cupboards look fabulous Kristi and I’m sure people will appreciate the extra storage space. I also love the color of the walls. Great job girl!
Love them! What is next???????
Another great job, Kristi! all I can say is ‘ditto’ to all the above…
another great project. Love that you were thoughtful on the hanging of clothes with the three rods. Cheers
I love the closets (esp. the crown moulding) but even more the colour you chose for the walls! I hope the next owner will like it as well and keep it so that your effort isn’t wasted. Cannot wait to see what else you’re going to accomplish in the condo in order to get it on the market!
Lovely work as usual! 🙂
Well Girl, ya did it again! Bravo! I am right there with you on the caulk, spackle and wood putty. I have hidden many a poor cut and fit using those handy items. If you come back a year later, even YOU can’t find the disguise! Keep up the great work. 🙂
Beautiful wall color. Looks really calm and soothing. I think it would be cool to put a bookshelf/headboard between the closets.
Well done!
They look really good! I love the crown molding and the wood filler/caulk fixes– makes it look perfect.
Nice..VERY nice!
I think those are going to work perfectly. Wouldn’t it be great if roommates could buy this condo? Its set up perfectly for two. Well done.
These turned out really really nice. You can hang art work ! You are just amazing.
Beautiful job! Speaking as a resident of a small apartment in a big city, I can personally testify to how important small closets like these are, and what a major difference they make in livability. And you made them look so very nice!
Very nice. Pretty wall color also.
The closets look wonderful and I love the different heights for the hangers. I bet there will be a bidding war for your condo when you are finished! Thank you, too, for sharing the paint colors! Just beautiful!
Looks fantastic! You even blended it all into the ceiling. Perhaps you’ve mentioned this before, but: What are your favorite brands of wood filler and caulk, or are they all pretty much the same?
Wood filler – I use Elmer’s, and it comes in little tubs at Home Depot in the paint department. They recently changed their product, and it’s much better now.
Caulk – I always use Alex Fast Dry latex caulk. It dries in about 30 minutes, so no waiting forever before painting.
These closets look fab!! You chose a beautiful color for the walls too. They look perfect together!
Kristi, are you selling the condo furnished?
It won’t be fully furnished, but the things that are there, I don’t want — dining table, two dining chairs, two living room chairs, two headboards…
So whoever buys it can keep those things are not. It’s up to them, but I don’t want any of it.
This is another good project. Looking awesome and pretty color combination.
Kristi I have faithfully read your blog for about 3 years now and never left a comment…. But after seeing all you’ve done lately, especially your beautiful kitchen, I have to tell you that I think your projects are amazing! Thank you for sharing your out of this world talent with all of us. The thing that I especially love about reading your blog, is you keep at it until whatever you are working on is to your level expectation. Even if it means you’re going to take flack for it. I see this “perfectionistic” trait in myself and sometimes cave to popular consensus even though I know that eventually I’m going to go back and do it over because it didn’t quite meet my level of expectation or didn’t turn out like I thought it would. I should just channel my inner Kristi and keep at it until its right. Thank you for empowering me to use power tools, (even though they still kinda scare me! I’m thinking the fear keeps all of my fingers attached?!) And as far as your weight loss goes? GOOD FOR YOU! And congratulations! Whoever has lost any significant amount of weight knows how hard it is, and we are all different, if something works for you, go for it! And ignore everyone else. We’re all different and that’s why there are so many ways of doing things out there. Find what works for you. Thank you for all you do — everyday I log on to my computer, “thinking what has Kristi done today?” You are truly amazing, and I thought you should know I think so, for what it’s worth! 😉
One short year ago, you said on your blog, “Although, I’ve never built…and finished…closets before in my life, so I really have no idea if the actual process would be easier or not.”
Look at you now!! Beautiful job!! 😀
Your vision of what you wanted and needed is perfectly complete !!
The room now looks so professionally designed, decorated and functional.
It’s amazing the new skills we can learn to accomplish an improvement needed ( once you get an estimate from a “professional ” for ” the Project ” it becomes an easy decision ) [ of course if a specific tool is needed for a particular portion that becomes a factor into the cost ].
Even the bedding and bedside lighting is so spot on ~~~ well done and done well !!!!!