DIY Custom Wood Air Return Vent Cover, Part 1
Okay, so I admit…air return vents just are not exactly the most exciting topic. But if you have an HVAC system in your house, then you’ve got at least one air return vent. Are you fortunate enough to have yours in a hallway? In the ceiling of your stairwell? If so, then count your blessings. My air return vent is front and center, just underneath the HVAC unit closet, which can be seen directly from the front door. (These condos were designed in the early 80s, and there are more than a few undesirable design issues like this.)
So since mine is front and center, it at least needs to look attractive…something like this…

Well, let me assure you, mine looks nothing like that…at least not yet. Are you ready to see mine in its current state? You might not want to proceed if you’re alone…in a dark room. Because I can assure you, this is scary!
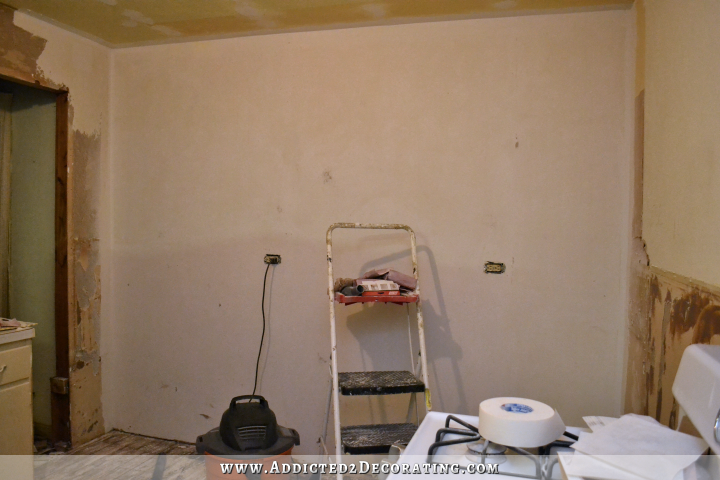
Here’s my front-and-center air return vent…

Sadly, you’re not having a nightmare. This is reality. Is that not the most disgusting sight?
Okay, here’s the deal. The vent itself is most assuredly original to the condo, so it’s almost 30 years old. And its doubtful that it’s seen a coat of paint since its original debut. The gross dark areas that you see…that’s not dirt. It’s where the paint has worn away, and I don’t really know how that came to be. Thirty years of scrubbing and vacuuming perhaps? Sure, we’ll go with that. The dark brown at the bottom…that’s floor paint from when I painted my concrete floors. I wasn’t careful at all because I had planned to replace the vent immediately. That never happened. (More on that in a bit.)
The baseboards look disgusting because of a major A/C leak that we had that damaged the wall and the baseboards. Replacing them has been on my “to do” list for quite some time now.

Okay, so I know what you’re thinking. Kristi, why don’t you just take the vent and give it a good coat of spray paint?
Well, I should have. But every time I thought of doing that, I convinced myself that it would be a waste of time (and spray paint) to paint this worn, ugly, bent, beat up vent because I was just going to replace it! And believe me, I’ve searched high and low for a standard metal vent to replace it. Sadly, I can’t find this size anywhere, and I’ve looked at Lowe’s, Home Depot, and online. It’s just not a standard size anymore.
So then I thought I’d really like to have a pretty wood vent. But I ran into the same problem. I just can’t find the size I need anywhere. Not to mention the fact that those pretty wood vents are expensive! The one above starts at $118, and I’ve seen them as much as $330. But again, it doesn’t even matter, because the size I need is simply not available. I would have to have one custom made, and there’s no telling how expensive that would be!
So I’ve decided to take matters into my own hands. Does that fancy wood vent remind you of anything? Perhaps…a shutter?

I picked up this shutter from ReStore a few days ago for $10, and it will soon be my new return air vent. Can you picture it?
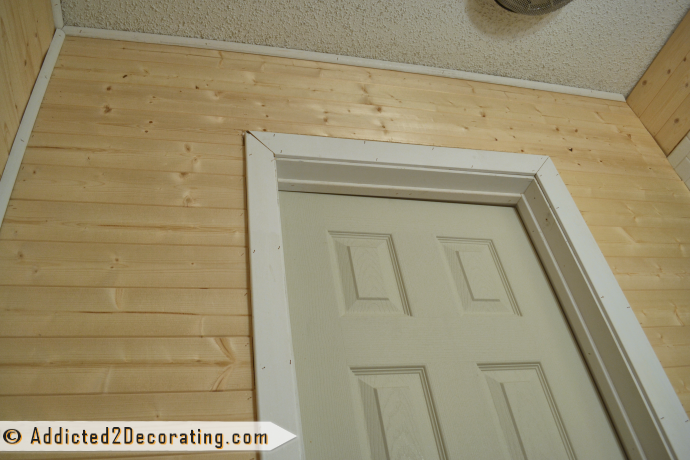
Yesterday evening, I decided that I’ve put this off long enough, so I got to work. First, I had to remove the ugly vent, the damaged baseboards, and the moulding underneath the HVAC closet. (I’ll warn you, it gets worse before it gets better.)

You can see how damaged the wall is at the bottom. Yuck! I asked a contractor about it, and he assured me that as long as the drywall has no more moisture in it, no mold, and the damaged areas can be covered with baseboards, then there’s no need to replace the drywall. So, I press on.
After laying the rest of the tile by the wall, it was time to get started on my new vent. I used my miter saw to cut the shutter down to the correct height…

(Sorry for the bad pictures! It was completely dark outside when I was working on this, and I was working by the light of one single light bulb in my front porch light.)
Next I removed the bottom three slats…

And added a piece of the frame wood that I cut from one of the sides of the shutter…

With the help of lots of wood glue and my really long clamp, it’s actually starting to look like a vent cover!

That’s where I left things last night. Obviously there’s still lots of work to be done. What do you think? Will the result be what I’m hoping for? I guess we’ll all see tomorrow! Stay tuned for my completed custom wood air return vent.

Addicted 2 Decorating is where I share my DIY and decorating journey as I remodel and decorate the 1948 fixer upper that my husband, Matt, and I bought in 2013. Matt has M.S. and is unable to do physical work, so I do the majority of the work on the house by myself. You can learn more about me here.


Um…Fabulous!!
You GO, Girl!! I think it will work great.
My face literally went from sad face to an eye’s lit up smile when I saw the beautiful shutter in perfect size. I love a good re-purpose, you’ve so got this.
I can see great things ahead! Keep going!!
Love this! We all have those projects that seem to get put on the back burner because we think that we need to do bigger projects first! Some of my favorite projects have been the small ones that have a really big impact!
It will look wonderful when you’ve painted it. I’ll come back to see the finished product. What colour will you use? I suppose you have some paint left over from the wall or are you going to do a complete re-paint?
I think this is so much better than the original.
It looks better already! Excited for the after.
Another option might have been an antique/vintage wall vent, but those can go for a pretty penny, too.
Nice job giving this a fix-up. The shutter is going to look great!
I love the shutter look. I would let this be a center for a “fake” door. Maybe you could extend the trim from the door above so it looks like one door with a shutter panel…probably more advice than you wanted, but I just can’t help myself. Whataya think, ya or na?
What a great idea!!! I think it’s going to work well! Could I make a suggestion? I think that it would be lovely to create a finish that goes the entire width of the door sill above the vent….incorporating the two areas so it doesn’t look like its hanging in space. You are really handy with the tools. I’m impressed!
Yikes! I was alone … in a dark room, LOL 😉 Seriously, I love the direction you’re going with it and I can’t wait for the reveal tomorrow.
Smiles,
Lesli 🙂
what an awesome idea! 🙂 I love it!!
http://munchtalk.blogspot.com/
What a fantastic solution! Can’t wait to see it all painted and finished – just awesome!
Excellent idea! Looks like you can make it work. You clearly know what you’re doing..
Way to go! I love the way you think outside the box, er, vent panel! Great job!
fabulous!
Absolutely inspiring!
nice page;))