Guest Bedroom Progress — The Painting Is Finished!
*This post contains affiliate links.
I was beginning to think I’d never see the day when I’d have all of the trim installation, wood filling, sanding, caulking, priming and painting finished on the guest bedroom, but I finally got the second coat of paint on the bedroom door last night, and with that, it was all finished.
I still don’t have to floor painted. That’s a completely separate project altogether, and I’ll begin tackling that today. But for now, I wanted to show y’all the room with all of the trim installed, and all of the walls, trim, and closets painted.
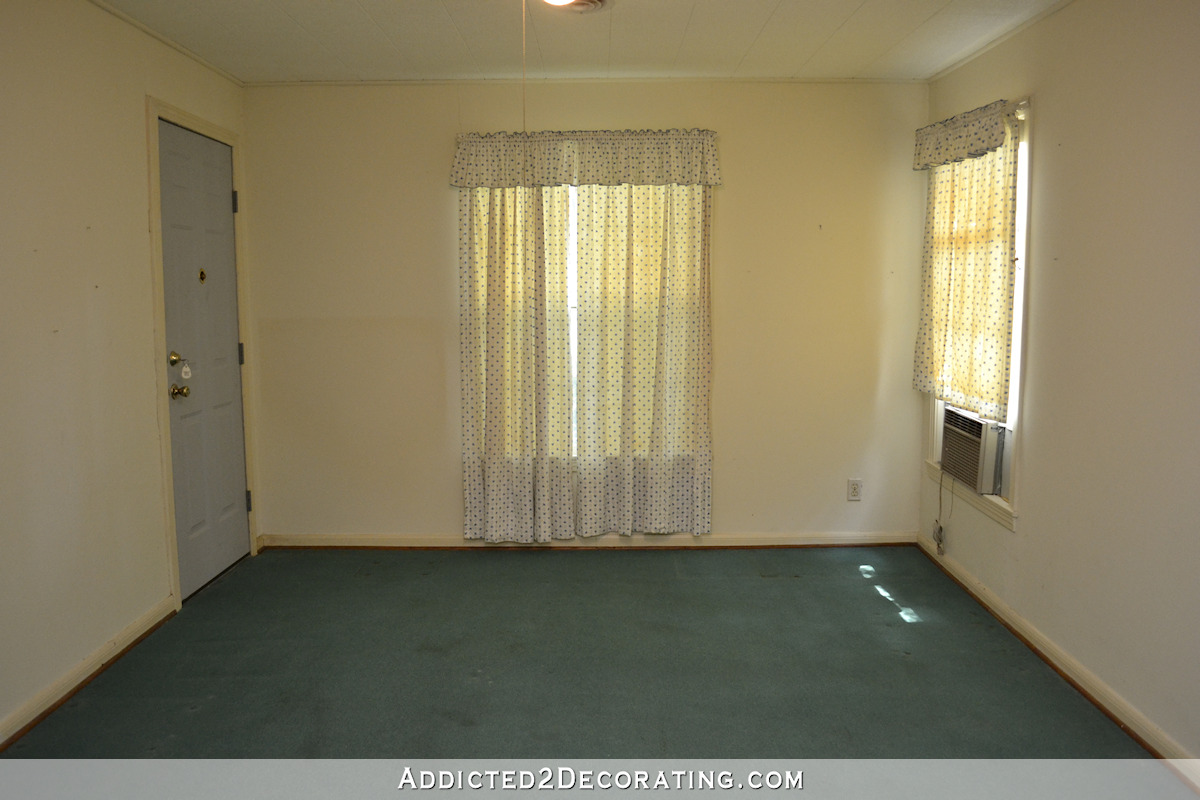
Let’s jump back in time just a bit, though, and remember what this room used to look like. The original room had the window in the middle, just like it does now. But it also had a door to the front porch on the left, and a second window on the right.
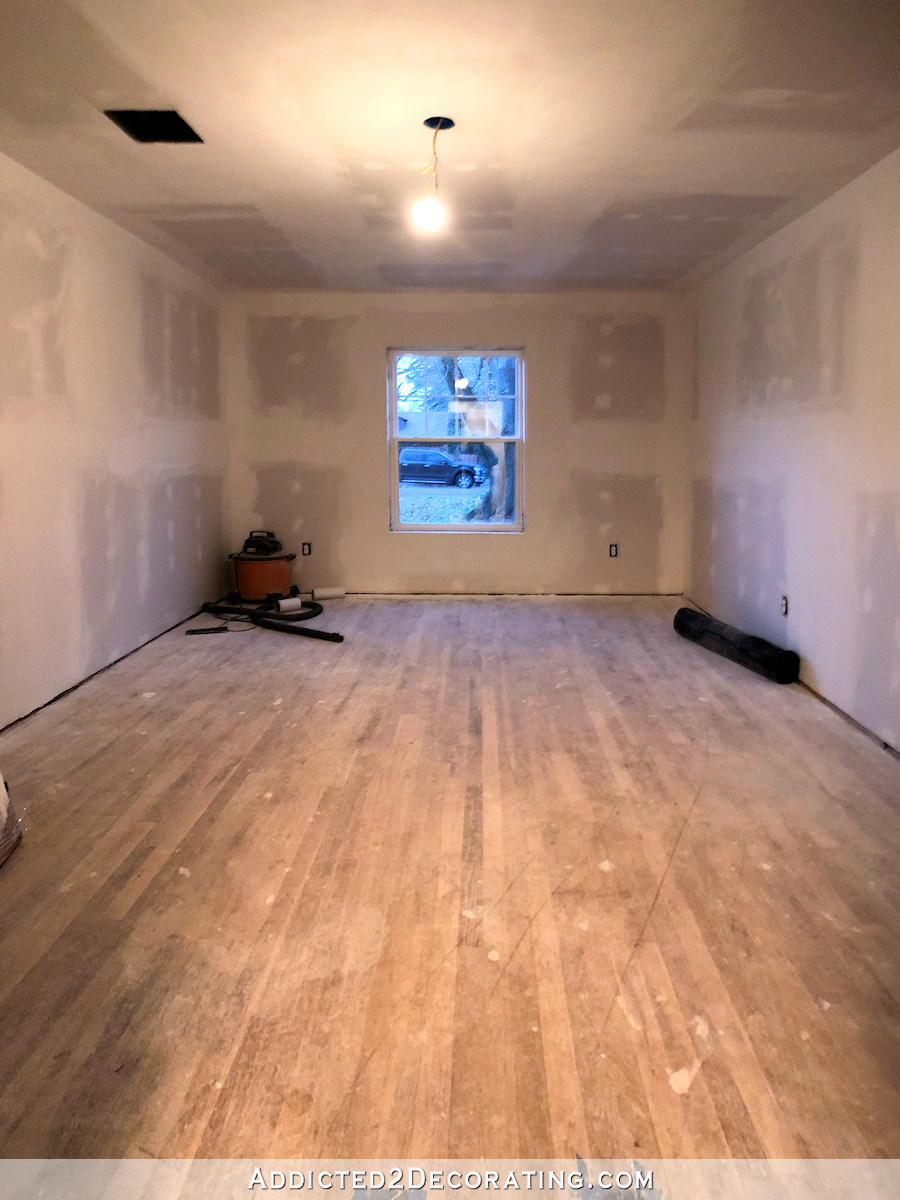
I had that doorway closed up way back when we had the new siding put on the exterior of the house, and then when we had the new drywall installed in this room, I had them drywall over the window on the right so that I could create closets around the main window. And we also had that old window replaced. So here’s what the room looked like at that point…
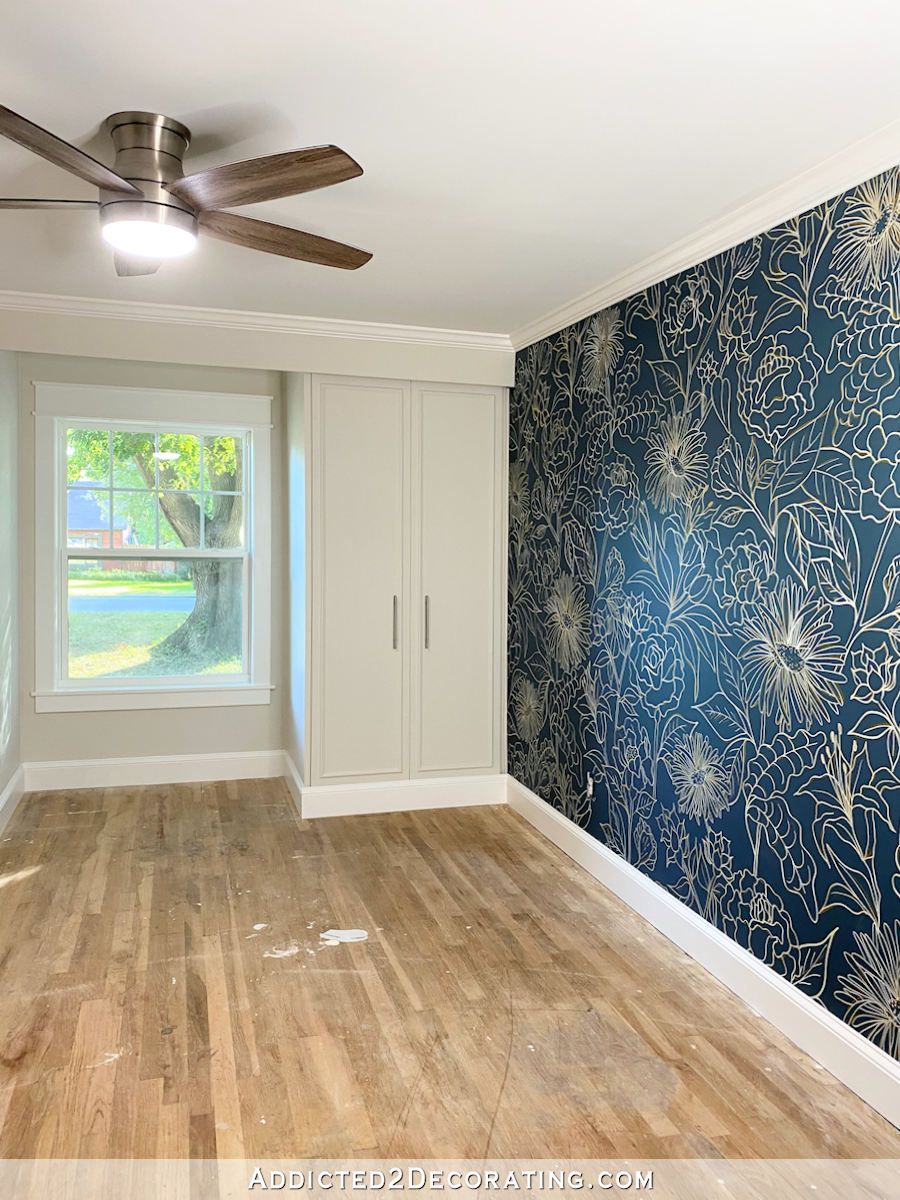
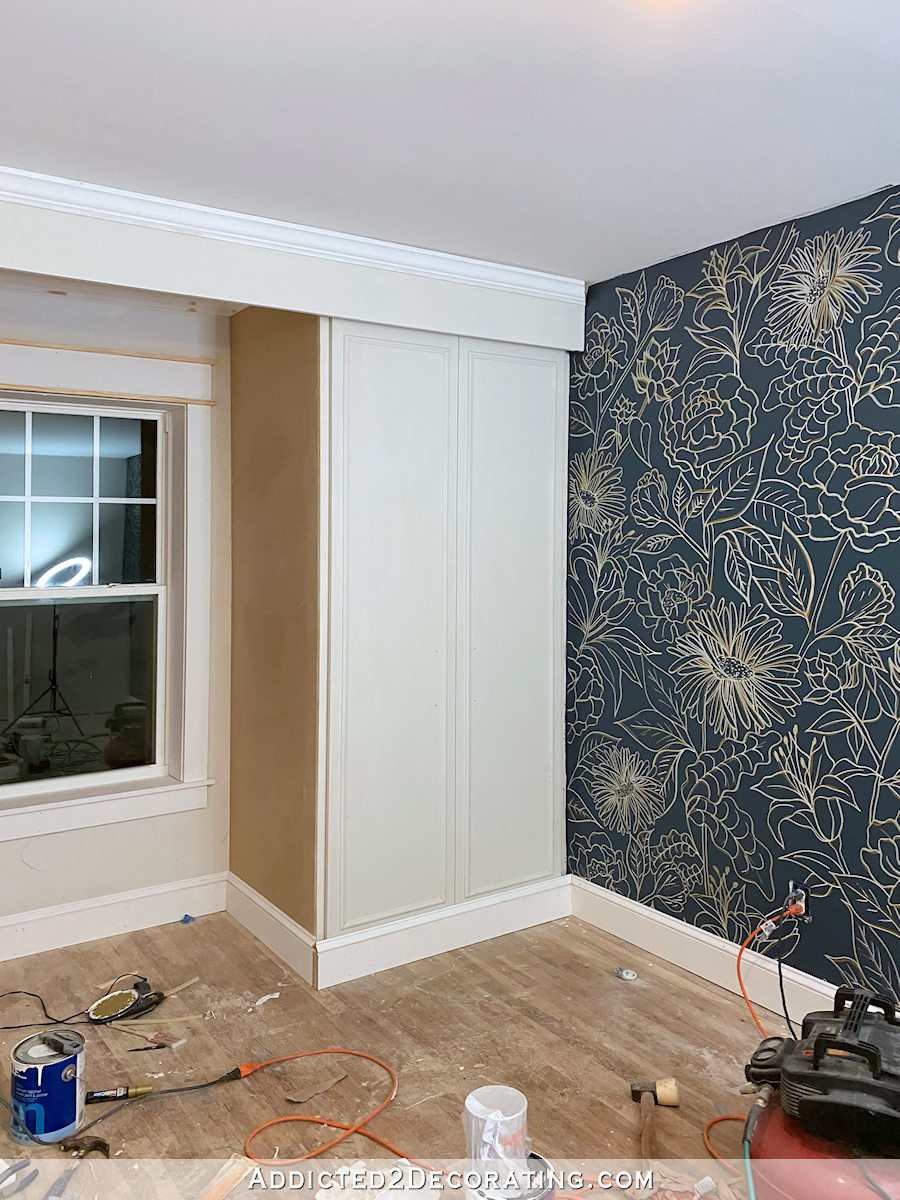
And now, with the new window, new trim, new closets, and new fan and lighting, here’s the progress on the room as of today…
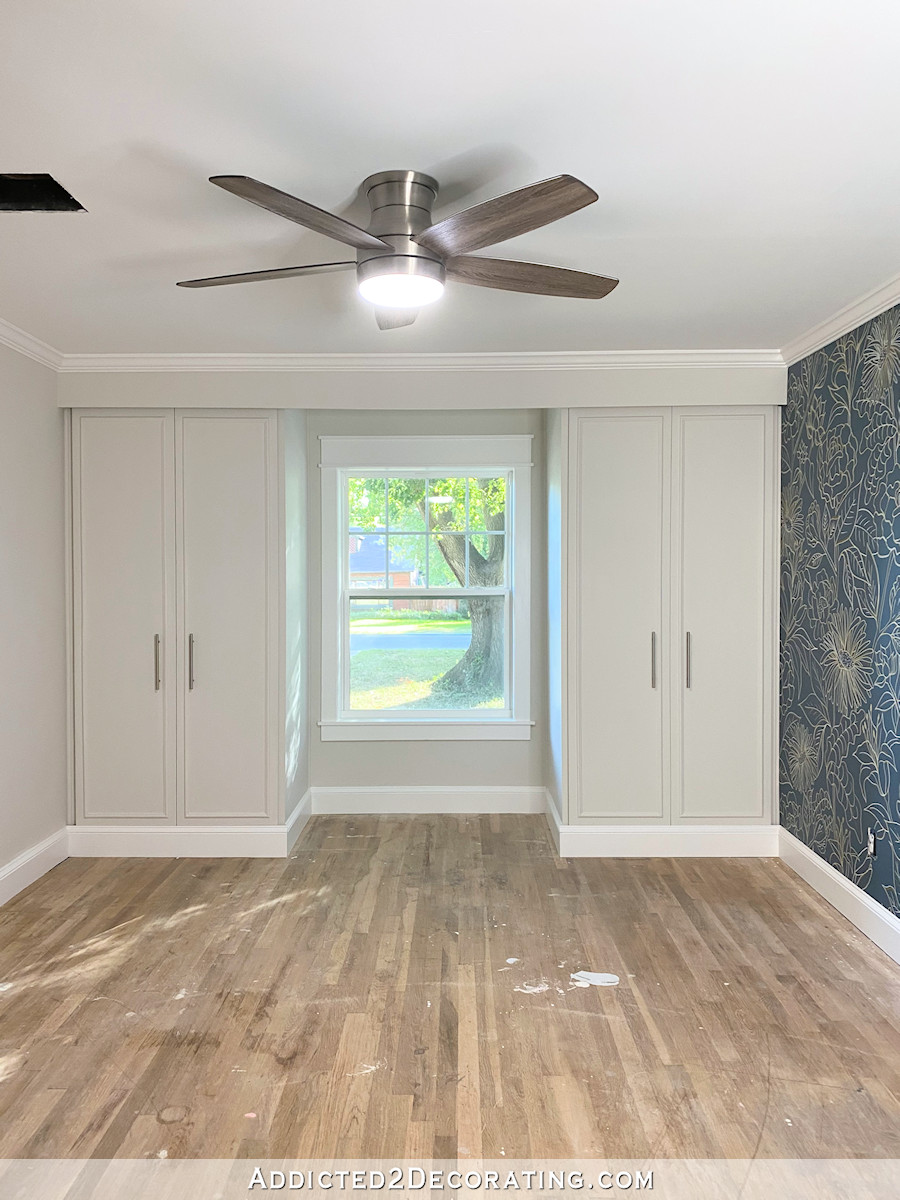
The wall color is Benjamin Moore Classic Gray, and the trim color is Behr Polar Bear. The ceiling is just white ceiling paint from Behr that I used straight out of the can, so I guess that would be Ultra Pure White.
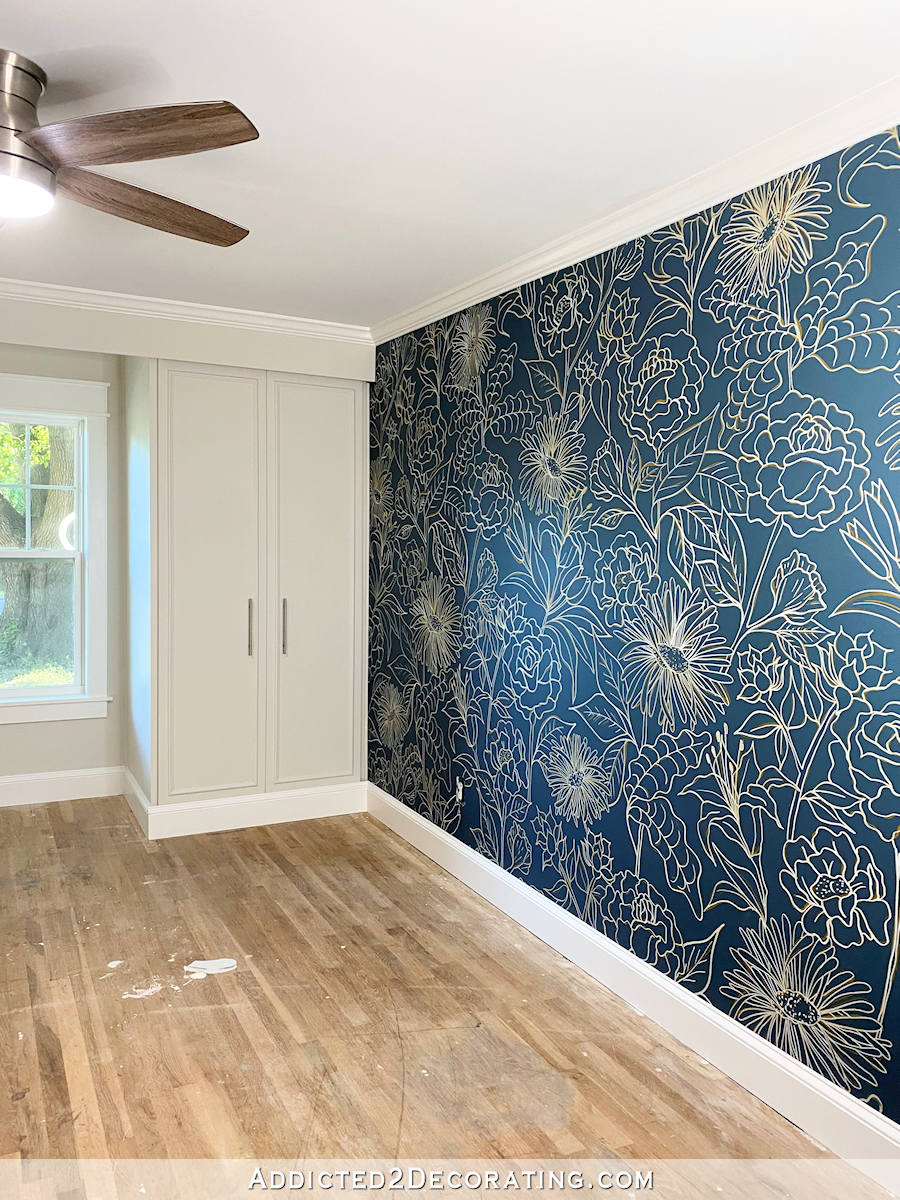
The accent wall is a hand drawn design that I did using acrylic pens. You can find details on that project here…
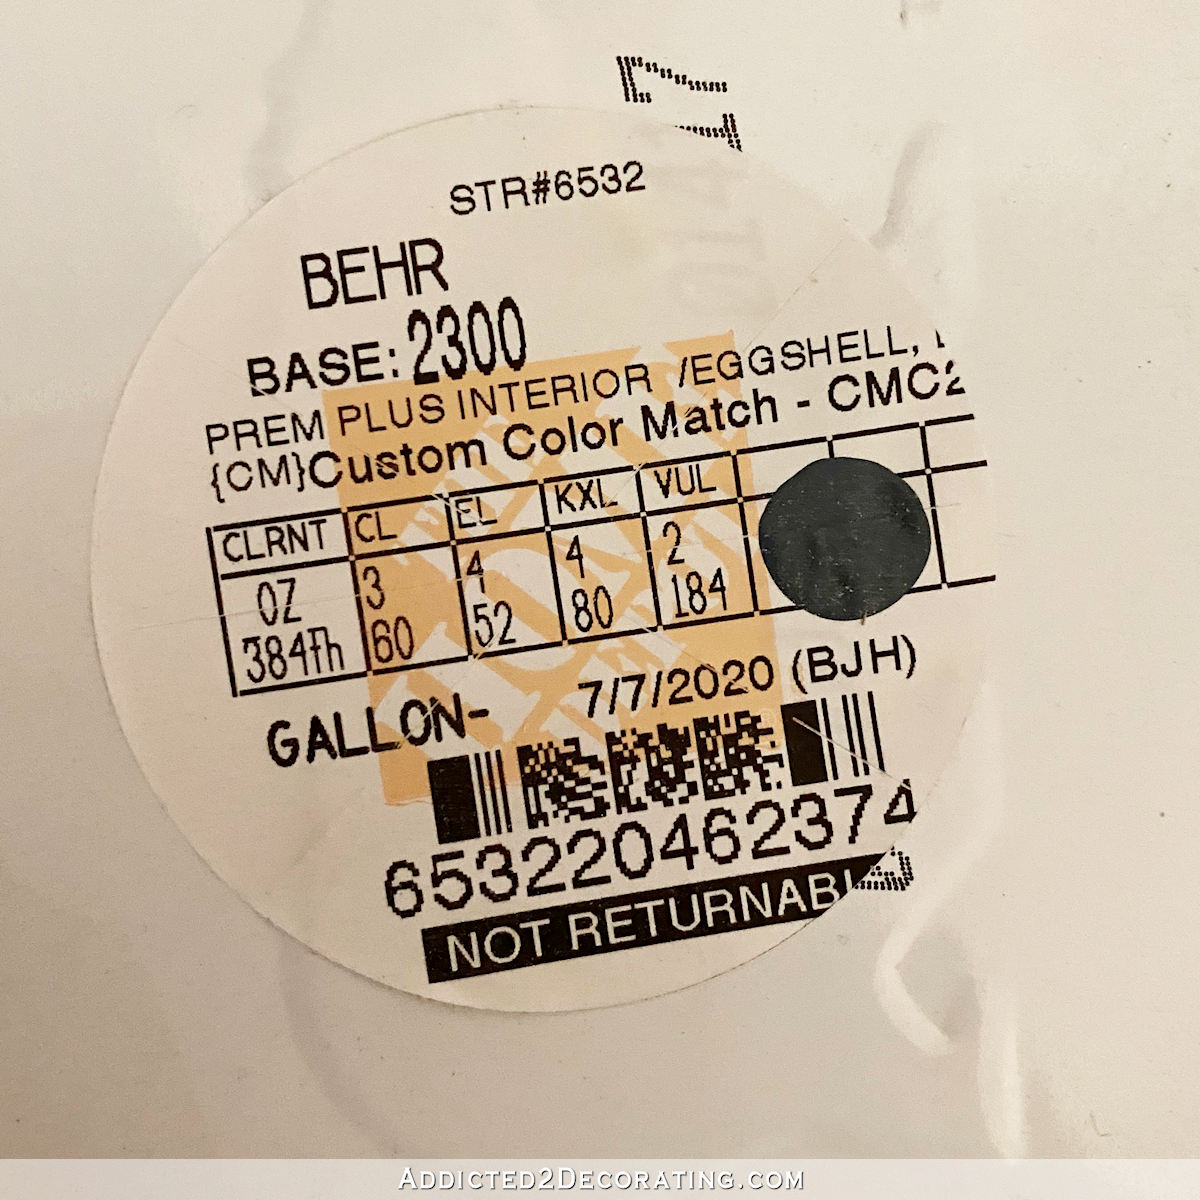
The wall color, which I also used on the bedroom door, is a color that I had custom mixed, but this is the formula…
I mentioned previously that I might put a clear topcoat on the mural wall, and I did end up doing that. I used my favorite General Finishes High Performance Topcoat in a flat finish. I used my Critter sprayer to spray on two coats of clear coat.
The reason I did this is because those acrylic pens are not like acrylic paint. The pens marks will rub off if you get something on the wall and have to wipe it down with a damp rag. And because I did the wall mural before installing the trim, and I always caulk my trim, and my process of caulking involves the use of a wet rag, I needed to seal that design on the wall before caulking.
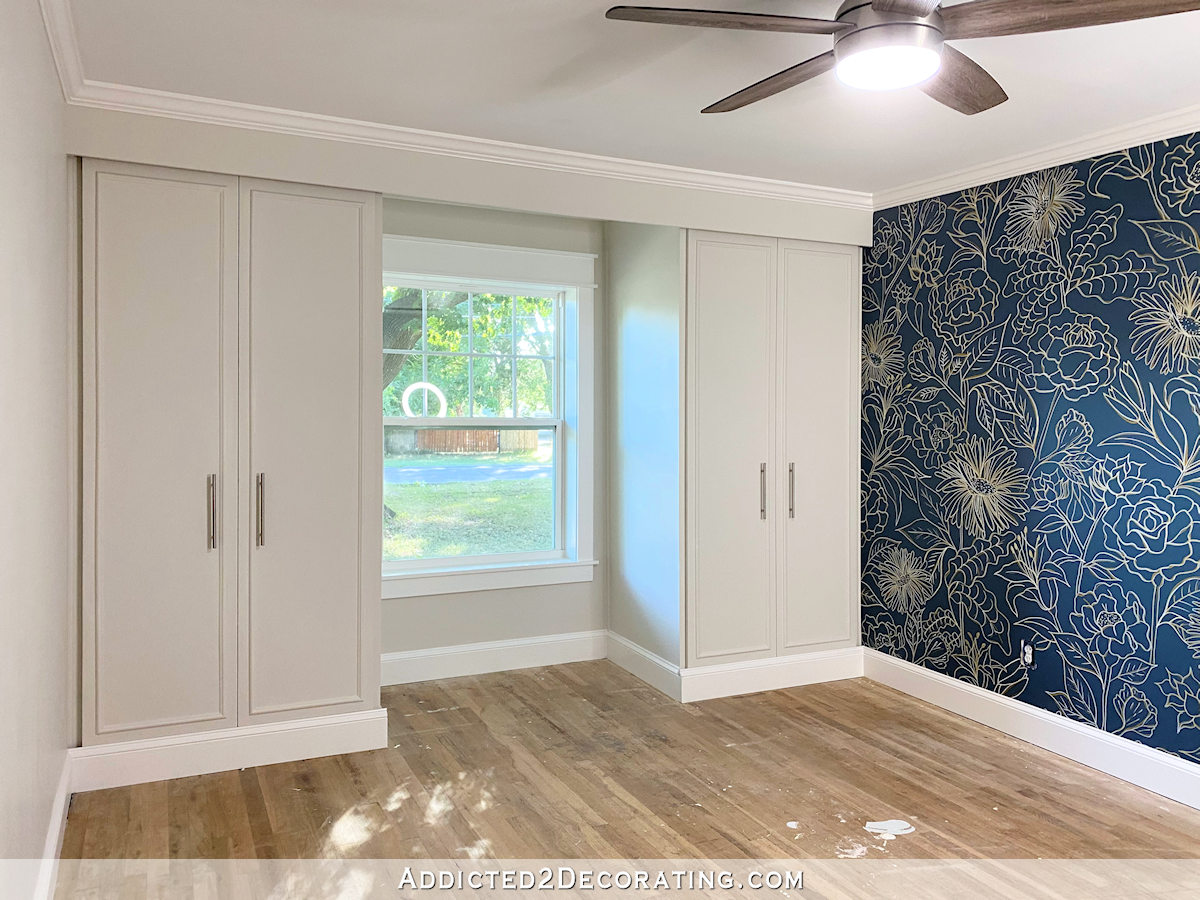
Since the room is small, I built the closets so that they have sliding doors on them rather than standard swinging doors. I still need to finish the inside of the closets, but I’m still trying to figure out how I want them configured.

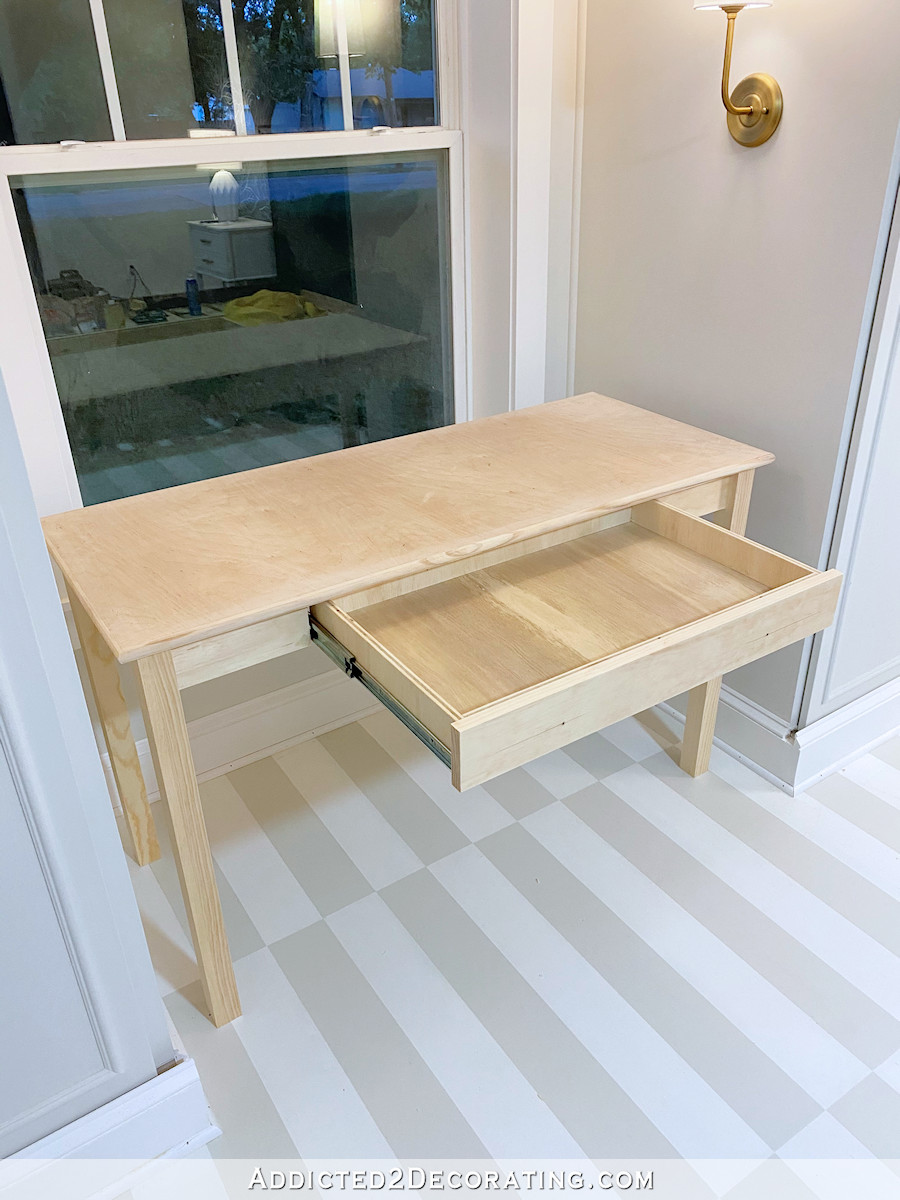
I had originally planned to do a built-in window seat between the closets, but I changed my mind when I realized that a window seat would make getting Matt to safety through that window in case of emergency really difficult. So instead, I’ll put something movable there — a desk or a bench.
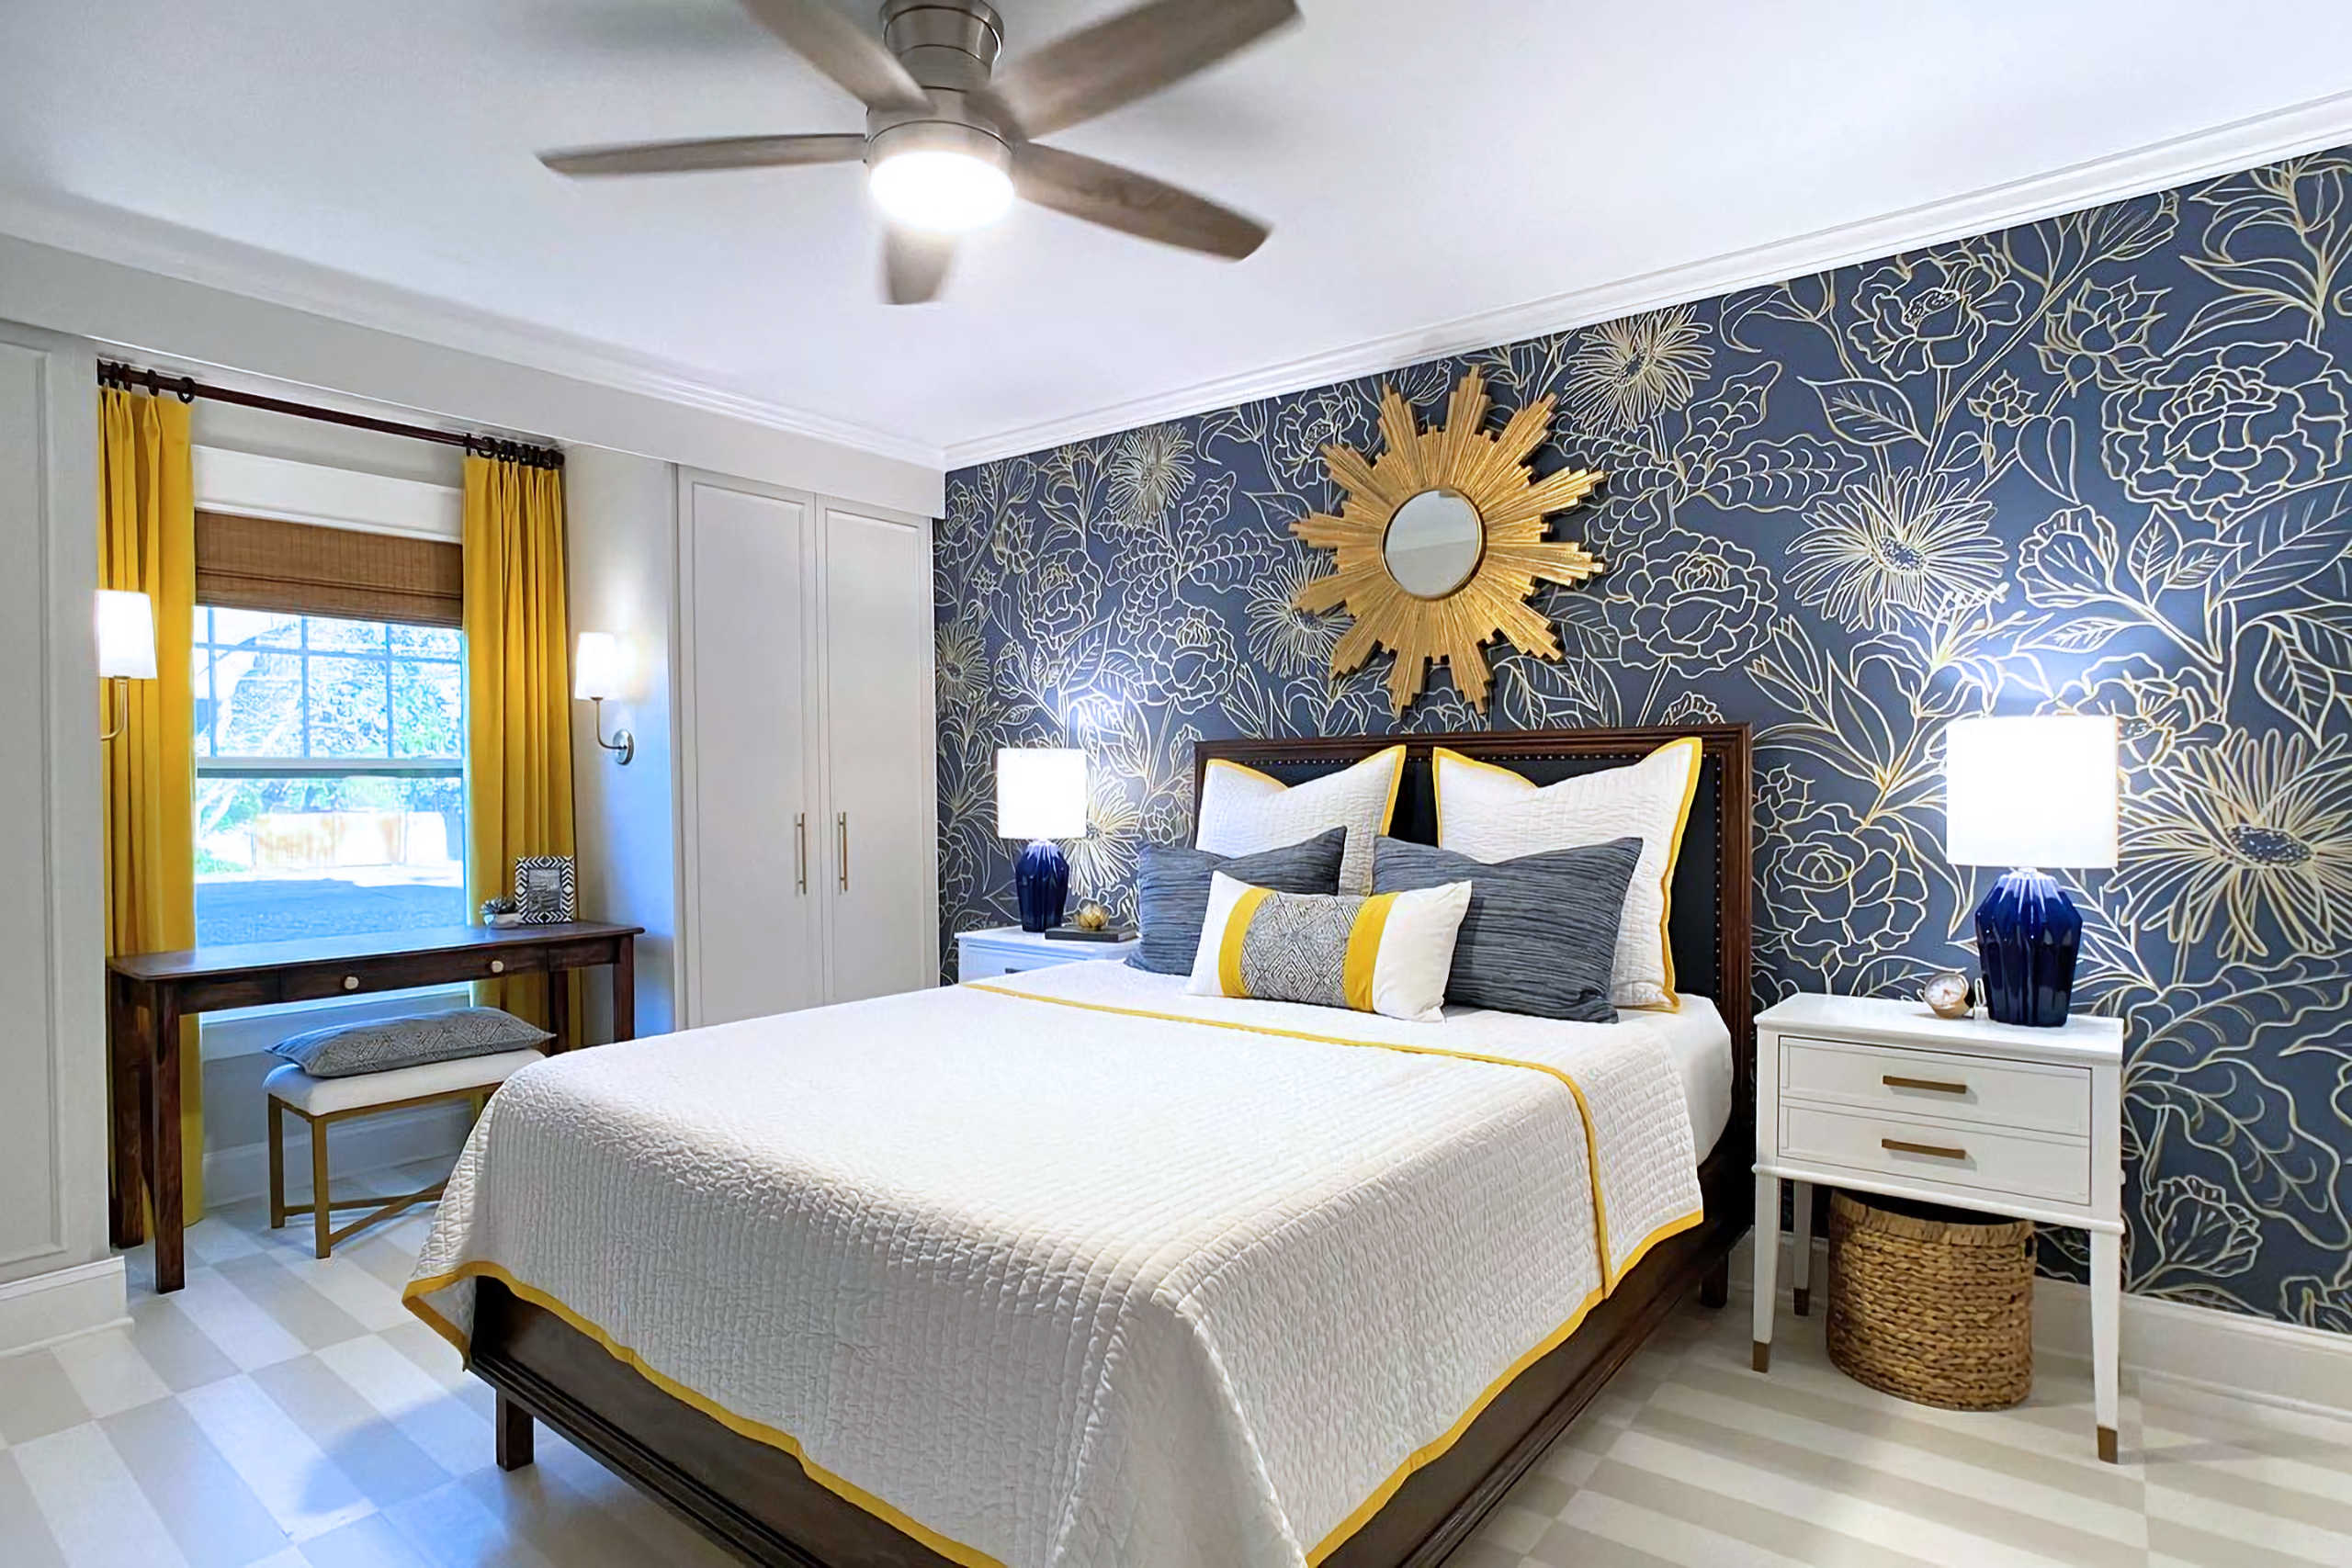
And of course, the golden yellow upholstered bed will go against the accent wall.
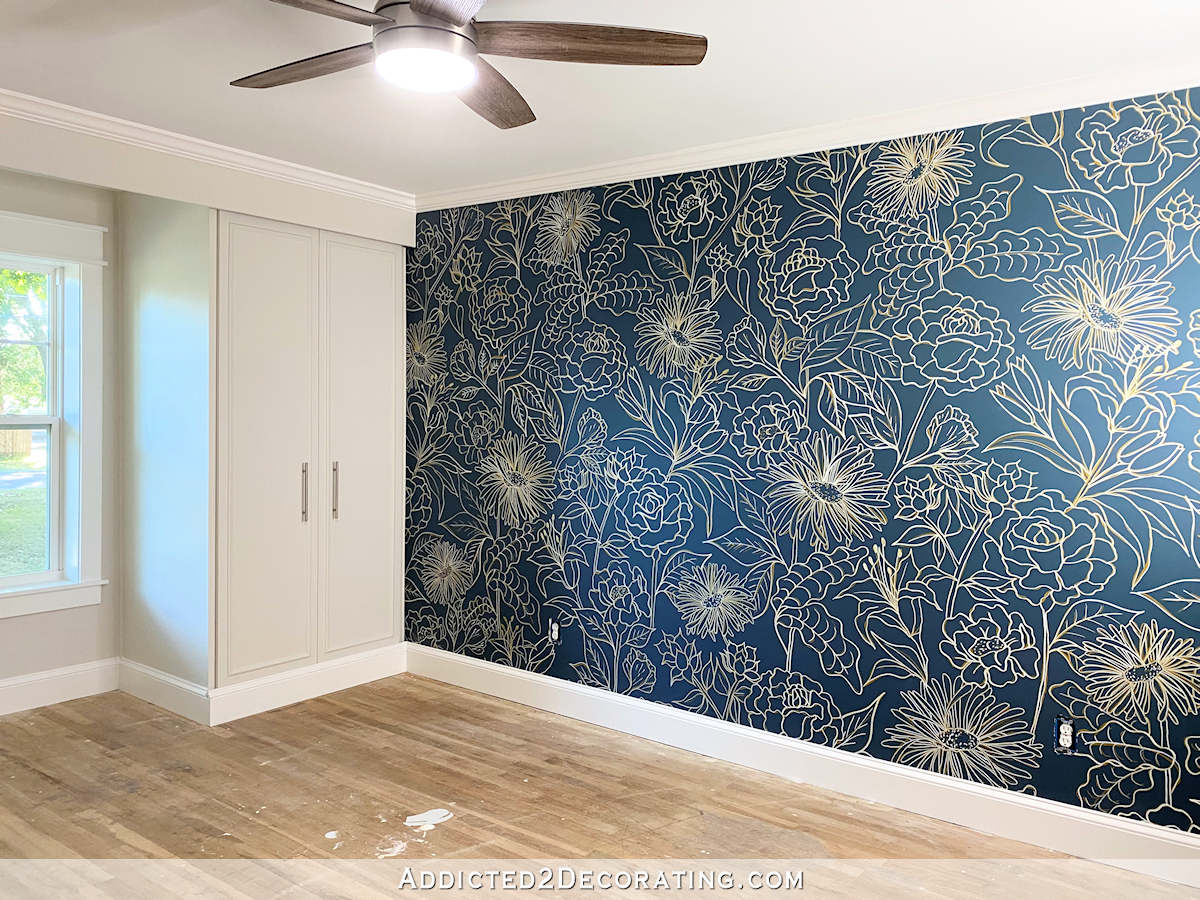
I wish y’all could see the mural in person. I just love those hints of gold peeking out from behind the white. I think you can see a little of that golden hue in this picture…
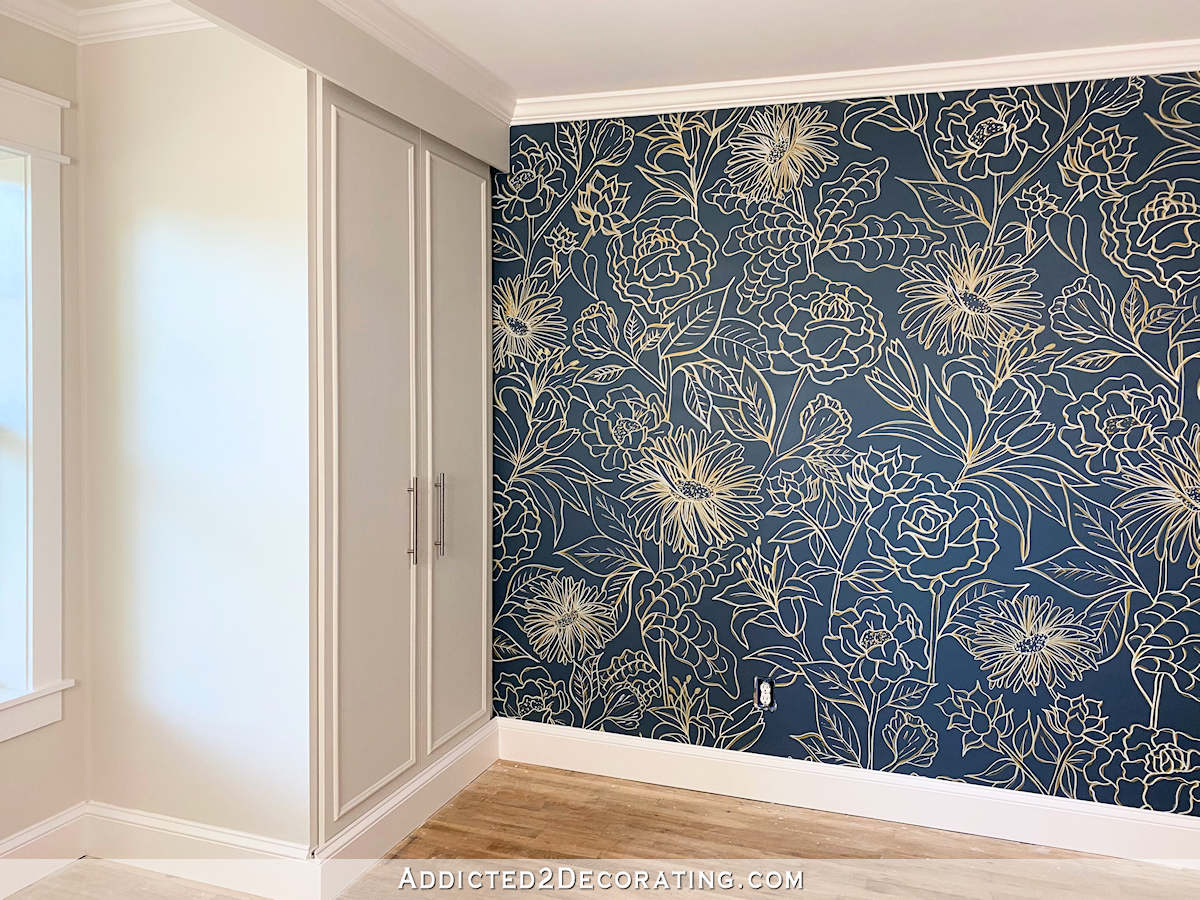
As I said above, I used the wall color on the door. The door is a pocket door, so I still need to purchase and install locking pocket door hardware.

And I still need switch plates and outlet covers.

I’ll use standard outlet covers on the light gray walls, but on the mural wall, I’m going to purchase the paintable full-coverage outlet covers so that I can make them blend in seamlessly with the wall mural. If you’ve never seen those, this is what I’m talking about. They’re textured so that they’re paintable, and I’ve never had trouble with paint chipping off of them. And they blend in seamlessly, which is preferable in cases like this instead of having big white rectangles distracting from the wall. I used one on the outlet on the end of the peninsula in my kitchen because I didn’t want a white rectangle on the teal cabinet. It looks great (most people never notice that there’s an outlet there), and I’ve never had trouble with the paint chipping.

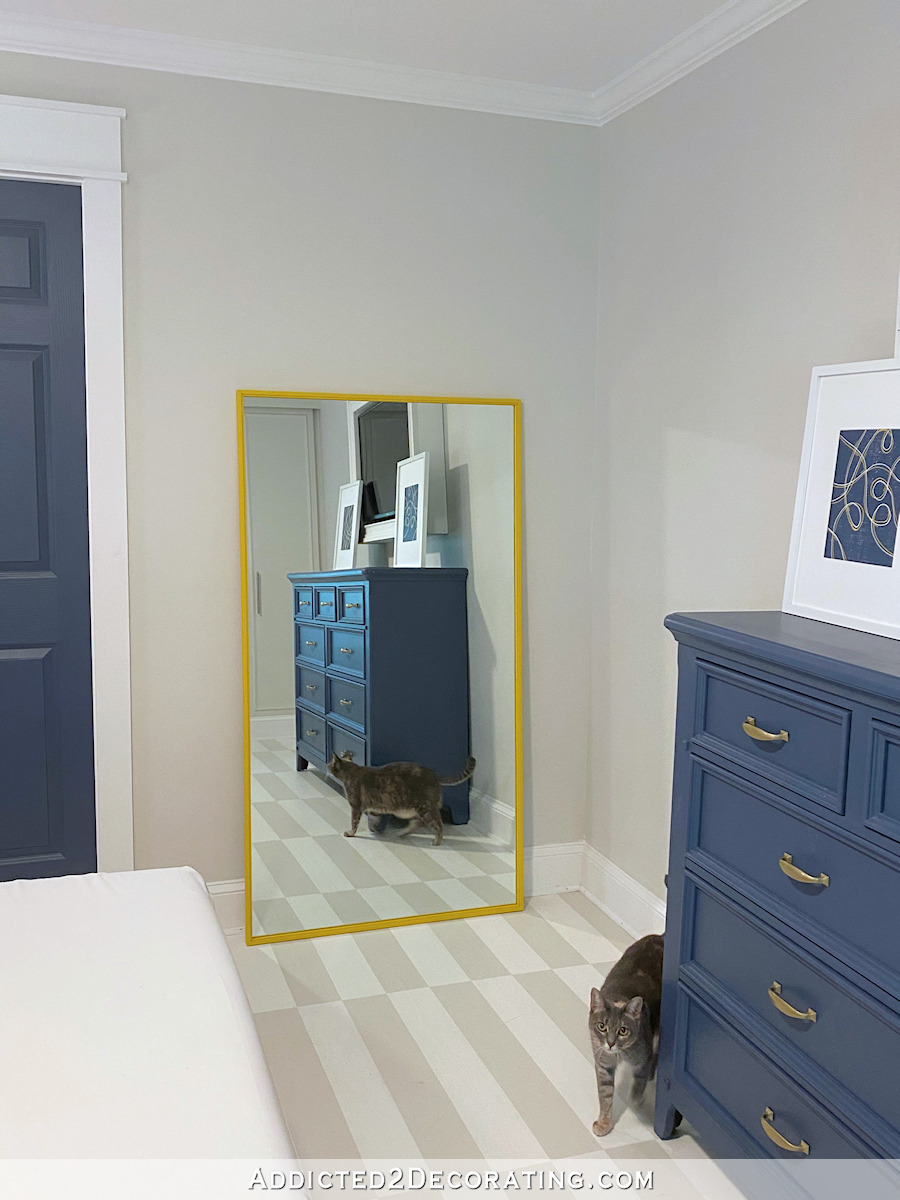
Anyway, the other side of the room is much more bland compared to the accent wall…
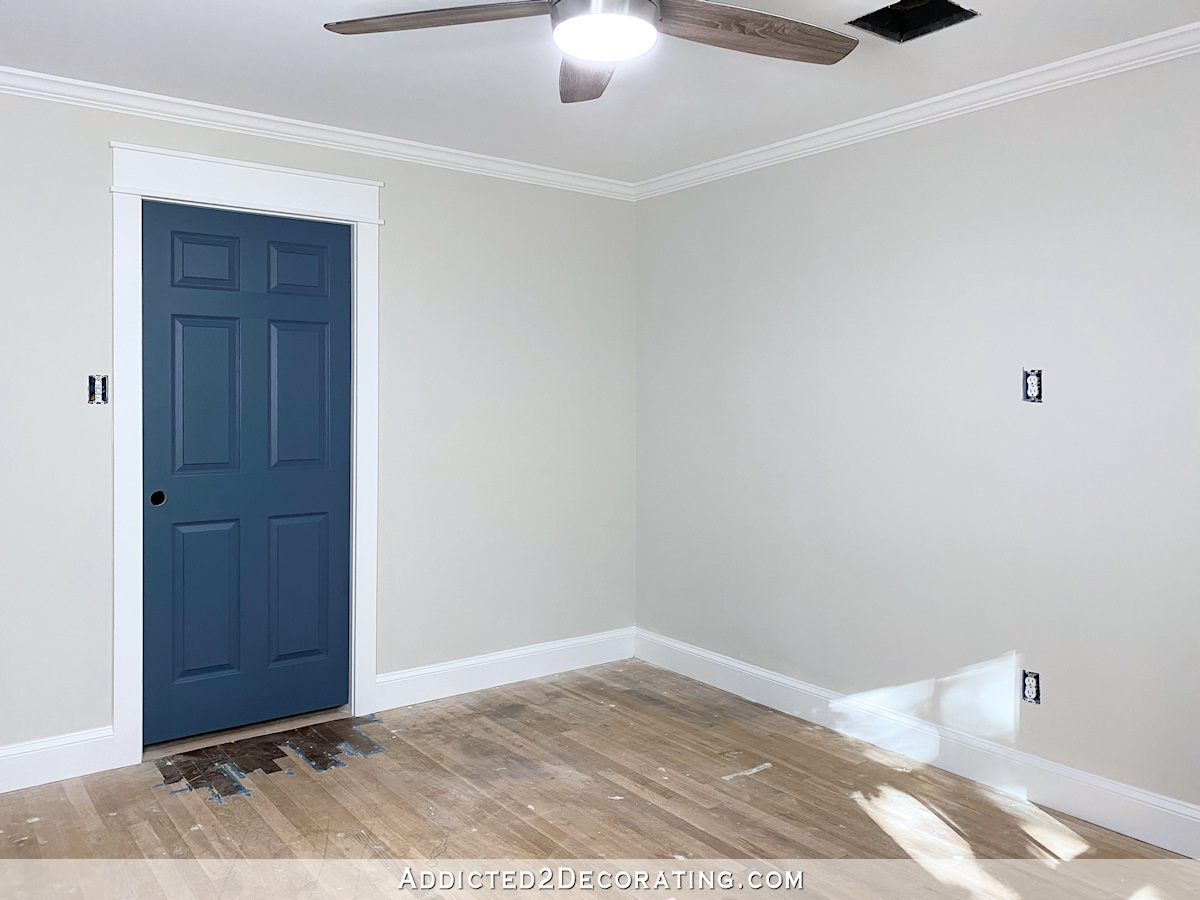
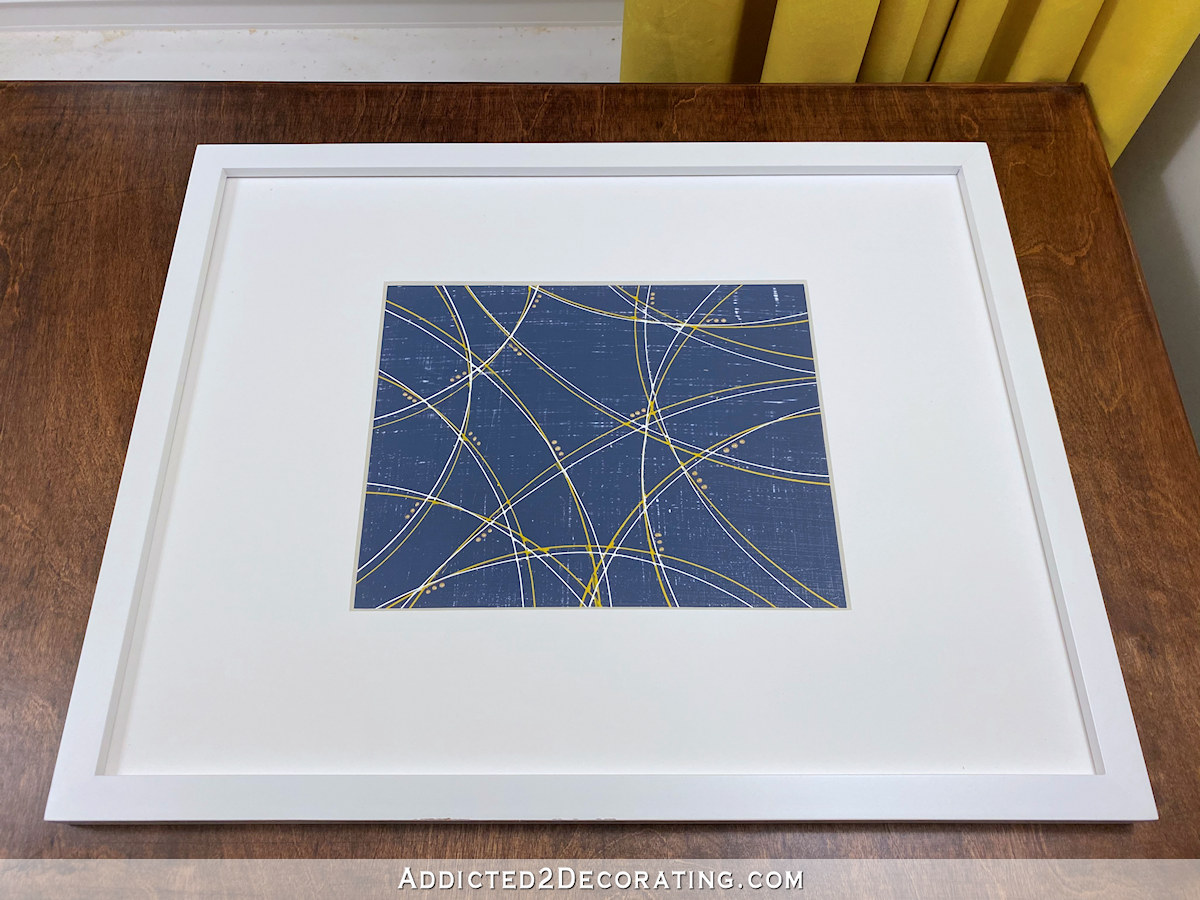
But when the room is finished, this wall will have a dresser, a TV on the wall (I think this one will be hidden rather than framed like the breakfast room TV), and some artwork.

So now I need to focus on the floor. That’ll be a big job, and I have no idea how long it’ll take. But now that I’ve had experience painting an oak floor (after some trial and error painting the design on the back entry of the studio), I think this one will go much smoother.

Addicted 2 Decorating is where I share my DIY and decorating journey as I remodel and decorate the 1948 fixer upper that my husband, Matt, and I bought in 2013. Matt has M.S. and is unable to do physical work, so I do the majority of the work on the house by myself. You can learn more about me here.

I expect this is probably a dumb question, but why not leave the floors wood like the rest of the house? The feature wall is dramatic enough, and a patterned floor might fight with it. Once you get everything else in there, the room will have plenty of pattern and texture, right?
The floor is not in the best shape. It’s original, and it has stains. I don’t want to go to the trouble of trying to remove stains, then staining and sealing the floor, only to potentially have those stains show through the finish. I’d rather just prime and paint. Plus, it’ll give me the opportunity to have a rug-like pattern on the floor without actually having a rug that will make Matt’s life more difficult.
Absolutely beautiful!!
What keeps the painted floor from chipping and scraping off? I did one once & it was a nightmare. I didn’t top coat it. That may be why and if so, what do you use? It was latex paint I believe.
Beautiful. The room is stunning so far. There’s just something about a clean empty base room just waiting for details that’s so fun.
Wow! I sure love that accent wall.
It has really come a long way. I love that mural.
This is an honest question, not a criticism. I know you have a reason for it, and I just want to know what it is. What is the reasoning behind installing the baseboard before finishing the floor? Will that make it harder to do the floor? We are about to start a big floor project and I’d appreciate any insight.
I’m a very messy DIYer (as you can see from the paint spilled on the floor 😃), so I wanted to get as much installing and painting done before I tackle the floor. This way, the only thing left to do after the floor is finished will be to install the shoe molding (or quarter round) right along the bottom of the baseboards.
I sure wish you could come to Canada and paint my walls. I have never had the patience or the skill to do all that filling and sanding and caulking. Yours is so professional and when I paint walls I hope nobody sees the gaps between the molding sand walls.
I’m glad you posted the link to your mural. I must have missed that post and it is so beautiful I would love to do something similar (on a much smaller space. Thanks for continually inspiring us readers.
Yay! Just checked your site this morning looking for an update!
Beautiful, Kristi! Absolutely gorgeous. And that accent wall is the icing on top of the cake! I can’t wait to see it finished!!!
Looks wonderful!! I even love the fan. Beautiful!
It’s gorgeous. The mural is so pretty.
I’m late to the party. Who is Matt? 🙂 The whole room is wonderful and the accent wall is FABULOUS!!
He’s sometimes called “The Hubbs”.
That mural wall really is a beautifal work of art. I am glad you sealed it, that must have taken you hours. I am so glad to see you posting again. Stay well.
Cheryl, Matt is Kristi’s husband and he is in a wheelchair so mobility is an issue for doors and windows in the event of a disaster such as a fire or other event. Texas gets some nasty weather between hurricanes and tornadoes. She also has to be aware of things like throw rugs. They can tangle in the wheels and throw a person like a bronc! Spacing of furniture is an issue too.
Beautiful work in progress! Do use round quarter round or flat ( used for doorstops)
Looking forward to the floor design when done.
My preference is shoe molding. But if I have larger gaps that need to be covered that won’t be covered by shoe molding, then I’ll use quarter round. This room does have two areas with gaps that are on the wider side, so quarter round may be necessary in here.
Hi Kristi! Where can I find info on the Critter sprayer on your site? I know you’ve mentioned it before, but I’m having a hard time finding it!
I bought mine on Amazon. It does require an air compressor, but even if you have a small one (I have the little Porter Cable pancake compressor), you’re good to go. Here’s my affiliate link for the one I bought: https://amzn.to/3iBS1pL
Would you mind sharing a few more details? I bought one to spray GF top coat, but I’ve never used one and don’t really know what I’m doing!
I have a blog post with some tips on how to use the sprayer. See if this might have some useful tips for you:
https://www.addicted2decorating.com/the-best-paint-sprayer-for-kitchen-cabinets-plus-tips-on-getting-a-beautiful-finish.html
Coming along just beautifully! Can’t wait to see finished room!
So beautiful. Love it.
Beautiful I have followed you for years and I think this may be my favorite room design . Can’t wait to see the bed against that accent wall.
WOW love how it all turned out. I didn’t know what color to paint my living room, dining room and seeing how good that looks, I think I’ll go with your colors. The mural turned out FAB!
I love the mural!! I can’t wait to see the room decorated. Great job.
Looking awesome!
Always an amazing job! Thank you for sharing, insight and tutorials!
I have a suggestion for your window seat. Make it the way you like, but put it on casters, so that it could be quickly pulled out for Matt to use the window as an emergency exit.
Oh Christine, I love that idea! It could be like a rolling box trimmed and painted to match the closet built-ins. The casters could have locking front wheels. If you needed the extra storage, you could even make it with a hinged lid. This sounds like a great build project for your beautiful work room, Kristi!
Just a thought – you could save the expense of a tv and monthly service in a guest room. Few people watch tv at bedtime much anymore. They retire with their phone, iPad, or laptop.
While this room is called the guest room, it will wind up being Kristi & Matt’s room for an undetermined amount of time while a new master bedroom/bathroom is built/created, so it’s for their use primarily.
What color stain do you recommend for an oak wood floor that is not tied to a particular color scheme, though the walls are Gray Cashmere? (Not sure if that’s Ben Moore or SW)
Not excited about reds or yellows. . . Thanks!
My floors are red oak, and you can see the process and products I used here:
https://www.addicted2decorating.com/adventures-in-staining-my-red-oak-hardwood-floors-products-process.html
I love how my floors turned out. They’re not too red, not too yellow, not orange at all.
The room is looking great, Kristi! Can’t take my eyes off that mural – it’s simply stunning 🙂
The room looks really great . Perfect accent wall . May I ask why there is a piece of wood across the top that runs above the window? Why does it come out passed the top of the closets instead of being flush? It doesn’t look like it’s hiding ducts.
It hides the track for the sliding closet doors.
Got it, thank you! I didn’t realize those were sliding doors. I didn’t read close enough.
Not familiar with how much of the floor is involved with the staining you think will turn up when staining.
You’ve hidden floor issues at thresholds before…Is it possible to remove and patch the areas with new wood flooring? Or is there too many problem areas? Is it possible to stain, and stain the patch boards, remove/replace the really bad places, then seal. Maybe an update post that refers back to past used methods to repair the floor would be welcomed. Now you use a more traditional finish vs the waterlox you started with, so some of the logic behind your decision-making is different now. Is there a flooring post that covers this change in logic?
Hi Kristi,
The room is really coming together! The only thing that looks. Little disconcerting is the white baseboard on the front and side of the closets. It sort of makes them look less like built-ins and more like they were plopped down on some platforms.
I agree with some other posters ya out staring the floors instead of painting—would give it a much more cohesive look .
I looking forward to seeing the rest!
Kristi,
I so look forward to your posts! I absolutely love the wall mural you painted but as I’ve told you before I think I love everything you’ve done to that house. I’m trying to think of ways to use some of your ideas that would fit my home, I hope you don’t mind. Can’t wait to see the finished BR I know it will be beautiful! Take care, Linda
It’s looking great so far! Can’t wait to see the finished room!
It’s beautiful! Do you have a source for the fan? Thanks!